Thalappakatti Biryani or Thalappakattu biriyani is a famous variety of biryani from the Dindigul region in Tamil Nadu. This renowned biryani dish offers an authentic taste of South Indian cuisine, crafted with premium seeraga samba rice, tender meat, and a blend of spices. Experience the culinary magic that has captivated taste buds for generations.
Follow us on Pinterest for delicious pins. Join our Facebook group for more Instant Pot and Air Fryer recipes.

Jump to:
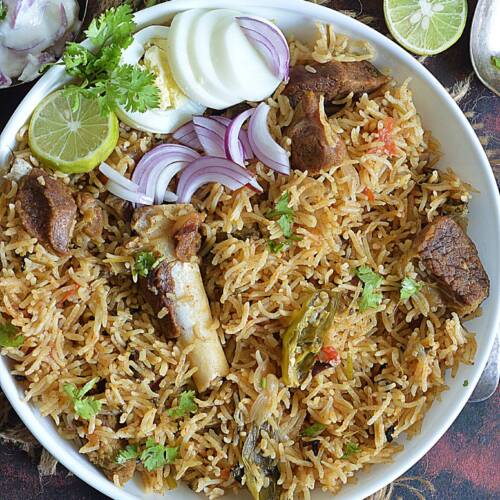
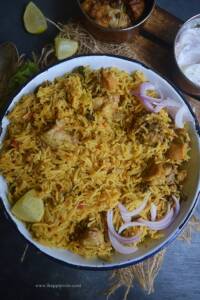
Thalappakatti Biryani
Thalappakatti Biriyani is a famous biryani variety that is served in the Dindigul Thalappakatti Restaurant. The specialty of the biryani is their spice blend and they use seeraga samba rice.
The restaurant was founded by MR Nagasamy Naidu in Dindigul, Tamilnadu under the name Anandha Vilas. He always wore a turban while cooking. Turban in Tamil means "thalapa". Thalappakatti means wearing a turban. So over the years, the restaurant brand was referred to by that name itself. And the restaurant is named after him.
Specialty of Thalappakattu Biriyani
A special blend of spices is used for the biryani. A type of short grain seeraga samba rice, called Parakkum Sittu. The meat is obtained from top-class breeds of cattle particularly found in the famous cattle markets of Kannivadi and Paramathi. Kannivadi meat comes from tender grass-fed goats makes the taste distinct.
The seeraga samaba rice, unlike basmati, has no taste of its own. So it completely absorbs the flavors of the spices ( ref Thakapakatti website)
Ingredients
Seeraga Samba Rice - The mandatory Ingredients for the traditional thalapakatti style biryani. Never replace this with Basmati Rice.
Mutton - Use tender biryani cut mutton pieces.
Dry Masala Powder- We do not add any heavy spice powders, It is the ground masala gives the flavor and taste. We grind a dry masala powder with whole Indian spices.
Wet Masala - A combination of green chili, ginger, garlic, and shallots.
Mint and Cilantro - Always a must for cooking any biryani.
Oil and Ghee - Use both in Combination for a flavorful biryani.Curd - Use thick curd for the biryani.
How to make Thalappakattu Biryani
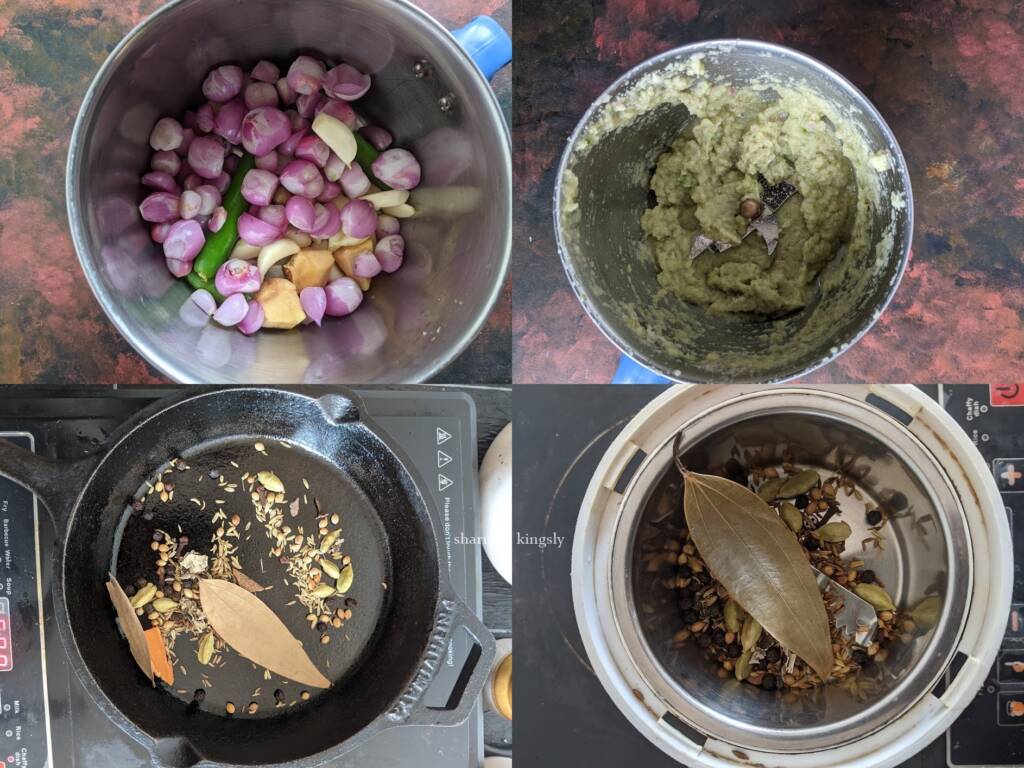
Prepare the dry and wet masala
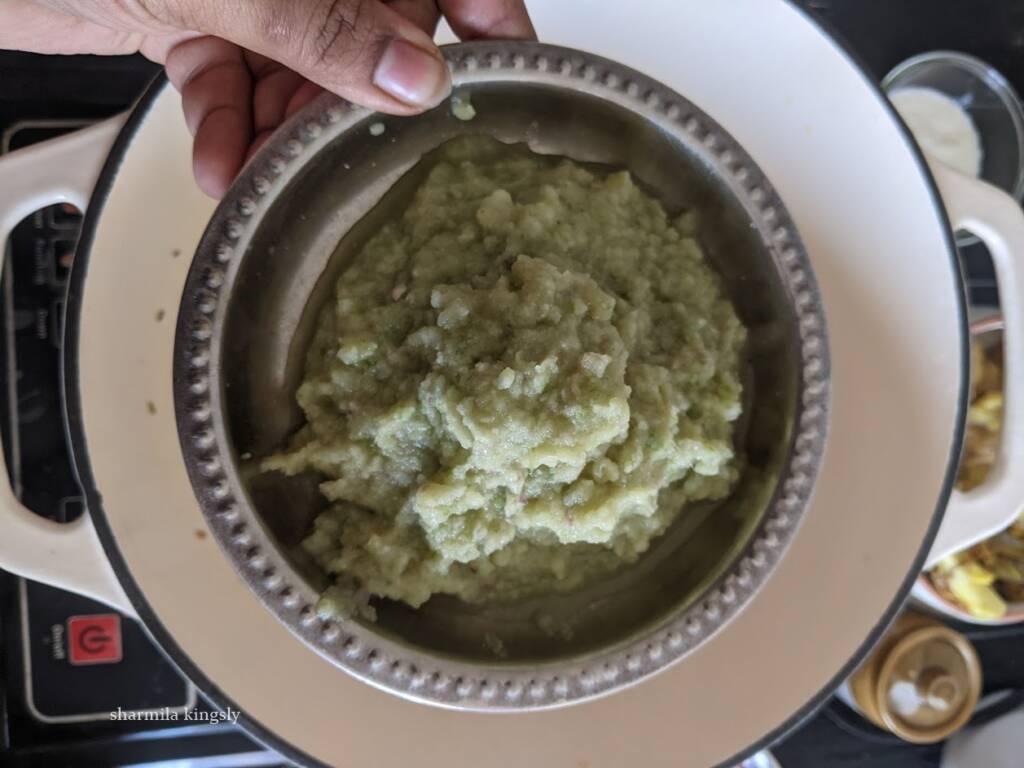
In a blender add small onions, green chili, ginger, and garlic ( all the ingredients mentioned under the wet masala section). Grind to a paste without adding any water.
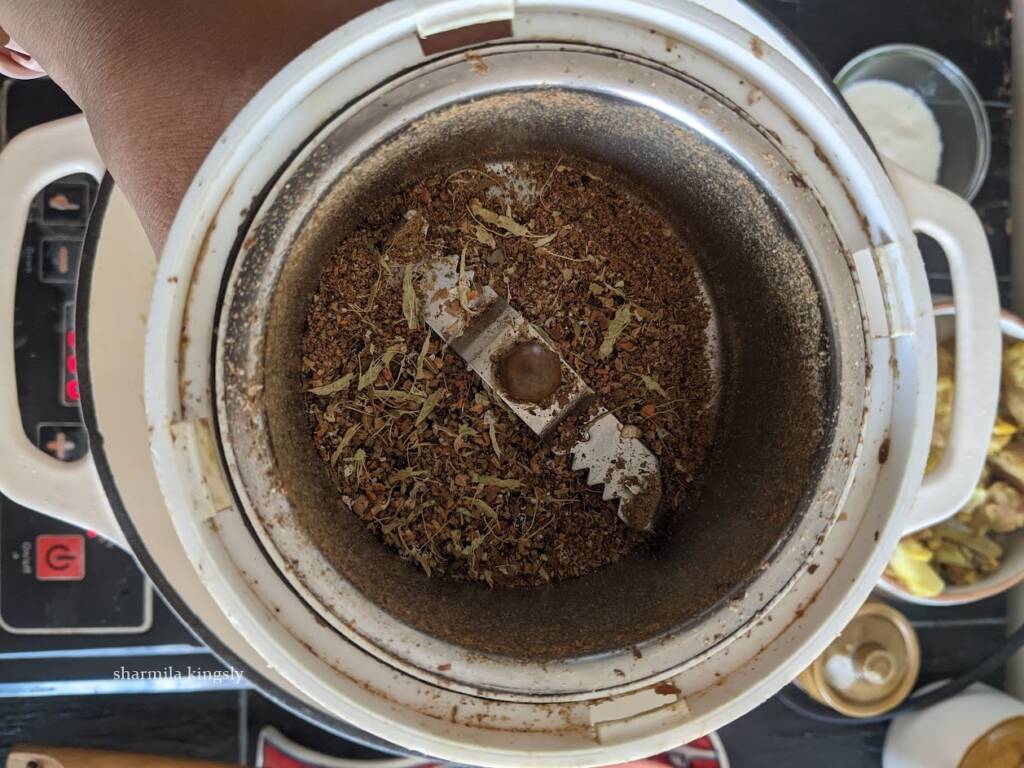
In another skillet add the ingredients mentioned under the dry masala section. Roast on a very low flame for 2-3 mins or until it gives a nice aroma. Grind them to a coarse powder.
Prepare the biryani base
Heat a biryani pot. I am using my dutch oven. always use a pot that is sturdy and has a heavy bottom, this helps in even and fast cooking.
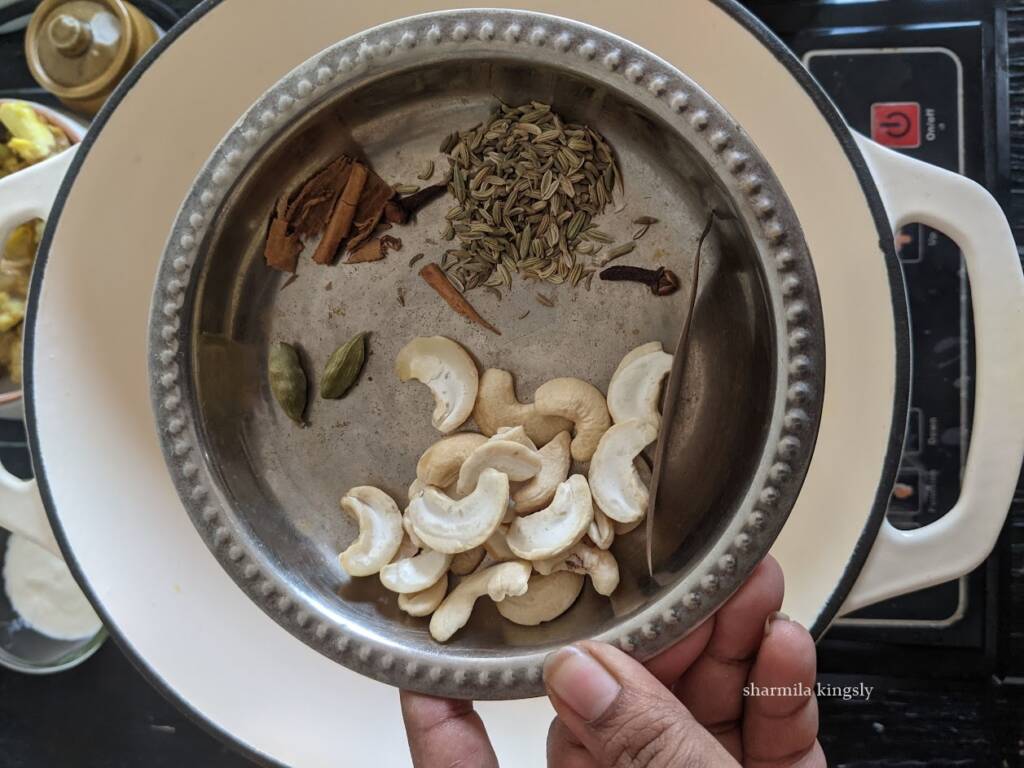
Add Oil and ghee to the pot once they are hot add Fennel seeds, Cardamom, Cloves, Cinnamon, Bay leaf, and Cashewnuts. Saute until they give a nice aroma.
Next, add the ground wet masala.
Keep Sauteing in a low flame until the raw smell leaves. Keep stirring and make sure the masala doesn't get burnt.

Next, add the ground dry masala. Combine and cook for a minute.
Add the curd/ Yogurt. Cook for a min.

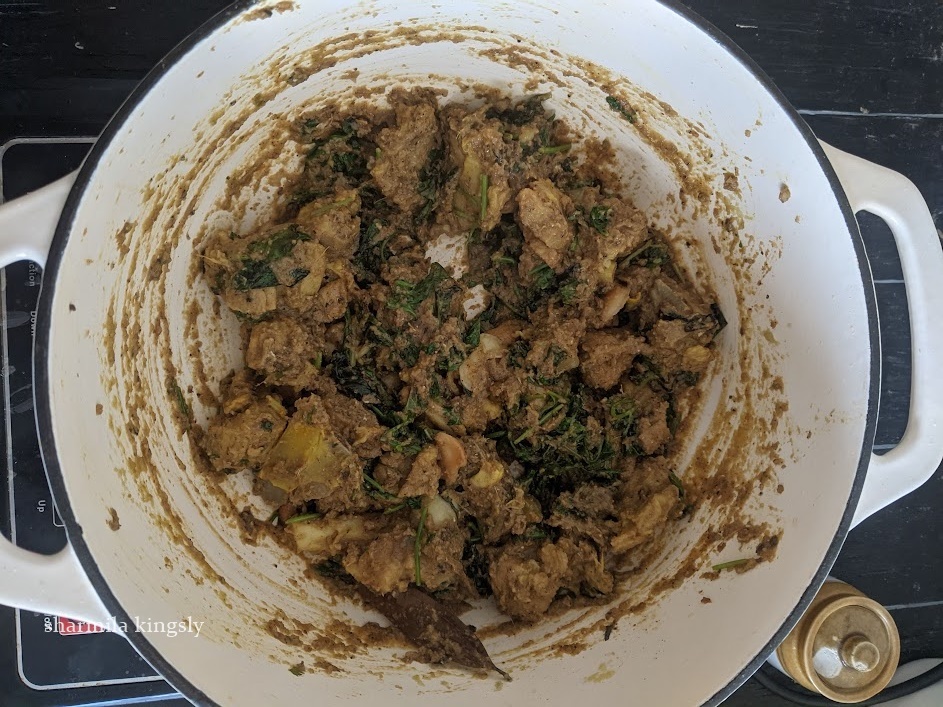
Add Mint and Coriander leaves. Cook until they shrink.

Now add the cooked mutton. Mix and cook for a min.
Prep and add Rice and Liquid
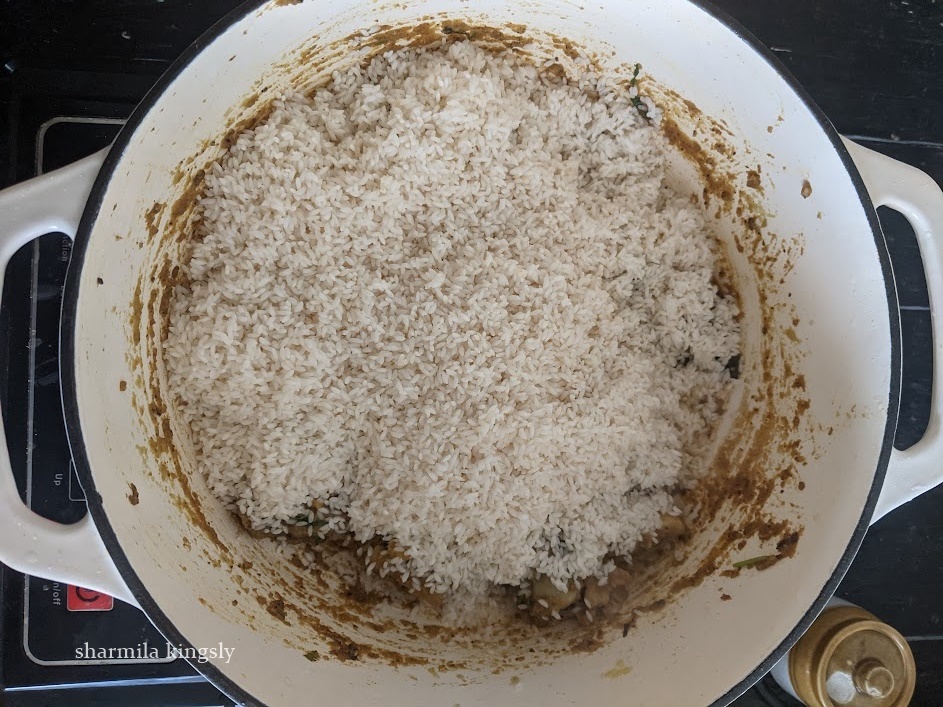
Soak the Seeraga Samba Rice in water for 30 mins. Drain the water and then add the rice to the biryani pot.
Add the measured liquid. We can add the Mutton stock ( the liquid that is used while cooking mutton). Always measure and add the liquid. Measure liquid with the same cup that is used for measuring the rice. If there is 1 cup of mutton stock add water for the remaining liquid.
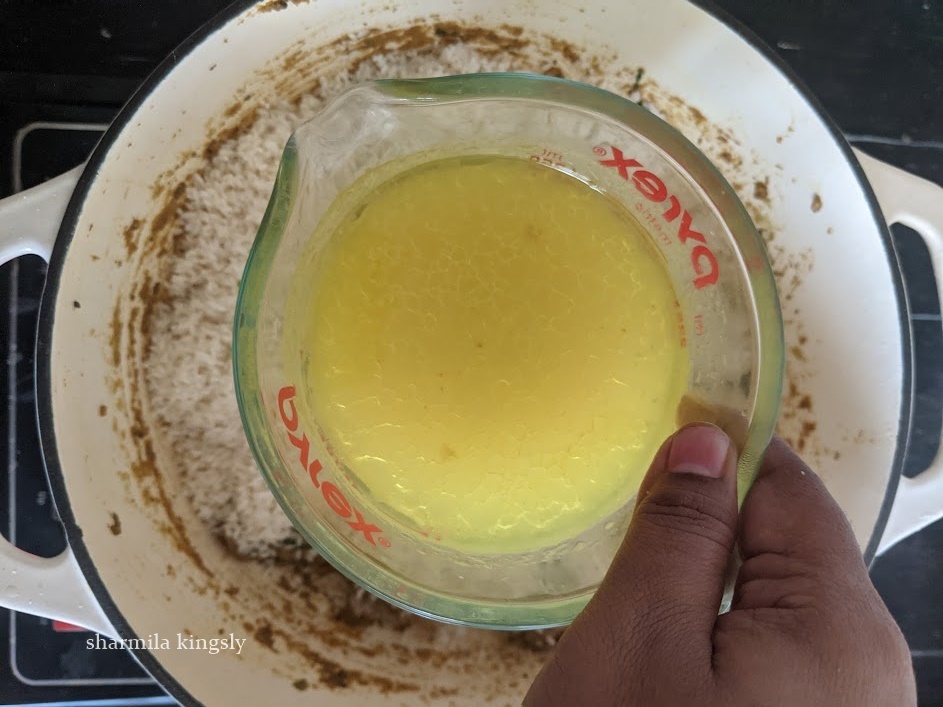
For 1 cup seeraga samba rice add 1.5 cups of water plus another ½ cup to the total quantity. Now I am using 3 cups of seeraga samba rice. So we should add 5 cups of liquid in total( 4.5 cups +½ cup)
Squeeze in the lemon juice.

Add the required salt

Add kewra water. Optional but highly recommend as it gives a wonderful aroma.

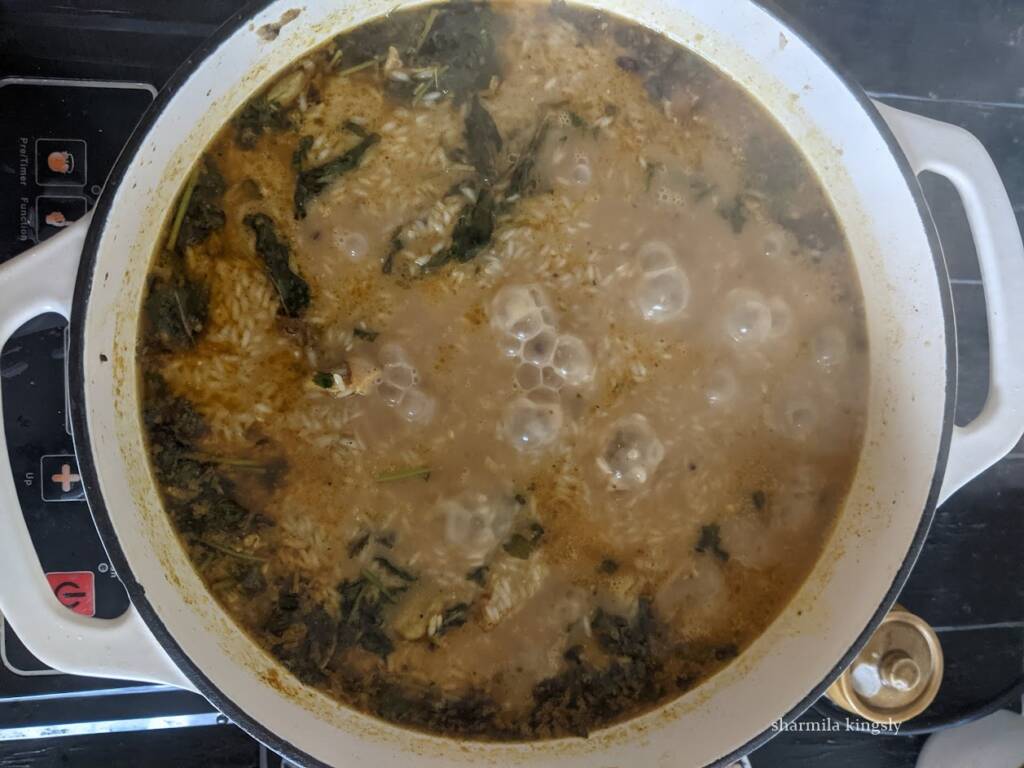
Cook Biryani
Combine and cook on a high flame. Give a good mix and close and cook until the water is 80 % absorbed. Mix everything gently.
Now place a skillet/dosa tawa on the stove and then place the biryani pot on top of that. Cook in the lowest possible flame for 20 mins with the lid of the biryani pot on and keep weight on top of the biryani pot for dum.

After 20 mins switch off the flame and keep it in the same position without any disturbance for 30 mins. After 30 mins if you open the rice will be cooked perfectly without sticking to each other. Gently fluff the rice and serve hot.
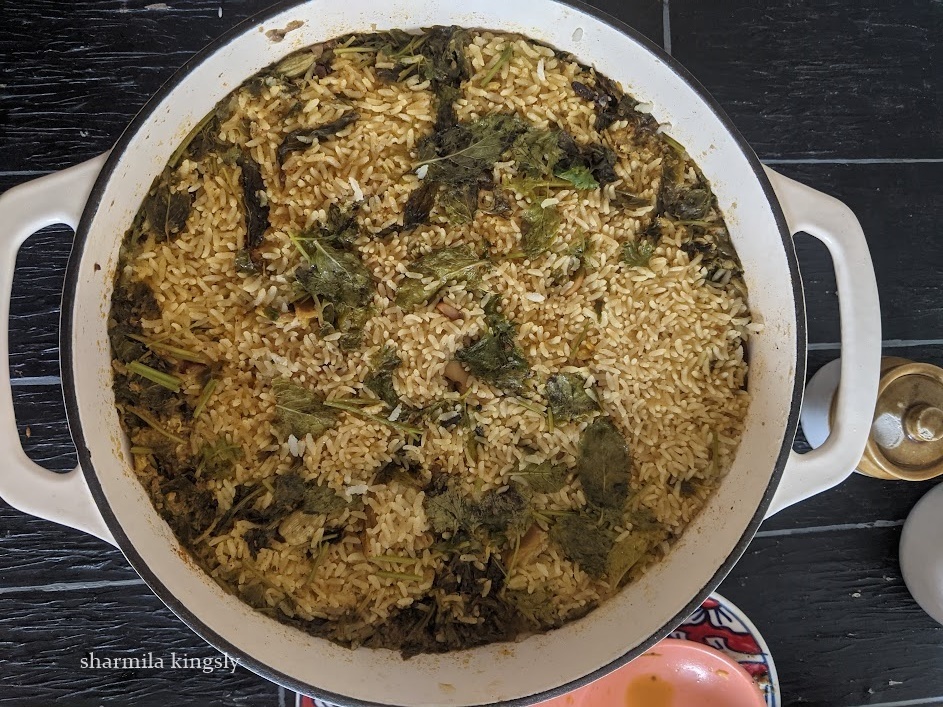
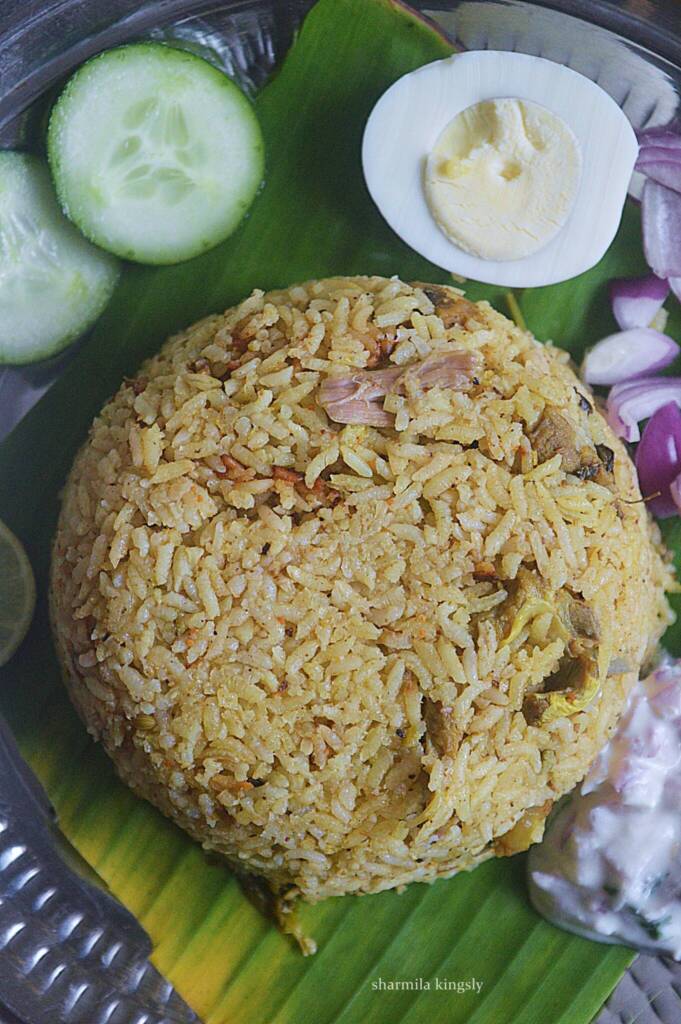
Traditional Thalapakatti Biryani is now ready.

Serving Suggestions
Biryani is a very popular Indian main course across the globe. It can be prepared for any occasion or even during a weekend meal.
A few mandatory sides for biriyani are Onion Raita, Brinjal Curry, or even Boiled Egg. At Muslim Weddings, they also serve bread halwa, Pickle, or even Jam and Pappad for biryani.
More Biryani Recipes


★ Did you enjoy this recipe? If you happen to try it out, I would love to hear from you! I’d appreciate it if you could rate and leave a review below in the comments. Your reviews help others know the recipe better too. Thanks for your time. You can also follow me on Facebook, Pinterest, Instagram, Youtube and Twitter for more updates
📖 Recipe
Thalapakatti Biryani
Standard 1 cup measures 240 ml
Ingredients
- 750 gm Mutton
- 3 cups Seeraga Samba Rice
- 5 cups Water Add 1.5 cups water for every 1 cup of Rice + ½ cup of water to the total quantity
To Grind ( Wet Masala )
- 15 cloves Garlic
- 3 inch ginger
- 6 Green Chilli add upto 10 if you prefer a spicier biryani
- 25 Small Onions
To Grind ( Dry Masala )
- 15 Cardamom
- 12 Cloves
- 10 inch pieces Cinnamon
- 1 teaspoon Cumin Seeds
- 2 teaspoon Coriander Seeds
- 1 teaspoon Whole Black Pepper
- 1 petal Mace
- 2 Bay Leaf
- 1 tablespoon Fennel Seeds
- 2 Star Anise
- 2 inch piece Black Stone Flower
Other Ingredients
- 2 tablespoon Ghee
- 1 tablespoon Oil
- 1 teaspoon Fennel Seeds
- 2 cardamom
- 2 inch Cinnamon
- 15 Cashewnuts
- 1 Bay Leaf
- 2 Cloves
- ½ cup Curd / Yogurt
- 1 cup Mint Leaves
- 1 cup Cilantro
- 1 Lemon
- Salt to taste
- ½ teaspoon Kewra Water
Instructions
- In a blender add small onions, green chili, ginger, and garlic ( all the ingredients mentioned under the wet masala section). Grind to a paste without adding any water.
- In another skillet add the ingredients mentioned under the dry masala section. Roast on a very low flame for 2-3 mins or until it gives a nice aroma. Grind them to a coarse powder.
- Heat a biryani pot. I am using my dutch oven. always use a pot that is sturdy and has a heavy bottom, this helps in even and fast cooking.
- Add Oil and ghee to the pot once they are hot add Fennel seeds, Cardamom, Cloves, Cinnamon, Bay leaf, and Cashewnuts. Saute until they give a nice aroma.
- Next, add the ground wet masala.
- Keep Sauteing in a low flame until the raw smell leaves. Keep stirring and make sure the masala doesn't get burnt.
- Next, add the ground dry masala. Combine and cook for a minute.
- Add the curd/ Yogurt. Cook for a min.
- Add Mint and Coriander leaves. Cook until they shrink.
- Now add the cooked mutton. Mix and cook for a min.
- Soak the Seeraga Samba Rice in water for 30 mins. Drain the water and then add the rice to the biryani pot.
- Add the measured liquid. We can add the Mutton stock ( the liquid that is used while cooking mutton). Always measure and add the liquid. Measure liquid with the same cup that is used for measuring the rice. If there is 1 cup of mutton stock add water for the remaining liquid.
- For 1 cup seeraga samba rice add 1.5 cups of water plus another ½ cup to the total quantity. Now I am using 3 cups of seeraga samba rice. So we should add 5 cups of liquid in total( 4.5 cups +½ cup)
- Squeeze in the lemon juice.
- Add the required salt and kewra water.
- Combine and cook on a high flame. Give a good mix and close and cook until the water is 80 % absorbed. Mix everything gently.
- Now place a skillet/dosa tawa on the stove and then place the biryani pot on top of that. Cook in the lowest possible flame for 20 mins with the lid of the biryani pot on and keep weight on top of biryani pot for dum.
- After 20 mins switch off the flame and keep it in the same position without any disturbance for 30 mins. After 30 mins if you open the rice will be cooked perfectly without sticking to each other. Gently fluff the rice and serve hot.
Video
Nutrition
Disclaimer: I am not a nutritionist , the nutrition value provided here is an estimate.It will vary based on the quantity and brands of the products used.


Leave a Reply