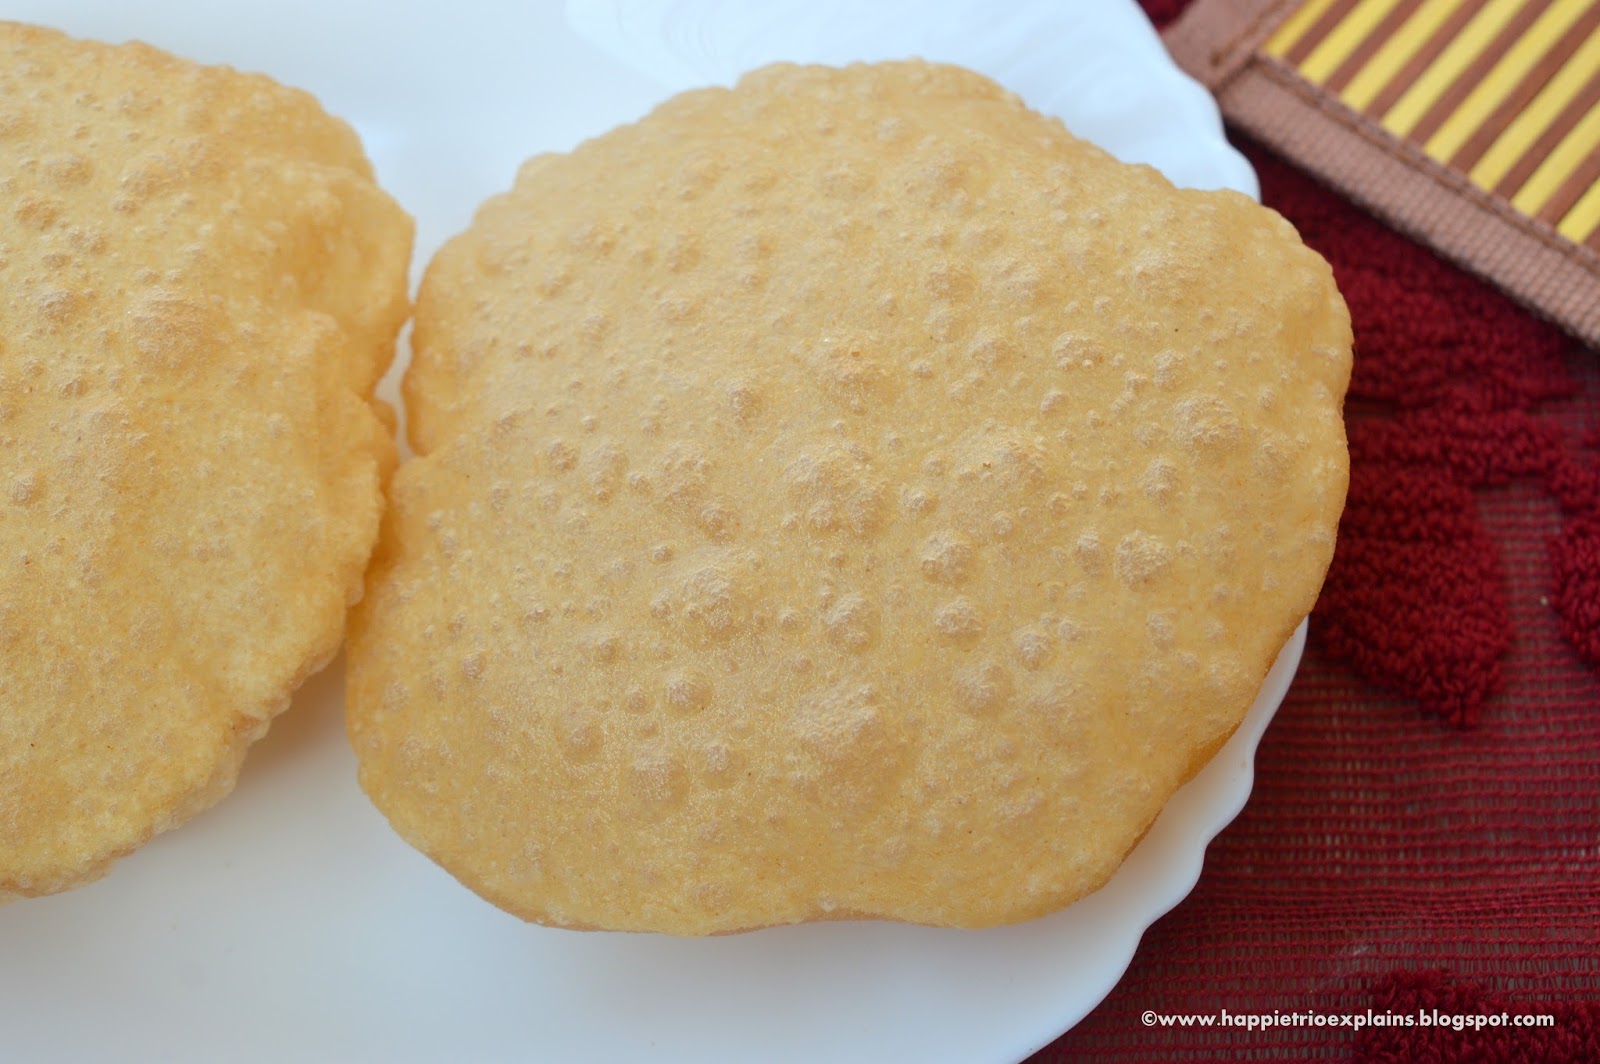
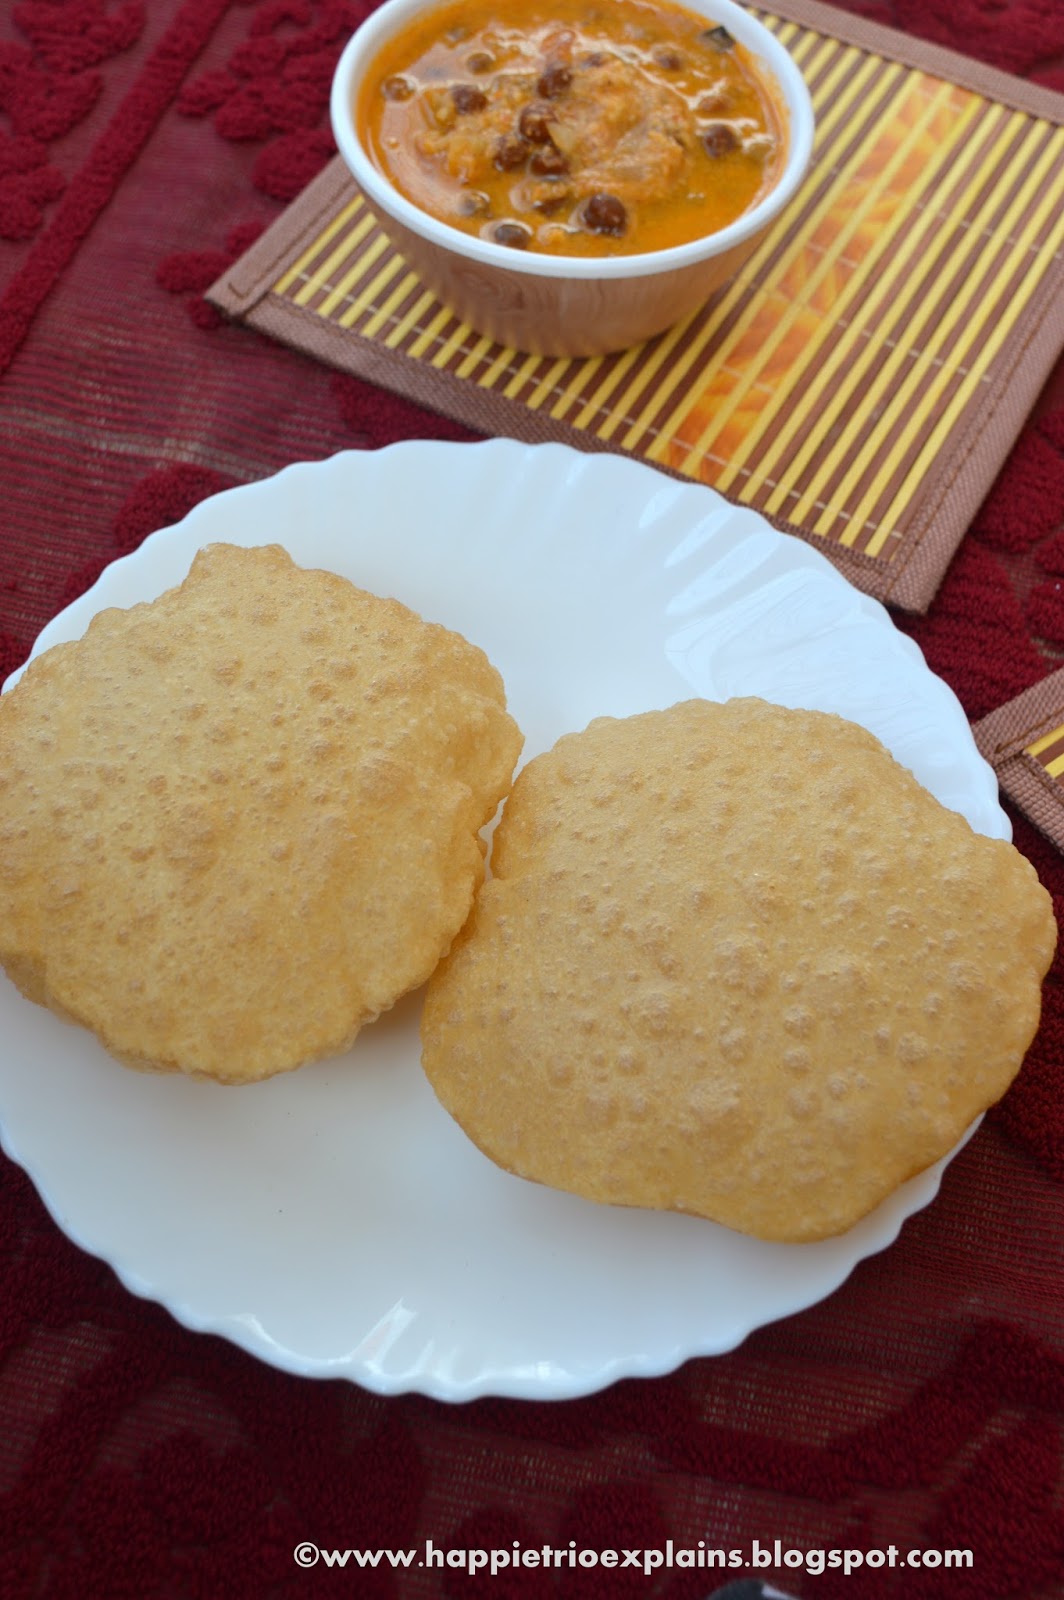
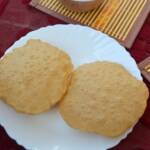
Poori is a fried Indian bread make with whole wheat flour. It is one of the staple Indian Breakfast. It is usually served with Potato Masala.
Follow us on Pinterest for delicious pins. Join our Facebook group for more Instant Pot and Air Fryer recipes.

Poori or Puri is a favorite breakfast in most Indian Households. In my house when I was a kid my mom use to prepare poori all Sunday’s I and my brother use to have it happily. My little one also likes it so much whenever I ask her what you need for dinner or breakfast the first thing she says is poori. I love to hear that from her she pronounces poori in a cute way. The challenge most of us face is how to get puffy and soft pooris.
In this post I have consolidated all the tips and hacks which I know to get soft and puffy pooris so don’t forget to read the Tips
During the initial days of my cooking, I too dint get puff poori’s then I learned the tips and hacks from a few of my friends and a few by browsing. Now that I get puffy poori’s always. Poori and Potato masala (I will share the recipe soon) is the perfect combination. how to make poori is explained with all tips and tricks below.
Ingredients
Wheat Flour - Use good quality wheat flour for poori. The are perfect.
Salt add a pinch just for taste.
Semolina - We can also make poori without semolina , but poori with semolina stays crisp for a longer time.
Oil - Use any oil as you prefer for deep frying. My personal preference is groundnut oil.
How to make Poori
1. In a mixing bowl add whole wheat flour.
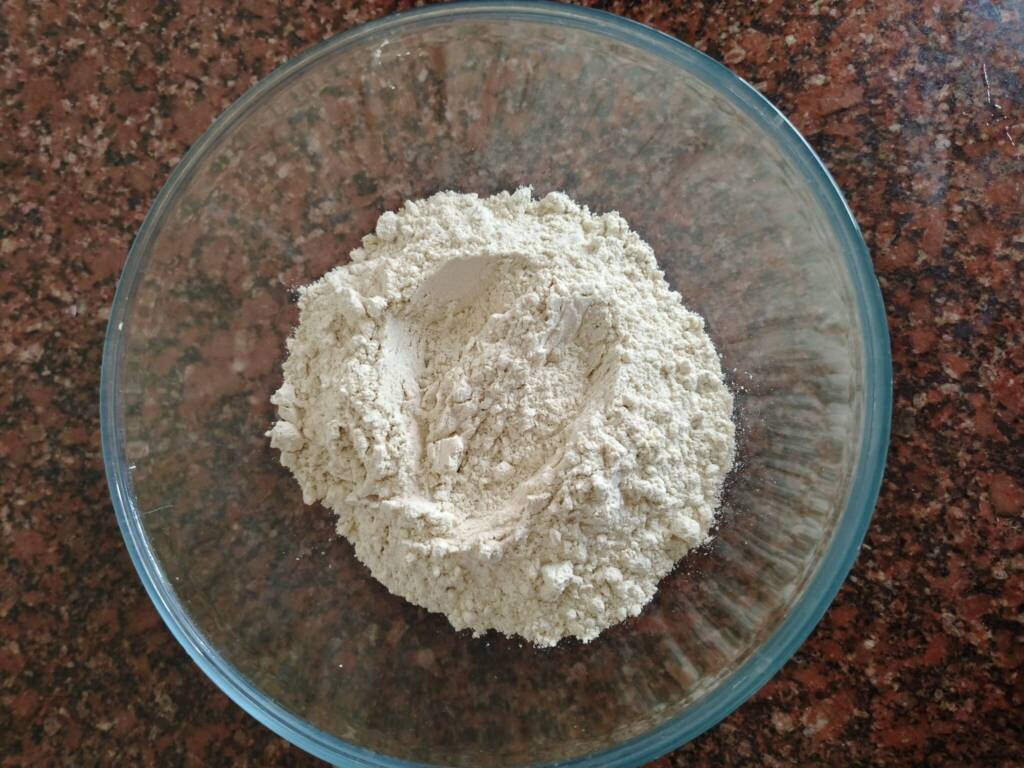
2. To this add salt and Sooji / Semolina.

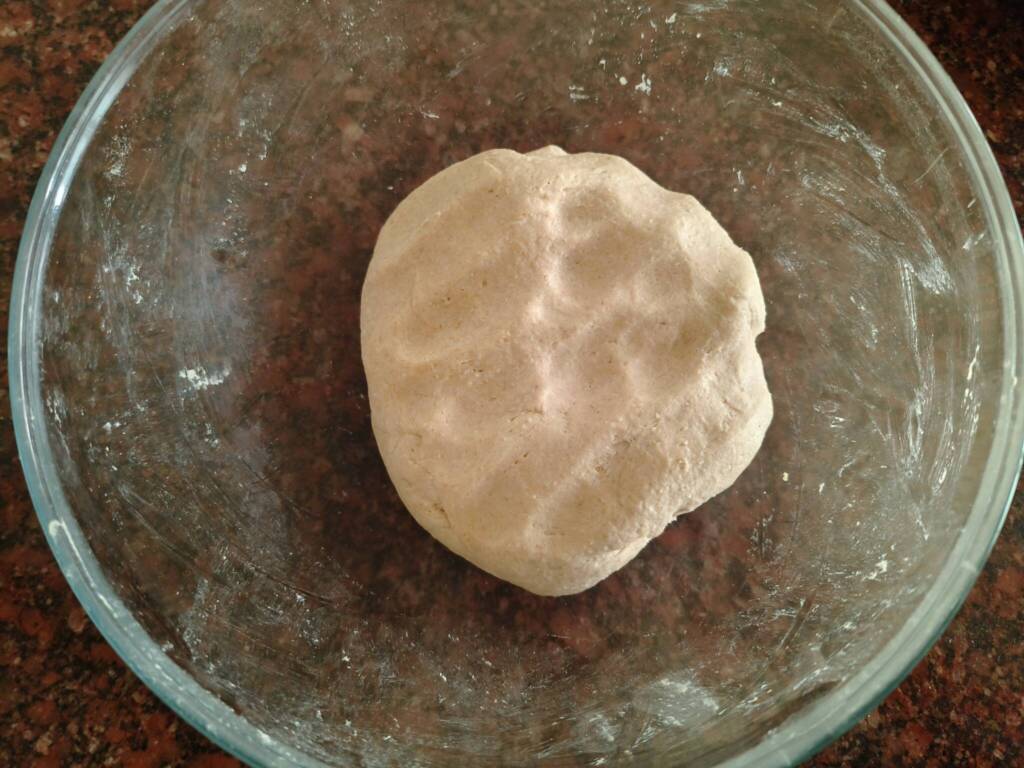
3. Add water little by little and knead the dough. For 2 cups of flour we might need ¾ to 1 cup of water.
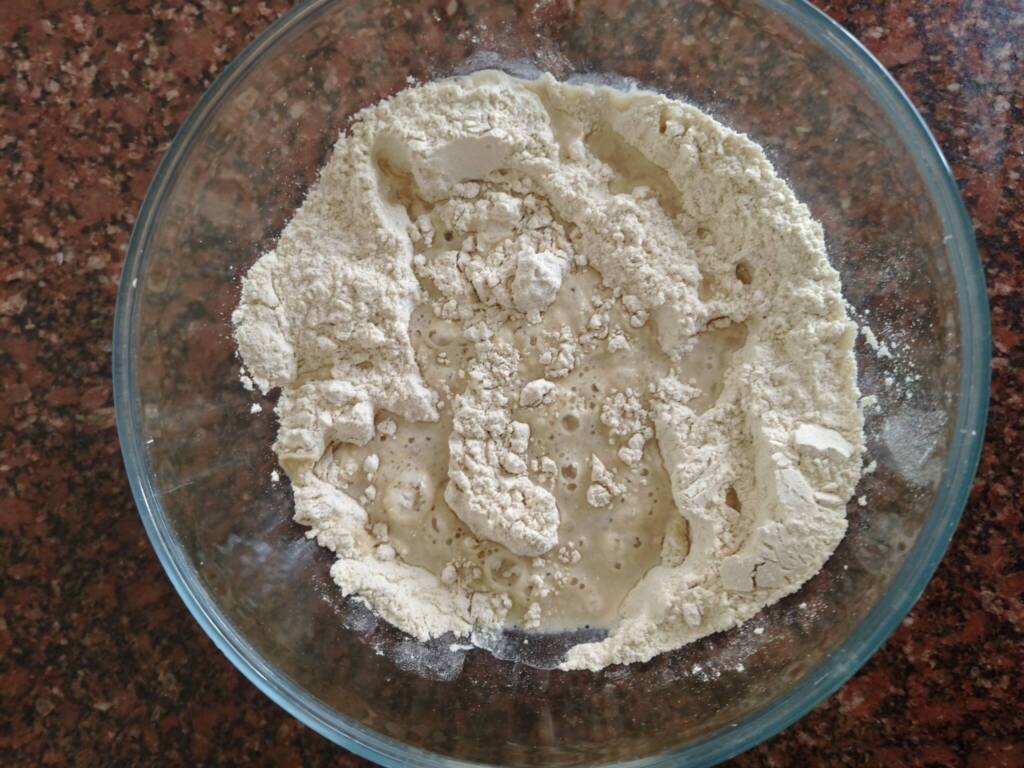
4. Knead to a soft dough.
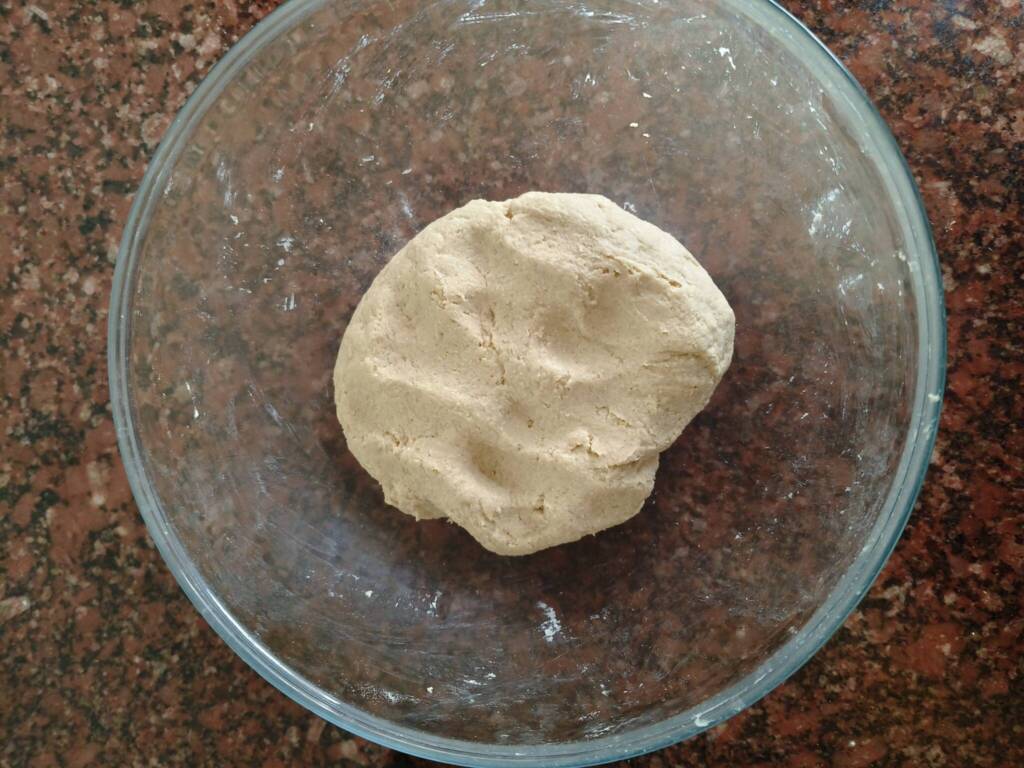
5. Cover with a kitchen towel and let it rest for 30 mins.
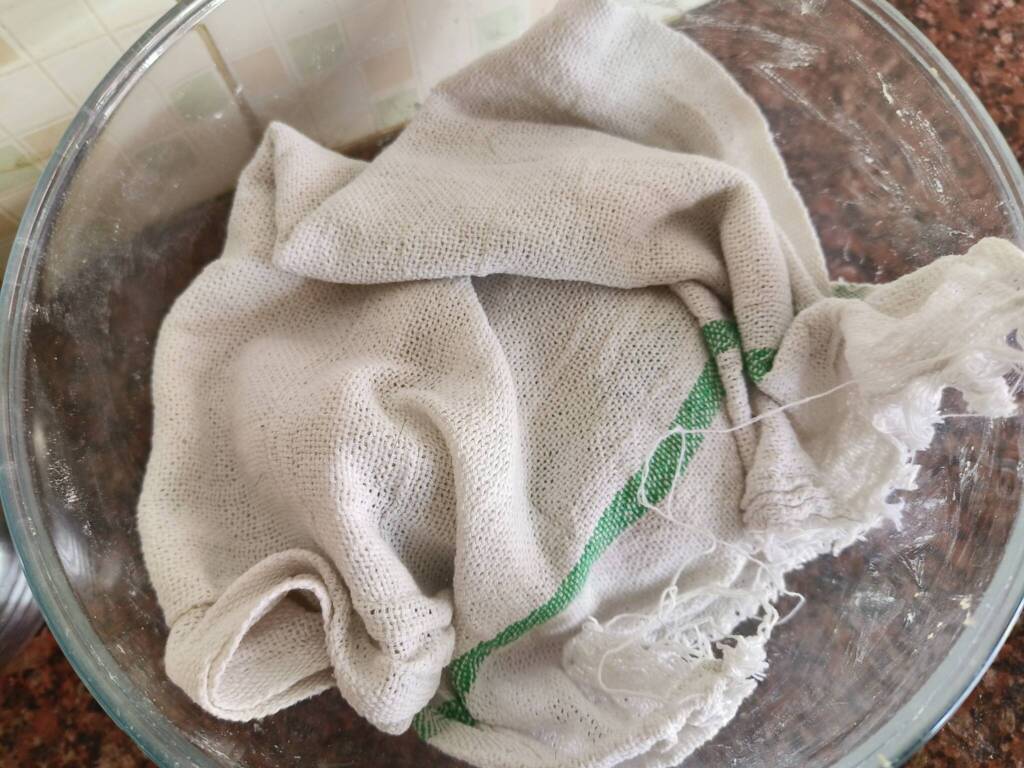
6. After 30 mins , add 1 teaspoon of oil and knead the dough once again for 2 mins.
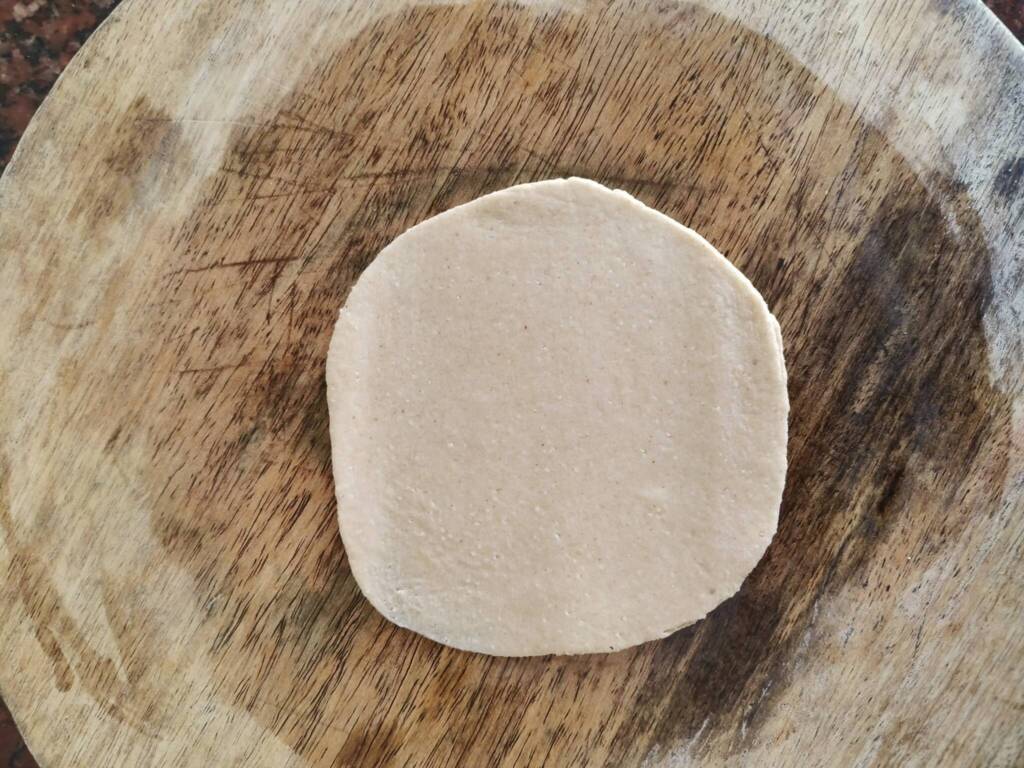
7. Divide the dough in equal sized balls. Now Roll the dough. Make sure you don’t roll it so thin. Thin pooris will not puff off. Make sure while frying to give enough space for the poori’s to puff while frying. I usually roll the poori by applying little oil. If using flour the oil might get the excess flour spoiling the oil and poori.
Heat a pan with oil for deep frying. Wait till the oil becomes hot and the drop the poori inside the hot oil. Always fry in medium high flame. Cooking in high flame will burn the poori.
Press the poori gently with the backside of the laddle so that they puff up. Flip and cook both sides so that the pooris are cooked. Remove from the oil and drain in paper towel to remove excess oil. Delicious Poor's are now ready to serve. Serve hot with potato masala.
Tips & Variations
- The key to get puffed poori’s is to roll the dough not too thin. If it is very thin after frying the pooris will be crispy but not puffy. So roll the dough bit thick in such a way the dough has enough space to puff up.
- Do not drop the poor’s in oil if the oil is not hot enough. In that case the poori’s will consume lot of oil and become soggy.
- To check if the oil is hot enough for frying drop a small piece of dough in the oil. If it comes up the oil is hot enough to fry the pooris. If it stays in the bottom the oil is not hot.
- Adjust the temperature of the stove while frying poori’s Use a medium high flame. If the poori’s change the colour and get deep brown then reduce the flame to medium .
- Knead the dough very soft to get soft and puff pooris
- I recommend using oil to roll the pooris instead of flour. So that the excess flour does not get into the oil
- If you need a proper circular poori’s use a cookie cutter or a Bottle lid to cut the desired shapes
- The addition of rava/semolina gives a nice crispy texture to the poori's.
Similar Recipes


★ Did you enjoy this recipe? If you happen to try it out, I would love to hear from you! I’d appreciate it if you could rate and leave a review below in the comments. Your reviews help others know the recipe better too. Thanks for your time. You can also follow me on Facebook, Pinterest, Instagram, Youtube and Twitter for more updates
📖 Recipe
How to make soft and Puffy Poori
Standard 1 cup measures 240 ml
Ingredients
- 3 cup Whole Wheat Flour
- 2 tablespoon Sooji / Semolina
- Salt as needed
- Water as needed
- Oil as needed for deep frying
Instructions
- In a mixing bowl add whole wheat flour.
- To this add salt and Sooji / Semolina.
- Add water little by little and knead the dough. For 2 cups of water we might need ¾ to 1 cup of water.
- Knead to a soft dough.
- Cover with a kitchen towel and let it rest for 30 mins.
- After 30 mins , add 1 teaspoon of oil and knead the dough once again for 2 mins.
- Divide the dough in equal sized balls. Now Roll the dough. Make sure you don’t roll it so thin. Thin pooris will not puff off. Make sure while frying to give enough space for the poori’s to puff while frying. I usually roll the poori by applying little oil. If using flour the oil might get the excess flour spoiling the oil and poori.
- Heat a pan with oil for deep frying. Wait till the oil becomes hot and the drop the poori inside the hot oil. Always fry in medium high flame. Cooking in high flame will burn the poori.
- Press the poori gently with the backside of the laddle so that they puff up. Flip and cook both sides so that the pooris are cooked. Remove from the oil and drain in paper towel to remove excess oil. Delicious Poor's are now ready to serve.
Video
Notes
- The key to get puffed poori’s is to roll the dough not too thin. If it is very thin after frying the pooris will be crispy but not puffy. So roll the dough bit thick in such a way the dough has enough space to puff up.
- Do not drop the poor’s in oil if the oil is not hot enough in that case the poori’s will consume lot of oil.it may also become soggy.
- To check if the oil is hot enough for frying drop a small piece of dough in the oil .If it comes up the oil is hot enough to fry the pooris. If it stays in the bottom the oil is not hot.
- Adjust the temperature of the stove while frying poori’s Use a high flame, if the poori’s change the colour then reduce the flame to medium .
- Always use melted butter or room temperature ghee to knead the dough.
- Knead the dough very soft to get soft and puff pooris
- Use less flour to dust while rolling the pooris else the colour of the poori may change.
- In turn we can also use oil to roll the pooris instead of flour.
- If you need a proper circular poori’s use a cookie cutter or a Bottle lid to cut the desired shapes
- The addition of rava gives a nice crispy texture to the poori's.
Nutrition
Disclaimer: I am not a nutritionist , the nutrition value provided here is an estimate. It will vary based on the quantity and brands of the products used.


Leave a Reply