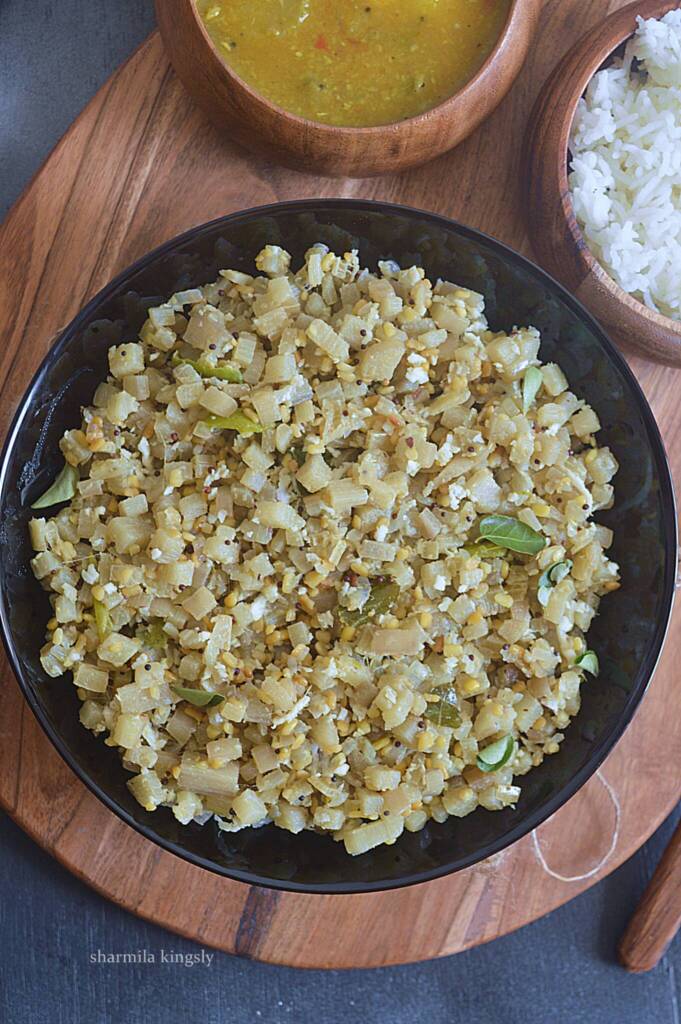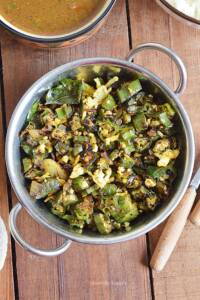
Ladys finger poriyal is a yummy south Indian style stir fry prepared with tender bhindi. It goes well with rice and curry.

Lady’s Finger/Bhindi/Okra stir fry is a common lunch side dish in India. It can be prepared very easily. The only challenge we face while preparing this is the stickiness from the bhindi. The important thing to note while preparing this bhindi is to get the tender ones.
Always clean the bhindi well and pat it dry and wipe it completely with a kitchen towel before 1 hour of cooking. this way the stickiness can be reduced to some extent. A teaspoon of curd could be added while cooking to reduce the stickiness
How to prepare lady's finger poriyal
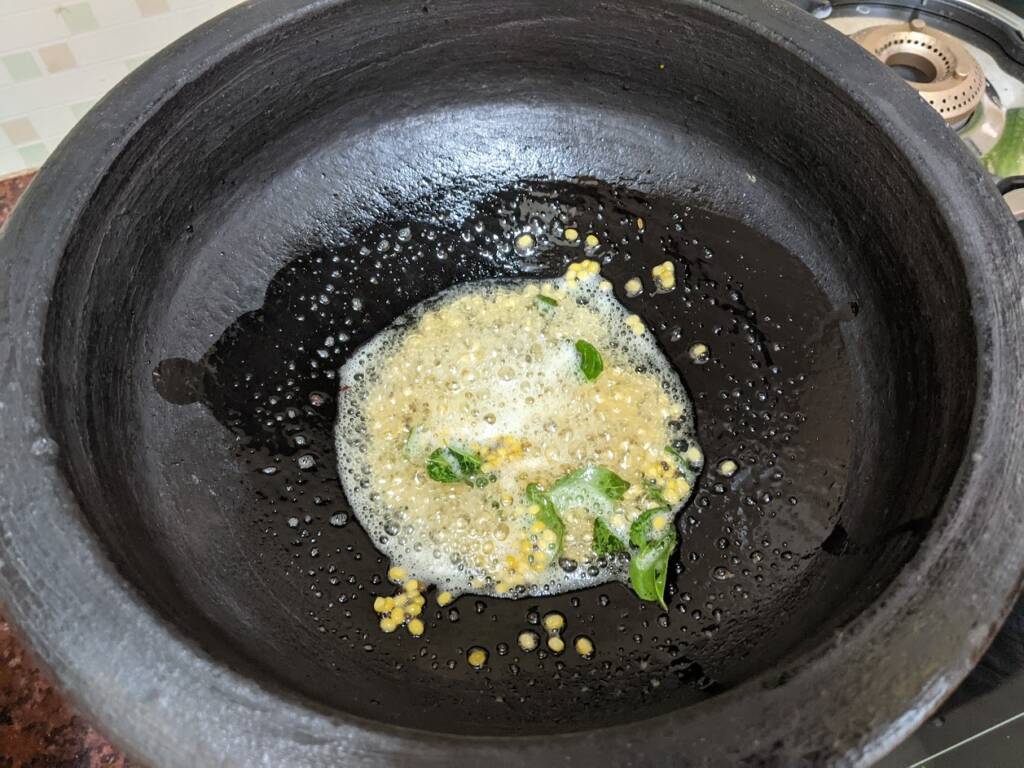
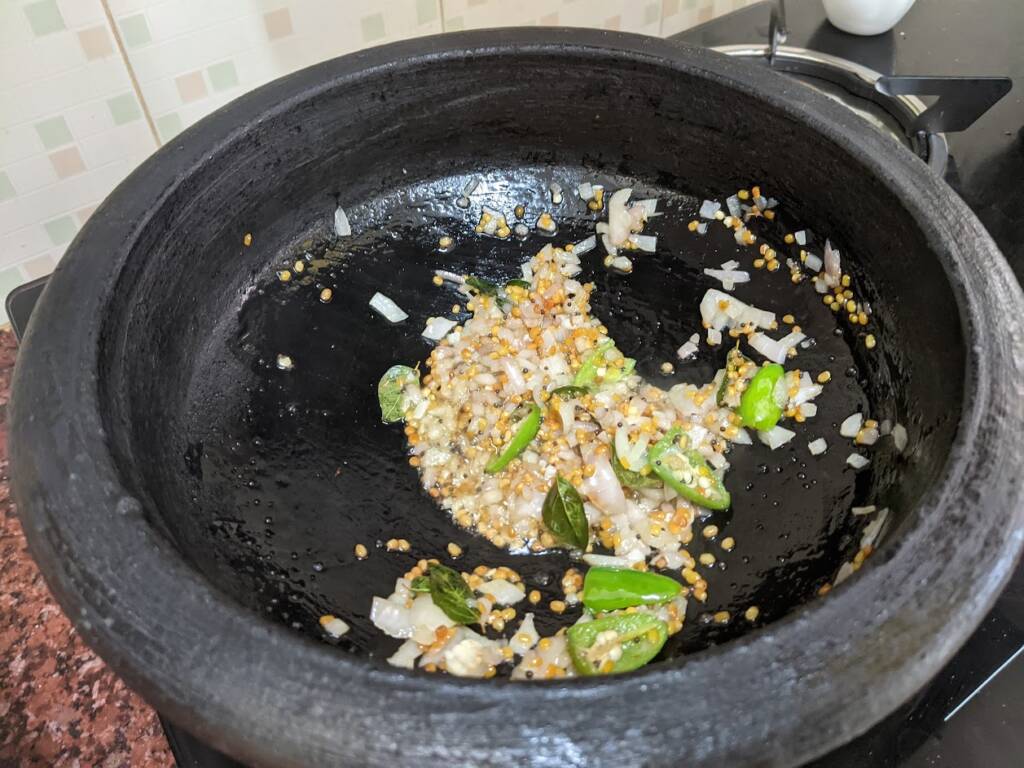
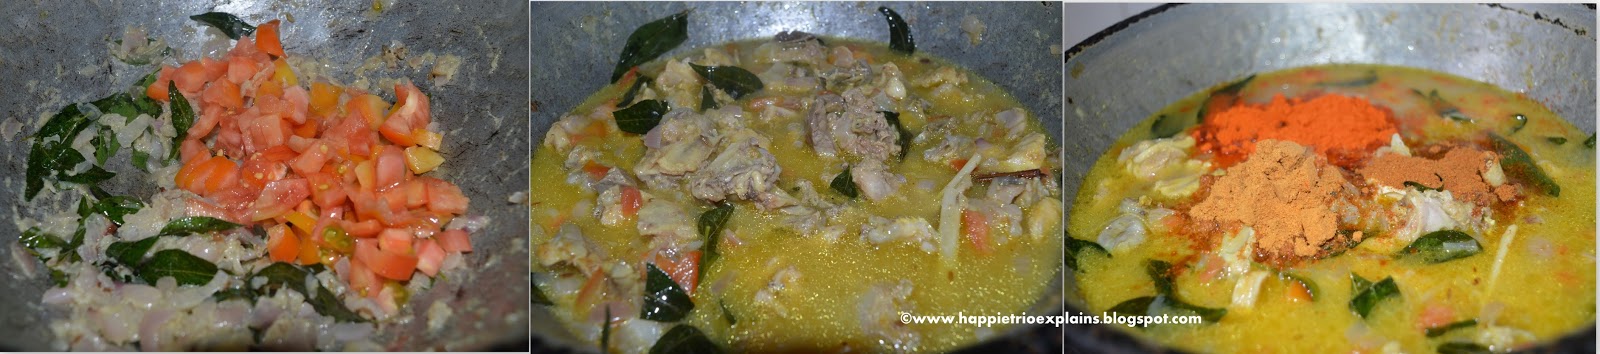
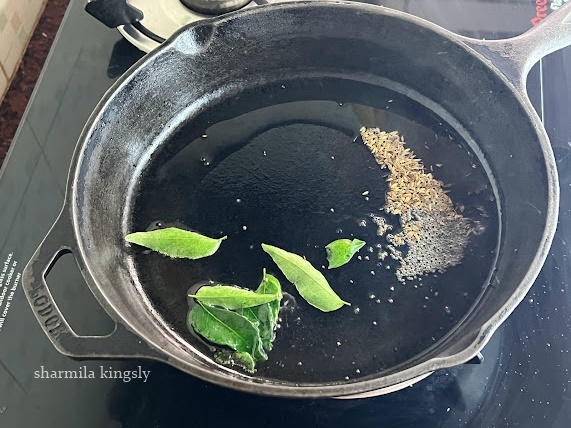
1) In a kadai add in oil, Wait till the oil becomes hot and then add the ingredients under “To Temper” table.
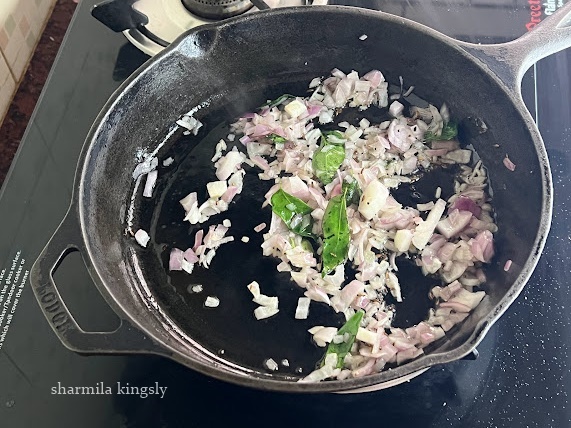
Once they splutter add in the finely chopped onions. Cook till the onions are soft.
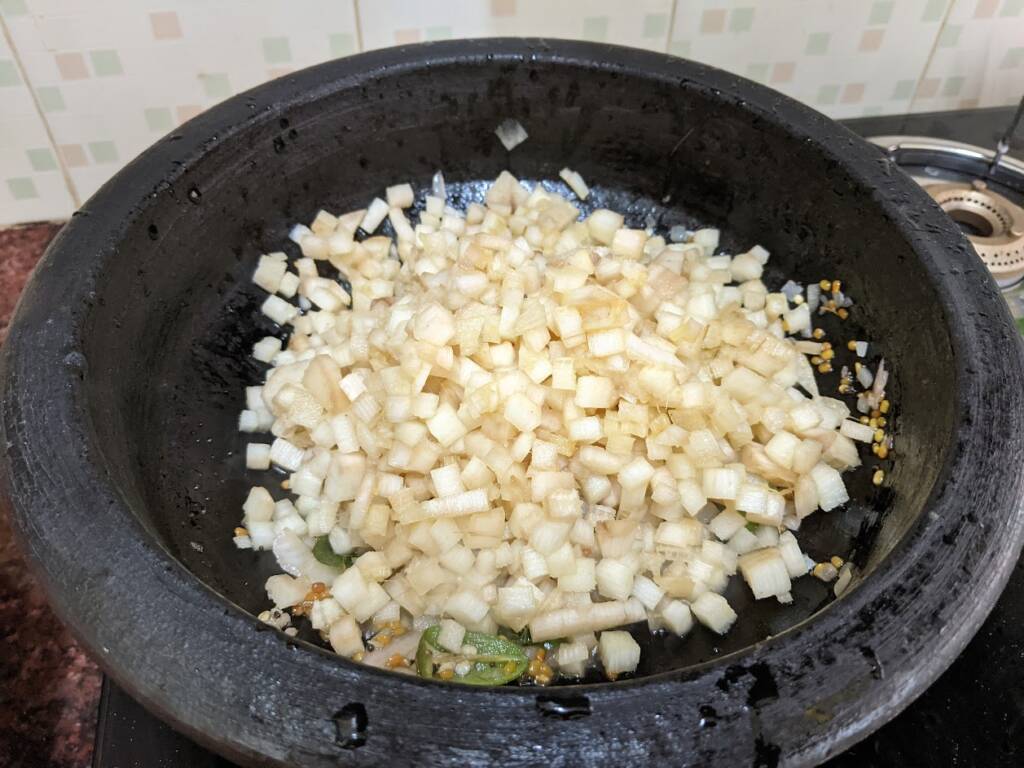
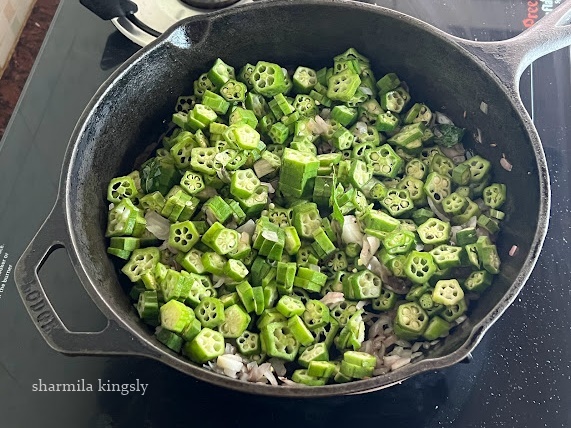
Next add in the chopped lady’s finger/Vendakai.
Sauté the mixture well until the stickiness of the lady’s finger is gone.
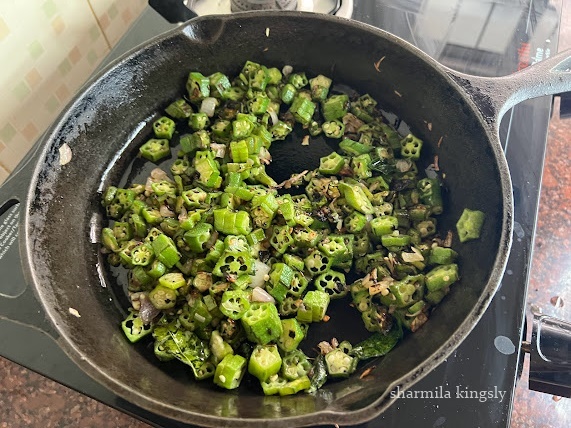
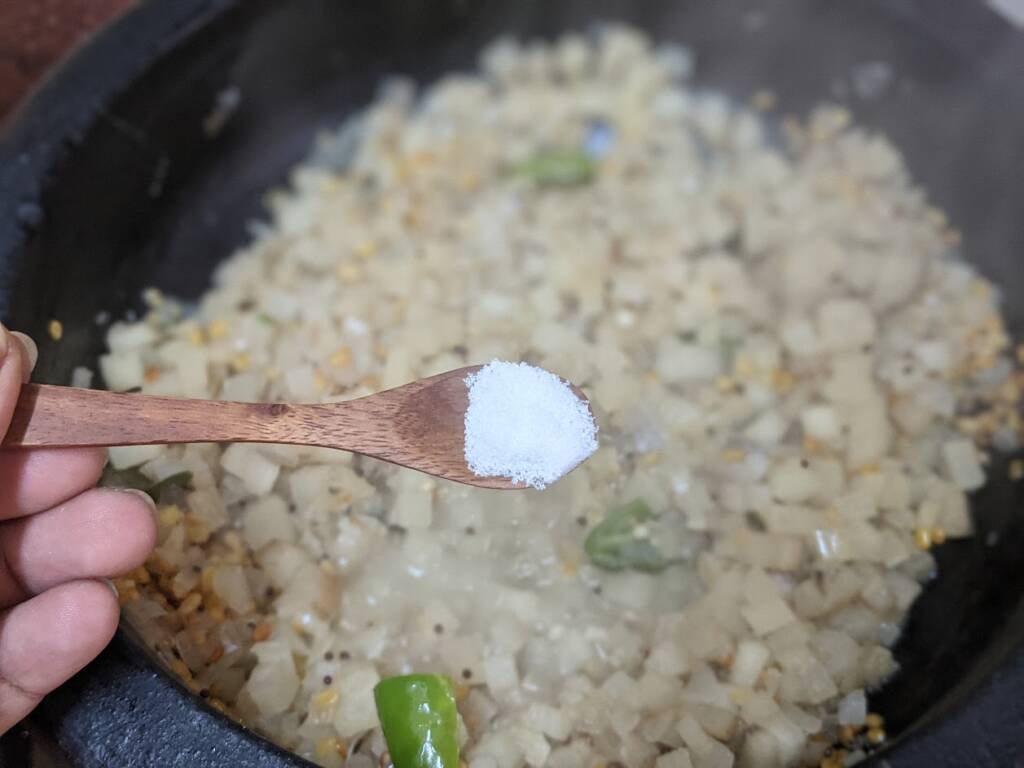
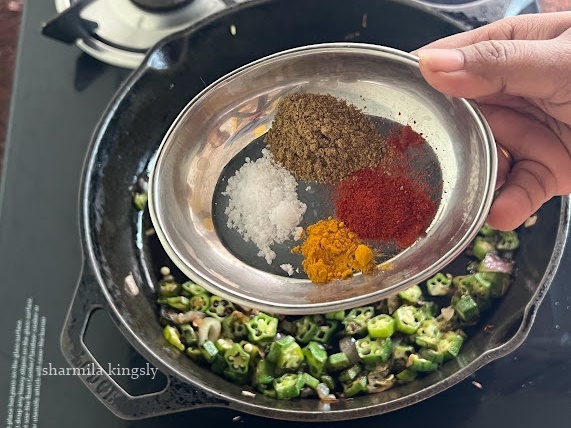
Cook in a medium flame, and once the stickiness is gone add in turmeric powder, Chilli powder, Jeera Powder and salt.
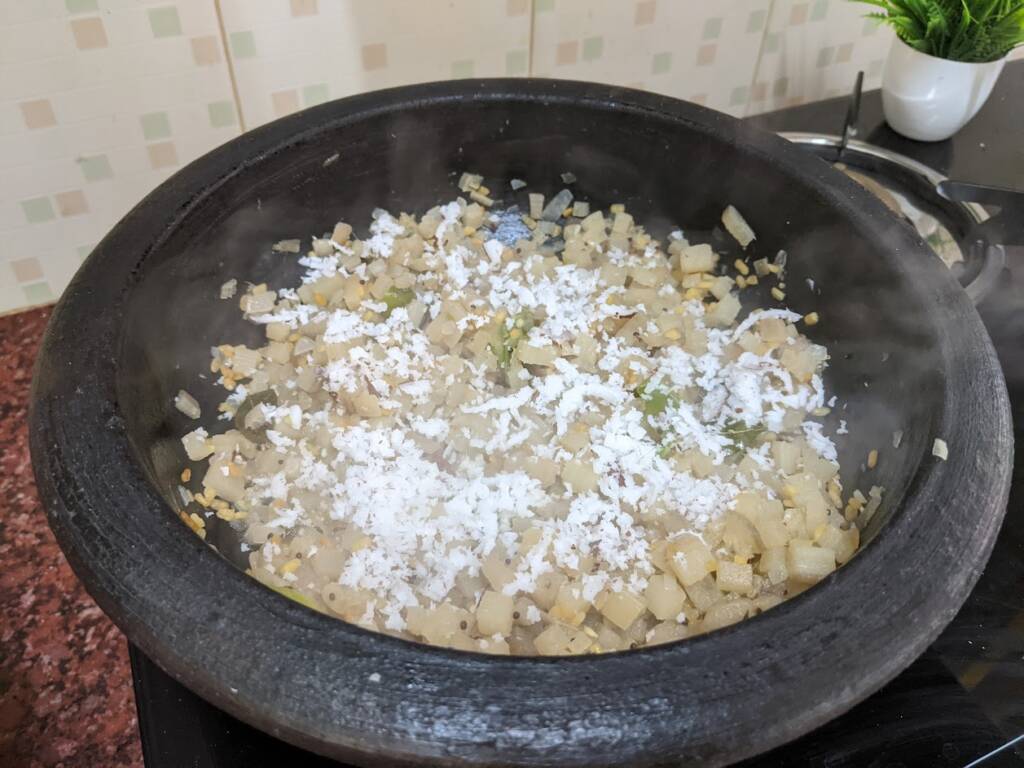
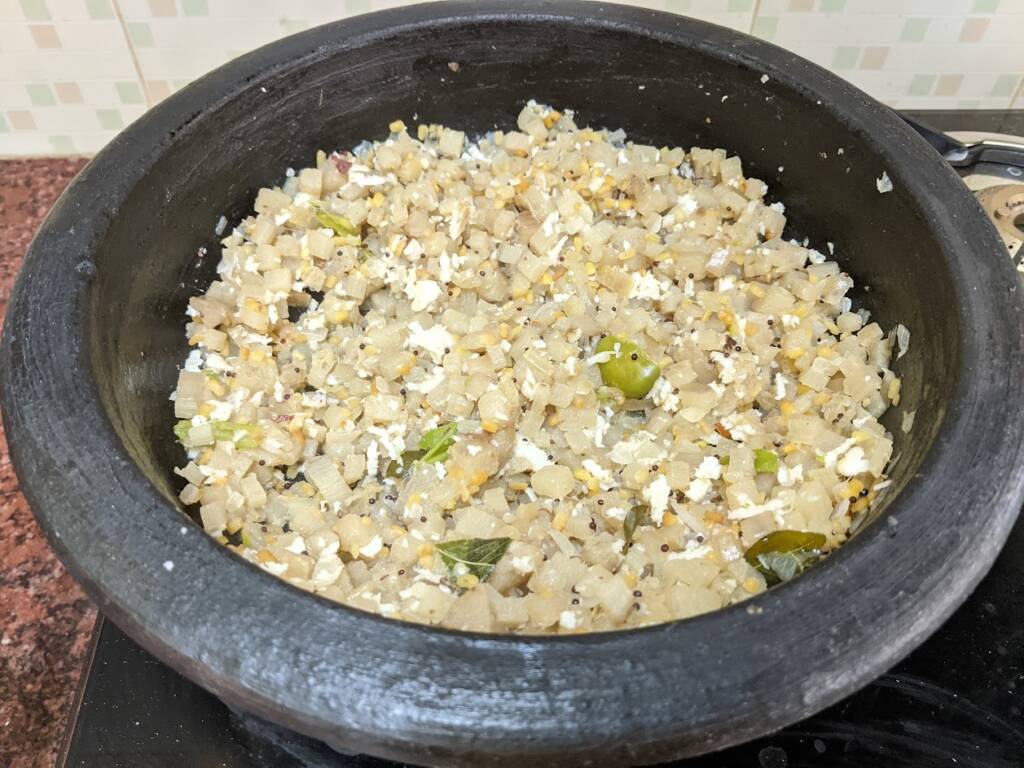
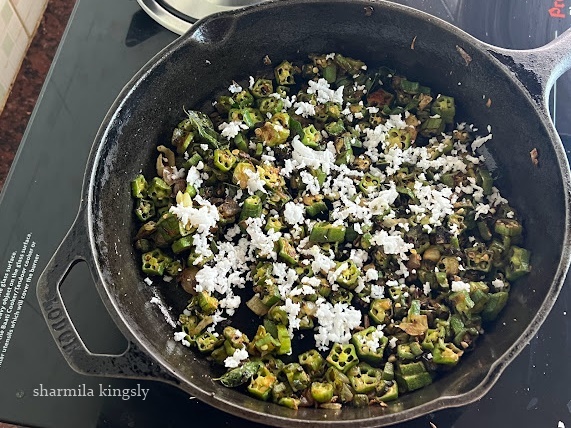
Once the Lady’s finger reduces and volume and it becomes slightly dry add in freshly grated coconut give a quick stir. switch off the flame.
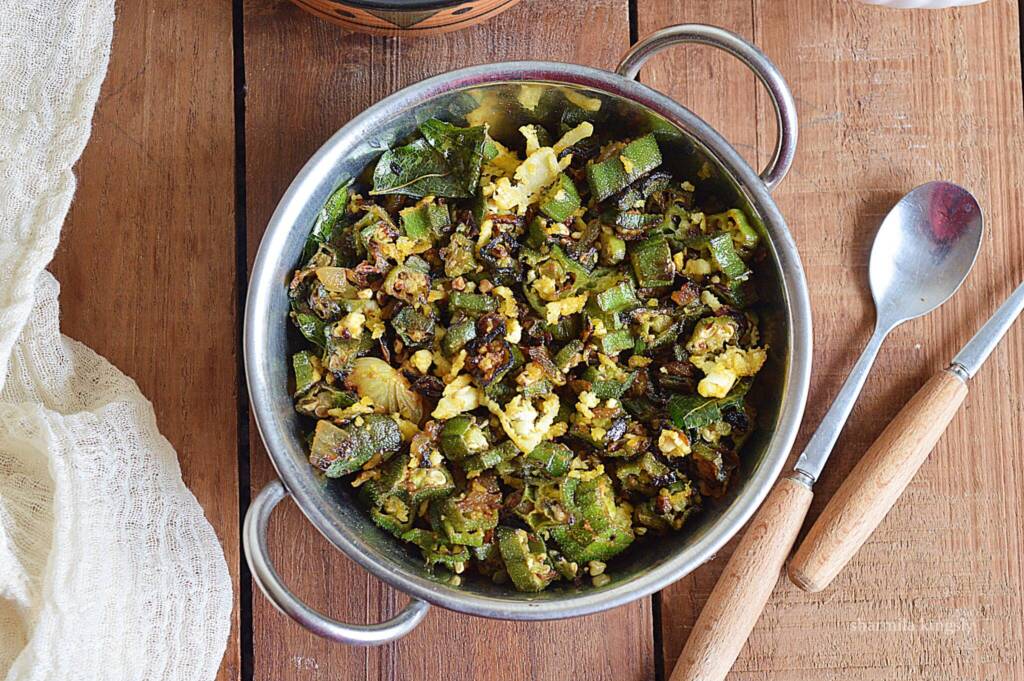
Ladys finger poriyal is now ready.
Tips
- Wash the lady’s finger well and dry them using a paper towel before chopping them, this helps to minimize the stickiness.
- Instead of adding all the spice powders you can add just sambar powder and salt.
- Always check the bhindi by breaking the tail part, if it breaks easily the bhindi is tender. Use Tender bhindis to cook always.
★ Did you enjoy this recipe? If you happen to try it out, I would love to hear from you! I’d appreciate it if you could rate and leave a review below in the comments. Your reviews help others know the recipe better too. Thanks for your time .You can also follow me on Facebook, Pinterest, Instagram, Youtube and Twitter for more updates
📖 Recipe
Ladys finger poriyal
Standard 1 cup measures 240 ml
Ingredients
- ½ kg Lady’s Finger / Vendakai/Bhindi/Okra
- 1 Onion
- 1 teaspoon Chilli powder
- ¼ teaspoon Turmeric Powder
- ¼ cup Coconut
- ½ teaspoon Jeera /Cumin Powder
- 1 teaspoon Mustard seeds
- 1 teaspoon Jeera/Cumin seeds
- 1 sprig Curry Leaves
- 2 teaspoon Oil
Instructions
- In a kadai add in oil, Wait till the oil becomes hot and then add the ingredients under “To Temper” table. Once they splutter add in the finely chopped onions. Cook till the onions are soft and then add in the chopped lady’s finger/Vendakai.
- Sauté the mixture well until the stickiness of the lady’s finger is gone. Cook in a medium flame, and once the stickiness is gone add in turmeric powder, Chilli powder, Jeera Powder and salt. Once the Lady’s finger reduces and volume and it becomes slightly dry add in freshly grated coconut give a quick stir. switch off the flame.
Video
Nutrition
Disclaimer: I am not a nutritionist , the nutrition value provided here is an estimate. It will vary based on the quantity and brands of the products used.