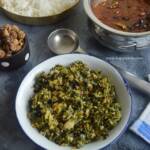
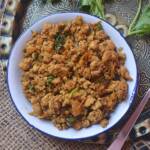
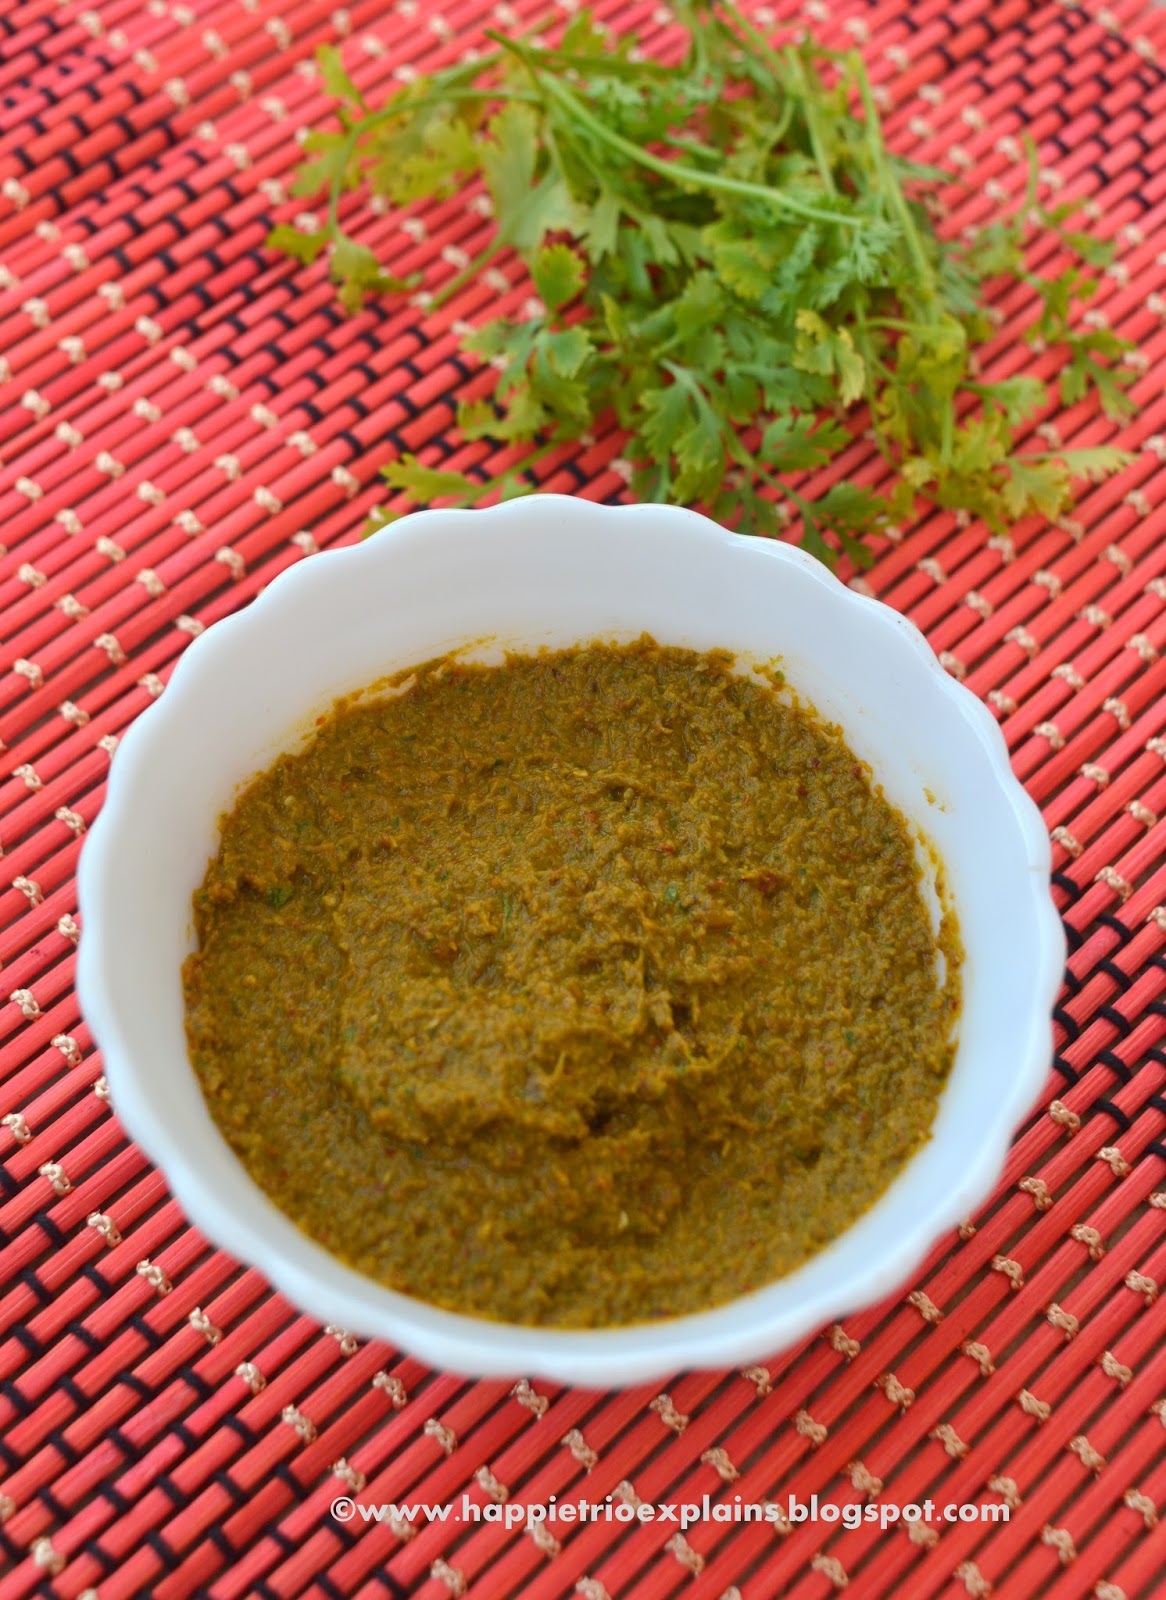
kothamalli thogayal or Coriander Leaves thogayal is a Cilantro flavored thick chutney that is usually served with idli, dosa.
Coriander Leaves/Cilantro/Kothamalli is an important herb in Indian Cooking. we either use it to garnish are used as a flavoring agent. This herb can also be used as a main ingredient and used in preparing various recipes. Coriander Leaves has so many health benefits it lowers the cholesterol level, good for indigestion, and various other skin disorder. So prepare this kothamalli/Coriander Thogayal once in a while and feed your family healthy food.
Coriander Leaves thogayal is an excellent Lunch box recipe. We can simply mix it with White Rice or Curd Rice and Have it along with any chips.
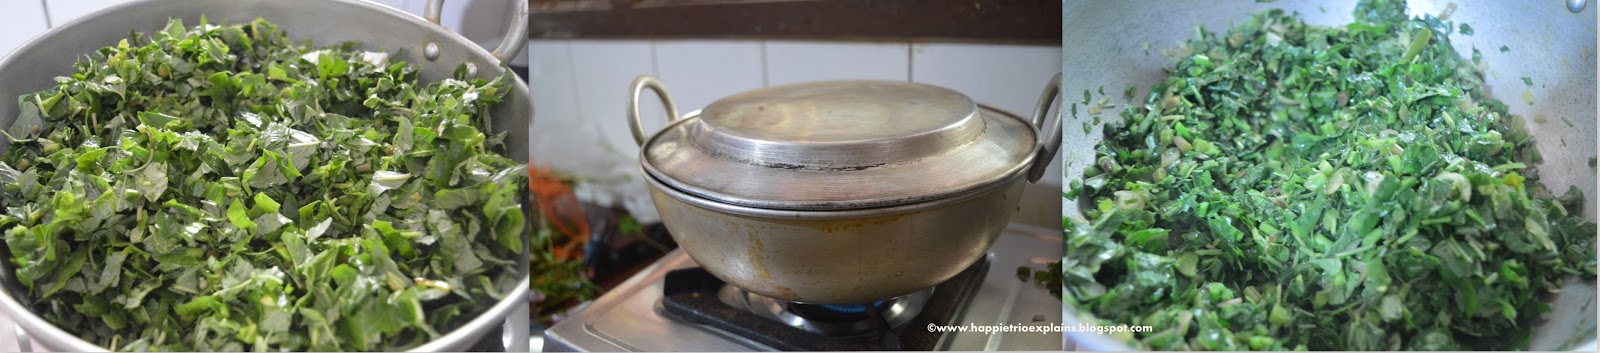
How to prepare kothamalli thogayal


Tips
- This thogayal stays good only for 2 days.
- For a longer shelf life you can add a tadka to the thogayal.
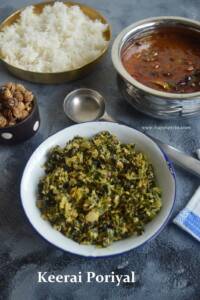
- Tastes good when served with curd Rice or Steamed Rice.
- If the tamarind is hard soak it in hot water for about 15 mins, you can use this water while grinding the thogayal.
- You can also add a small piece of jaggery.
★ Did you enjoy this recipe? If you happen to try it out, I would love to hear from you! I’d appreciate it if you could rate and leave a review below in the comments. Your reviews help others know the recipe better too. Thanks for your time. You can also follow me on Facebook, Pinterest, Instagram, Youtube and Twitter for more updates
📖 Recipe
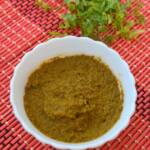
Kothamalli Thogayal
Standard 1 cup measures 240 ml
Ingredients
- 1 cup Coriander Leaves
- 2 tablespoon Coconut
- 5 or 6 Dry Red chilli
- 1 tablespoon Oil
- 1 tablespoon Urad Dal
- Salt as needed
- Jagerry a small piece
- Tamarind a small piece a small piece
Instructions
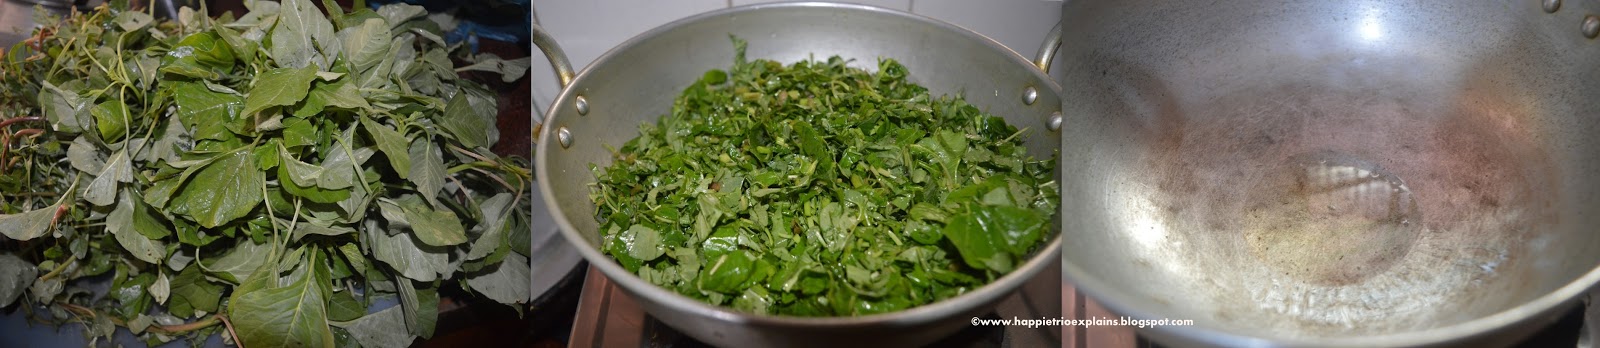
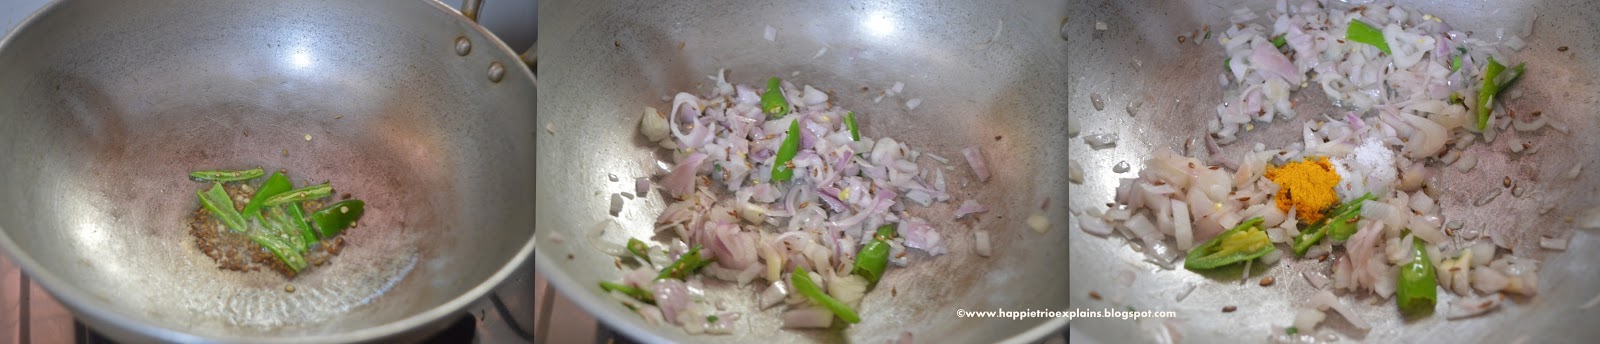
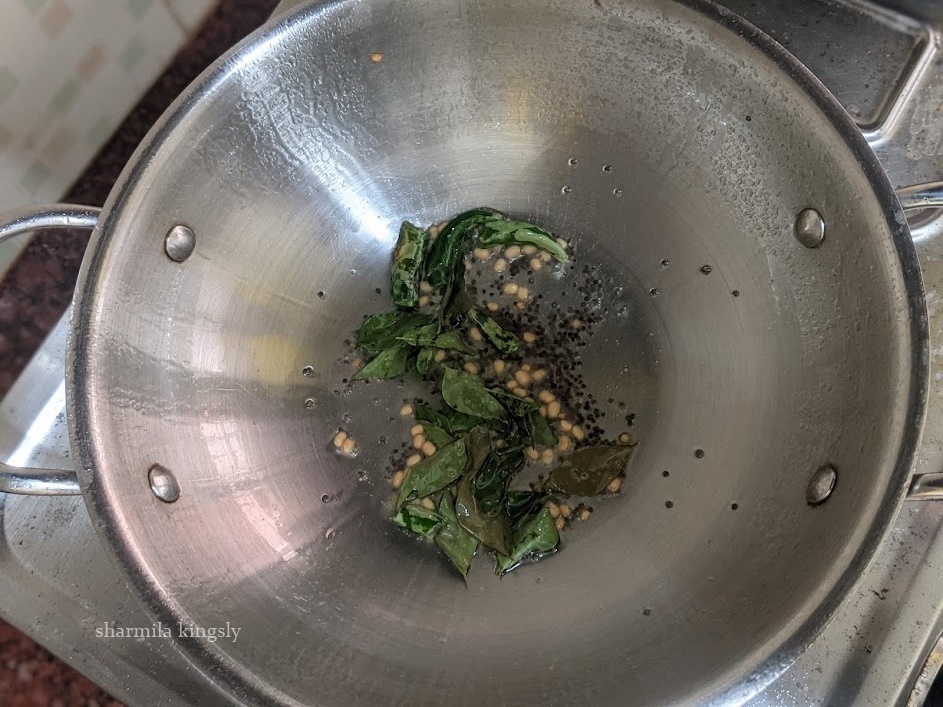
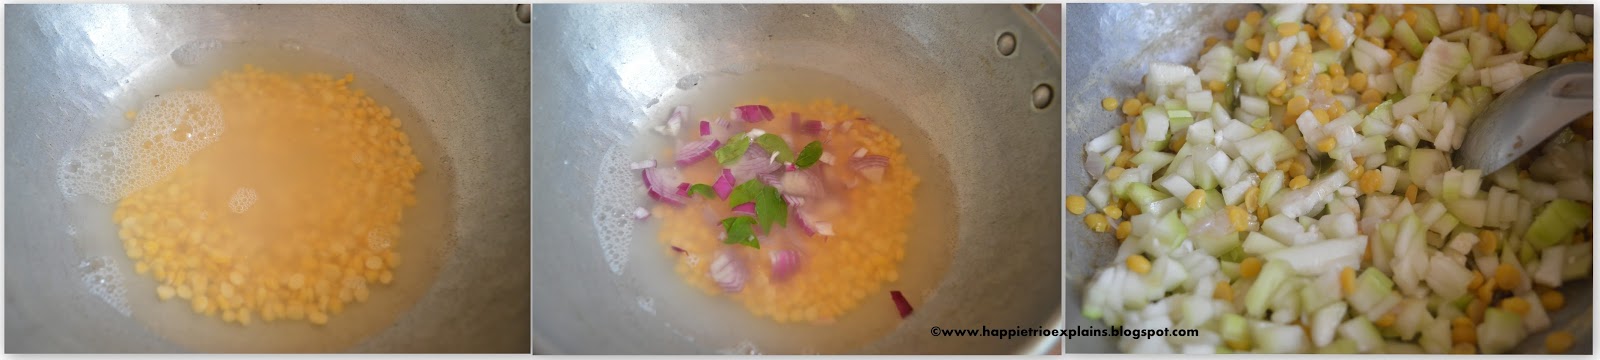
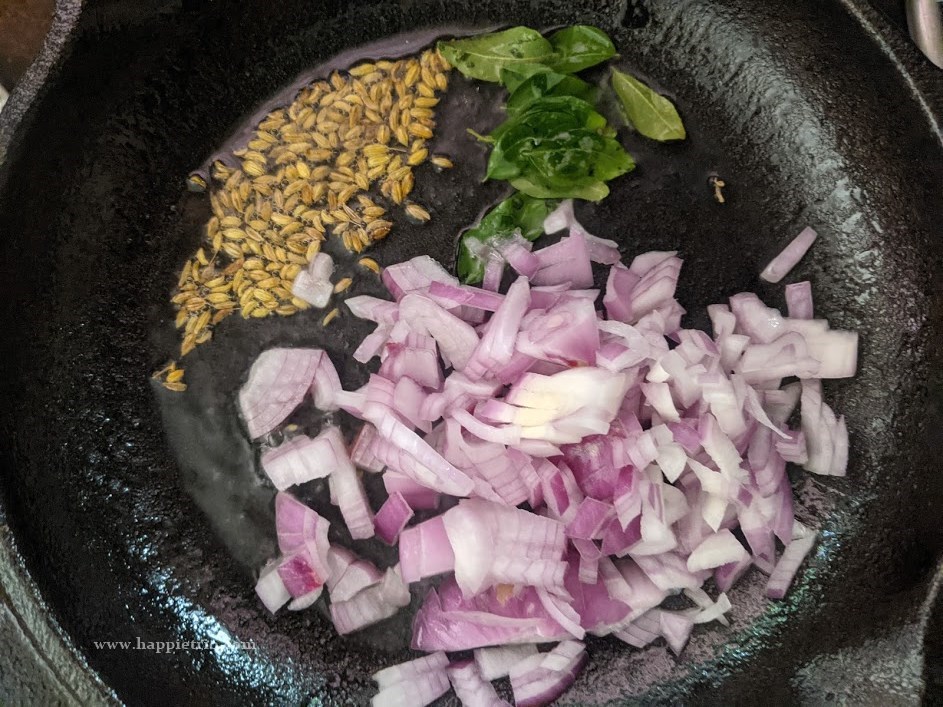
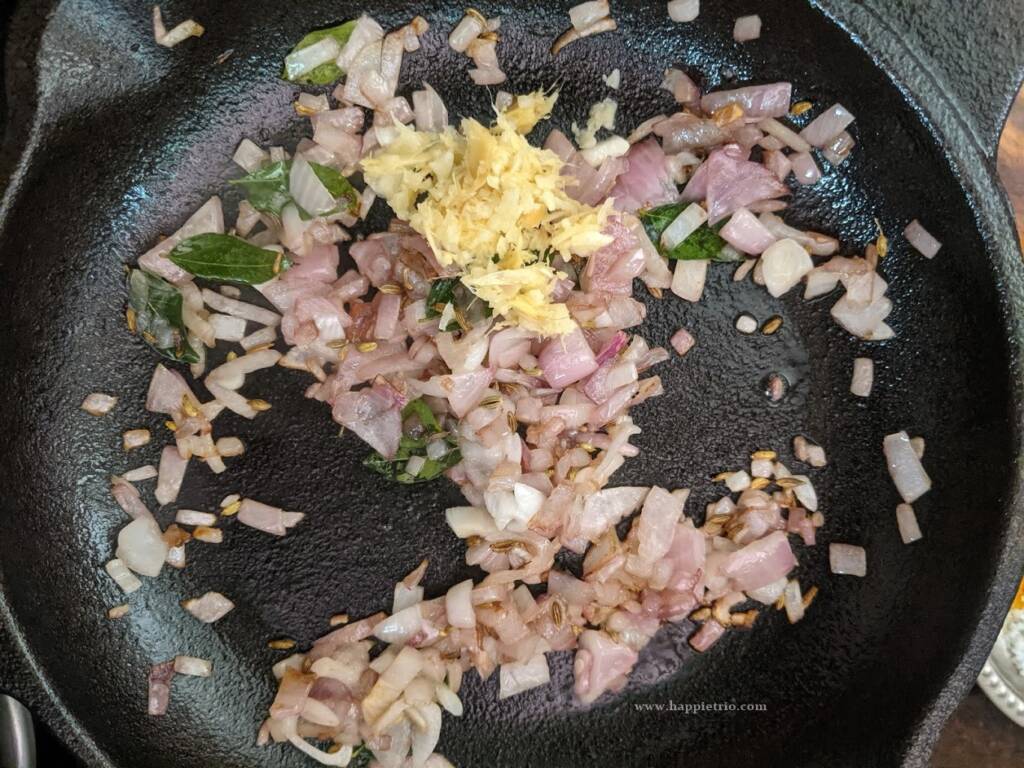
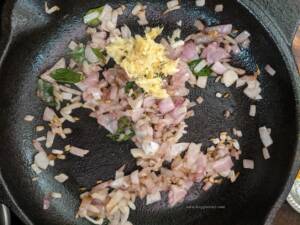
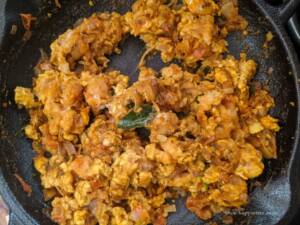
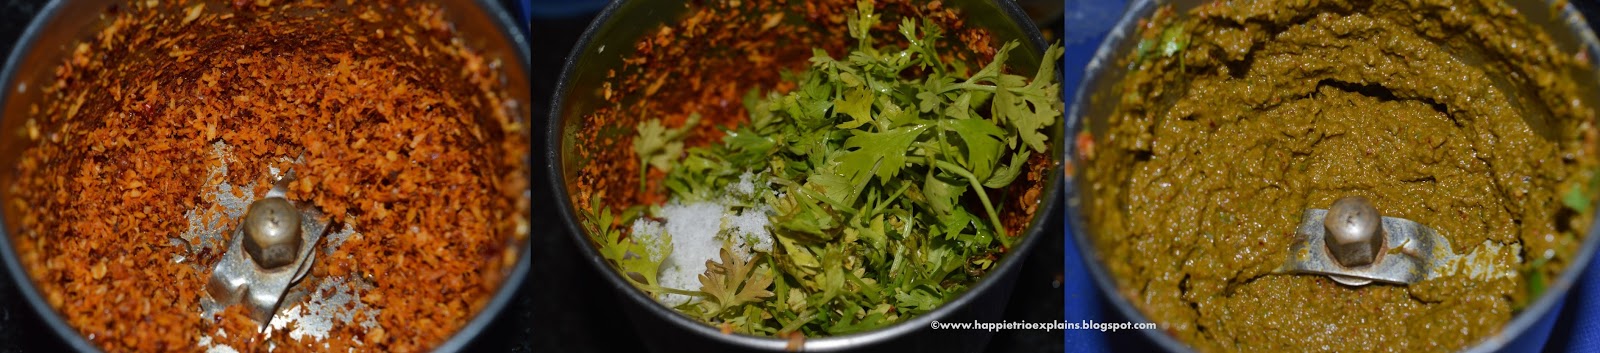
- In a Kadai add in the oil, once the oil heats up add in dry red chilli and Urad dal and fry till they become golden brown.
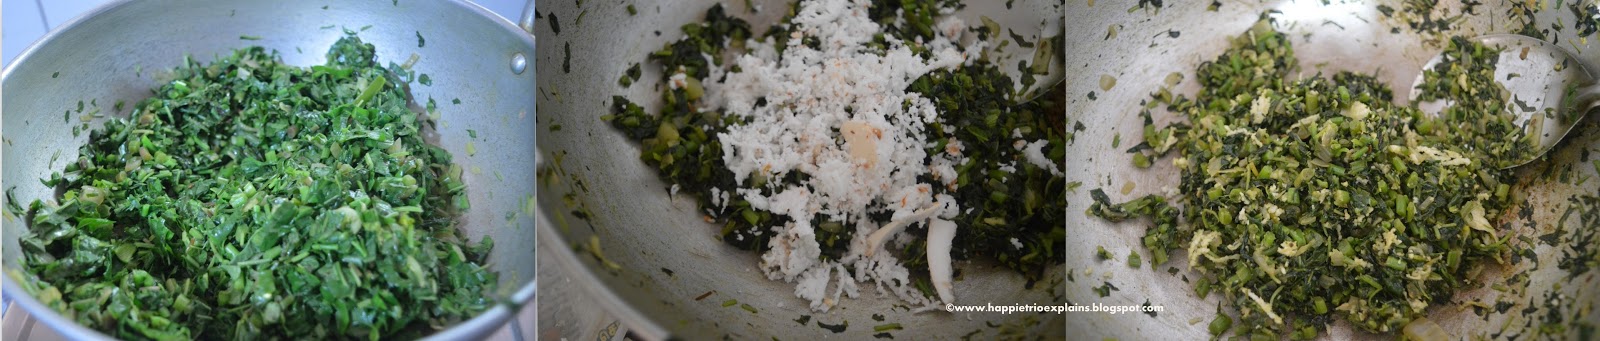
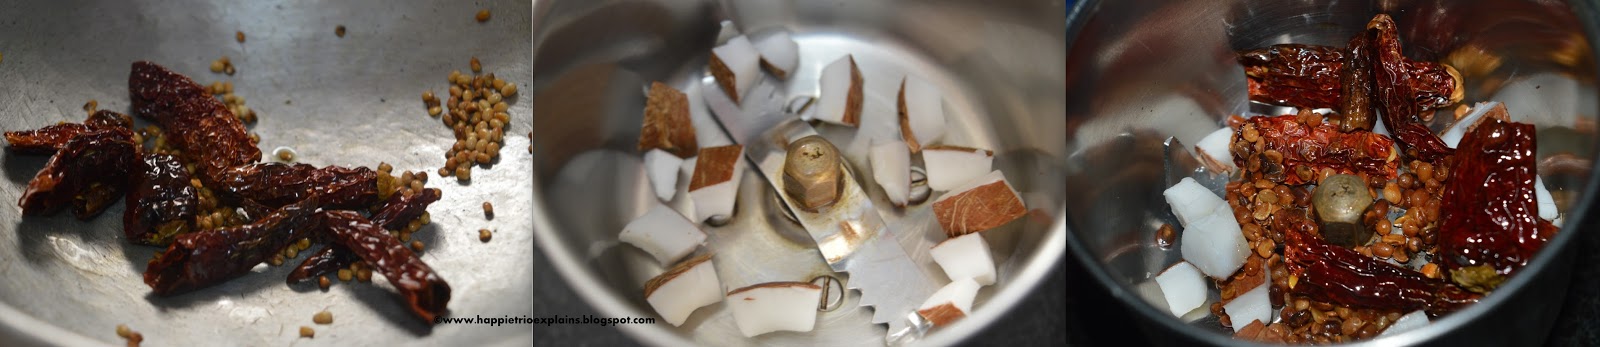
- Then switch off the flame and allow it to cool down. In a blender add in coconut and the roasted urad dal and red chill, Jagerry and Tamarind.
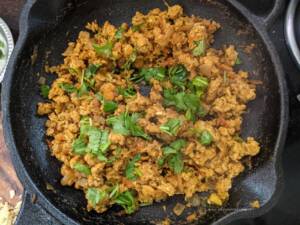
- Blend everything to a coarse paste and then add in the salt and Coriander leaves .Blend everything to smooth paste by adding a very little water. Tasty Coriander Leaves thogayal is now ready.
Notes
- This thogayal stays good only for 2 days.
- For a longer shelf life you can add a tadka to the thogayal.
- Tastes good when served with curd Rice or Steamed Rice.
- If the tamarind is hard soak it in hot water for about 15 mins, you can use this water while grinding the thogayal.
- You can also add a small piece of jaggery.
Nutrition
Disclaimer: I am not a nutritionist , the nutrition value provided here is an estimate. It will vary based on the quantity and brands of the products used.