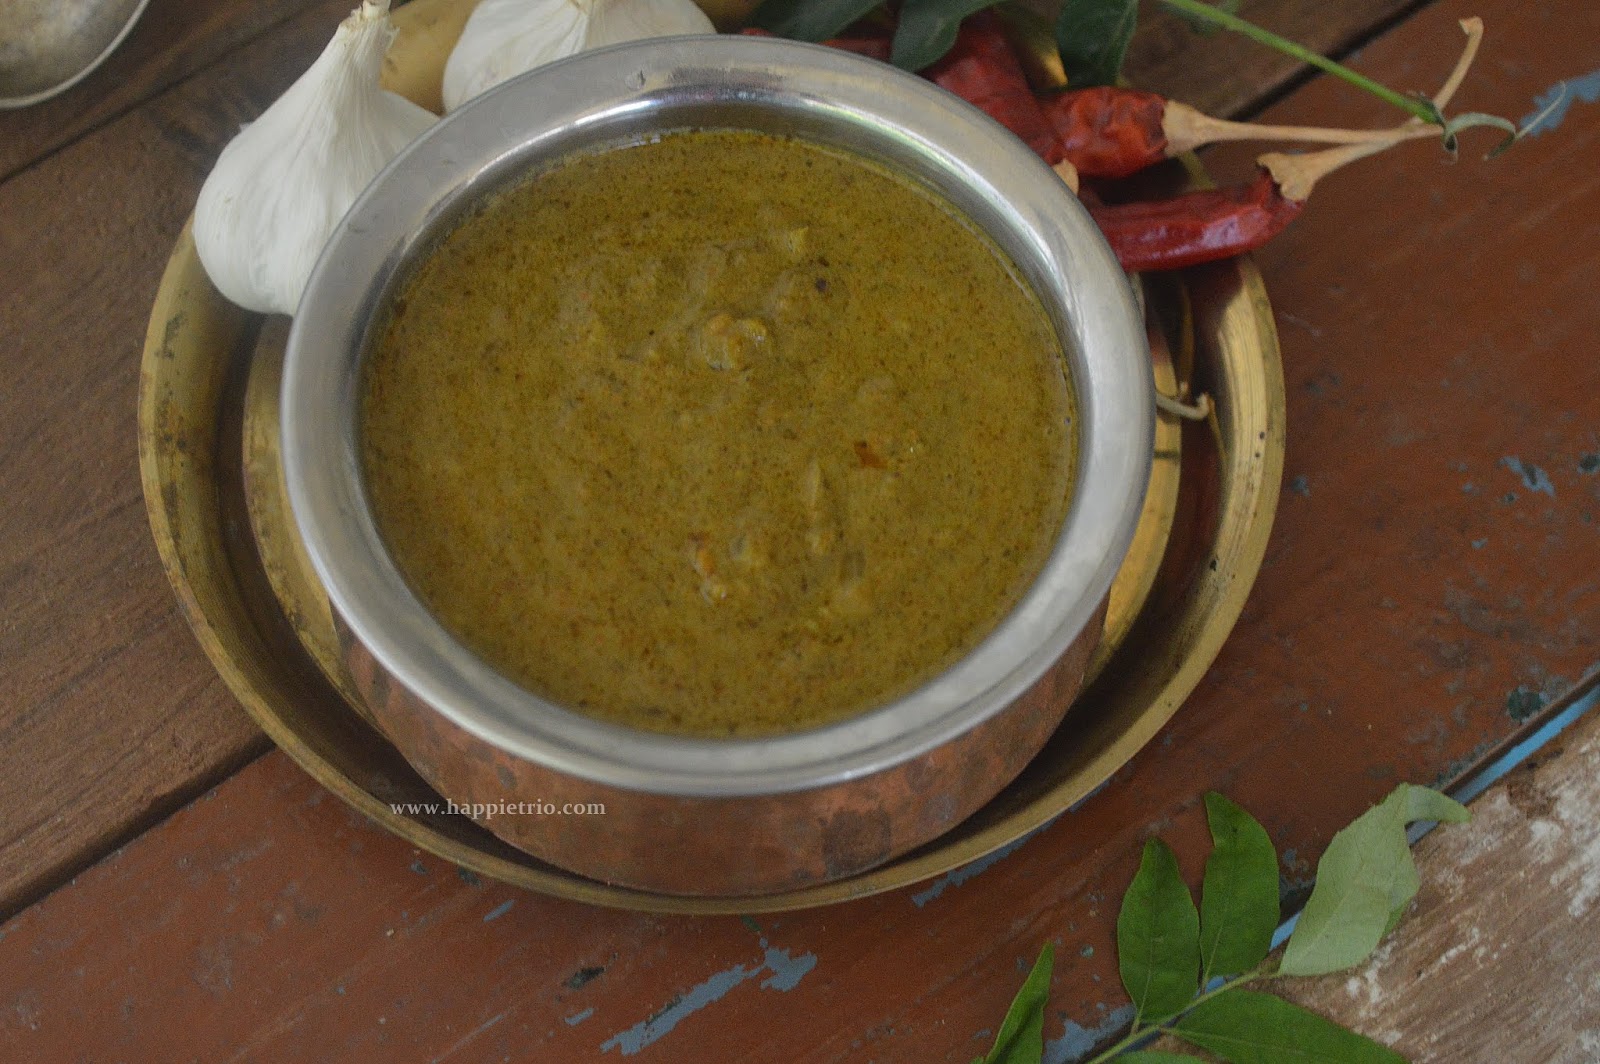
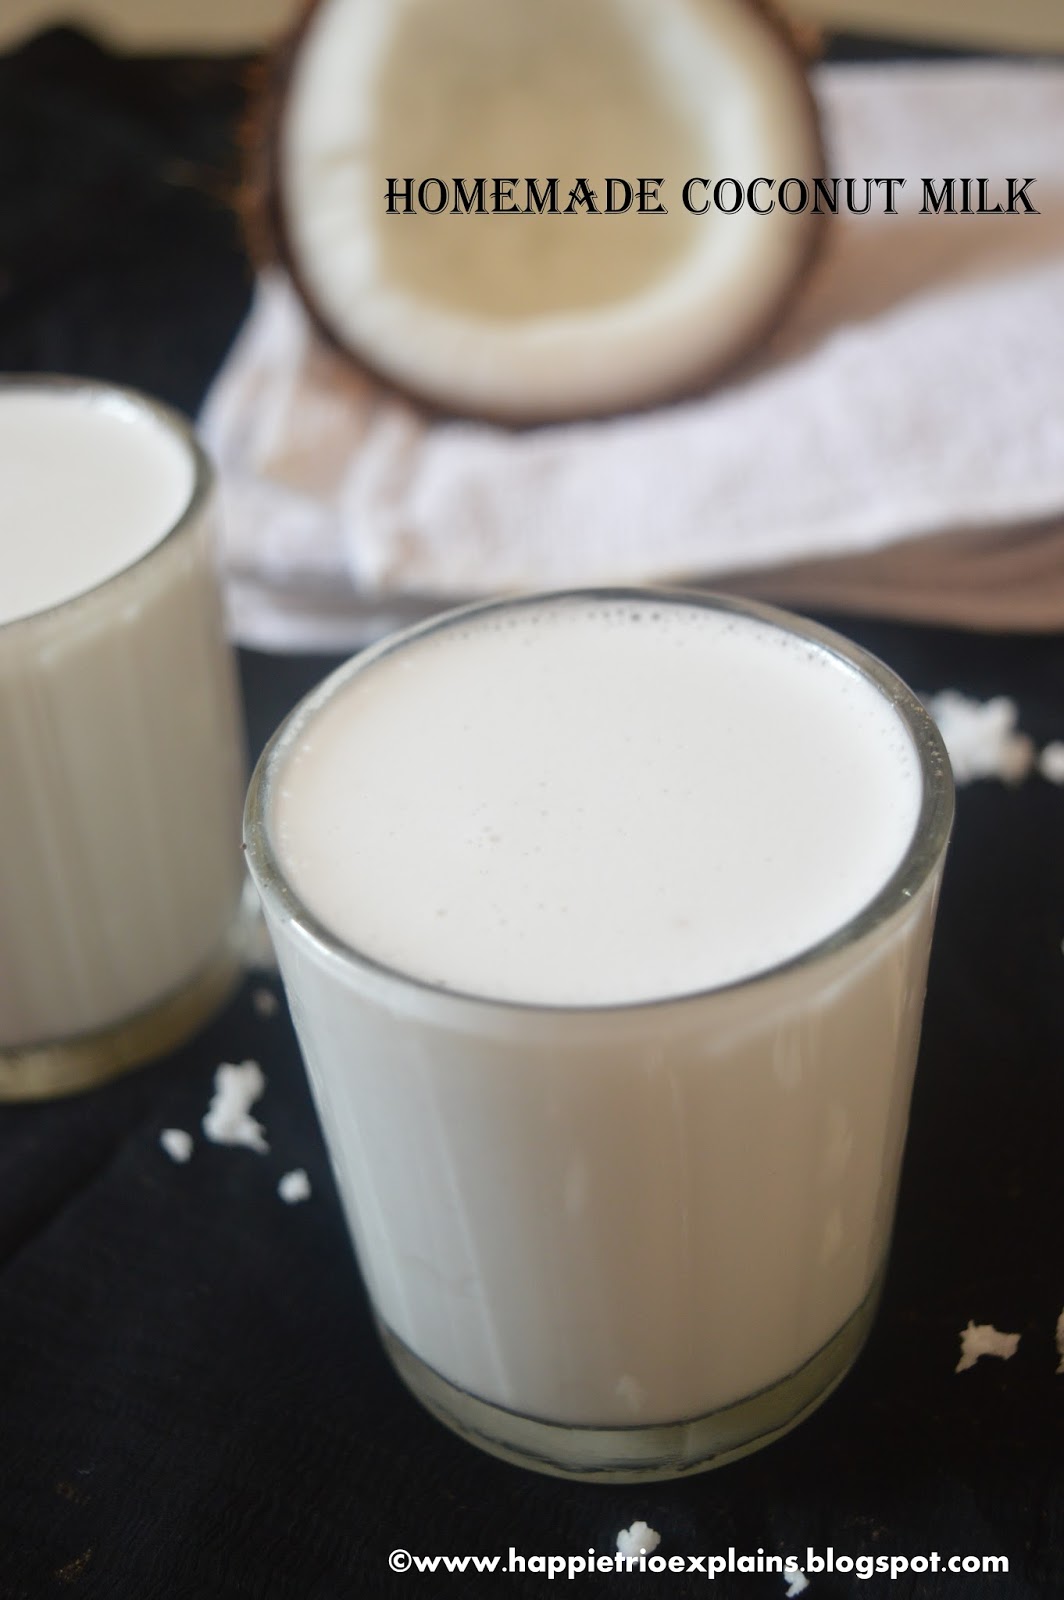
Homemade Coconut Milk is a basic recipe. We can use coconut milk in a variety of dishes.

Coconut milk being used in Indian cooking is very common. No matter how good canned Coconut Milk is, it can’t even come close to the aroma and freshness of homemade fresh coconut milk. Adding coconut milk to our food takes the taste of the dish to a different level.
Since my childhood, I have been brought up in a place that is very famous for coconut and its usage in cooking. Almost every house in my native will be having at least 5-10 coconut trees in their backyard. Whenever I leave from my native to Bangalore my mom makes sure she packs me at least 10 coconuts.
Always the Coconut used in my house for cooking is very fresh. After Coming to Bangalore only I have used canned Coconut Milk a couple of times. It was then I realized how fantastic the natural and homemade Coconut Milk used to be. Now let’s get started and prepare some fresh coconut milk from scratch
How to Prepare Coconut Milk,
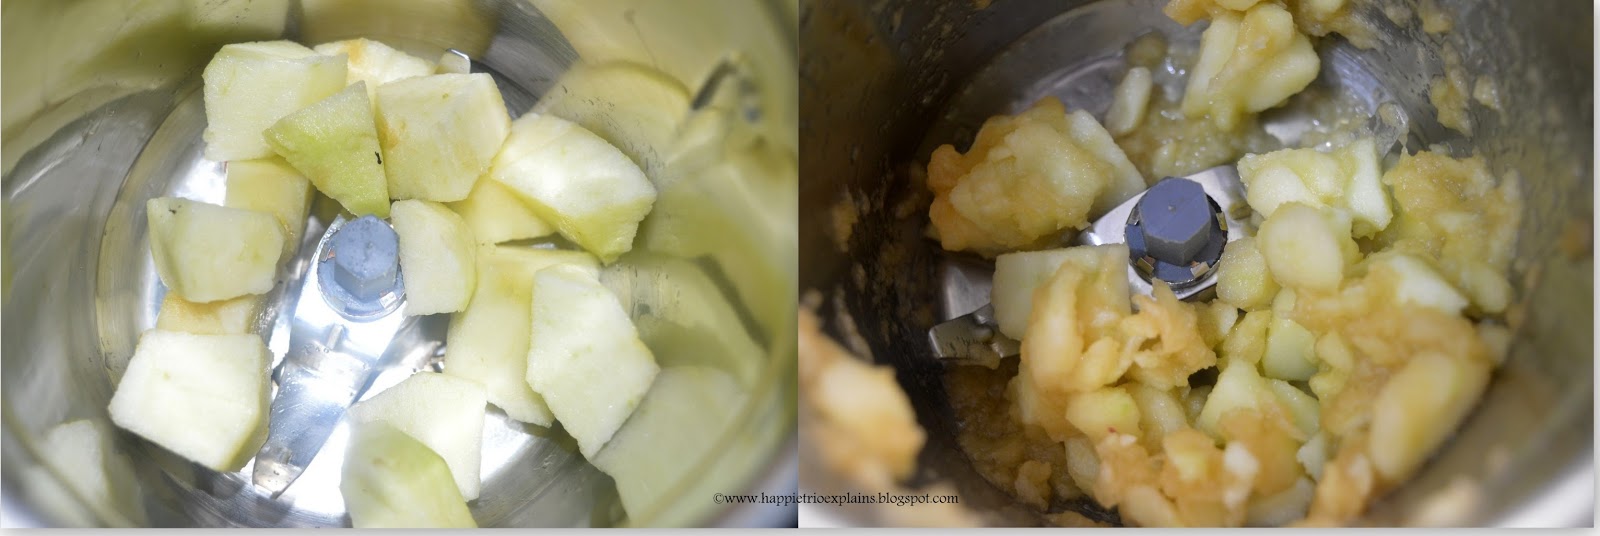
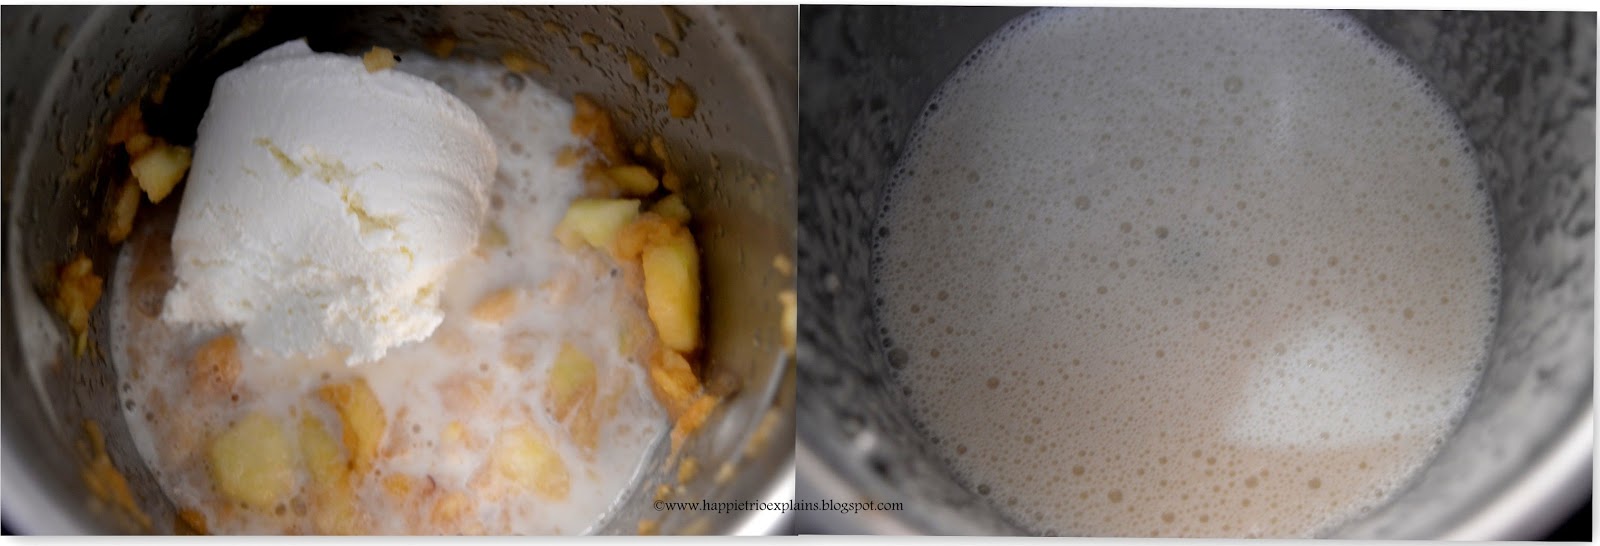
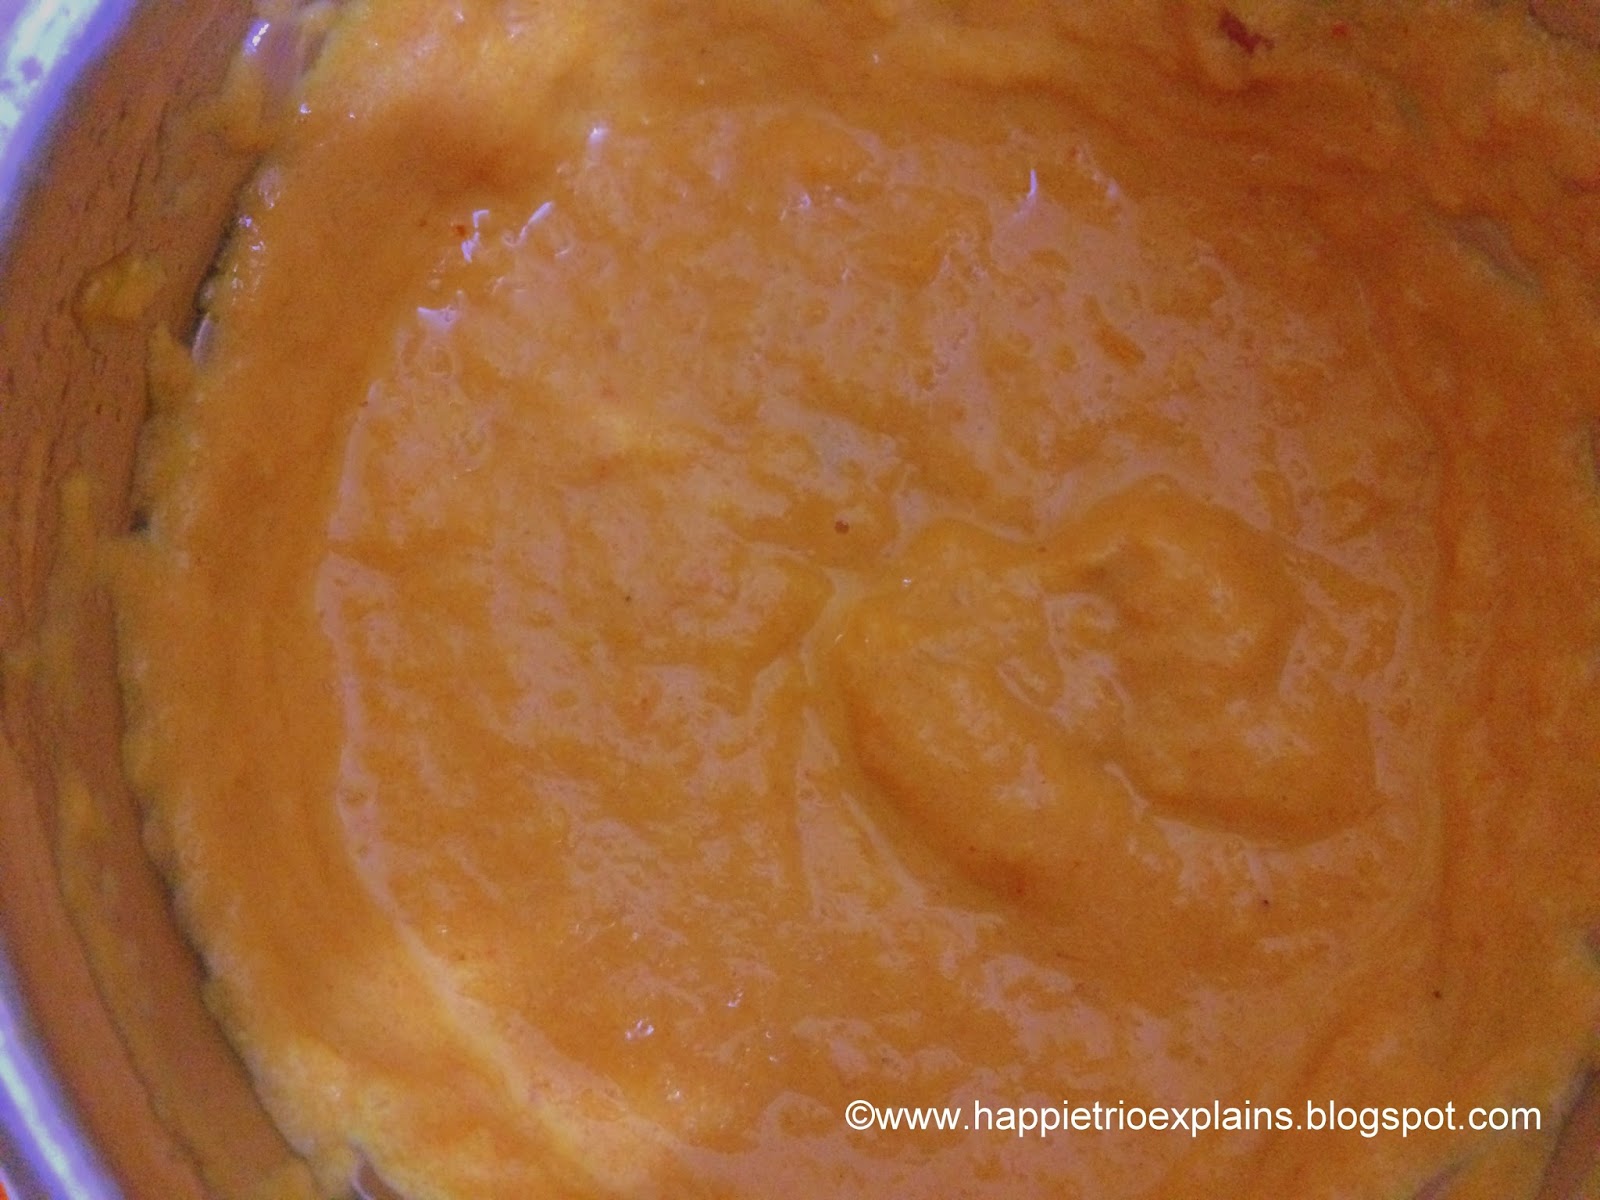
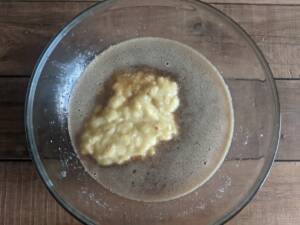
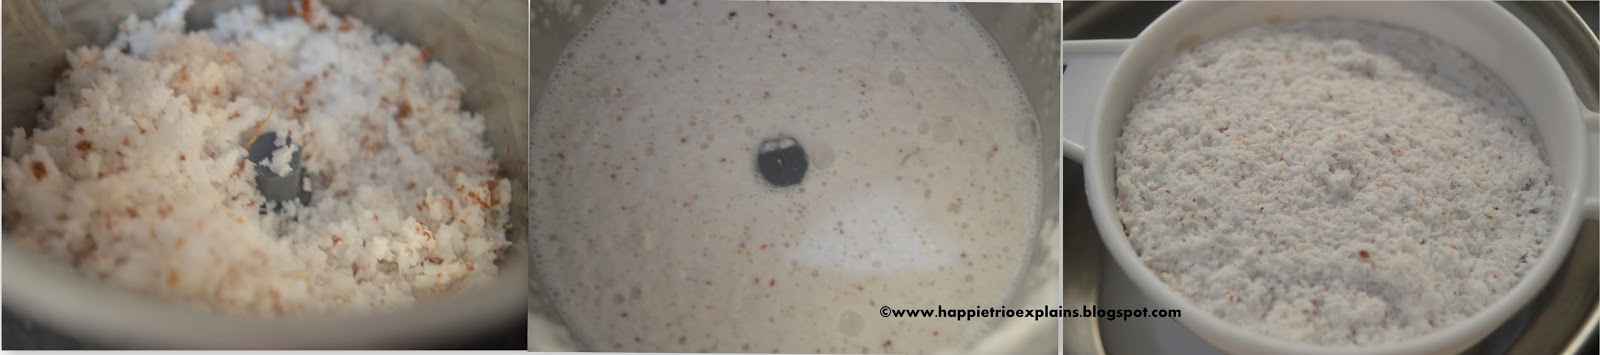
1) Break Open a coconut and grate the coconut. Now take the grated coconut in a blender or food processor and add in 1 cup of water. Blend it to a fine paste. Now take the ground coconut from the blender and strain it using a strainer. Press the coconut in the strainer in such a way that all the coconut milk has been strained out.
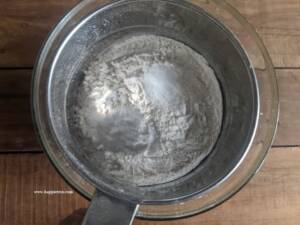
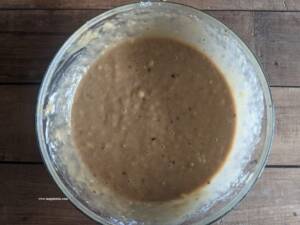
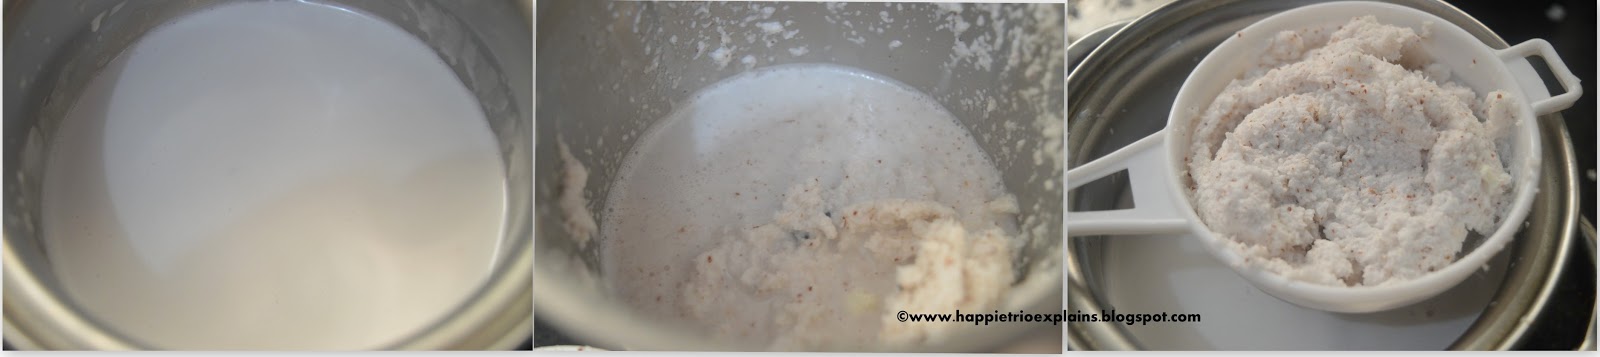
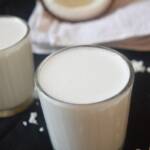
2) This is the first milk. It will be very thick. Now take the coconut shreds back to the blender and add in the remaining half cup of water and repeat the process of blending and extracting the milk. Fresh homemade coconut milk is ready
Tips to prepare Coconut Milk in home
- The process of extracting the coconut milk can be repeated thrice .But I prefer the coconut milk little thick so I stopped with two attempts.
- If you are repeating to extract the coconut milk from the shredded coconut for the third time. Add in ½ cup of water, like how we did for the 2nd time.
- The first milk usually is very thick. It’s not advisable not to boil it as it tends to curdle.
- Coconut milk can be used in a variety of food in Indian Cooking like Curries, Baking and Sweets.
- The coconut milk stays fresh for about 3-4 days when refrigerated.
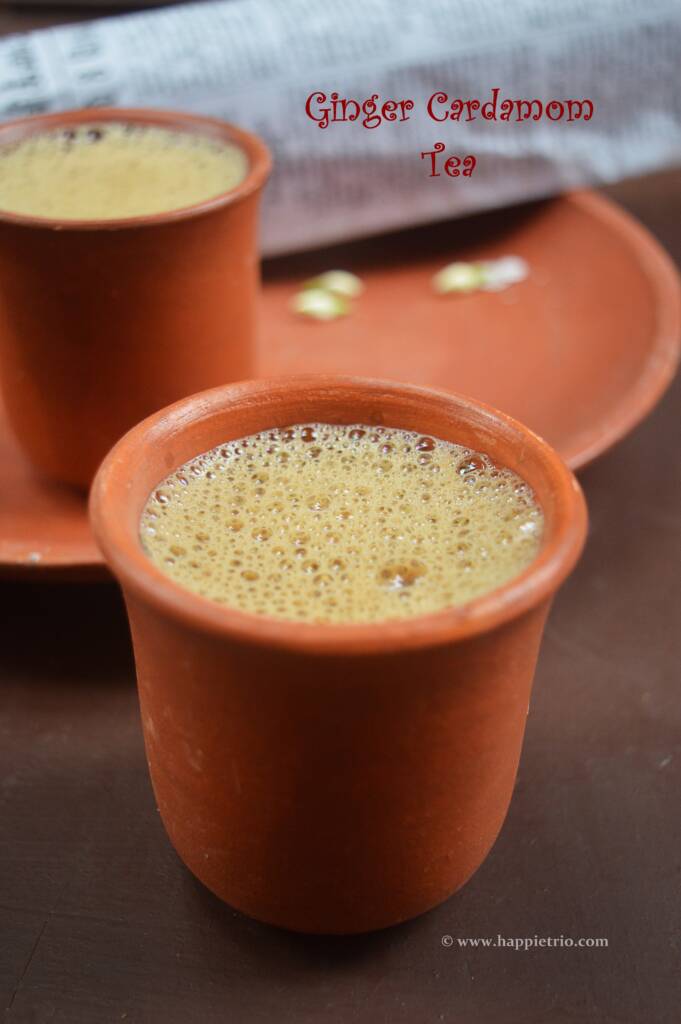
Similar Recipes


★ Did you enjoy this recipe? If you happen to try it out, I would love to hear from you! I’d appreciate it if you could rate and leave a review below in the comments. Your reviews help others know the recipe better too. Thanks for your time. You can also follow me on Facebook, Pinterest, Instagram, Youtube and Twitter for more updates
📖 Recipe
Homemade Coconut Milk
Standard 1 cup measures 240 ml
Ingredients
- 1 cup Freshly grated cococnut
- 1.5 cups Water
Instructions
- Break Open a coconut and grate the coconut .Now take the grated coconut in a blender or food processor and add in 1 cup of water.
- Blend it to a fine paste. Now take the ground coconut from the blender and strain it using a strainer.
- Press the coconut in the strainer in such a way that all the coconut milk has been strained out.
- This is the first milk. It will be very thick. Now take the coconut shreds back to the blender and add in the remaining half cup of water and repeat the process of blending and extracting the milk. Fresh homemade coconut Milk is ready