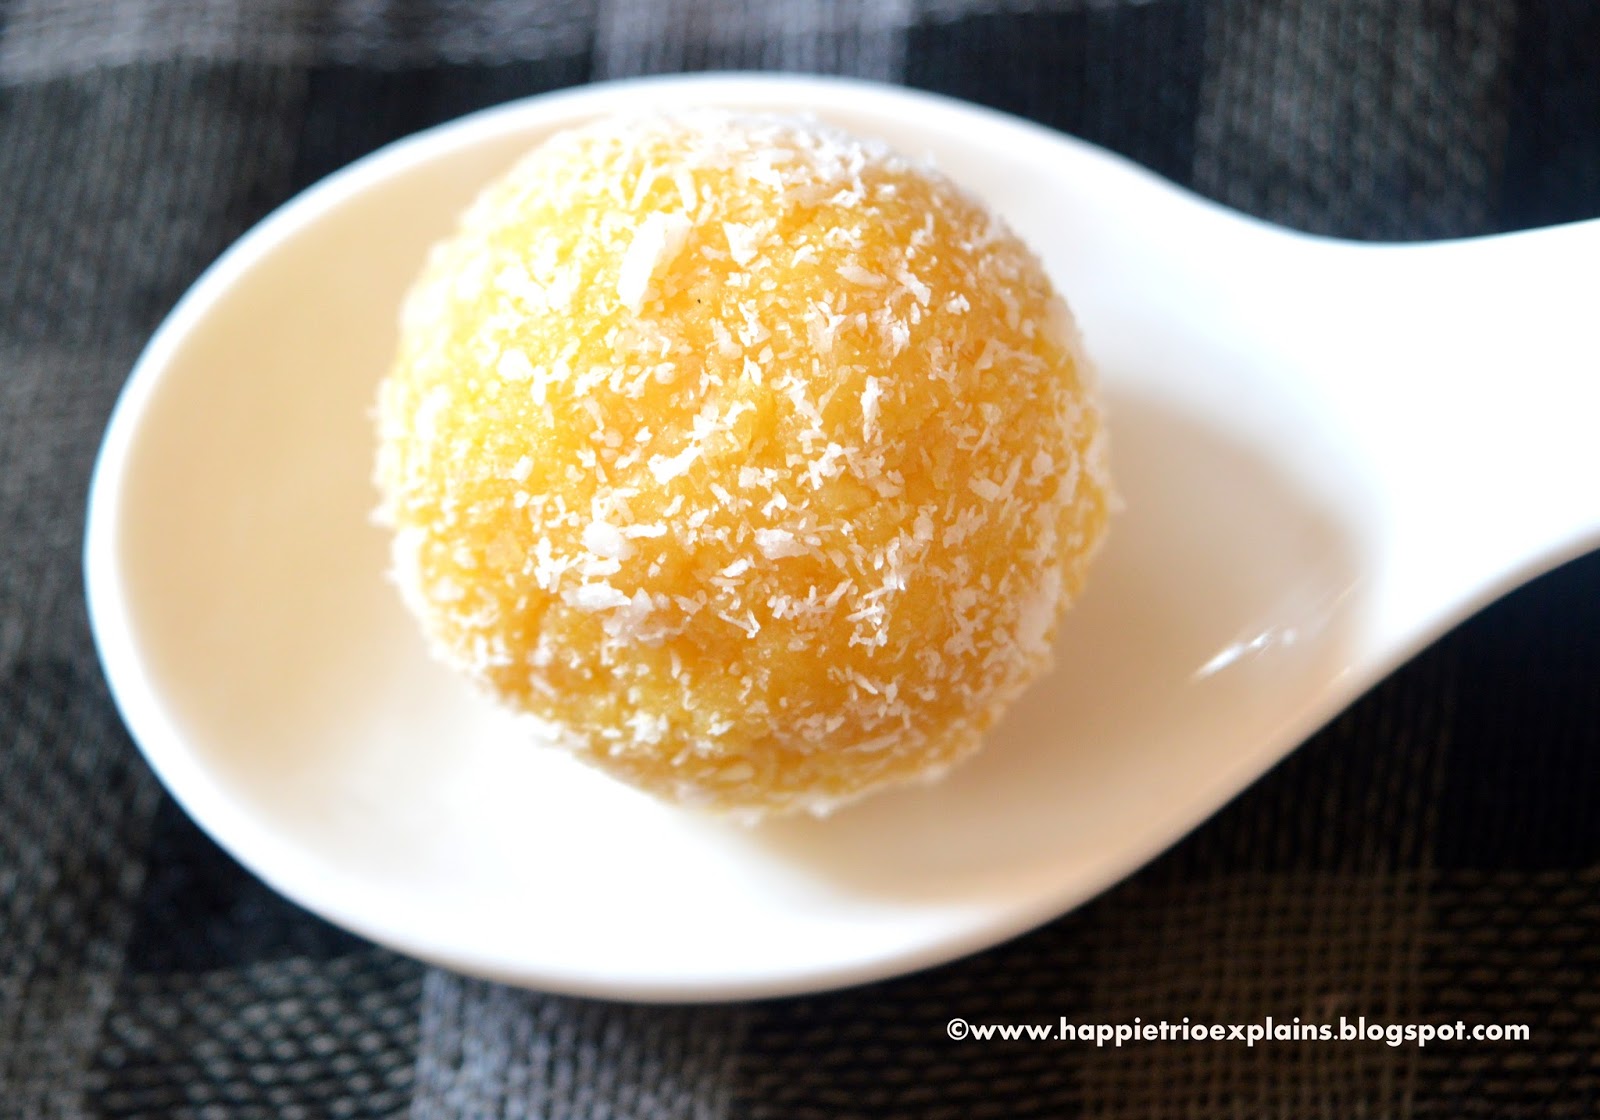
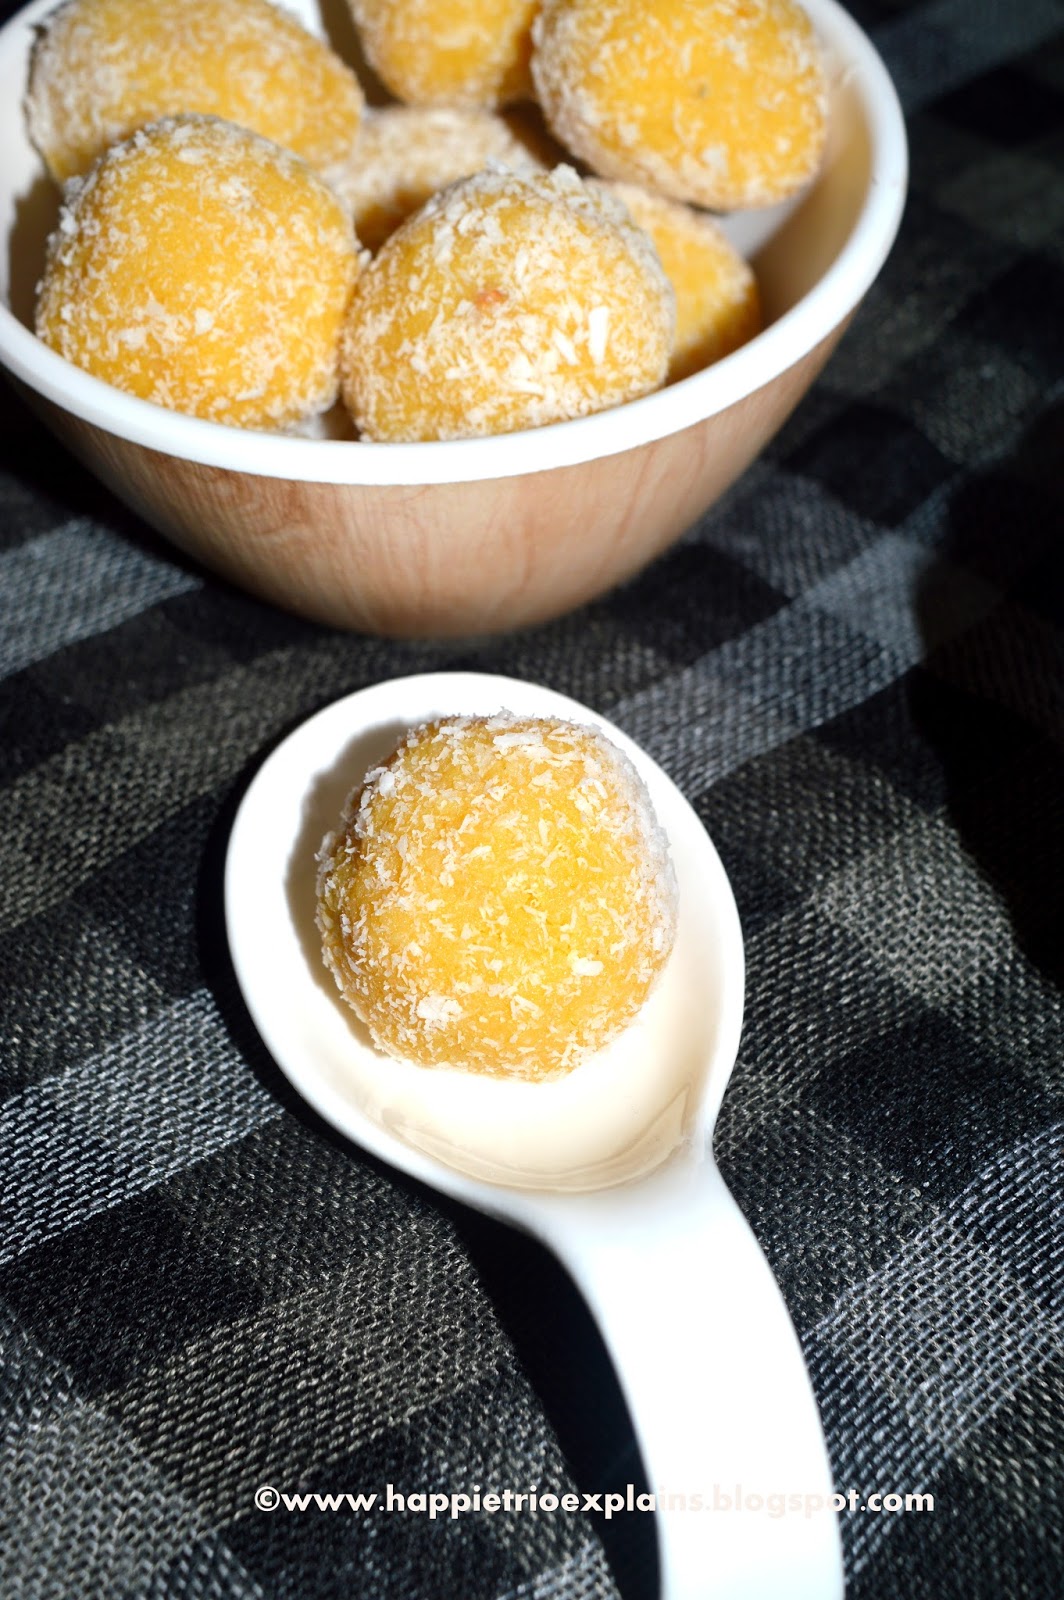
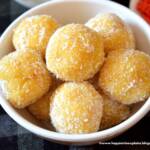
Mango Laddo made with just 3 ingredients is a treat for all the mango lovers. It can be made in just few mins.

Mango Ladoo with step by step pictures!! Mango Ladoo the name itself sounds interesting right. Yes, Finally we have come to our Last day of the Mango Marathon.. So I thought of saving the best for the last..
These ladoos taste so good and they are completely different from the regular ladoos. It can be made instantly with just three ingredients. If you have any sudden guests in the home you can prepare this for them.Give a try ..
[feast_advanced_jump_to]Mango Ladoo
Mango Ladoo is a quick three-ingredient ladoo. It is made of fresh mango pulp, Condensed Milk, and desiccated coconut. It is so flavourful with the goodness of fresh Mango. If you are a Mango Lover this will definitely be one of your favorites.
How to prepare Mango Ladoo
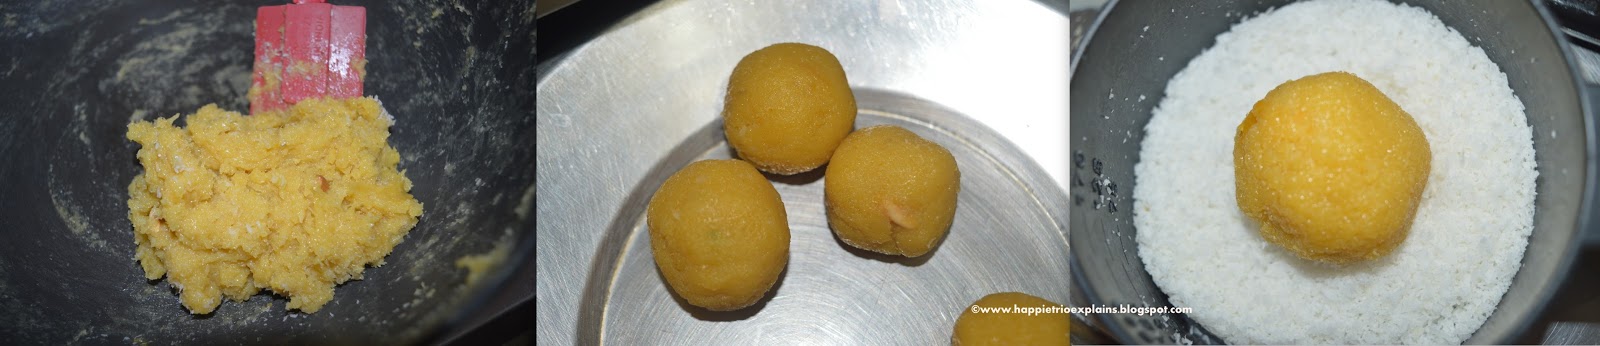
1) In a Pan add in the desiccated coconut and stir for about 2-3 mins. Do this on a low flame and make sure the coconut does not brown. Next, add in the Mango Pulp.

2) Stir well for about a min until both the mango and coconut are well combined. Next add in the Condensed milk, Elachi Powder and Nuts and mix well. It will be like a gooey mass now. Keep on stirring otherwise it might get burnt in the bottom.

3) After some time it will get a dough consistency at that time switch off the flame. Don’t allow it to cool completely when it’s in a bearable heat start rolling into ladoos of equal size and roll it in desiccated coconut. Tasty Mango Ladoo’s are now ready.
Make sure you try this yummy ladoo when the mangoes are in season!! Perfect for the gifting option also.
Tips to Prepare Mango Ladoo
- You can also use fresh coconut .In that case you will have to stir it for about 7-8 mins before adding the Mango Pulp
- Adjust the amount of Condensed Milk based on the sweetness of the Ladoo you prefer.
- Refrigerate the ladoos for more shelf life as we have added coconut in it.
How to Store Mango Ladoo:
Mango Ladoo has coconut and condensed milk in it so it's not wise to store it at room temperature. Store in the refrigerator for 3 days. Since it has fresh mango pulp and coconut it is wise to finish the dessert fresh.
Similar Recipes:


★ Did you enjoy this recipe? If you happen to try it out, I would love to hear from you! I’d appreciate it if you could rate and leave a review below in the comments. Your reviews help others know the recipe better too. Thanks for your time. You can also follow me on Facebook, Pinterest, Instagram, Youtube and Twitter for more updates
📖 Recipe
Mango Ladoo
Standard 1 cup measures 240 ml
Ingredients
- ½ cup Mango Puree
- 1 cup Desiccated Coconut +2 tablespoon for rolling
- ½ cup Condensed Milk
- Nuts for topping (optional)
- ⅛ teaspoon Elachi | Cardamom Powder
Instructions
- In a Pan add in the desiccated coconut and stir for about 2-3 mins .Do this in a low flame and make sure the coconut does not brown. Next add in the Mango Pulp.
- Stir well for about a min until both the mango and coconut are well combined. Next add in the Condensed milk ,Elachi Powder and Nuts and mix well. It will be like a gooey mass now. Keep on stirring otherwise it might get burnt in the bottom .
- After some time it will get a dough consistency at that time switch off the flame. Don’t allow it to cool completely when it’s in a bearable heat start rolling into ladoos of equal size and roll it in desiccated coconut .Tasty Mango Ladoo’s are now ready.
Notes
- You can also use fresh coconut .In that case you will have to stir it for about 7-8 mins before adding the Mango Pulp
- Adjust the amount of Condensed Milk based on the sweetness of the Ladoo you prefer.
- Refrigerate the ladoos for more shelf life as we have added coconut in it.
Nutrition
Disclaimer: I am not a nutritionist , the nutrition value provided here is an estimate. It will vary based on the quantity and brands of the products used.