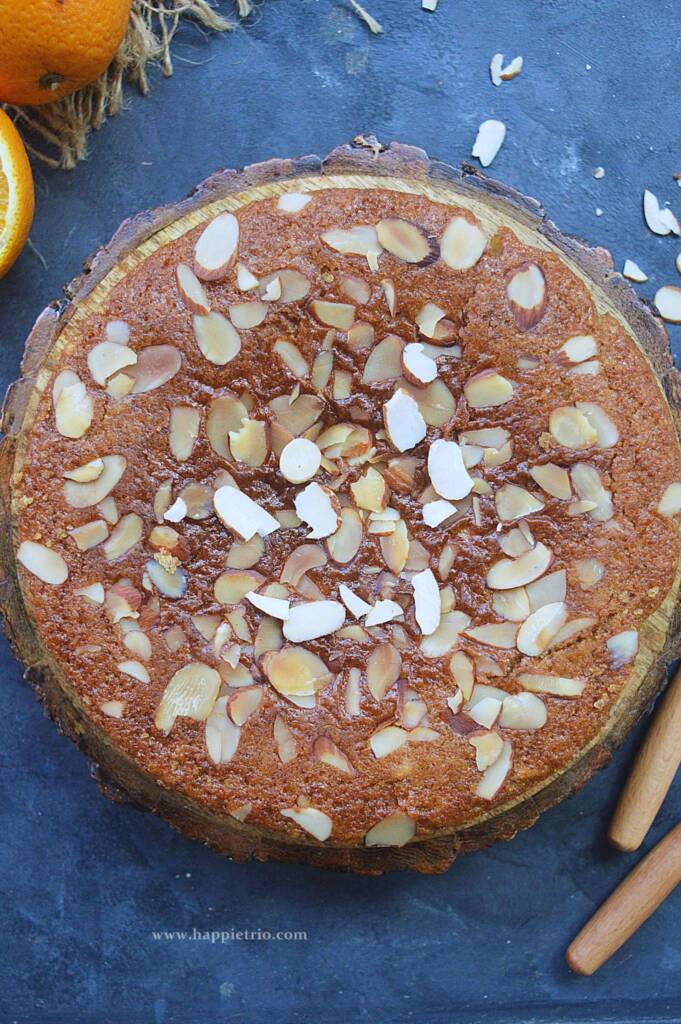
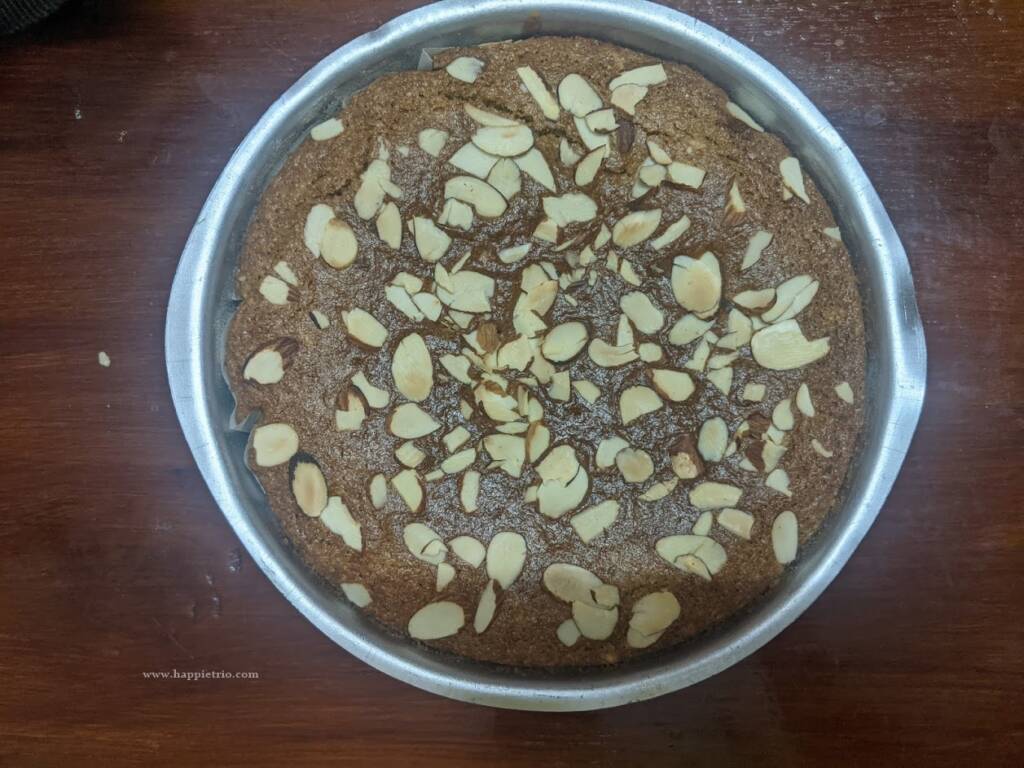
Banana Walnut Muffins is a yummy nutty treat. I loved the favour of banana in the muffins and with a bit of nutty texture in every bite.
Banana and Walnut Muffins are a yummy nutty treat. I loved the flavour of banana in the muffins and with a bit of nutty texture in every bite. When it comes to baking banana is something which we couldn’t resist from sharing. And so this is my share of the banana recipe this year. Now lets see how to prepare banana walnut muffins.
Check out my Vegan Banana Muffins and Banana Chocolate Chunk Muffins recipes too.
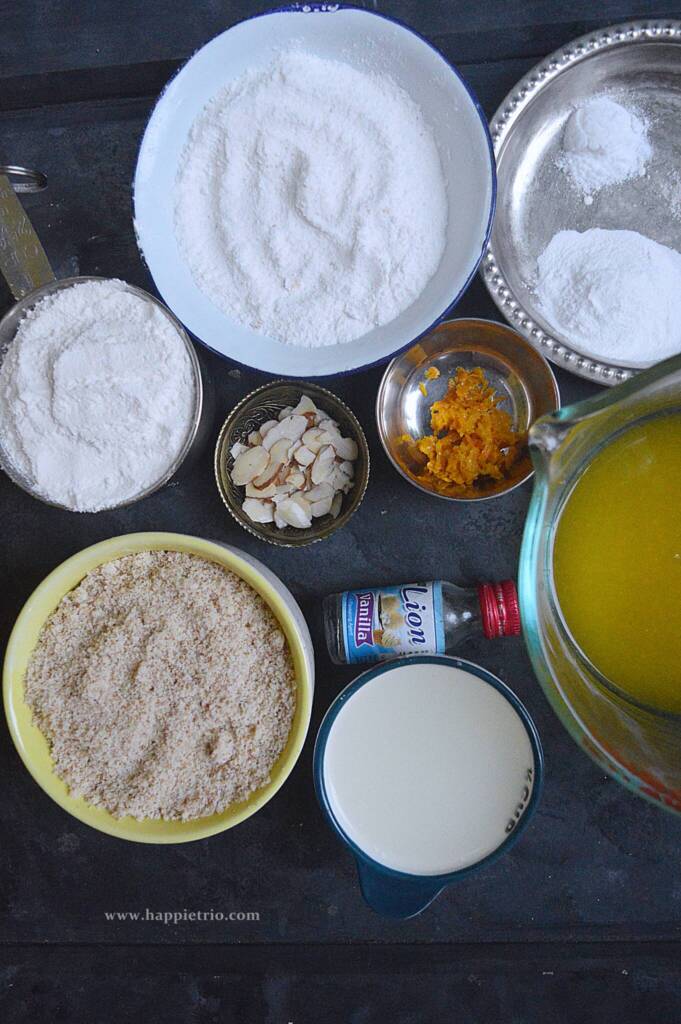
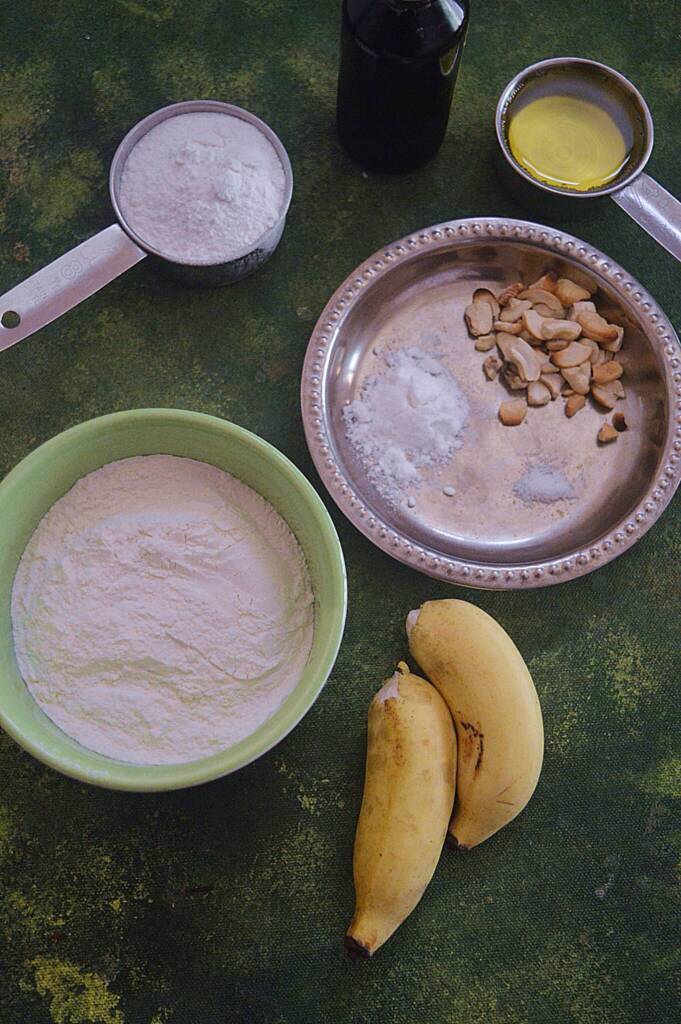
[feast_advanced_jump_to]Ingredients
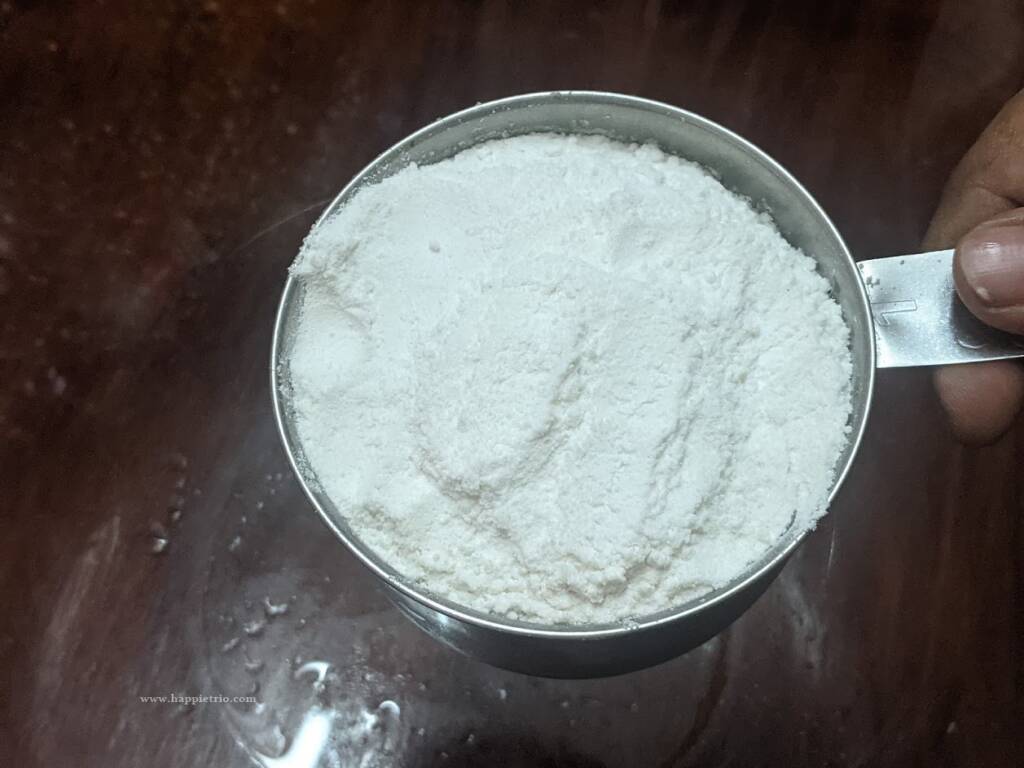
Flour - I am using whole wheat flour for the muffins. It works really well for the muffins.
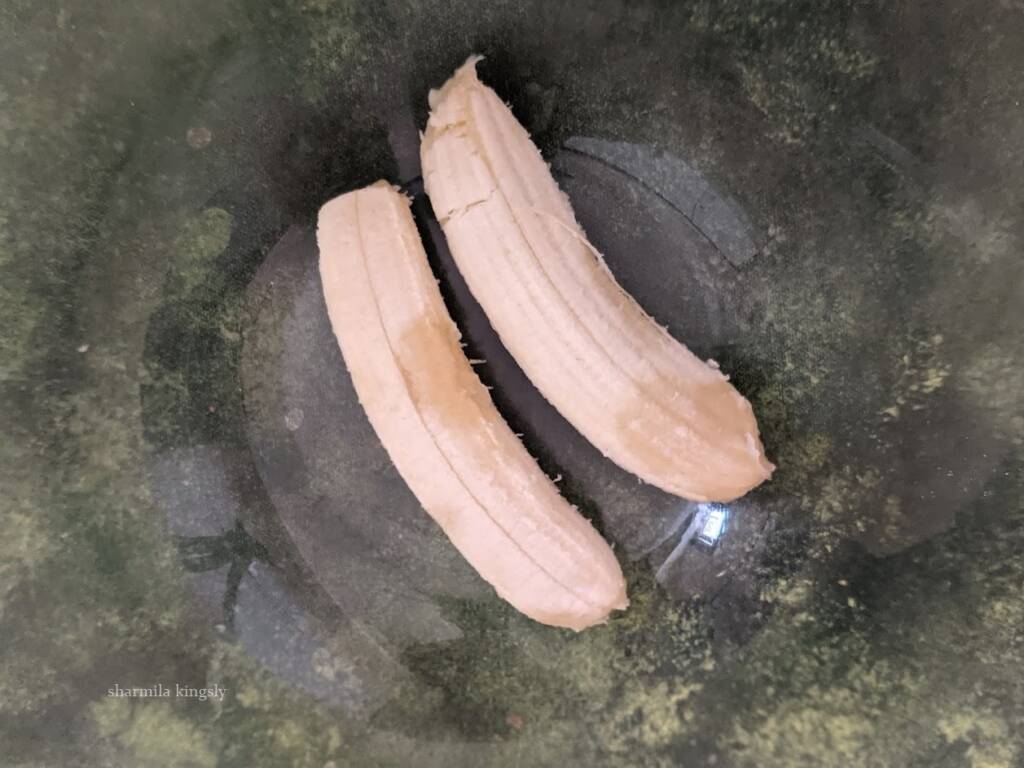
Banana - Always overripe banana yields soft moist muffins.
Sugar - I am using brown sugar for the muffins. It yields a nice golden color to the muffin
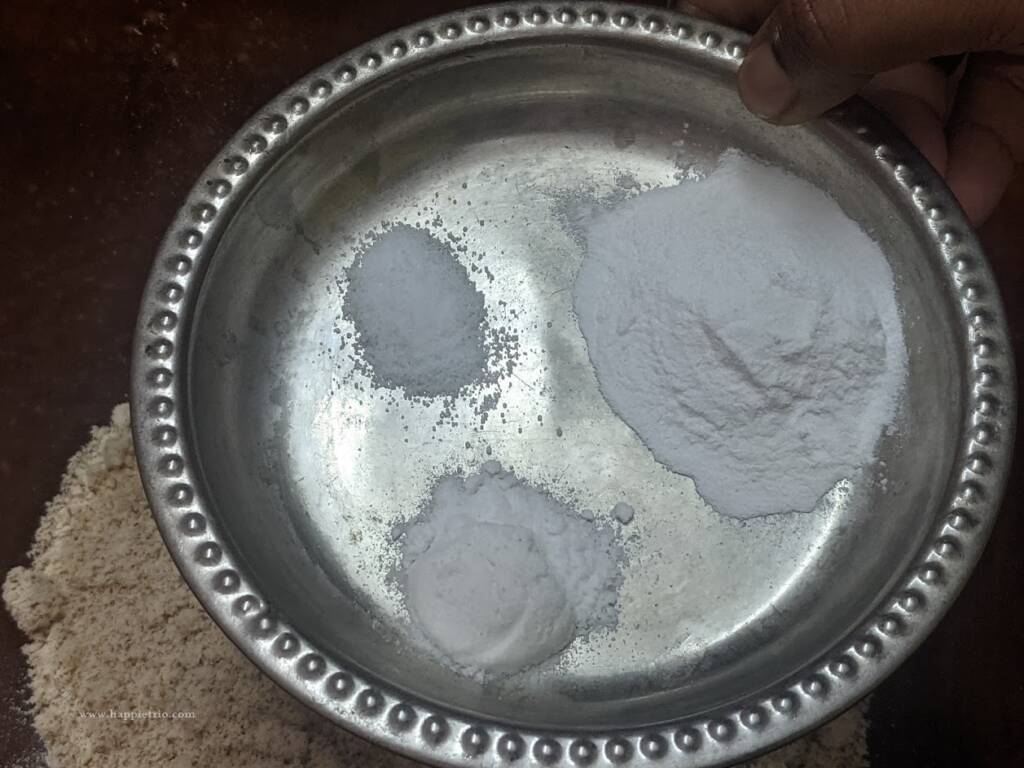
Baking Powder, Baking Soda - It gives helps in an airy and spongy muffin.
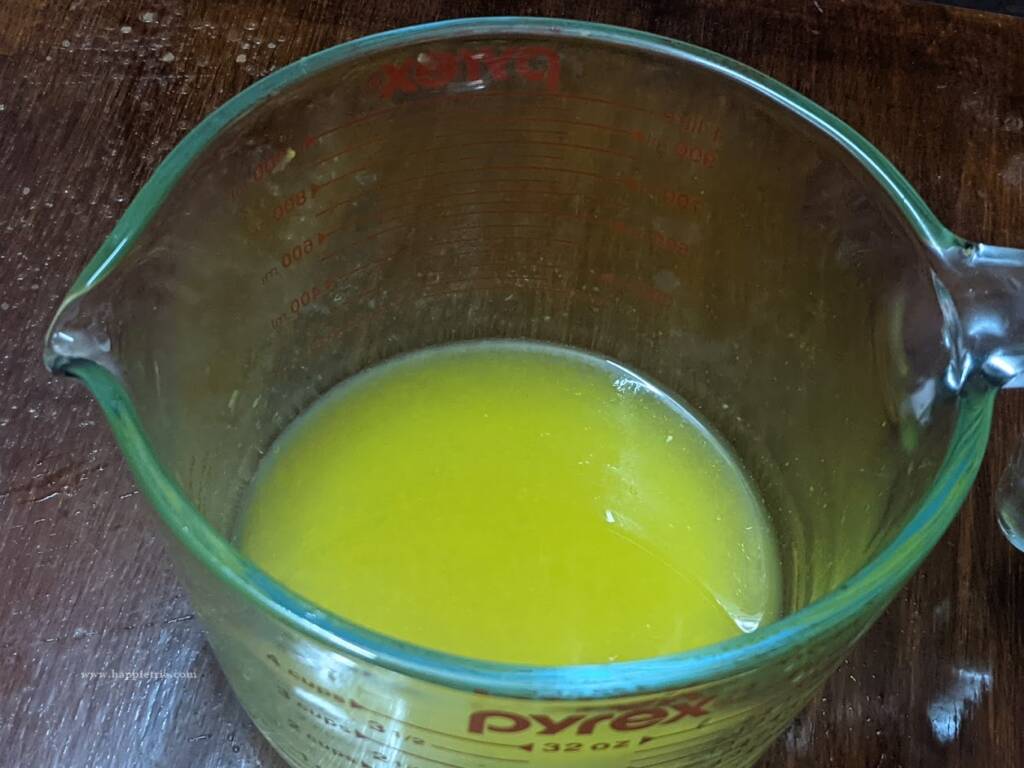
Oil - Use any flavorless cooking oil.
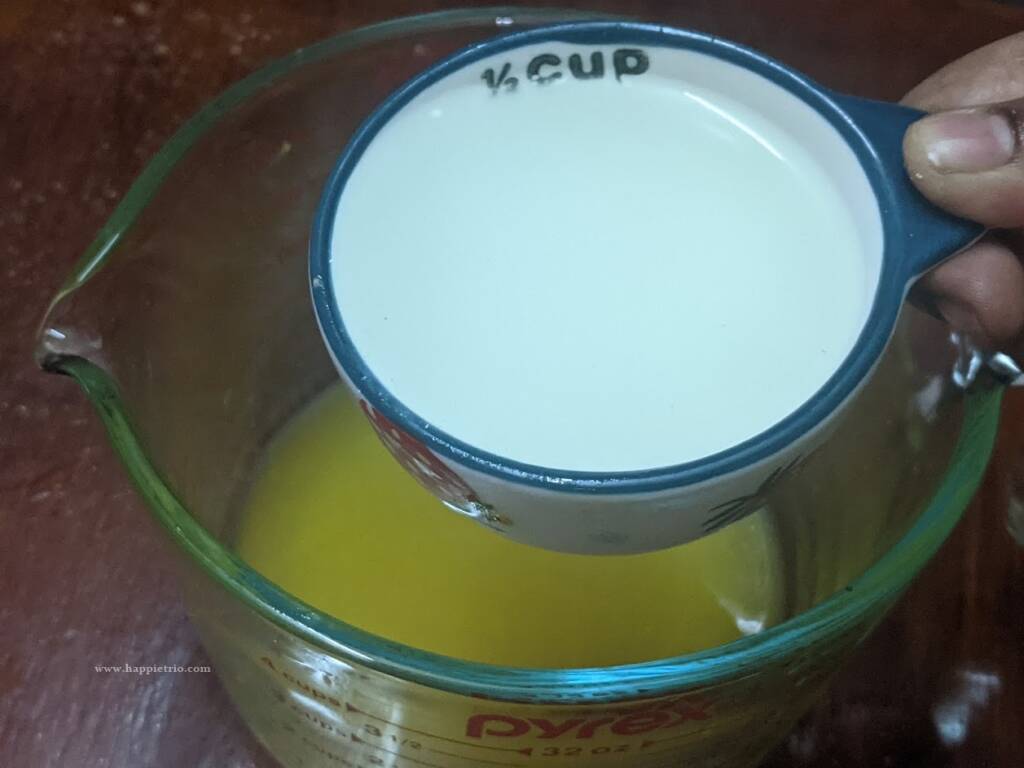
Buttermilk - Reacts with the baking powder and soda for a nice spongy fluffy muffin.
Egg - Adding egg for a perfect bakery style textured muffin.
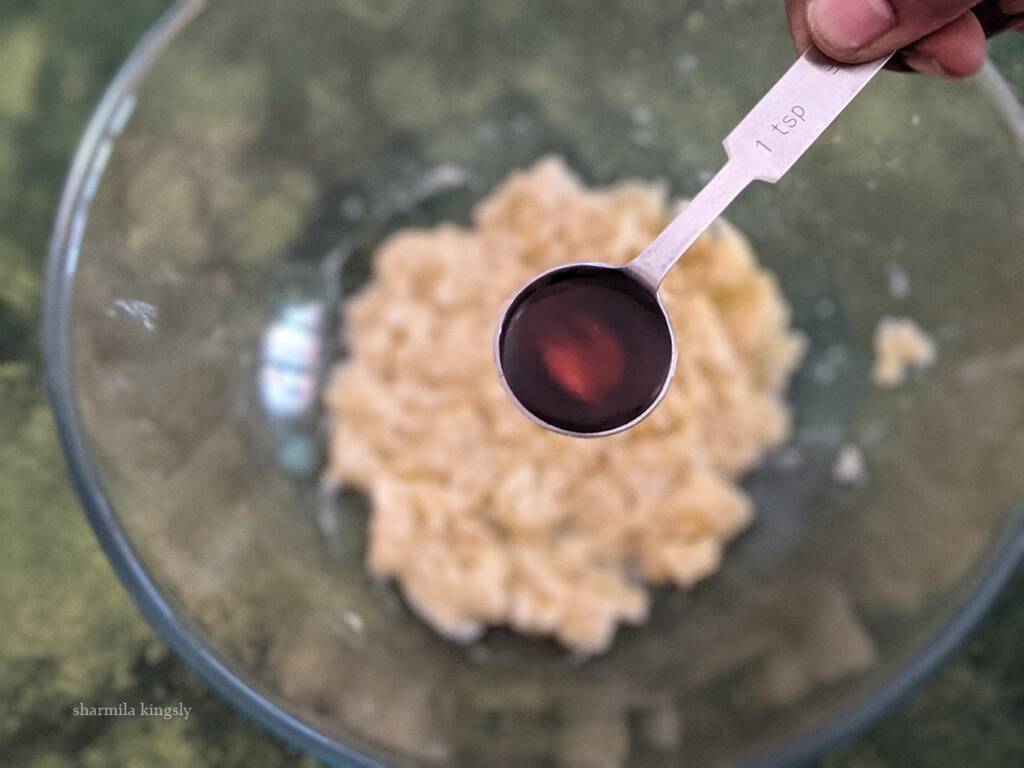
Vanilla - Use good quality pure vanilla extract.
Salt - A pinch of salt always elevates the taste in any dessert.
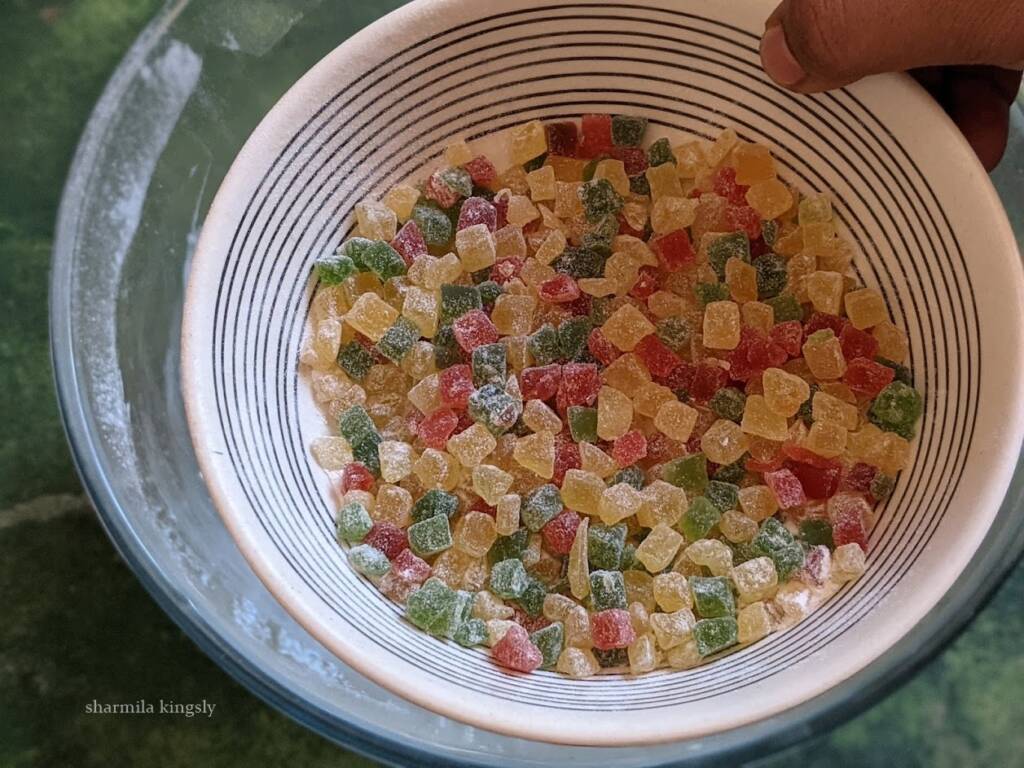
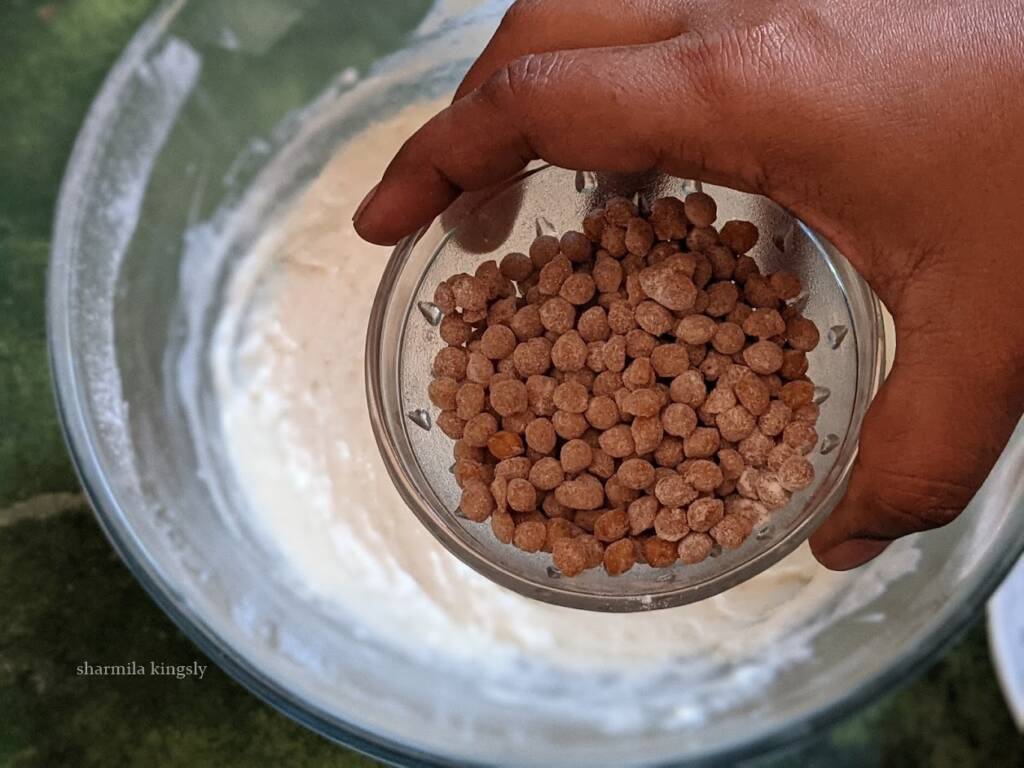
Walnuts - We add a few walnuts to the batter. Also a coarse powder for the muffin crumb, this gives a lovely crumb.
How to prepare Banana Walnut Muffin
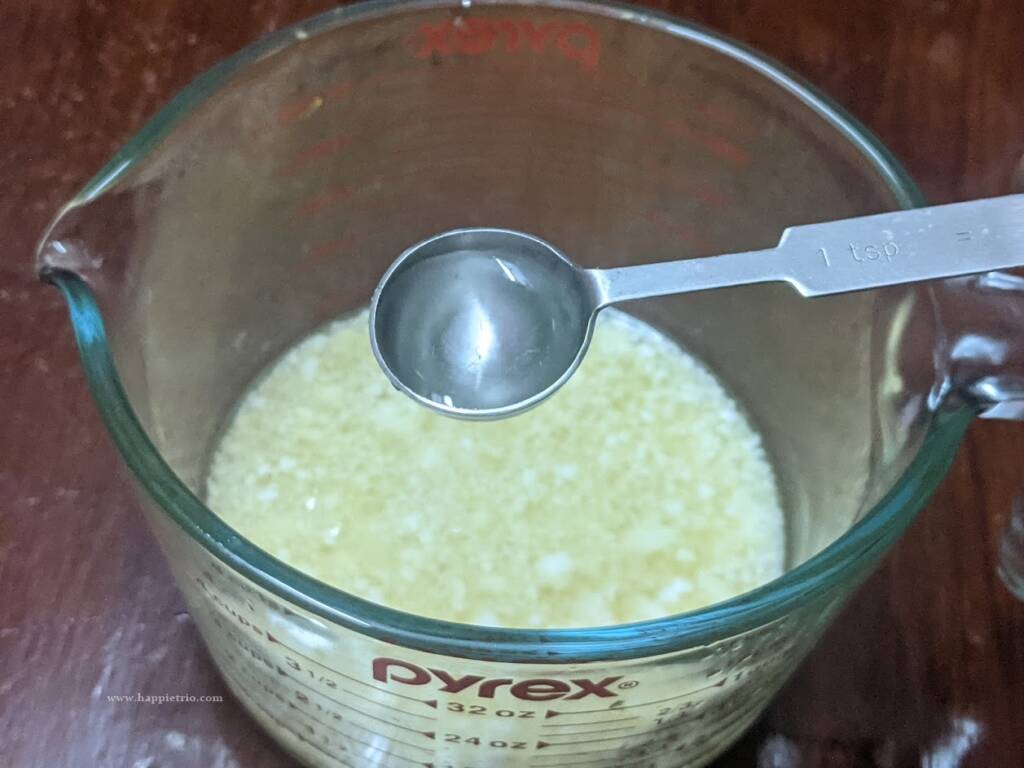
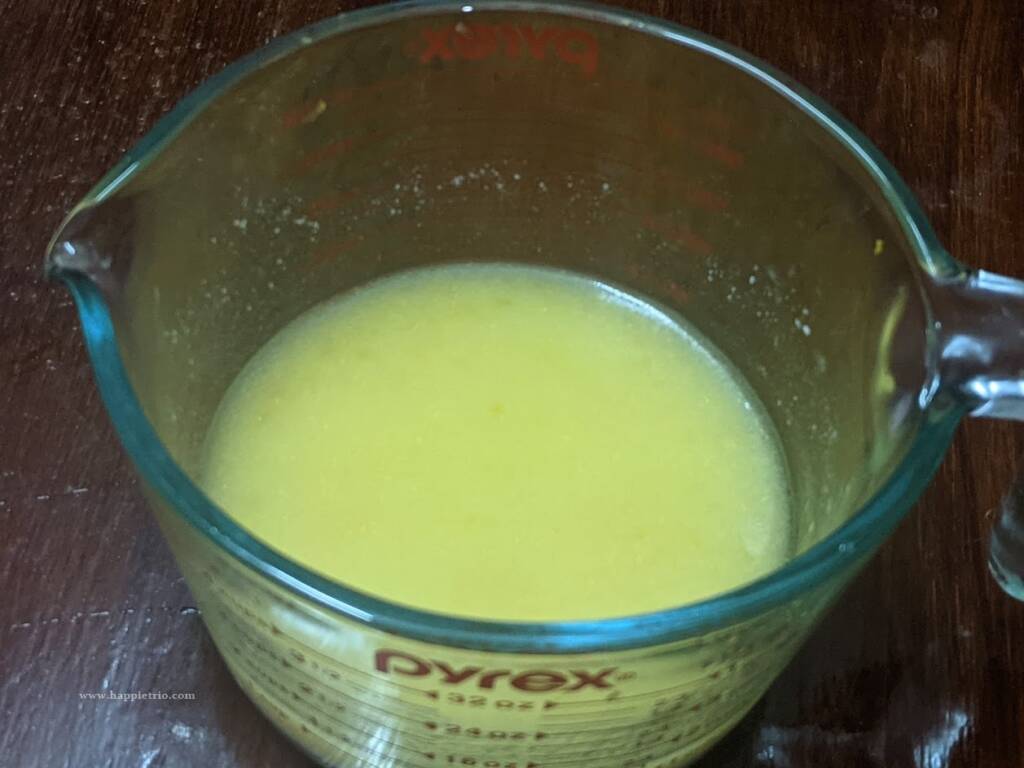
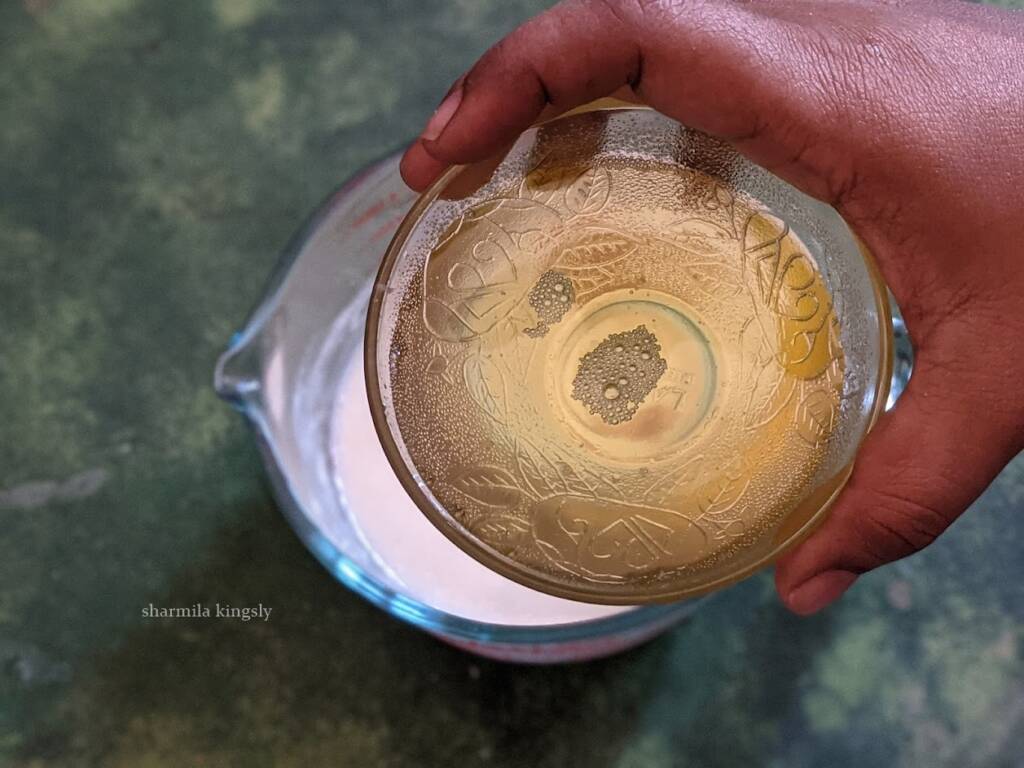
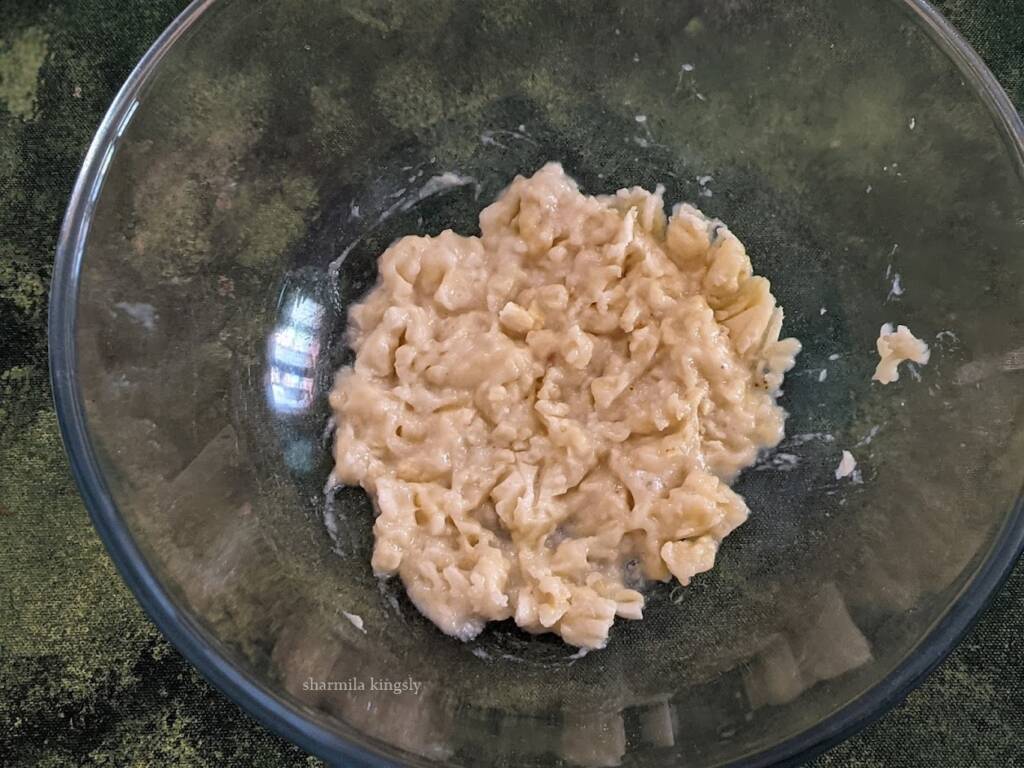
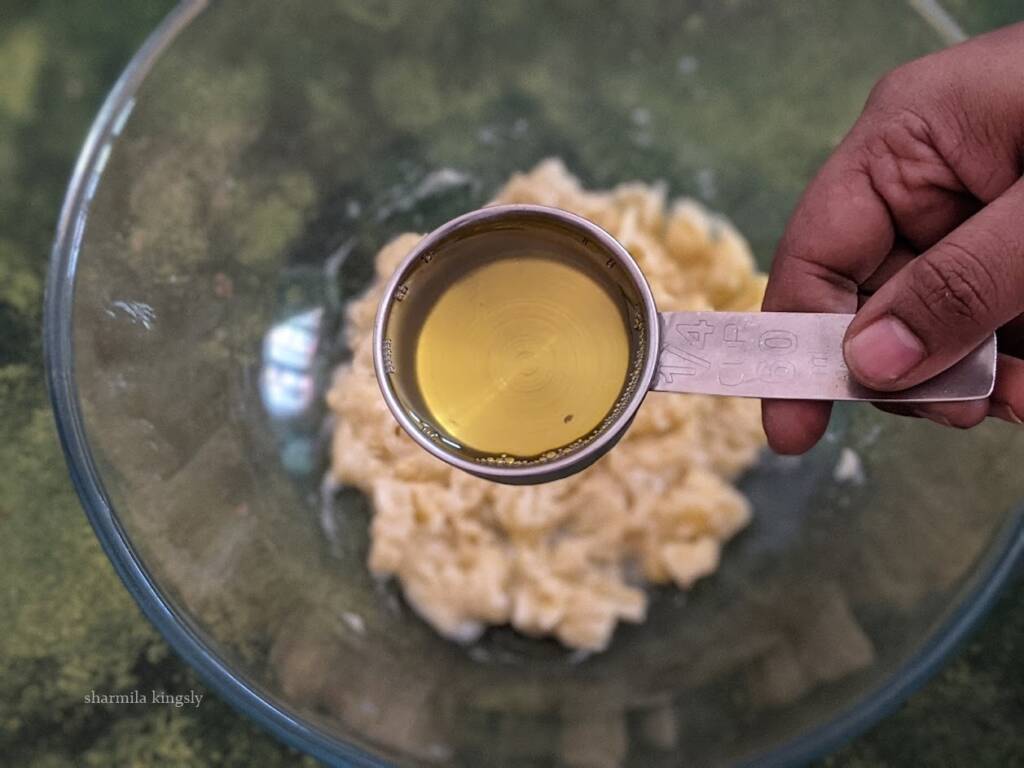
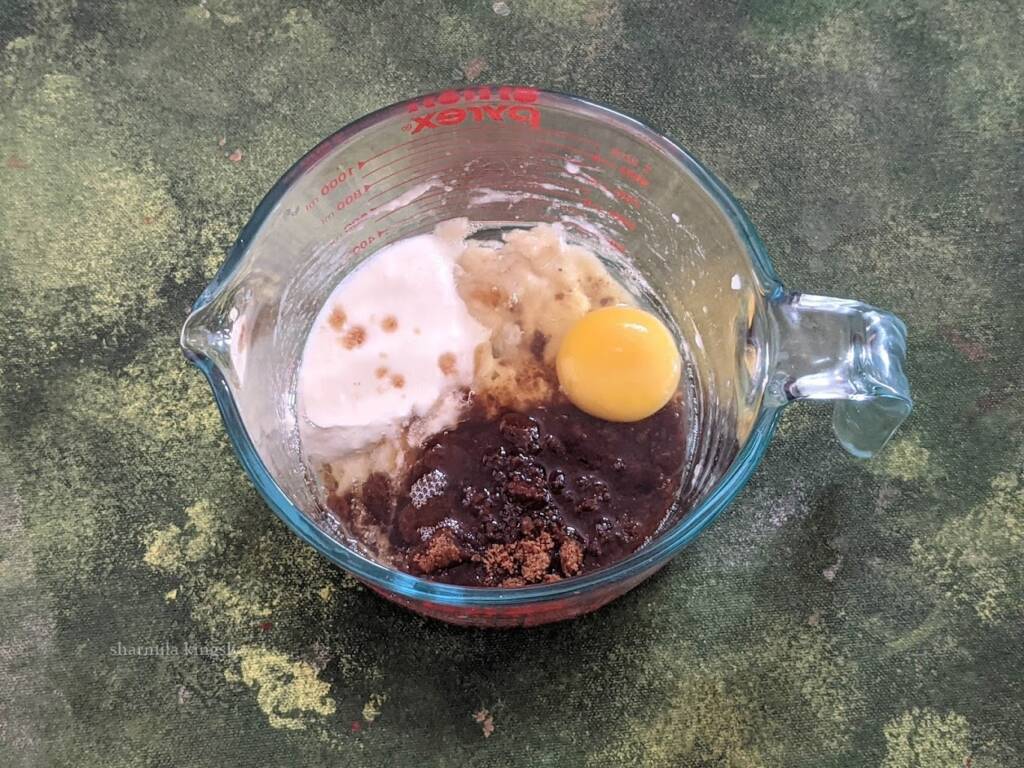
In a mixing, bowl beak open an egg to this add-in Brown sugar, Vegetable oil, and buttermilk.
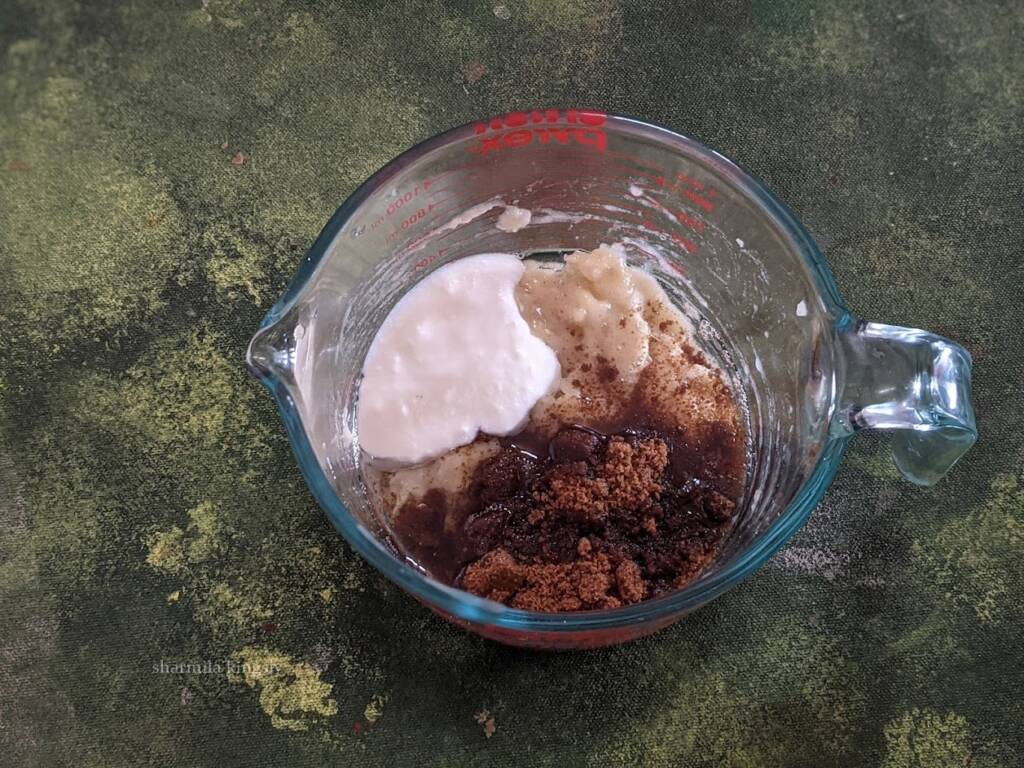
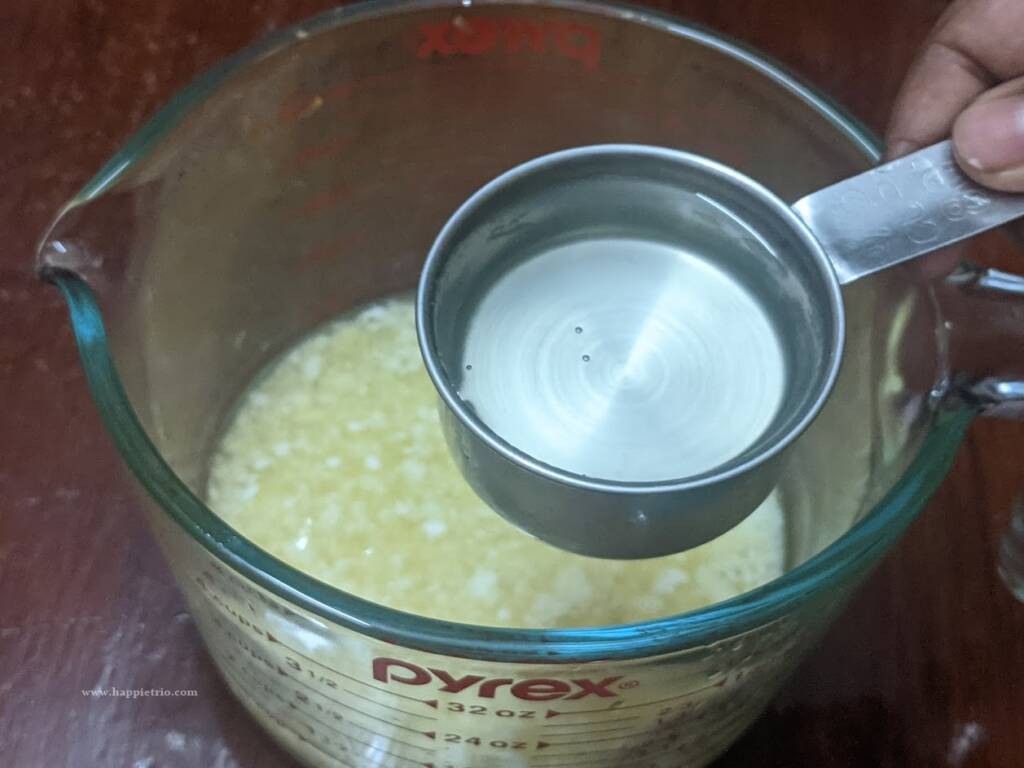
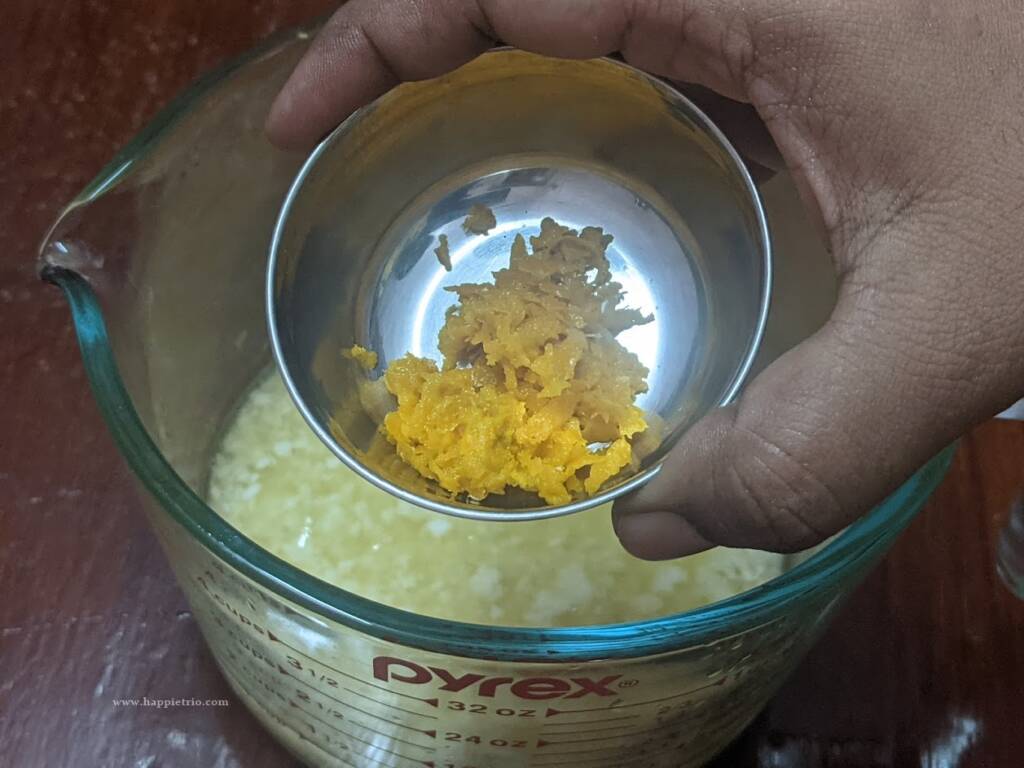
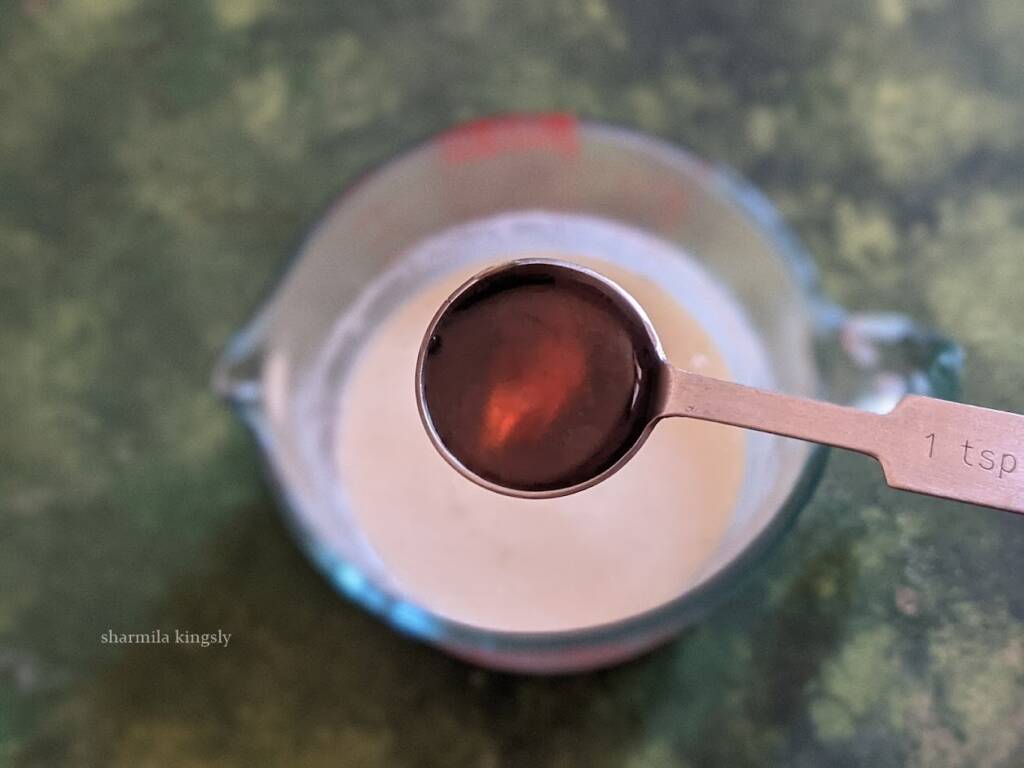
2. Next add in the Vanilla essence and mashed banana.
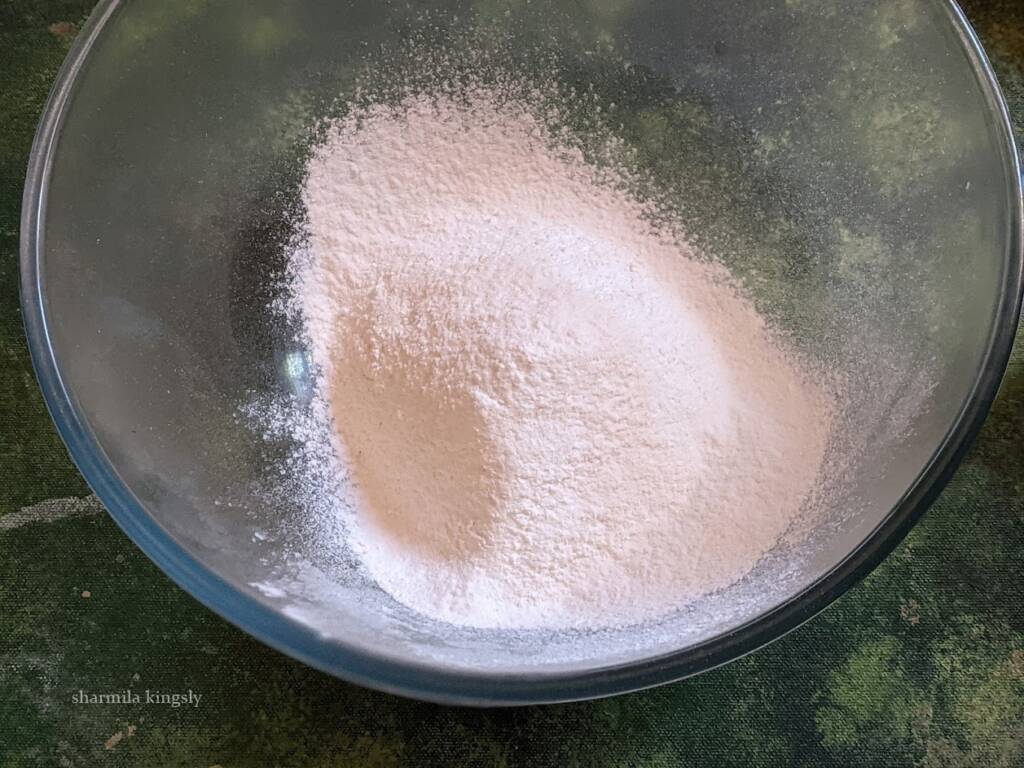
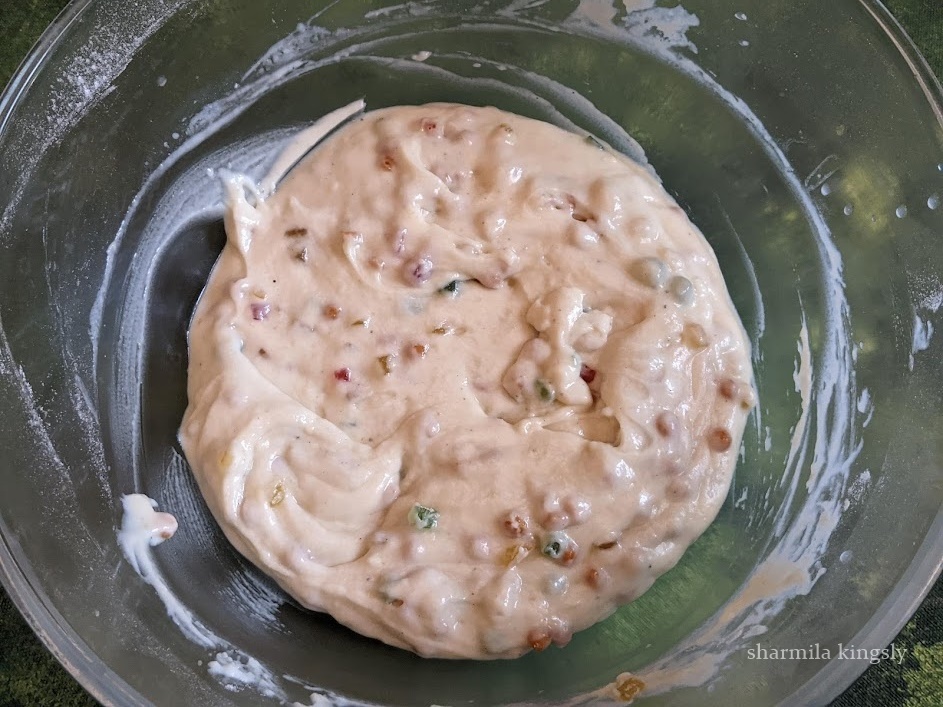
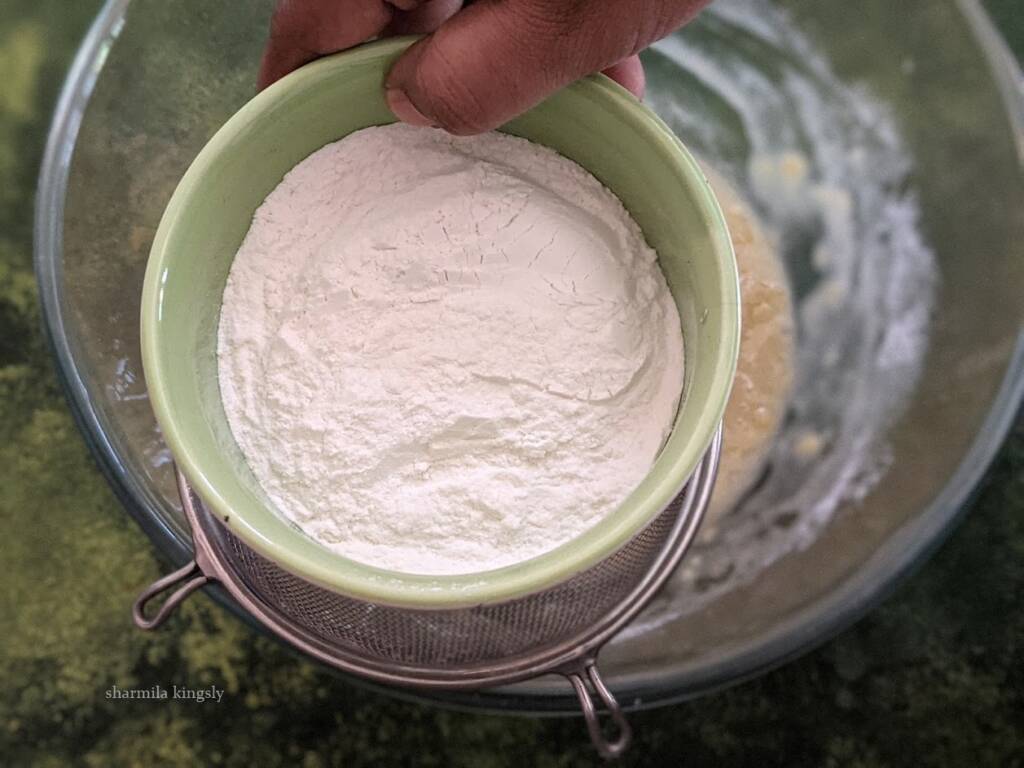
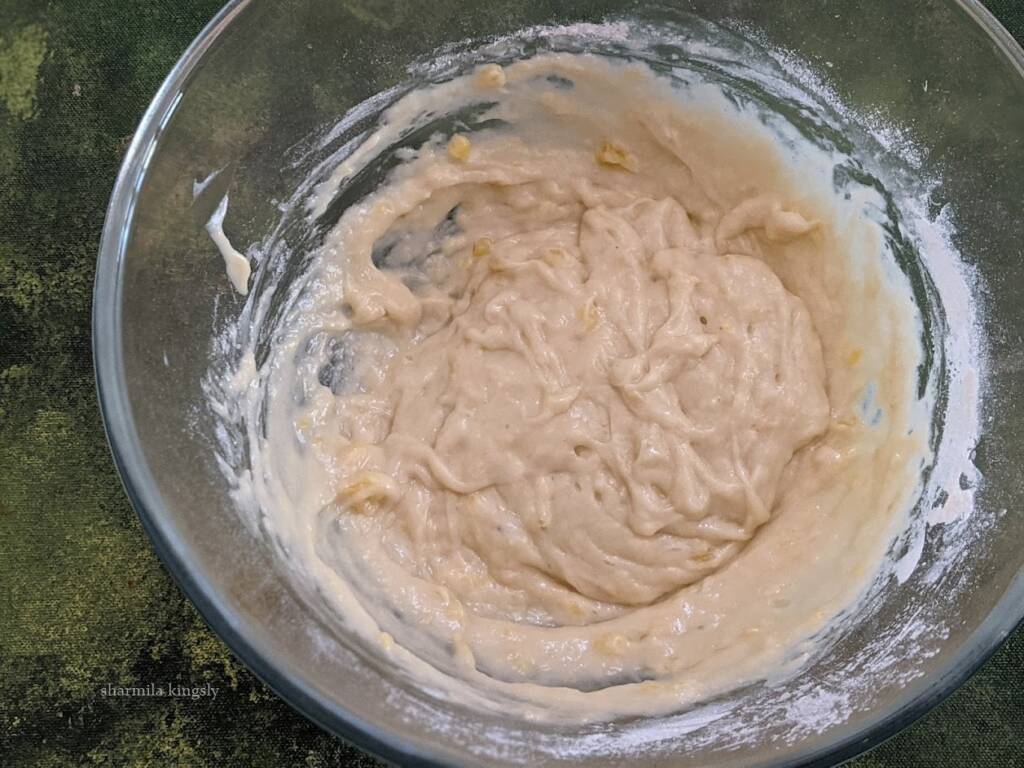
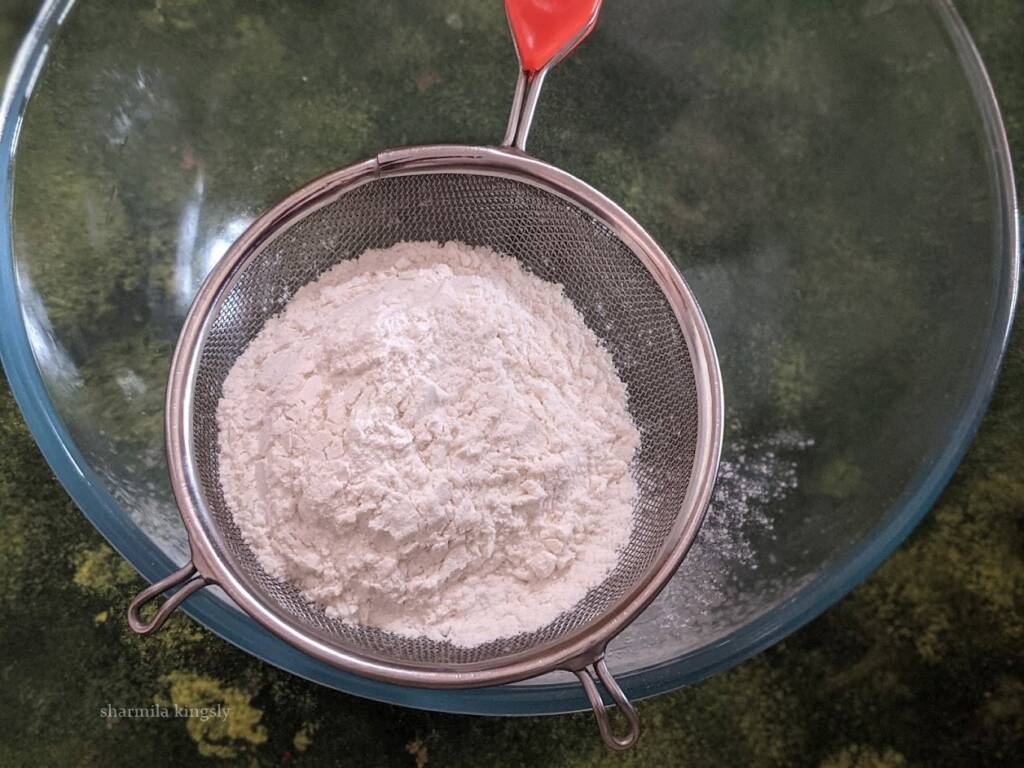
3. Mix everything well together. In another bowl sieve in all-purpose flour.
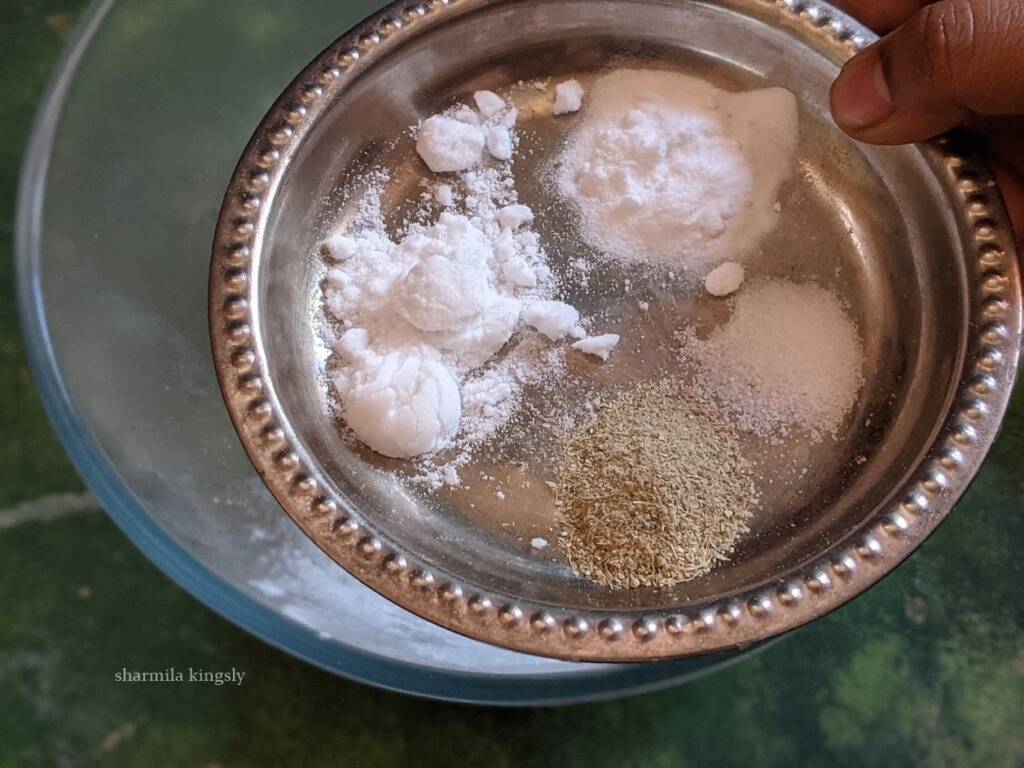
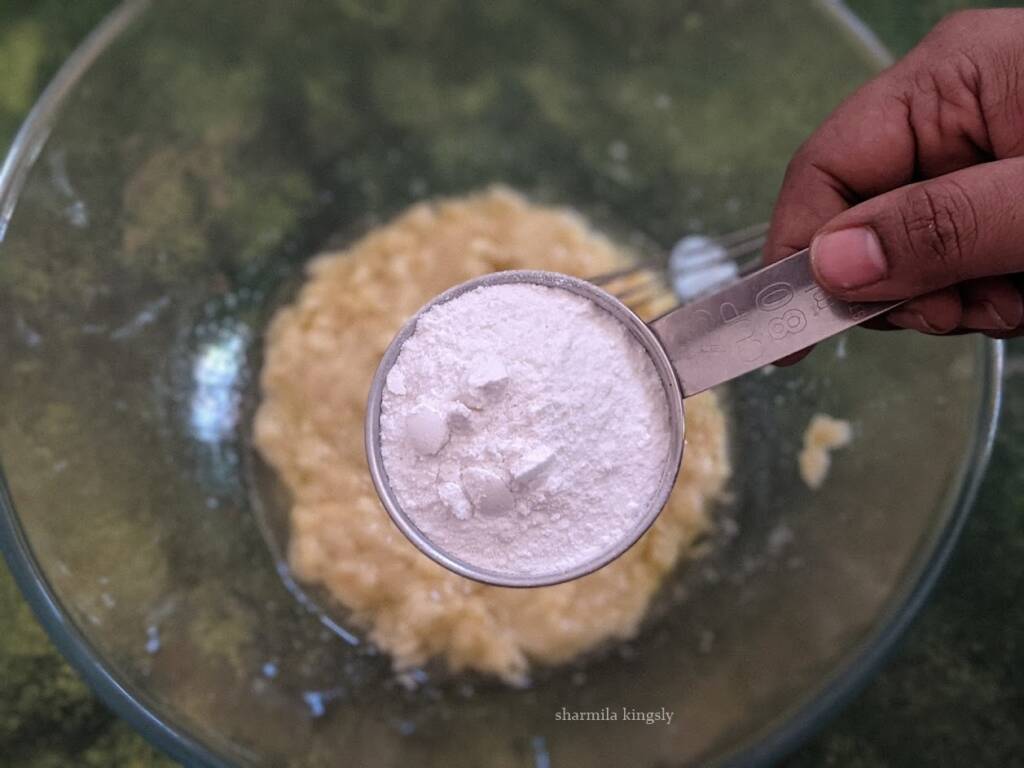
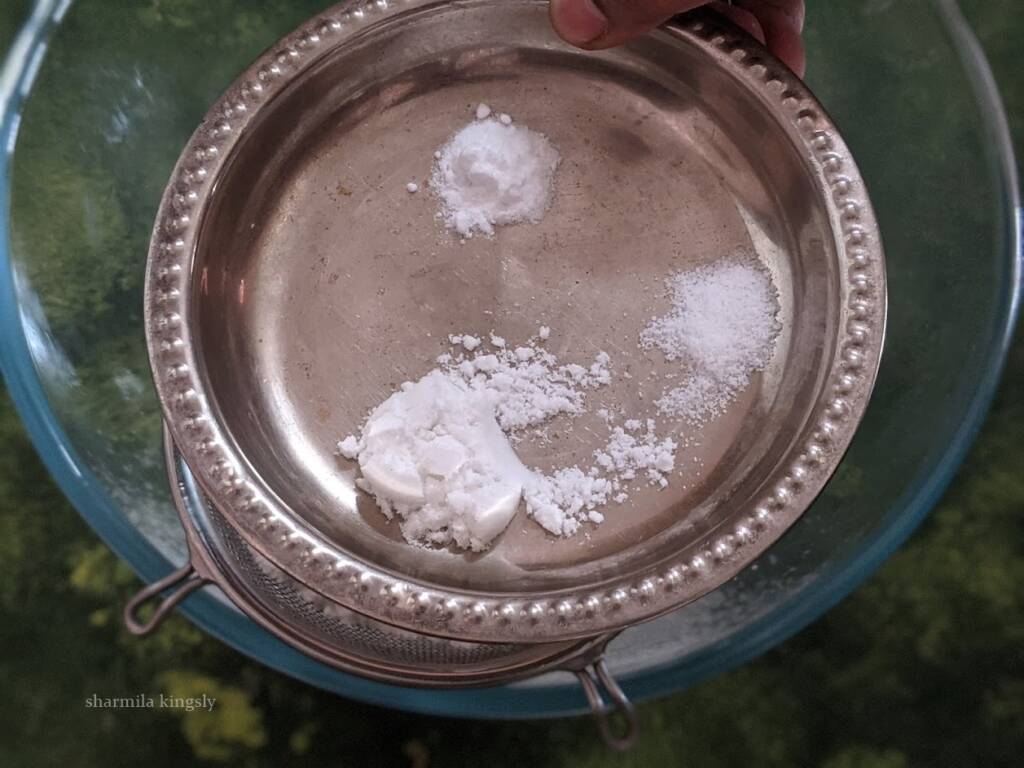
4. To this add in baking powder, baking soda, and salt. Sieve everything together. So that they mix evenly.
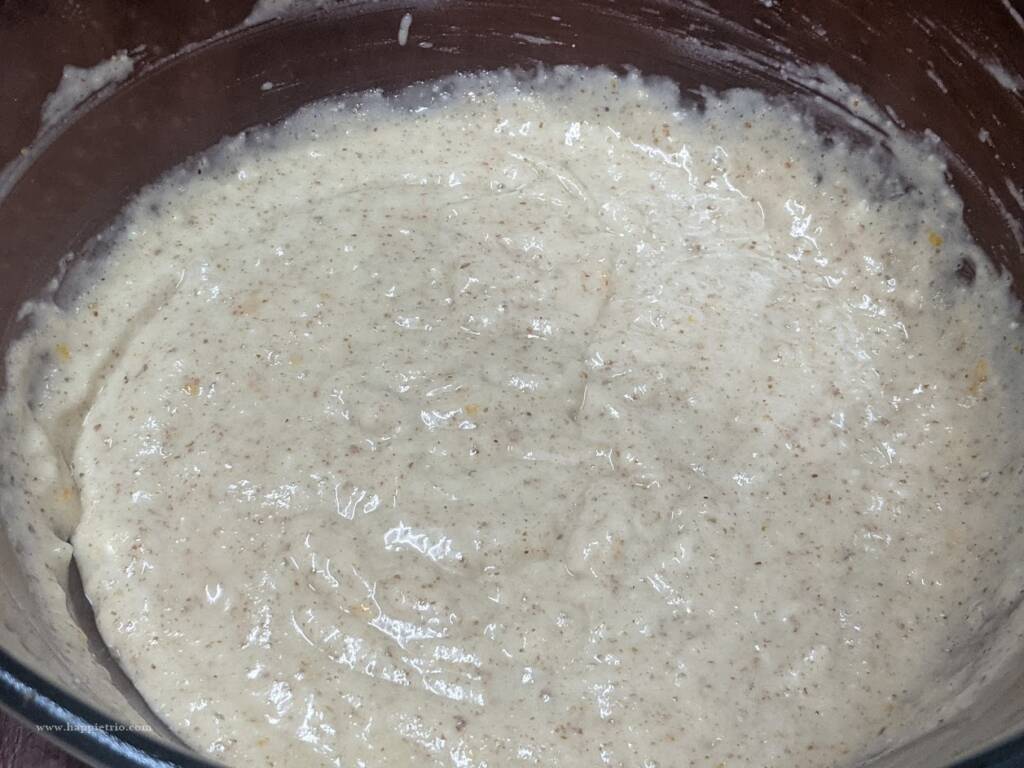
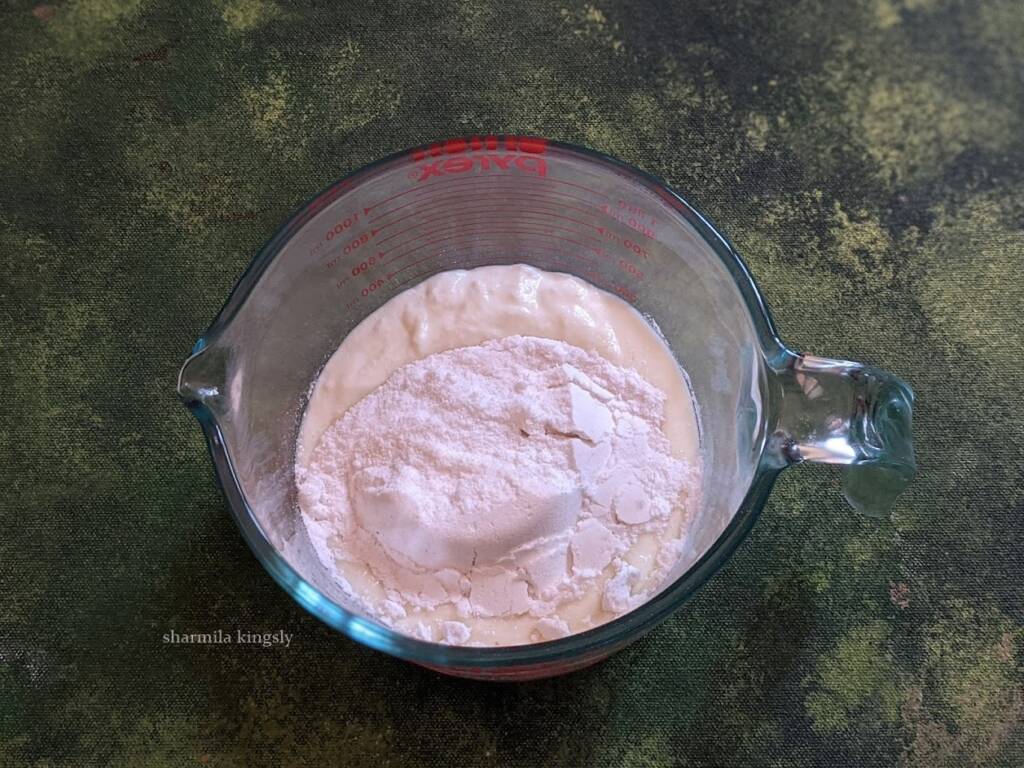
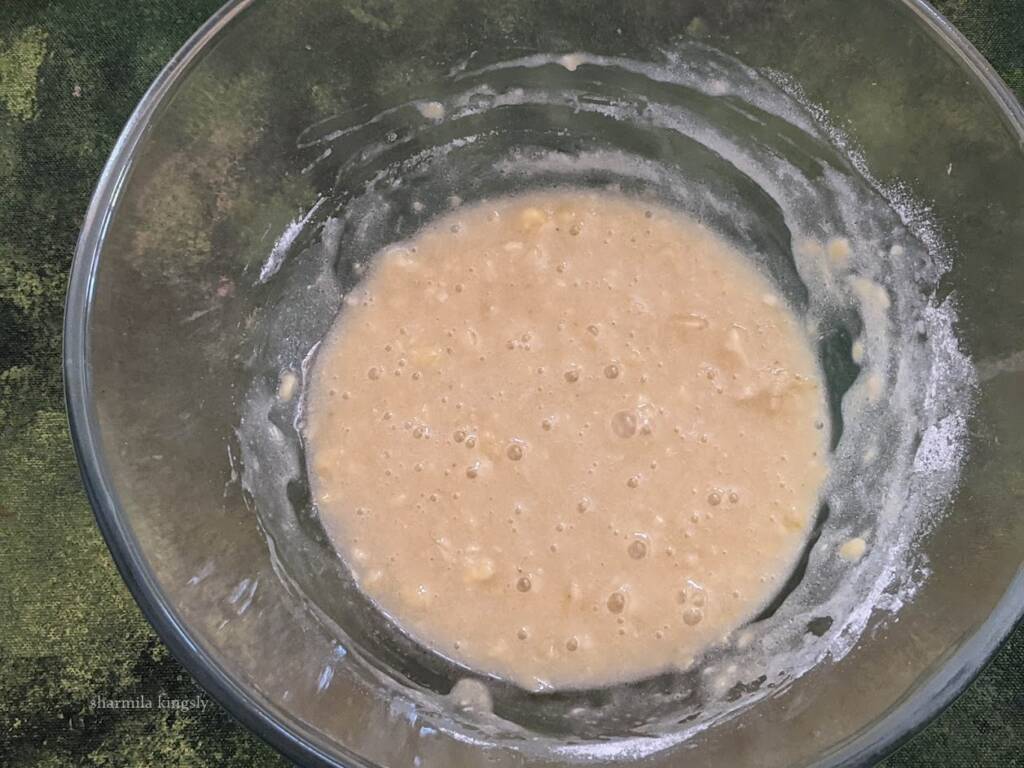
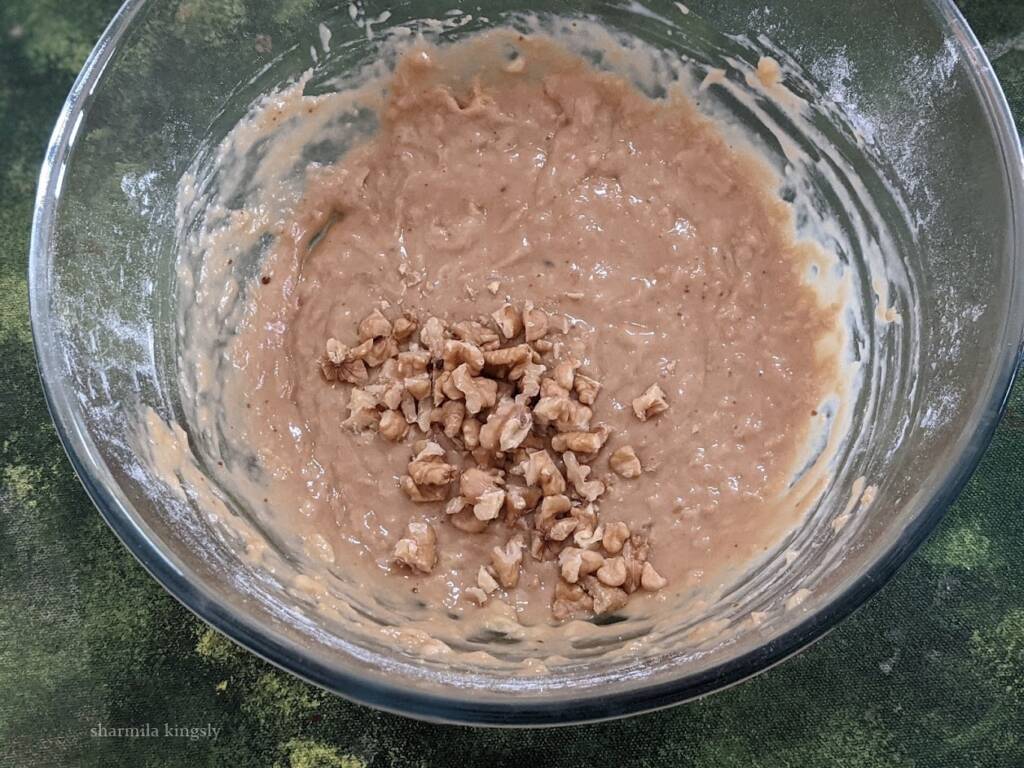
Next, add the dry ingredients to the wet ingredients slowly in batches. Add in ¼ cup of coarsely ground walnuts. Fold everything together.
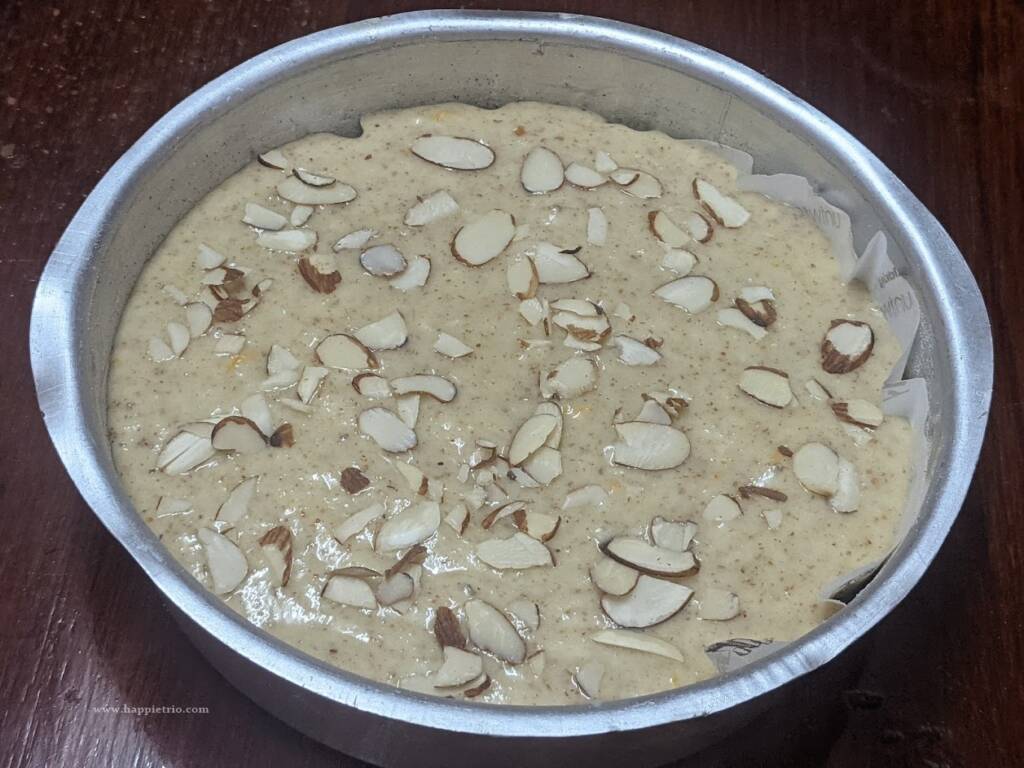
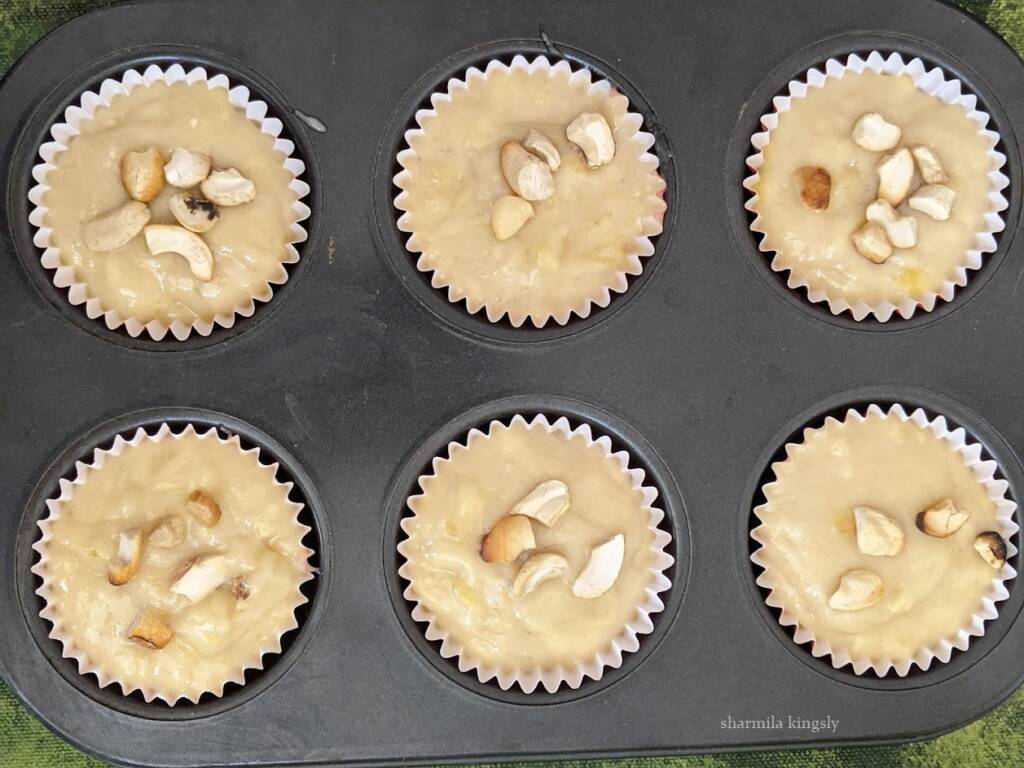
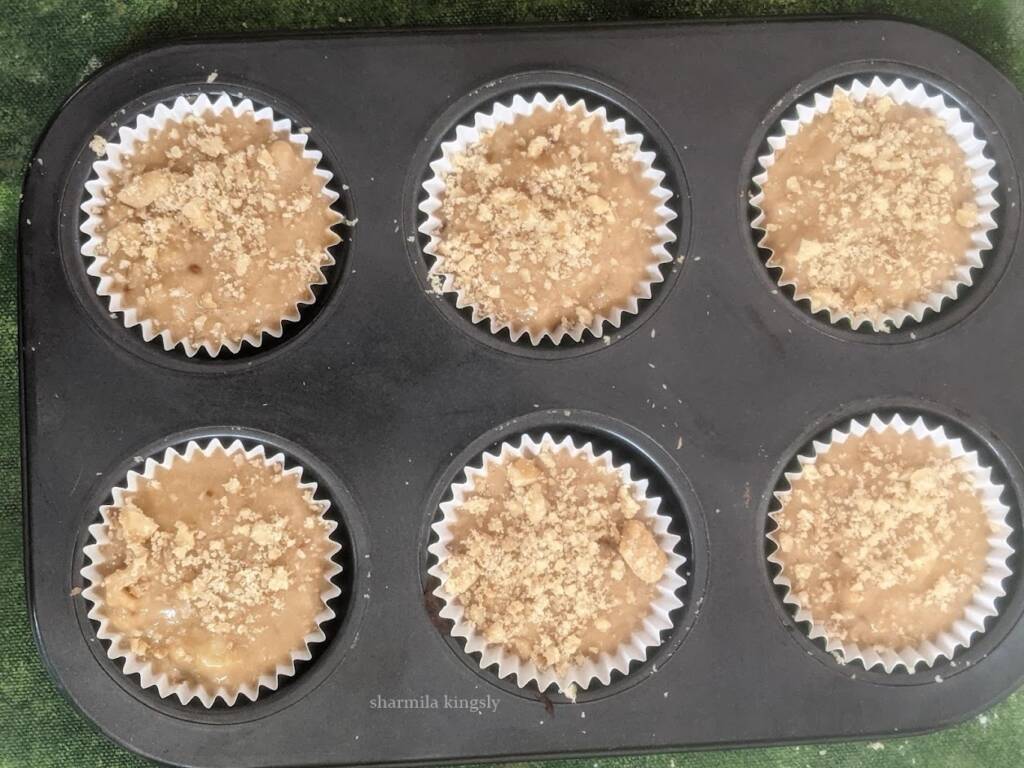
5. Line a muffin tray with liners. To this scoop and add in the prepared batter. Add in a generous serving of coarsely ground walnuts over the muffins.
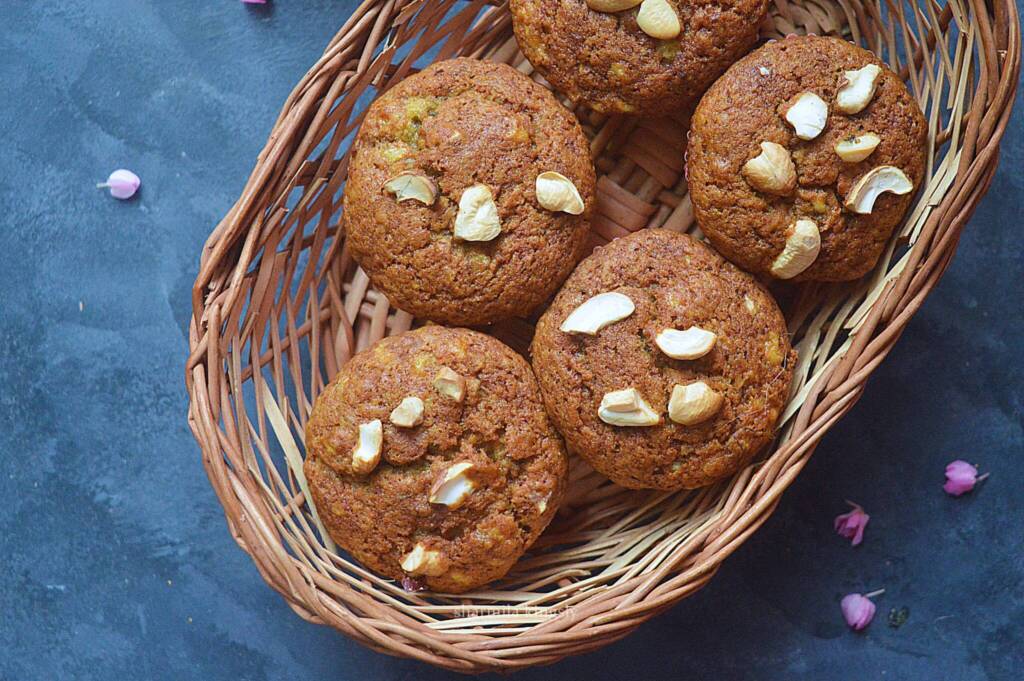
Preheat the oven at 180 Deg C for about 10 mins and then bake at 180 Deg C for about 20 mins. check if a toothpick when inserted comes out clean and then remove it from the oven. Allow it to cool completely and then serve
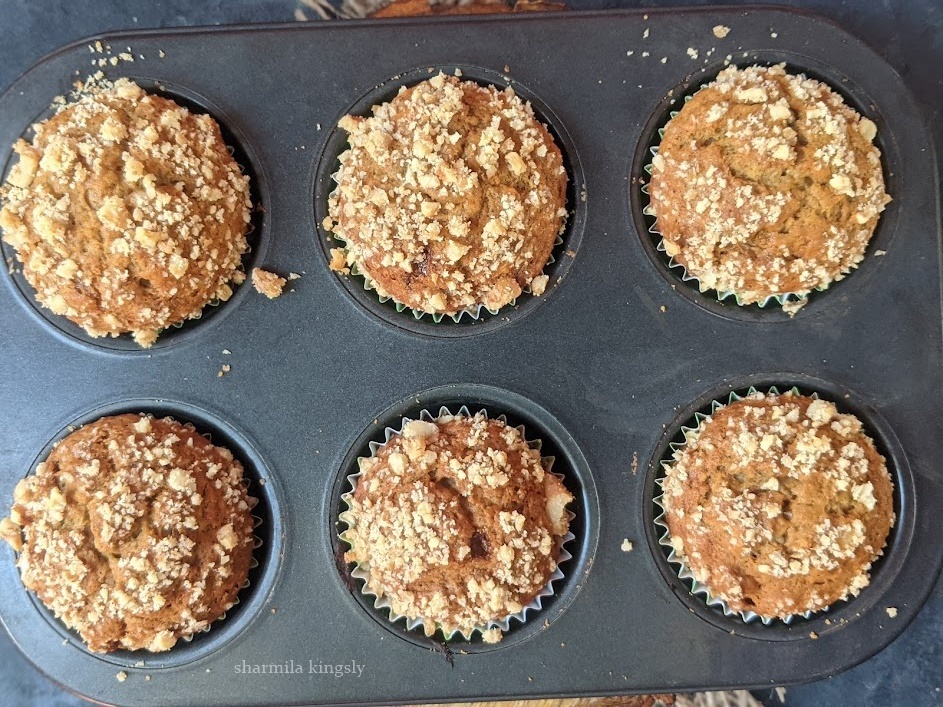
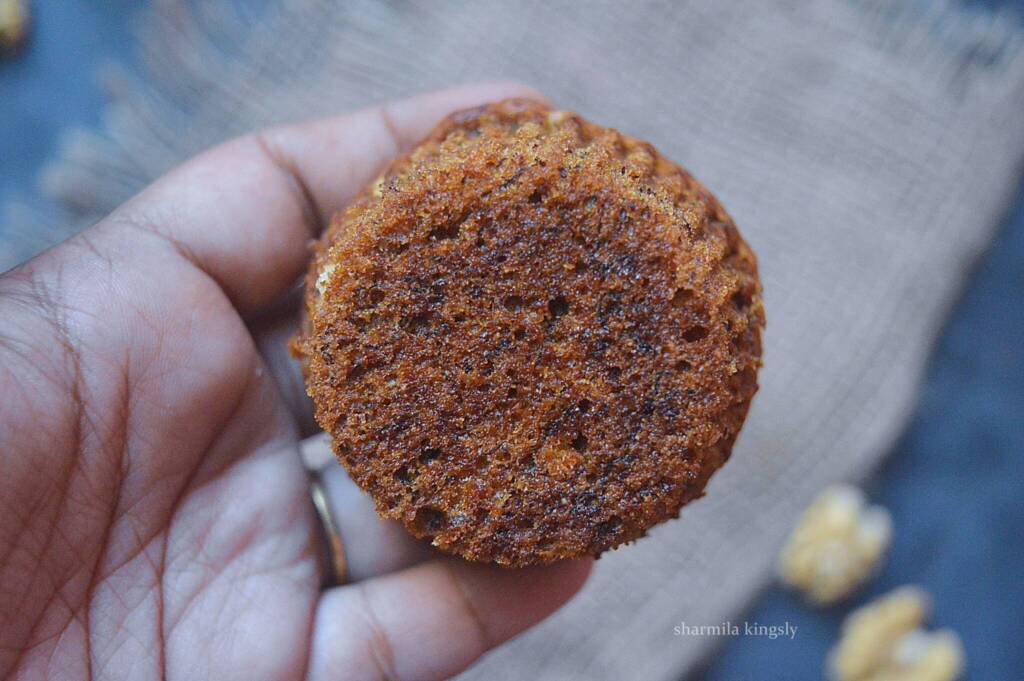
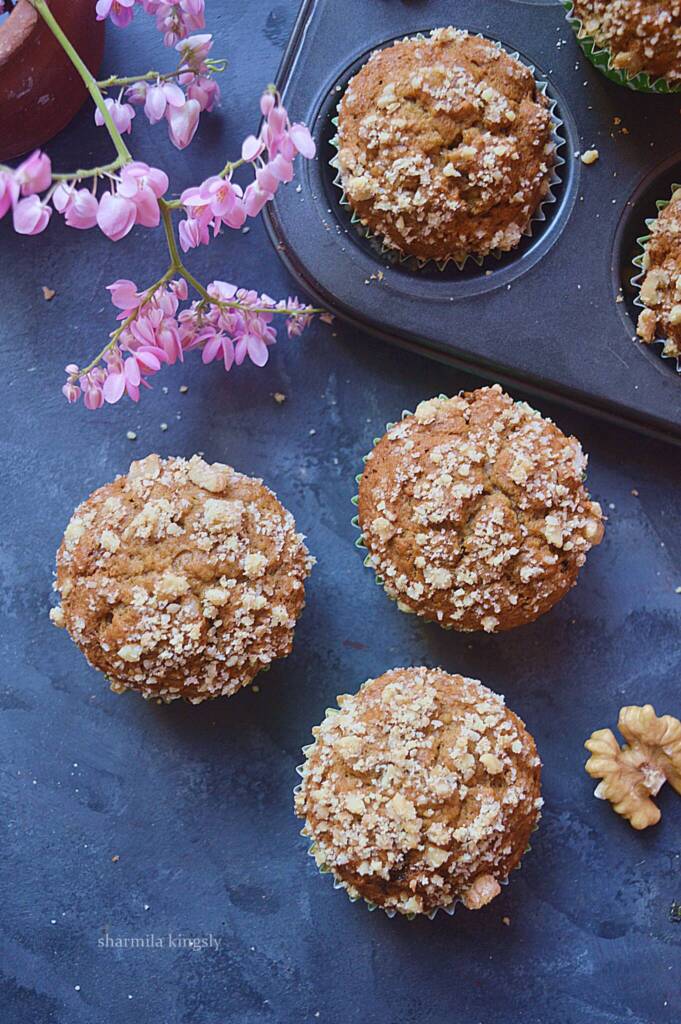
Banana Walnut Muffins is now ready for snacking.

Tips &Variations
- Always use overripe bananas for moist muffins.
- You can also freeze the overripe bananas and use them in the muffins.
- If using frozen bananas thaw them to room temperature and then use.
- You can also add choco chips or other toasted nuts to the muffins.
- We can also flavor the muffin with cinnamon or cardamom powder.
- Instead of Walnuts, you may use other nuts as well.
Serving Suggestions
Makes a delicious breakfast option with some Milk. Otherwise goes well for a lunchbox or snack box too.
Storage Options
Banana Muffins freeze well. You can store it in zip lock bags and freeze. Just before serving you can microwave them for 30 - 40 secs and serve. Or simply thaw them to room temperature and serve.
Similar Recipes


★ Did you enjoy this recipe? If you happen to try it out, I would love to hear from you! I’d appreciate it if you could rate and leave a review below in the comments. Your reviews help others know the recipe better too. Thanks for your time. You can also follow me on Facebook, Pinterest, Instagram, Youtube and Twitter for more updates
📖 Recipe

Banana Walnut Muffins
Standard 1 cup measures 240 ml
Ingredients
- ¾ cup Wheat Flour 2 tbsp
- 1 Egg
- 2 tablespoon Buttermilk
- ¼ cup Vegetable oil
- ½ cup Brown Sugar
- 1 teaspoon Vanilla extract
- ⅛ teaspoon Salt
- ¼ teaspoon Baking Soda
- ½ teaspoon Baking powder
- ½ cup Banana mashed
- ¼ cup Walnuts + 2 tablespoon for the crumb
Instructions
- In a mixing bowl beak open an egg to this add in Brown sugar, Vegetable oil and buttermilk.
- 2.Next add in the Vanilla essence and mashed banana.
- 3.Mix everything well together. In another bowl sieve in all-purpose flour.
- 4.To this add in baking powder, baking soda and salt. Sieve everything together. So that they mix evenly. Next add in the dry ingredients to the wet ingredients slowly in batches. Add in ¼ cup of coarsely ground walnuts. Fold everything together.
- 5.Line a muffin tray with liners. To this scoop and add in the prepared batter. Add in a generous serving of coarsely ground walnuts over the muffins. Preheat the oven at 180 Deg C for about 10 mins and then bake at 180 Deg C for about 20 mins. check if a toothpick when inserted comes out clean and then remove from the oven. Allow it to cool completely and then serve
Notes
- The baking time may vary so check after 15 mins.
- Keeps good for 2-3 days.
- Store in refrigerator after 1 day.
Nutrition
Disclaimer: I am not a nutritionist , the nutrition value provided here is an estimate. It will vary based on the quantity and brands of the products used.
Note: This post is originally from 2018. I have updated with new Recipe card, Pictures and video now.