Pumpkin Cheesecake Jars in Instant Pot is a perfect holiday bake. It makes a nice portion control dessert in Jar.
Its the holiday season of the year and I love making easy and quick dessert bites for the kids. These cheese cake jars are a perfect fit and they are small in size and the kids find it easy to enjoy in small portions or single serve.
[feast_advanced_jump_to]Cheesecake Jars
The best thing about this mini cheesecake jars in Instant pot are they are small in size. No water bath is needed for baking. They are a perfect fit for pot lucks and get together. Cheesecake gets baked perfectly in the instant pot in less than 15 mins (Pressure building time + cooking time) of active cooking time.
Ingredients:
Cream cheese - Use any brand of cream cheese as you prefer. Even the low fat cream cheese has achieved the best results.
Digestive biscuits - These are the biscuits with natural sugars. If you cant find them use your favorite cookies and crackers. You may use the traditional graham crackers, or ginger snap cookies. Adjust the sugar as needed from the sweetness of the cookies. Approximately ¾ cup of crushed cookies we require for the cheesecake base.
Butter - Melted butter helps in setting the cookie crumb base.
Brown Sugar - You may use either white sugar or brown sugar. But my personal favorite is brown sugar. It complements very well with the cookies and gives a exotic taste.
Pumpkin puree - Use homemade or canned pumpkin puree. However do not confuse this with the pumpkin pie filling.
Egg - Use 1 big room temperature egg.
Yogurt - Use natural unflavored yogurt. You may also use sour cream in place of yogurt.
Vanilla extract - Use pure vanilla extract.
Pumpkin spice mix - It gives a very nice flavor to the cheesecake filling. Instead you may use ½ teaspoon cinnamon powder and ⅛ teaspoon Nutmeg powder.
FAQ's
Can we make the cheesecake Jars ahead ?
You can make the cookie crumbs put them in mason jars in freezer for upto 1 month. just before you bake bring them to room temperature and bake. Or you can set the cookie and cheesecake layer and set them in fridge for 2 days.
What are the possible Toppings ?
You can use chocolate ganache, Cool whip, Cream cheese frosting, Sprinkle with nuts dried fruits or even Lemon curd. Salted caramel sauce, Nutella or biscoff spread too works well.
What is the best Cream cheese for Cheesecake ?
No doubt about is the best is always Philadelphia Cream cheese. I have heard this from many friends and in Indian Philadelphia cream cheese is not available. I have tried Milky Mist and dlecta cream cheese and I dint have any problem working with it. ( P.S Not a sponsored post for Philadelphia or Milky Mist cream cheese )
Can I bake without Mason jars ?
Yes you can , you can try ramekins or any heat proof bowl for that matter. Make sure you cover them with foil and bake to prevent condensation from the Instant Pot.
How to make Pumpkin Cheesecake Jars in Instant Pot
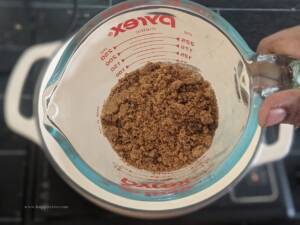
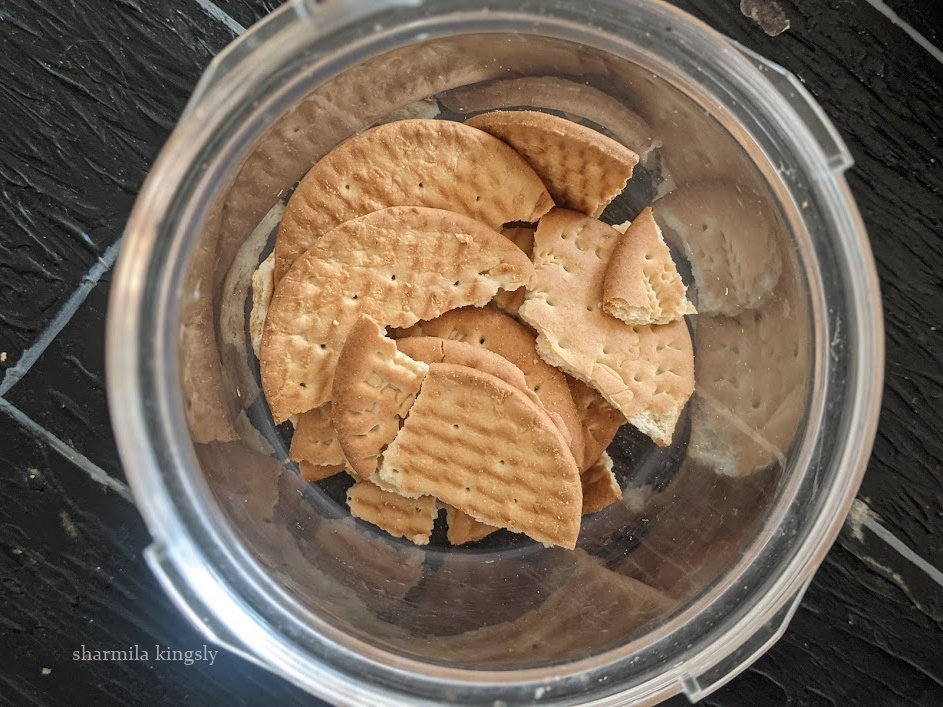
1. Roughly crush the 10 digestive biscuits and add them to a food processor . Grind them until crumbled.
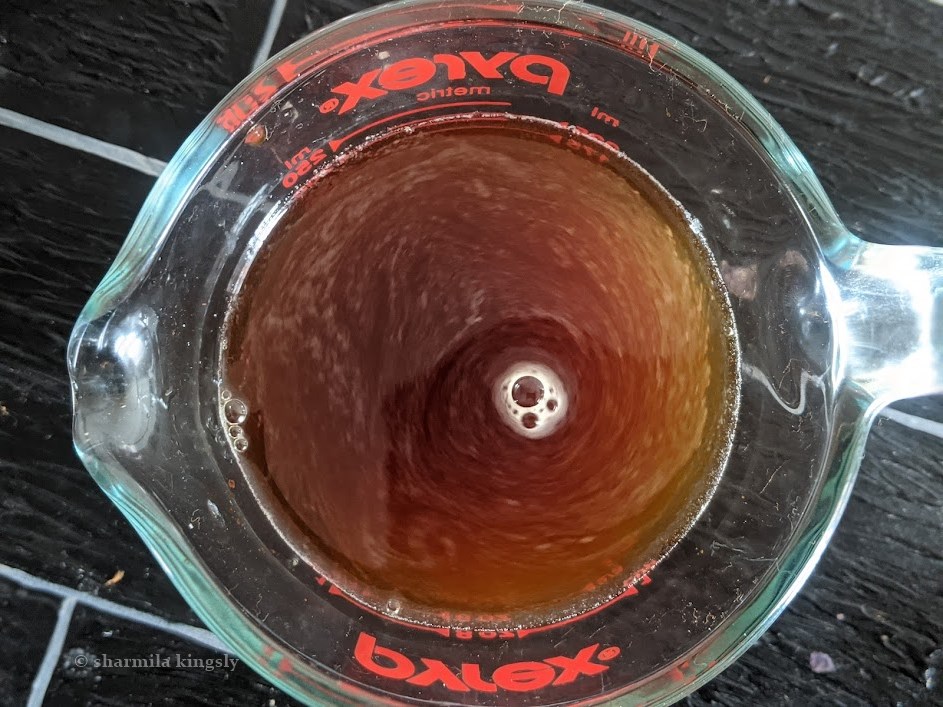
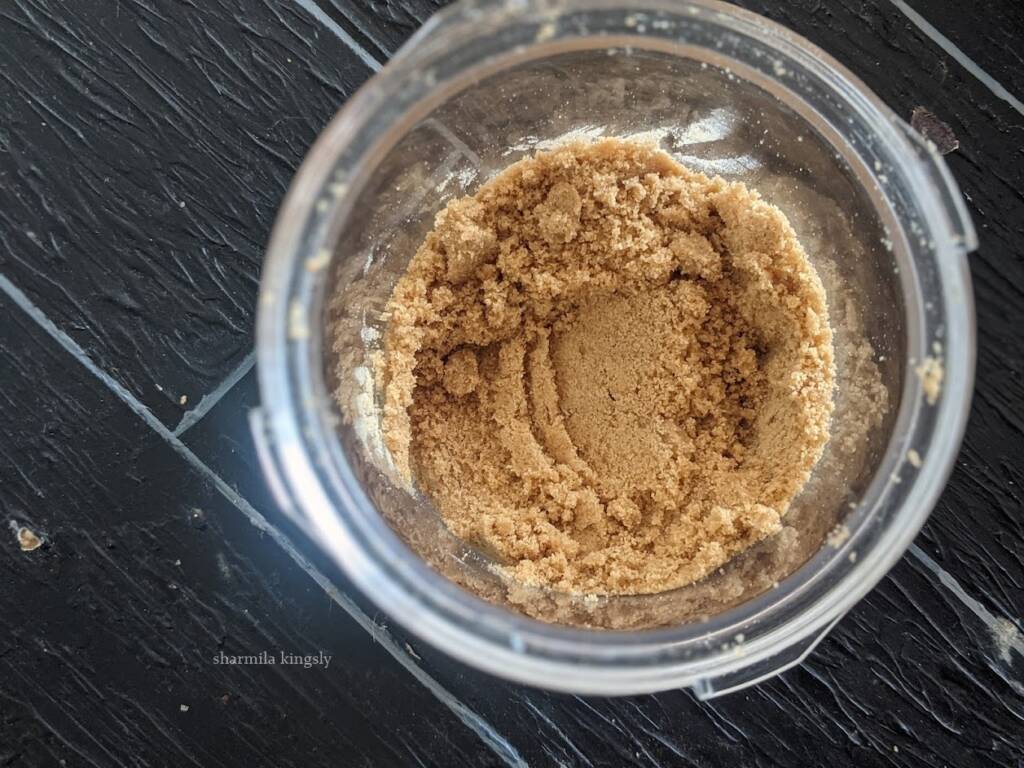
2. Add 2 tablespoon melted butter and ⅓ cup brown sugar to the crumbled cookies. Blend them once again until they are finely ground and set aside.
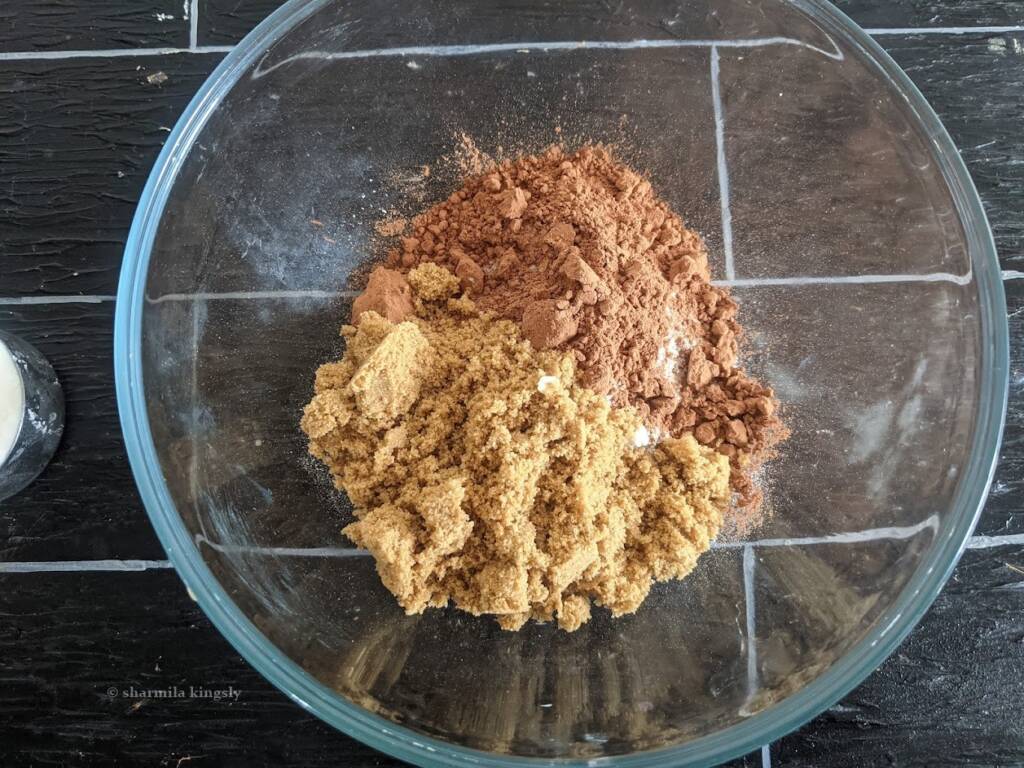
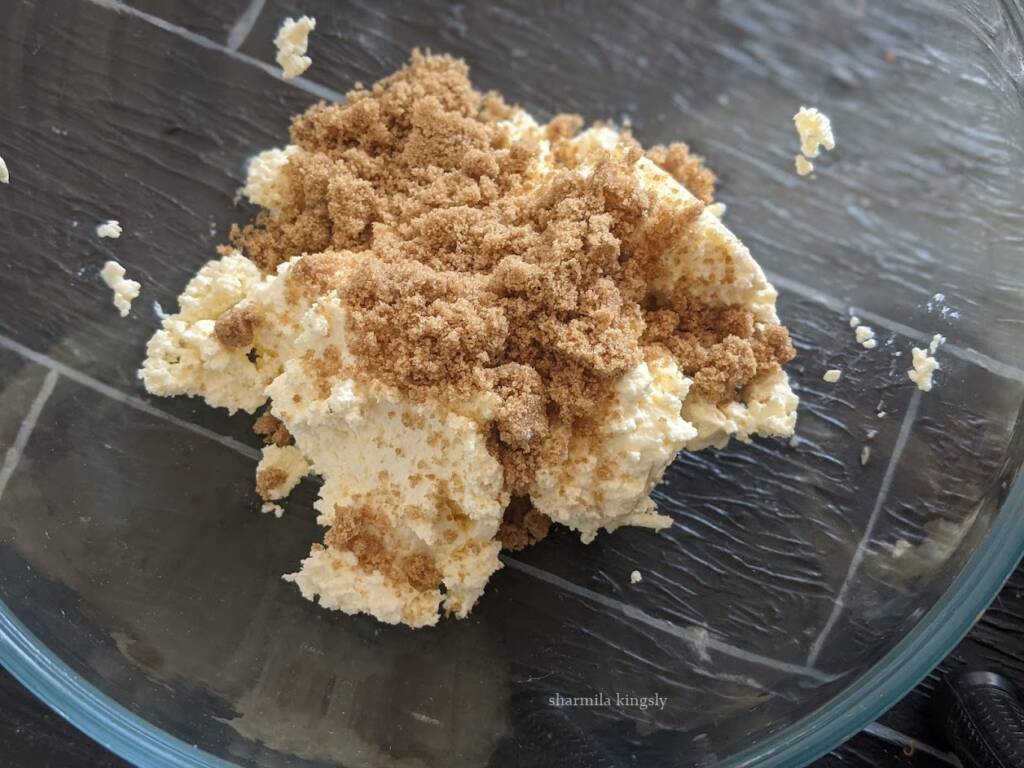
3. In a mixing bowl add in 1 cup of cream cheese and ⅓ cup of brown sugar.
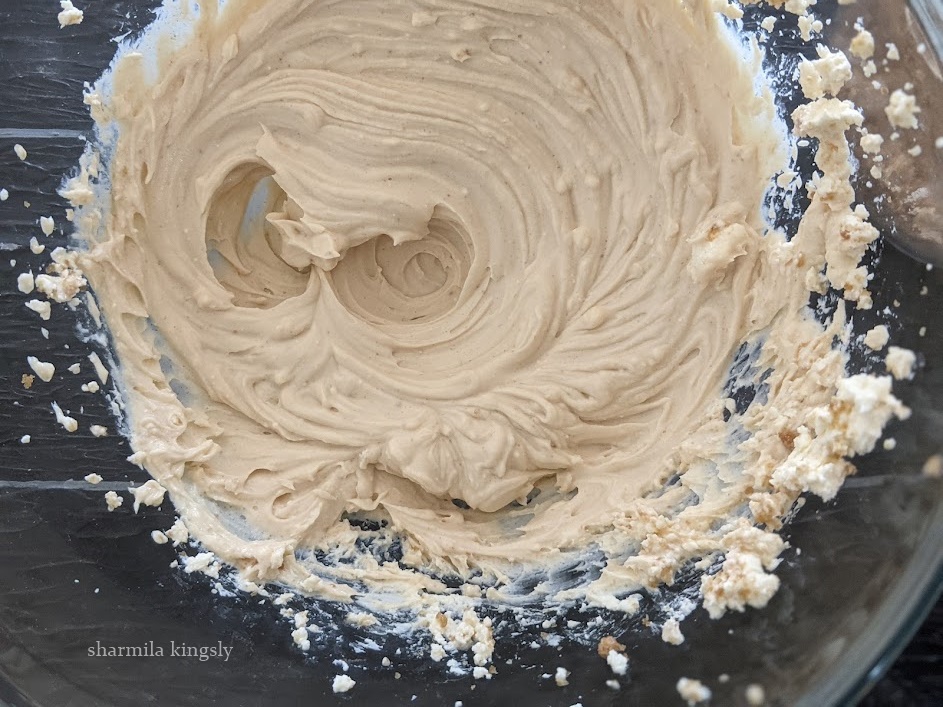
4. Using a hand blender beat them together in a low speed until combined. Scrape the edges of the bowl and combine everything.
5. Break open one room temperature egg and using a hand blender beat until well combined in low speed.
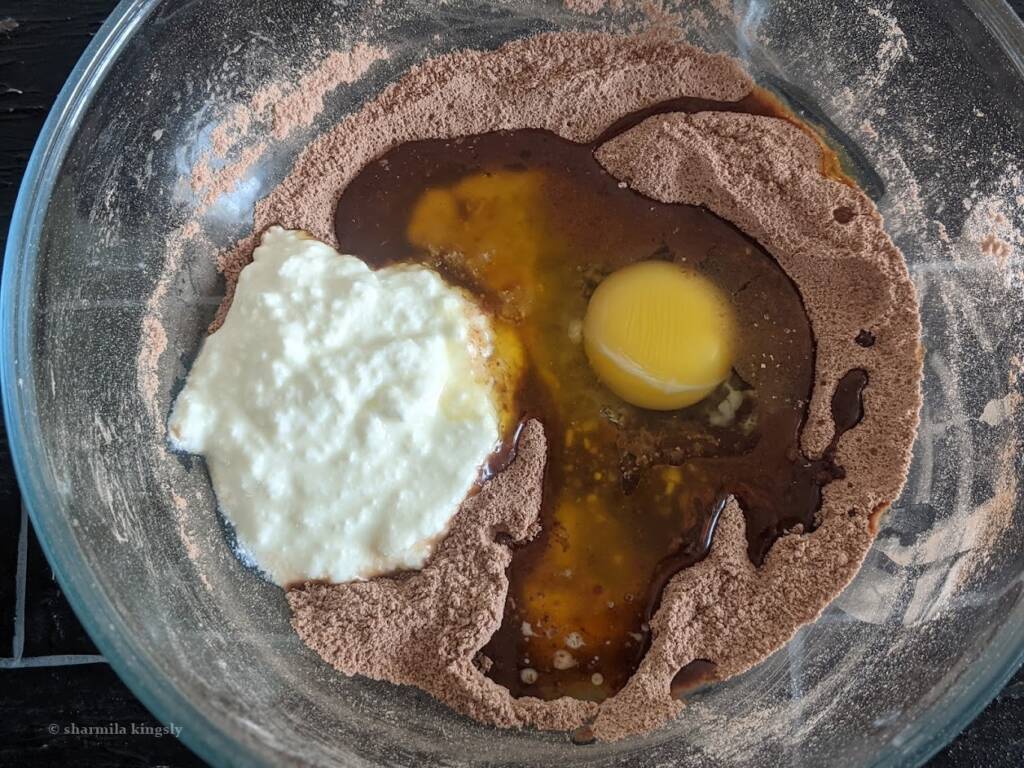
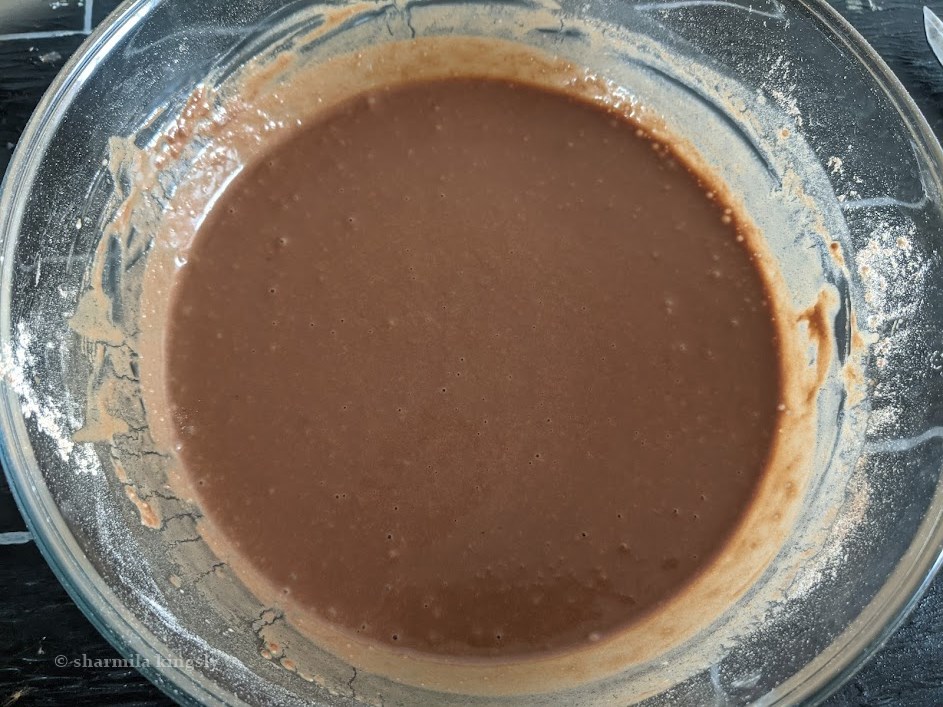
6. Next add in ⅓ cup pumpkin puree, 2 tablespoon yogurt, a pinch of salt, ½ teaspoon Pumpkin spice and 1 teaspoon of vanilla extract.
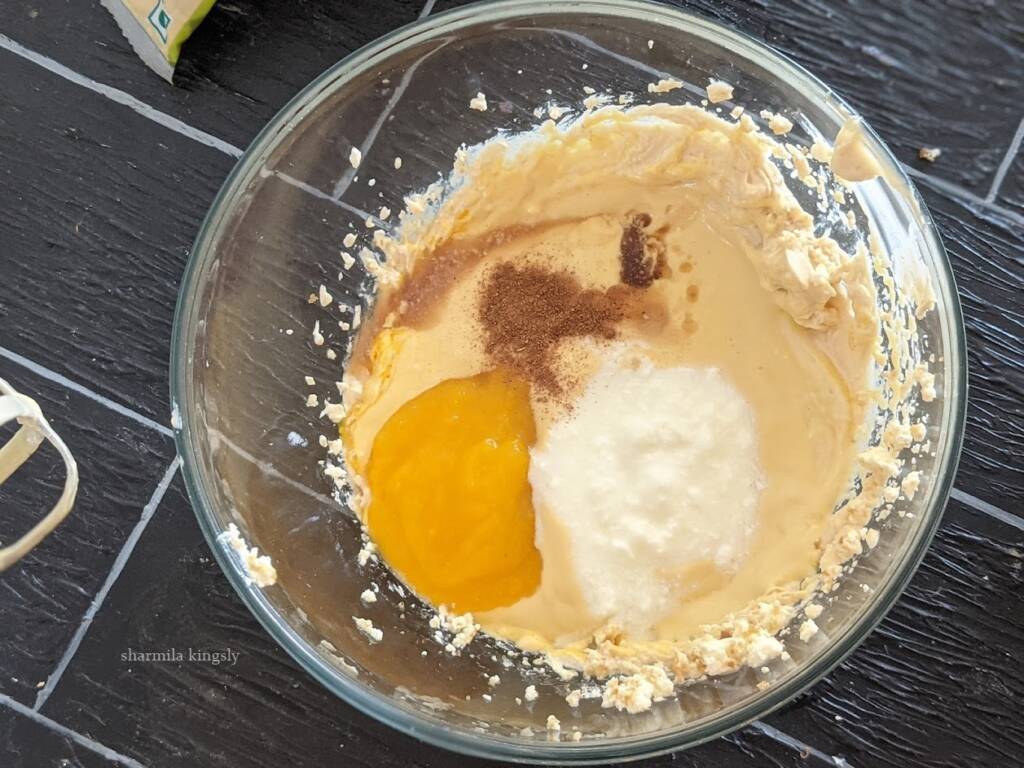
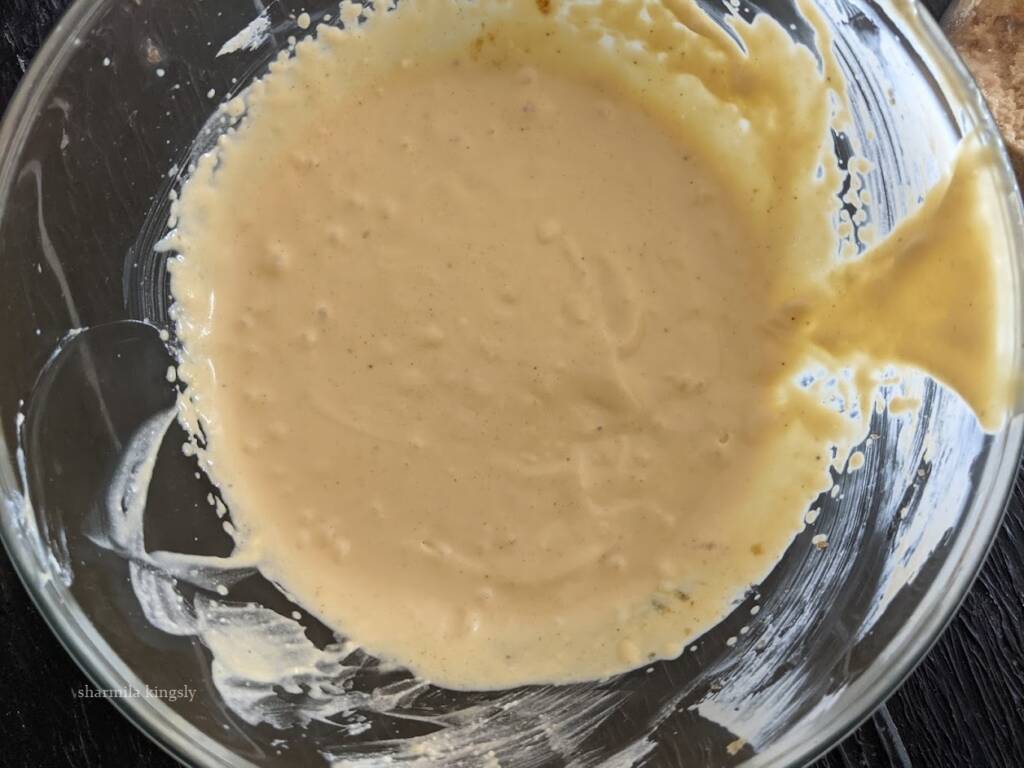
7. Using a hand blender once beat everything until they are well combined.
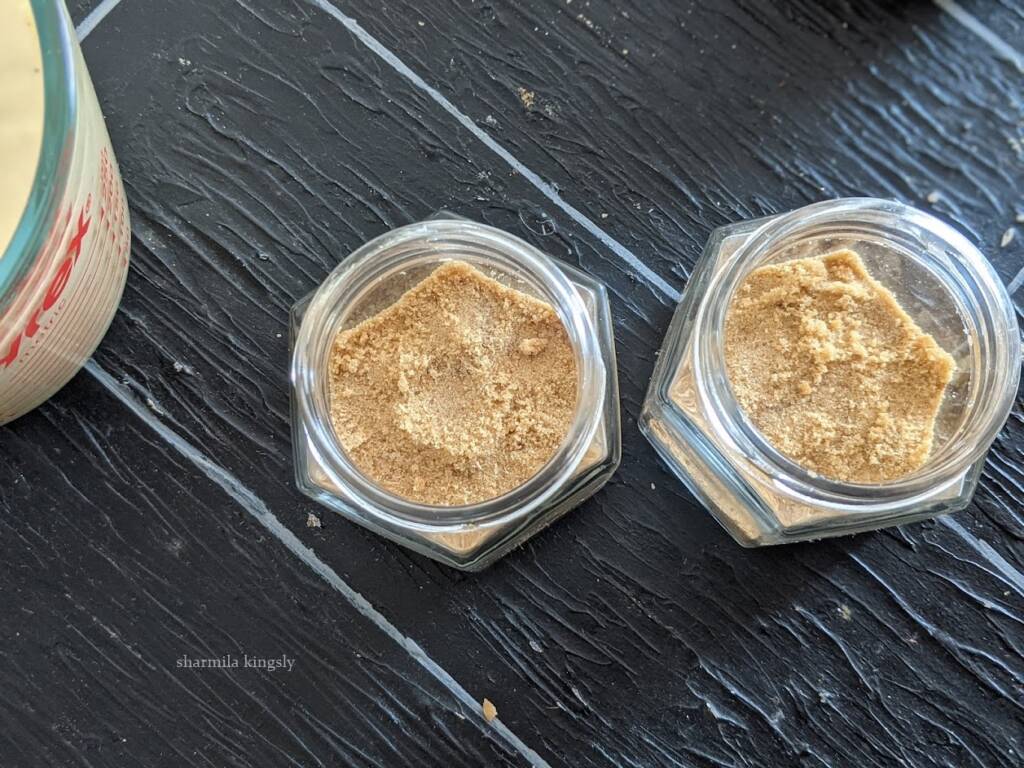
8. Divide the cookie crumb equally into 5 portions and layer in the jars. Press them with a backside of the spoon gently until they stay firm.
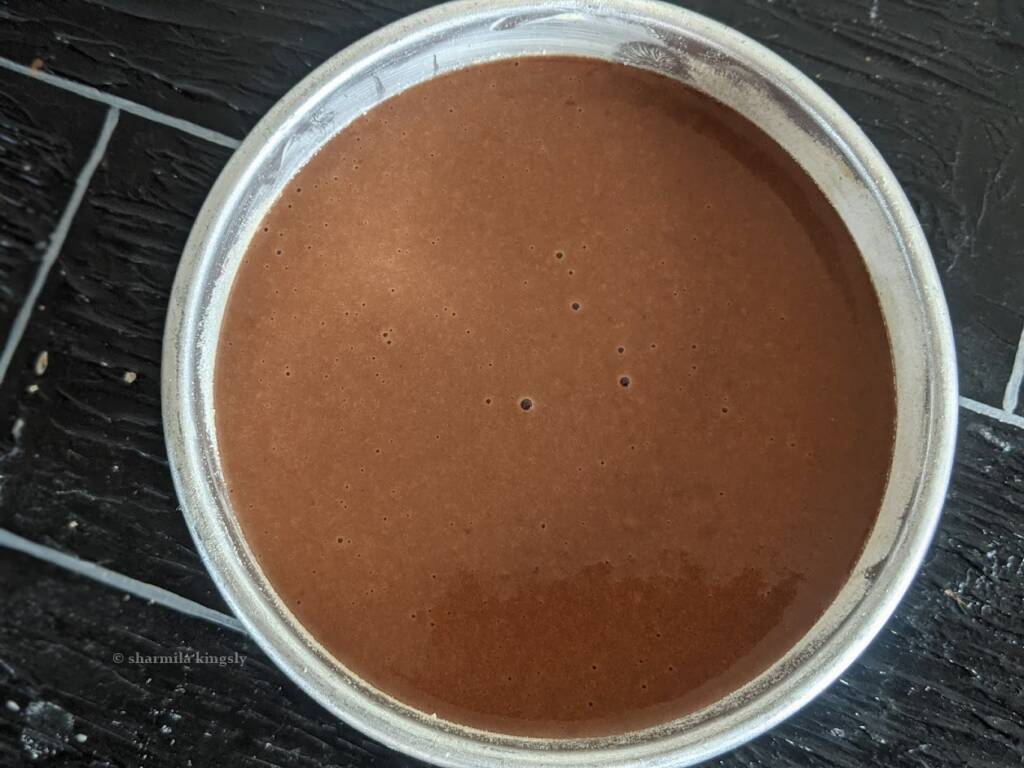
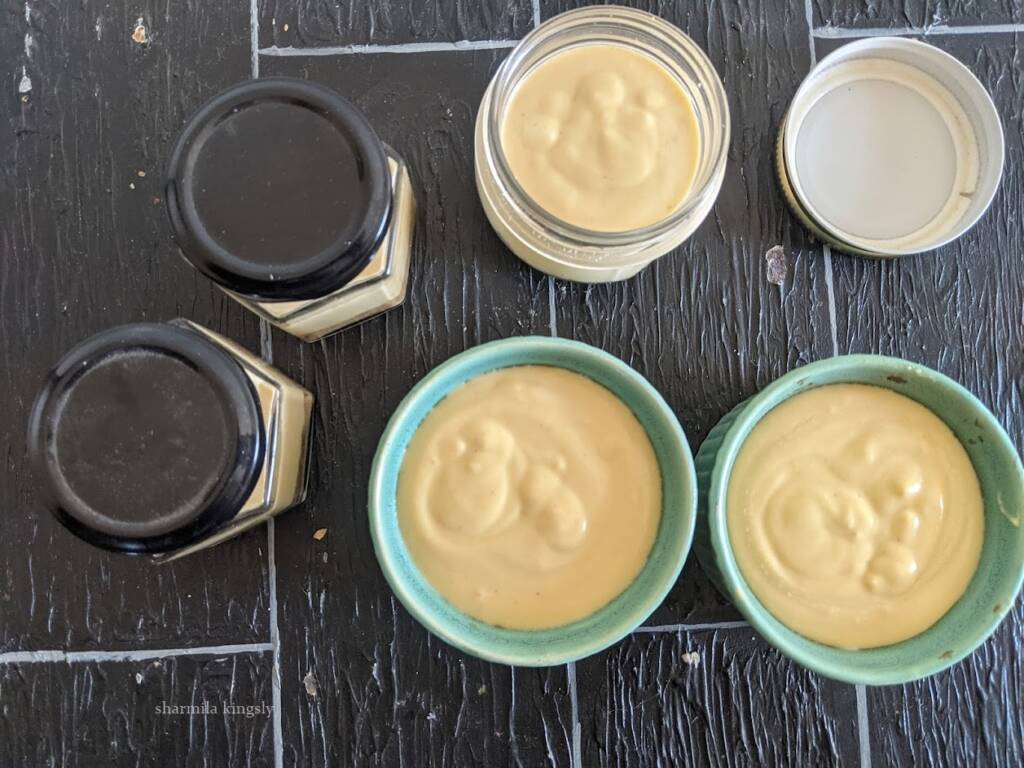
9. Next add in the pumpkin cheesecake filling. About 3 tablespoon in all the jars.

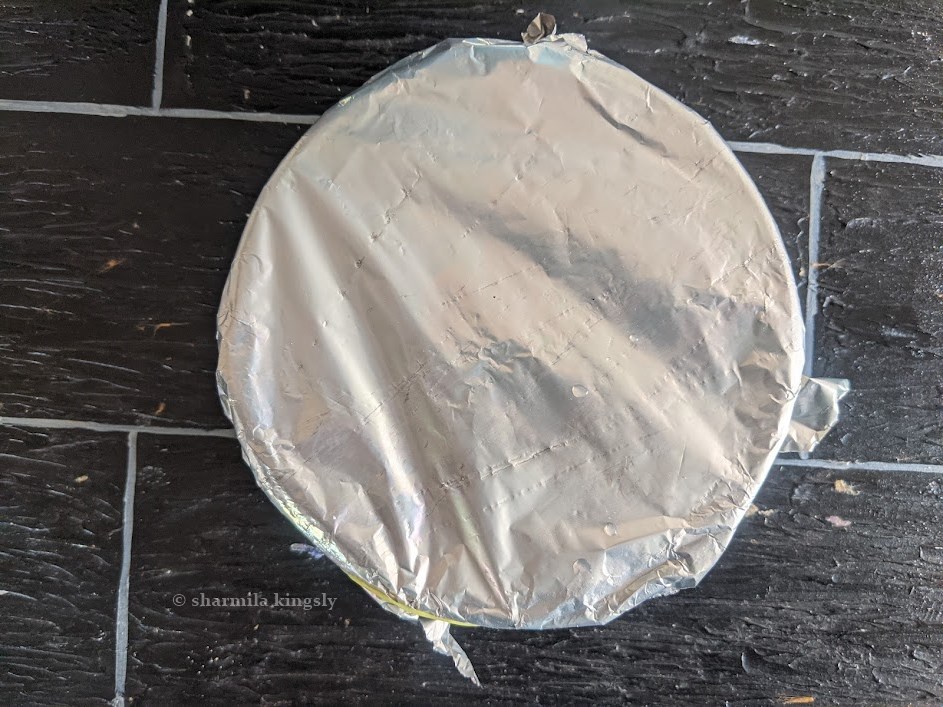
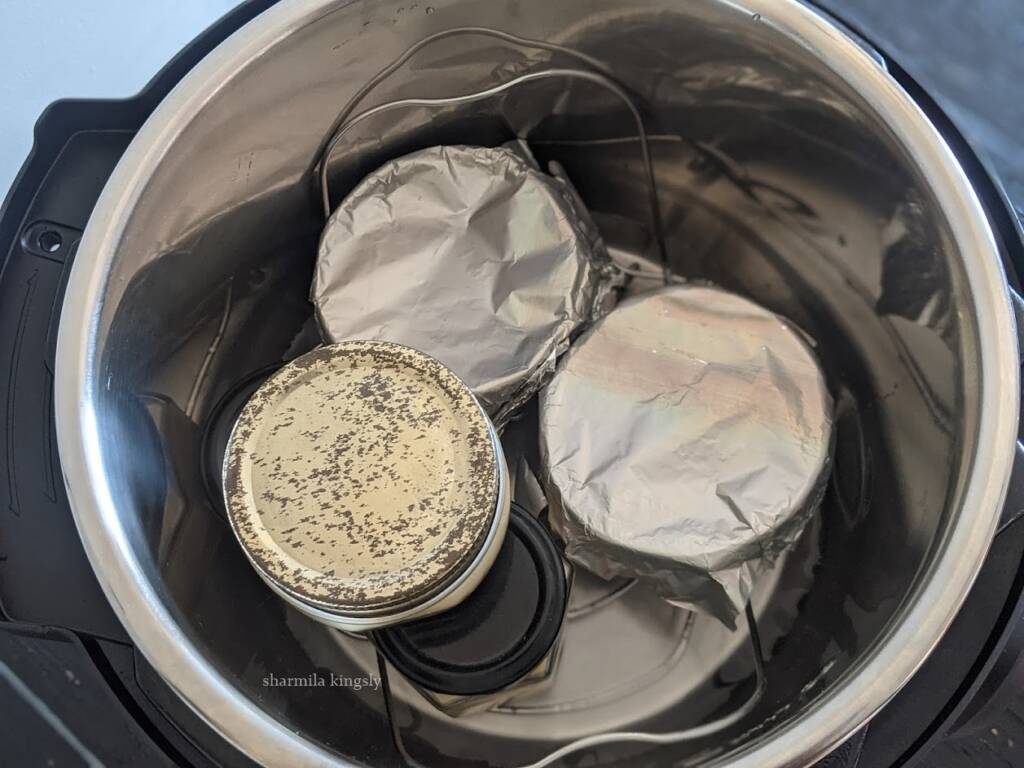
10. Tap gently to remove air bubbles if any. Close the jars with the lids. No need to close tightly. Just firm enough to cover the jar. I am also using few ramekin bowls. Covered the ramekins with foil.
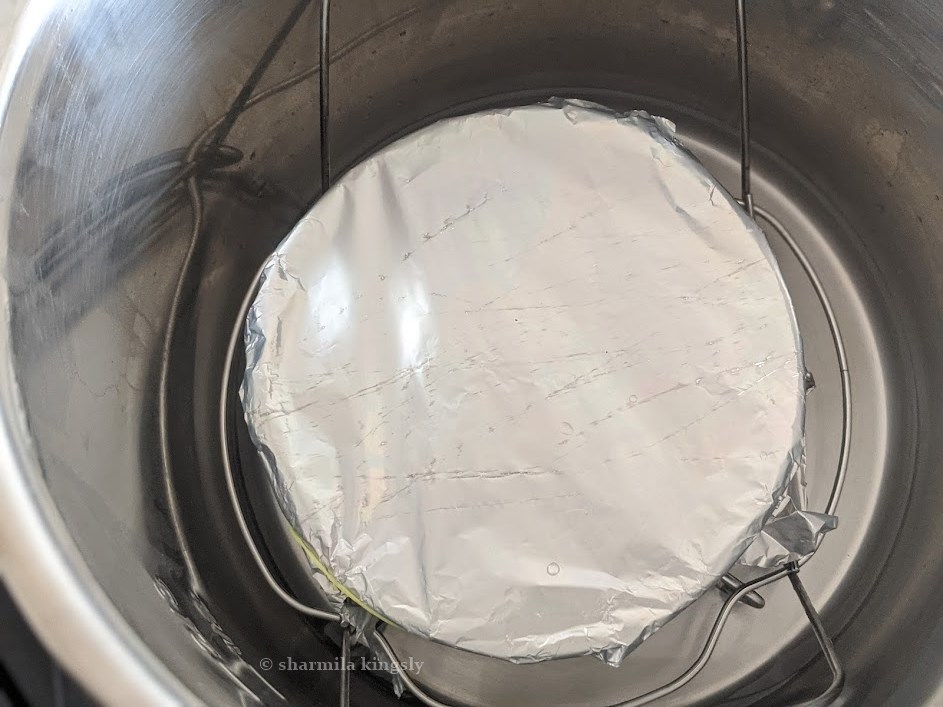
11. Add 1 cup of water to the inner pot of the Instant Pot and place the trivet inside. Arrange the jars and ramekins inside and close the instant pot.
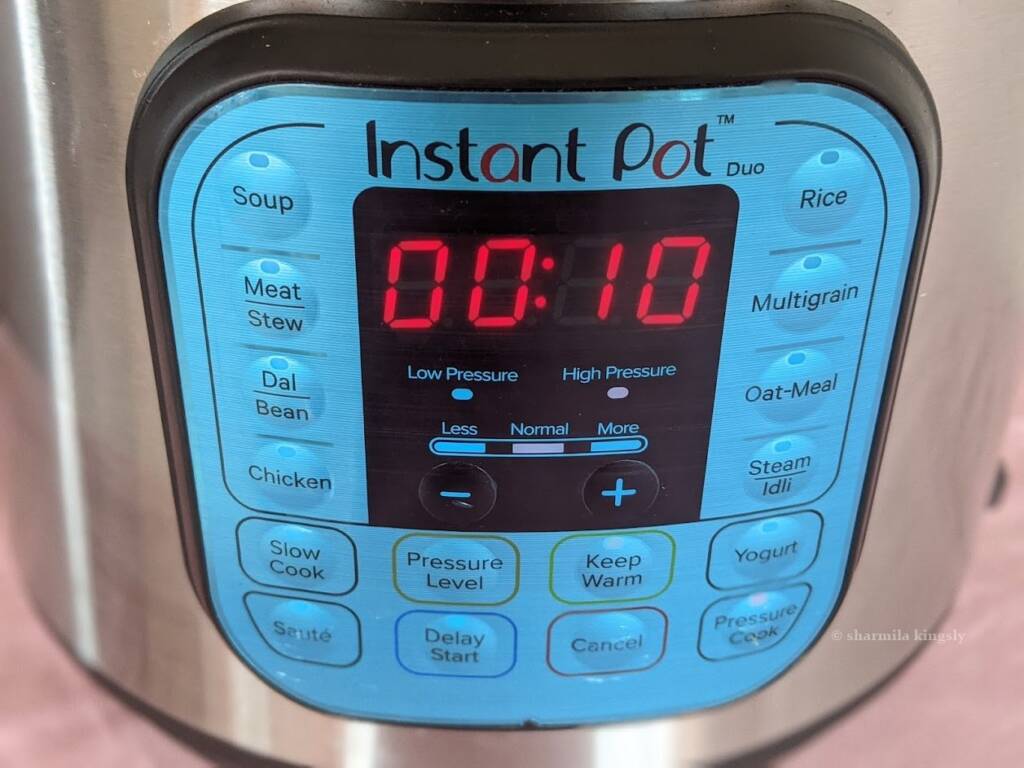
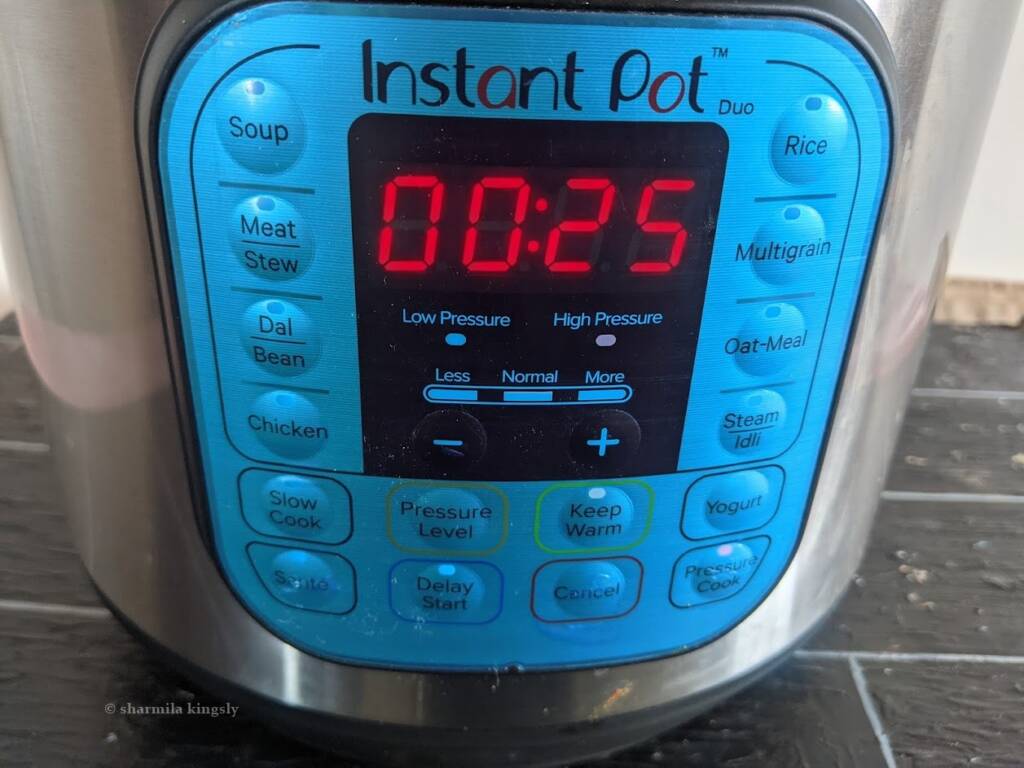
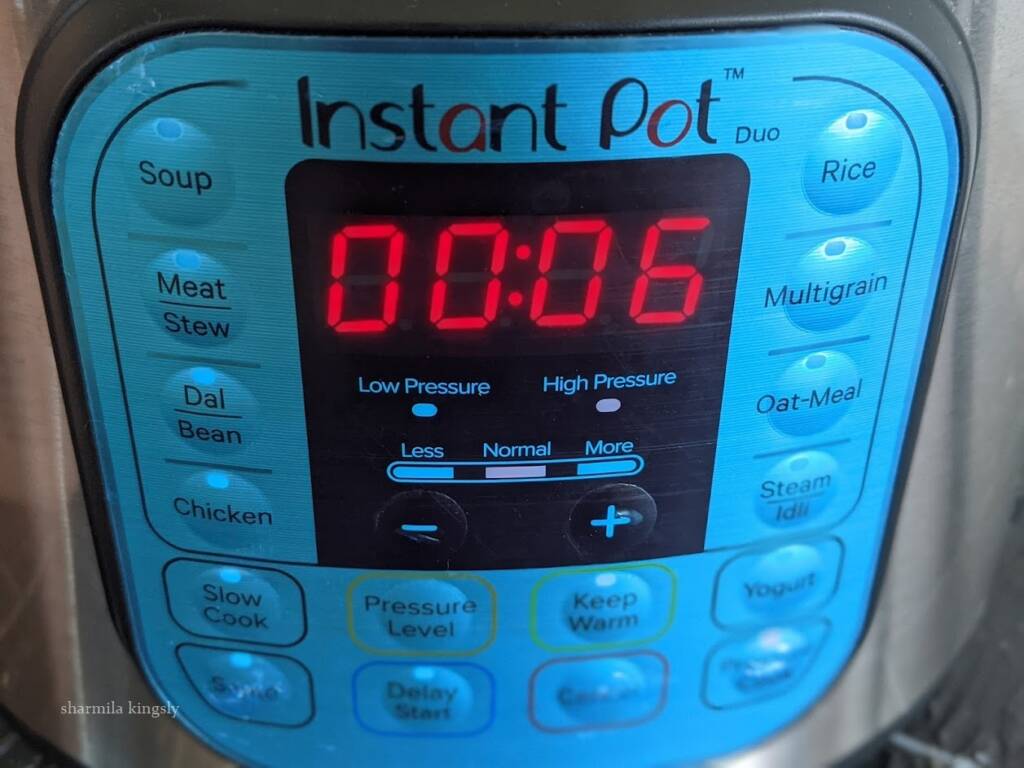
12. Move the pressure knob to the sealing position and set 6 mins high in pressure cook mode. Wait for a natural pressure release and then open the Instant Pot.
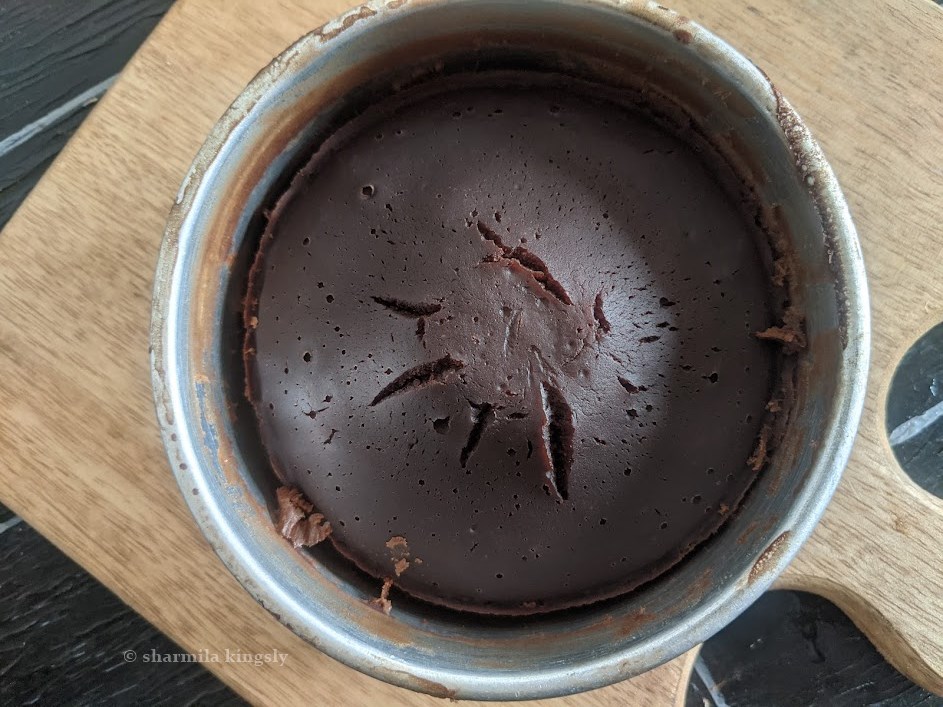
13. Remove the cheesecake jars from the Instant Pot and let it cool for 1 hour. After cooling transfer the cheesecake jars to the fridge for another 5-6 hours.
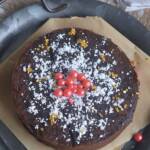
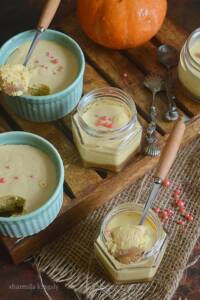
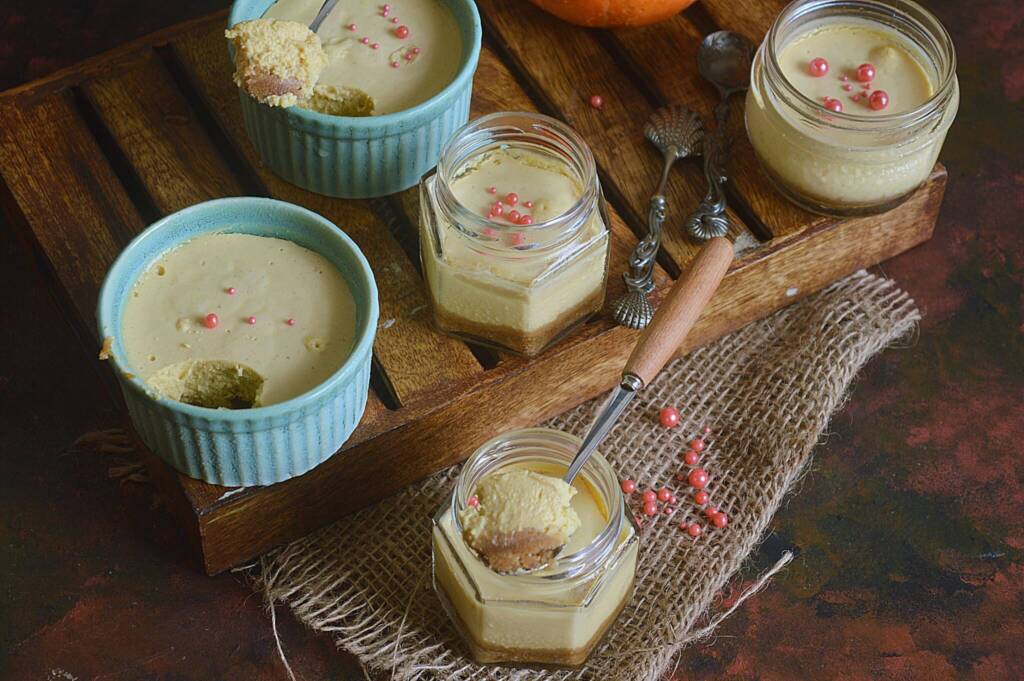
14. Instant Pot pumpkin cheesecake Jars are now ready to enjoy. Top them with whipped cream frosting or cool whip or your favorite sprinkle and enjoy.
Tips for the best cheesecake
- Make sure all the ingredients are in room temperature before you start preparing the cheesecake.
- In the case of jars you don't have to worry about breaking the cake. Else always go for a spring form pan for easy un molding.
- Always cool down the came , bring to room temperature and then put in the fridge.
- Never put the cheesecake directly into the fridge after once its out.
- Extreme change of temperature might spoil the taste and texture of the cheese cake.
- Allow the cheesecake to set in fridge for 5 to 6 hours before it is ready to serve.
- You can top the cheese cake with whipped cream or cool whip. Or even fruit compote. Any topping as you prefer. I just went with some sprinkles.
Serving Suggestions
Makes a lovely portion control dessert. I usually serve them as an after meal dessert especially after a heavy lunch. The cheese cakes makes absolute justice.
Storage Options
Cheese cakes stays good in the fridge for up to 5 days. Never leave the cheesecake in room temperature.
More Instant Pot desserts


★ Did you enjoy this recipe? If you happen to try it out, I would love to hear from you! I’d appreciate it if you could rate and leave a review below in the comments. Your reviews help others know the recipe better too. Thanks for your time ? You can also follow me on Facebook, Pinterest, Instagram, Youtube and Twitter for more updates
📖 Recipe
Pumpkin Cheesecake Jars in Instant Pot
Standard 1 cup measures 240 ml
Equipment
- Instant Pot 6 qt
- Instant Pot 6 qt
Ingredients
For Cookie Crumb
- 10 Digestive biscuits Can use graham crackers, or ginger snap cookies too
- 2 tablespoon Melted Butter
- ⅓ cup Brown Sugar
For Cheesecake Filling
- 1 cup Cream cheese
- ⅓ cup Brown Sugar
- 1 Egg Room temperature
- ⅓ cup Pumpkin Puree
- 2 tablespoon Yogurt
- 1 teaspoon Vanilla extract
- ½ teaspoon Pumpkin spice powder
- Salt a pinch
Instructions
- Roughly crush the 10 digestive biscuits and add them to a food processor . Grind them until crumbled.
- Add 2 tablespoon melted butter and ⅓ cup brown sugar to the crumbled cookies. Blend them once again until they are finely ground and set aside.
- In a mixing bowl add in 1 cup of cream cheese and ⅓ cup of brown sugar.
- Using a hand blender beat them together in a low speed until combined. Scrape the edges of the bowl and combine everything.
- Break open one room temperature egg and using a hand blender beat until well combined in low speed.
- Next add in ⅓ cup pumpkin puree, 2 tablespoon yogurt, a pinch of salt, ½ teaspoon Pumpkin spice and 1 teaspoon of vanilla extract.
- Using a hand blender once beat everything until they are well combined.
- Divide the cookie crumb equally into 5 portions and layer in the jars. Press them with a backside of the spoon gently until they stay firm.
- Next add in the pumpkin cheesecake filling. About 3 tablespoon in all the jars.
- Tap gently to remove air bubbles if any. Close the jars with the lids. No need to close tightly. Just firm enough to cover the jar. I am also using few ramekin bowls. Covered the ramekins with foil.
- Add 1 cup of water to the inner pot of the Instant Pot and place the trivet inside. Arrange the jars and ramekins inside and close the instant pot.
- Move the pressure knob to the sealing position and set 6 mins high in pressure cook mode. Wait for a natural pressure release and then open the Instant Pot.
- Remove the cheesecake jars from the Instant Pot and let it cool for 1 hour. After cooling transfer the cheesecake jars to the fridge for another 5-6 hours.
- Instant Pot pumpkin cheesecake Jars are now ready to enjoy. Top them with whipped cream frosting or cool whip or your favorite sprinkle and enjoy.
Video
Notes
Nutrition
Disclaimer: I am not a nutritionist, the nutrition value provided here is an estimate. It will vary based on the quantity and brands of the products used.