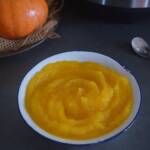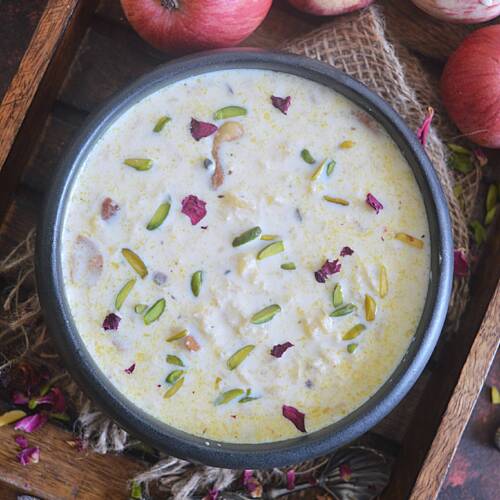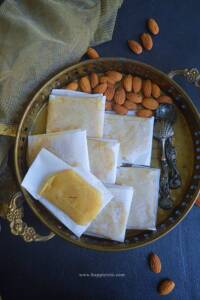
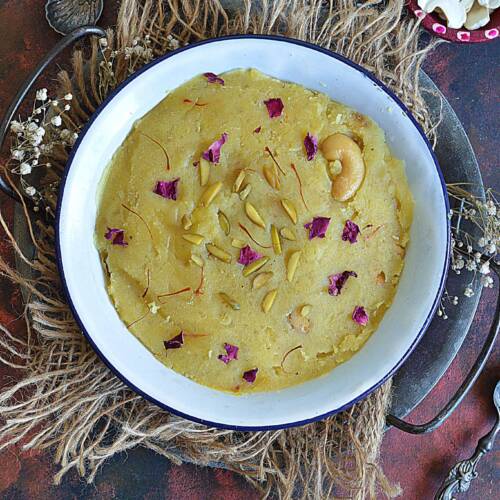
Badam Halwa or Almond Halwa is a delight in every bite. Almonds are ground and cooked along with Milk, Sugar, and saffron to this halwa.

Almond halwa is a royal dessert, It takes its own sweet time and muscle effort for the preparation. The end result makes it worth the effort and you will relish every single bite. There was a time when I thought badam halwa is the best only when we buy from shops. But I was wrong and I am changing my perception now.
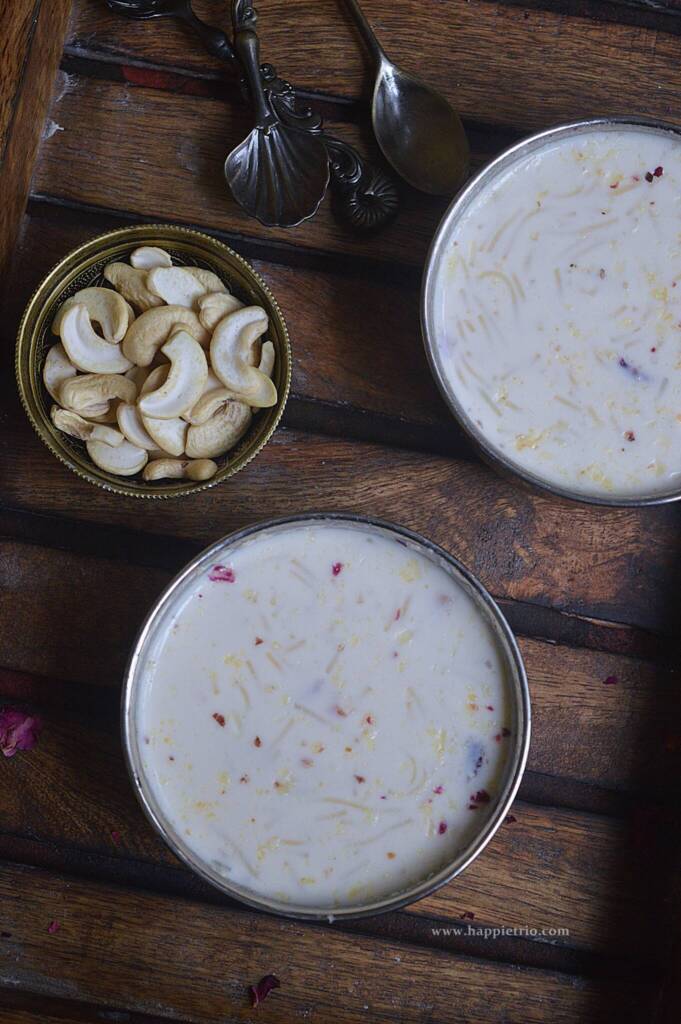
Check Apple Halwa Recipe or Sweet Potato halwa recipe too if that interests you !!
[feast_advanced_jump_to]Badam Halwa
It is the last quarter of the year and we have so many festivals lined up. In India, we connect every festival with food and indeed we forget the calorie intake and binge on sweets.
Creamy Almond Fudge aka Badam halwa is a perfect sweet treat. It is luscious, rich, and decadent. We can never hurry a halwa preparation. We need to give the time and patience. It takes time and it needs continuous stirring for the best halwa.
Also, this is not a quick or instant badam halwa. It is the traditional halwa recipe. Making badam halwa is time consuming and there is no shortcut for that. In fact, we have some quick tips I shall discuss in the Tips section.
Badam halwa is just a 6 ingredient gluten free festival delicacy. It gives a rich and royal feel when prepared for special occasions.
Ingredients
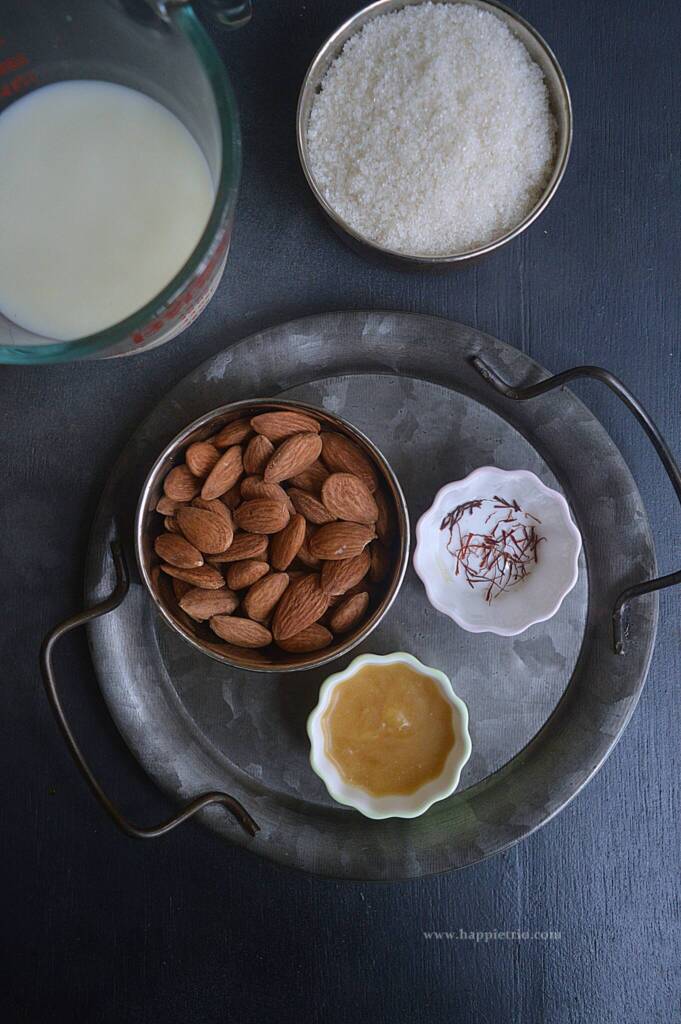
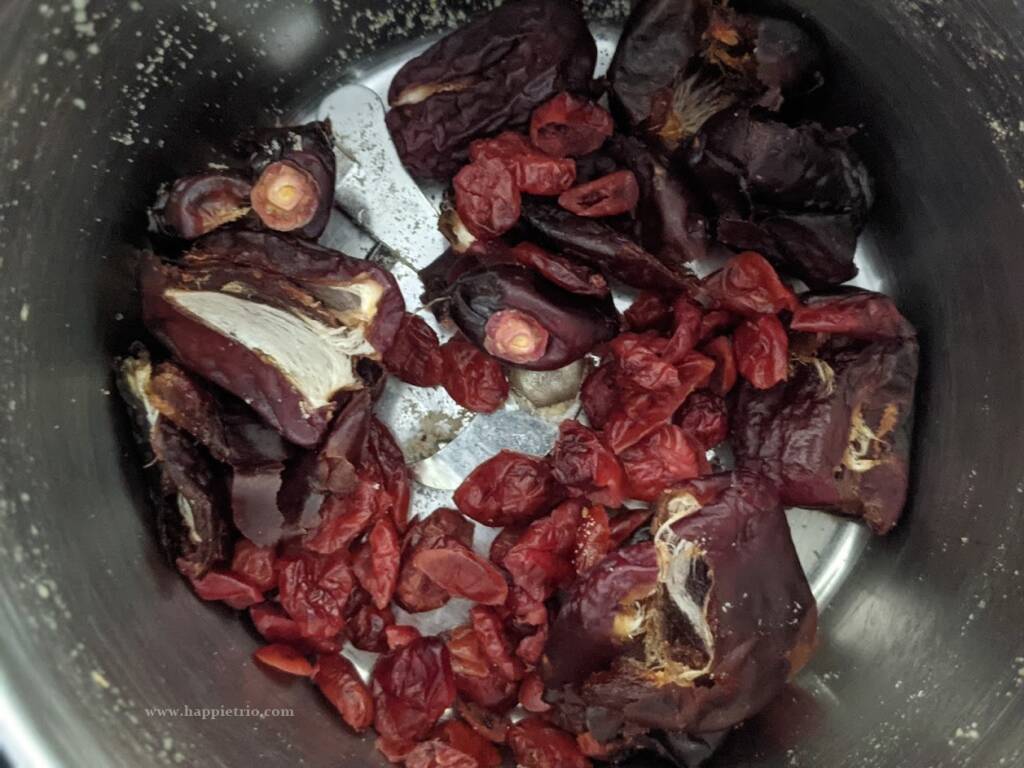
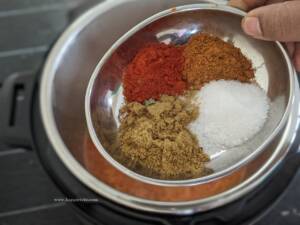
Almond - Use good quality Almonds.
Milk - We grind the milk along with the almonds to form a creamy paste and then use it in the halwa.
Sugar - sugar gives sweetness to the halwa. White sugar is important for the color and consistency of the halwa.
Ghee - Ghee gives the perfect halwa texture and hence do not skip it.
Saffron - This gives the natural yellow tint to the halwa. You may also skip this and add Yellow food color for the look alike shop like badam
FAQ's
Vegan Almond Halwa
You can replace milk with Almond Milk and Ghee with coconut oil for a vegan version of Almond Halwa. P.S Vegan Ghee is also available these days.
How to pack Almond Halwa?
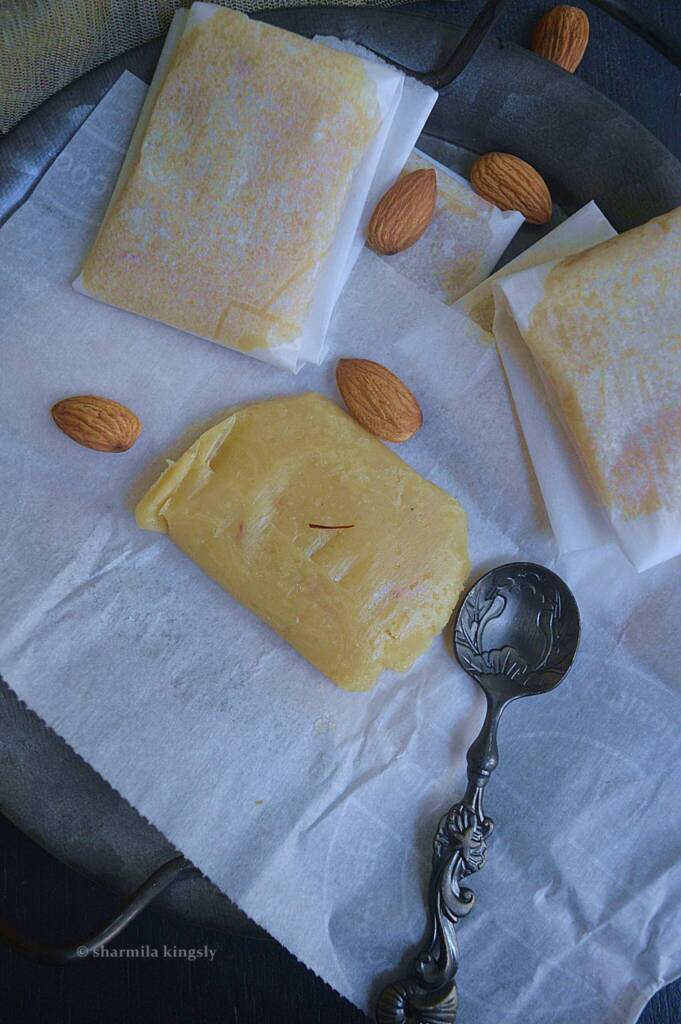
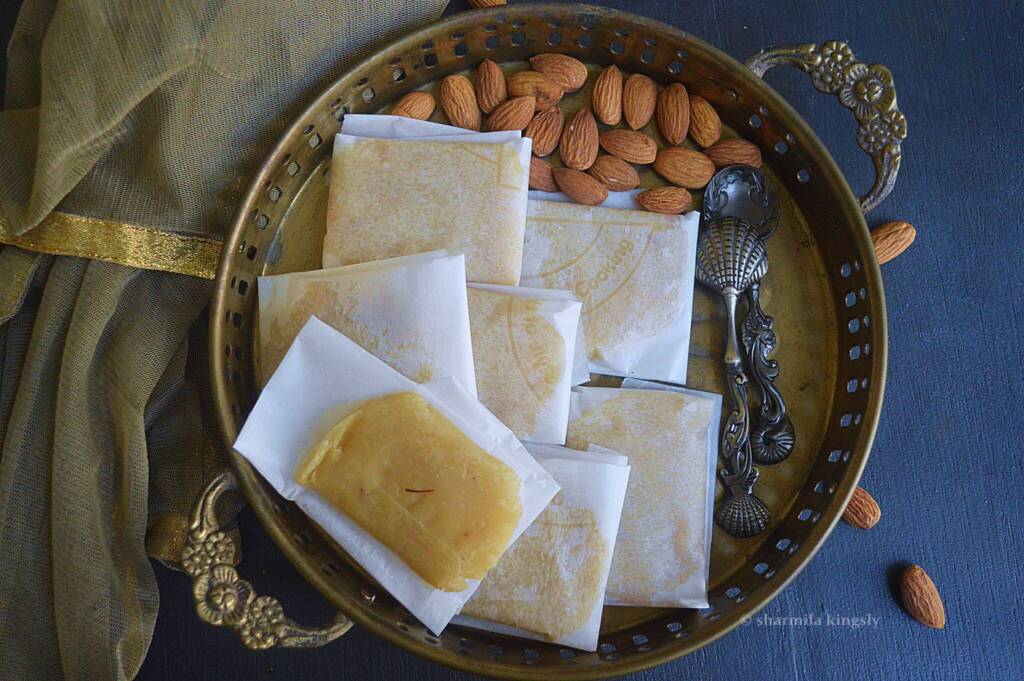
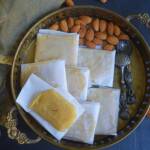
Traditionally we pack almond halwa in small portions with butter paper or parchment paper. The reason behind this is during Indian festivals we have this habit of distributing sweets among our friends and family. And it's easy to distribute as small packets or portions.
How to store almond Halwa
Badam Halwa stays good at room temperature for 4 days. You may store them in the fridge for up to 10 days.
How to Prepare Badam Halwa
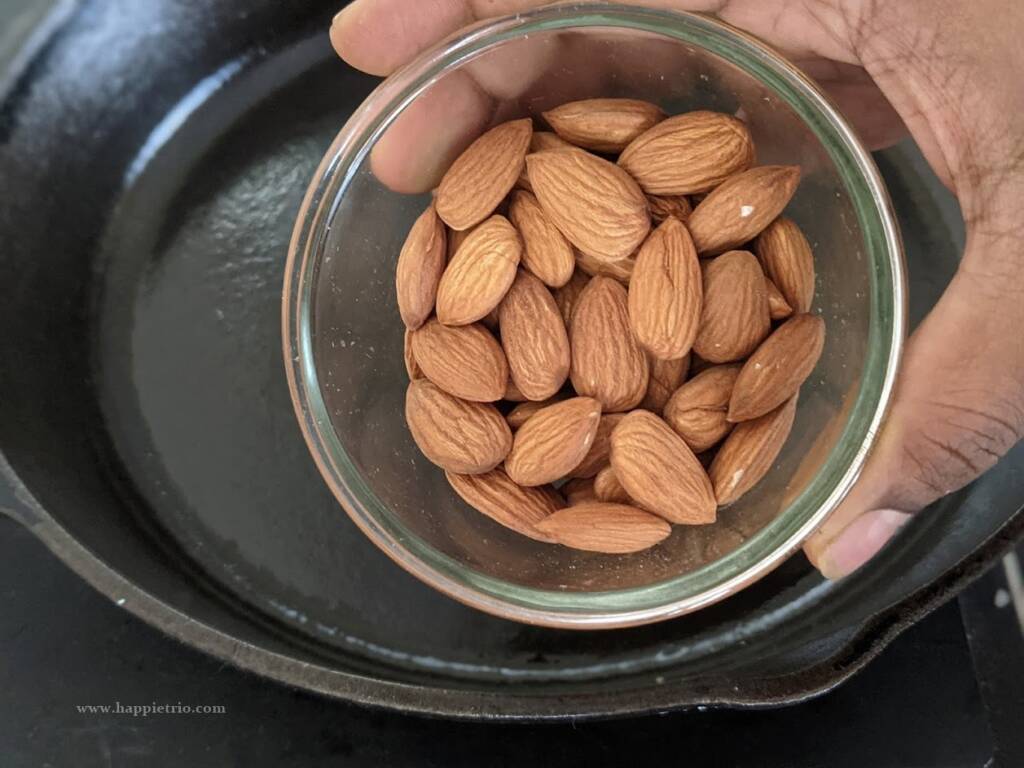
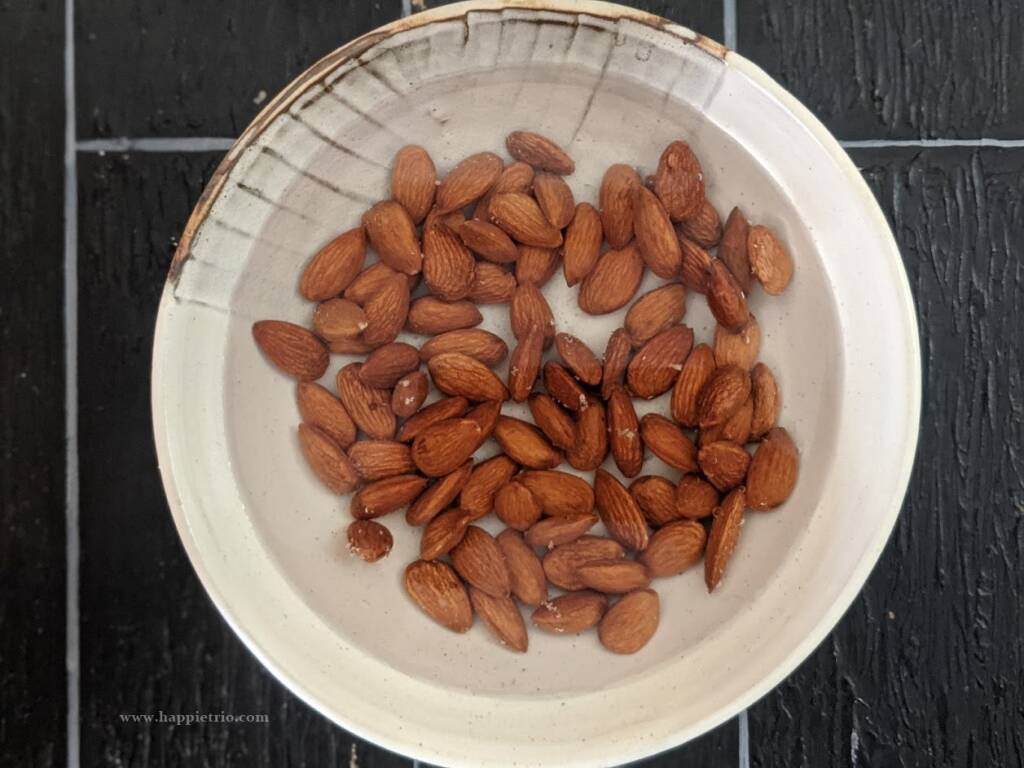
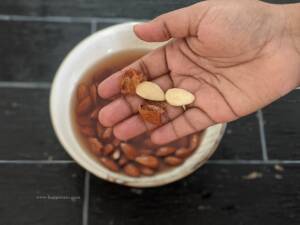
- In a bowl add 1 cup of Almonds. To this add in 1.5 cups of hot water. Let it soak for 30 mins.
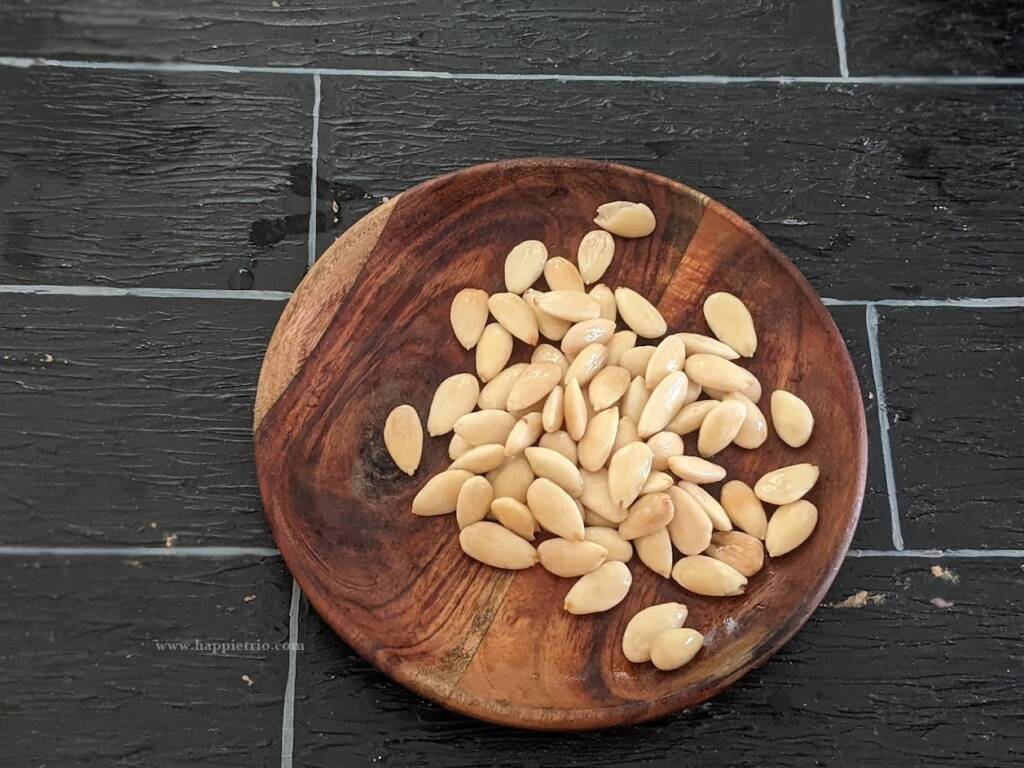
2. After soaking press the skin of the almond, it gets peeled easily.

3. Peel the skin of all the almonds.
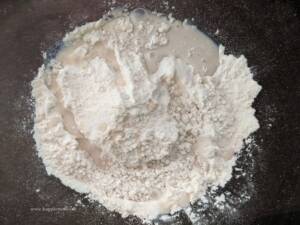
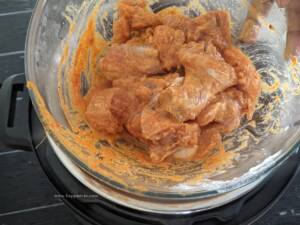
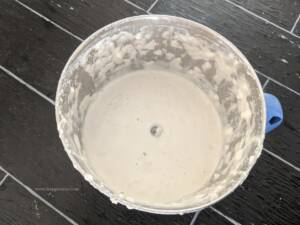
4. Transfer the almonds to a blender. To this add in 1 cup of Milk. Blend everything togther like a fine Rava consistency. Don't grind it to a smooth paste.

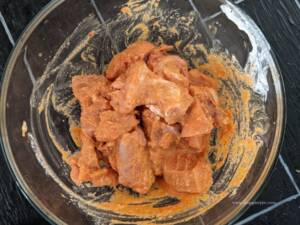
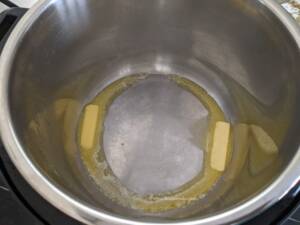
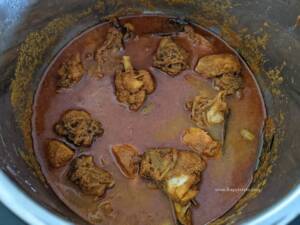
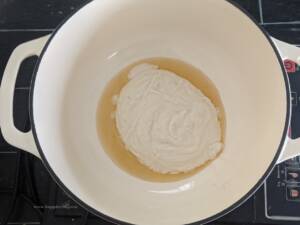
5. Heat a pan with 1 tablespoon of ghee or clarified butter and let it melt. Once it melts add in the ground almond paste. Combine well.

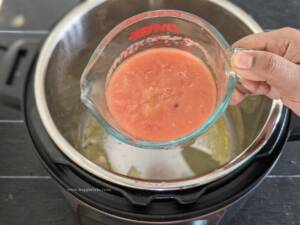
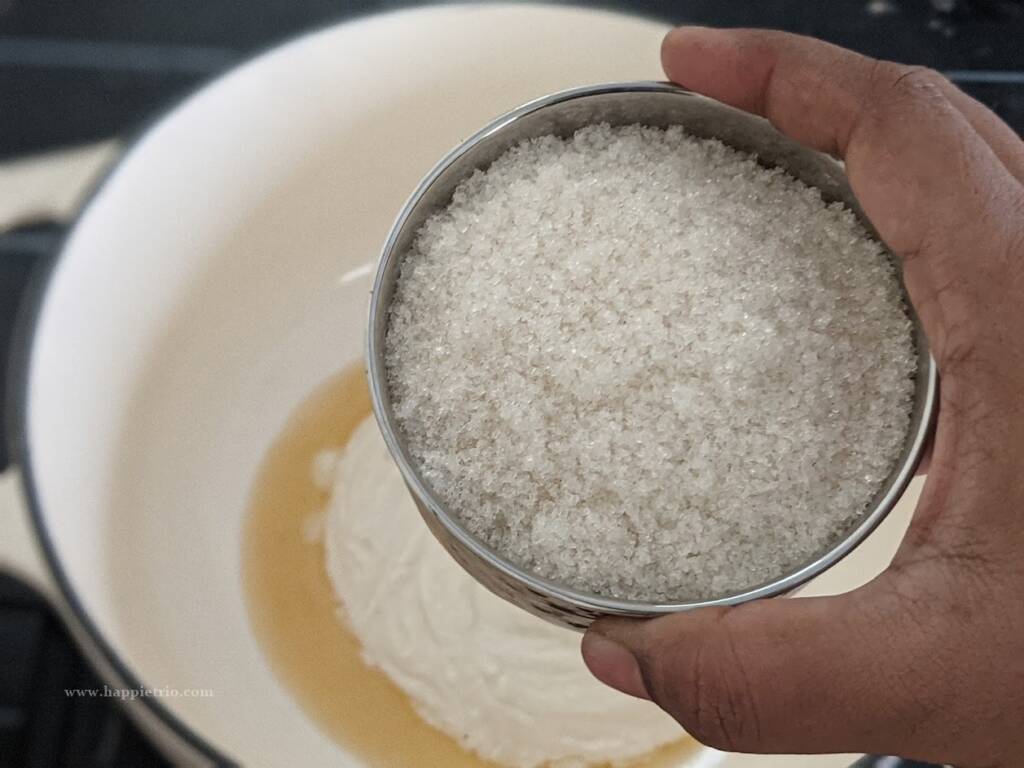
6. Add in 1 cup of sugar. Combine well and cook. Slowly the sugar melts.
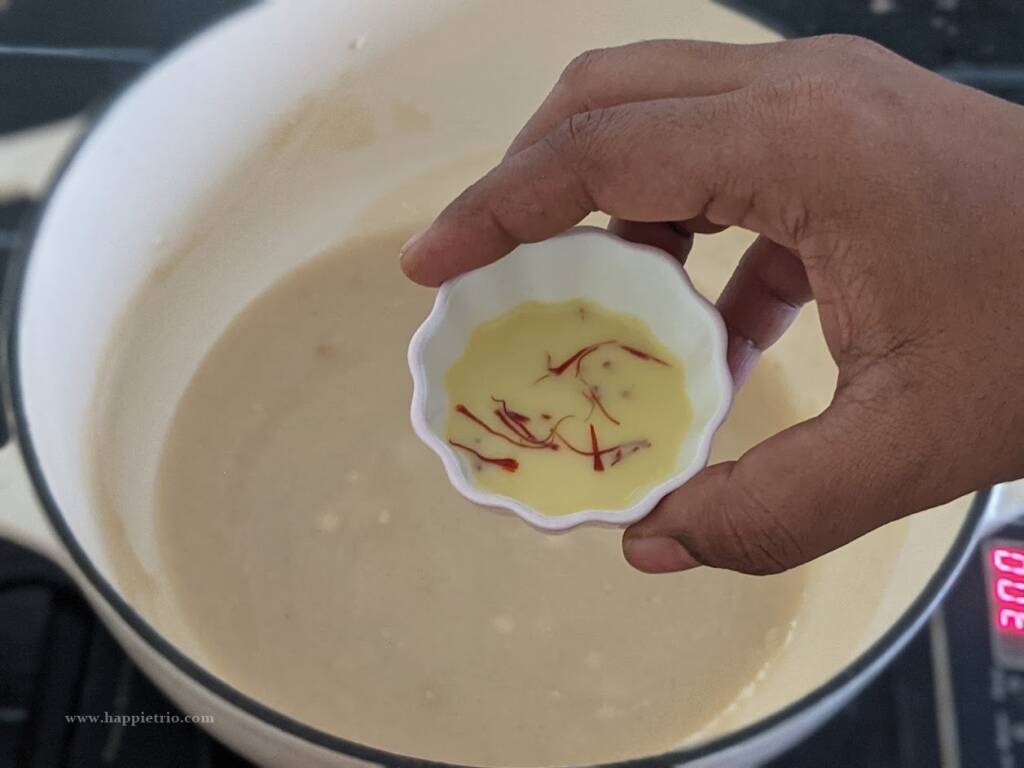
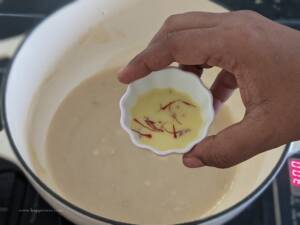
7. In 2 tablespoon of Milk soak in a generous pinch of saffron strands for 30 mins and keep it ready. Once the sugar is melted completely add in the saffron soaked milk and mix well.
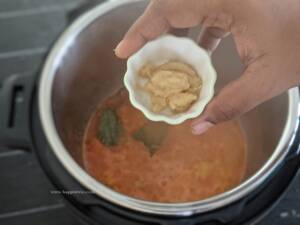
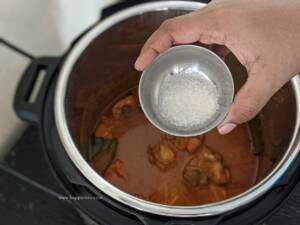
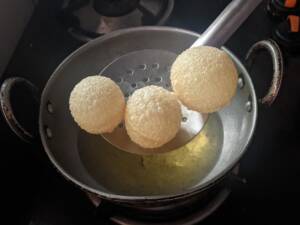
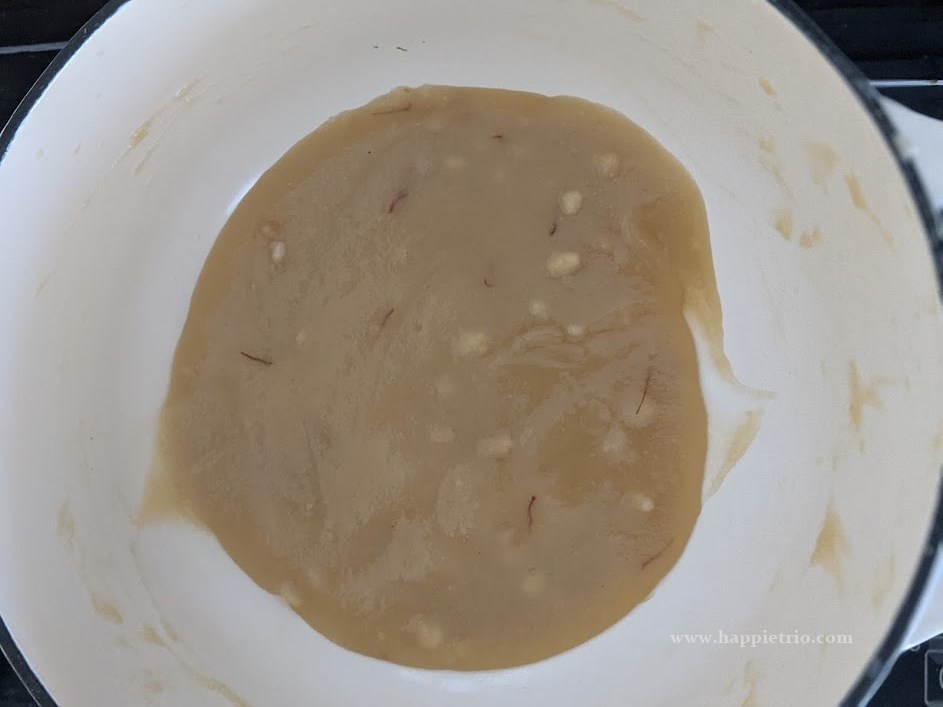
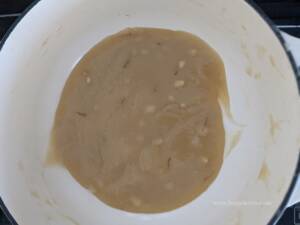
8. Keep stirring continuously and cook. After 15 mins. Start adding 1 tablespoon of ghee at a time. repeat this step until the ghee is over. After another 15 mins, the ghee starts oozing out and the mixture thickens. Continue cooking on low flame.
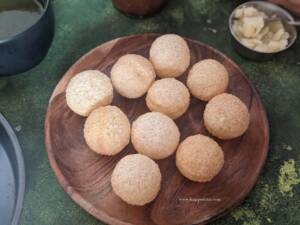
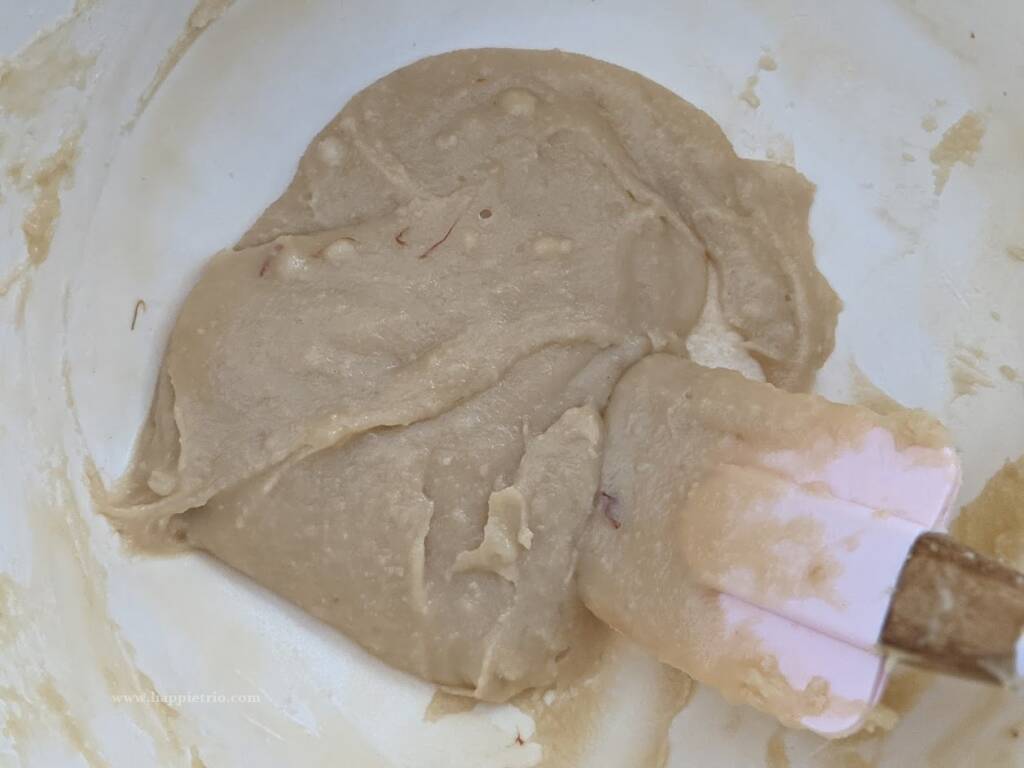
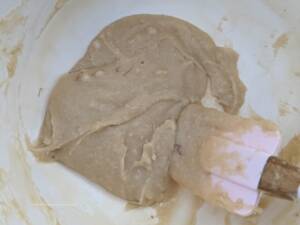
9. Cook for another 10 mins in low flame or till the halwa leaves the sides of the pan and switch off. Badam ka halwa is ready. The halwa thickens as it cools down. You may also transfer them to a greased plate and allow them to set.
Traditionally we usually pack the halwa in small packets, or a small portion in parchment paper and serve.
Tips & Variations
- Always use a heavy bottomed pan for preparing the halwa. As it tends to stick to the pan. To prevent this continuous stirring is recommended.
- I used my Dutch oven for preparing the halwa. You may also use triply stainless steel pans.
- Badam Halwa with Almond Flour - So this is a wonderful version. It reduces the preparation time and a better short cut for the halwa. By using Almond flour you may cut off the soaking time and Peeling the skin time.
- Mix or Stir the Almond Powder with Milk and you may follow the same method for preparing the Almond Halwa.
- Badam Halwa without Milk - You may use Almond milk if you do not prefer dairy.
- Badam Halwa with Jaggery - There might be a compromise in the taste and appearance if we replace sugar with jaggery. However, it still tastes better.
- Kaju Badam Halwa Recipe - This is another variation . You may add equal portions of Almonds and Cashewnuts in place of Almonds in the recipe and prepare the halwa.
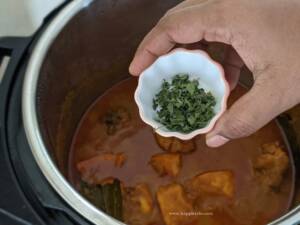
- Another variation is you may add cardamom powder or even rose flavor to the halwa.
Serving Suggestions:
Makes a perfect after meal dessert or festival dish. Perfect for special occasions indeed.
Similar Recipes:


★ Did you enjoy this recipe? If you happen to try it out, I would love to hear from you! I’d appreciate it if you could rate and leave a review below in the comments. Your reviews help others know the recipe better too. Thanks for your time ? You can also follow me on Facebook, Pinterest, Instagram, Youtube and Twitter for more updates
📖 Recipe
Badam Halwa | Almond Halwa
Standard 1 cup measures 240 ml
Ingredients
- 1 cup Badam / Almonds
- 1.5 cups Hot Water
- 1 cup Milk + 2 tbsp
- Saffron a generous pinch
- ⅓ cup Ghee
- 1 cup Sugar
Instructions
- In a bowl add 1 cup of Almonds. To this add in 1.5 cups of hot water. Let it soak for 30 mins.

- After soaking press the skin of the almond, it gets peeled easily.
- Peel the skin of all the almonds.
- Transfer the almonds to a blender. To this add in 1 cup of Milk. Blend everything togther like a fine Rava consistency. Don't grind it too fine.
- Heat a pan with 1 tablespoon of ghee and let it melt. Once it melts add in the ground almond paste. Combine well.
- Add in 1 cup of sugar. Combine well and cook. Slowly the sugar melts.
- In 2 tablespoon of Milk soak in a generous pinch of saffron for 30 mins and keep it ready. Once the sugar is melted completely add in the saffron soaked milk and mix well.
- Keep stirring continuously and cook. After 15 mins. Start adding 1 tablespoon of ghee at a time. repeat this step until the ghee is over. After another 15 mins, the ghee starts oozing out. Continue cooking on low flame.
- Cook for another 10 mins in low flame or till the halwa leaves the sides of the pan and switch off. Badam Halwa is ready. The halwa thickens as it cools down. You may also transfer them to a greased plate and allow them to set.


Video
Notes
Nutrition
Disclaimer: I am not a nutritionist, the nutrition value provided here is an estimate. It will vary based on the quantity and brands of the products used.
Note: This post is originally from 2017. I have updated with new Recipe card, Pictures and video now.