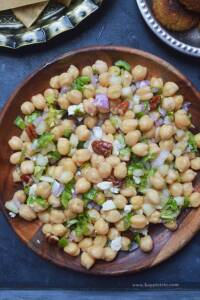
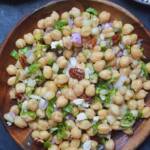
Sukha Puri is a popular Indian street food. It is a dry version of chaat that has a mashed potato filling along with chutney, sev, and a few other toppings.
Follow us on Pinterest for delicious pins. Join our Facebook group for more Instant Pot and Air Fryer Recipes.

Sukha Puri recipe or sukha masala puri is one of the easiest of easy Chaat. It has just the basic ingredients needed for chaat and is easy to assemble and serve. You can also try a semi-homemade version of this sukha pani puri buy the chutneys and the puri readymade. You can boil and mash the potatoes and viola, easy to serve.
[feast_advanced_jump_to]Why you ll love sukha puri?
- It is an easy make-ahead snack. If you are ready with the prep you can easily assemble and serve.
- Perfect for a large crowd. You can easily serve this for a larger audience and hence it's ideal for Potluck and parties.
- Easily alter the recipe as per your preference
- Replace puri with bhel for Sukha bhel puri and many such.
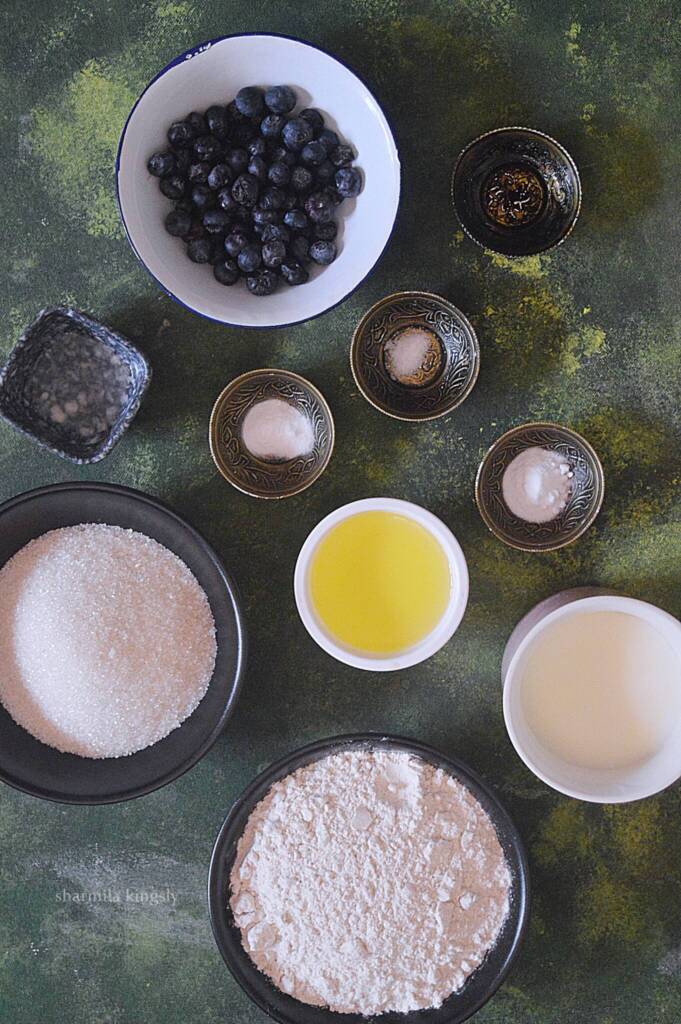
Ingredients
Golgappa or Puri - This is the base for Dahi puri. Crispy mini puris are stuffed with all the sauces and stuffing for the Dahi puri chaat.
For stuffing - I usually use boiled and mashed potatoes. You may also use boiled and mashed green moong and finely chopped onions too as a stuffing.
Sauce or Chutney - We use green chutney and sweet tamarind chutney. For a more spicy version, you may also use garlic red chili chutney.
Sev - Use mini nylon Sev as a filling for the Dahi puri chaat. It gives a nice crunch on topping over the chaat.
Pomegranate - adding pomegranate is optional, but I love the pop of colors it gives to the chaat and it has a nice crunch.
Cilantro - We usually garnish the chaat with a generous sprinkle of coriander leaves.
Spice Powders - We use a mix of Chaat Masala, Chili powder, Cumin Powder, and Salt. Black Salt or Kala Namak gives a nice tang to the chaat.
FAQ's
What is Indian Chaat made of?
Indian Chaat is most commonly made of crispy fried mini puri called golgappas or papdi. They are crushed or served by making a small crack on one side. It also has green chutney and sweet tamarind chutney along with pomegranate and sev. It may have fillings with boiled potato, boiled chickpeas. They are then assembled and served as a chaat.
Popular Chaat items in India?
Some of the most popular chaat items in India are Aloo Chaat, aloo Tikki, Pani Puri, Sev Puri, Samosa Chaat,Bhel Puri.
How to Prepare Sukha Puri
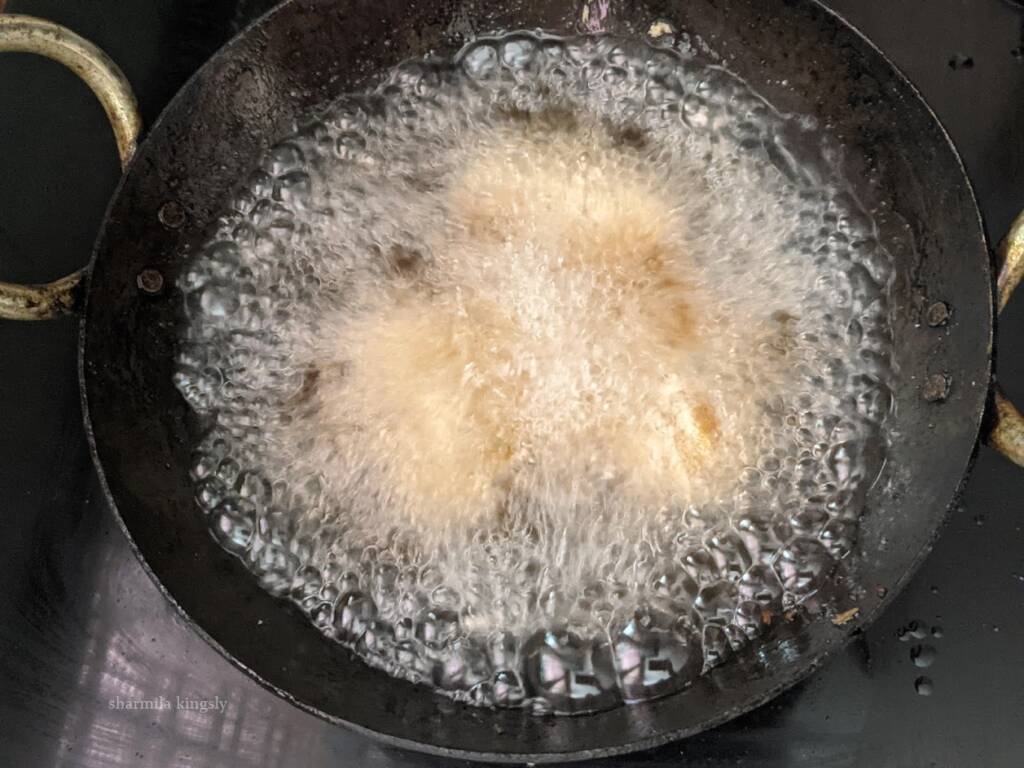
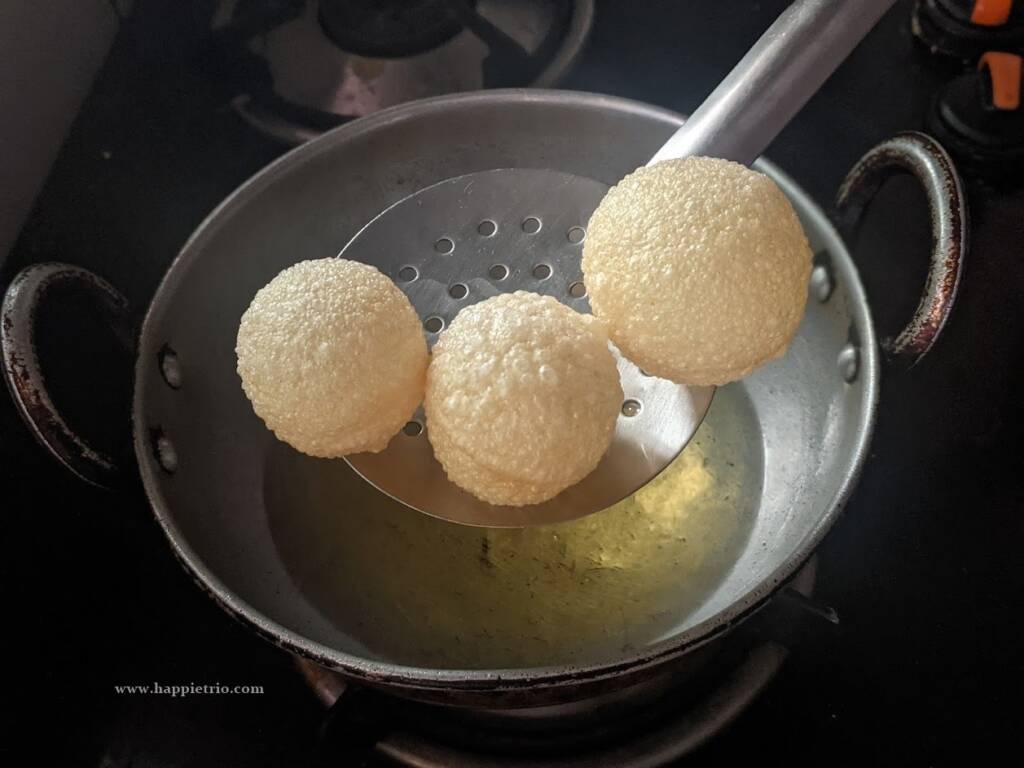
Frying the Puri
Heat a pan with oil for deep frying. Once the oil is hot, drop in the golgappas or chaat puri and fry till they puff up and crisp. Drain in a paper towel and remove the excess oil.
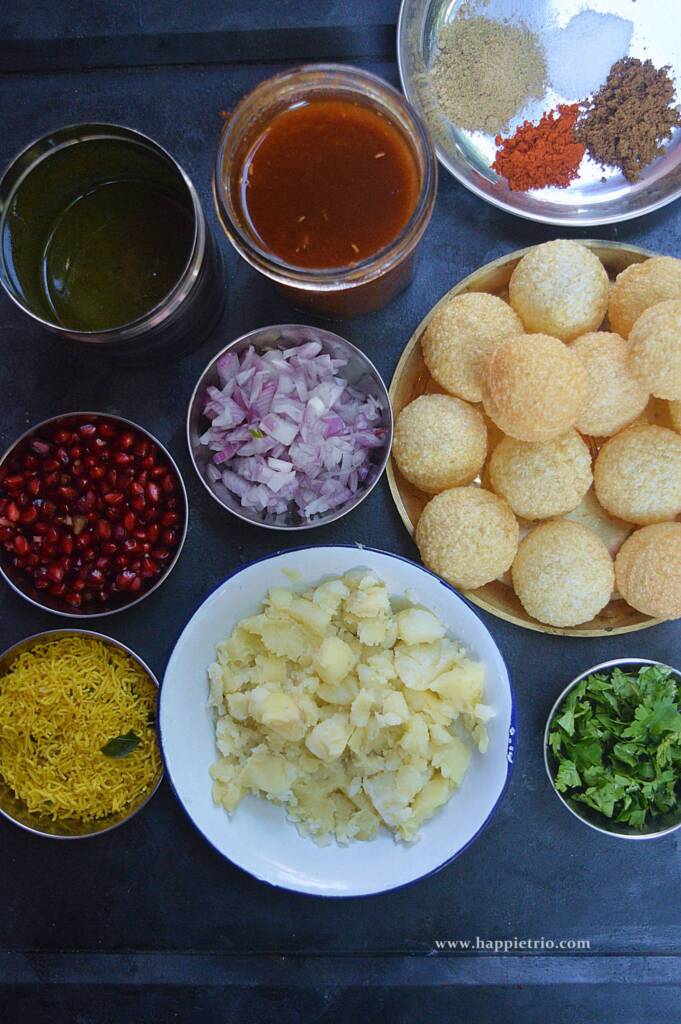
Get the Ingredients ready
Get all the ingredients and keep them ready. Once they are done, it's very easy to assemble the sukha puri chaat. Take the green chutney, Tamarind Chutnt, fried Puri, Sev, Pomegranate, Cilantro, boiled and mashed potato, and the Spice powders.
Assemble the Sukha Puri
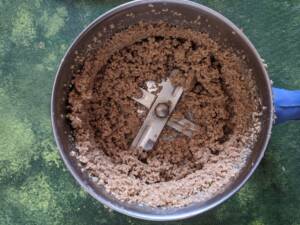
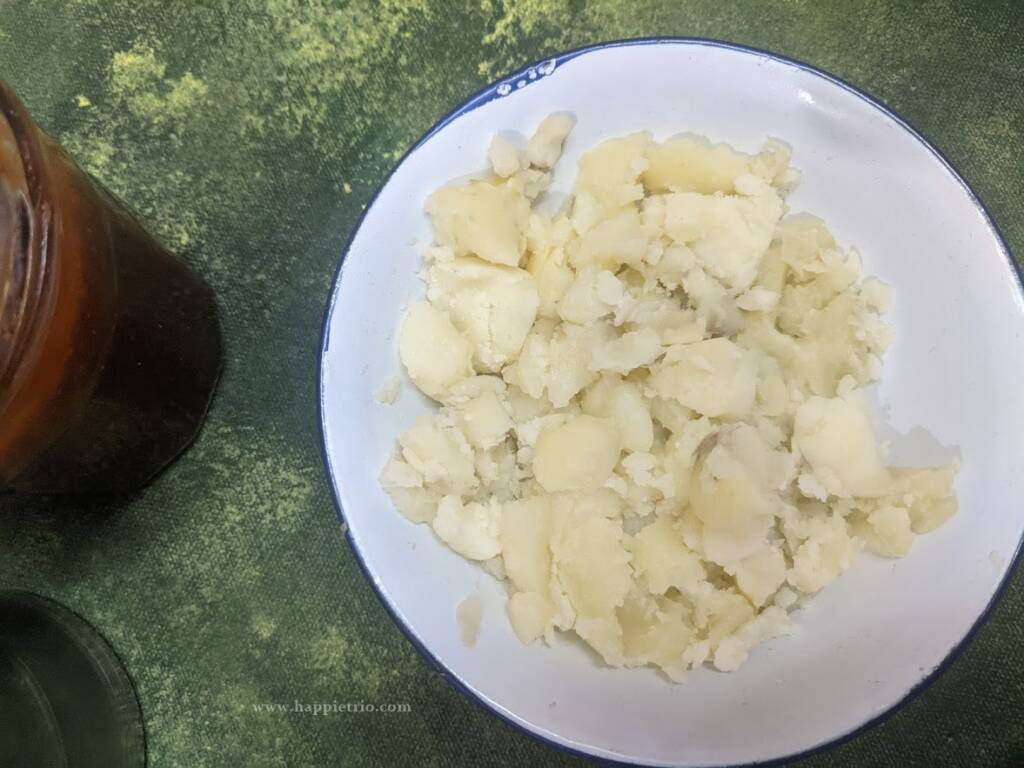
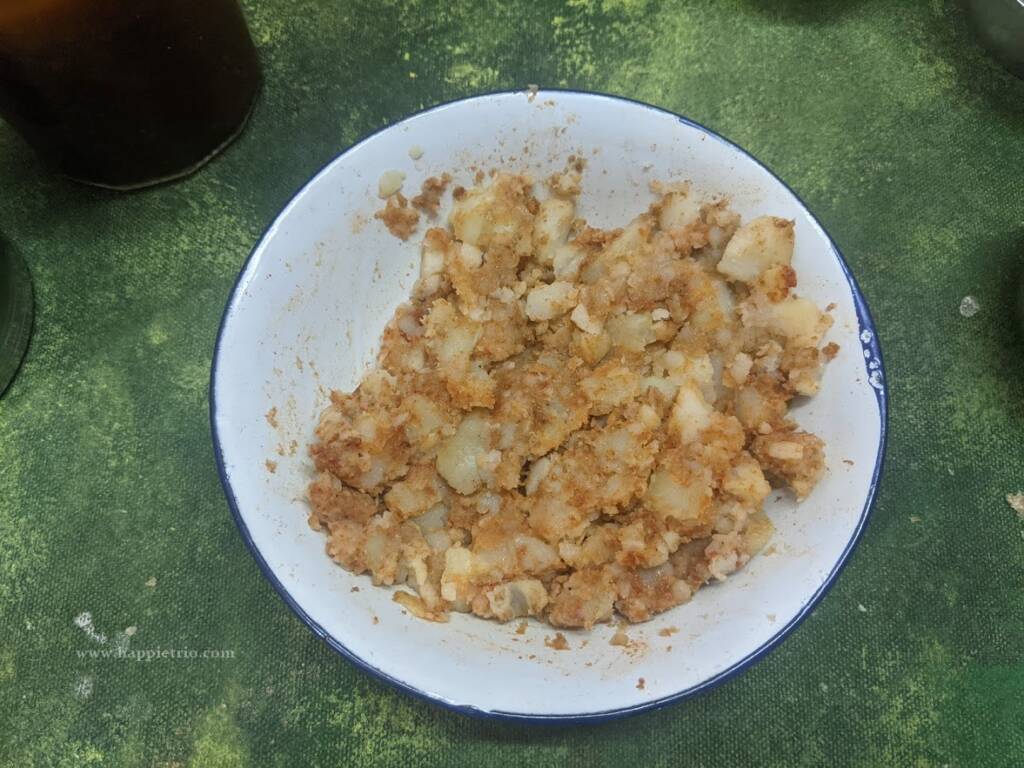
Boil and mash the potatoes.
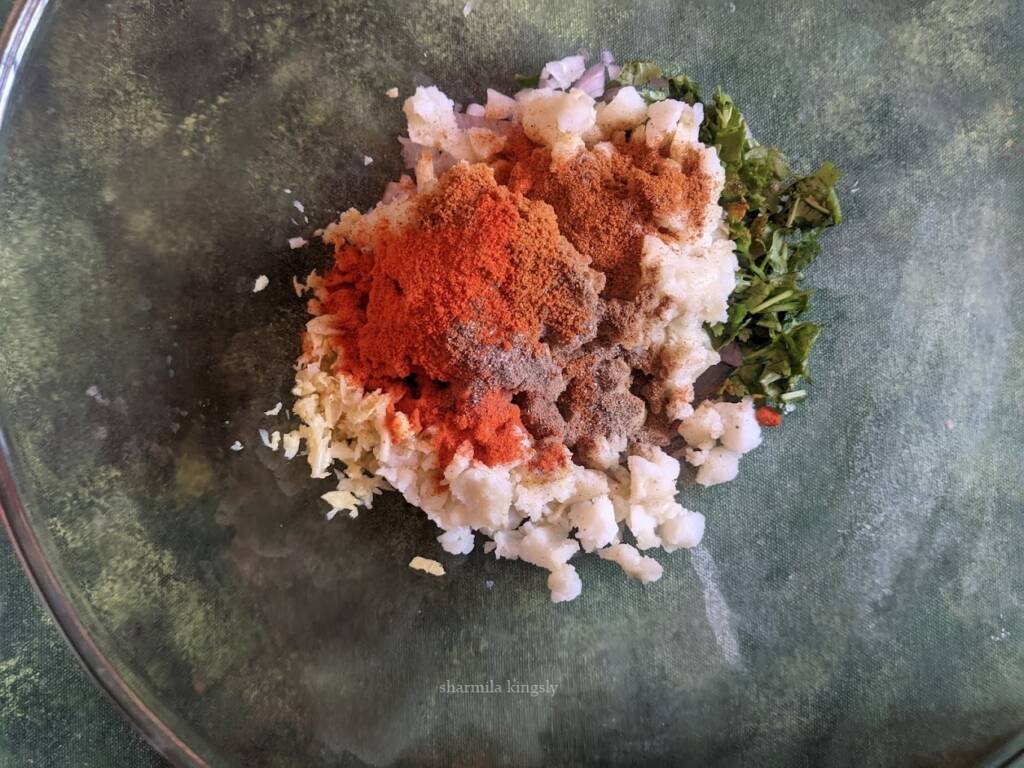
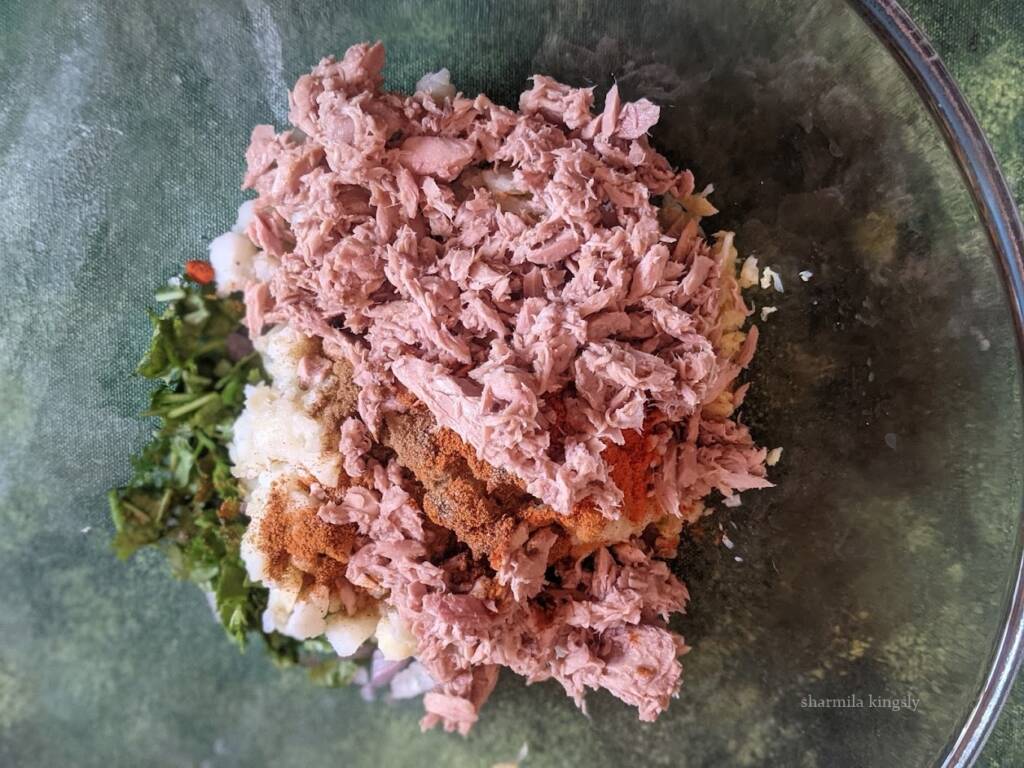
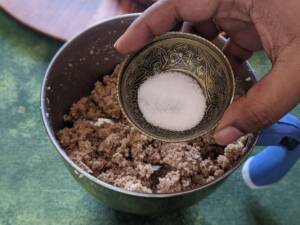
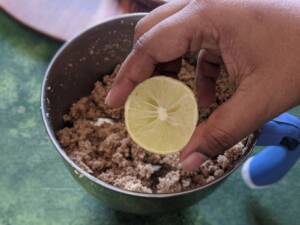
To the potatoes add in chaat Masala, cumin powder, Salt, and red chili powder.
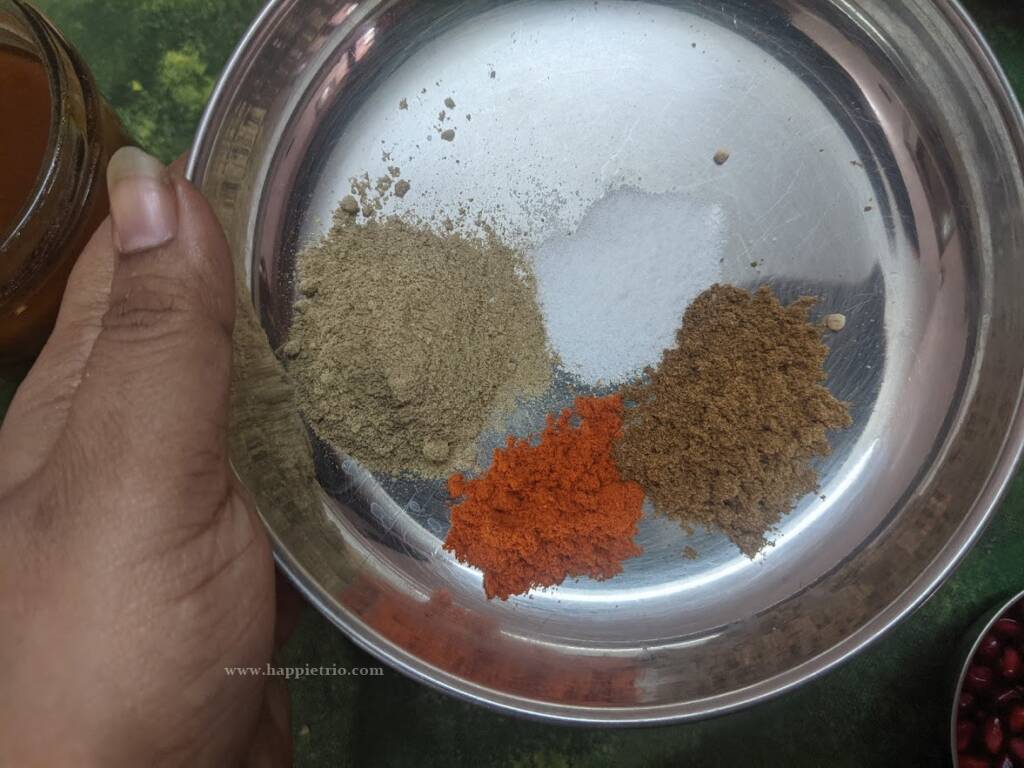
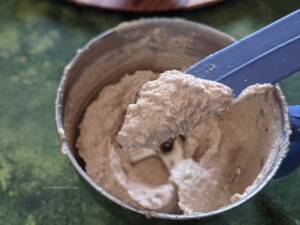
Combine all the spices with the boiled and mashed potato.
Take the fried puri. Break open a small portion of the puri on one side and stuff them with the prepared potato filling.

Add in green and tamarind chutney.
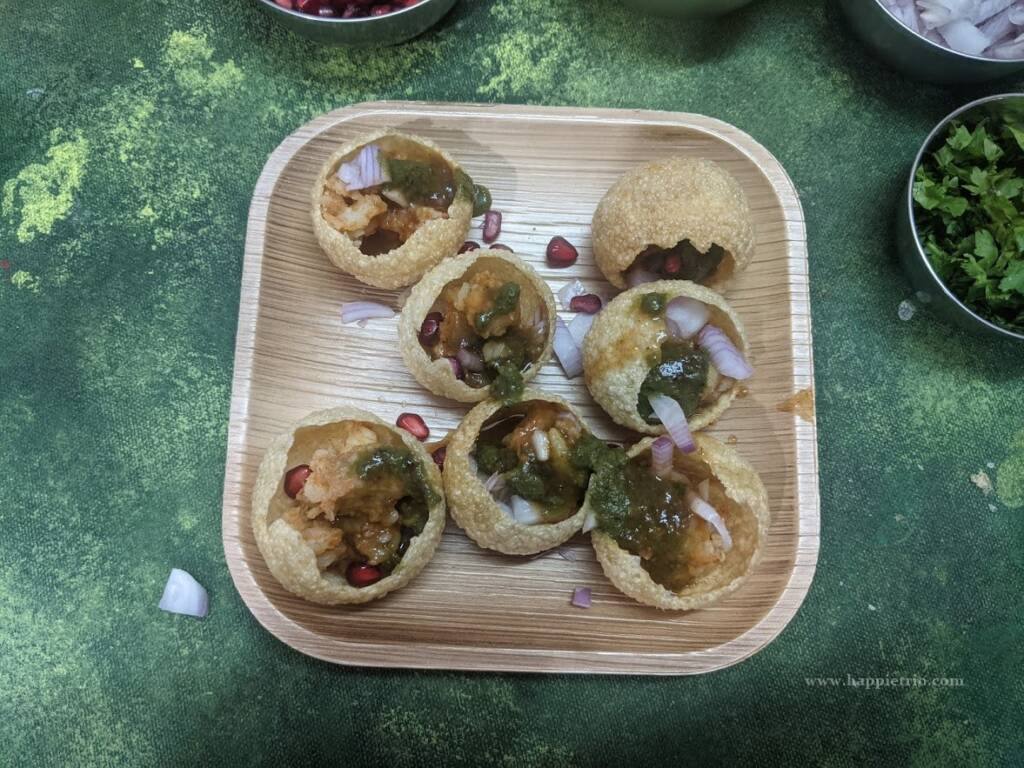
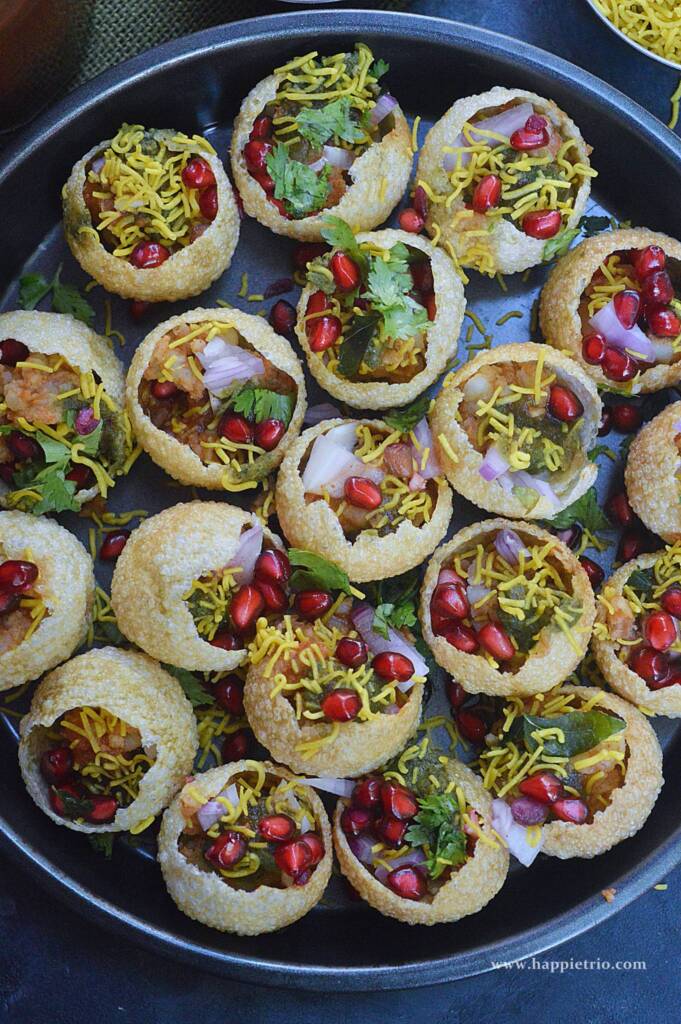
Add in some chopped raw onions, Pomegranate arils, and sev.

Sukha puri is now ready to serve.

Tips & Variations
- Today in this recipe I am using just boiled and mashed potatoes. I have seen in some regions they use boiled and mashed black chickpeas.
- It is a dry pani puri recipe, except the chutneys, everything else are solids and hence you can easily store them.
- Adding sev gives a nice texture to the chaat. Use Nylon or any fone variety sev.
How to serve Chaat
You can make a chaat counter. Get ready with all the ingredients and the fried puri. When you are ready to serve to assemble all the ingredients and share the Sukha puri chaat or similar dishes. Makes a perfect evening snack. Perfect for a party or kitty party. It is a perfect kitty party or potluck material.
Storing Suggestion
It is not a good idea to store the assembled Sukha Puri. Prepare all the ingredients and you can store them. At the time of serving fry the puri or use the readymade puri. Assemble the dish and serve immediately.
Similar Recipes


★ Did you enjoy this recipe? If you happen to try it out, I would love to hear from you! I’d appreciate it if you could rate and leave a review below in the comments. Your reviews help others know the recipe better too. Thanks for your time. You can also follow me on Facebook, Pinterest, Instagram,Youtube and Twitter for more updates
📖 Recipe

Sukha Puri
Standard 1 cup measures 240 ml
Ingredients
- 15 Golgappas / Puri
- 3 Potato boiled and mashed
- ¼ cup Green Chutney
- ¼ cup Tamarind Chutney
- 1 tablespoon Chaat Masala
- ½ teaspoon Chilli Powder
- ¼ teaspoon Salt
- 3 tablespoon Sev
- 2 tablespoon Pomogranate
- 2 tablespoon Cilantro finely chopped
Instructions
Frying the Puri
- Heat a pan with oil for deep frying. Once the oil is hot, drop in the golgappas or chaat puri and fry till they puff up and crisp. Drain in a paper towel and remove the excess oil.
Get the Ingredients ready
- Get all the ingredients and keep them ready. Once they are done, it's very easy to assemble the Sukha puri chaat. Take the green chutney, Tamarind Chutnt, fried Puri, Sev, Pomegranate, Cilantro, boiled and mashed potato, and the Spice powders.
- Fry the Chaat Puri and keep them ready. These puris are easily available readymade or you can fry them at home.
Assemble the Sukha Puri
- Boil and mash the potatoes.
- To the potatoes add in chaat Masala, cumin powder, Salt, and red chili powder.
- Combine all the spices with the boiled and mashed potato.
- Take the fried puri. Break open a small portion of the puri on one side and stuff them with the prepared potato filling.
- Add in green and tamarind chutney.
- Add in some chopped raw onions, Pomegranate arils, and sev.
- Sukha puri is now ready to serve.
Nutrition
Disclaimer: I am not a nutritionist, the nutrition value provided here is an estimate. It will vary based on the quantity and brands of the products used.