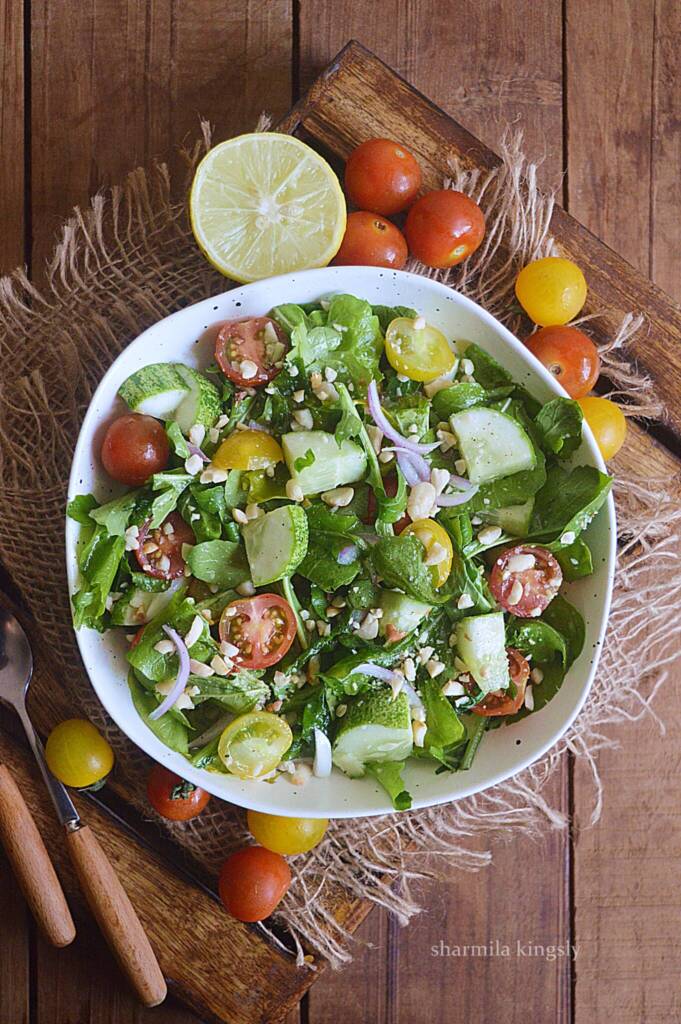
Fresh Tomato Rocket Salad with a flavorful vinaigrette makes an amazing lunch or dinner. Toasted peanuts added gives a perfect crunch to the salad.
Follow us on Pinterest for delicious pins. Join our Facebook group for more Instant Pot and Air Fryer recipes.
Salads are easy to whip and makes a guiltfree meal. I love to add my favorite ingredients and brings a balance in the taste. Salads always makes life easy. Easy to whip up the salad when the vinaigrette is ready and with some prep.
[feast_advanced_jump_to]Rocket Salad
Fresh Tomato Rocket Salad with a flavorful vinaigrette makes an amazing lunch or dinner. Toasted peanuts added gives a perfect crunch to the salad. It goes well in salads, pastas or even risottos.
Rocket leaves are rich in Vitamin C, A and K. It is good for building immunity and also a natural anti-oxidant.
Ingredients
Arugula - Use fresh moisture-free rocket leaves for the salad.
Cherry tomato - I am using a mix of red and yellow cherry tomatoes. You can use them whole or slice and use them.
Cucumber - Adding some fresh baby cucumber. They are perfect for the summer.
Onion - Onions give a balance in taste. Use red or white onions.
Peanuts - Peanuts give crunch to the salad and hence I suggest adding them. You can also more nuts or add pine nuts in place of peanuts.
The dressing
Olive oil - It's distinct and gives a perfect blend to the salad.
Maple syrup - gives a lovely pop and twist to the flavor and you may also replace maple syrup with honey.
Lemon juice - Fresh lemon juice is a must for the citrus punch in the vinaigrette.
Black pepper powder and Salt - Give a balance in taste to the vinaigrette. You can also add in some garlic powder for more flavor.
FAQ's
Can I make the salad ahead of time?
I suggest making the dressing up to 5 days in advance and store in the refrigerator. Before serving you may add the ingredients and toss with the vinaigrette and serve immediately.
How to make arugula salad with cherry tomatoes
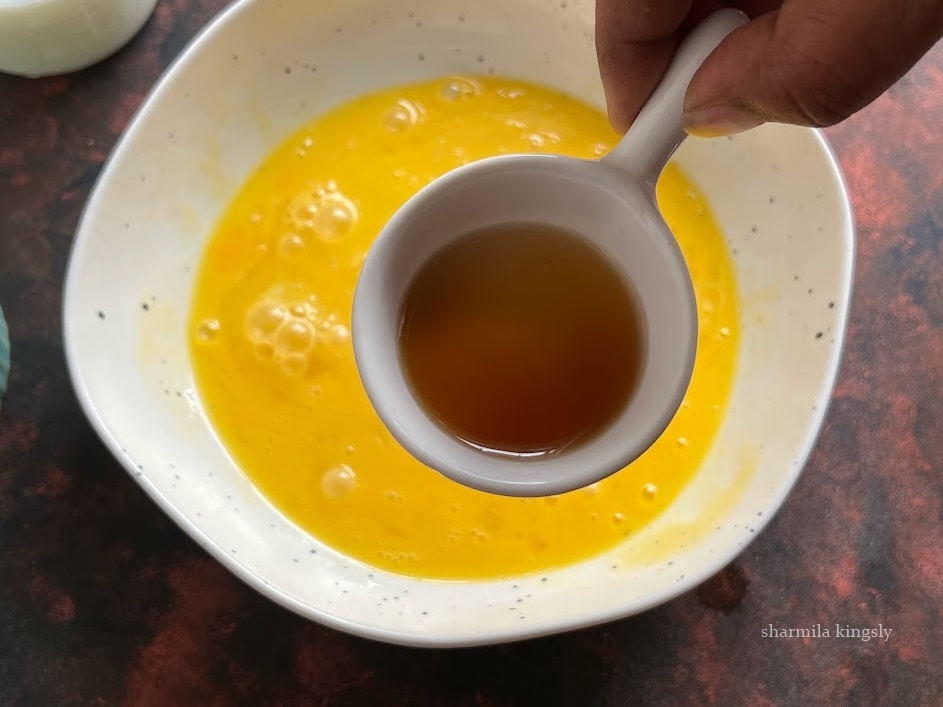
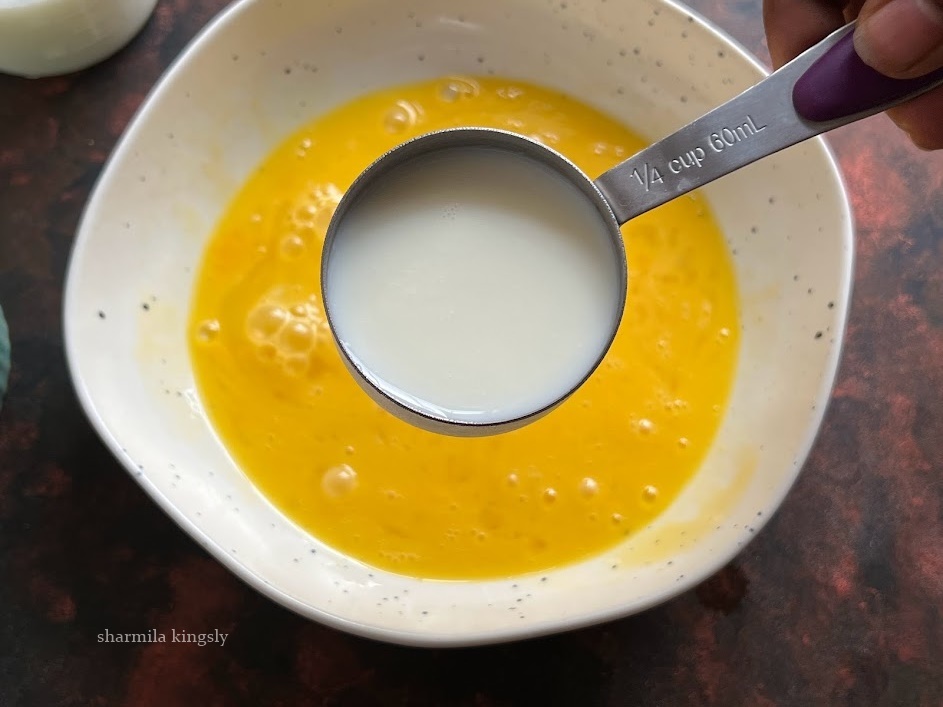
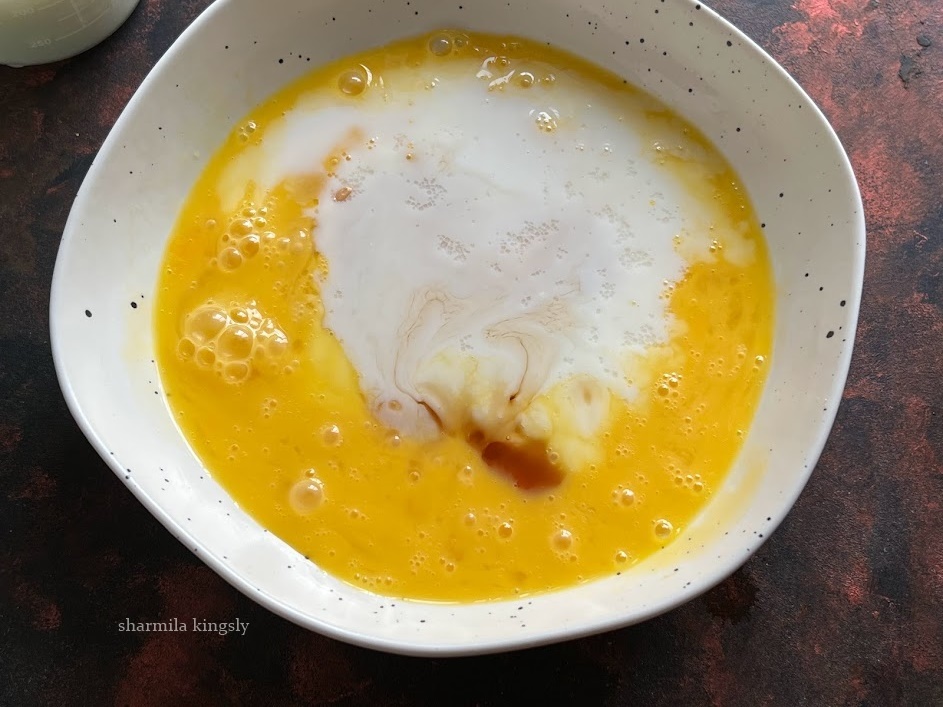
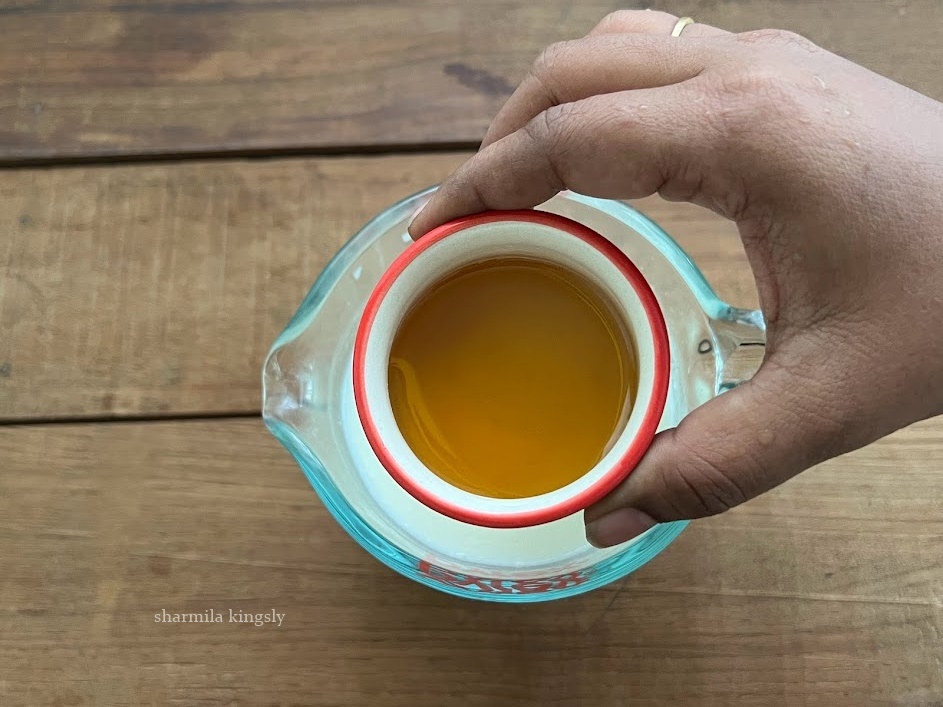
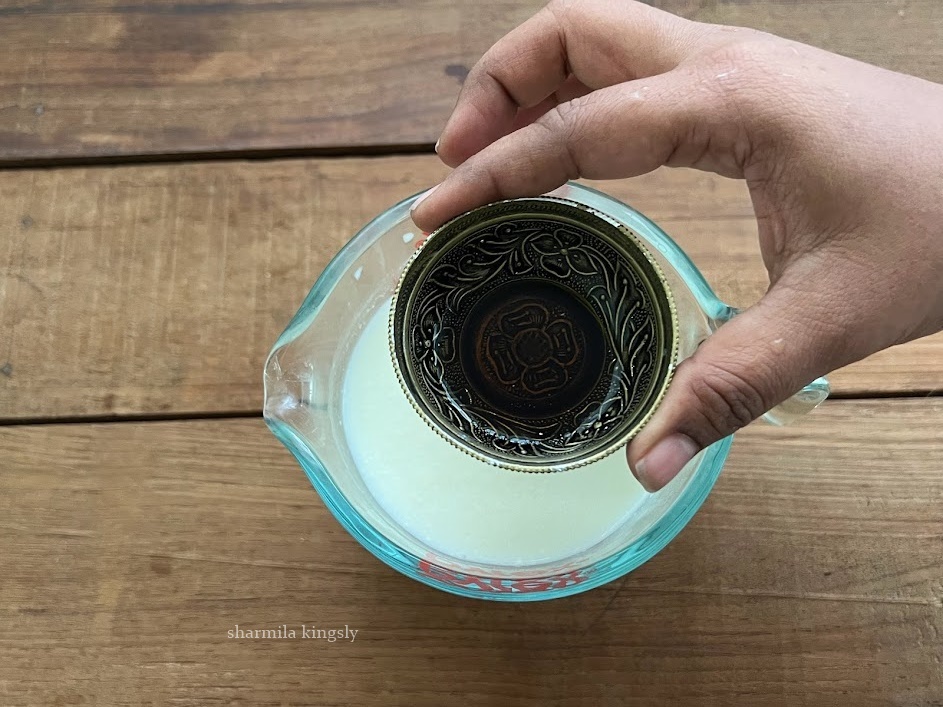
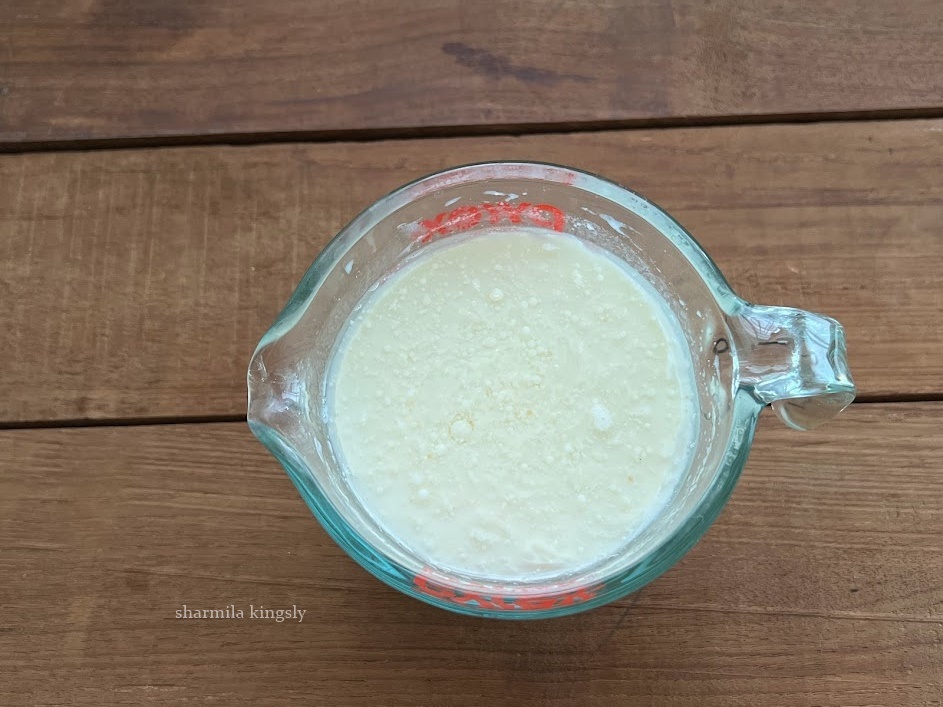
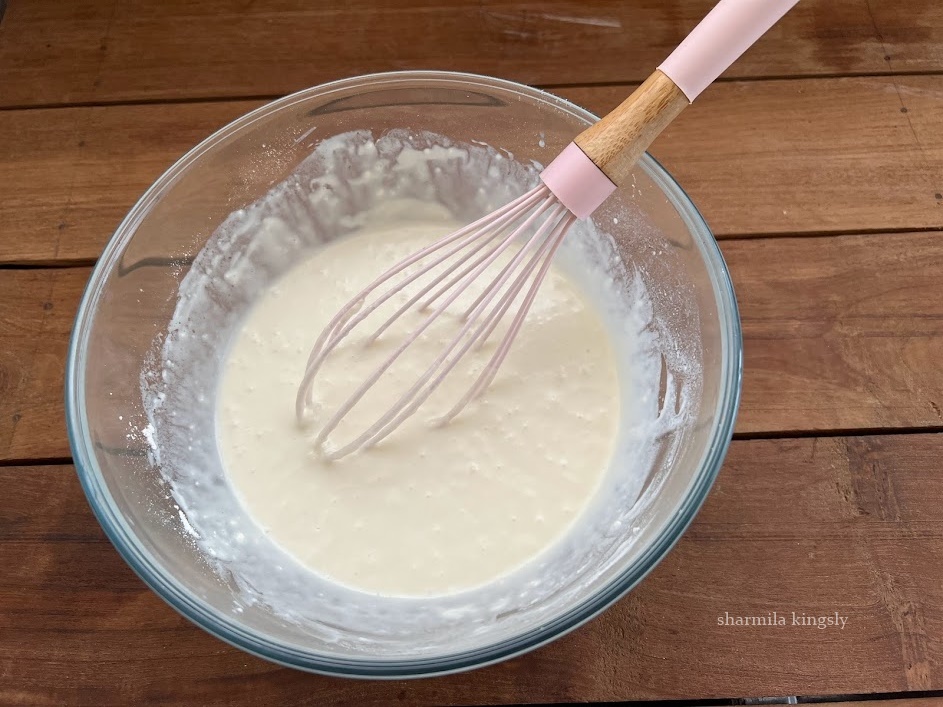
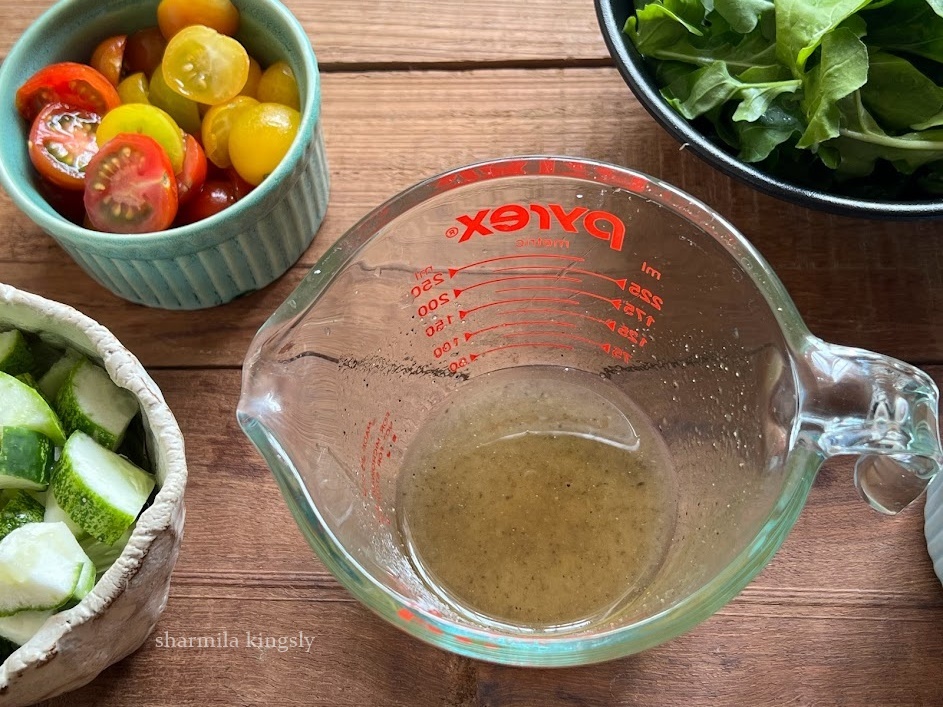
1. In a bowl add the Ingredients for Salad dressing. I am using Olive oil. Maple syrup, Lemon juice, Black pepper powder, and Salt. Whisk everything well until combined and set aside.
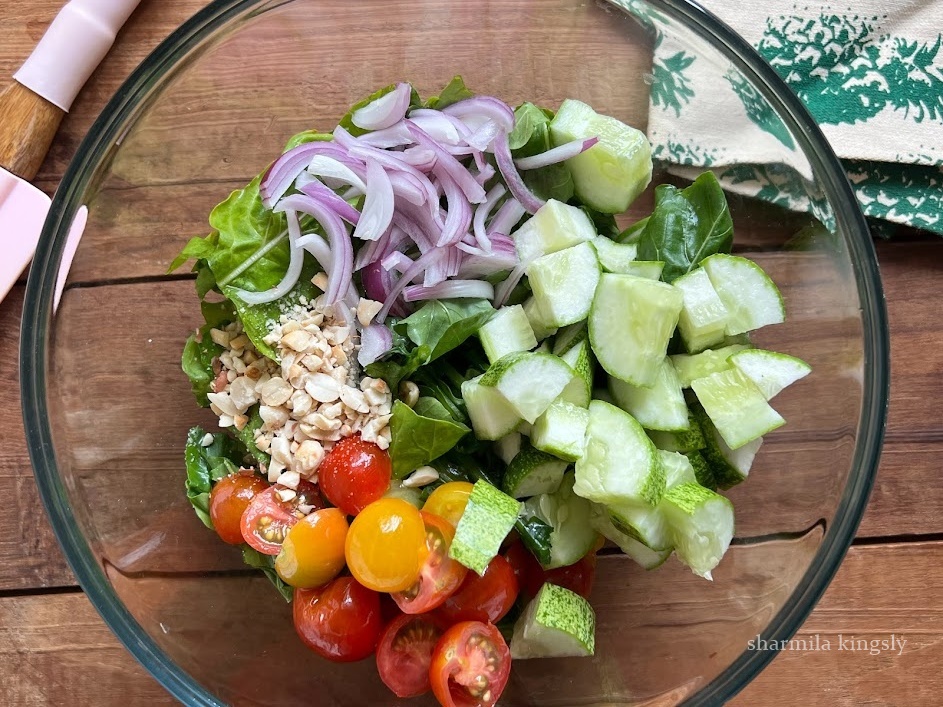
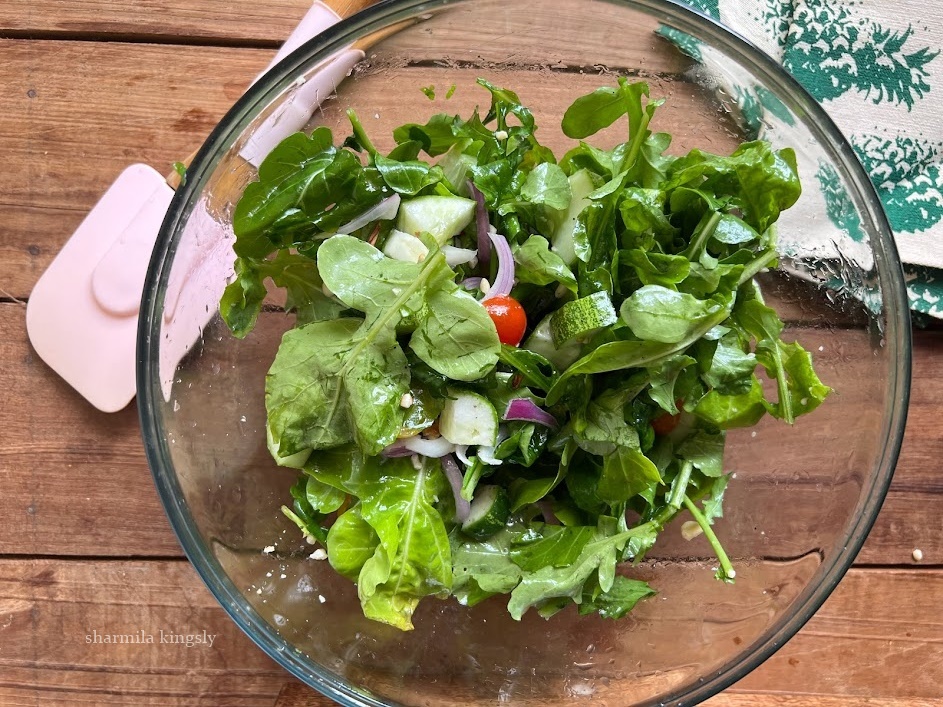
2. In another large bowl add rocket leaves, Chopped cucumber, sliced cherry tomato, and sliced onion. Next, add some crushed peanuts. combine and mix add the ingredients together.
3. Next, add the prepared salad dressing over the salad and combine or shake until the dressing coats all the ingredients.
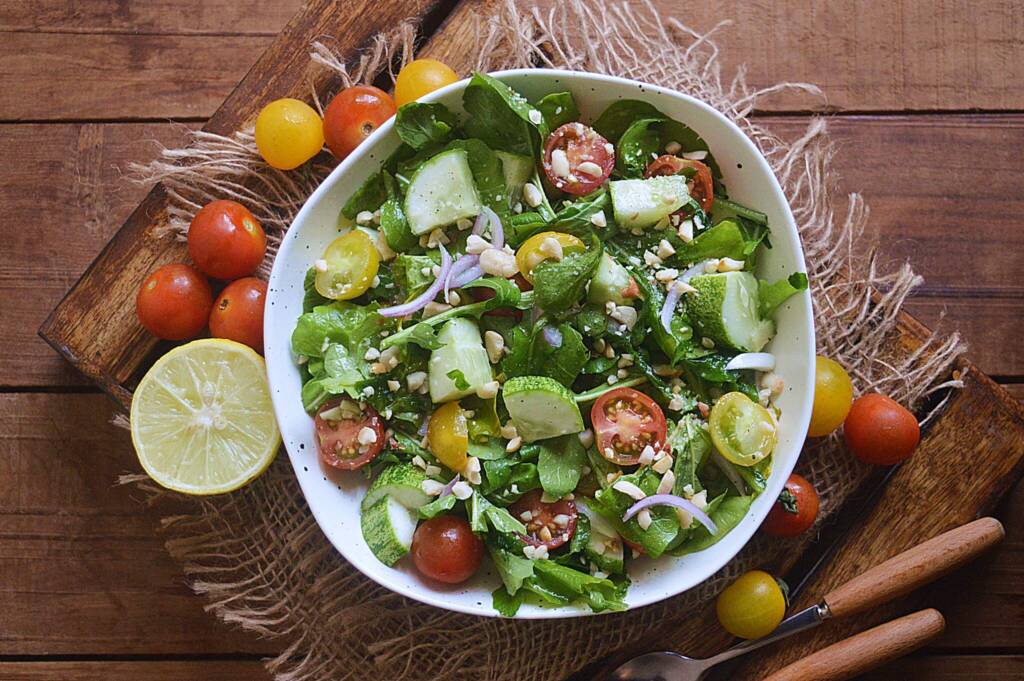
Rocket leaves cherry tomato salad is now ready. Serve immediately.
Tips & Variations
- Always mix the dressing with the salad just before serving. The vinaigrette has citrus ingredients and hence it is not wise to keep them waiting.
- You may add in more nuts for the crunch. You can add almonds and pistachios as well.
- Always use clean and dry moisture free rocket leaves for the salad. This helps in keeping the salad fresh and delicious.
- You can also add in more peppers for more crunch or if you like more spice quotient in the salad.
Serving Suggestions
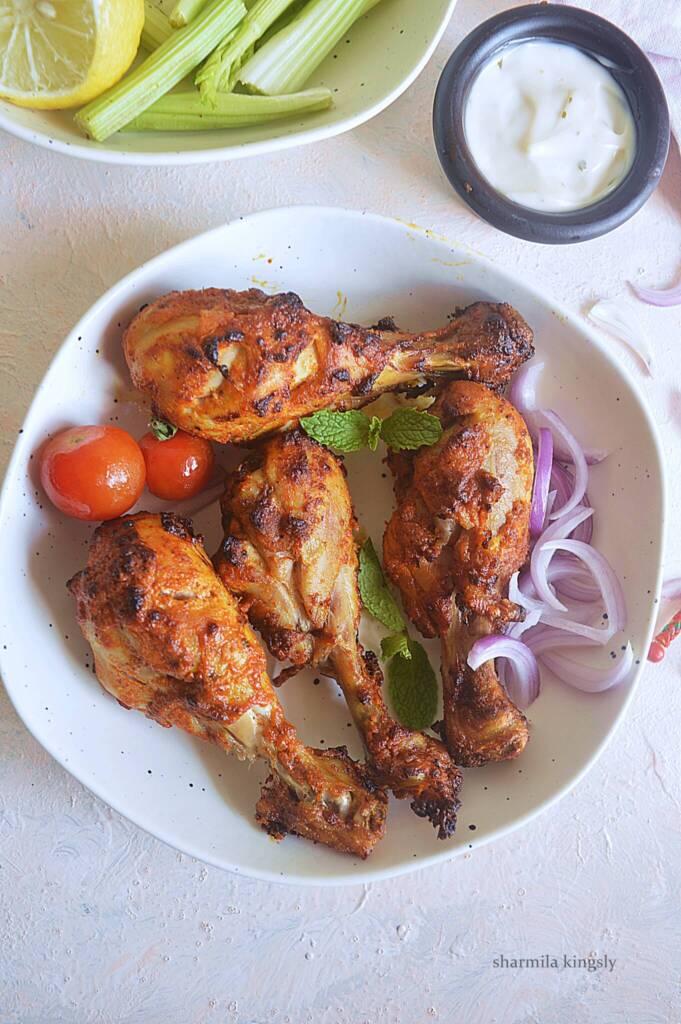
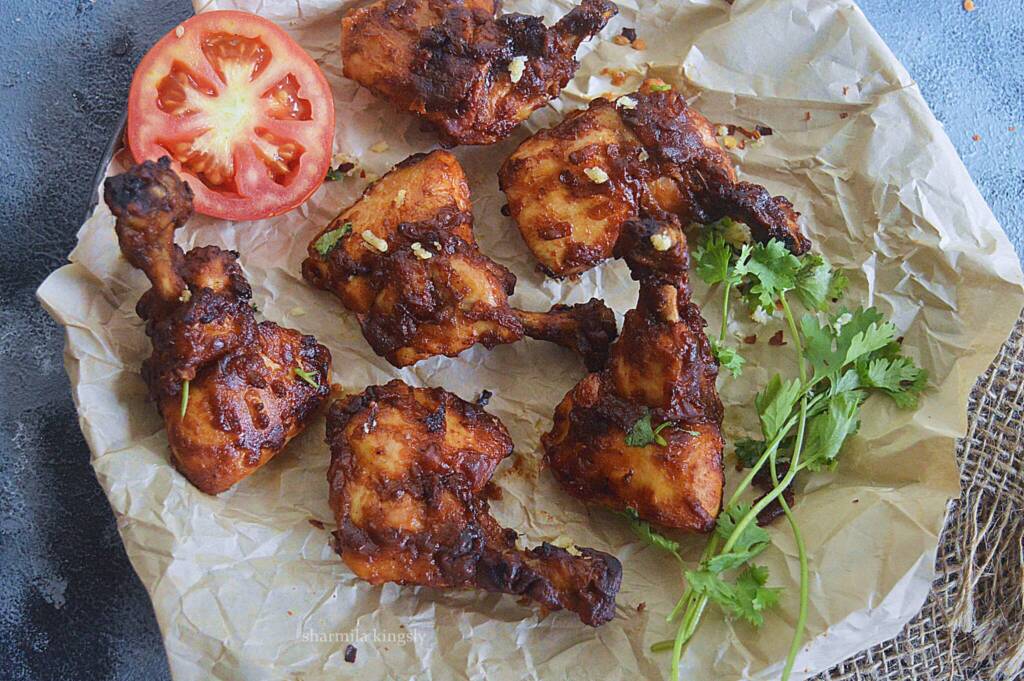
Salad goes well with some warm soup or with some garlic bread and pizza. You can also serve them as a side with some grilled protein like Tandoori Chicken or Paneer cauliflower patties.
More Salad Recipes


★ Did you enjoy this recipe? If you happen to try it out, I would love to hear from you! I’d appreciate it if you could rate and leave a review below in the comments. Your reviews help others know the recipe better too. Thanks for your time. You can also follow me on Facebook, Pinterest, Instagram,Youtube and Twitter for more updates
📖 Recipe

Arugula Cherry Tomato Salad
Standard 1 cup measures 240 ml
Ingredients
Salad Dressing
- 2 tablespoon Olive oil
- 1 tablespoon Maple syrup
- 1 tablespoon Lemon Juice
- ¼ teaspoon Black Pepper powder
- ¼ teaspoon Salt
Other Ingredients
- 1 cup Arugula
- ½ cup Cherry Tomato
- ½ cup Cucumber
- ¼ cup onion Sliced
- 3 tablespoon Roasted Peanuts crushed
Instructions
- In a bowl add the Ingredients for Salad dressing. I am using Olive oil. Maple syrup, Lemon juice, Black pepper powder, and Salt. Whisk everything well until combined and set aside.
- In another large bowl add rocket leaves, Chopped cucumber, sliced cherry tomato, and sliced onion. Next, add some crushed peanuts. combine and mix add the ingredients together.
- Next, add the prepared salad dressing over the salad and combine or shake until the dressing coats all the ingredients. Rocket leaves cherry tomato salad is now ready. Serve immediately.
Nutrition
Disclaimer: I am not a nutritionist, the nutrition value provided here is an estimate. It will vary based on the quantity and brands of the products used