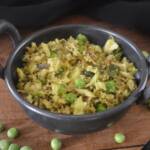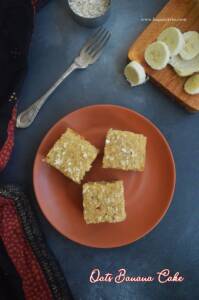
Oats Banana Cake is a healthy baked bite without any white sugar. It is a guiltfree cake without any maida, sugar or butter.

Oats Banana Cake Recipe | Eggless Butterless Oats Banana Cake with step by step pictures. When I saw the recipe of this simple and healthy oats banana cake in gayathri’s blog I was too tempted and could resist myself from baking. Also it was totally guiltfree made with Wheat flour and no maida ,no white sugar. So no need to get controlled on the portions as well. So try and enjoy this yummy treat yourself. Now lets see how to prepare Oats banana Cake.

How to make Oats Banana Cake
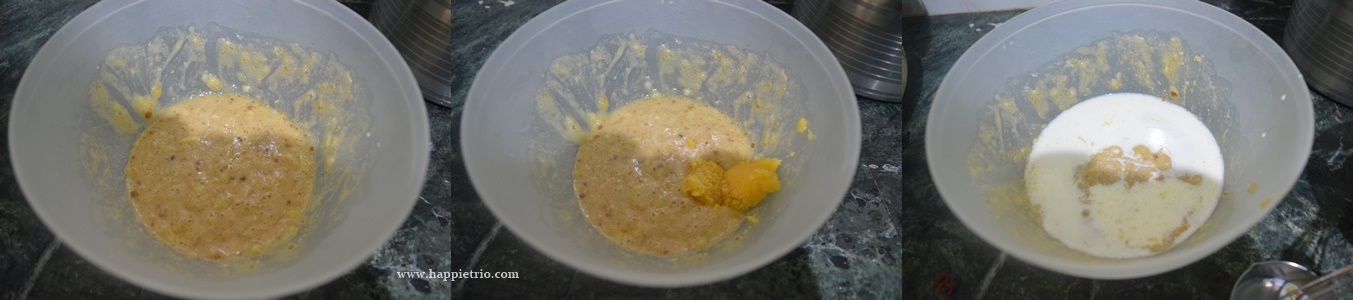
2. Next add in the ghee and milk and mix well so that everything is mixed evenly.
3. In another mixing bowl add in the oats, Wheat flour and baking powder and mix well.

4. Slowly add the wet ingredients and dry ingredients together.

5. Line a baking tray with parchment paper and transfer the prepared cake batter spread it with a spatula and pat it once or twice. So that the batter is distributed evenly without any bubbles. Sprinkle in some oats on the top.

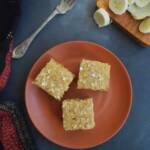
6. Preheat the oven at 180 deg C for about 10 mins and then bake at 180 Deg C for about 30 mins. check if the tooth pick inserted comes out clean and then remove from the oven. Allow it to cool down and then slice them into pieces.


You might also be interested in :

★ Did you enjoy this recipe? If you happen to try it out, I would love to hear from you! I’d appreciate it if you could rate and leave a review below in the comments. Your reviews help others know the recipe better too. Thanks for your time .You can also follow me on Facebook, Pinterest, Instagram, Youtube and Twitter for more updates
📖 Recipe
Oats Banana Cake
Standard 1 cup measures 240 ml
Ingredients
- 2 Banana roughly around 1 cup if mashed
- 3 tablespoon Cane sugar or Brown sugar
- 2 teaspoon Ghee
- ⅓ cup Milk
- ⅓ cup Oats
- ⅓ cup Wheat Flour
- ¾ teaspoon Baking powder
Instructions
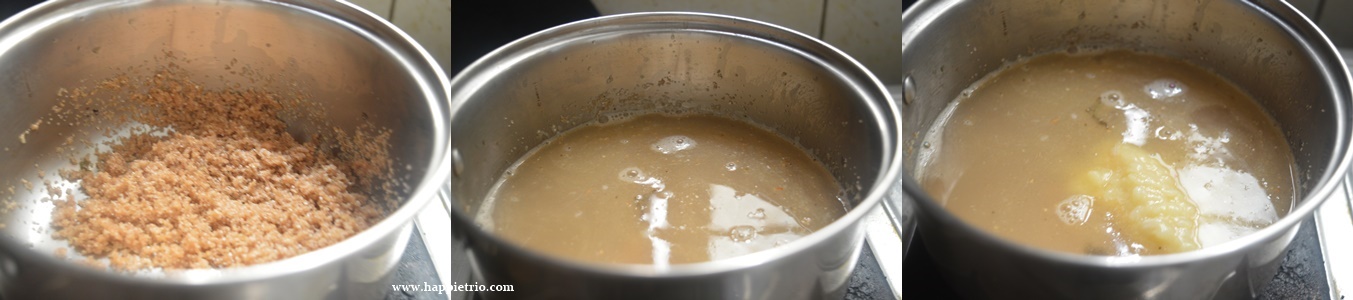
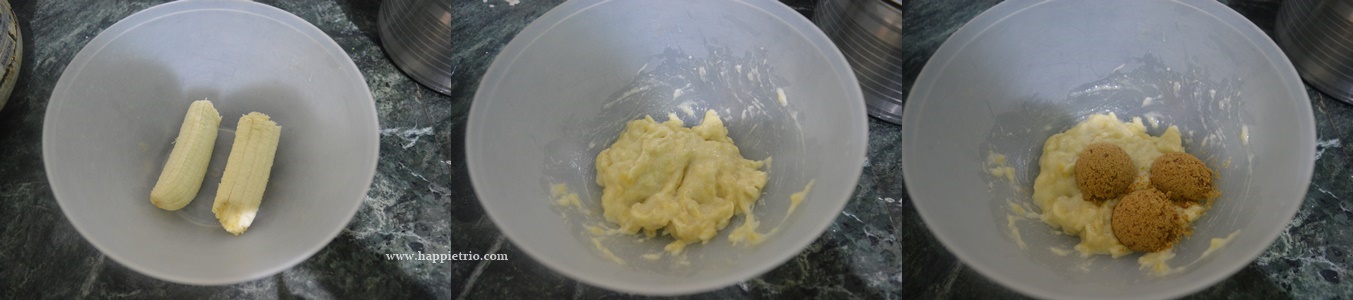
- In a mixing bowl take a banana and mash it well. To this add in the cane sugar and mix well.
- Next add in the ghee and milk and mix well so that everything is mixed evenly.
- In another mixing bowl add in the oats, Wheat flour and baking powder and mix well.
- Slowly add the wet ingredients and dry ingredients together.
- Line a baking tray with parchment paper and transfer the prepared cake batter spread it with a spatula and pat it once or twice. So that the batter is distributed evenly without any bubbles. Sprinkle in some oats on the top.
- Preheat the oven at 180 deg C for about 10 mins and then bake at 180 Deg C for about 30 mins. check if the tooth pick inserted comes out clean and then remove from the oven. Allow it to cool down and then slice them into pieces.
Notes
Use choco chips or any nuts for a rich version.