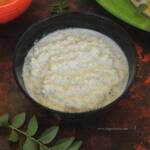
Fenugreek Seeds powder are widely used in Indian cooking. It has a slightly bitter taste but the health benefits are huge.
Follow us on Pinterest for delicious pins. Join our Facebook group for more Instant Pot and Air Fryer recipes.

Fenugreek Seeds are widely used in Indian cooking. It has a slightly bitter taste but the health benefits are huge. We can use Fenugreek powder in a variety of curry and recipes. It is so aromatic. Now lets see how to prepare Fenugreek powder in home.
[feast_advanced_jump_to]About Fenugreek
Fenugreek belongs to the Fabaceae plant family. The seeds and leaves of the plant are edible and is widely used in cooking. Fenugreek is often used as a medicine since ancient times. It is advisable to consume in small quantity.
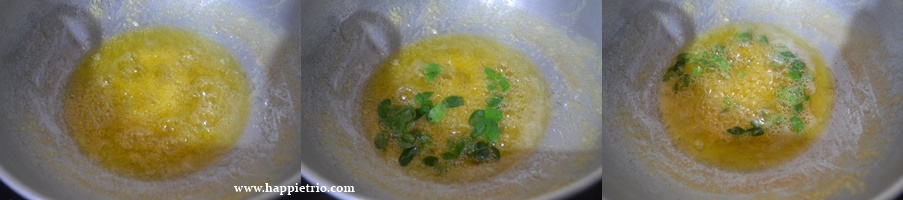
We use the fenugreek seeds to flavor the curry or even used as a tadka in many cuisines. The leaves also knows as Methi leaves can be consumed like spinach.
Check out the Methi paratha recipe too if you are interested.
Health benefits of Fenugreek
- Fenugreek seeds helps in lowering the blood sugar level and cholesterol.
- It also helps in reducing the menstrual cramps.
- It helps in keeping PCOD in control.
- Consuming fenugreek in empty stomach also helps in boosting metabolism.

How to make Fenugreek Powder
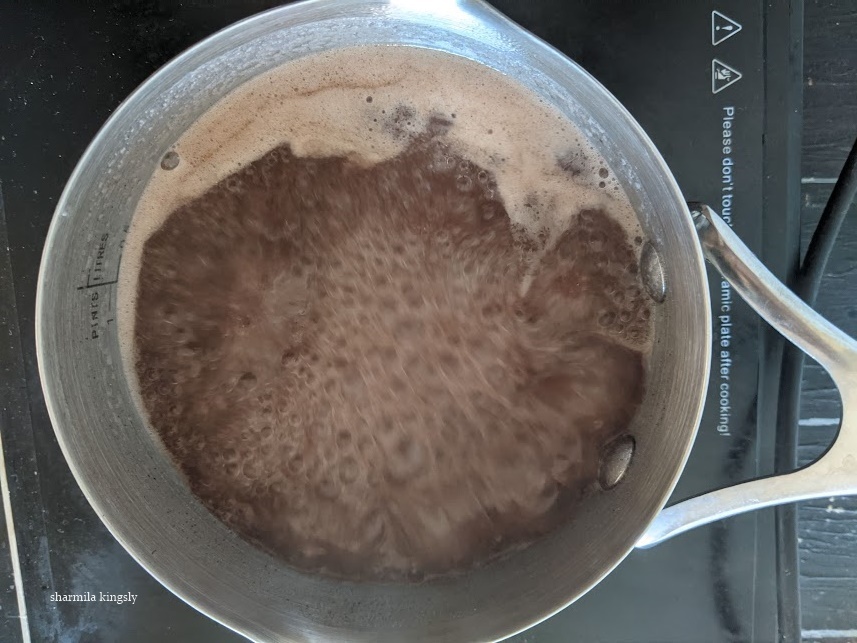
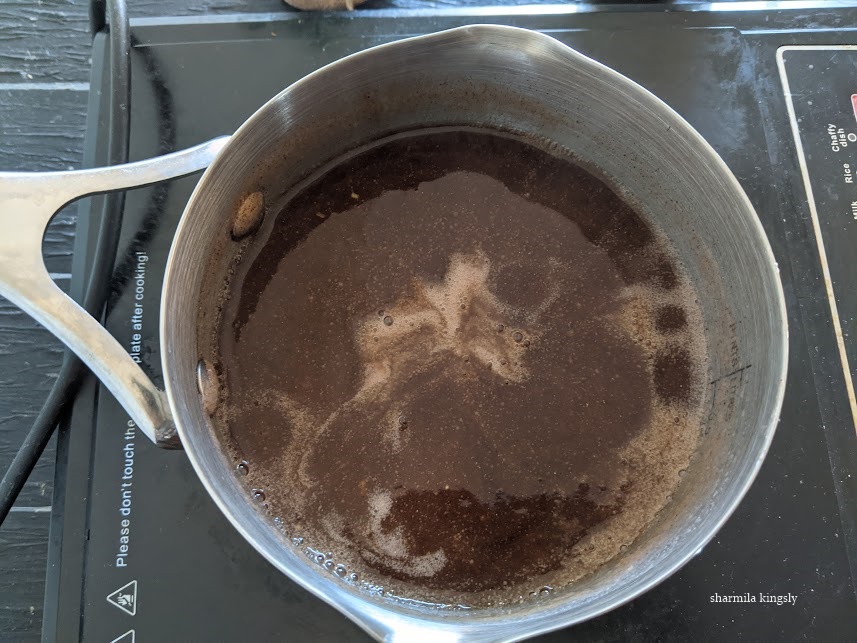
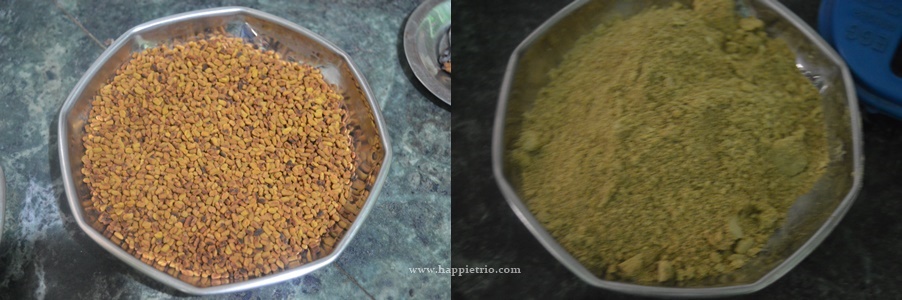
In a pan add Fenugreek seeds. Dry roast in a low flame until it is golden brown in colour and aromatic.

Switch off the flame and allow it to cool down completely.
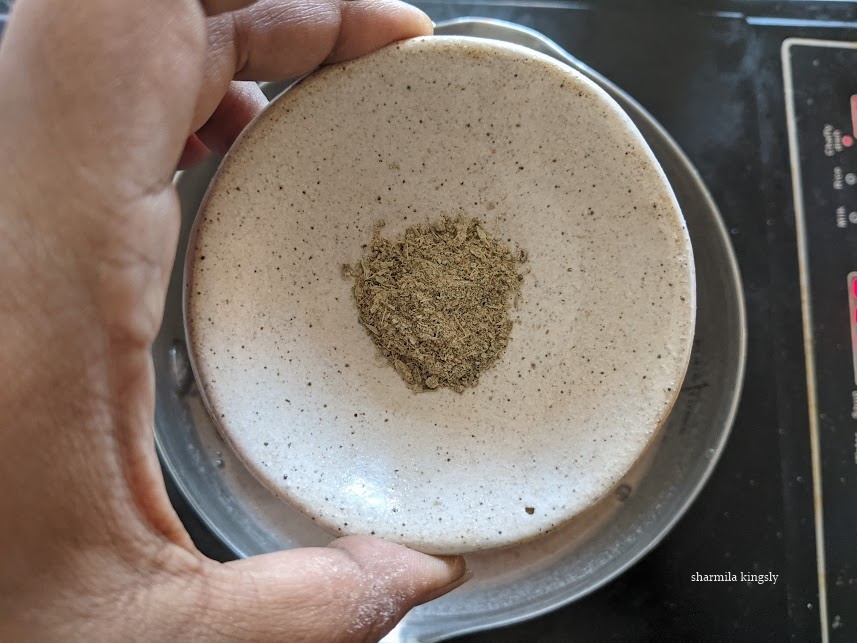
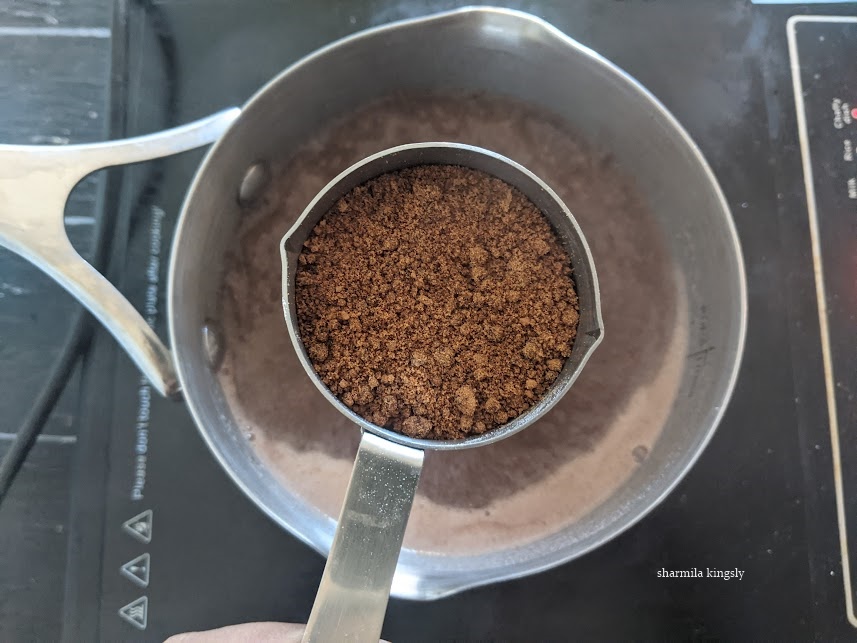
Transfer to a blender and then grind to a fine powder
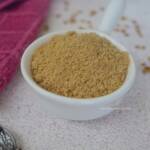
Spread in a wide plate and let it cool completely once again. Once it cools down store
it in an air tight container.
Store in an air tight container and handle it clean.

Top Tips
Fenugreek powder is more commonly used in making Indian pickle. It is a famous pickle masala.
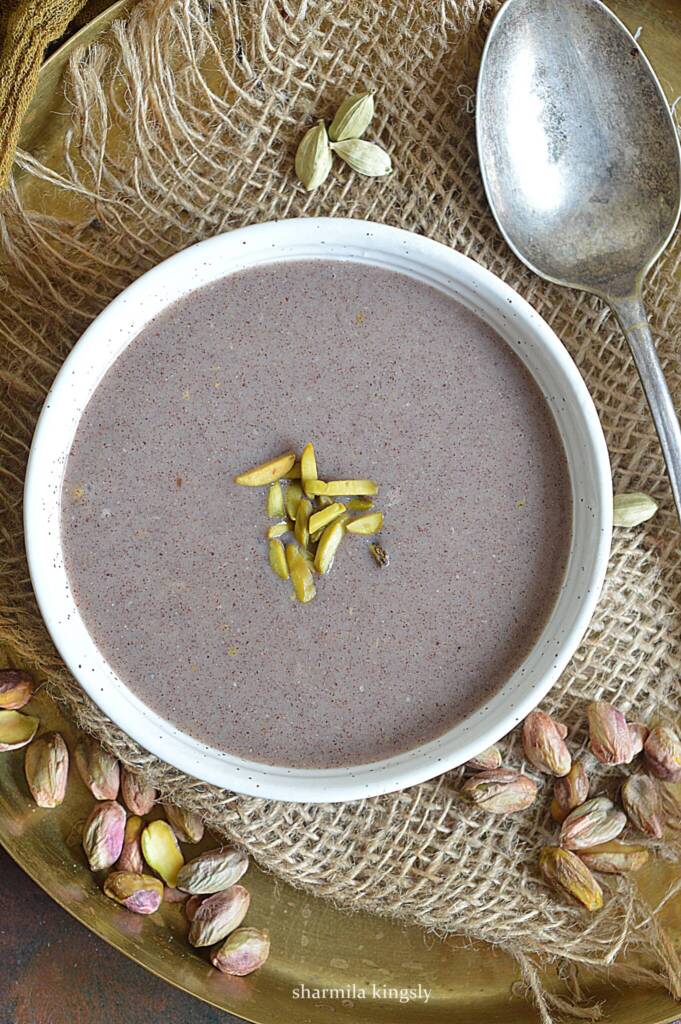
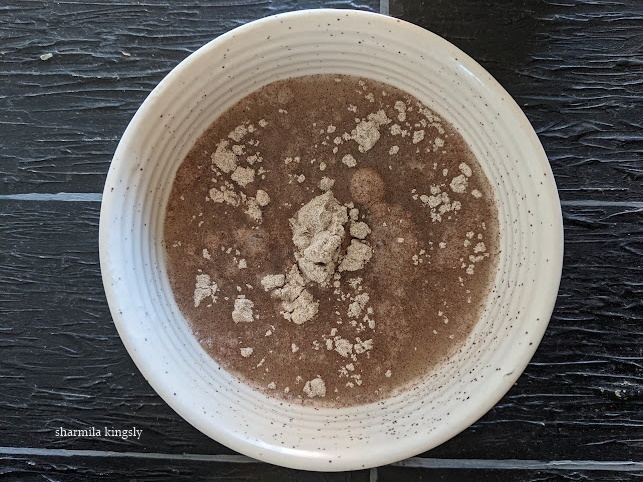
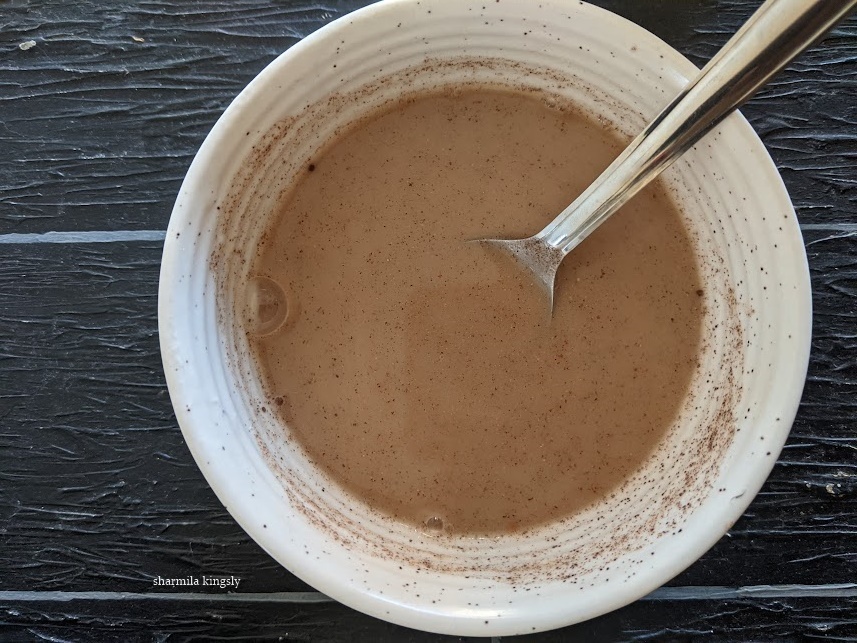
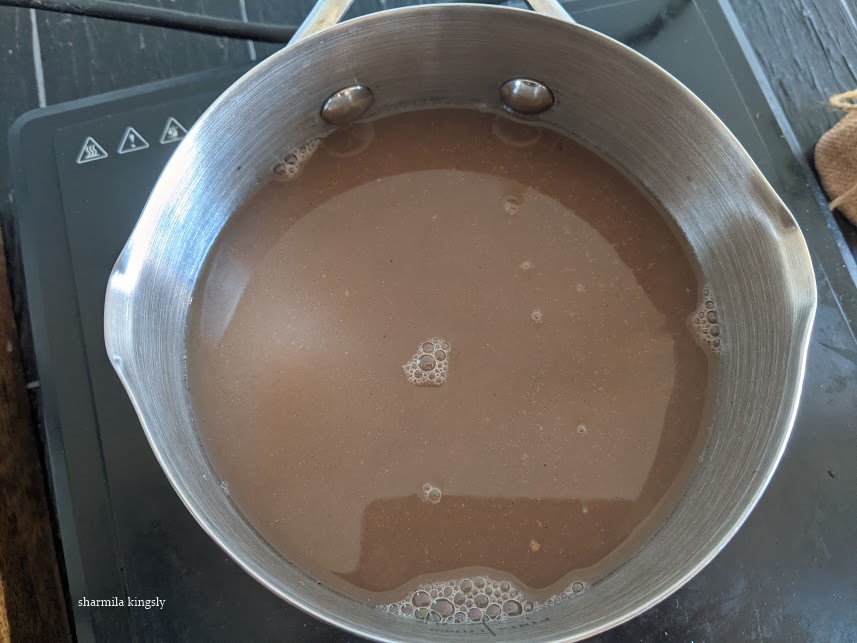
We can also dissolve methi powder in a glass of warm water and consume in empty stomach. It helps in boosting the metabolism.
Storage Options
Always store the the methi powder in a clean air tight container. It stays good for 3 months. I always make a small batch that lasts for 2 months and make them fresh.
Similar Recipes


★ Did you enjoy this recipe? If you happen to try it out, I would love to hear from you! I’d appreciate it if you could rate and leave a review below in the comments. Your reviews help others know the recipe better too. Thanks so much. You can also follow me on Facebook, Pinterest, Instagram, Youtube, and Twitter for more updates
📖 Recipe
Fenugreek Seeds powder
Standard 1 cup measures 240 ml
Ingredients
- ½ cup Fenugreek | Methi Seeds
Instructions
- In a pan add Fenugreek seeds. Dry roast in a low flame until it is golden brown in colour and aromatic.
- Switch off the flame and allow it to cool down completely.
- Transfer to a blender and then grind to a fine powder
- Spread in a wide plate and let it cool completely once again. once it cools down store it in an air tight container.
Notes
Nutrition
Disclaimer: I am not a nutritionist, the nutrition value provided here is an estimate. It will vary based on the quantity and brands of the products used.