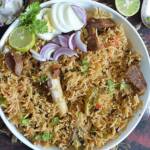
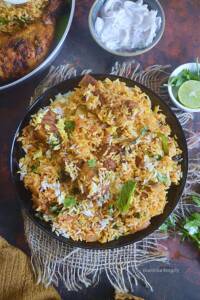
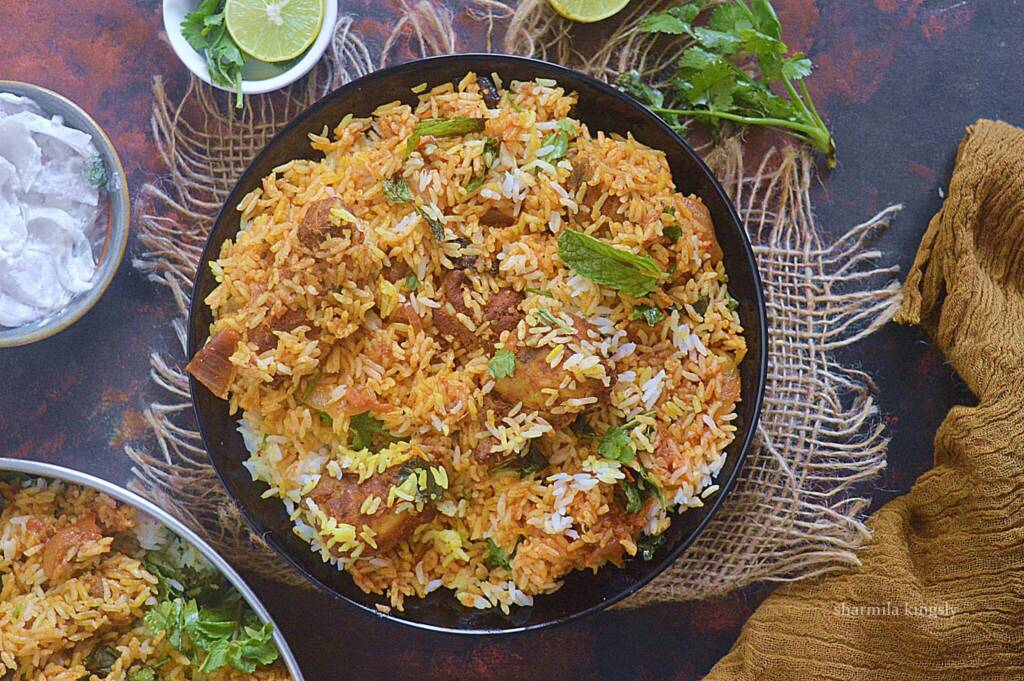
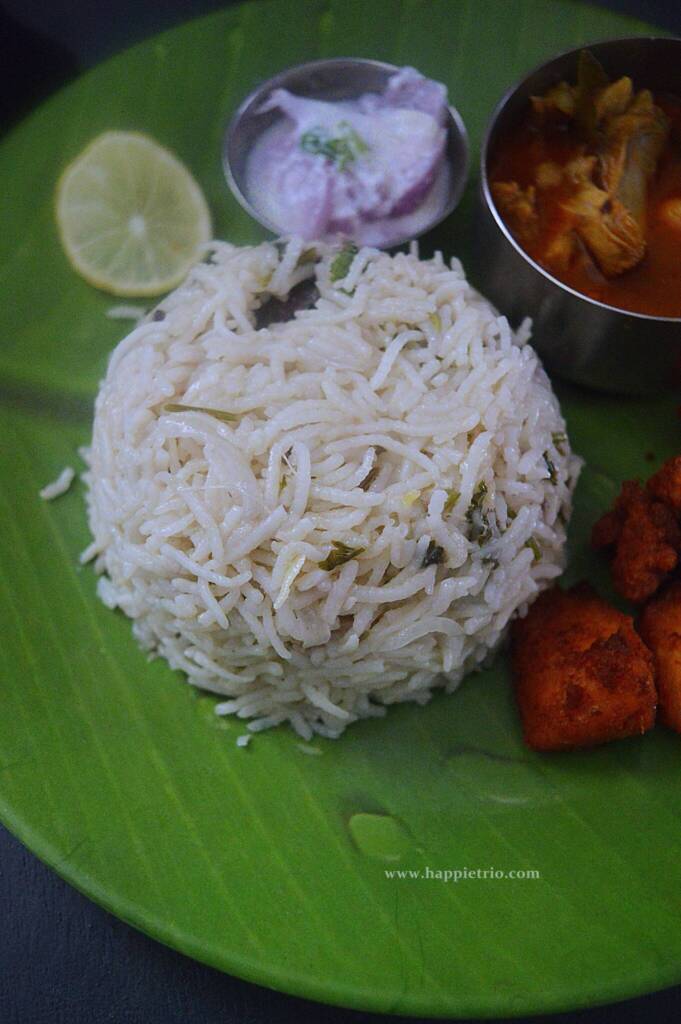
White Chicken Biryani or Vella Biryani is very famous in Coimbatore. It uses very minimal spices but the taste is unmatchable.
Kongunadu Vella Biryani is very famous in around the region of Coimbatore. It uses very minimal spices but the taste is unmatchable. Black Stone Flower and Marati mooku are the important spices in this biryani also They mostly use Seeraga Samba rice for cooking biryani, I have substituted Basmati Rice in this recipe however.
[feast_advanced_jump_to]What is Vella Biryani
Vella biryani literally translates to White Biryani. Vella means White color in Tamil. White Biryani is very famous around the region of Coimbatore. It uses very minimal spices but the taste is unmatchable. Black Stone Flower and Marathi mooku are the important spices in this biryani also They mostly use Seeraga Samba rice for cooking biryani
Water Proportion for Biryani
Water proportion is extremely important for cooking the biryani. It is what gives a fluffy and grainy biryani without the rice sticking to each other.
PRESSURE COOKER:
While Cooking in a pressure cooker I use 1:1.25 as the Rice to Liquid ratio. It gives me extremely satisfying results. I have been using this method of cooking for more than 8 years now. Check the Recipe on how I cook with the pressure cooker.
INSTANT POT,
If cooking in Instant pot. Use 1.5 cups of water for 1 cup of rice. Cook in high pressure for 5 mins and do a quick release. Fluff the rice once and leave the Ip closed for 30 mins. The rice will be fluffy and non sticky biryani every time.
ELECTRIC RICE COOKER. MEALTHY:
While cooking in one of the above gadgets I use 1:2 as the Rice to Liquid Ratio.
OPEN POT METHOD:
While cooking in an open pot I use 1:1.5 as the Rice to Liquid Ratio. I use to cook with the lid closed for about 5-7 ins, and another 2 more mins with the lid opened. When the rice is 90 % cooked. I switch off and close the lid for 30 mins. After that carefully fluff the rice. The rice will be perfectly cooked.
All the above details are for Basmati Rice and this is been tried, tested by me and many of my fellow readers. If you required the ratio for any other method. Do leave a comment. Happy to check and get back.

How to Prepare White Chicken Biryani , Pictorial:
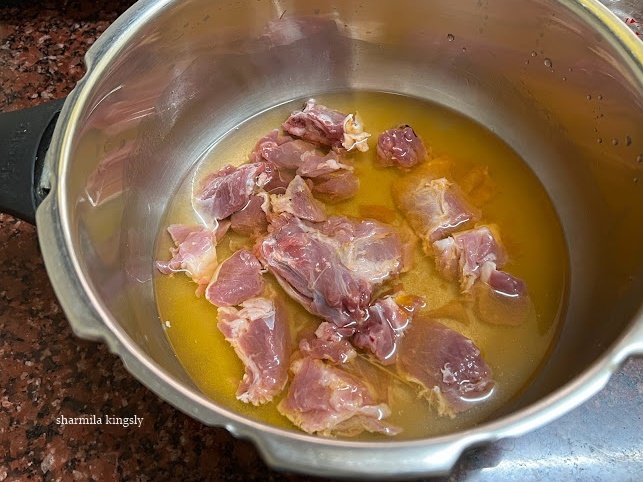
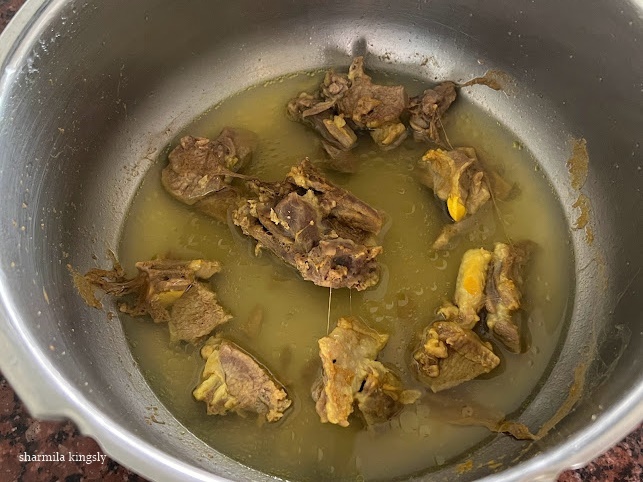
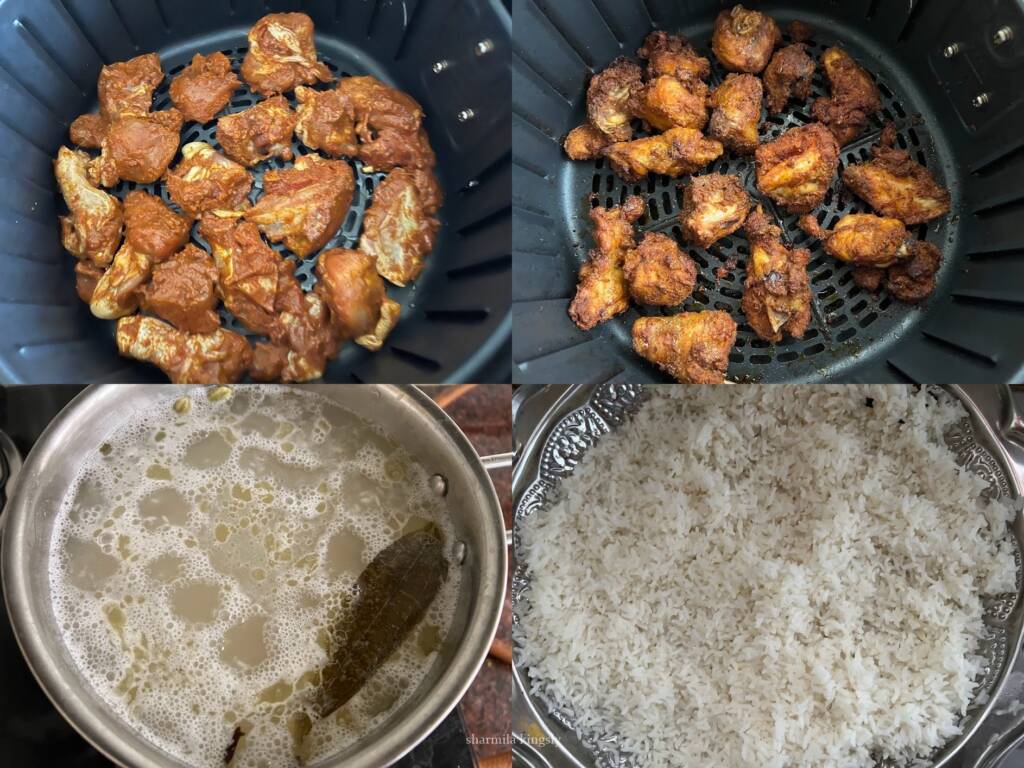
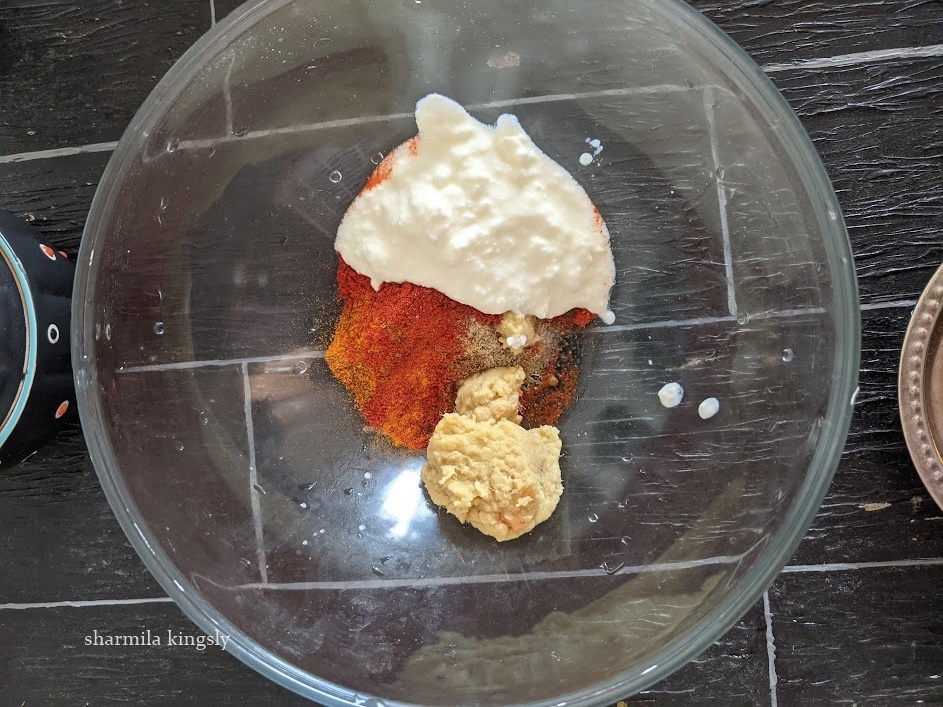
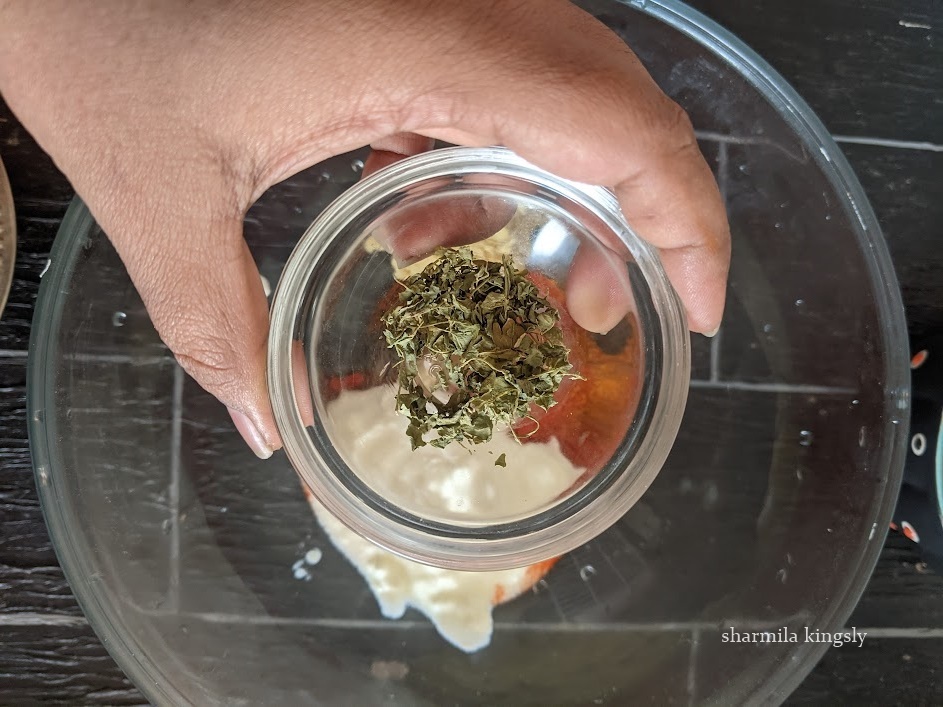
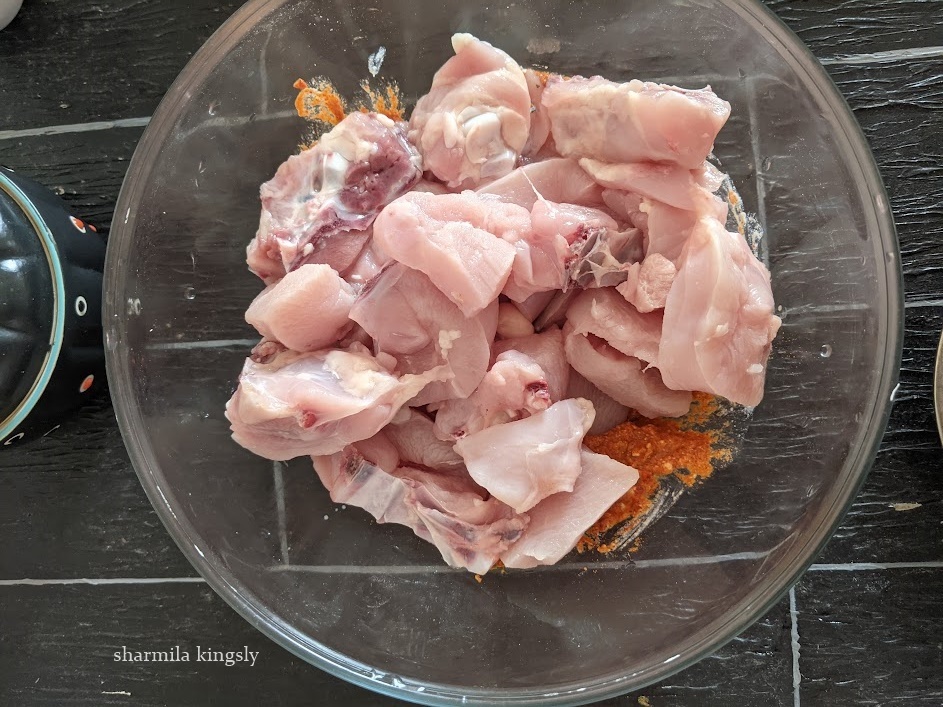
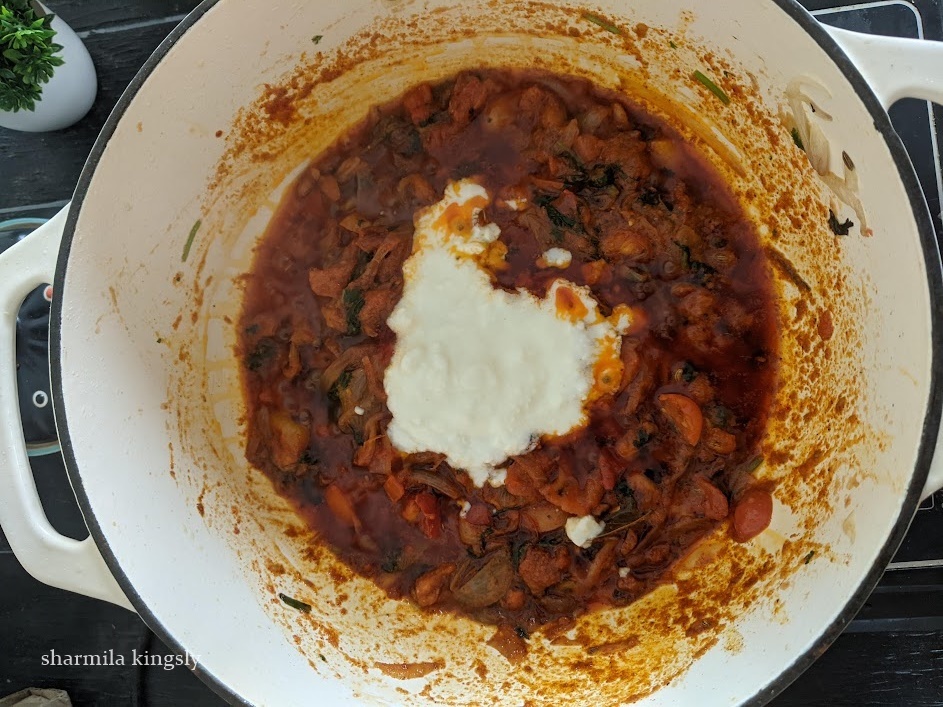
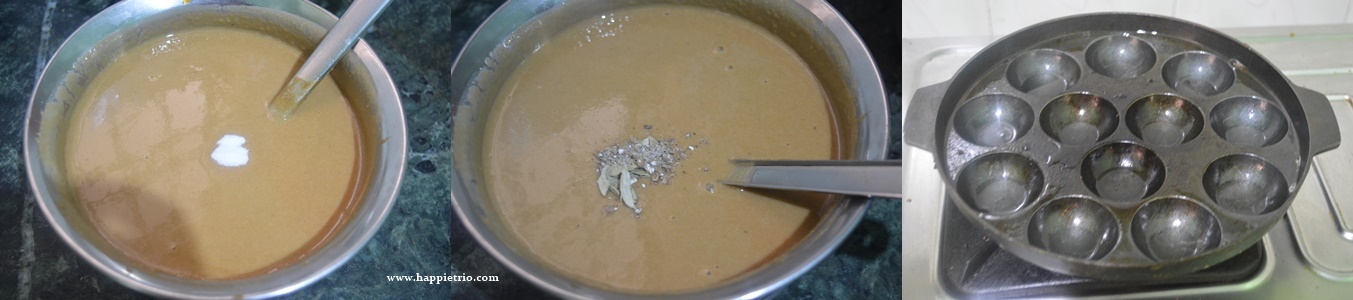
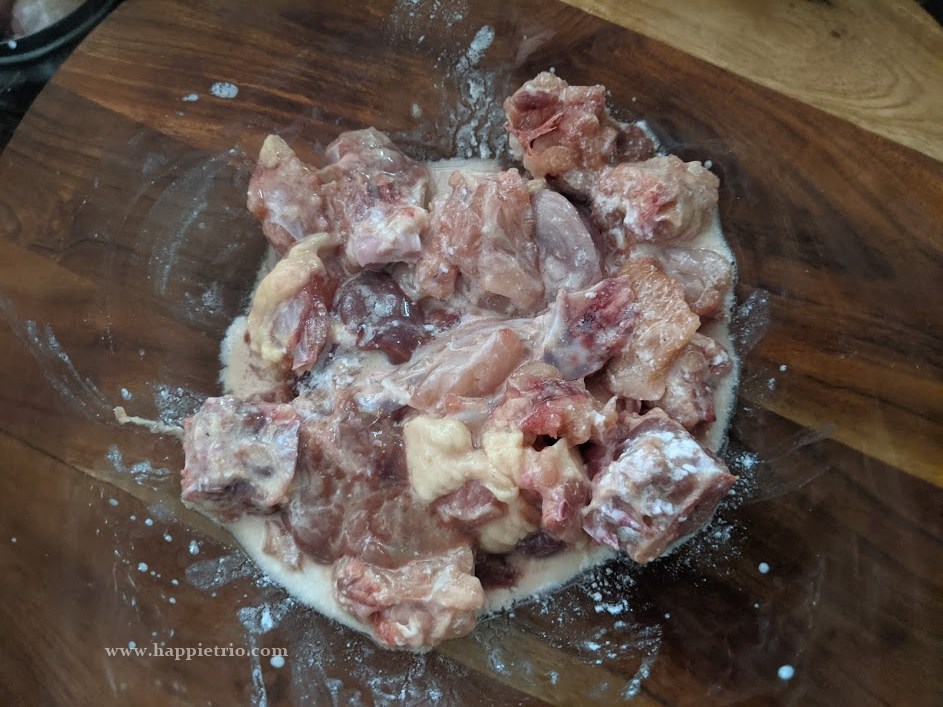
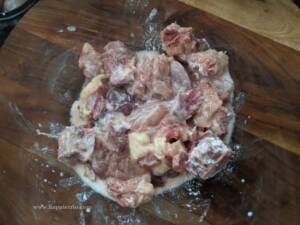
1.Marinate the chicken with salt and yogurt and set it aside for 1 hour.
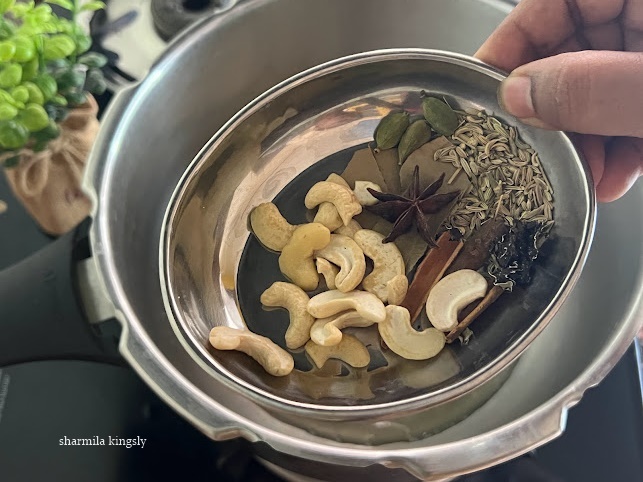
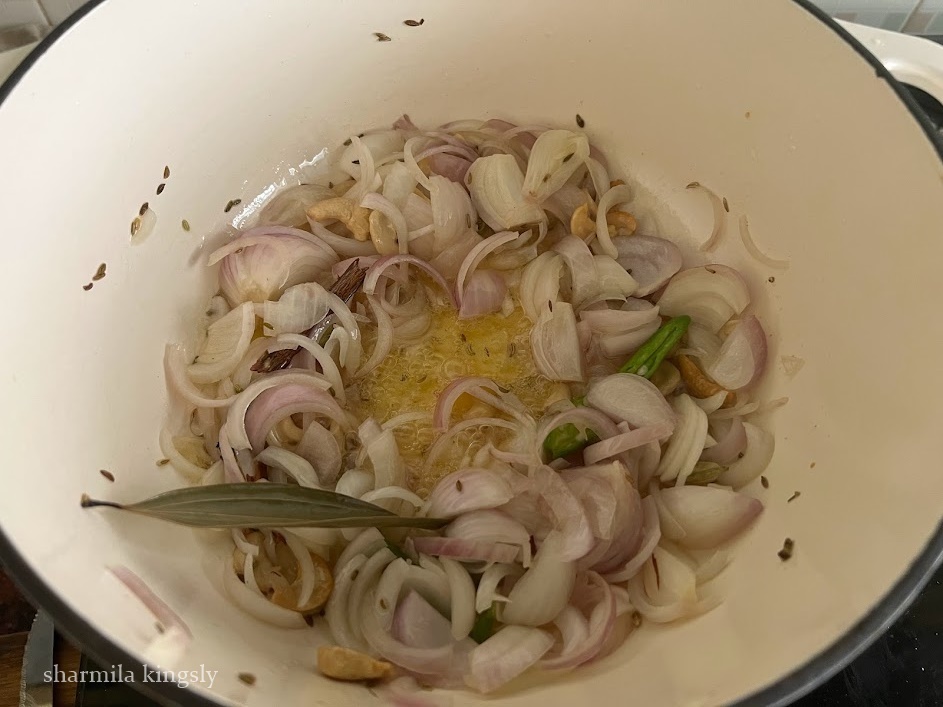
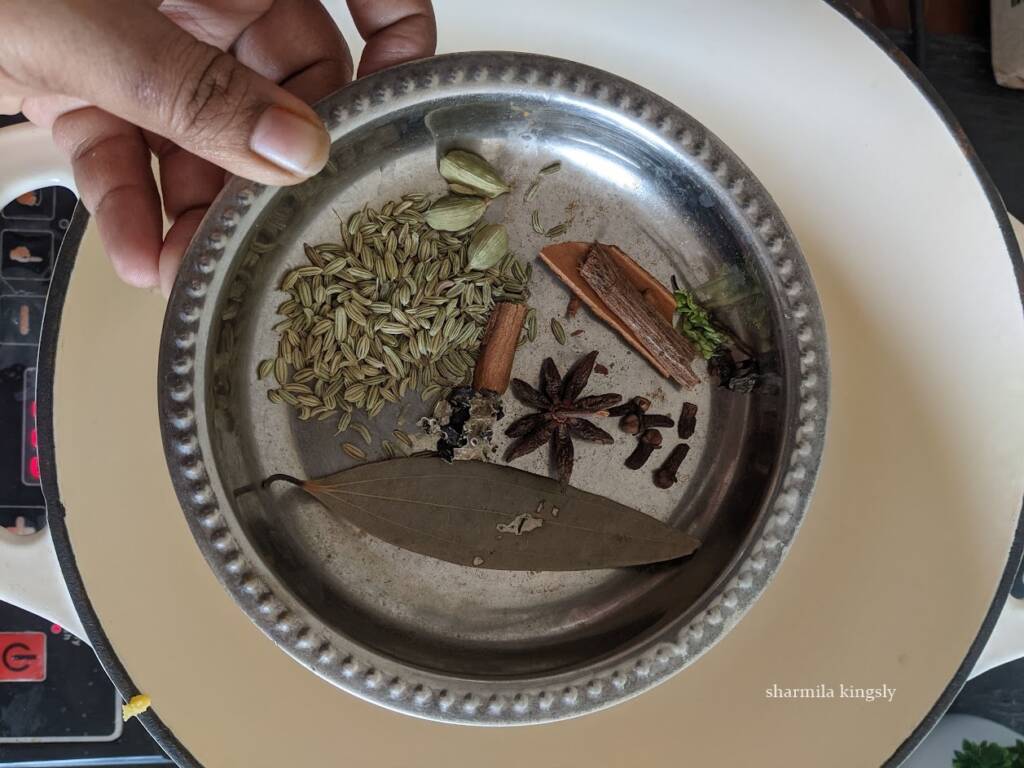
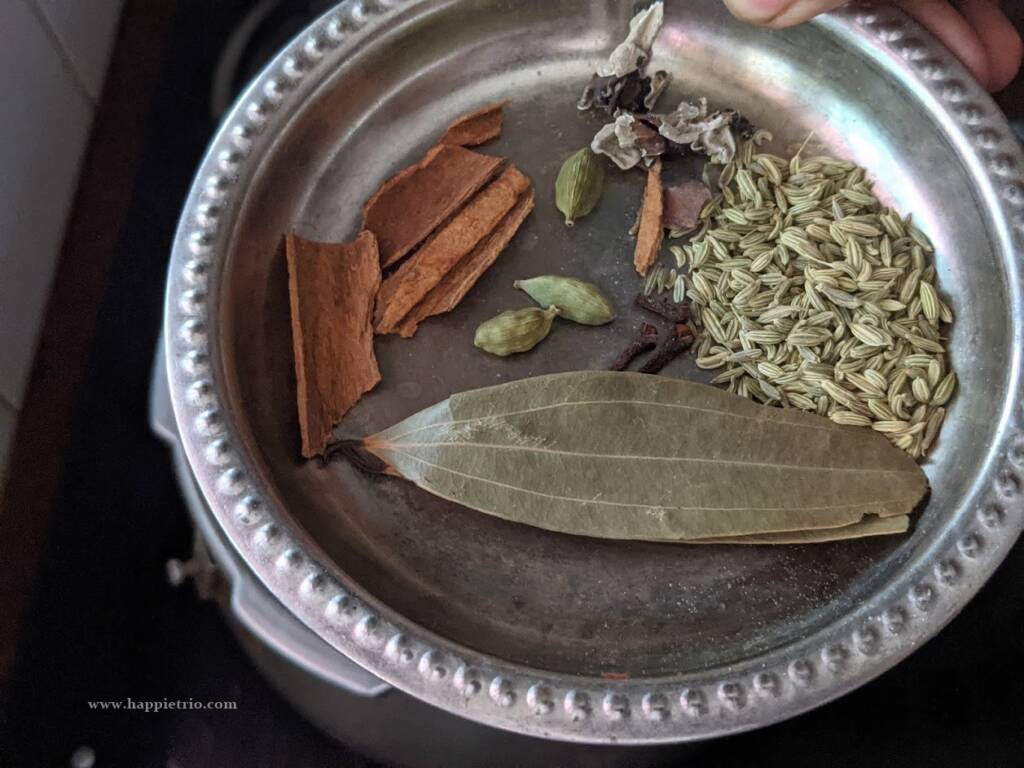
2.Heat a pressure cooker with oil/ghee once it’s hot add in the Fennel seeds, Bay Leaves, Cinnamon stick, cloves, Star Anise, Mace and Black Stone Flowe,Marati mooku.
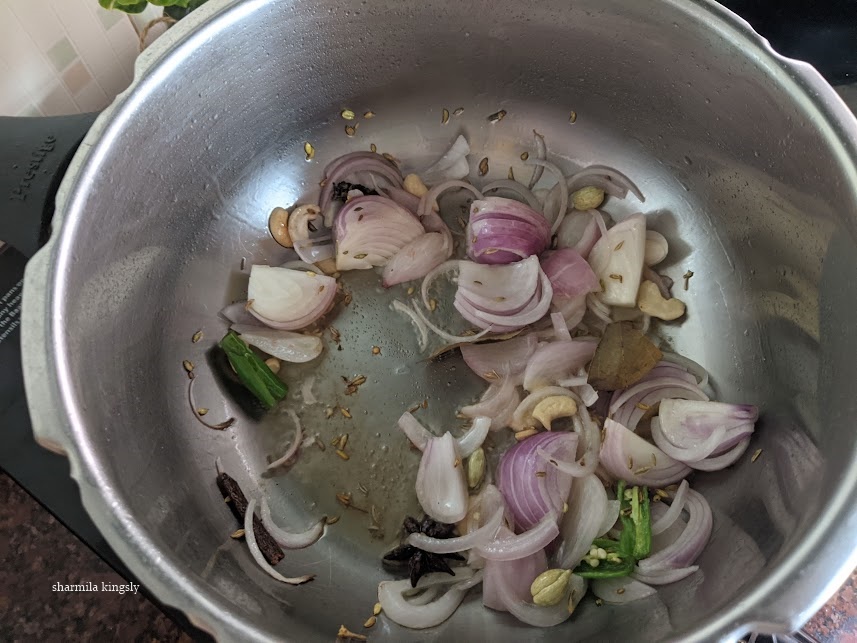
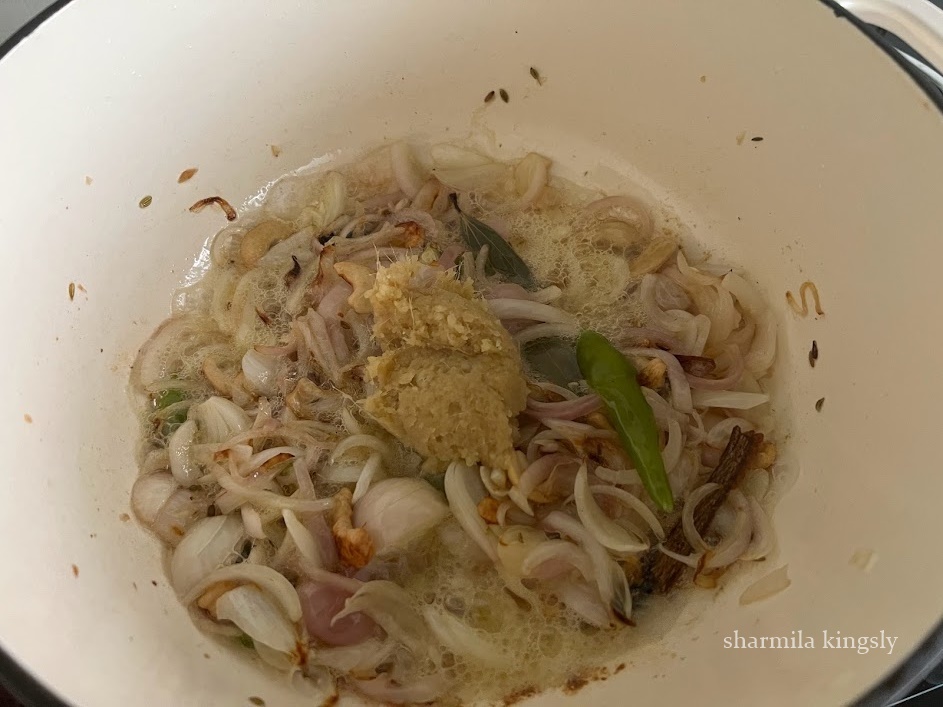
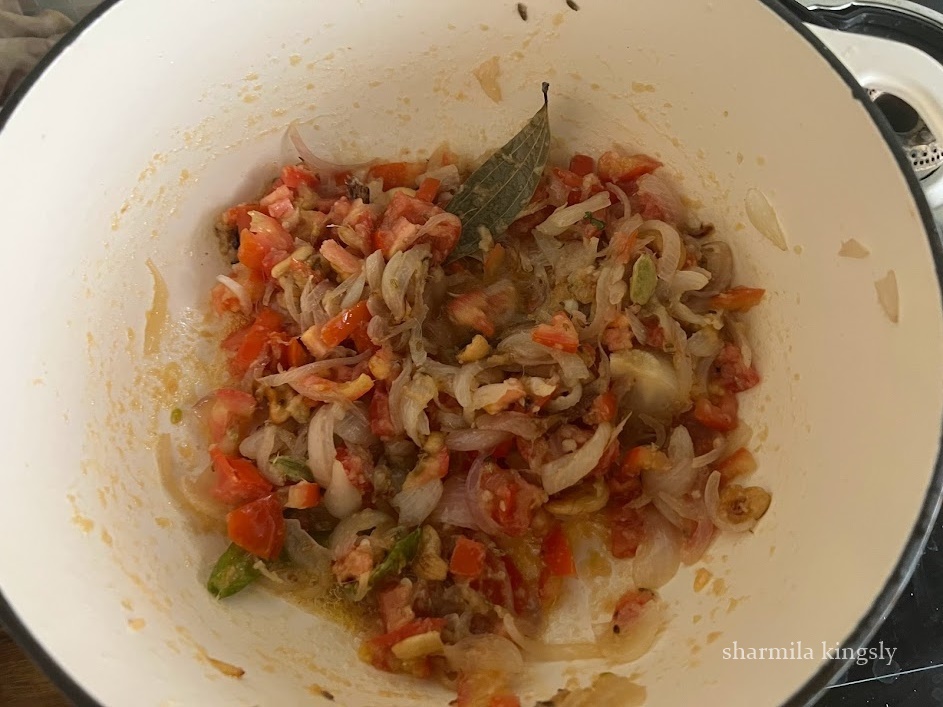
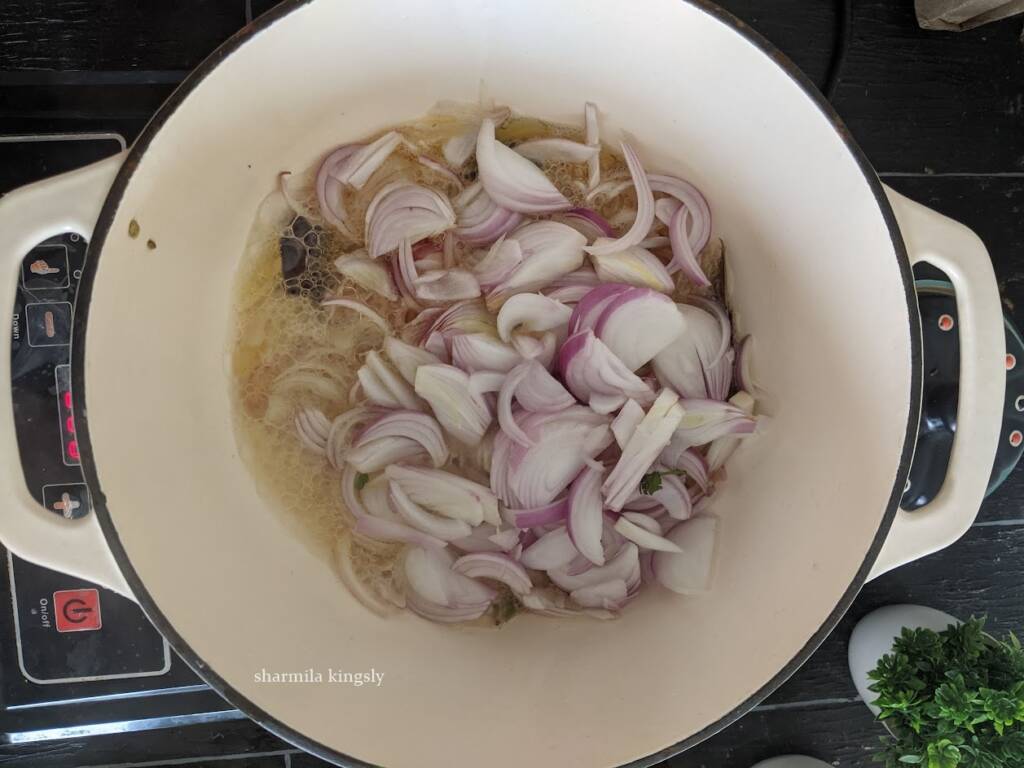
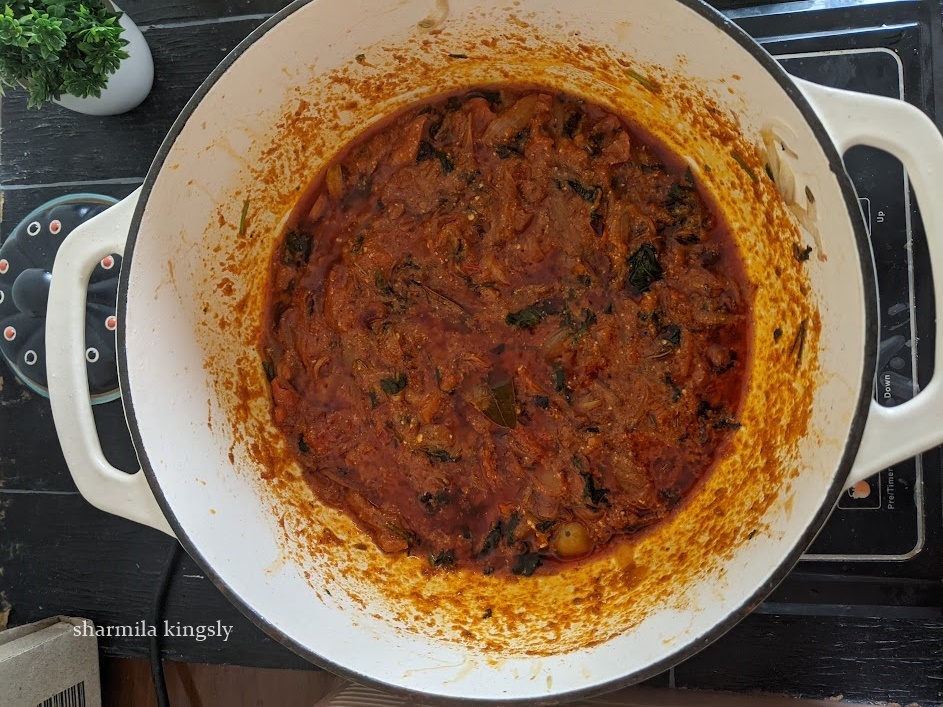
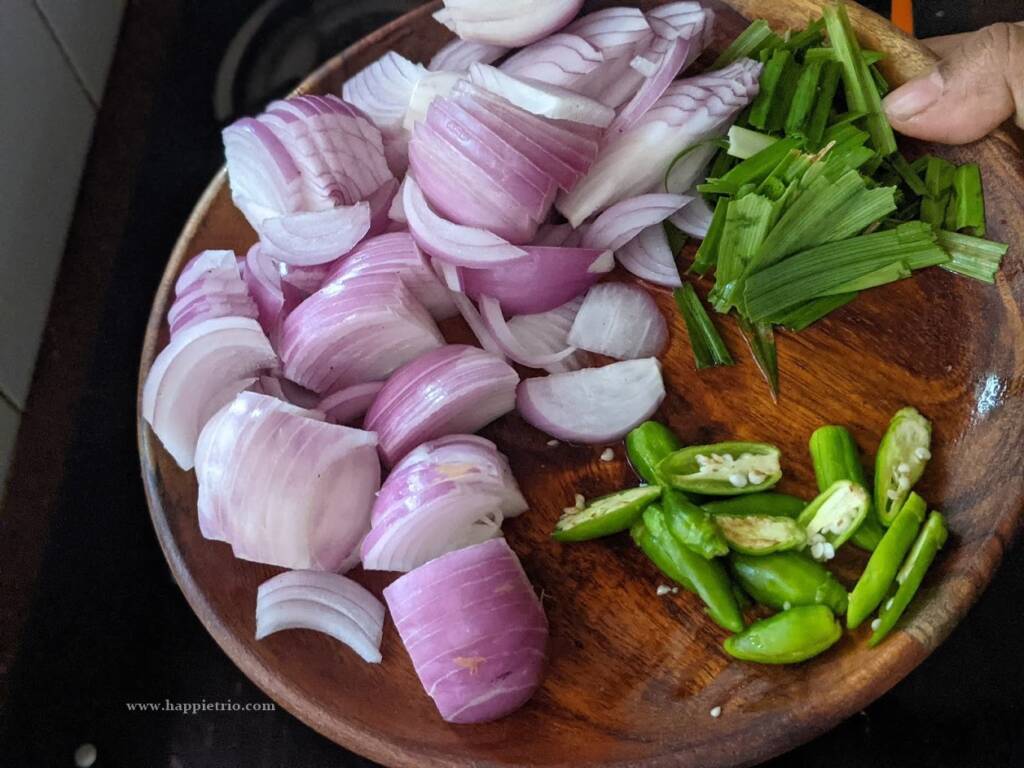
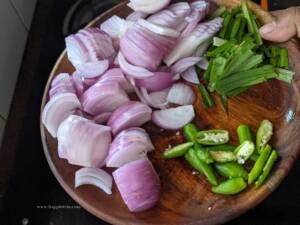
3. Next add in the sliced onions and then add in the slit green chilli and saute till the onions cook to glossy.
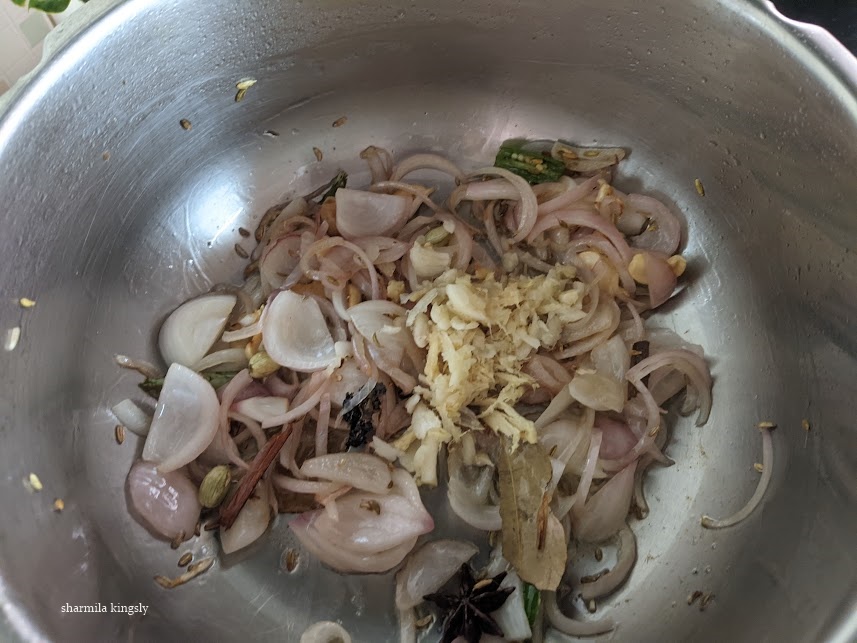
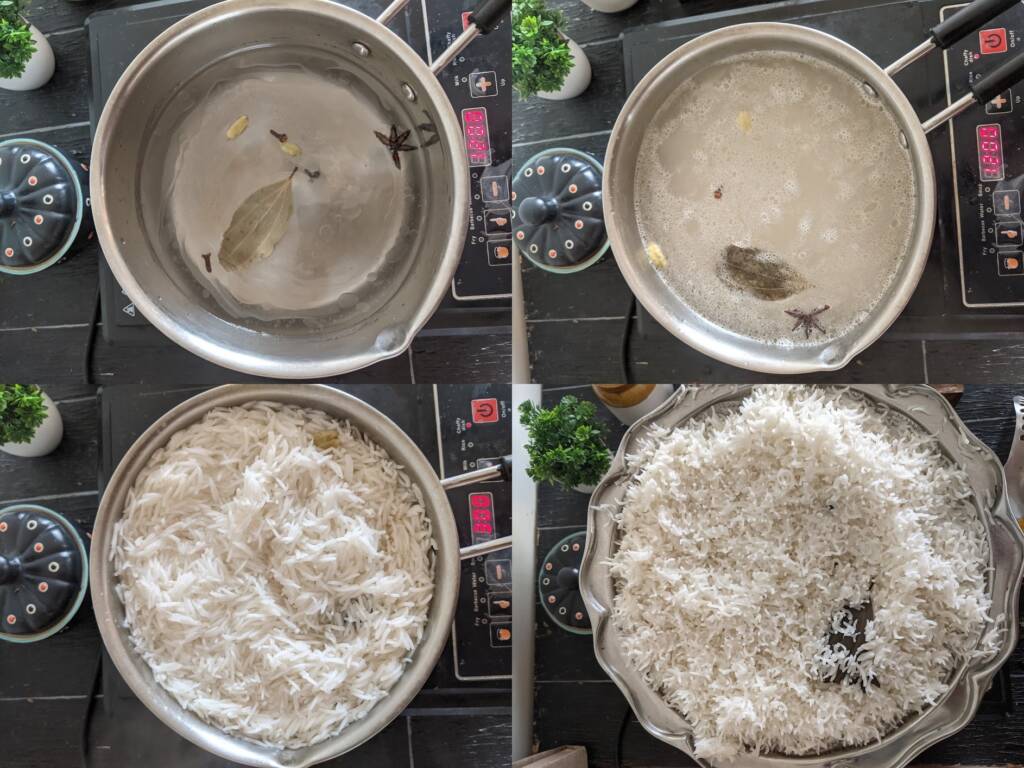
3.Meanwhile soak in the Basmati Rice in water for 30 mins. And then add in the ginger garlic paste and saute till the raw smell leaves.

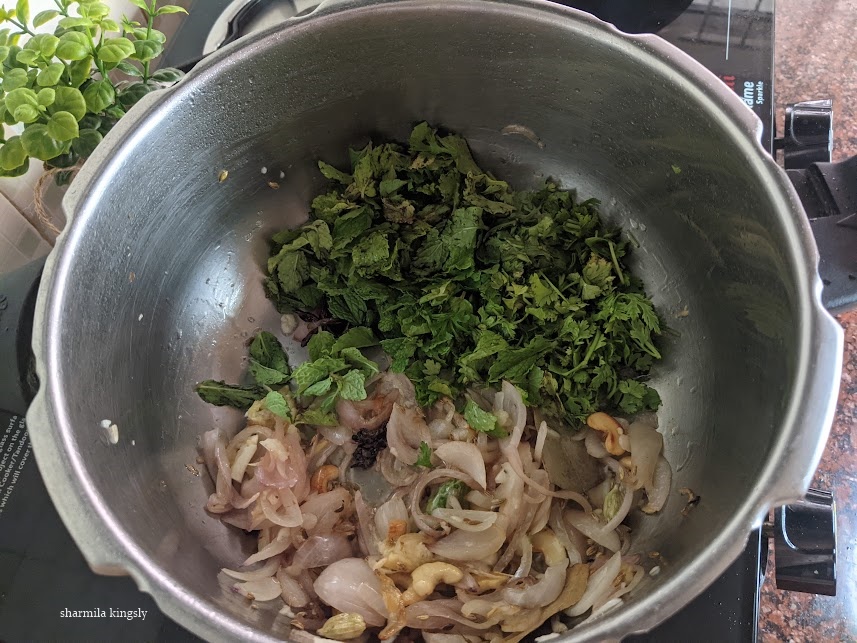
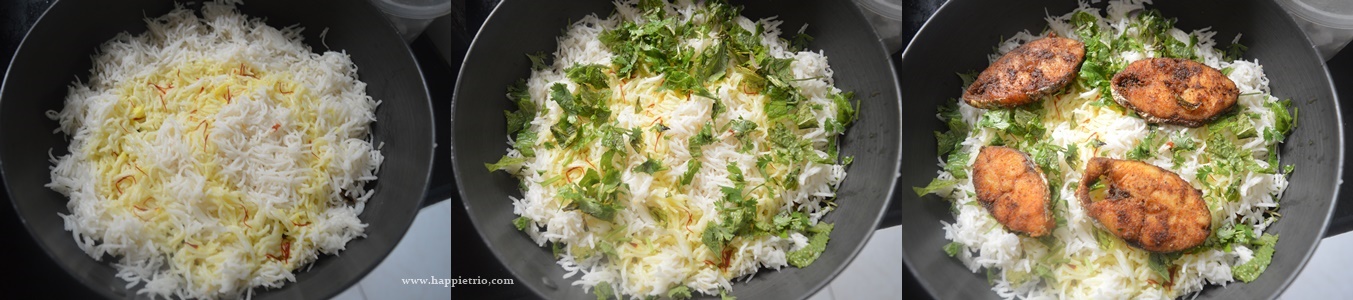
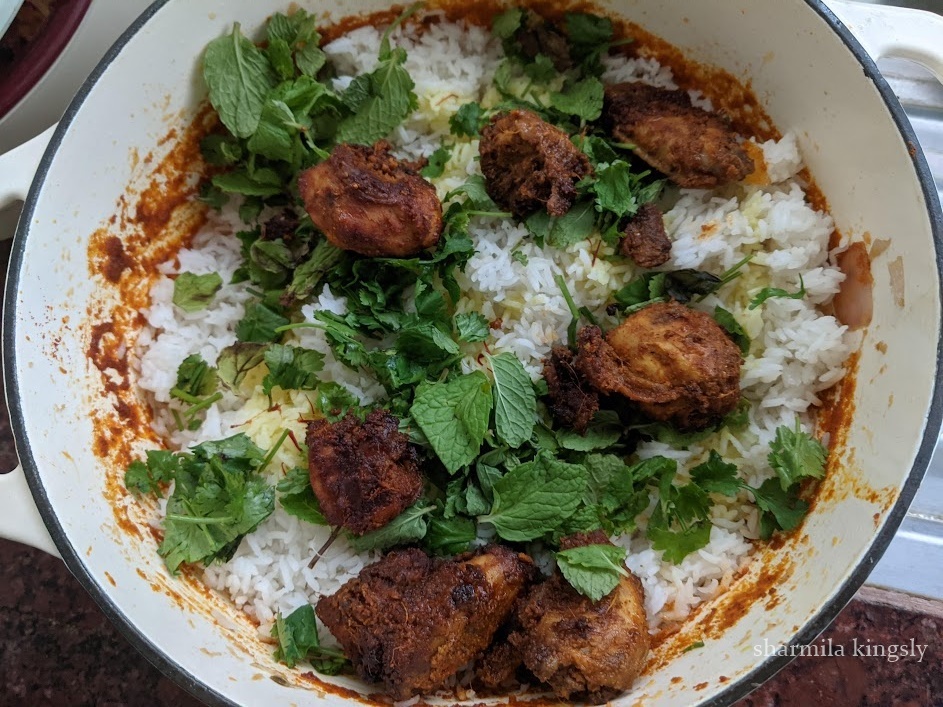
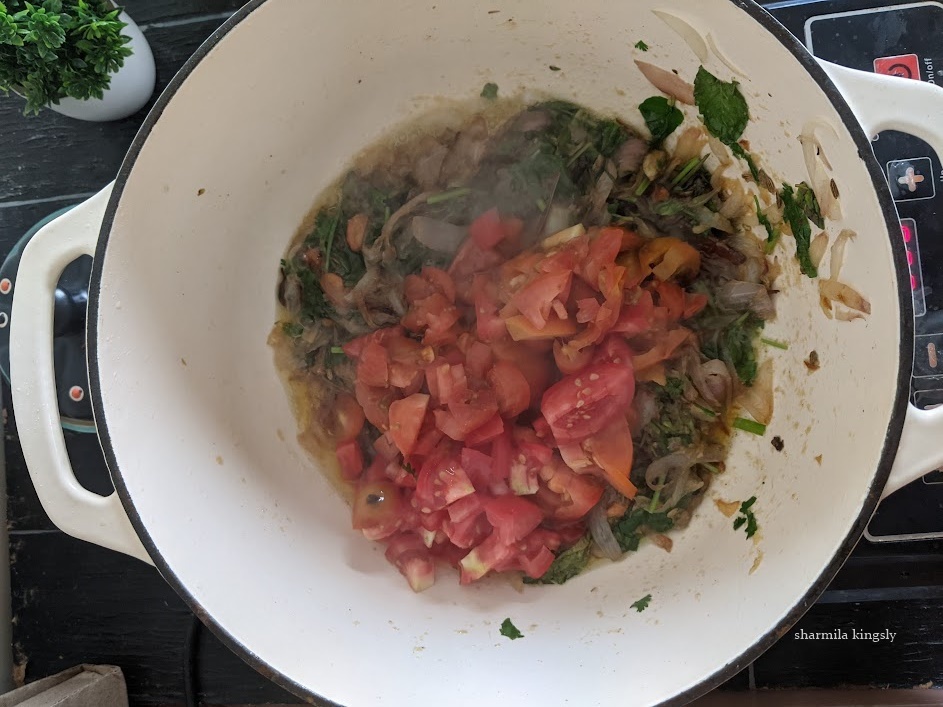
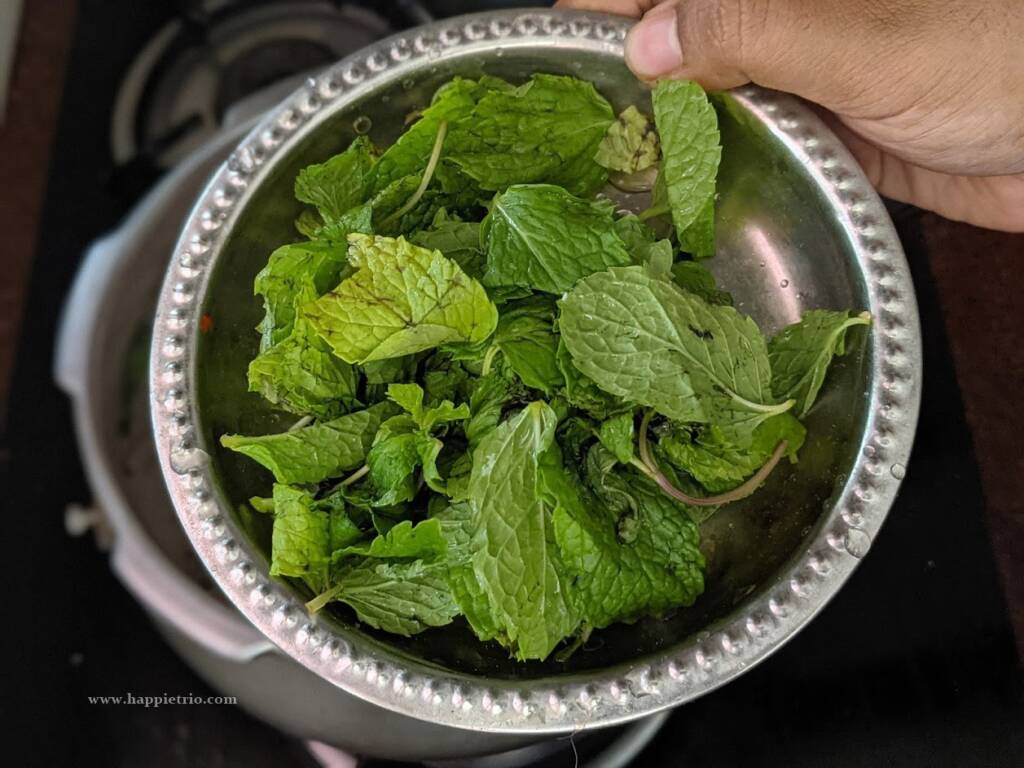
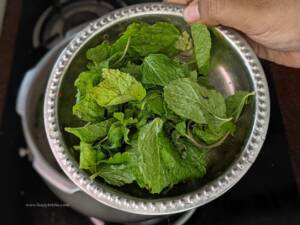
4.Now add in the Mint and Coriander leaves, saute till they shrink . I added Pandan Leaves so i skipped adding coriander leaves. You may add which ever is available.
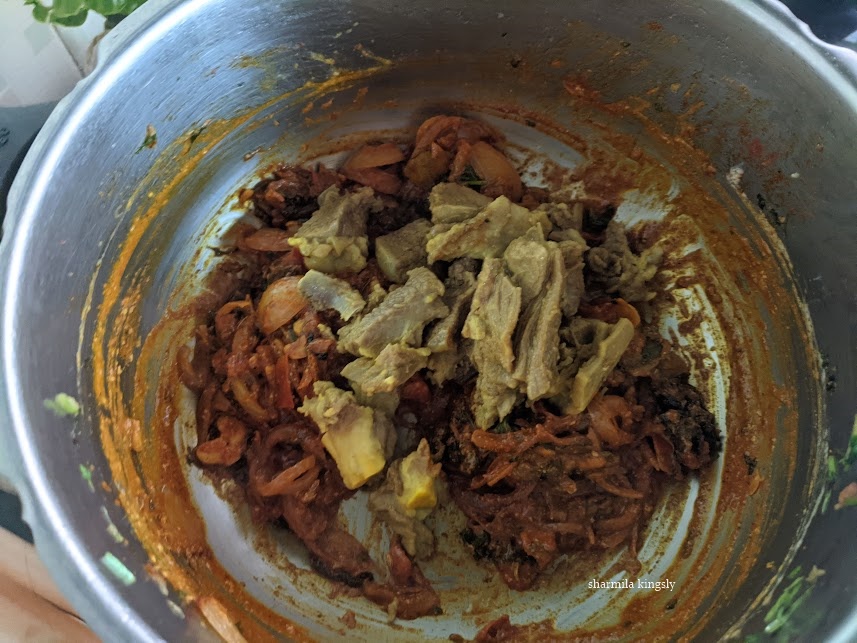
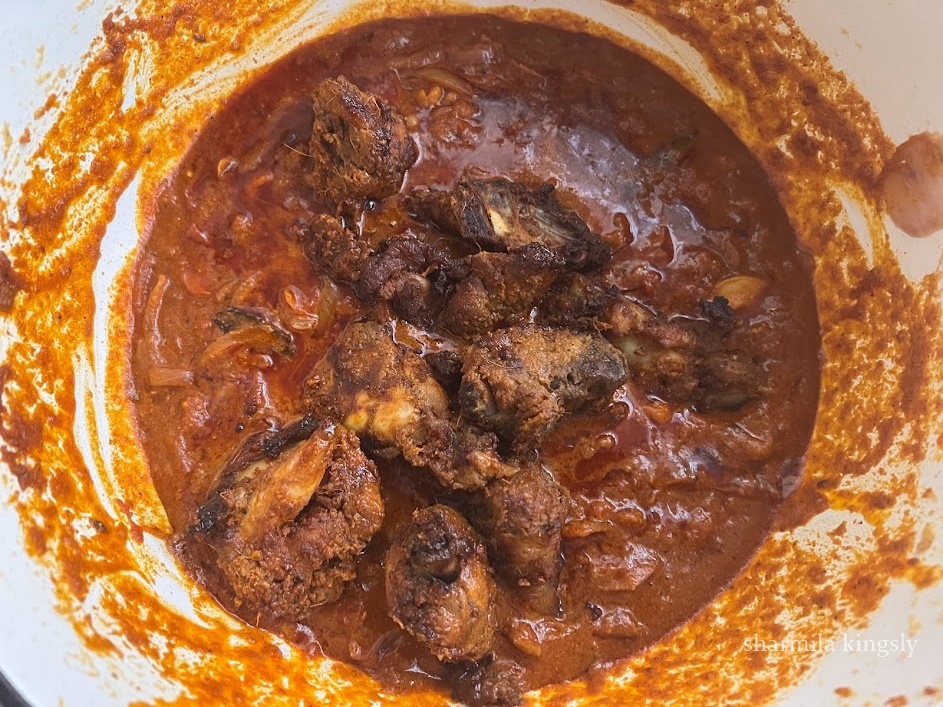
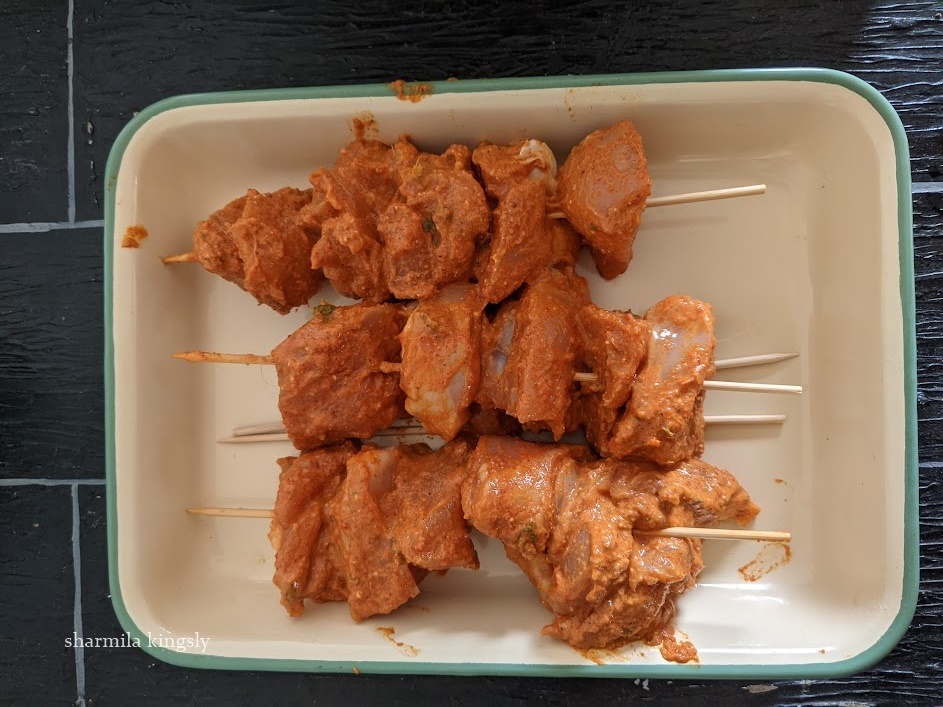
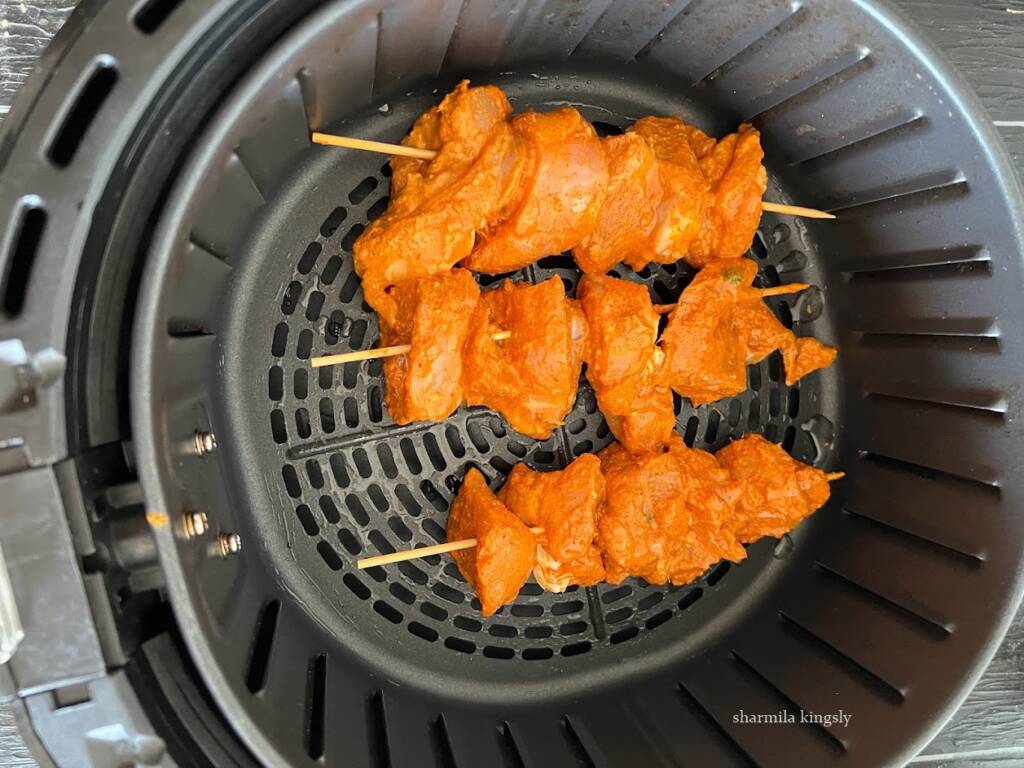
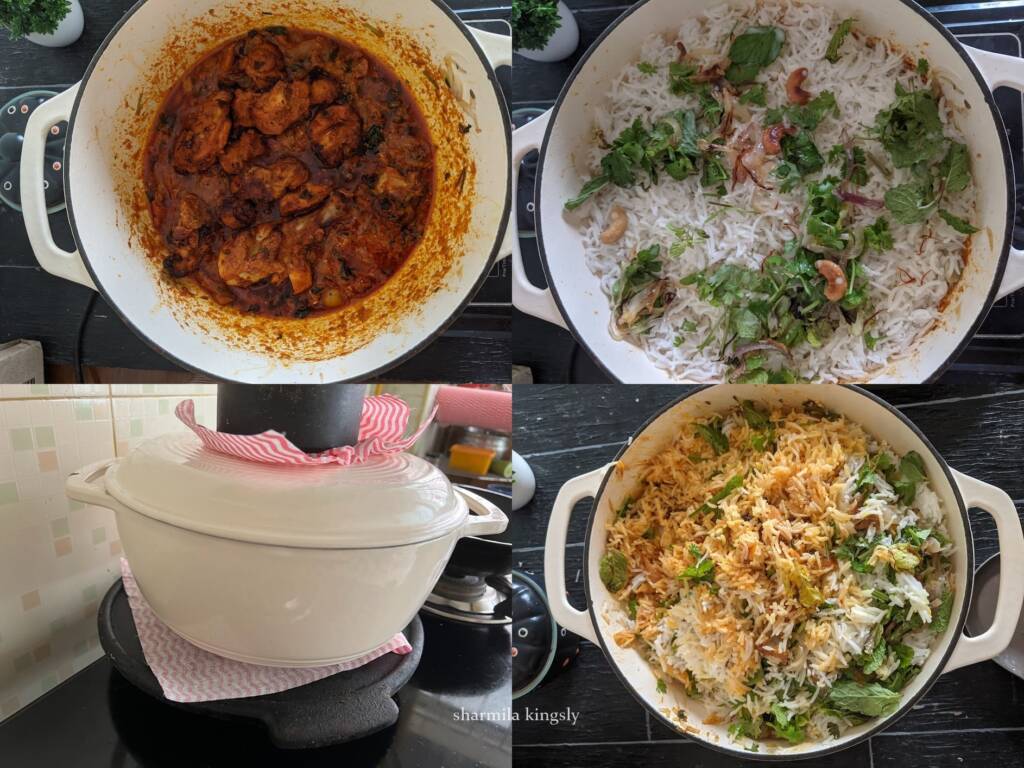
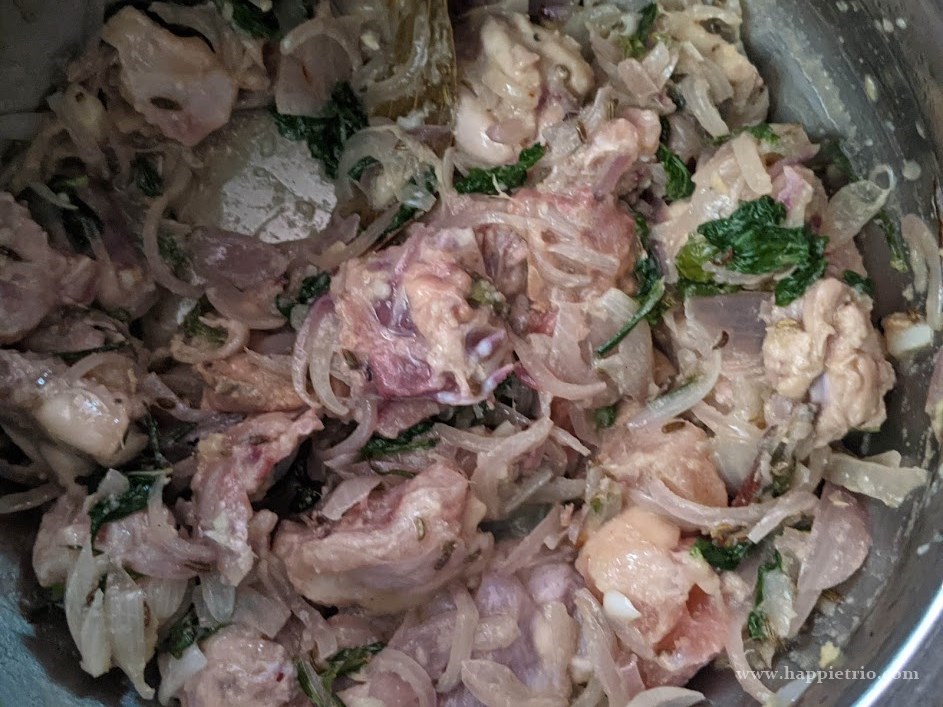
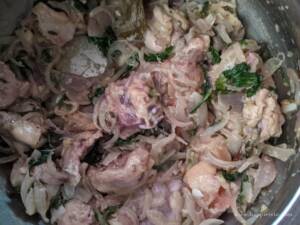
5. Next add in the marinated chicken and mix well and cook for 5 mins in medium flame.
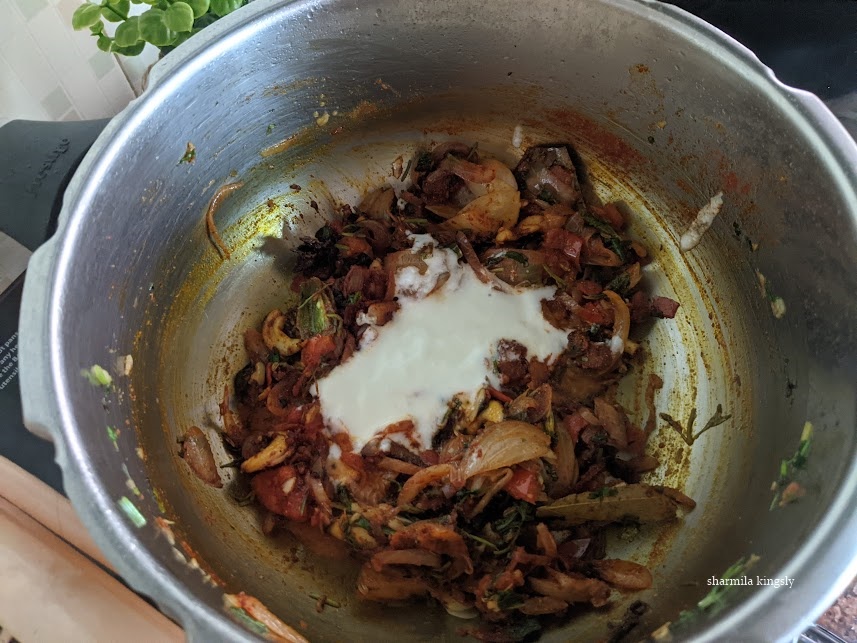
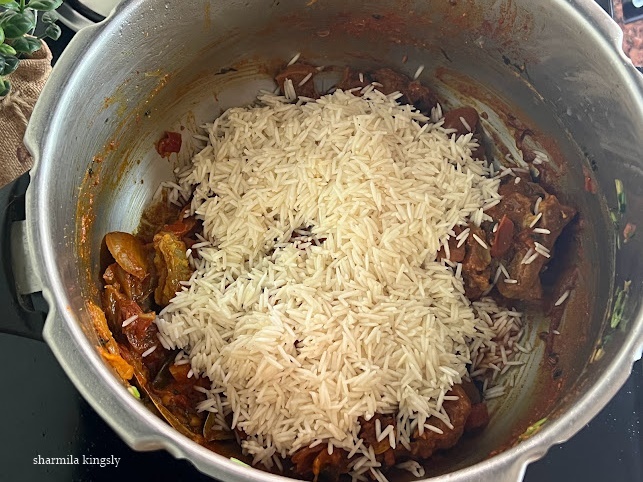
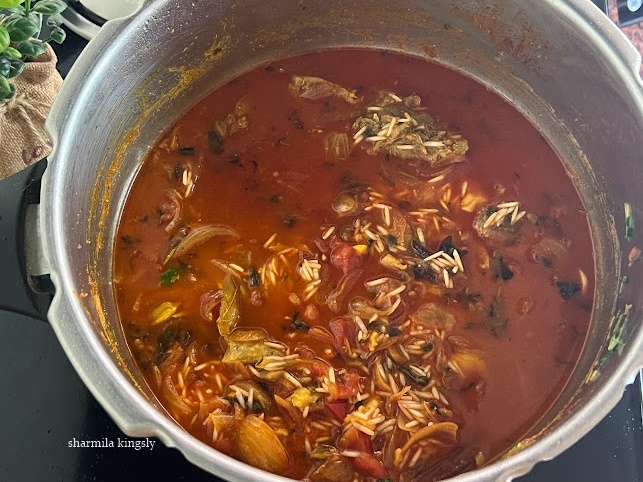
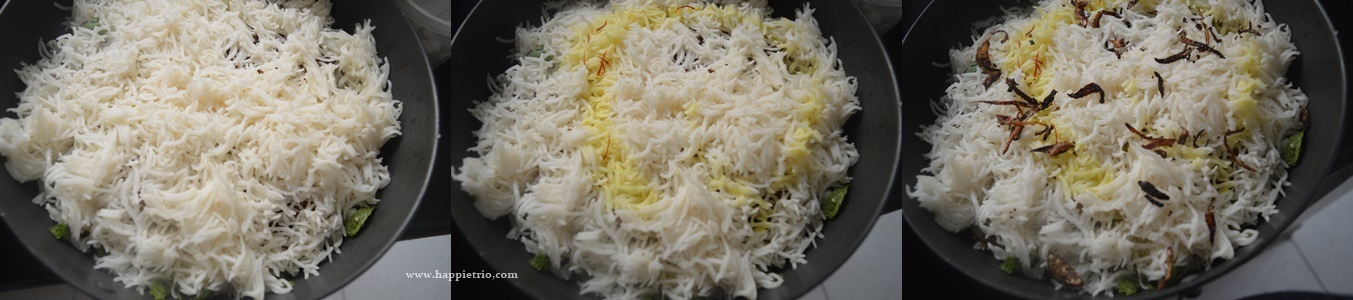
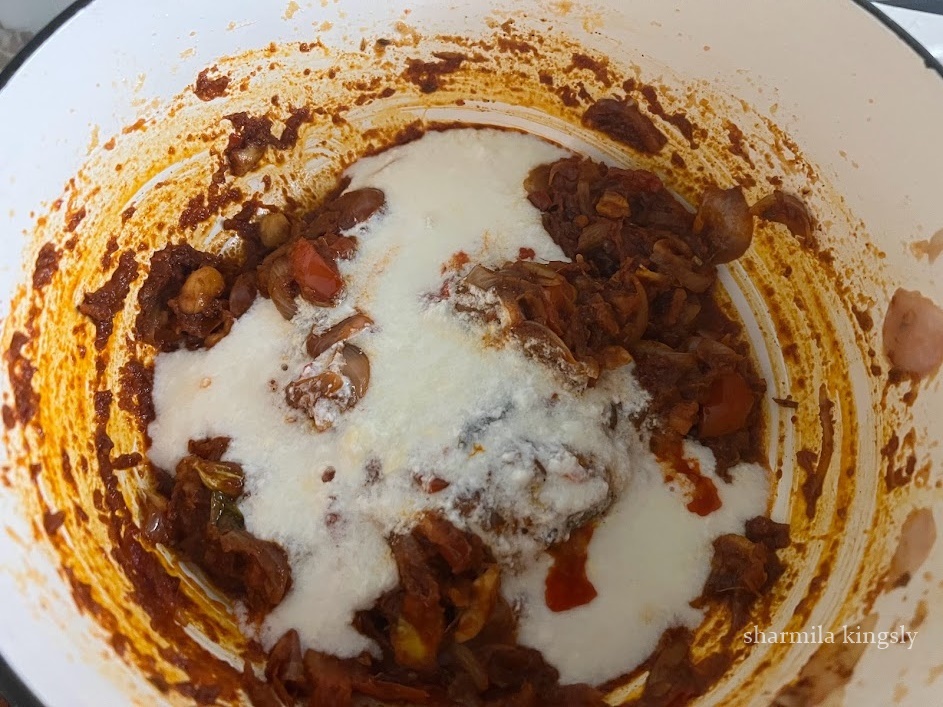
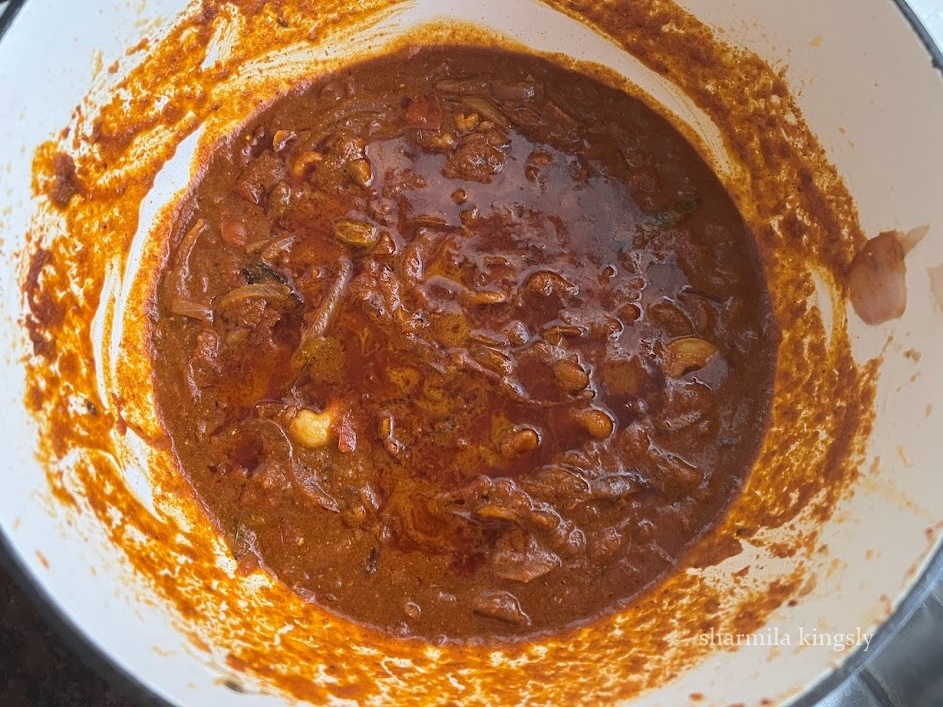
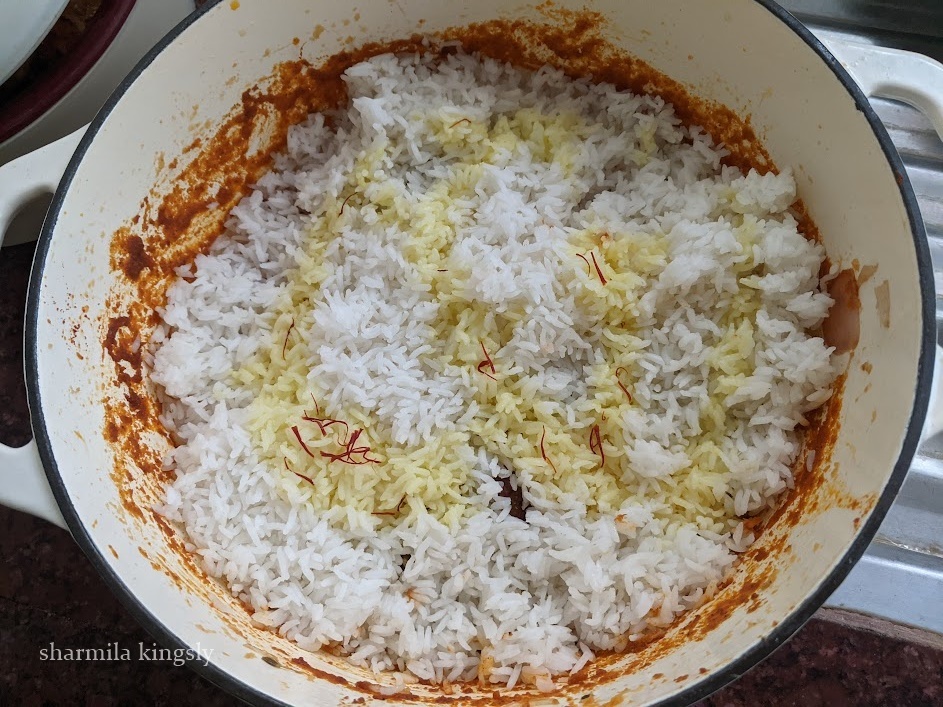
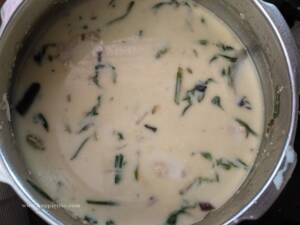
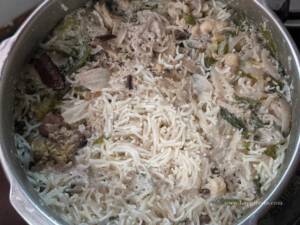
6.Next add in the Basmati Rice and fry for 2 mins. Now add in the coconut milk and water and mix well. Add in the Required Salt and ghee. Mix well.
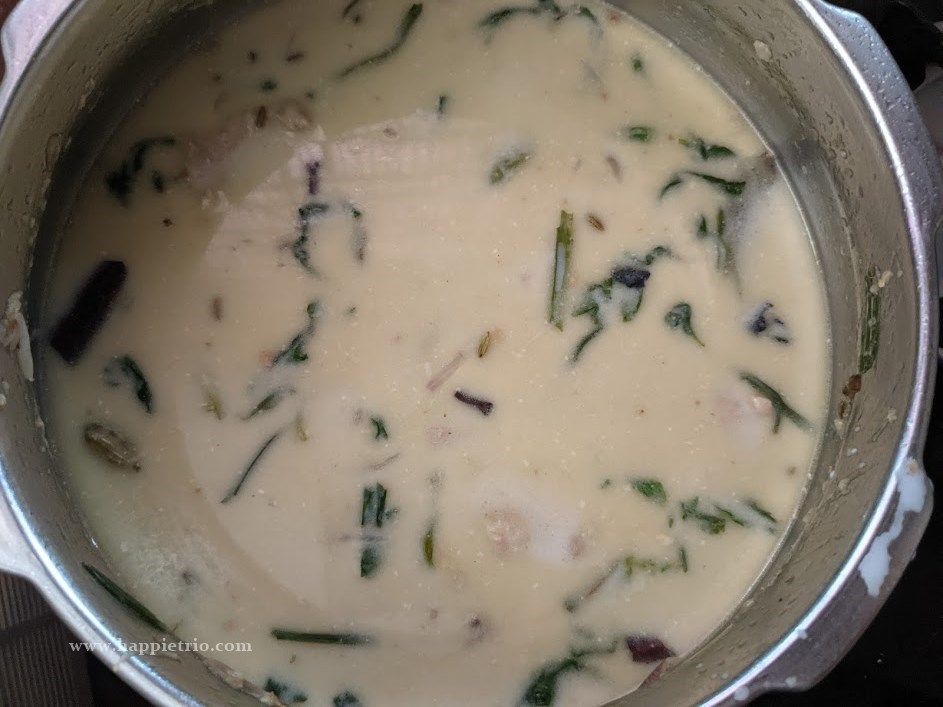
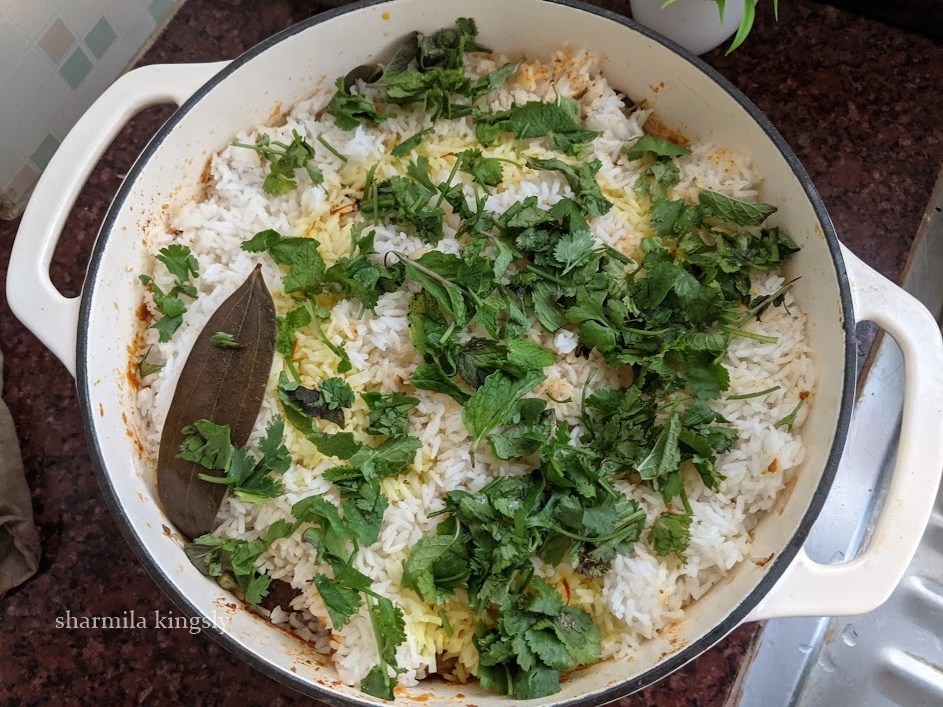
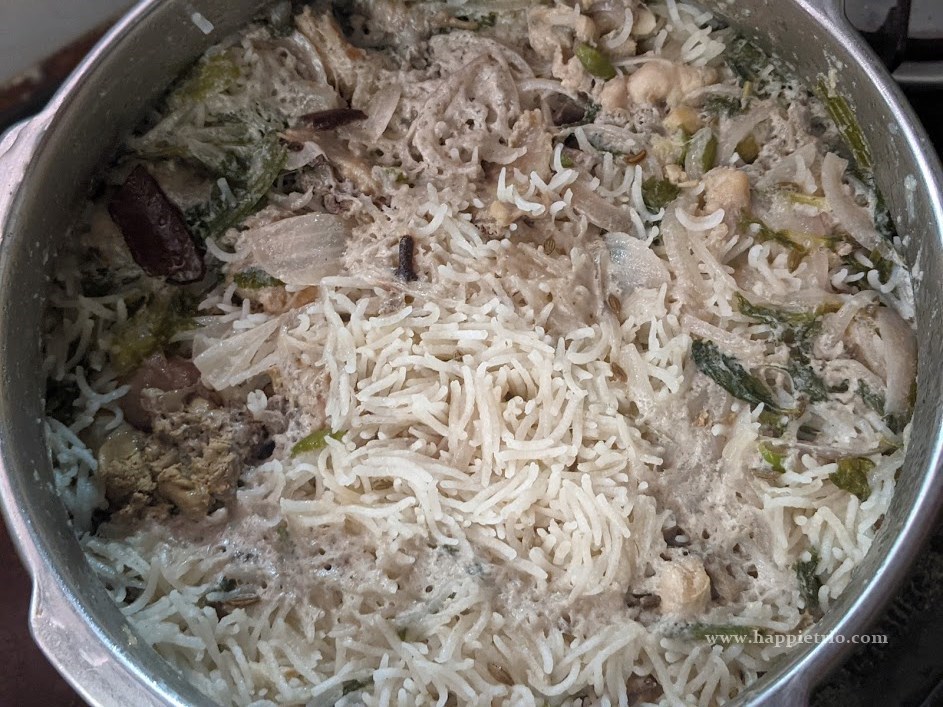
7.Close the Pressure cooker. Once the steam comes excessively put on the whistle and cook for 3 mins exactly and switch off the stove. Let the pressure gets released on its own and then open the cooker and fluff the rice.
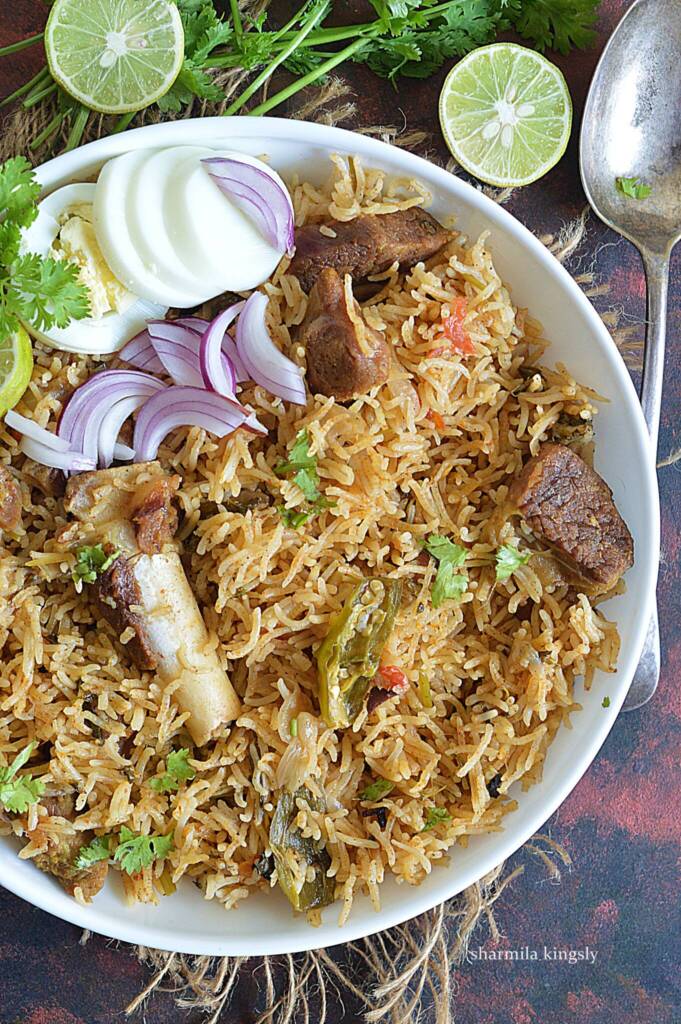
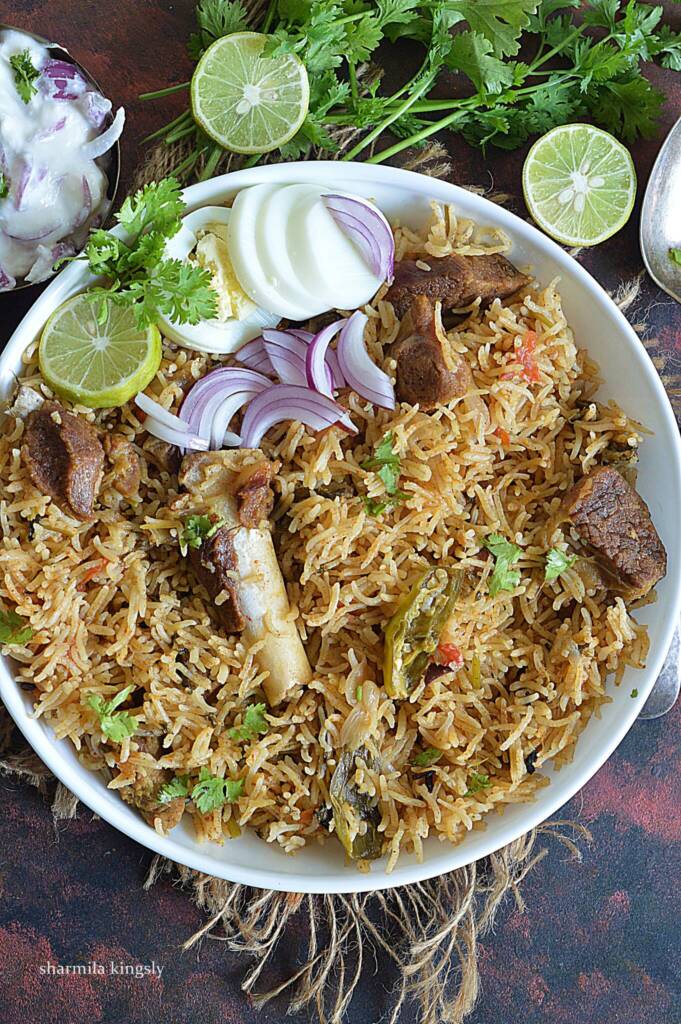
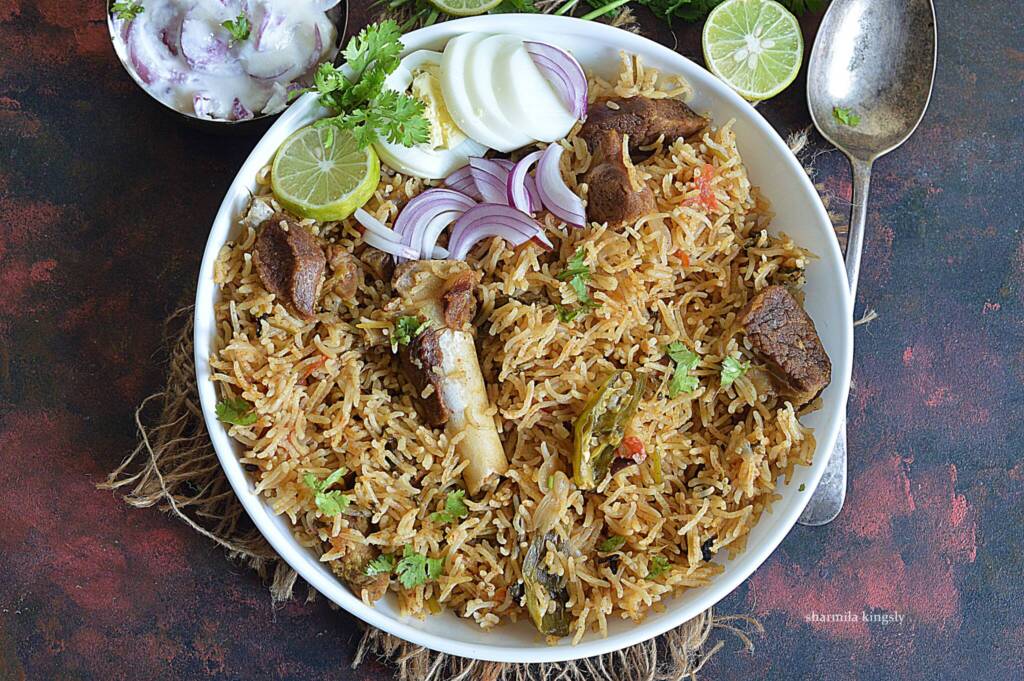
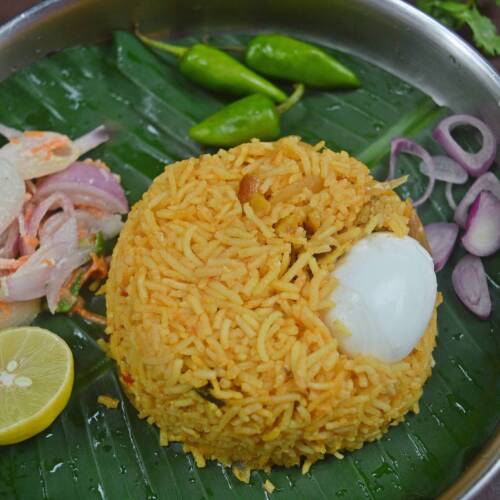
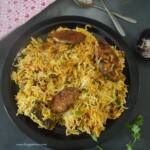
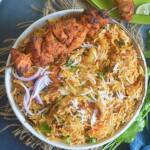
Enjoy this yummy biryani with Onion Raita.

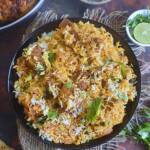
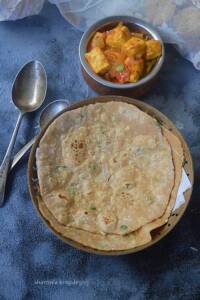
Similar Biryani Recipes:


Serving Suggestions:
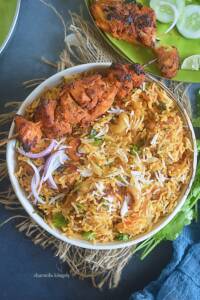
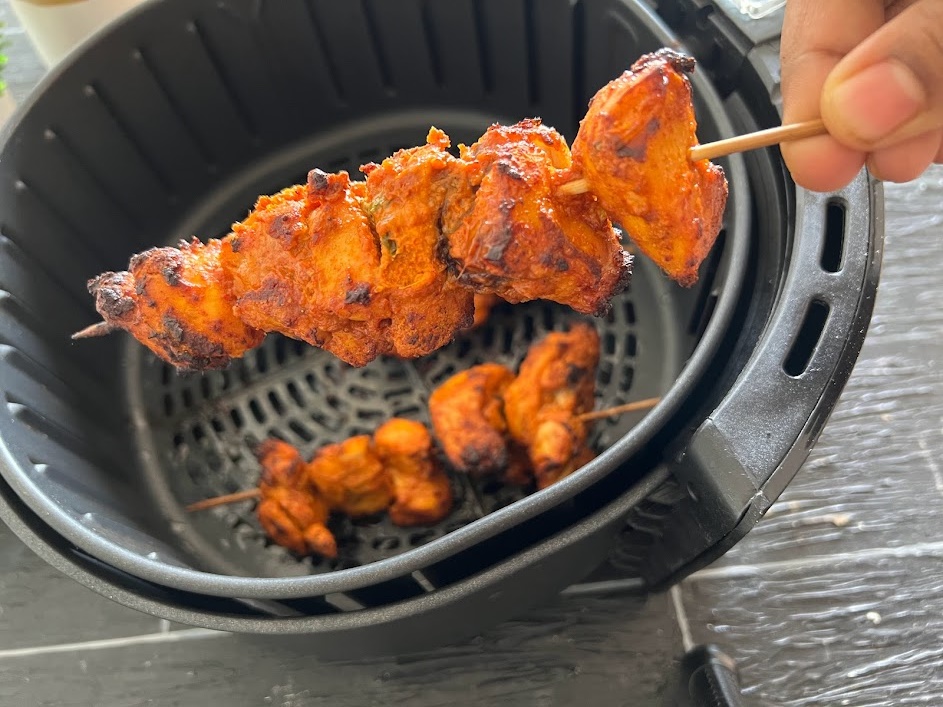
I served it with Chicken 65, Chicken Gravy, and Onion Raita. Goes well with any gravy and Raita. An appetizer is an additional punch.
Expert tips to cook the perfect biryani
- Use Seeraga samba rice for the best flavourful biryani.
- Soak the rice before cooking the biryani.
- Make sure you wash and marinate chicken. The chicken gets tender on marination and cooked easily.
★ Did you enjoy this recipe? If you happen to try it out, I would love to hear from you! I’d appreciate it if you could rate and leave a review below in the comments. Your reviews help others know the recipe better too. Thanks for your time ?
You can also follow me on Facebook, Pinterest, Instagram, Youtube and Twitter for more updates
📖 Recipe

White Chicken Biryani Recipe | Kongunadu Vella Biryani
Standard 1 cup measures 240 ml
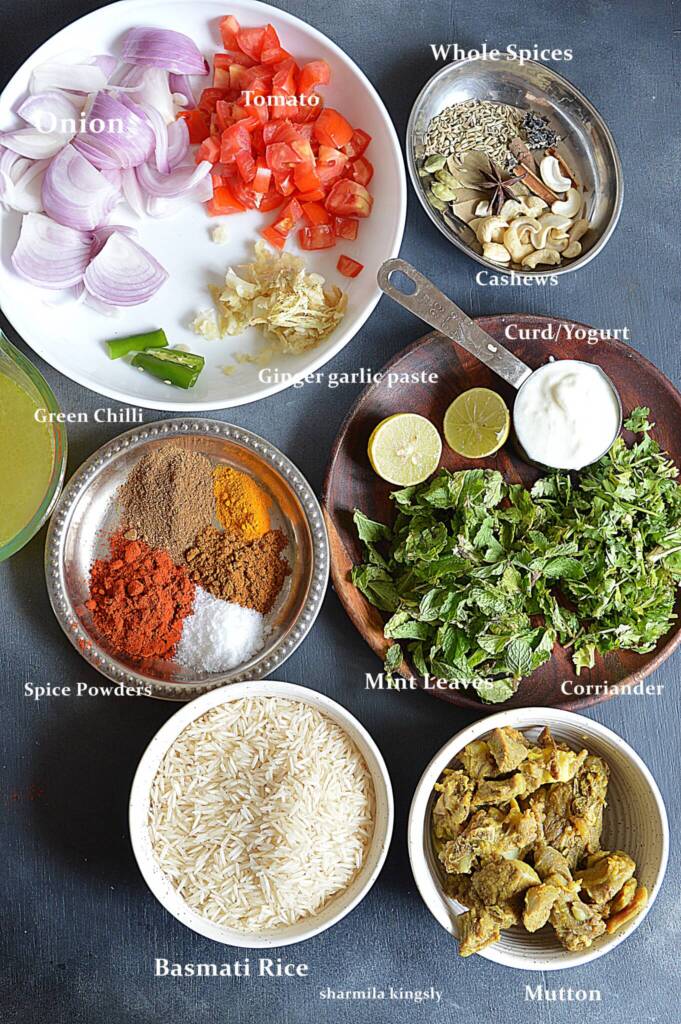
Ingredients
For Garam Masala:
- 1 tablespoon Fennel Seeds
- 1 Bay Leaf small
- 2 inch Cinnamon sticks
- 1 teaspoon Cloves
- 1 Star Anise
- 1 Mace
- 1 petal Black Stone Flower
- 1 Marati mooku
To Marinate:
- ½ kg Chicken
- ½ cup Yogurt
- Salt as needed
Other Ingredients:
- 2 tablespoon Oil / Ghee
- 2 cups Basmati Rice
- 1 tablespoon Ginger Garlic paste
- 3 Green Chilli
- 4 Onion
- ¼ cup Mint leaves
- ¼ cup Coriander leaves
- 1 cup Coconut Milk
- 2 cups Water
Instructions
- Marinate the chicken with salt and yogurt and set it aside for 1 hour.

- Heat a pressure cooker with oil/ghee once it’s hot add in the Fennel seeds, Bay Leaves, Cinnamon stick, cloves, Star Anise, Mace and Black Stone Flower.
- Next add in the sliced onions and then add in the slit green chilli and saute till the onions cook to glossy.
- Meanwhile soak in the Basmati Rice in water for 30 mins. And then add in the ginger garlic paste and saute till the raw smell leaves.
- Now add in the Mint and Coriander leaves, saute till they shrink. I added Pandan Leaves so i skipped adding coriander leaves. You may add which ever is available.
- Next add in the marinated chicken and mix well.
- Next add in the Basmati Rice and fry for 2 mins. Now add in the coconut milk and water and mix well.Add in the Required Salt and ghee. Mix well.
- Close the Pressure cooker. Once the steam comes excessively put on the whistle and cook for 3 mins exactly and switch off the stove. Let the pressure gets released on its own and then open the cooker and fluff the rice


Video
Notes
- Traditionally White chicken biryani is prepared with Seeraga Samba Rice.
- Goes well with chicken gravy, Raita and chicken 65.
- You can skip adding coconut milk ,if you don’t prefer.But it gives so much flavour to the biryani.
- You can also use Pandan leaves/Ramba Leaf while preparing the biryani.
Nutrition
Disclaimer: I am not a nutritionist , the nutrition value provided here is an estimate.It will vary based on the quantity and brands of the products used.