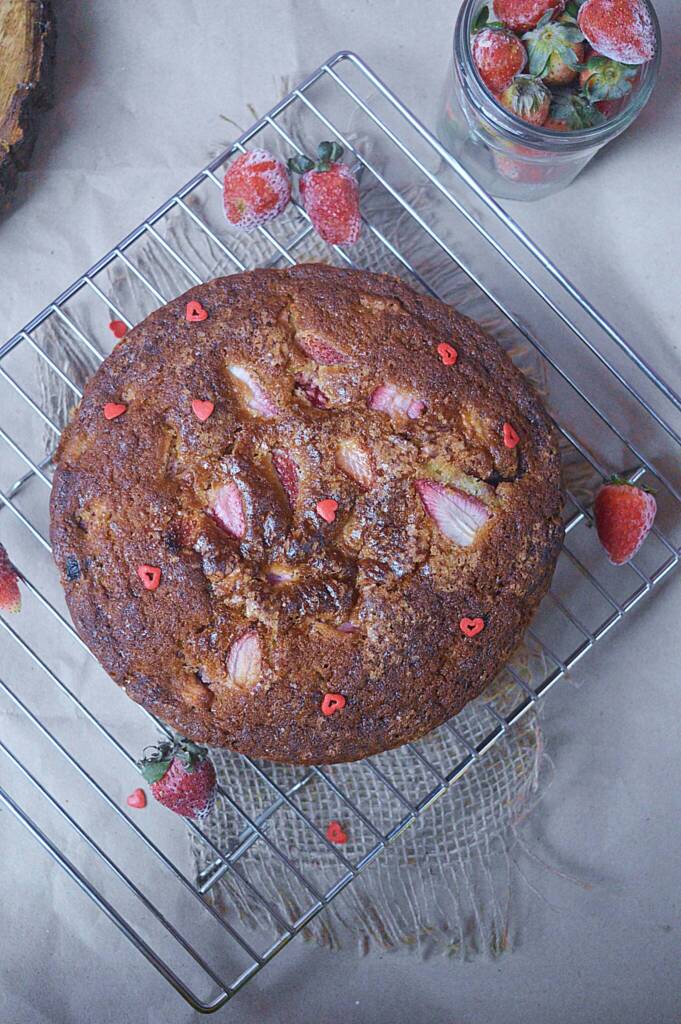


Eggless Coffee Choco chip Cake, Step by step Method with pictures:
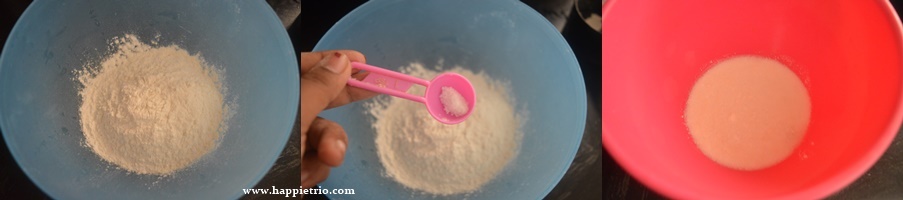
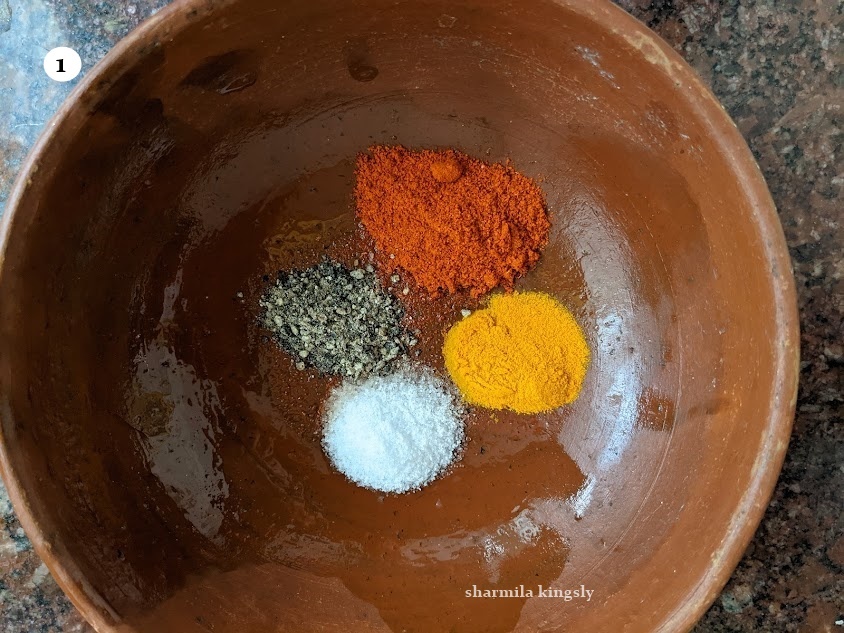
2. Add in baking powder, baking soda and brown sugar. Whisk together.

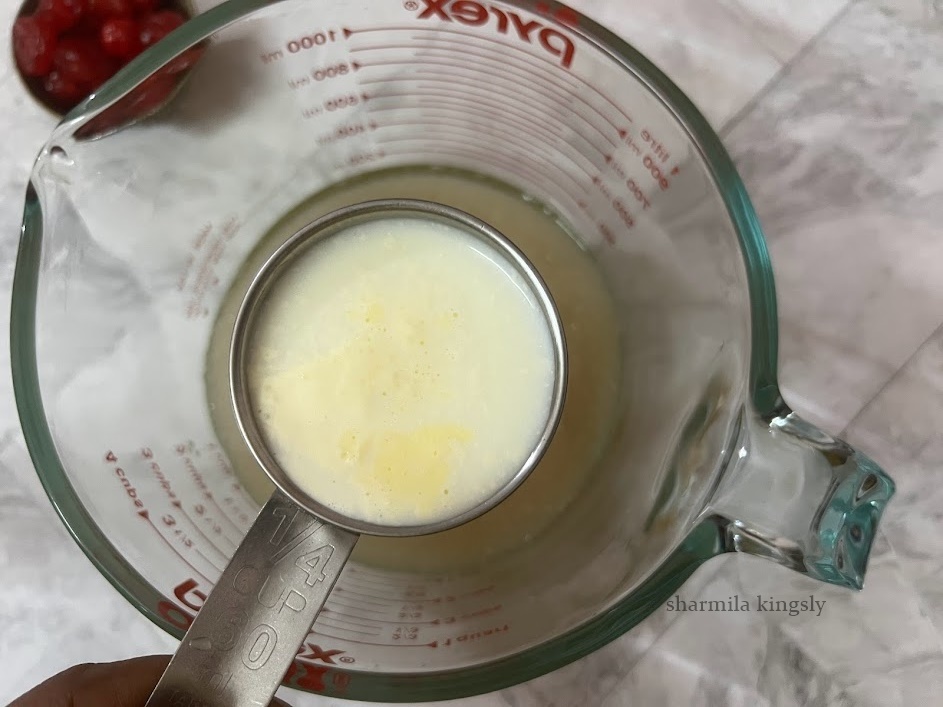
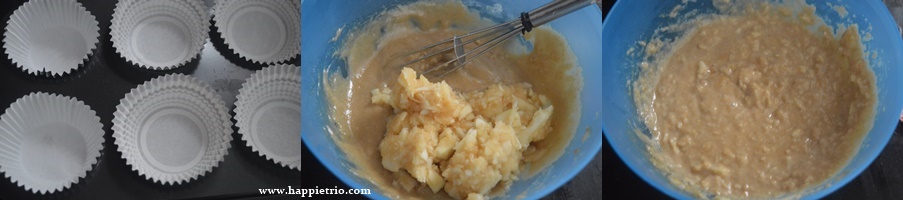
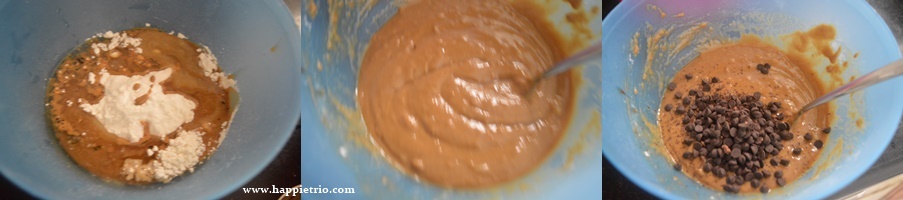
3. Dissolve the coffee powder in milk and set aside. Along with the all-purpose flour, add oil ,Vanilla essence and the coffee powder dissolved in milk.

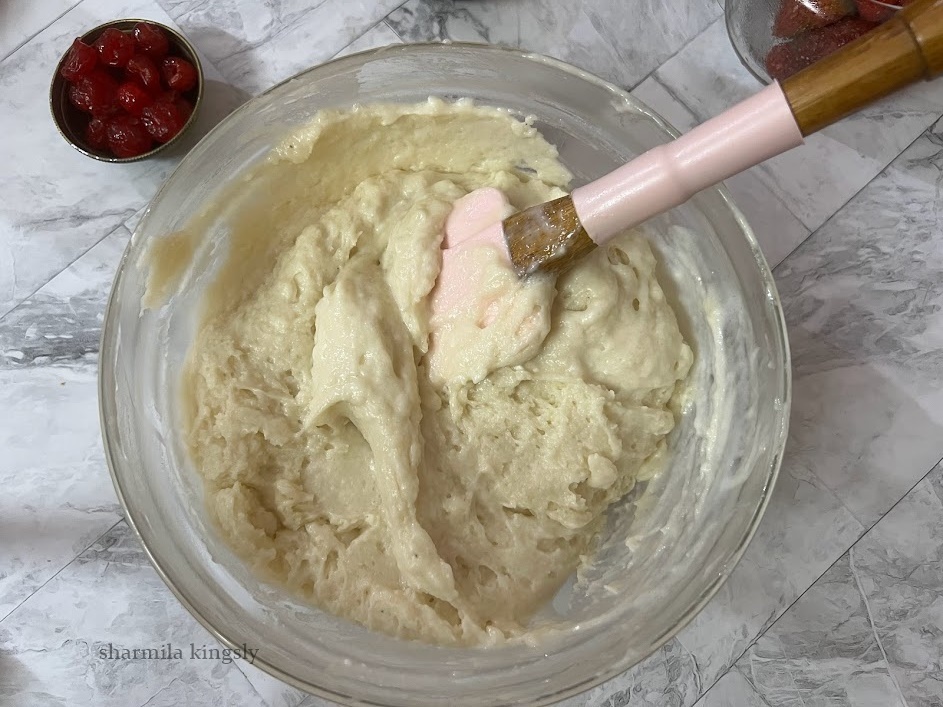
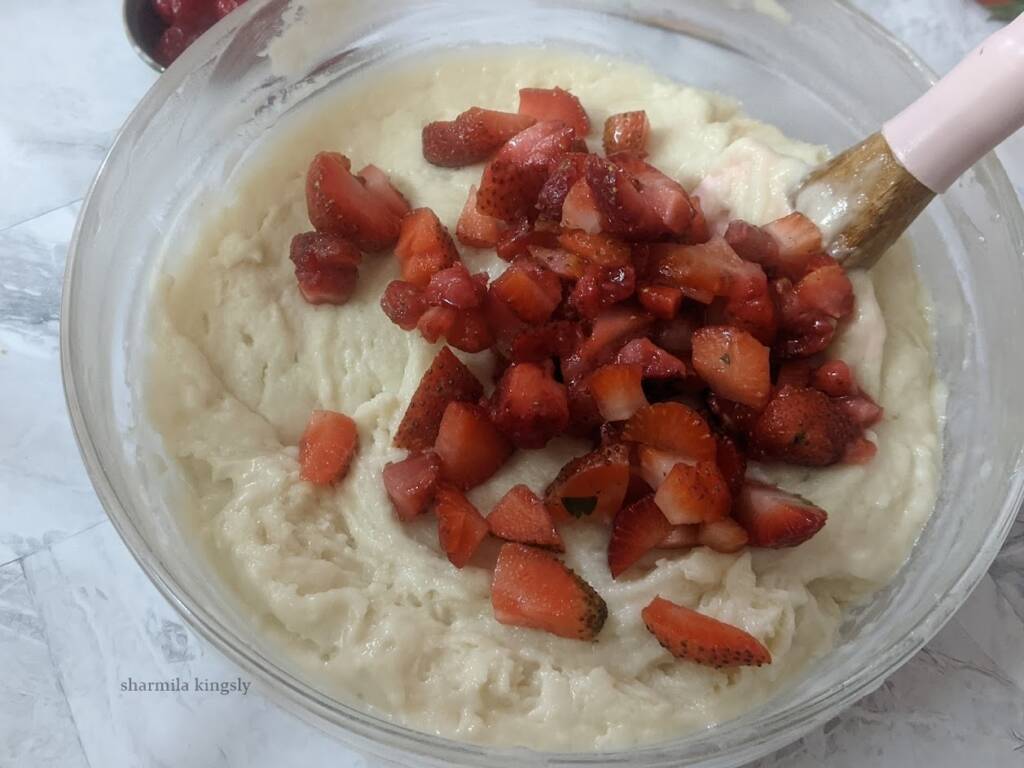
4. Next add in the wet ingredients to the dry ingredients fold such that everything is mixed evenly. Finally add in the chocolate chips and fold once again.
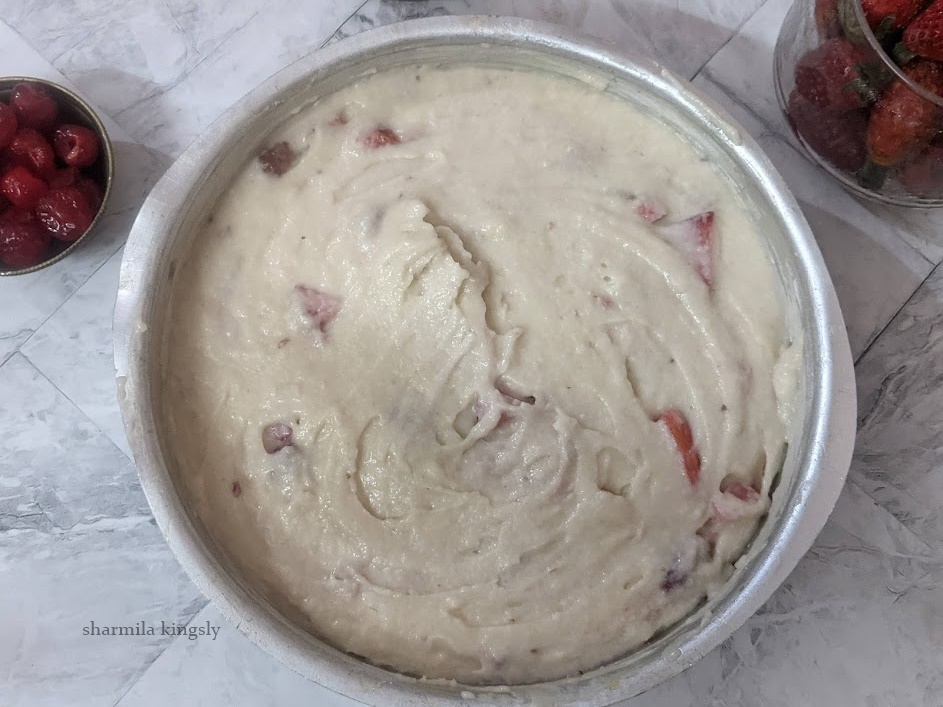
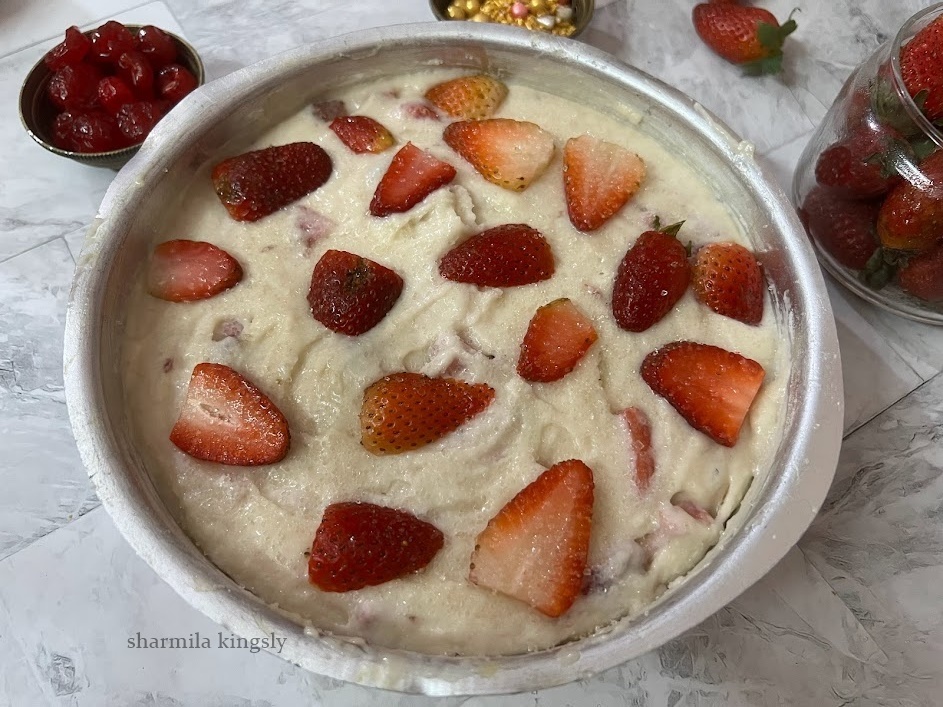
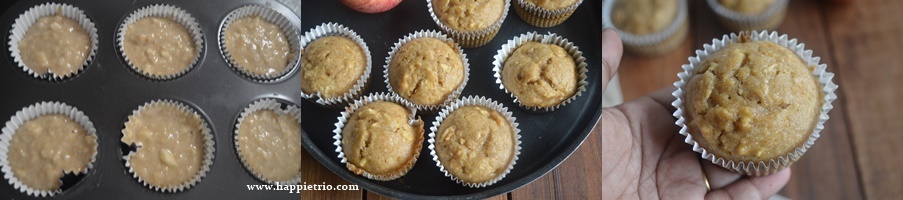
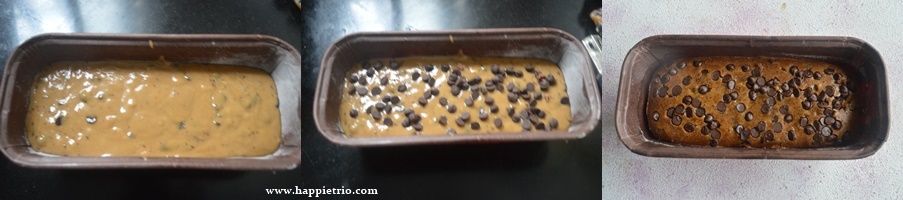
5. Line a baking pan with parchment paper and transfer the prepared cake batter evenly. Tap the loaf pan thrice, so that the batter is evenly spread without any air bubbles. Preheat the oven at 180 Deg C for about 10 mins and then bake at 180 Deg C for about 25-30 mins or till a tooth pick when inserted comes out clean. Remove it from the oven and then allow it to cool completely and then slice.

📖 Recipe

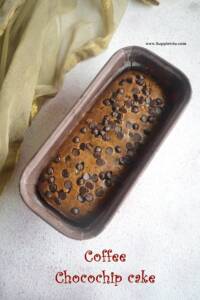
Eggless Coffee Chocochip cake
Standard 1 cup measures 240 ml
Ingredients
- ½ cup All-purpose flour
- ⅛ teaspoon Baking powder
- ¼ teaspoon Baking Soda
- Salt a pinch
- ⅛ cup Curd/Yogurt
- ⅛ cup Oil
- ¼ cup Brown Sugar
- 3 tablespoon Milk
- 4 tablespoon Chocolate Chips
- 1 teaspoon Coffee powder
- ½ teaspoon Vanilla essence
Instructions
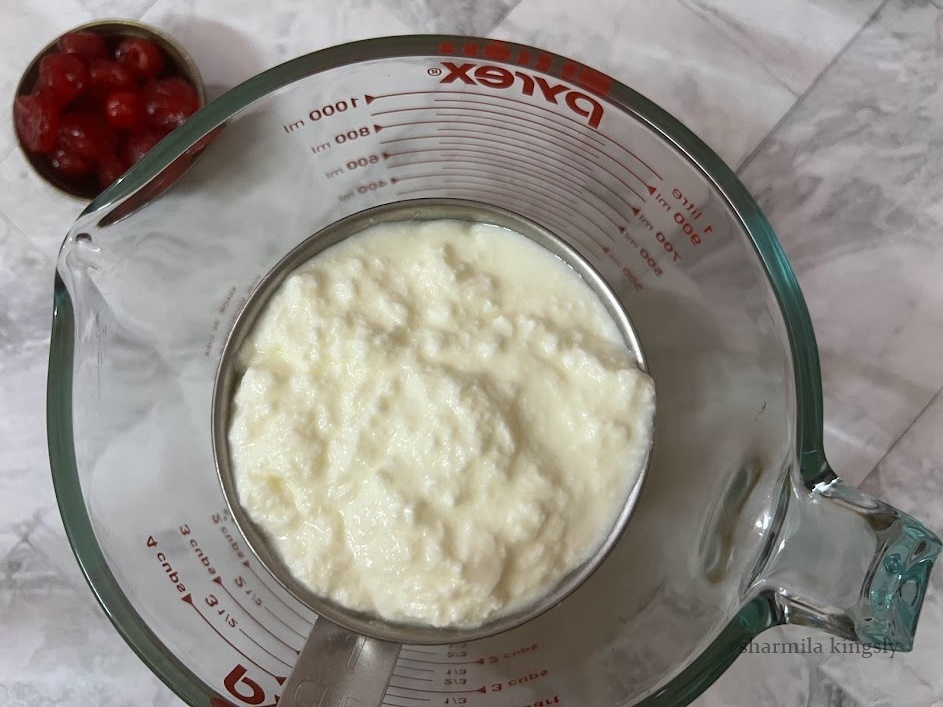
- Sift together all propose flour and salt in a mixing bowl. set aside. In another mixing bowl add in curd.
- Add in baking powder, baking soda and brown sugar. Whisk together.
- Dissolve the coffee powder in milk and set aside. Along with the all-purpose flour, add oil ,Vanilla essence and the coffee powder dissolved in milk.
- Next add in the wet ingredients to the dry ingredients fold such that everything is mixed evenly. Finally add in the chocolate chips and fold once again.
- Line a baking pan with parchment paper and transfer the prepared cake batter evenly. Tap the loaf pan thrice, so that the batter is evenly spread without any air bubbles. Preheat the oven at 180 Deg C for about 10 mins and then bake at 180 Deg C for about 25-30 mins or till a tooth pick when inserted comes out clean. Remove it from the oven and then allow it to cool completely and then slice.
Notes
Store in refrigerator for more shelf life.