Fried Rice is my favourite one pot meal... It really brightens my Lunch Times... I have tried so many recipes for Fried Rice and finally came up with this version. It tastes similar to Restaurant Fried Rice. So give a try J
Similar Recipes:
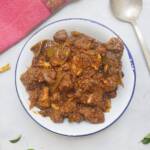
Check out the other Chicken Recipe too..

Chicken fried Rice Recipe
Method:
1. In a bowl add in the boneless chicken and the ingredients mentioned under “To Marinate” table. Mix everything well and marinate for about 30 mins.

2. In a Kadai /Pan add in the a tbsp. of Olive Oil once it becomes hot add in the Marinated chicken Pieces and Shallow fry the chicken .Once cooked Remove the chicken and set aside.

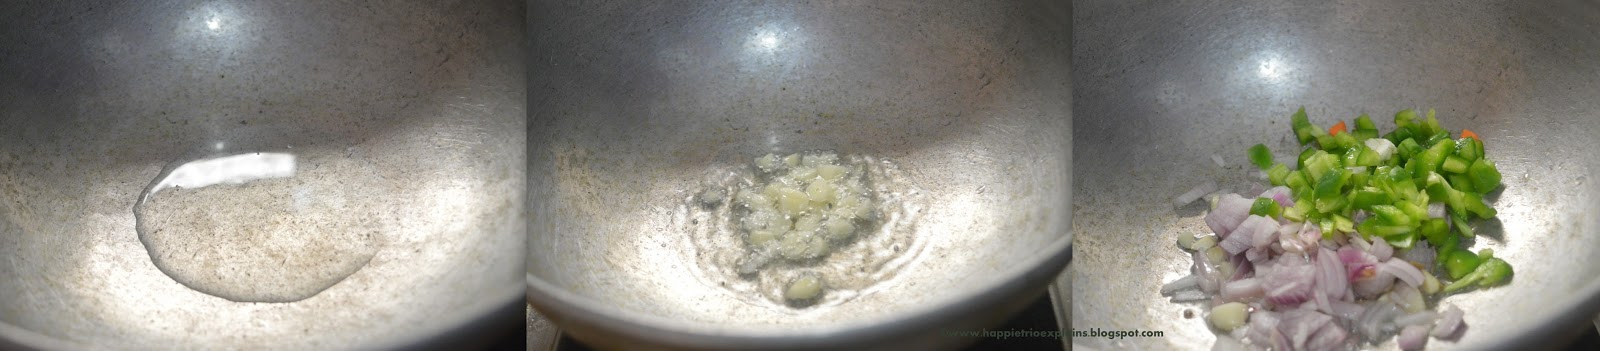
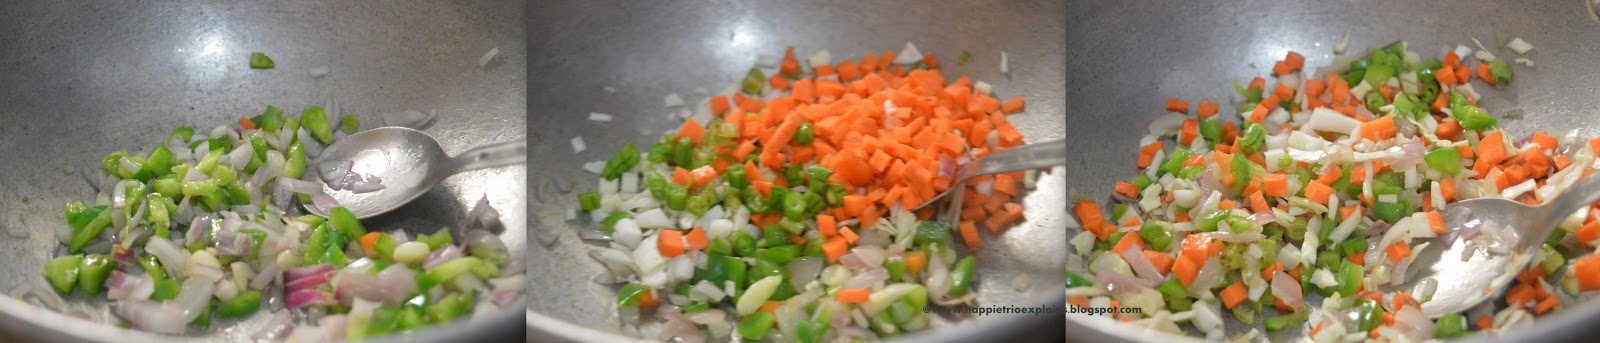
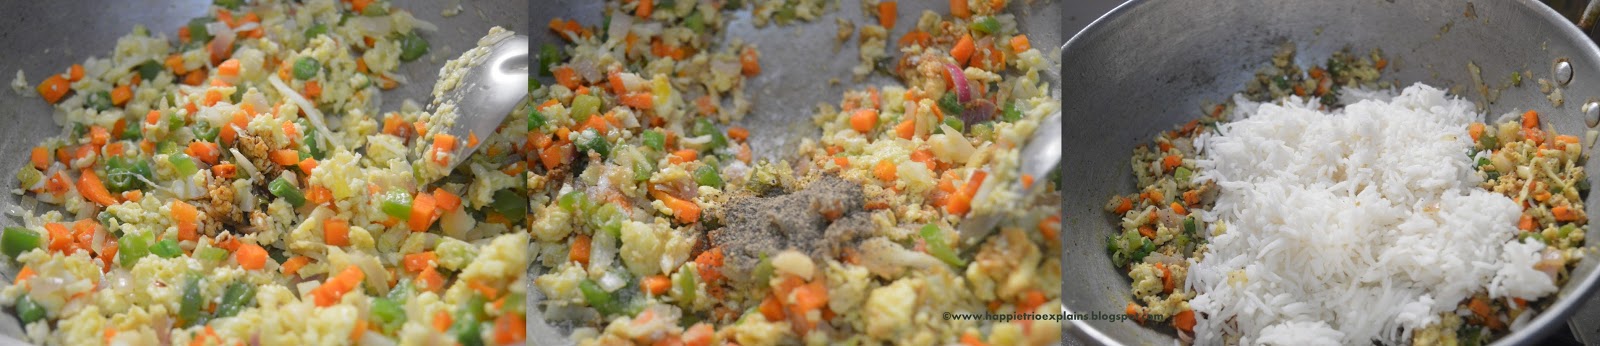
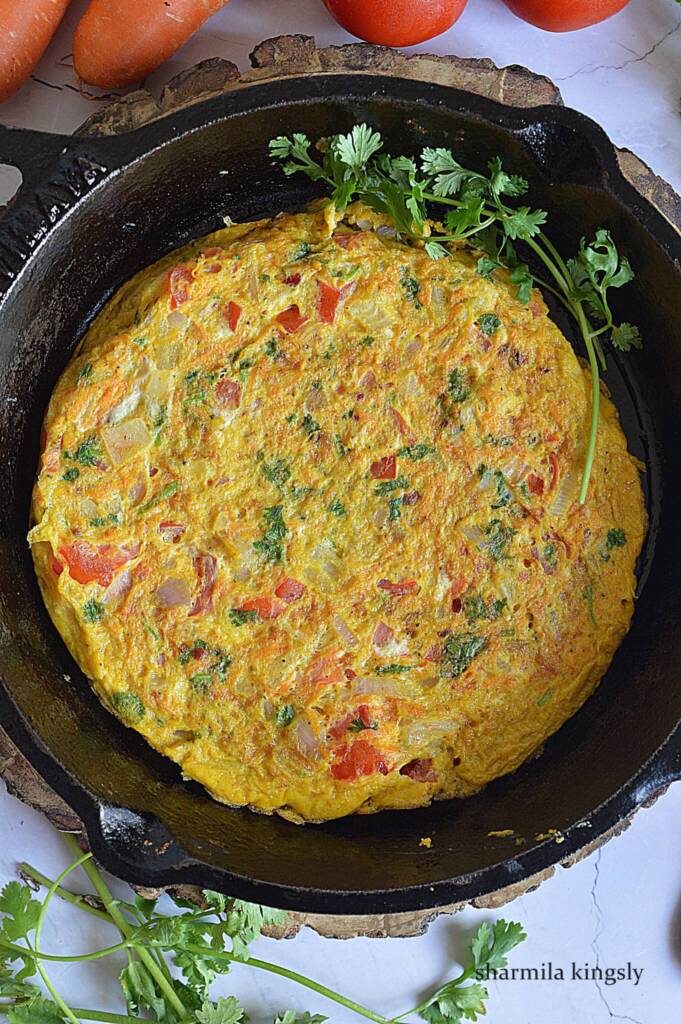
3. Take another Kadai and add in 1 tablespoon of Olive oil add in finely chopped Garlic pods sauté it and then add in Chopped onions sauté till it becomes translucent. Next add in finely chopped Capsicum and Carrot Mix well for about 3 mins .Make sure the crunchy texture of the veggies are retained.

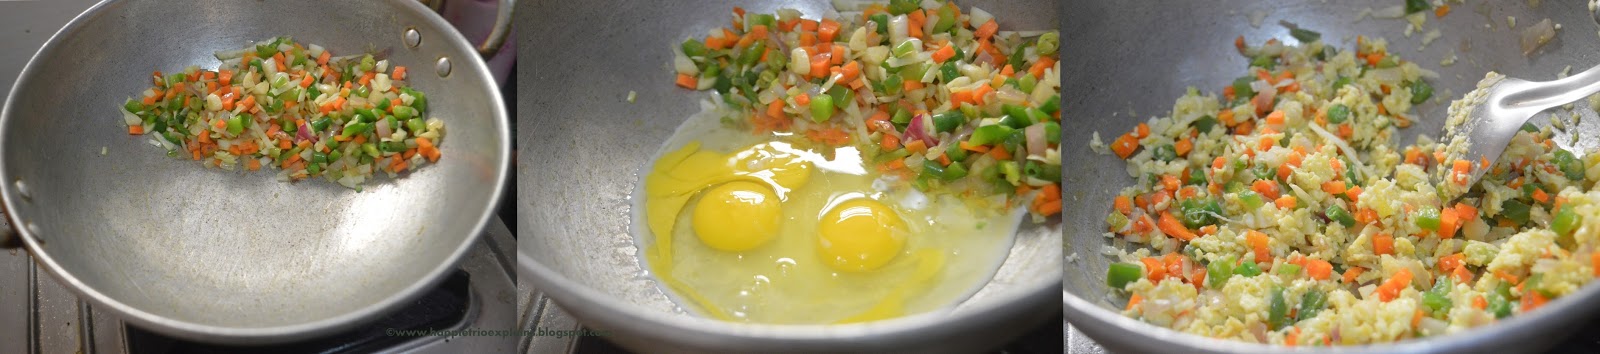
4. Move all the veggies to one side of the pan and crack open the egg and scramble the eggs along with the veggies. Once the Eggs are cooked add in the Cooked Chicken and mix well.

5. Next add in the Soy Sauce ,Red Chilli sauce ,Vinegar and Salt and Mix well next add in the Cooked Basmati Rice (Check how to cook Basmati Rice perfectly.)

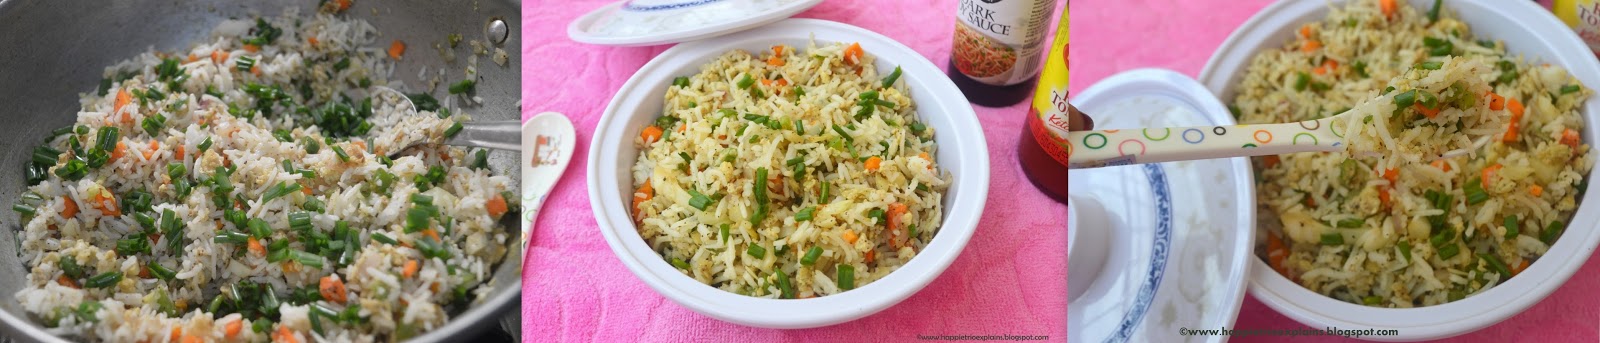
6. Mix everything well and finally add in the Pepper Powder mix well and switch off the flame .Finally garnish with Chopped Spring Onions.

Notes:
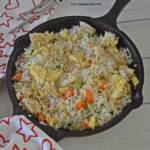
- Always serve the Fried Rice hot.
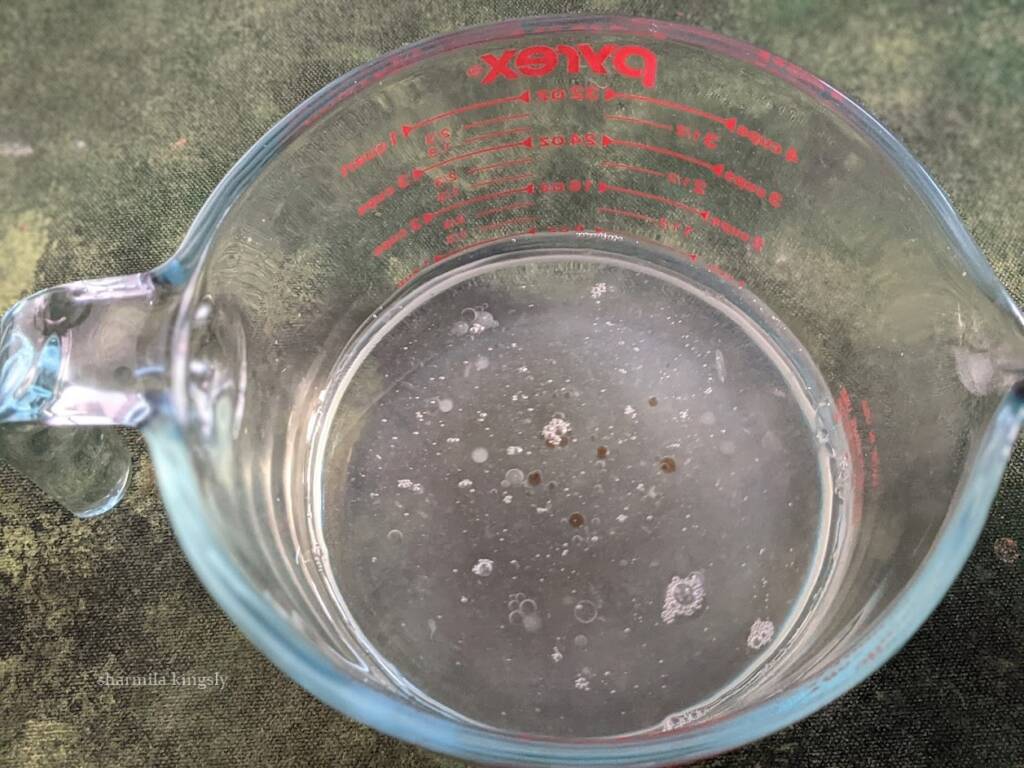
- You can cook the Basmati rice in a open pot by boiling water and then adding lemon juice and Olive oil along with Basmati Rice. I have mentioned the ingredients measure under the ingredients table.
- Paris well with Tomato sauce .Or can be served with Manchurian Gravy.
- We can also shred the cooked chicken in this recipe.

📖 Recipe
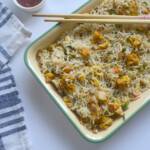
Chicken Fried Rice
Chicken Fried Rice is a tasty and delighful find in the Indo Chinese cuisine. It tastes so good with some chicken manchurian on the sides.
Servings: 2
Calories: 380kcal
Standard 1 cup measures 240 ml
Ingredients
- 1 cup Cooked Basmati Rice
- 1 cup Boneless Chicken
- 2 tablespoon Olive oil
- 1 teaspoon Ginger
- 1 teaspoon Garlic
- 3 tablespoon Spring onions White
- 1 carrots
- 3 tablespoon Capsicum
- 1 Egg
- 1 teaspoon Soy Sauce
- 1 teaspoon Red Chilli Sauce
- 1 teaspoon Pepper powder
- 1 teaspoon Vinegar
- 3 tablespoon Spring Onion green
- Salt as needed
To Cook Rice:
- 1 teaspoon Olive oil
- 1 teaspoon Lemon juice
- Salt as needed
To Mariante:
- ½ teaspoon Pepper powder
- 1 teaspoon Corn flour
- 1 teaspoon Soy Sauce
- Salt as needed
Instructions
- In a bowl add in the boneless chicken and the ingredients mentioned under “To Marinate” table. Mix everything well and marinate for about 30 mins.
- In a Kadai /Pan add in the a tbsp. of Olive Oil once it becomes hot add in the Marinated chicken Pieces and Shallow fry the chicken .Once cooked Remove the chicken and set aside.
- Take another Kadai and add in 1 tablespoon of Olive oil add in finely chopped Garlic pods sauté it and then add in Chopped onions sauté till it becomes translucent. Next add in finely chopped Capsicum and Carrot Mix well for about 3 mins .Make sure the crunchy texture of the veggies are retained.
- Move all the veggies to one side of the pan and crack open the egg and scramble the eggs along with the veggies. Once the Eggs are cooked add in the Cooked Chicken and mix well.
- Next add in the Soy Sauce ,Red Chilli sauce ,Vinegar and Salt and Mix well next add in the Cooked Basmati Rice (Click here to see how to cook Basmati Rice perfectly.)
- Mix everything well and finally add in the Pepper Powder mix well and switch off the flame .Finally garnish with Chopped Spring Onions.
Notes
- Always serve the Fried Rice hot.
- You can cook the Basmati rice in a open pot by boiling water and then adding lemon juice and Olive oil along with Basmati Rice. I have mentioned the ingredients measure under the ingredients table.
- Paris well with Tomato sauce .Or can be served with Manchurian Gravy.
- We can also shred the cooked chicken in this recipe.
Nutrition
Calories: 380kcal | Carbohydrates: 45.6g | Protein: 24.5g | Fat: 13g | Saturated Fat: 2.4g | Cholesterol: 238mg | Sodium: 1240mg | Potassium: 629mg | Fiber: 5.5g | Sugar: 6.7g | Calcium: 98mg | Iron: 3mg
Tried this recipe?Mention @happietrio or tag #happietrio
Subscribe to my Channelclick for more videos