Prawn bajji is a crispy delicious evening snack. Batter coated prawn are cooked to perfection and served hot as a snack with some tea.
Follow us on Pinterest for delicious pins. Join our Facebook group for more Instant Pot and Air Fryer recipes.

Prawn Bajji Recipe | Iral Bajji with step by step pictures. Bajji is a very popular evening snack which is served along with tea, It can be made with any vegetables most popularly with Raw Banana, Potato, Onion or Gobi.
Prawn bajji is something very different from the usual, it is very popular in Pondicherry. It makes a great appetizer and can be served even as a side dish with biryani.
What is Bajji
Bajji is a deep fried snack from Indian Sub continent. Also known as fritter is usually made with vegetables or meat. A yummy spiced batter is prepared with chick pea flour along with spice powders. The vegetables or meat is coated in the batter and deep fried. It is a very popular street food in India.
How to make Prawn Bajji
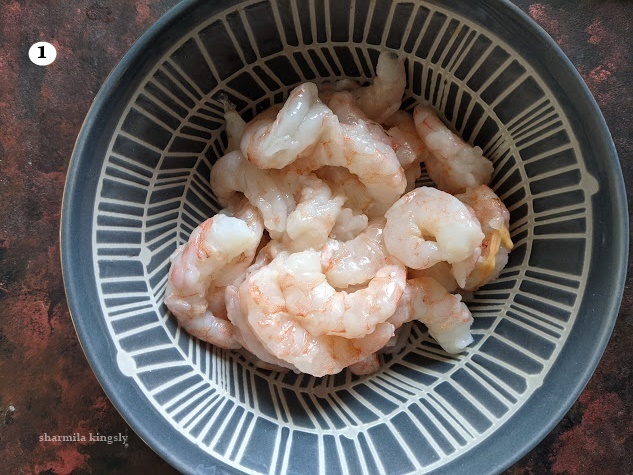
1.Clean and devein the prawns.
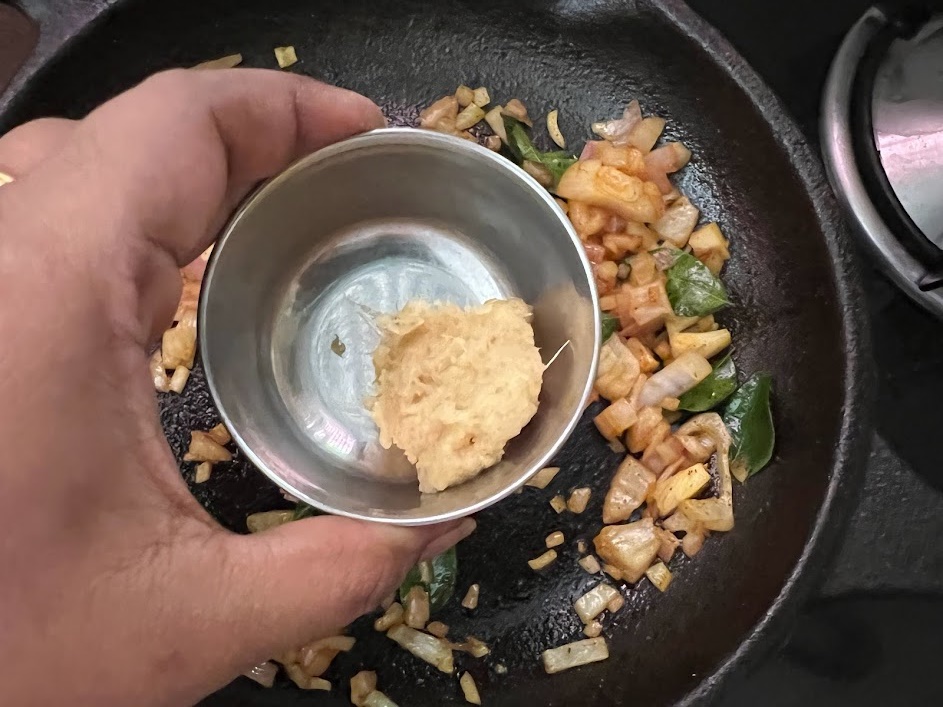
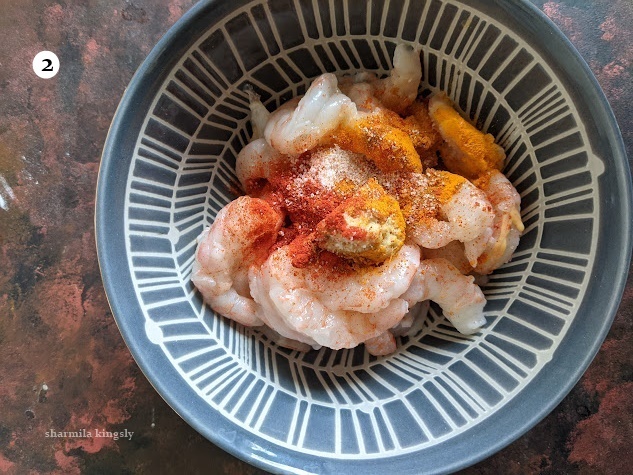
2. To this add in the ginger garlic paste, Chilli powder, Turmeric powder and the required Salt.
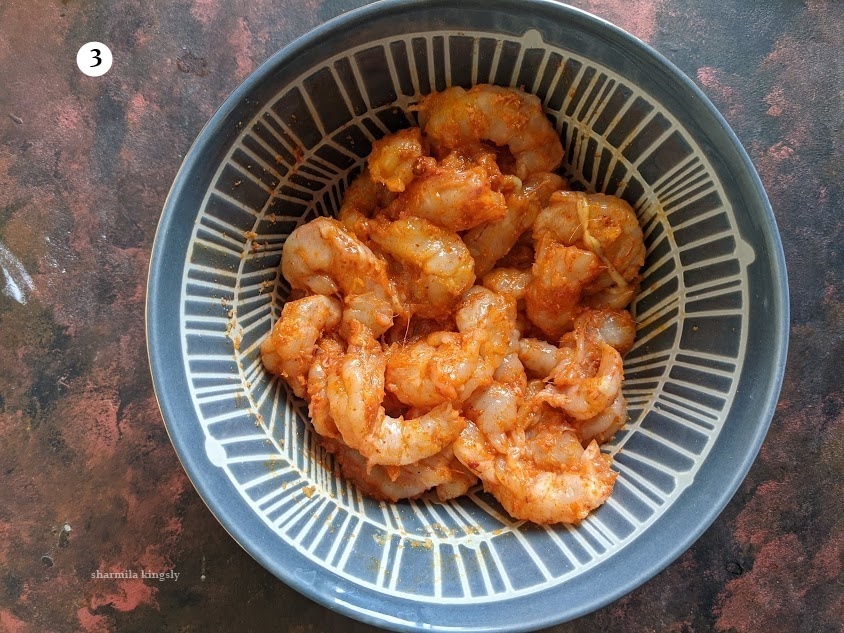
3. Mix well and allow it to marinate for 30 mins.
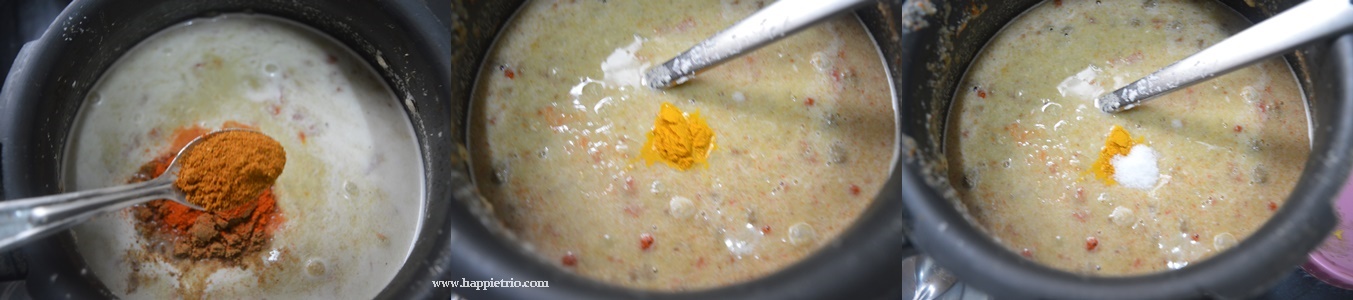
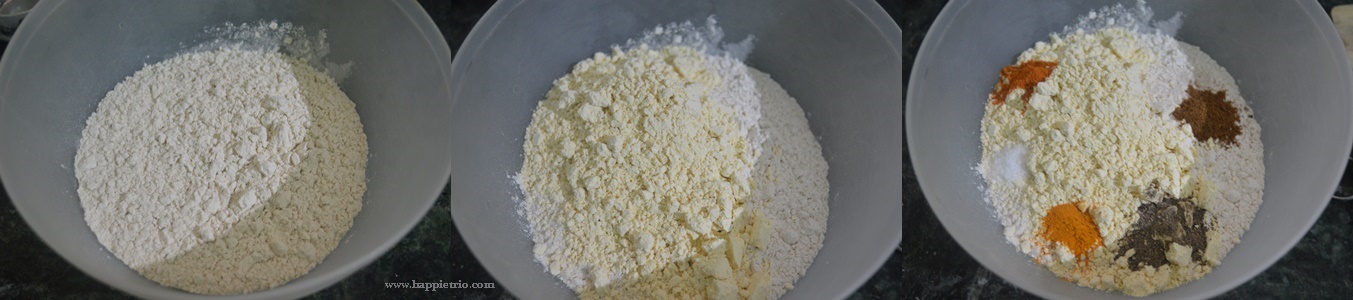
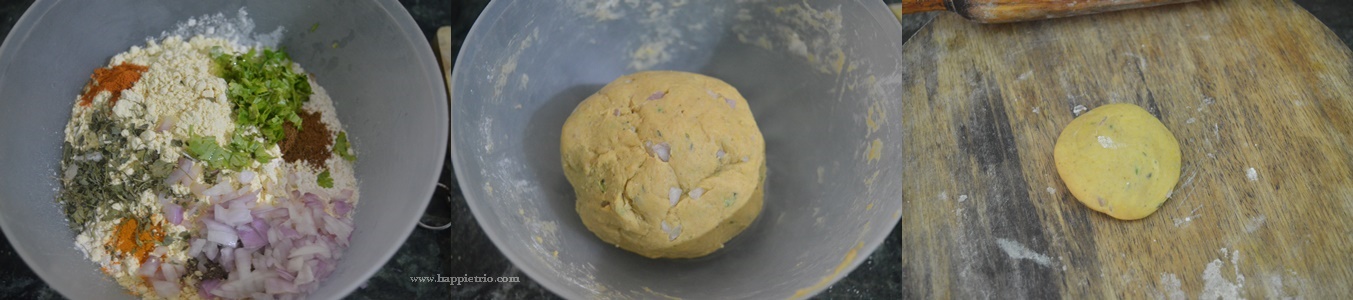
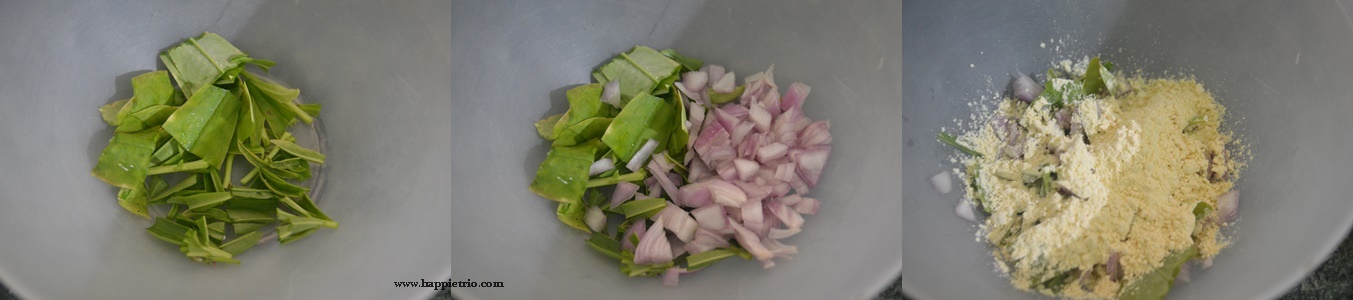
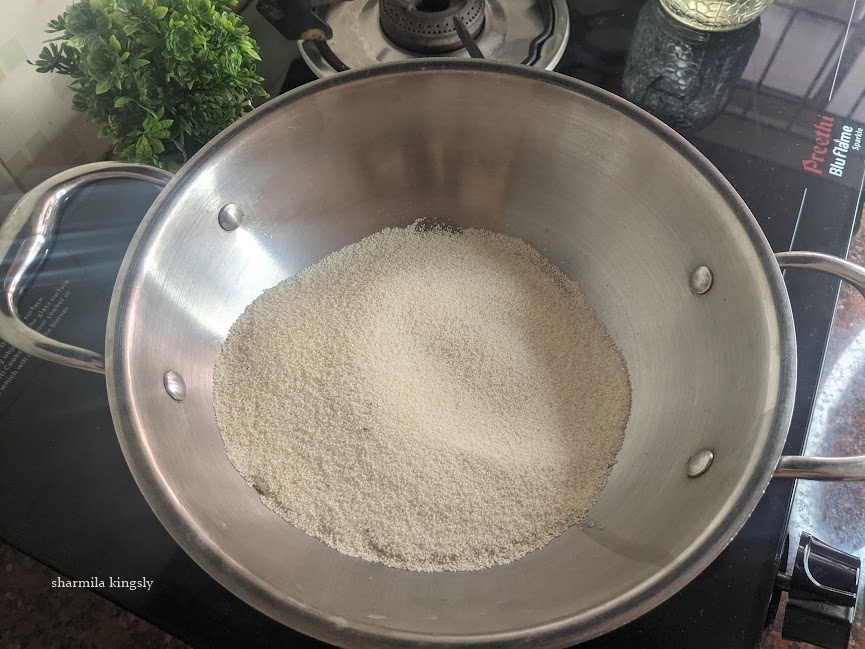
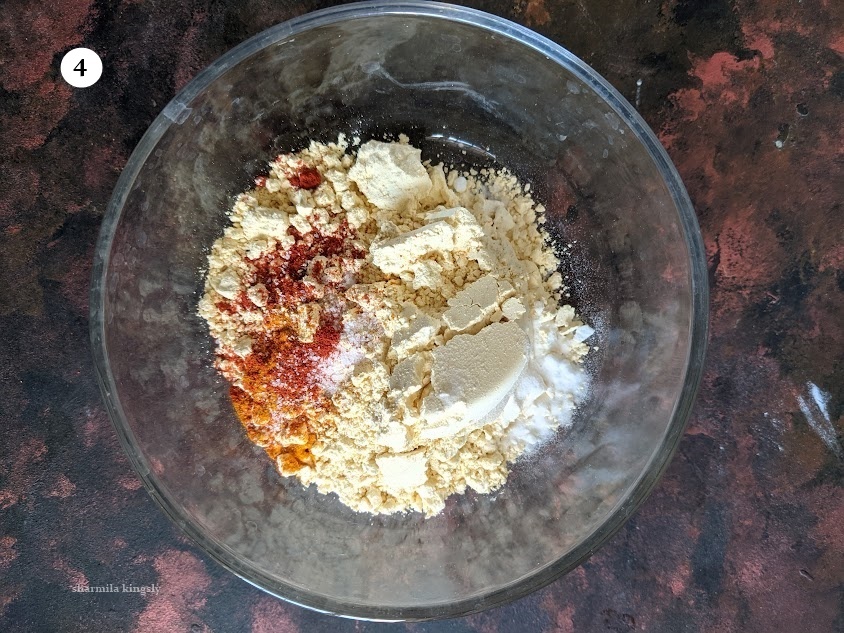
4. In another mixing bowl add chickpea flour, Chilli powder, Turmeric powder and Salt.
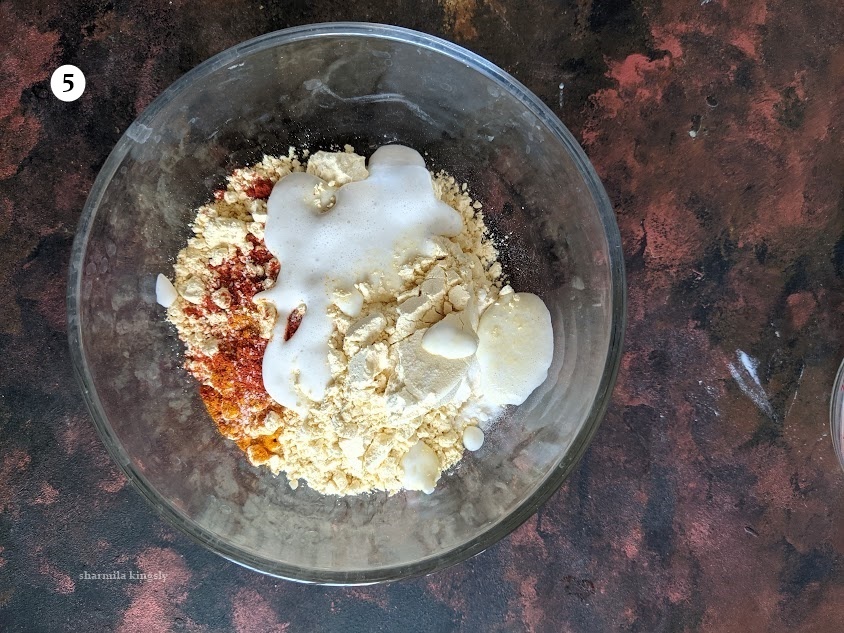
5. To this add a tablespoon of Idli Dosa batter.
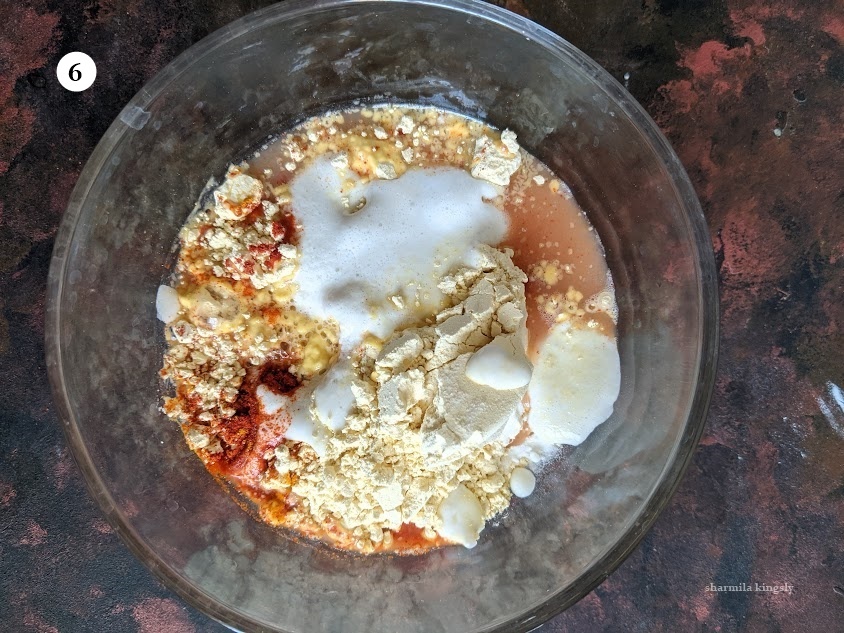
6. Add water little by little and bring it to a idli batter consistency.
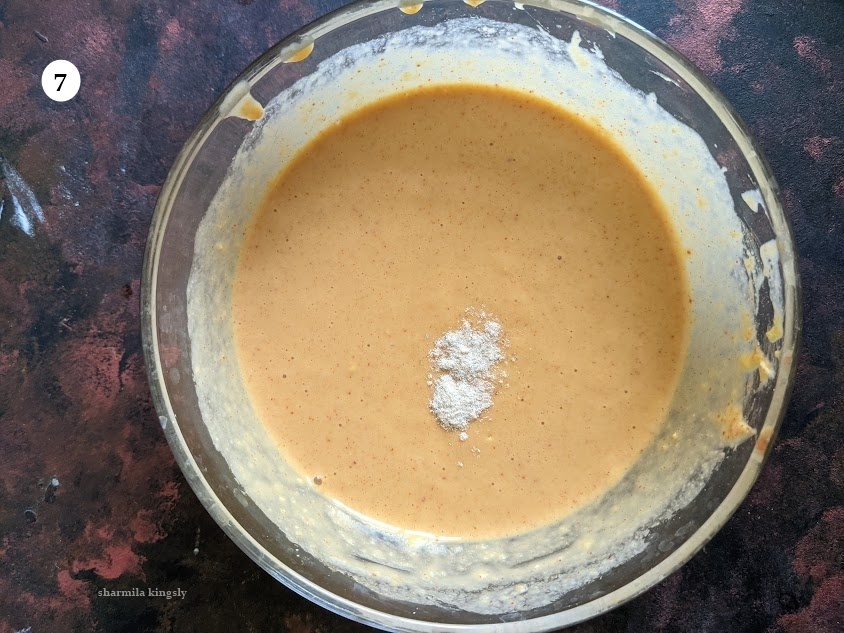
7. Add cooking soda and combine the batter once again. Bajji batter is now ready
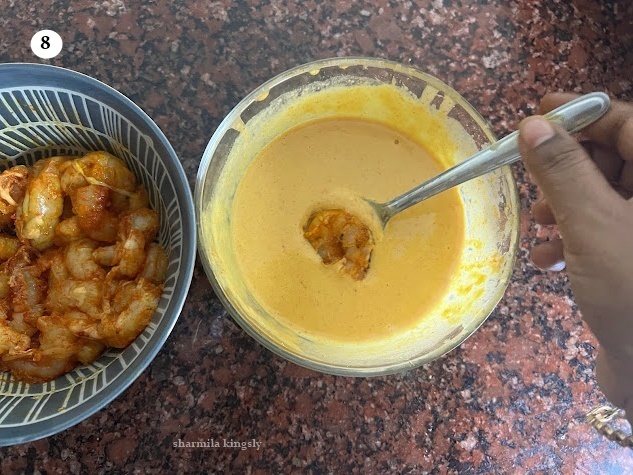
8. Meanwhile heat oil in a pan for deep frying. Now dip a prawn in prepared batter.
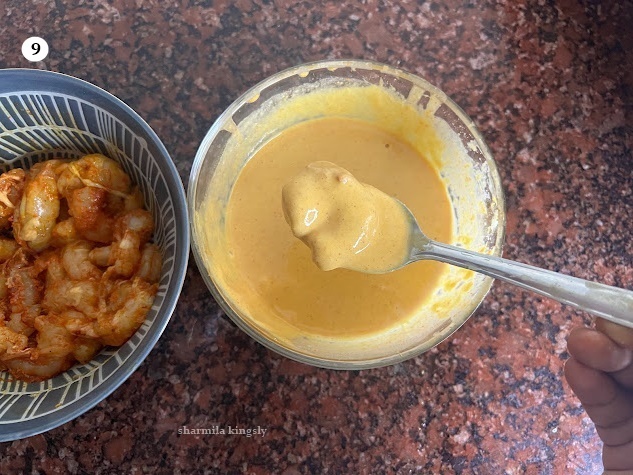
9. Let the prawn coat with batter completely.
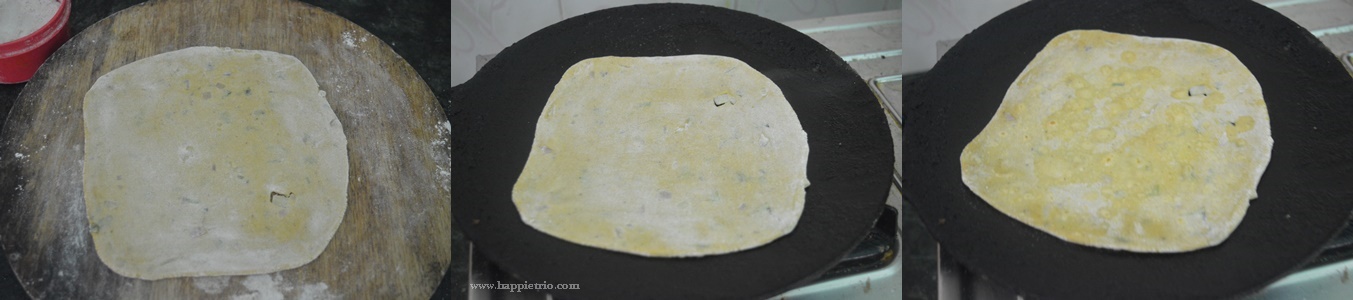
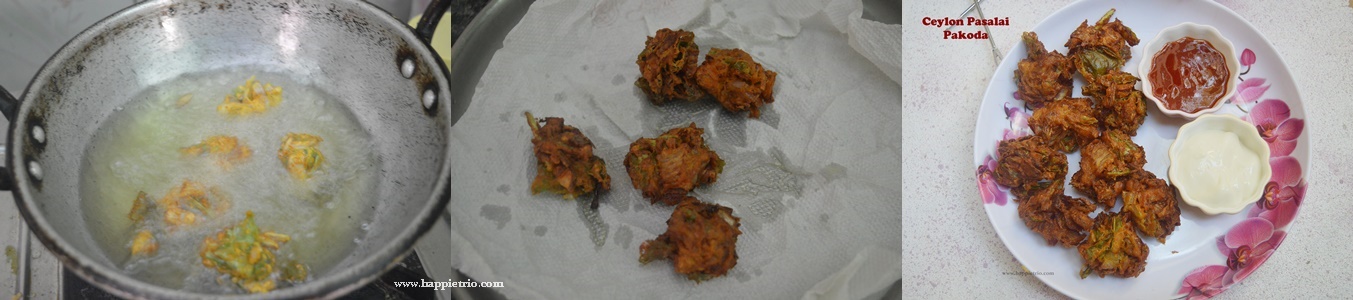
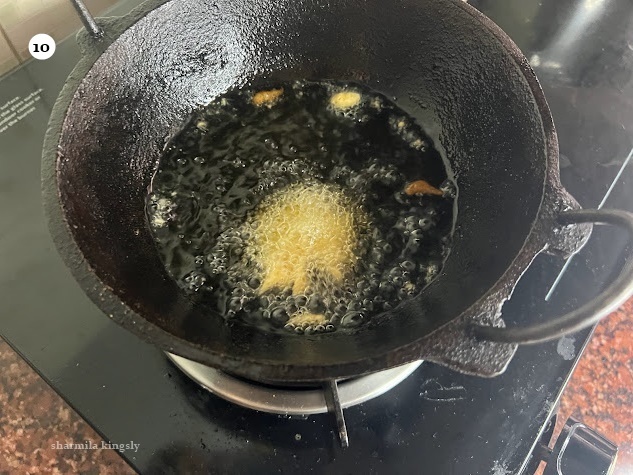
10. Drop in hot oil and cook the prawns in a medium flame.
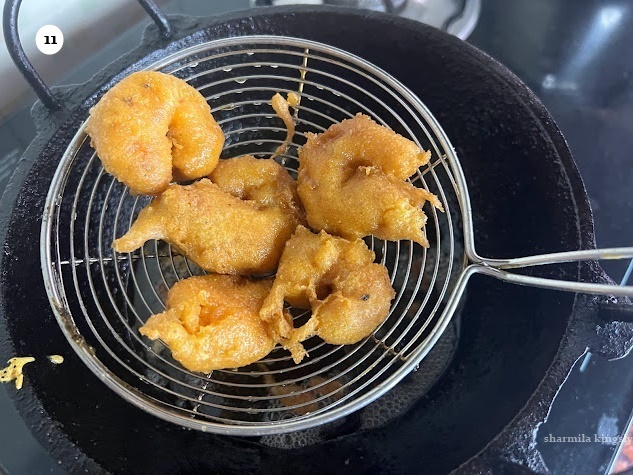
11. Cook until its golden and cooked fully and remove from hot oil. Drain in paper towels to remove the excess oil and then serve hot.
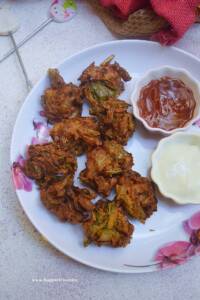
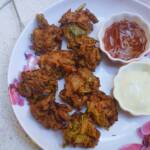
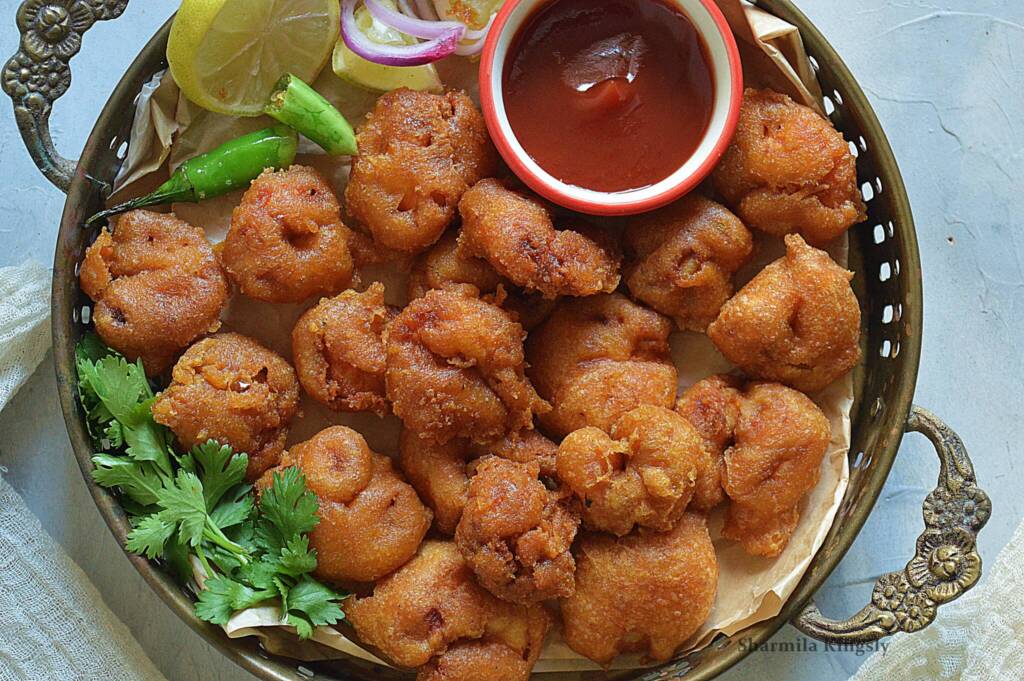
Delicious Prawn Bajji is ready to serve.
Tips & Variations
- Always cook bajji in medium flame. Cooking in high flame will cook the outer batter quick and the prawn may remain un cooked.
- I usually cook in medium flame at first and then medium high flame towards the end.
- Adding idli dosa batter helps in giving a crispy texture to the bajji. So i recommend adding them.
- bajji goes well with Tomato sauce or green chutney.
Serving Suggestions
Prawn bajji tastes good by itself. We can also serve with some tomato ketchup on side. Makes a perfect evening snack with some hot tea.
Storing Options
Bajji tastes good only when served hot. so do not recommend freezing or storing. Its better to eat as soon as its cooked for best experience.
★ Did you enjoy this recipe? If you happen to try it out, I would love to hear from you! I’d appreciate it if you could rate and leave a review below in the comments. Your reviews help others know the recipe better too. Thanks for your time. You can also follow me on Facebook, Pinterest, Instagram, Youtube and Twitter for more updates from me.
📖 Recipe

Prawn Bajji
Standard 1 cup measures 240 ml
Ingredients
Bajji Batter
- ½ cup Chick pea flour / Besan
- ½ cup Water approximately add more if needed
- ½ teaspoon Chilli powder
- ½ teaspoon Turmeric powder
- ¼ teaspoon Cooking Soda
- 1 tablespoon Idli dosa Batter
- Salt as needed
For Marinade:
- ¼ kg Prawn
- 1 teaspoon Ginger garlic paste
- 1 teaspoon Chilli powder
- ¼ teaspoon Turmeric powder
- ¼ teaspoon Garam Masala
- Salt as needed
Instructions
- Clean and devein the prawns.
- To this add in the ginger garlic paste, Chilli powder, Turmeric powder and the required Salt.
- Mix well and allow it to marinate for 30 mins.
- In another mixing bowl add chickpea flour, Chilli powder, Turmeric powder and Salt.
- To this add a tablespoon of Idli Dosa batter.
- Add water little by little and bring it to a idli batter consistency.
- Add cooking soda and combine the batter once again.
- Meanwhile heat oil in a pan for deep frying. Now dip a prawn in prepared batter.
- Let the prawn coat with batter completely.
- Drop in hot oil and cook the prawns in a medium flame.
- Cook until its golden and cooked fully and remove from hot oil. Drain in paper towels to remove the excess oil and then serve hot.
Video
Notes
Tips & Variations
- Always cook bajji in medium flame. Cooking in high flame will cook the outer batter quick and the prawn may remain un cooked.
- I usually cook in medium flame at first and then medium high flame towards the end.
- Adding idli dosa batter helps in giving a crispy texture to the bajji. So i recommend adding them.
- bajji goes well with Tomato sauce or green chutney.