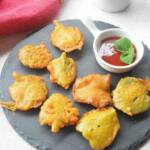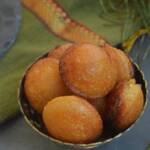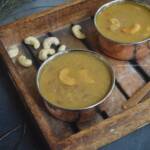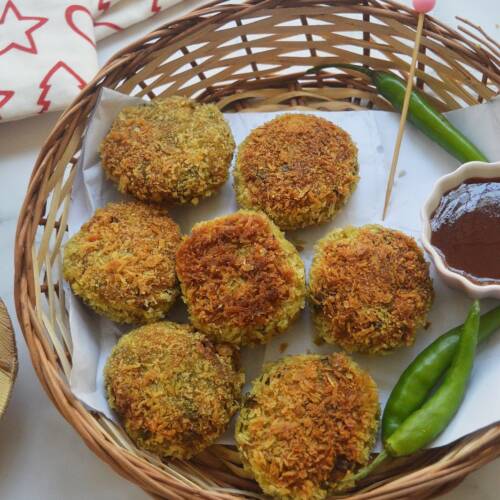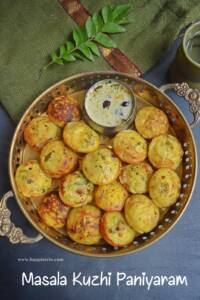
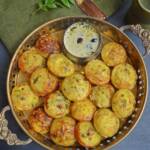
Masala Kuzhi Paniyaram is a spicy version of the regular kuzhi paniyaram. The masala added makes it tastier.

Masala Kuzhi Paniyaram Recipe | How to make Masala Kuzhi Paniyaram with step by step pics. Always the last batch of idli dosa batter turns out to be paniyaram ,so this time I tried a spicy version of panniyaram with more masala ,It is too good as a whole. Now lets see how to make masala Kuzhi Paniyaram.
[feast_advanced_jump_to]What is Kuzhi Paniyaram
Panniyaram is a South Indian breakfast prepared from lentil, rice batter ( Idli Dosa batter). We prepare it in a specialized round hollow cavity pan to get the desired shape. You can also prepare the same in a pan or even in a waffle maker. I have made it super yummy with a delicious seasoning. It goes well with any spicy dip or chutney.

How to Prepare Masala Kuzhi Paniyaram, Pictorial:
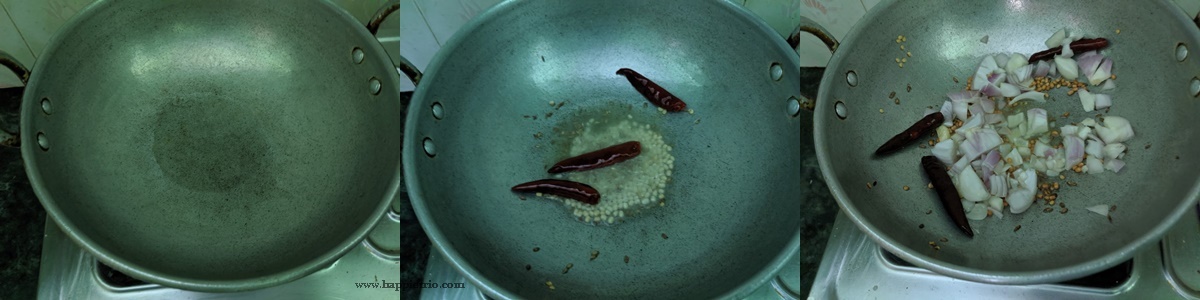
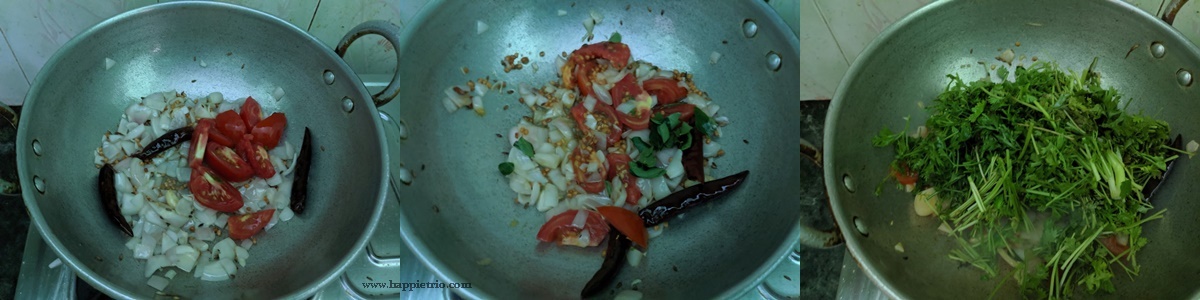
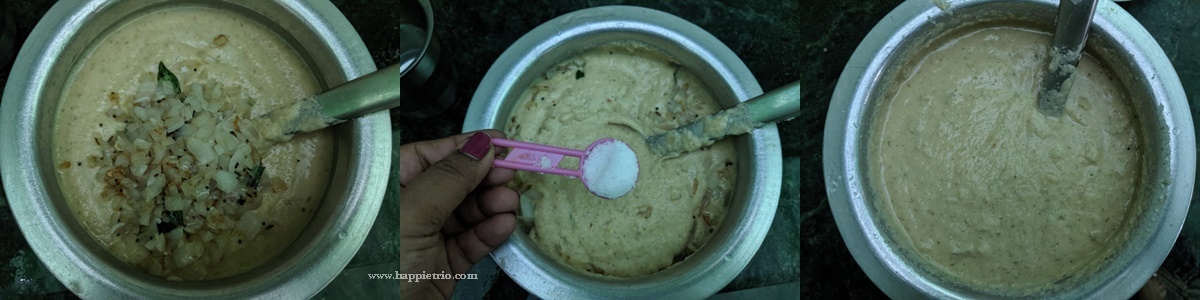
1. Heat a pan with oil , once its hot add in the mustard seeds,cumin seeds let it splutter, and then add in the urad dal and channa dal. Let it become golden, Next add in the green chili and curry leaves. Saute a little and then add in the chopped onions. Cook till it turns glossy and then add in the capsicum. Saute for a min.

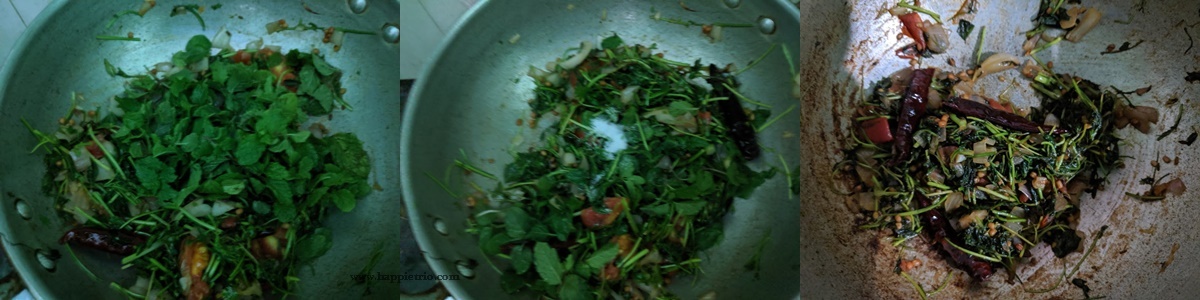
2. Next add in the grated carrots, saute for a min, Add in Salt, Turmeric powder and garam Masala, Saute till the raw smell leaves.

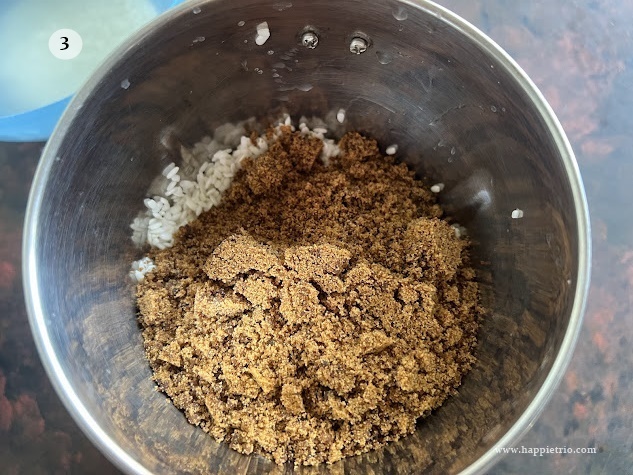
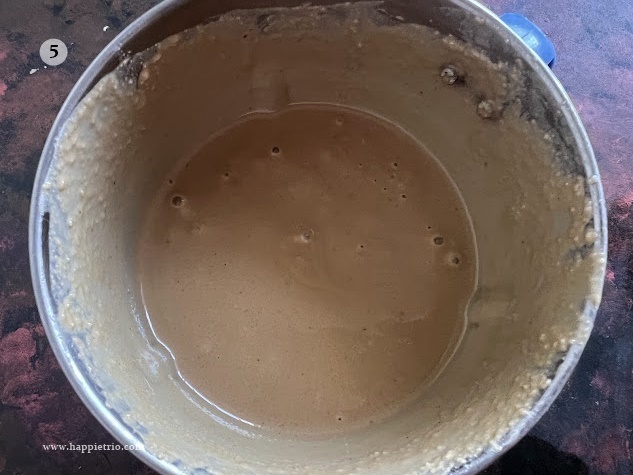
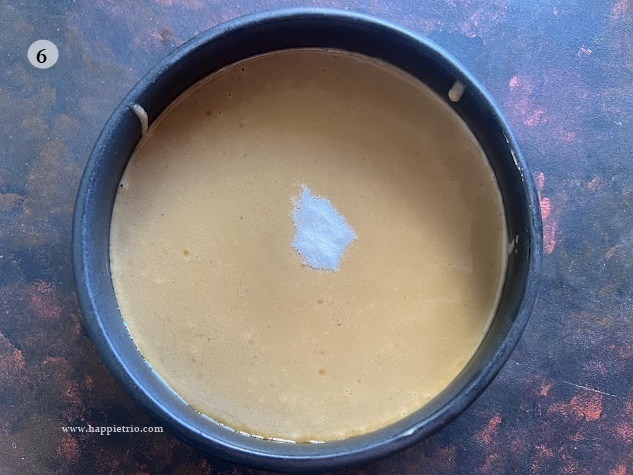
3. Switch off the flame and then take the idli dosa batter. Add the prepared masala to the batter and mix well.

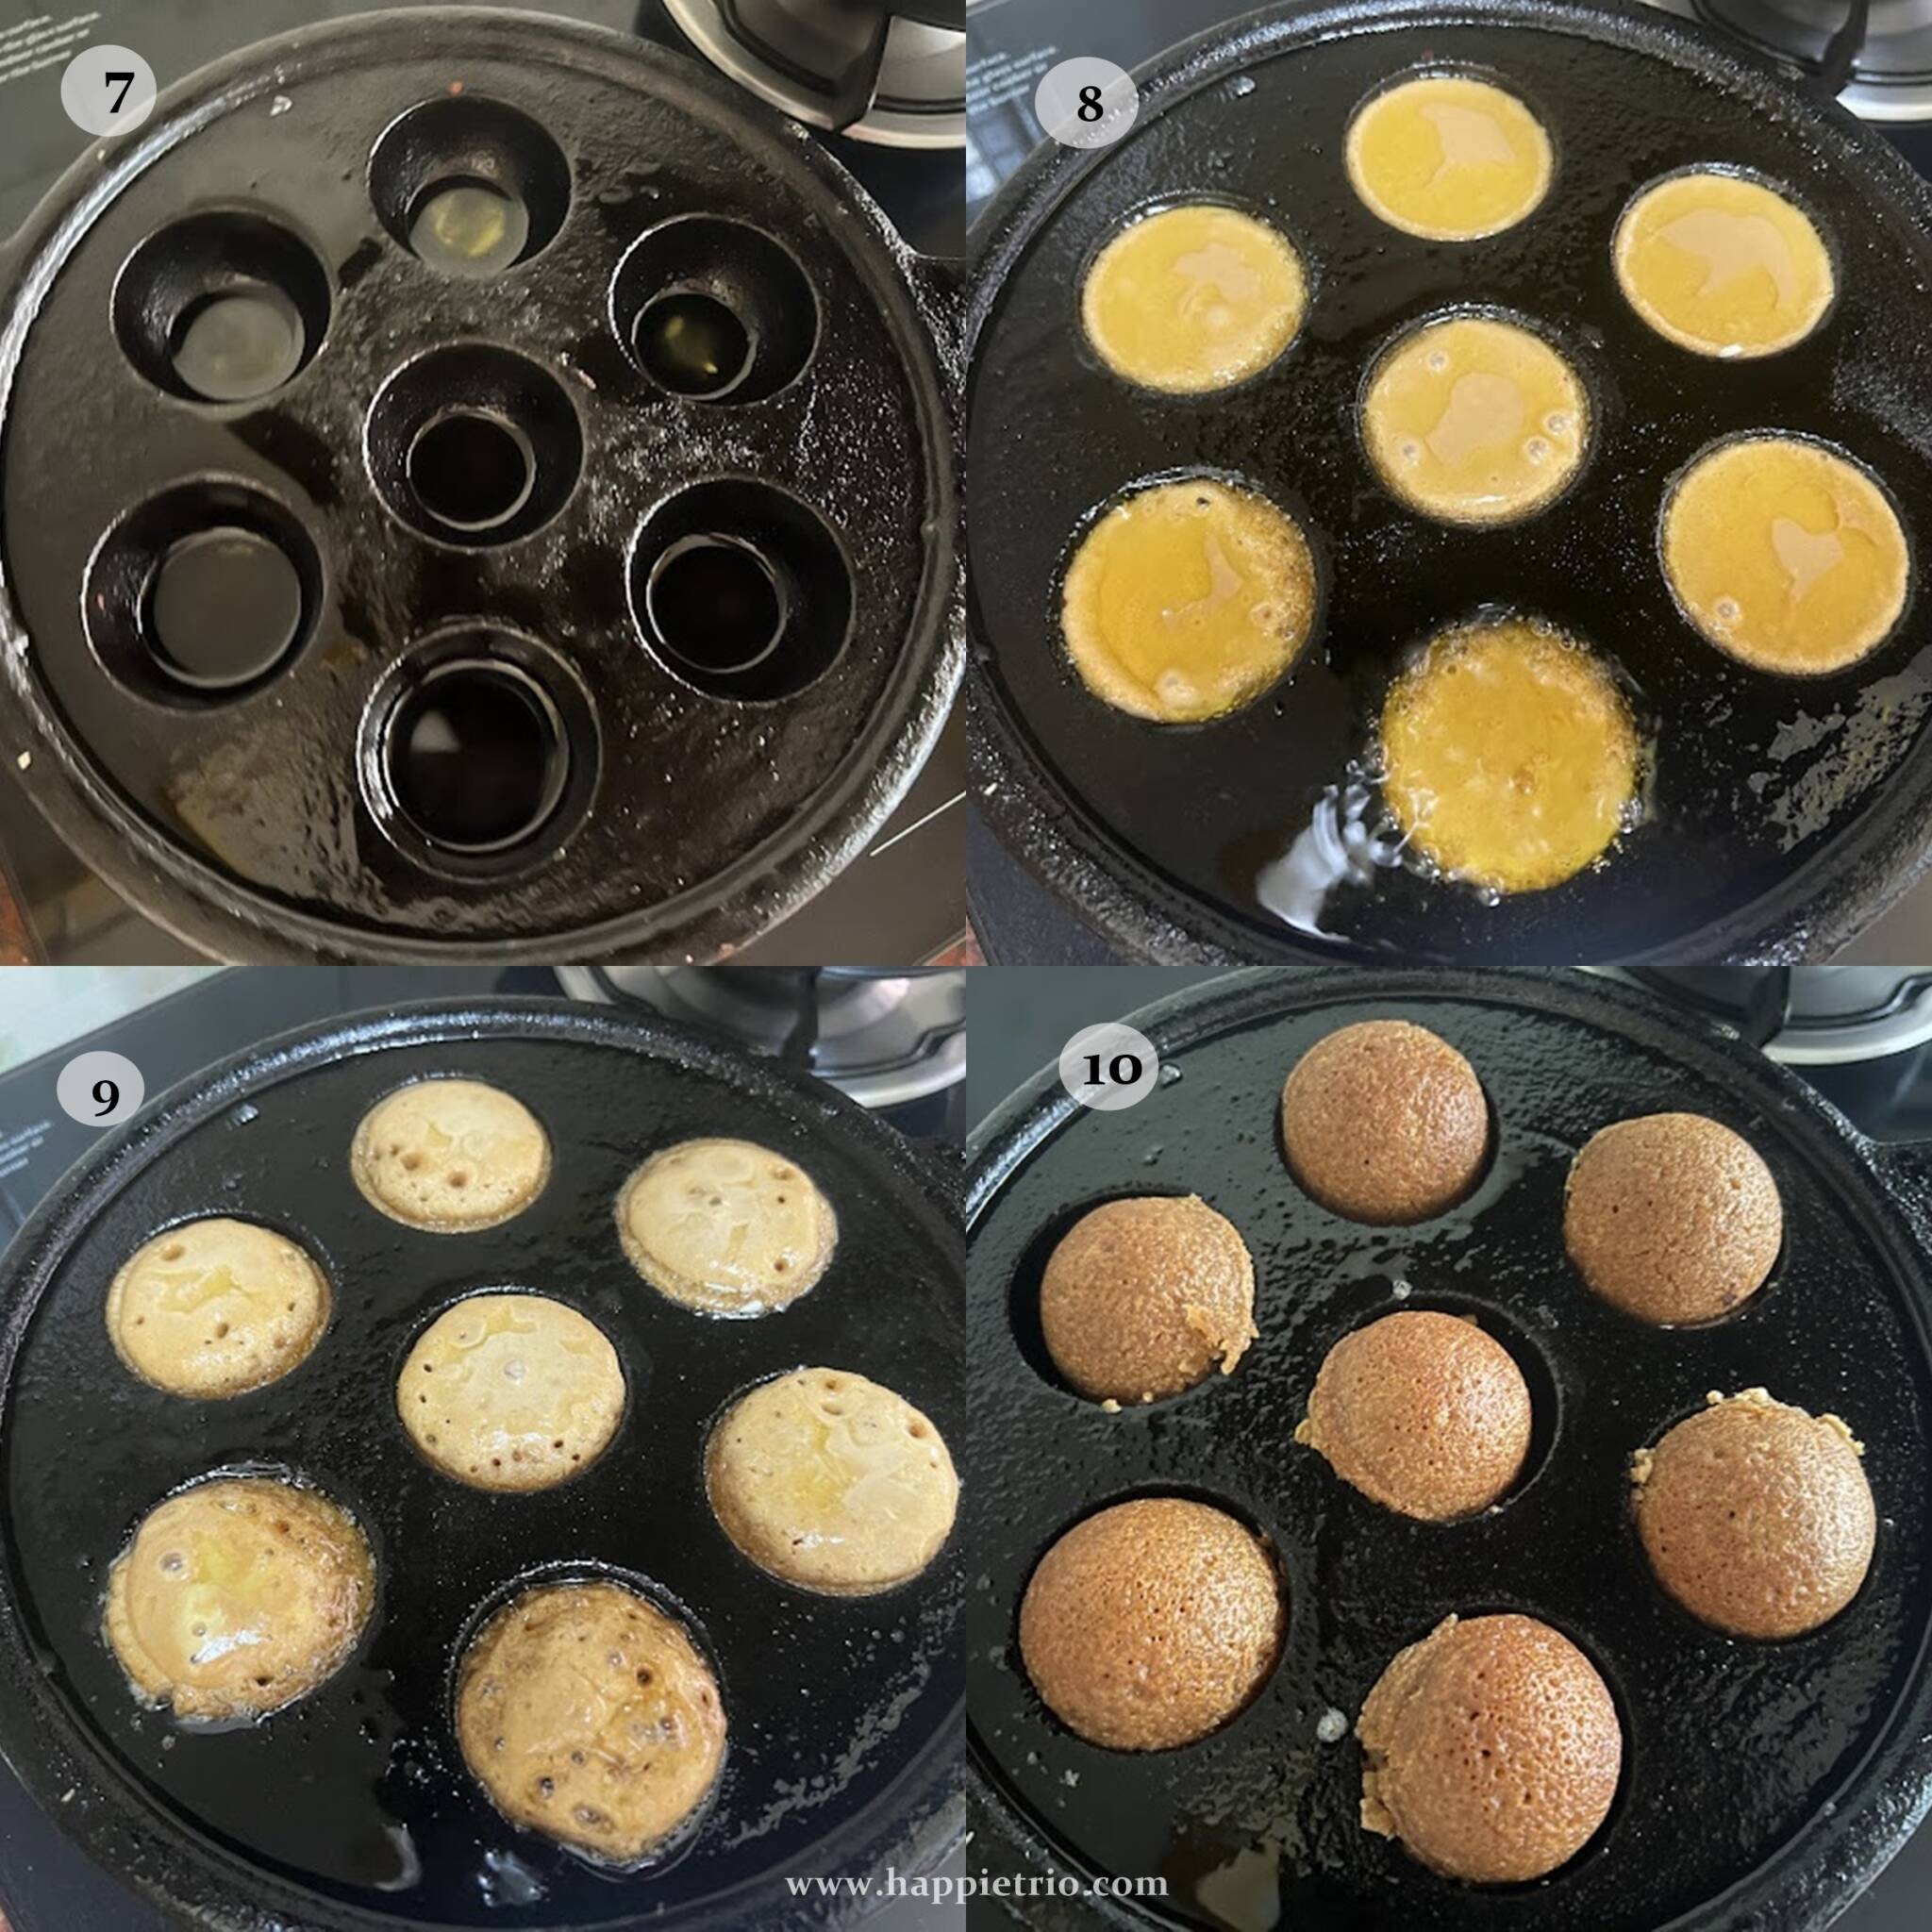
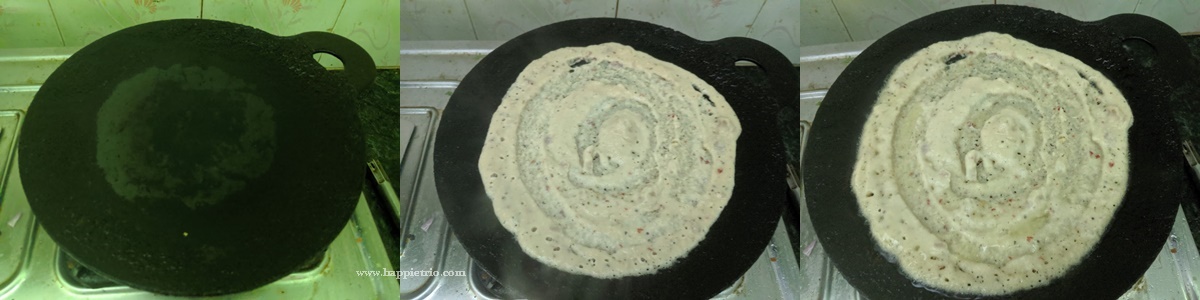
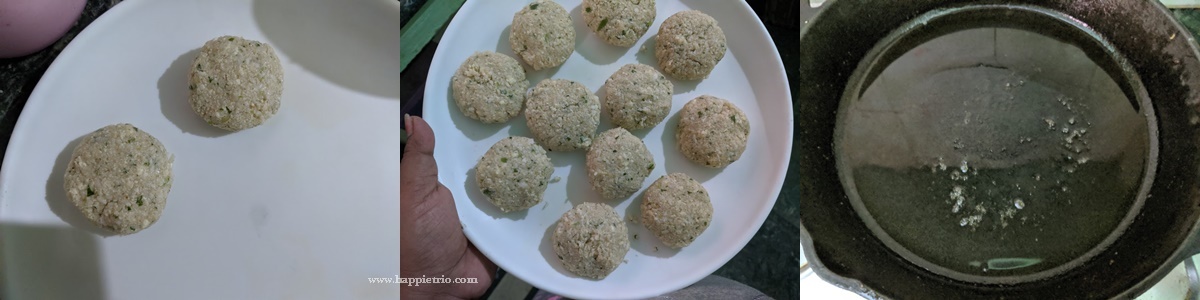
4. Heat a paniyaram pan with oil ,once its hot add in a prepared batter to the pan ,close and cook for 3 mins in a medium flame.

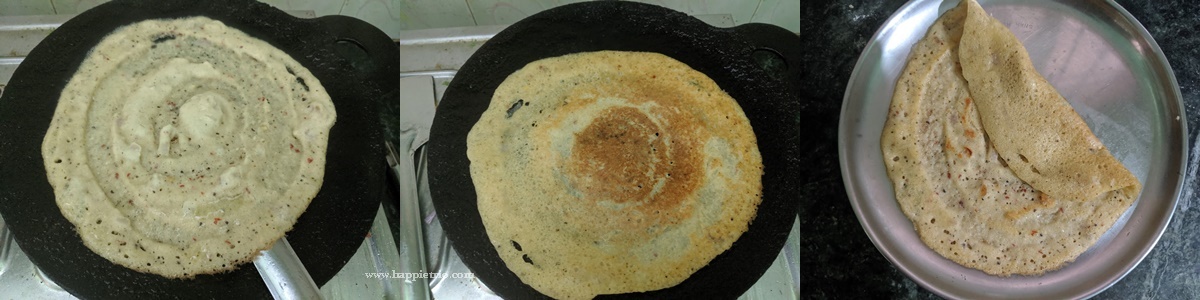
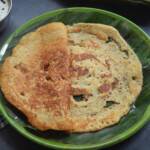
5. After 3 mins flip and cook the other side for another 3 mins. And then remove from the pan. Serve hot with chutney.

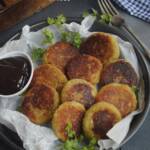
Serving Suggestions:
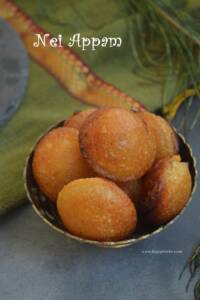
I prepared this for breakfast yesterday and served it with coconut chutney, Vazhaipoo vadai, and Filter Coffee.

Serve hot with Chutney and coffee.

Similar Recipes:


You can buy the Panniyaram Pan easily from Amazon!!
★ Did you enjoy this recipe? If you happen to try it out, I would love to hear from you! I’d appreciate it if you could rate and leave a review below in the comments. Your reviews help others know the recipe better too. Thanks for your time ?
You can also follow me on Facebook, Pinterest, Instagram, Youtube and Twitter for more updates from me.
📖 Recipe
Masala Kuzhi Paniyaram
Standard 1 cup measures 240 ml
Equipment
- Paniyaram Pan
- Paniyaram Pan
Ingredients
- 1 tablespoon Oil
- 1 teaspoon Mustard Seeds
- ½ teaspoon Cumin Seeds
- 2 teaspoon Urad Dal
- 1 tablespoon Channa Dal
- 2 Green Chilli
- 1 spring Curry Leaves
- 1 Onion
- 2 tablespoon Capsicum chopped
- ¼ cup Carrot grated
- ¼ teaspoon Turmeric powder
- 1 teaspoon Garam Masala
- Salt as needed
- 2 cup Idli Dosa Batter
- ¼ cup Coriander leaves
- Oil as needed
Instructions
- Heat a pan with oil ,once its hot add in the mustard seeds ,cumin seeds let it splutter and then add in the urad dal and channa dal. Let it become golden ,Next add in the green chilli and Curry leaves. Saute a little and then add in the chopped onions. Cook till it turn glossy and then add in the capsicum. Saute for a min.
- Next add in the grated carrots, saute for a min, Add in Salt, Turmeric powder and garam Masala, Saute till the raw smell leaves.
- Switch off the flame and then take the idli dosa batter. Add the prepared masala to the batter and mix well.
- Heat a paniyaram pan with oil ,once its hot add in a prepared batter to the pan ,close and cook for 3 mins in a medium flame.
- After 3 mins flip and cook the other side for another 3 mins. And then remove from the pan. Serve hot with chutney.
Notes
- Serve hot with Chutney.
- Paniyam ,Chutney ,Vada,Coffee makes one perfect breakfast combo.
Nutrition
Disclaimer: I am not a nutritionist , the nutrition value provided here is an estimate.It will vary based on the quantity and brands of the products used.