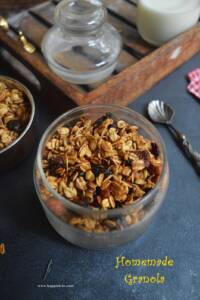
Moong sprouts Sweet Salad is a healthy no cook sweet salad. When you have sprouts handy you can quickly put together in no time.

Moong sprouts Sweet Salad Recipe | Moong Sprouts Salad Recipe. Sharing today an easy and yummy sweet salad. When you have Moong Sprouts in hand, we can prepare this recipe in no time.
I got this recipe from my office pantry, Where they use to sell this sweet salad in the evening, I liked the taste a lot and tried to replicate in my home. Since then I have tried it so many times. So do try out this simple and healthy Salad for the evening at 4 pm hunger pangs.
[feast_advanced_jump_to]What is Sprouts :
Sprouting is the process of germinating the seeds in simple terms. The seeds start to bud and grow as we sprinkle water and follow a certain procedure.
How to grow Moong sprouts:
Moong sprouts are grown by sprouting the green moong beans or Mung beans. We usually soak the moong beans overnight and then drain the excess water. Wrap the soaked moong beans in a muslin cloth and within 8 hours the beans start to sprout.
Can we eat the sprouts raw?
We can eat the sprouts raw. Also, sprouts are easily exposed to bacteria’s. So always handle it clean before you consume.

How to prepare Moong sprouts Salad
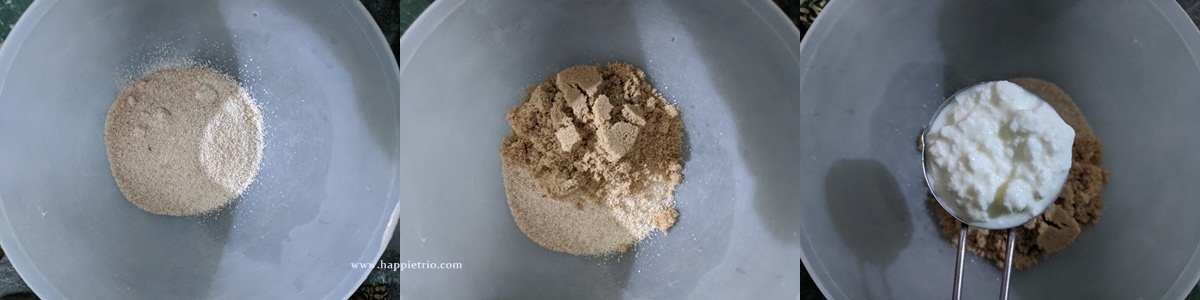
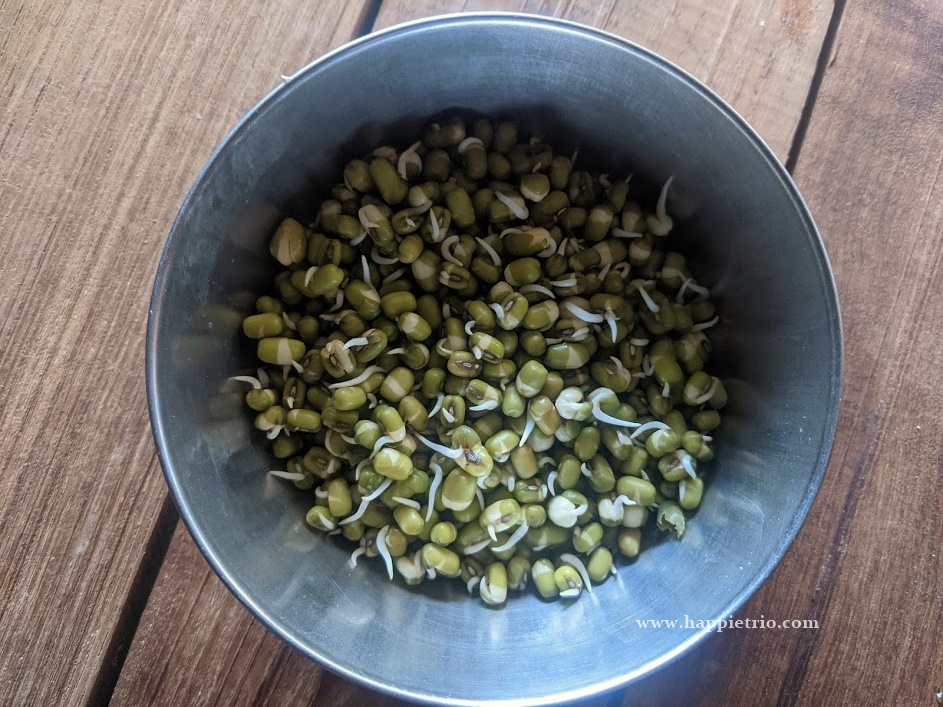
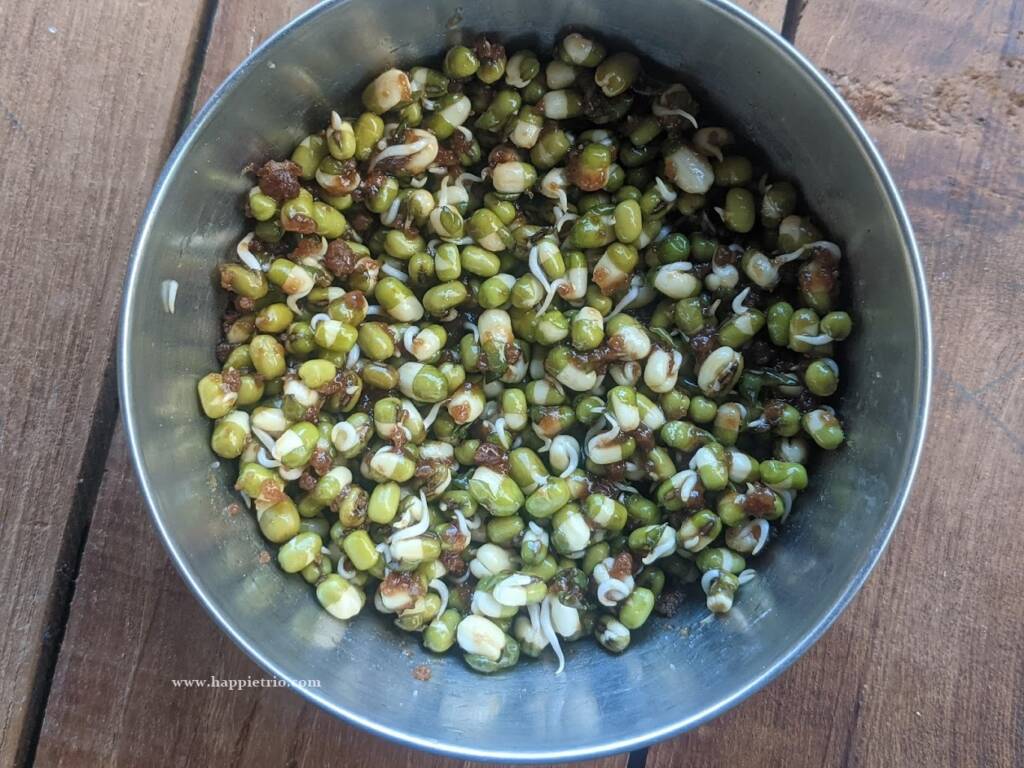
1.In a mixing bowl add in 1 cup of Moong Sprouts.
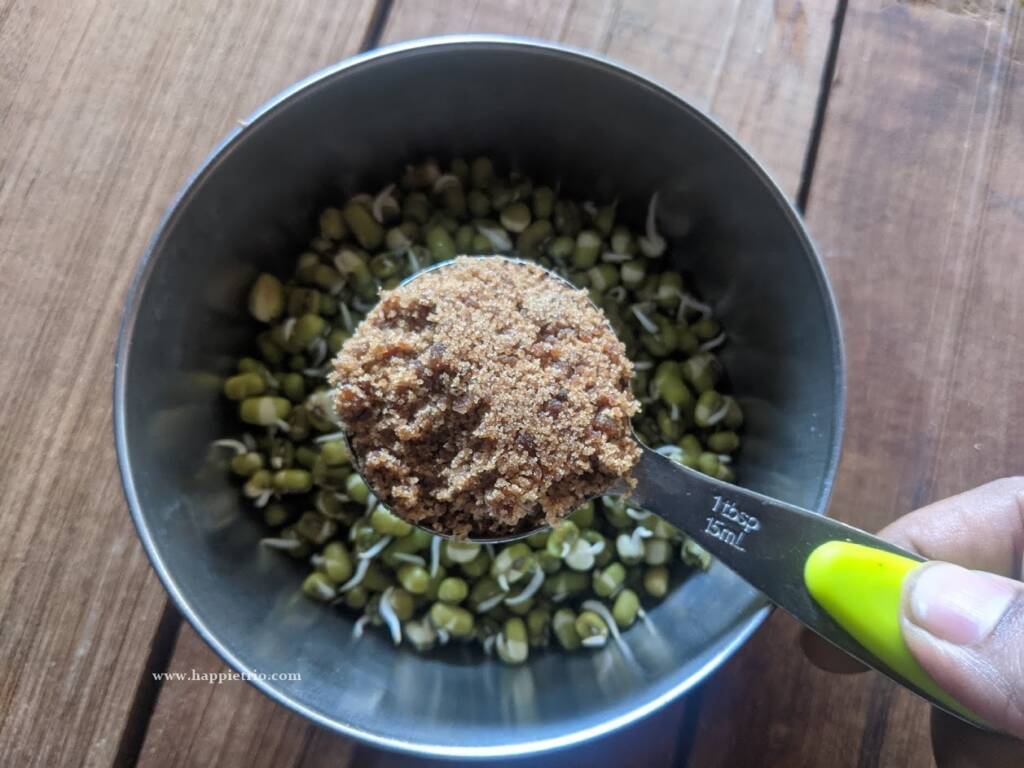
2. To this add in the 2 tablespoon of Cane sugar
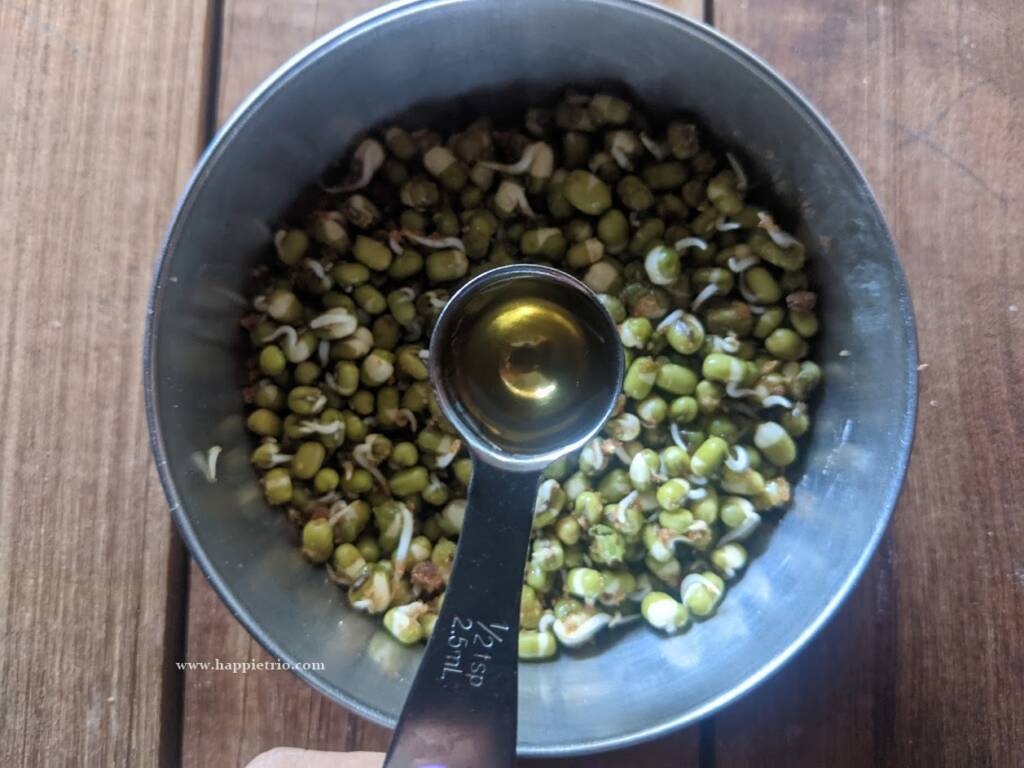
3. Add in 1 teaspoon of Gingelly oil
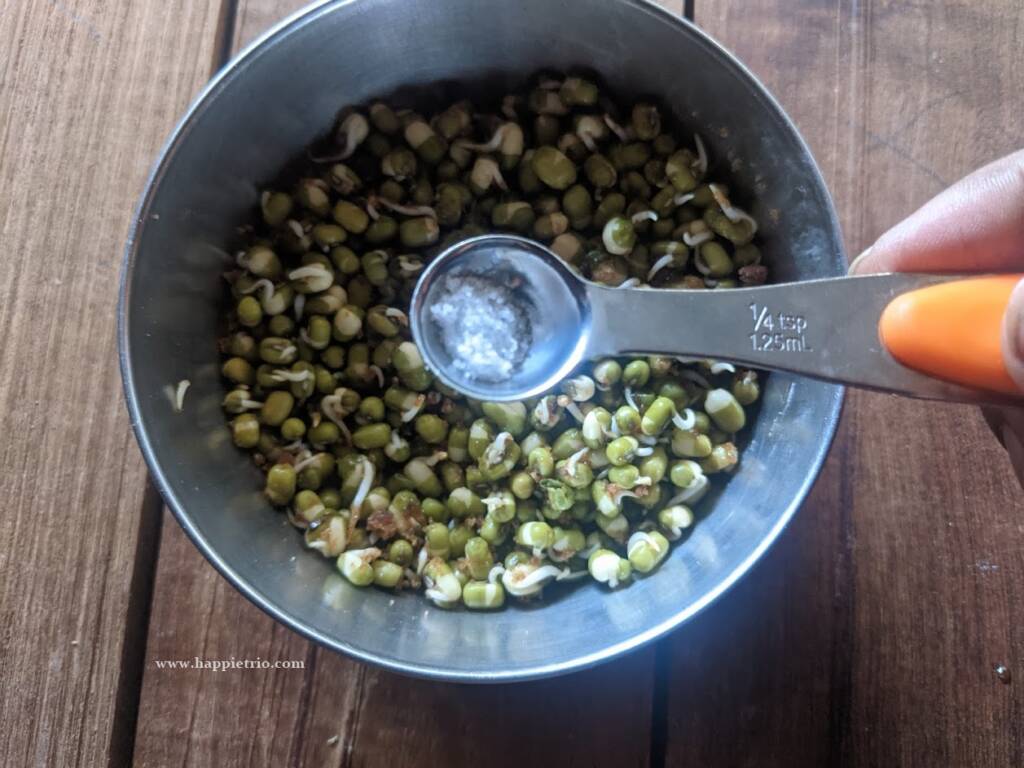
4. And then add in a pinch of Salt.
5. Finally toss well and garnish it with grated coconut and serve immediately.
Similar Recipes:


★ Did you enjoy this recipe? If you happen to try it out, I would love to hear from you! I’d appreciate it if you could rate and leave a review below in the comments. Your reviews help others know the recipe better too. Thanks for your time.
You can also follow me on Facebook, Pinterest, Instagram,Youtube and Twitter for more updates
📖 Recipe
Moong sprouts Sweet Salad | No cook Green Mung Sprouts Salad
Standard 1 cup measures 240 ml
Ingredients
- 1 cup Moong Sprouts
- 2 tablespoon Cane Sugar
- 1 teaspoon Gingelly Oil
- Salt a pinch
- 2 tablespoon Grated Coconut
Instructions
- In a mixing bowl add in 1 cup of Moong Sprouts.
- To this add in the 2 tablespoon of Cane sugar
- Add in 1 teaspoon of Gingelly oil
- And then add in a pinch of salt.
- Finally, toss well and garnish it with grated coconut and serve immediately.
Notes
Don’t prepare and serve lately it might get soggy. Prepare and serve immediately.
Nutrition
Disclaimer: I am not a nutritionist, the nutrition value provided here is an estimate. It will vary based on the quantity and brands of the products used.