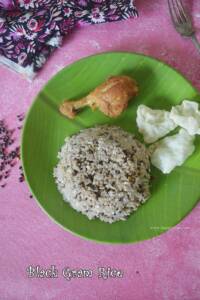
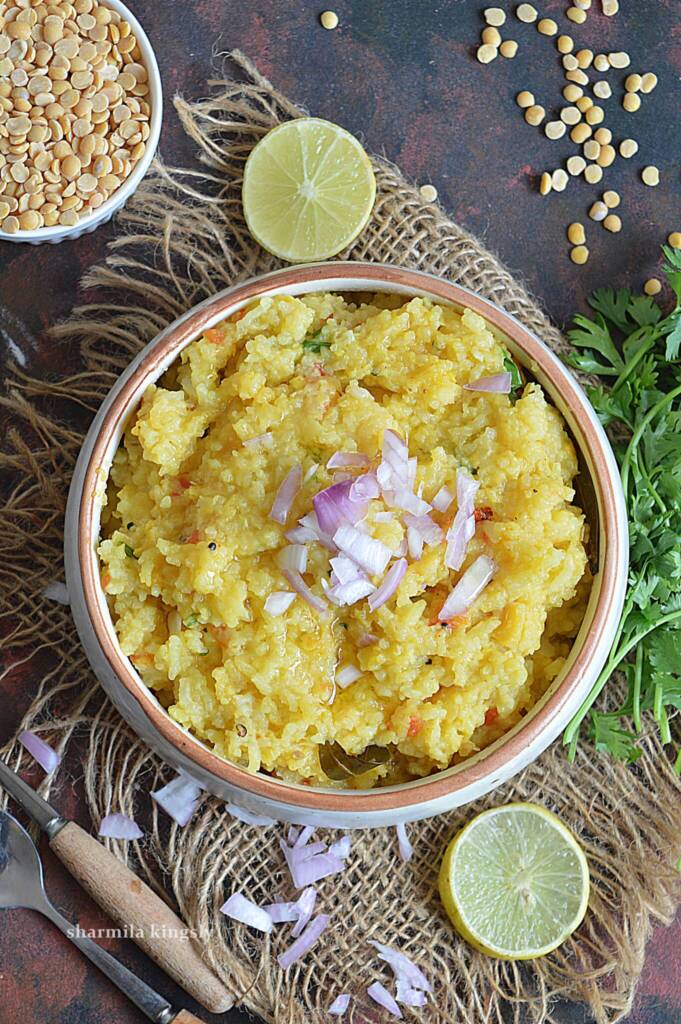
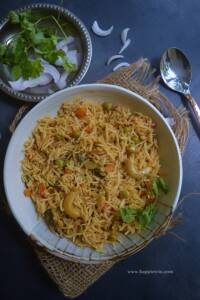
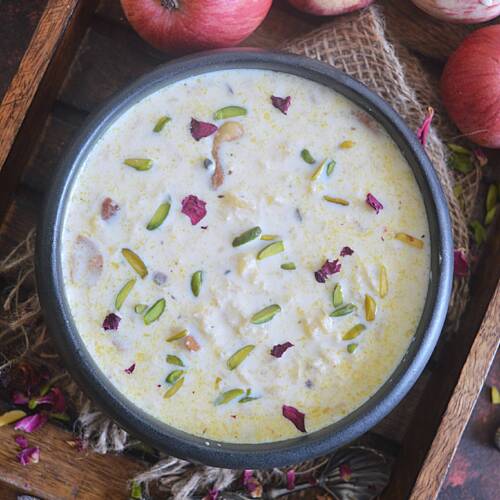
Little Millet Kheer is an easy and instant milk kheer prepared with Millets and it is flavored with cardamom and ghee.

Little Millet Milk Kheer Recipe | Sammai Paal Payasam | Little Millet Kheer with Step by step pictures. Making kheer with different millets is something which I love a lot. I have already tried Little Millet Dal Kheer, and Kodo Millet Milk kheer . And now to end the Mega BM on a sweet note here is a humble and creamy Little Millet Kheer.

How to make Little Millet Kheer

2. Next add in the 2cups of milk. Mix well and cook till the millets are completely cooked.

3. Now add in the sugar and the crushed cardamom pods and mix well

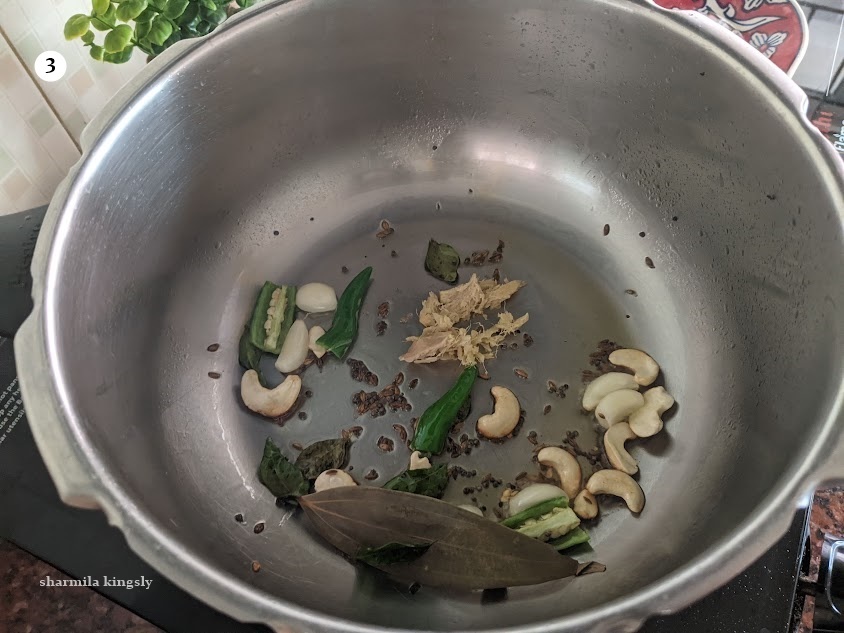
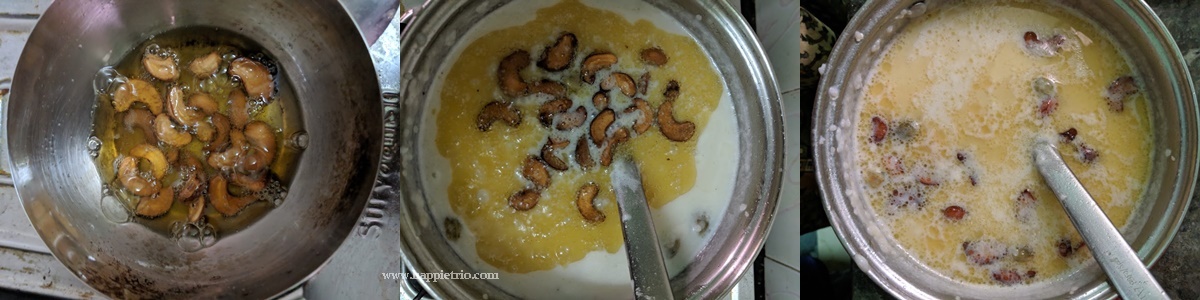
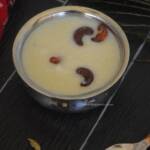
4. Allow it to simmer for another 5 mins. Finally heat ghee once its hot add in the cashew nuts are garnish till golden.
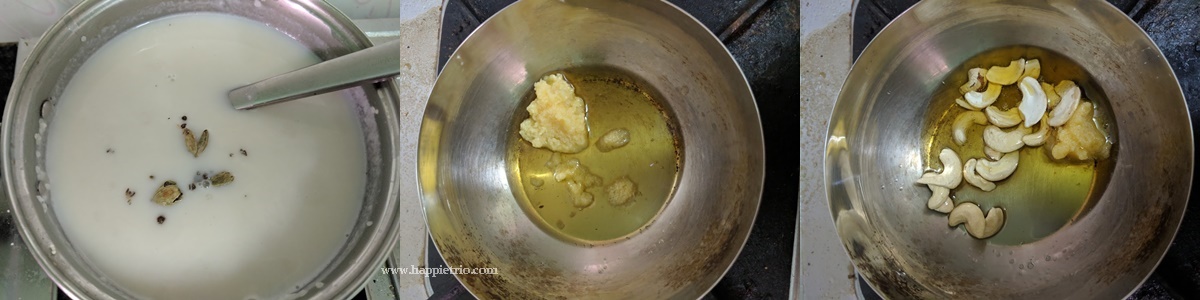
5. Add the ghee fried cashew nuts to the kheer along with the ghee. Serve hot.
Serve hot.

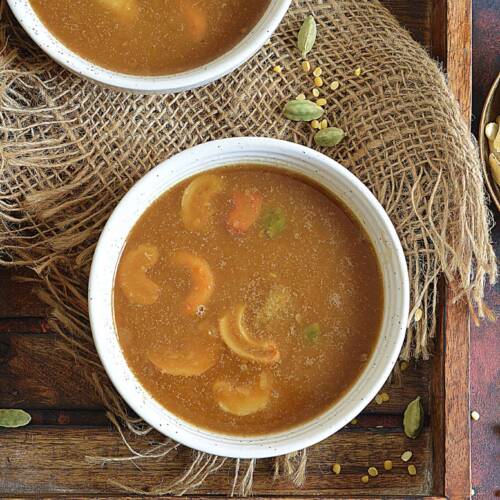
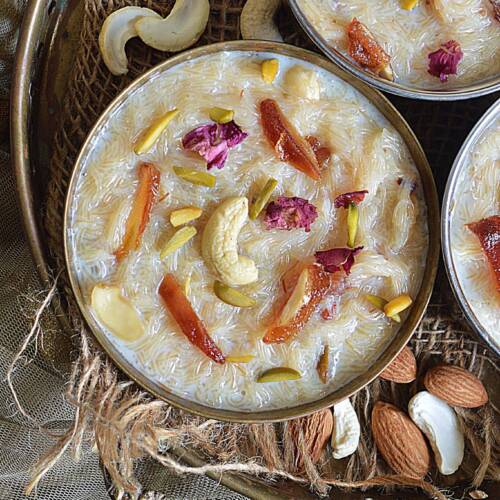
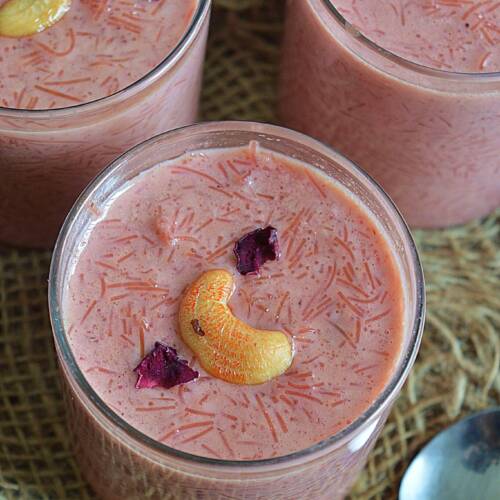
Similar Recipes
★ Did you enjoy this recipe? If you happen to try it out, I would love to hear from you! I’d appreciate it if you could rate and leave a review below in the comments. Your reviews help others know the recipe better too. Thanks for your time. You can also follow me on Facebook, Pinterest, Instagram, Youtube and Twitter for more update
📖 Recipe
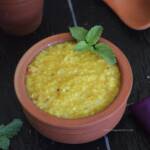
Little Millet Kheer |Samai Paal Payasam
Standard 1 cup measures 240 ml
Ingredients
- 2 tablespoon Ghee
- 10 Cashew nuts
- ½ cup Little Millet / Samai Arisi
- 2 cup Milk
- 1 cup Water
- ½ cup Sugar
- 2 Cardamom pods
Instructions
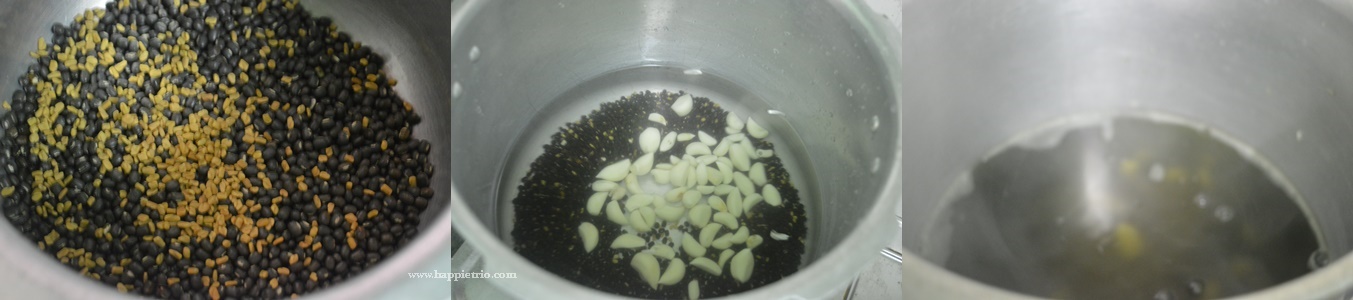
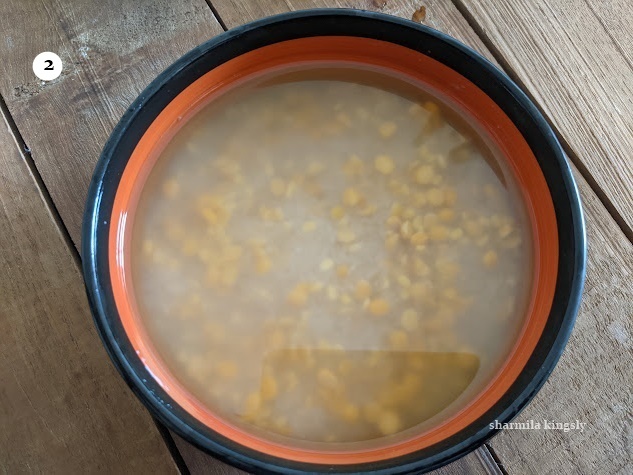
- In a saucepan add in water, to this add in the washed Little Millets, and continue to cook till it's half cooked.
- Next add in the 2cups of milk. Mix well and cook till the millets are completely cooked.
- Now add in the sugar and the crushed cardamom pods and mix well
- Allow it to simmer for another 5 mins. Finally, heat ghee once its hot add in the cashew nuts are garnish till golden.
- Add the ghee fried cashew nuts to the kheer along with the ghee. Serve hot.
Notes
· Serve hot.
Nutrition
Disclaimer: I am not a nutritionist, the nutrition value provided here is an estimate. It will vary based on the quantity and brands of the products used.