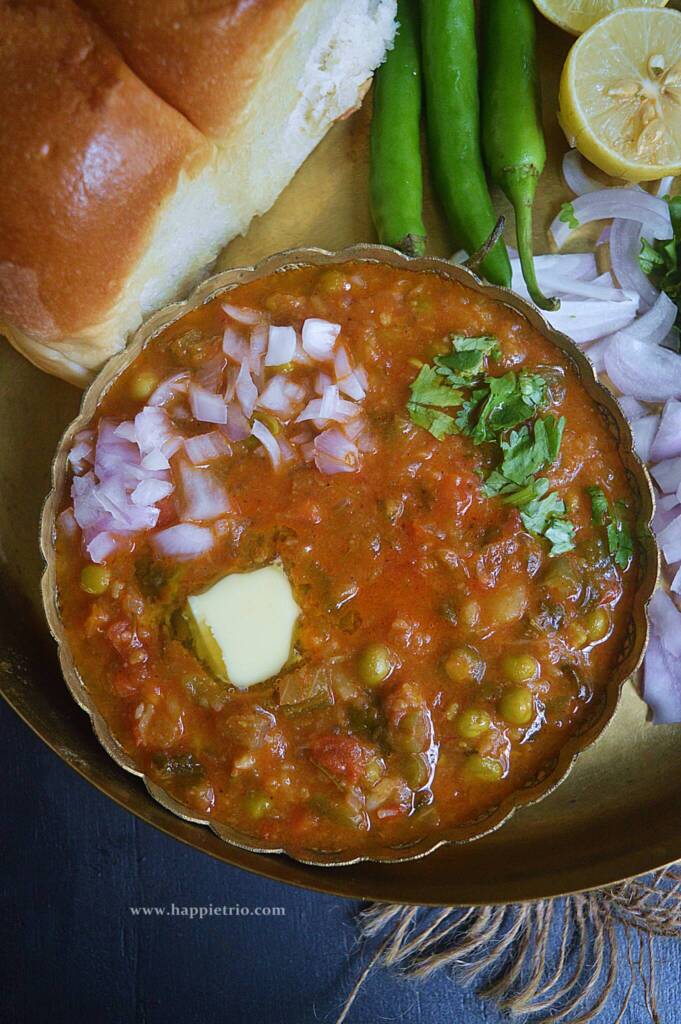
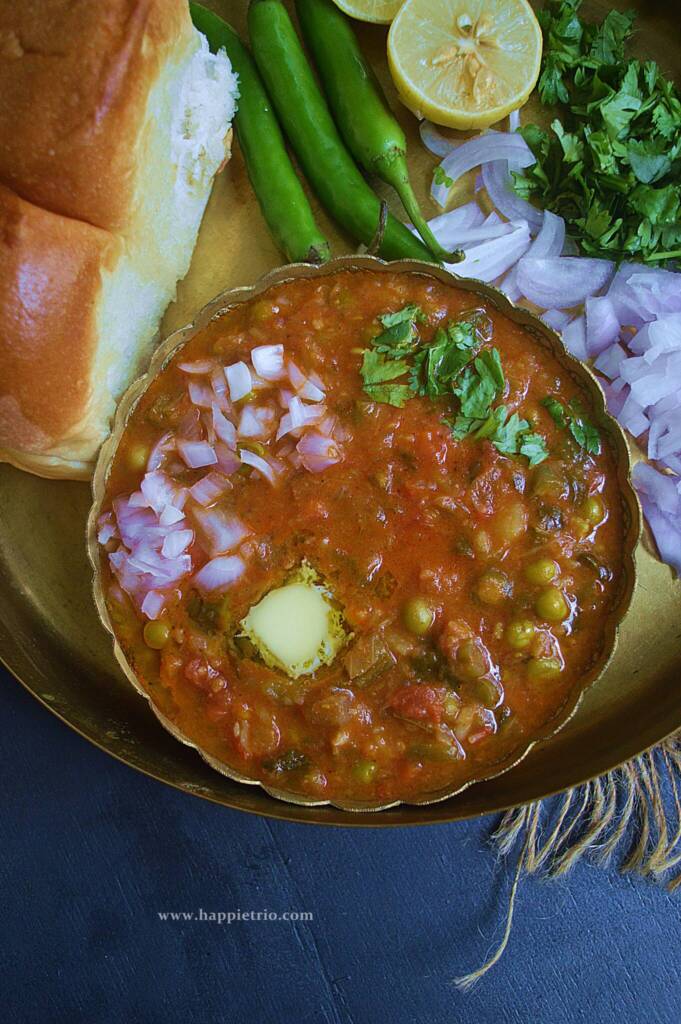
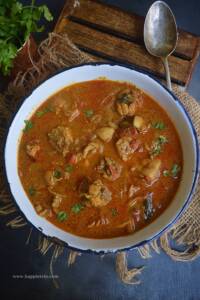
Instant Pot Peas Curry is an aromatic curry that goes well with all the flatbreads. It has a lovely onion tomato base and cooked to perfection in the Instant Pot.
Follow us on Pinterest for delicious pins. Join our Facebook group for more Instant Pot and Air Fryer recipes.
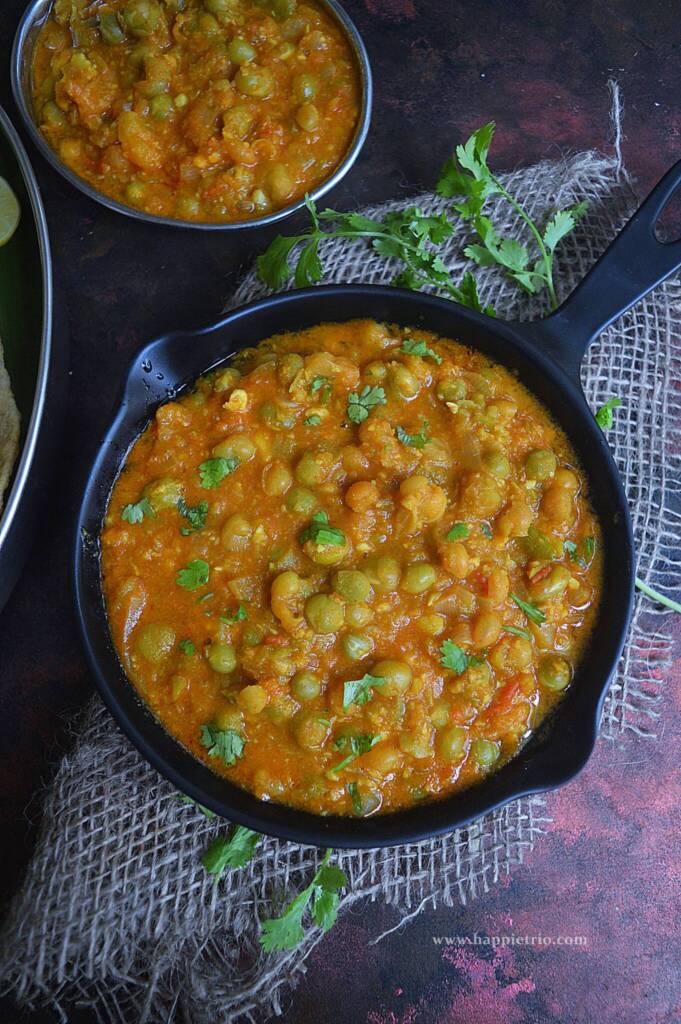
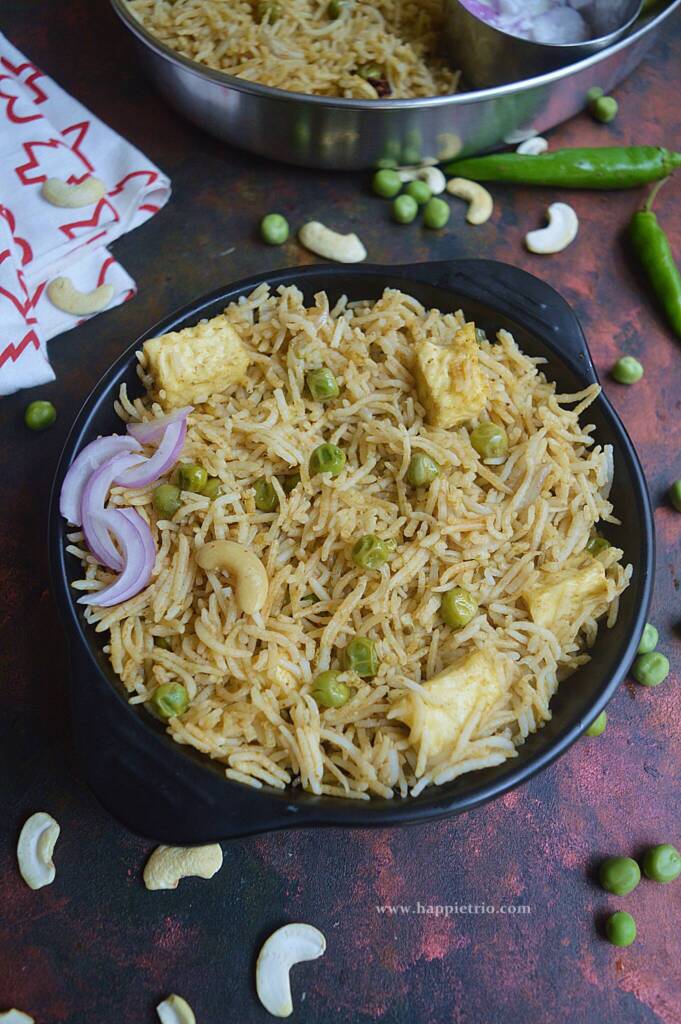
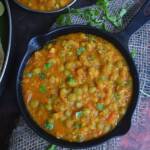
A good serving of the green pea masala and some Naan with a dash of butter is a portion of ideal soul food. Good food definitely lifts up the mood, Isn't it? I love this combo with some onion slices and lemon wedges. Now let's see how to make peas masala or matar masala.
[feast_advanced_jump_to]Green Peas Curry
Green Peas Curry is a classic combo to go on with Flatbreads or Rotis in India. We usually call it Matar Curry. Green Peas is a winter produce. We get the fresh green peas in abundance during the winter. We usually freeze the fresh peas by following few methods to use the year around else we go do dried peas. Dried peas are available around the year and are a very common pantry staple in India.
Matar Paneer is a very popular dish using peas. apart from that I also have few more versions of peas curry in the blog.
If you are trying green peas curry Kerala style you can skip the cashew paste and add the coconut instead and use coconut oil for cooking. It definitely makes a difference in the taste and aroma of the green peas masala.
Green Peas Curry in Pressure Cooker
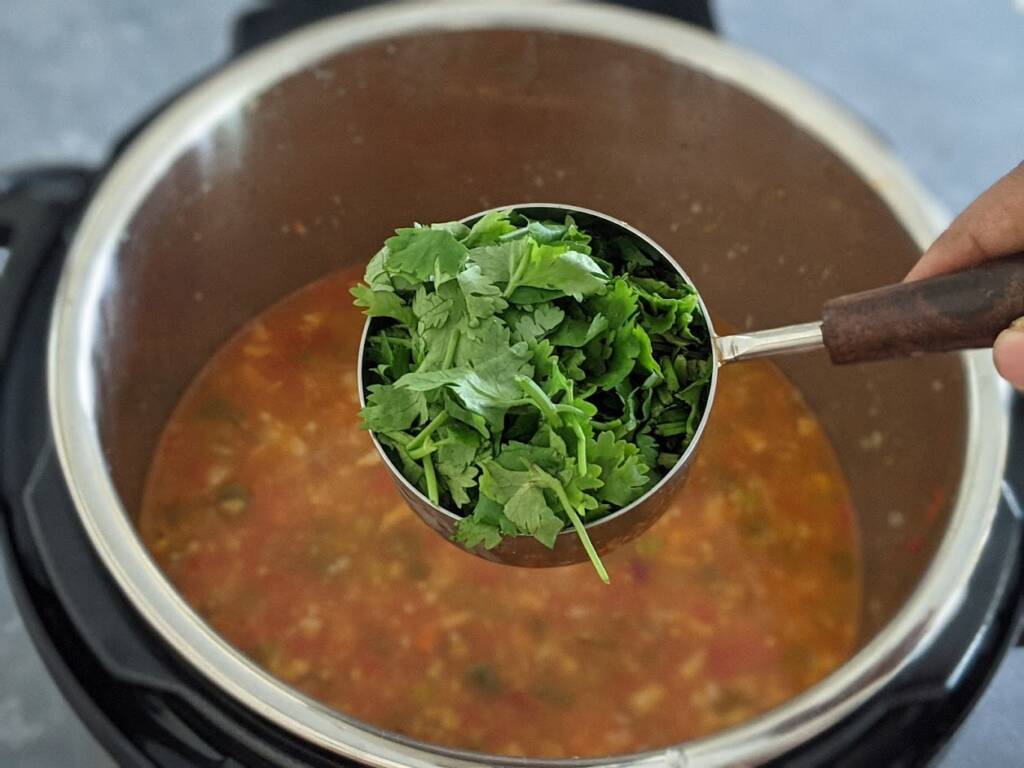
You can prepare the same simple green peas curry in the pressure cooker as well in case you do not own an Instant Pot. Saute and prepare the onion tomato paste. Blend well and set aside. Then in the pressure cooker follow all the instructions. Finally, close the cooker and cook for 4 whistles on high flame. Wait till the pressure release on its own and then open the cooker. Garnish with finely chopped cilantro and serve hot with puhulkas.
The recipe for green peas masala is so simple to adapt to the stovetop as well. However, dried peas need pressure cooking if using fresh or frozen peas. The stovetop version is so simple to follow as well.
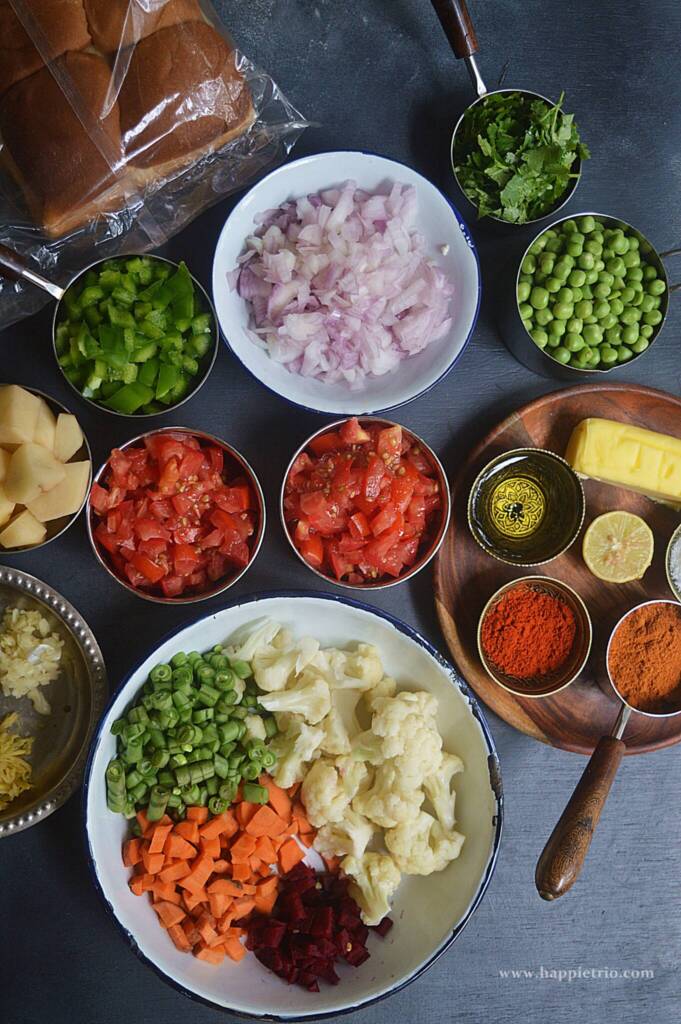
Ingredients
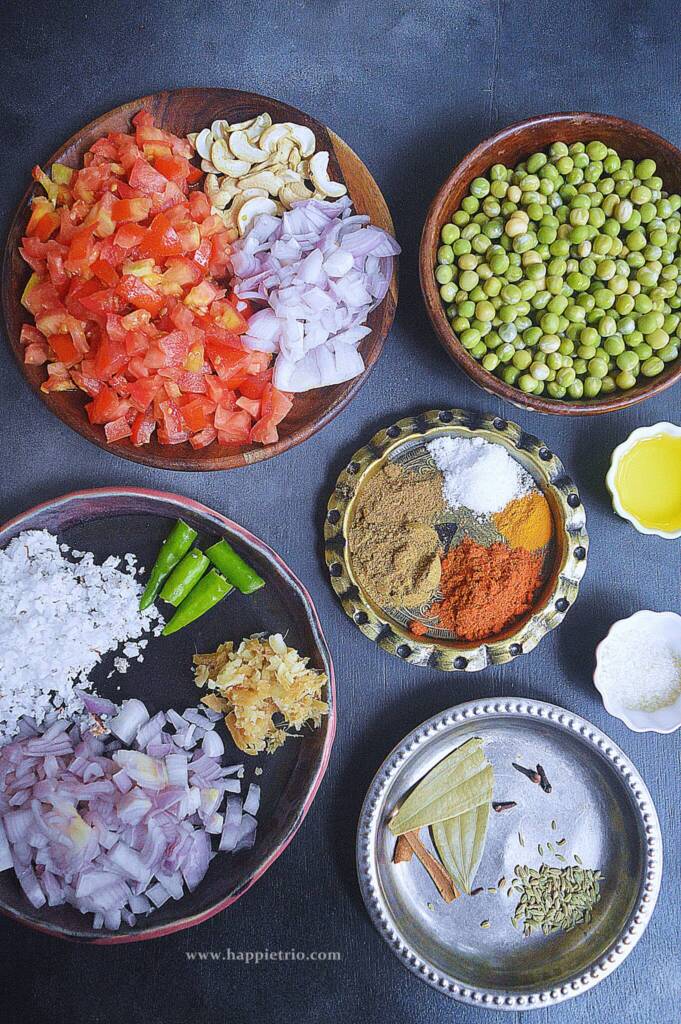
Dried Green Peas - I am using dried peas for the curry. However, you may use fresh or frozen peas too, based on the availability. I have given the instructions for cooking the fresh and frozen peas too in the recipe card and notes.
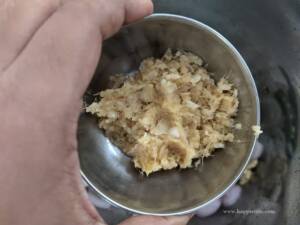
Onion Tomato Paste - I am using onion tomato paste as the base of the gravy. They give a perfect balance. I sauteed the onion, tomato along with some cashew nuts and coconut. Ground them as a paste for the base. It gives a rich taste and volume to the gravy. You may skip coconut if you don't prefer it.
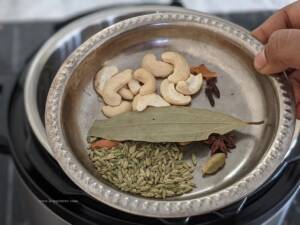
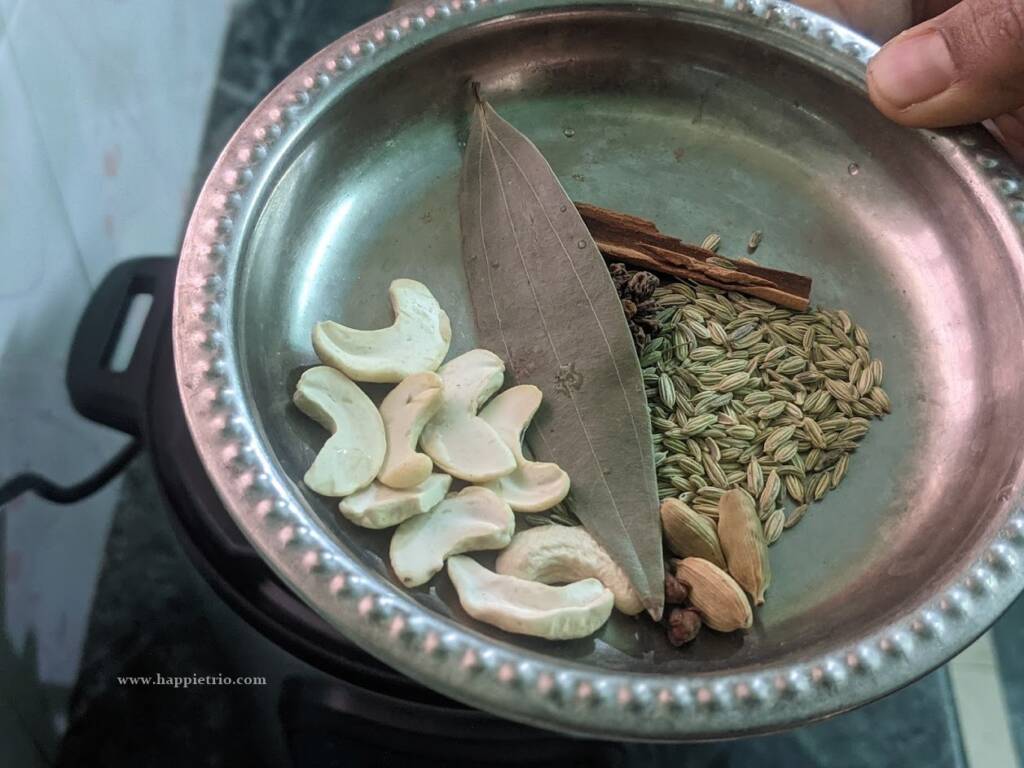
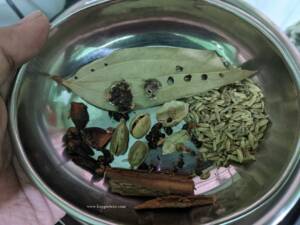
Whole Spices - Whole spices give a lovely fragrance when they are tempered in oil.
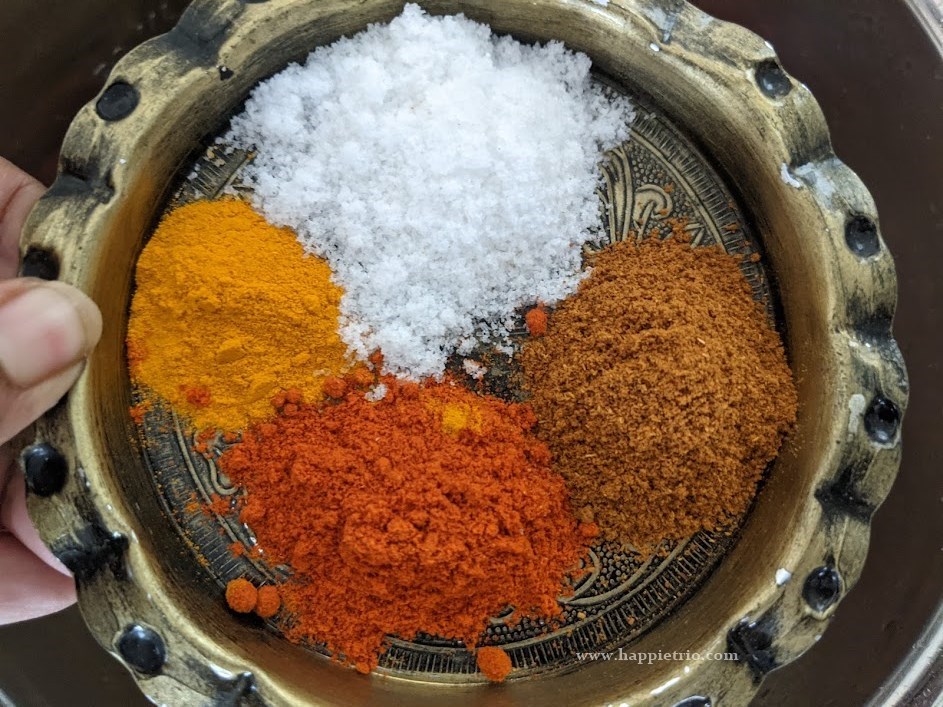
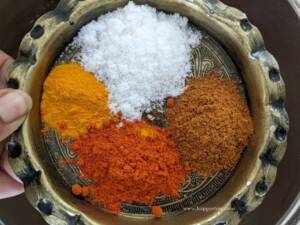
Spice Powders - The spice powders that go to the curry are Curry Powder, Garam Masala, Salt, and Turmeric powder. You may add Kashmiri red chili powder for a bright red color.
Sugar - Sugar balance the taste and hence do not skip it.
FAQ's
How to cook fresh peas and frozen peas in an Instant pot?
Fresh peas are tender and hence they require less cooking time. They get cooked in just 2 mins at high pressure. The same applies to frozen peas as well. If you thaw the frozen peas and then use them, it gets cooked in just 2 mins or else cook for 3 mins in high pressure.
What are dried green peas?
Dried peas are just dehydrated and dried green peas. They have a longer shelf life and we can store them at room temperature for up to 6 months. We can use them for cooking by soaking them overnight or for 6 to 8 hours. After soaking it's perfect for cooking.
How to make Green Peas Curry
Prepare the masala base for the curry
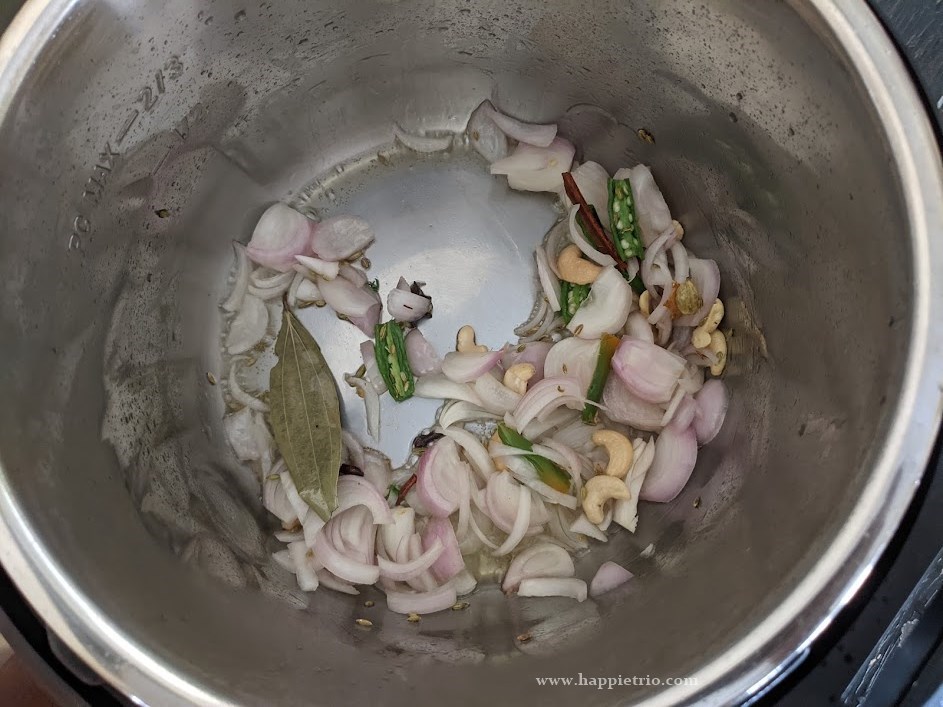
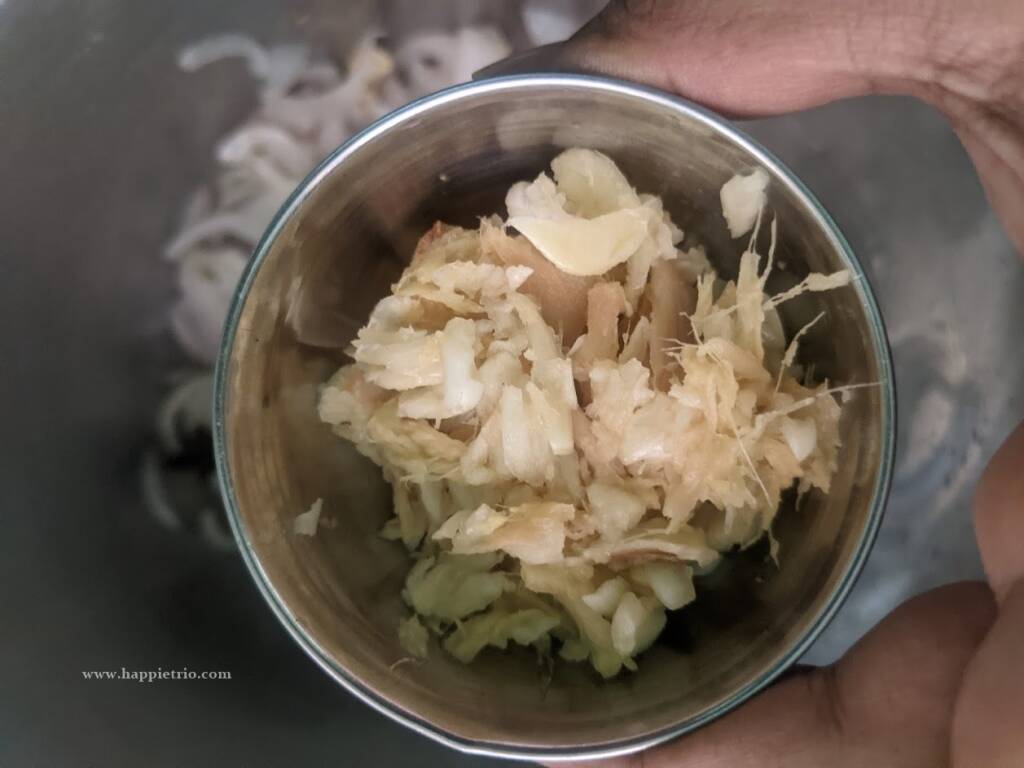
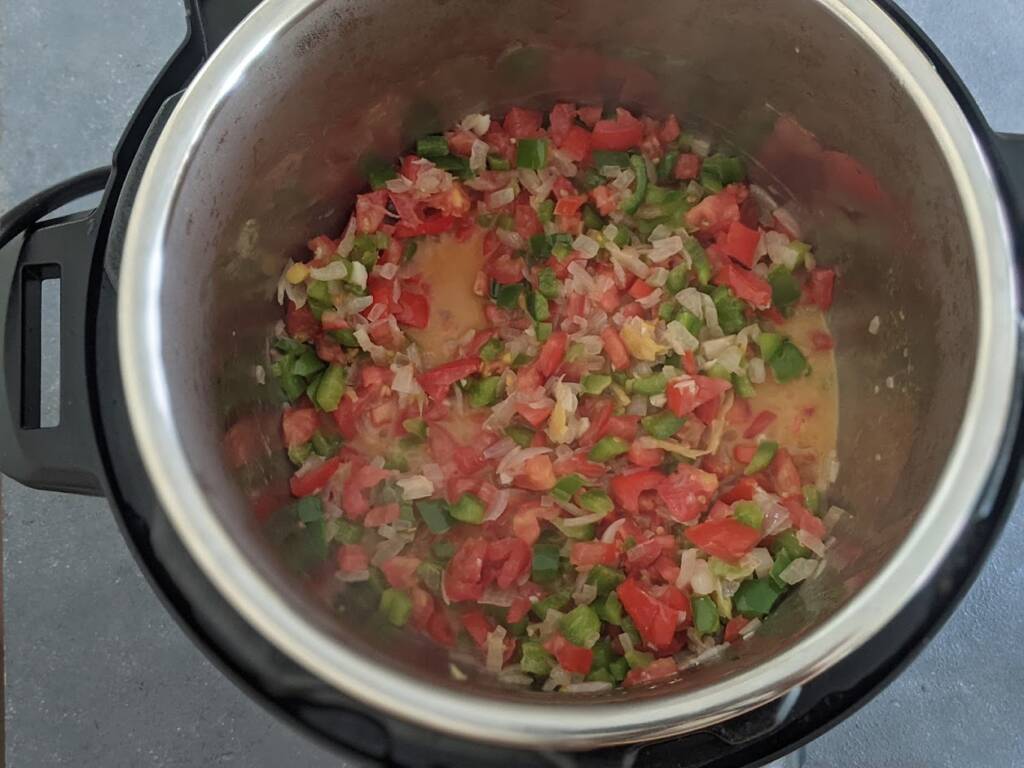
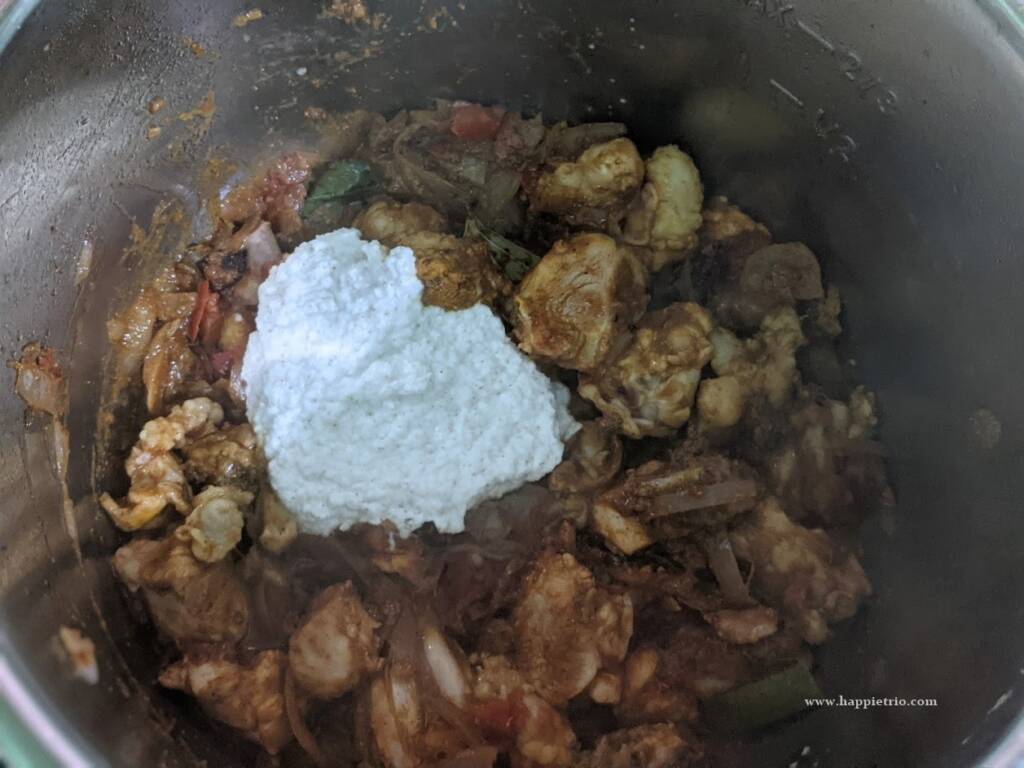
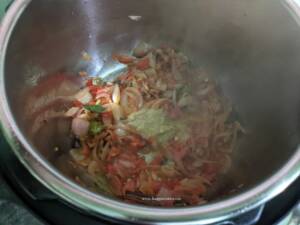
- Switch on the Instant Pot in saute mode. Once it turns on add in the oil. Wait till it gets hot and then add in the 1 onion chopped finely. Saute till they are soft and then add in 10 cashew nuts and ¼ cup grated coconut. Saute for few secs. Adding coconut is optional you may skip if you do not prefer.
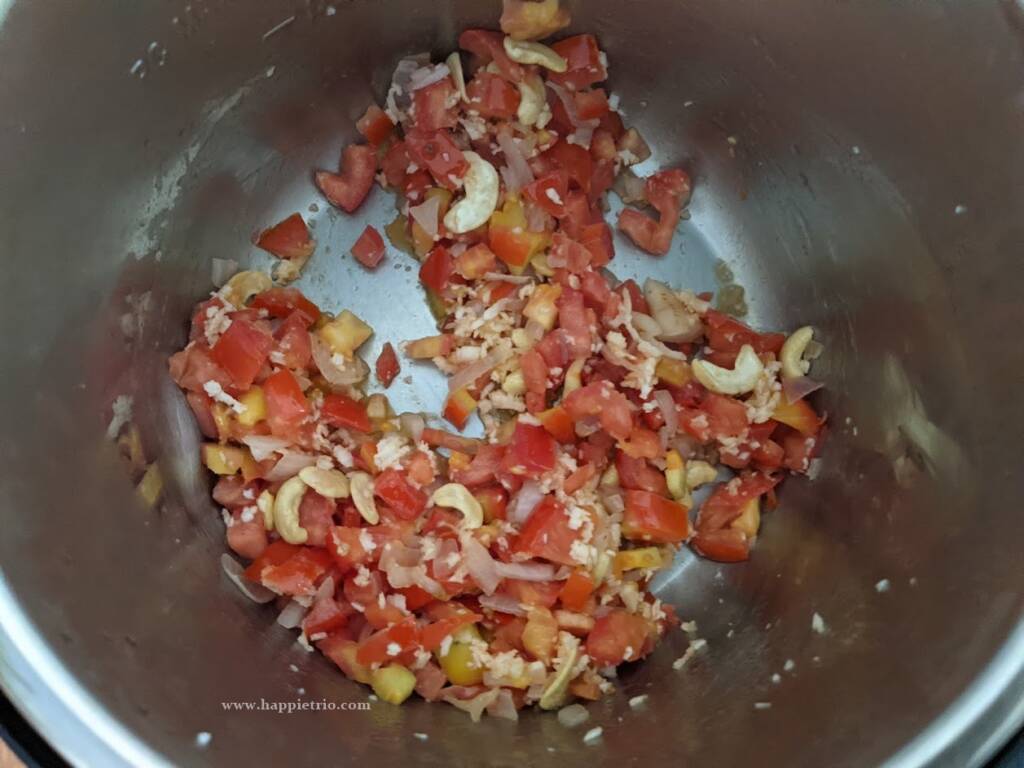
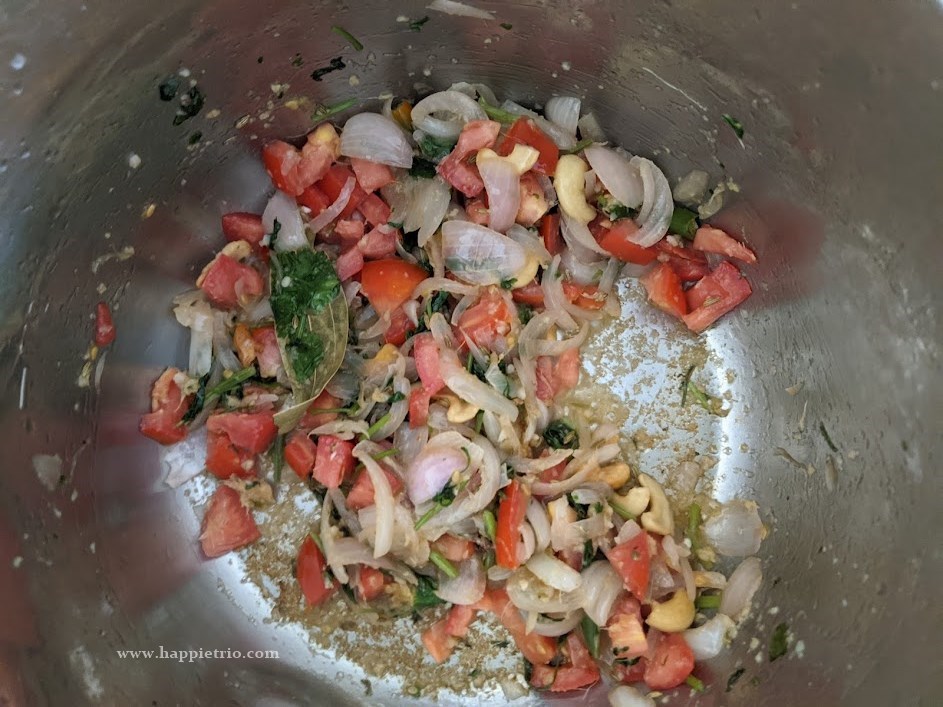
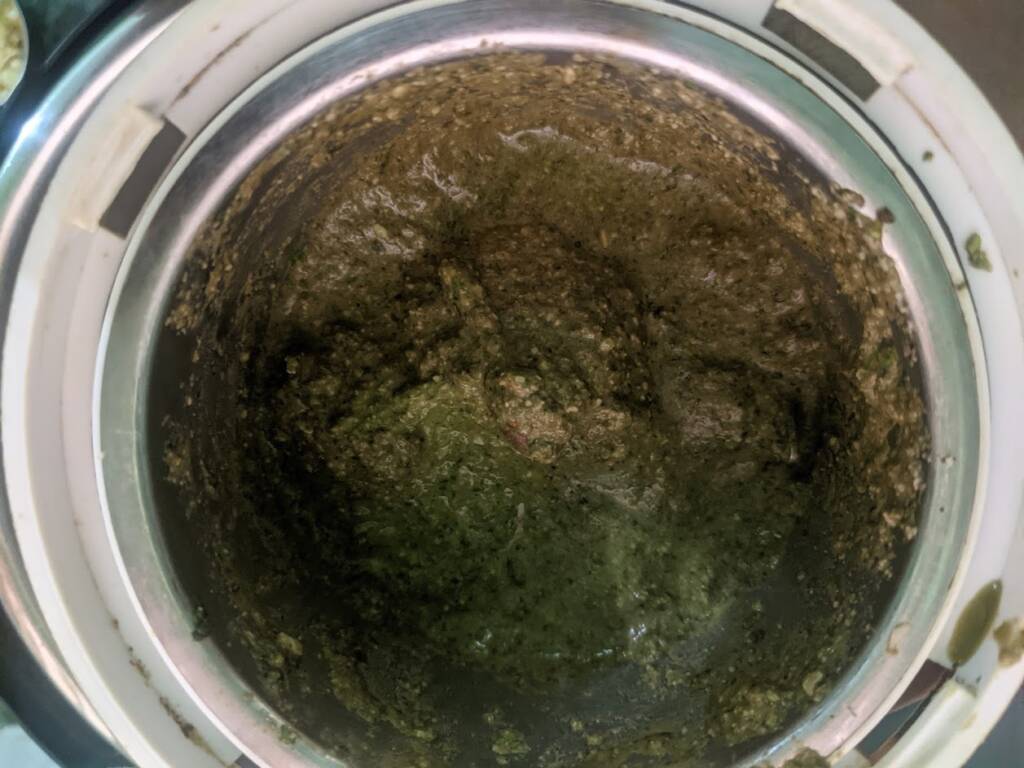
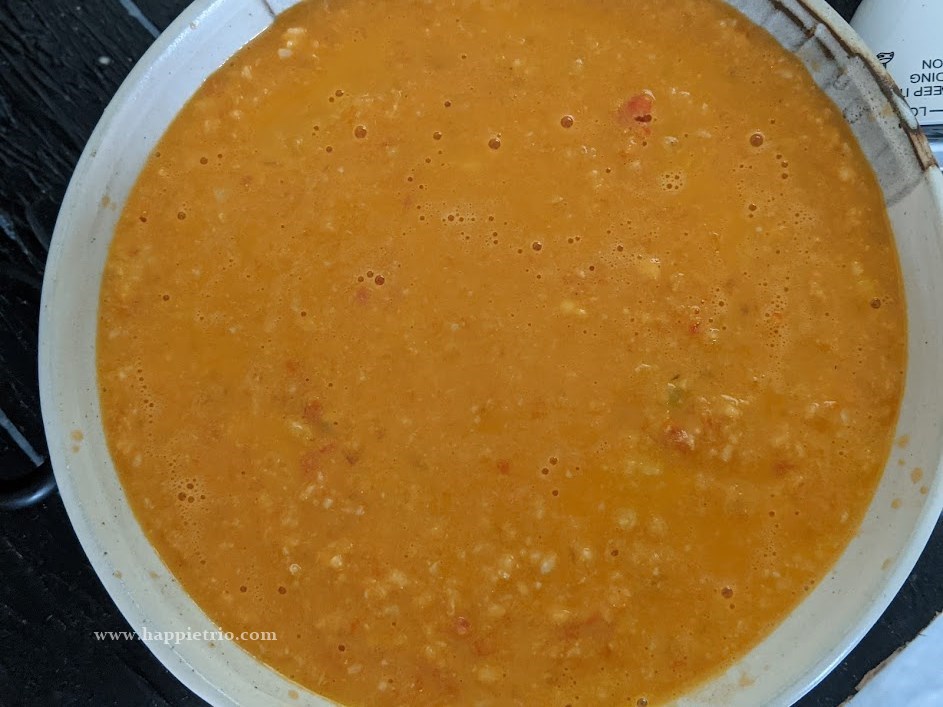
2. Next, add in 3 tomatoes or 1.5 cups. Saute till they are mushy. Add in 1 cup of water and then turn off the Instant Pot. Using an immersion blender, grind everything to a fine puree. Transfer them to a bowl and set them aside.
Cook the Peas curry in Instant Pot
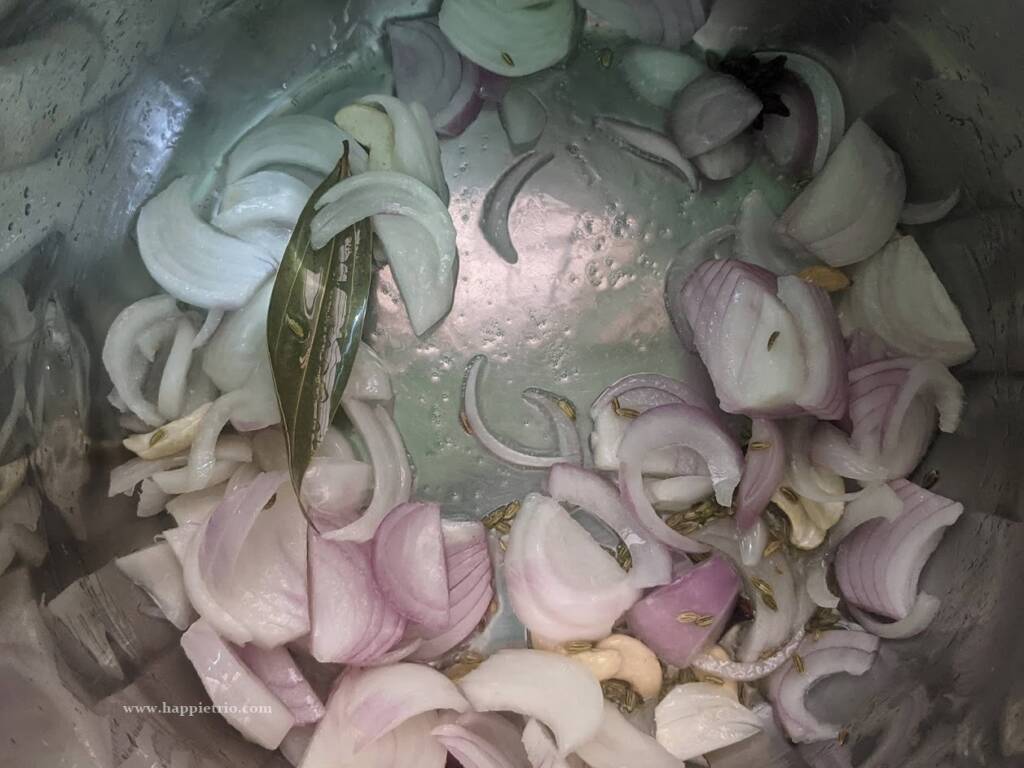
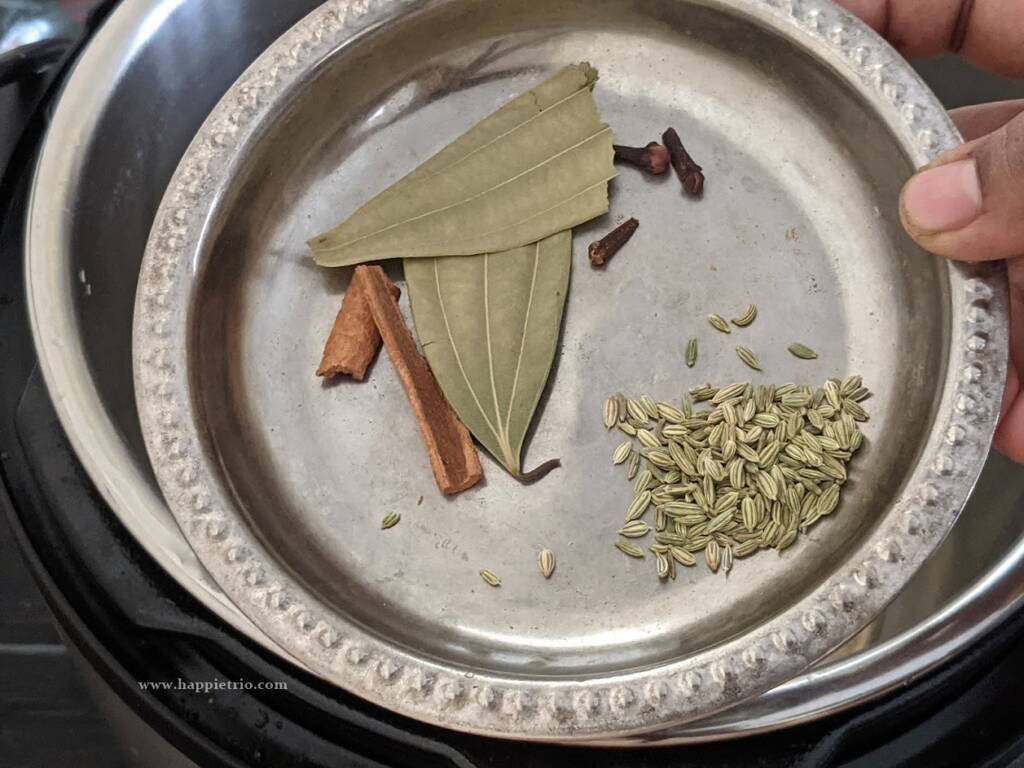
3. Clean and turn on the Instant Pot in saute mode. Add in 1 tablespoon of oil. Once it turns hot add in ½ teaspoon Fennel seeds, 1 Bay leaf, 3 cloves, and 1 inch cinnamon stick. Saute till they are fragrant.
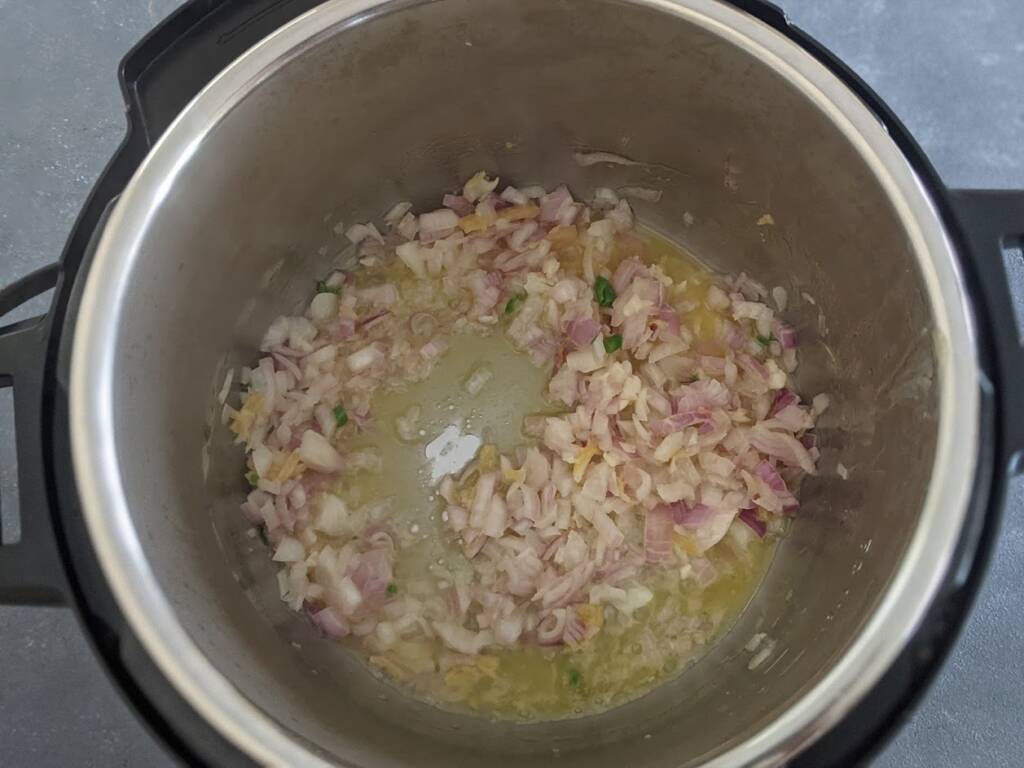
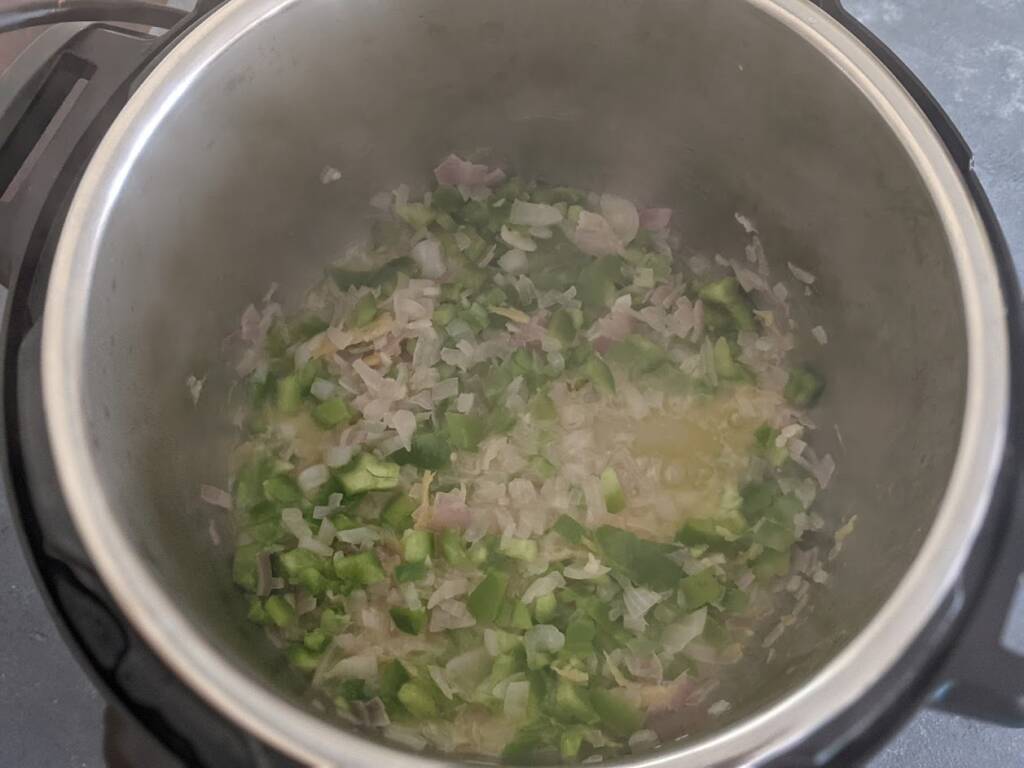
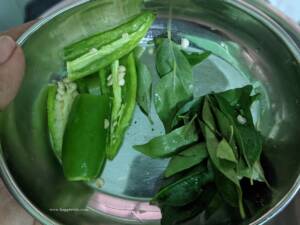
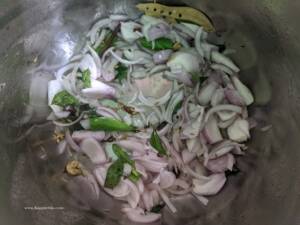
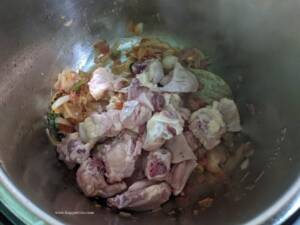
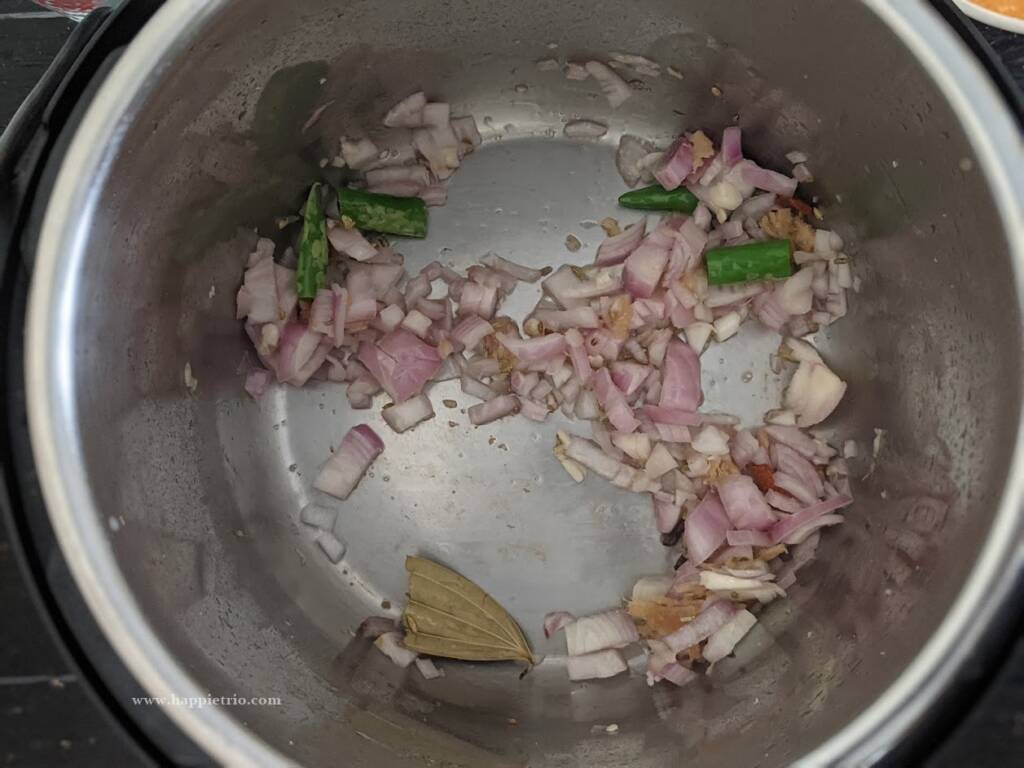
4. Next, add in 2 or 3 green chili saute for few secs and then add in 1 tablespoon of ginger garlic paste. Saute till the raw smell leaves. Next, add in 1 cup finely chopped onion. Saute till they are soft.
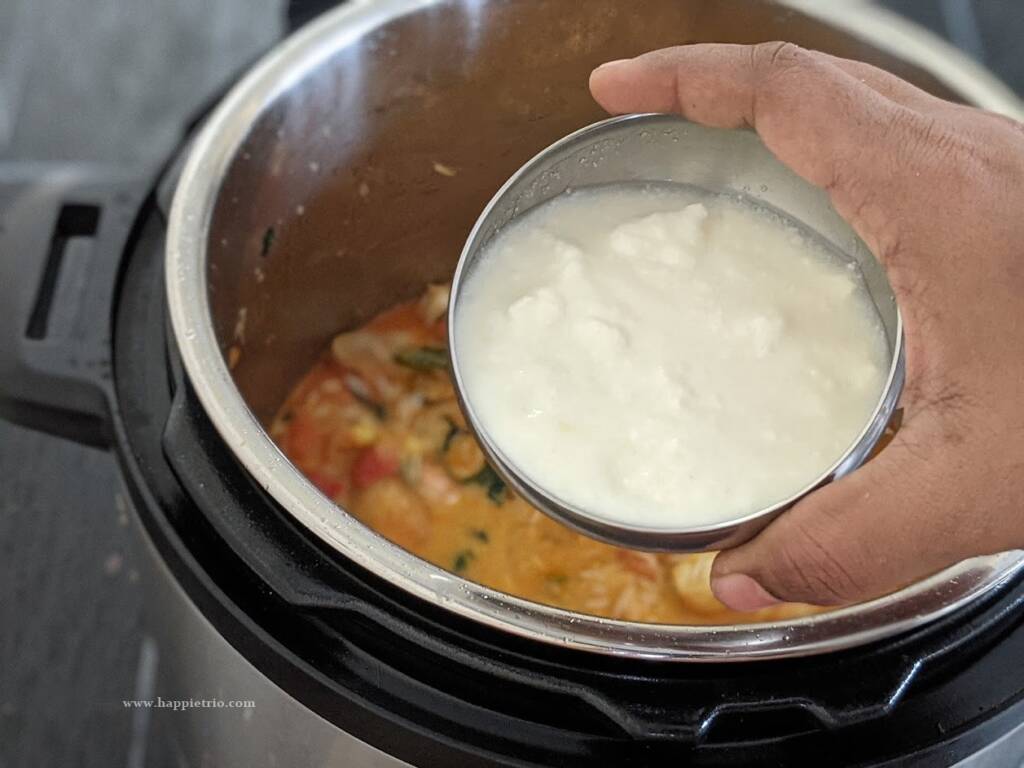
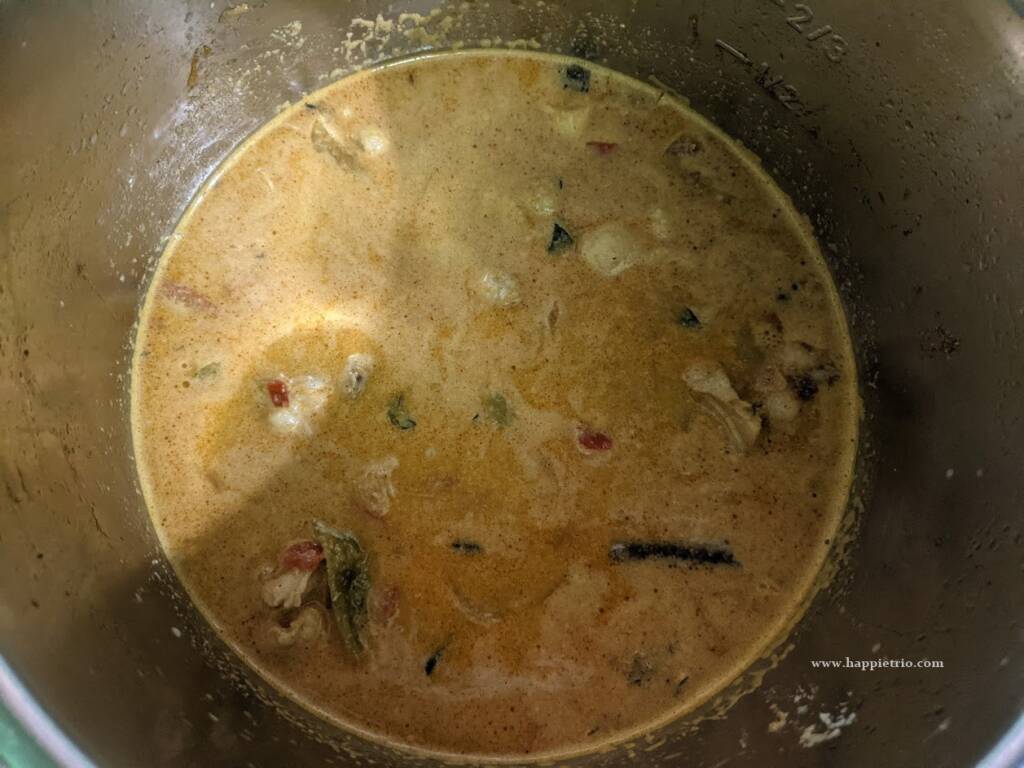
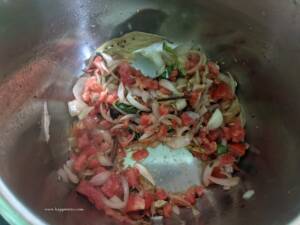
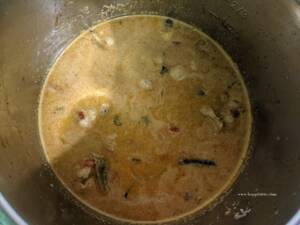
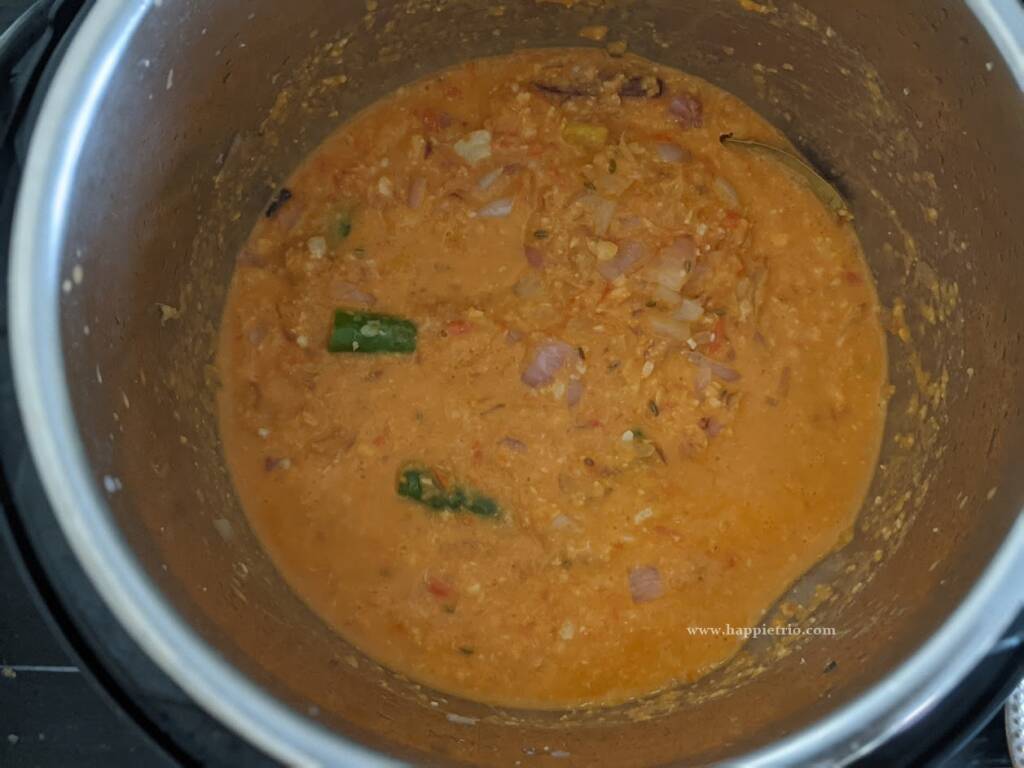
5. And then add in the ground puree and cook till they come to a boil.
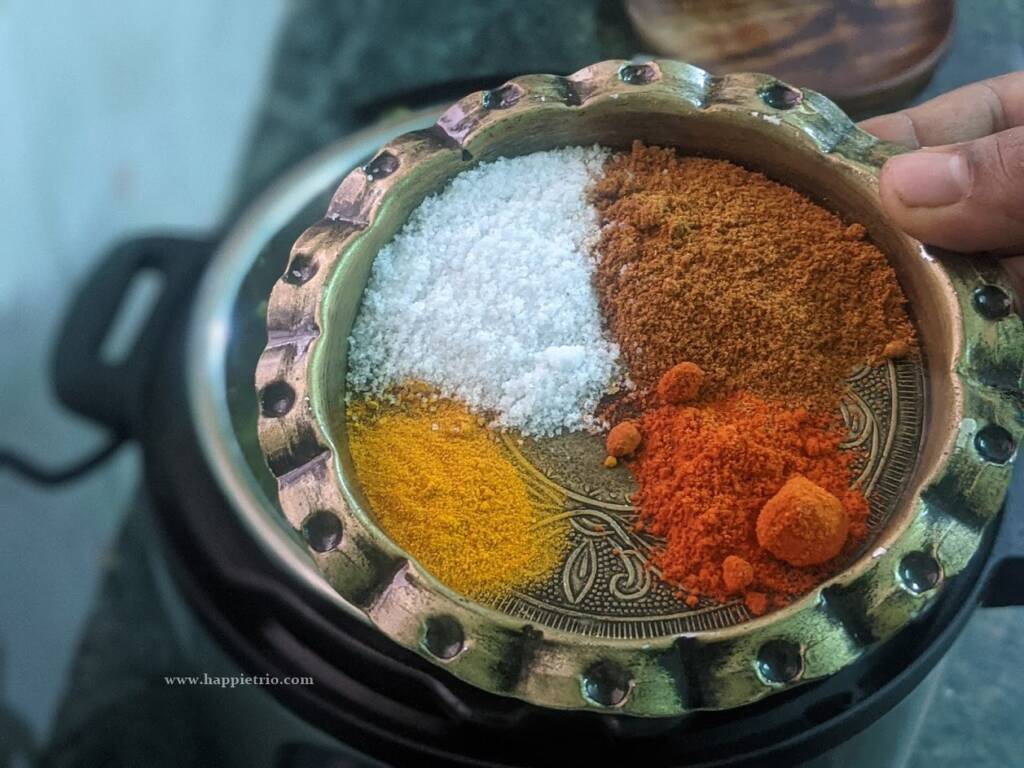
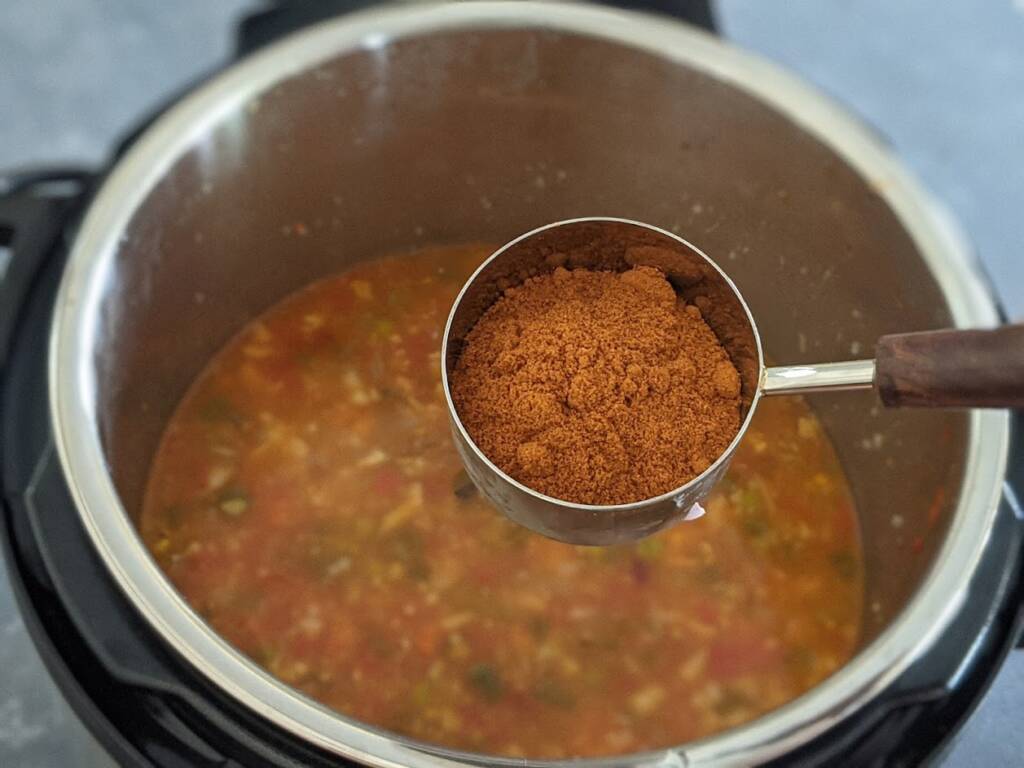
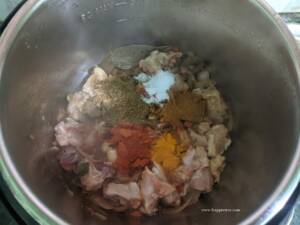
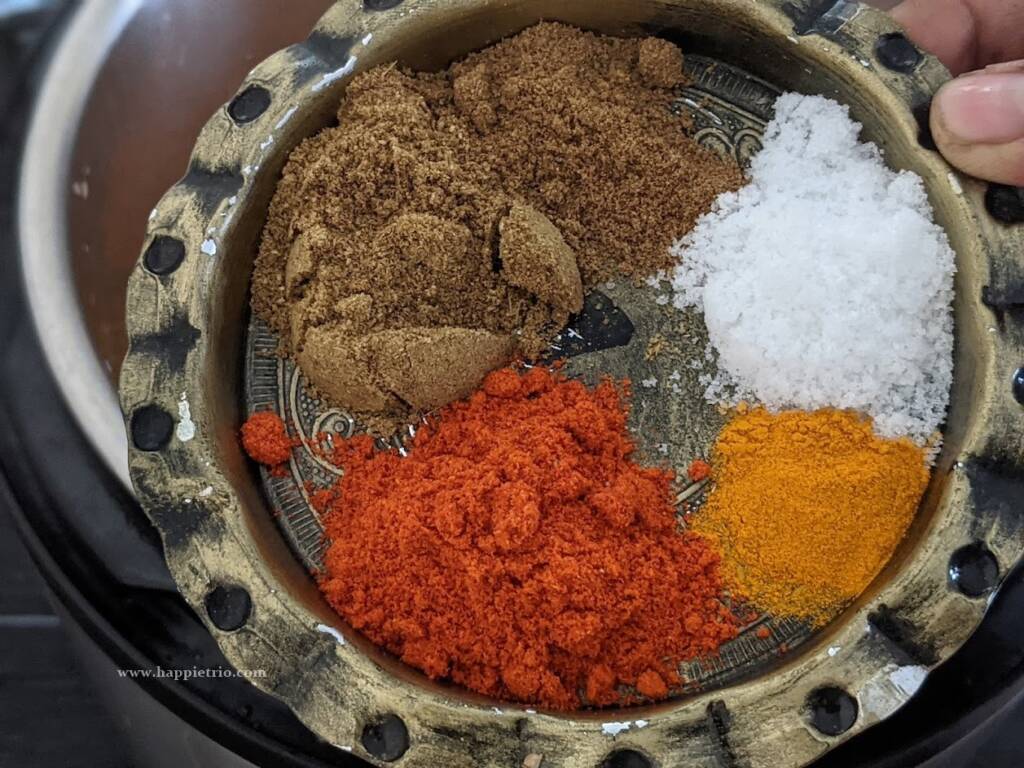
6. Next add in 1 teaspoon of Red Chilli powder, 1 tablespoon Garam Masla, ¼ teaspoon Turmeric powder, and salt as needed.
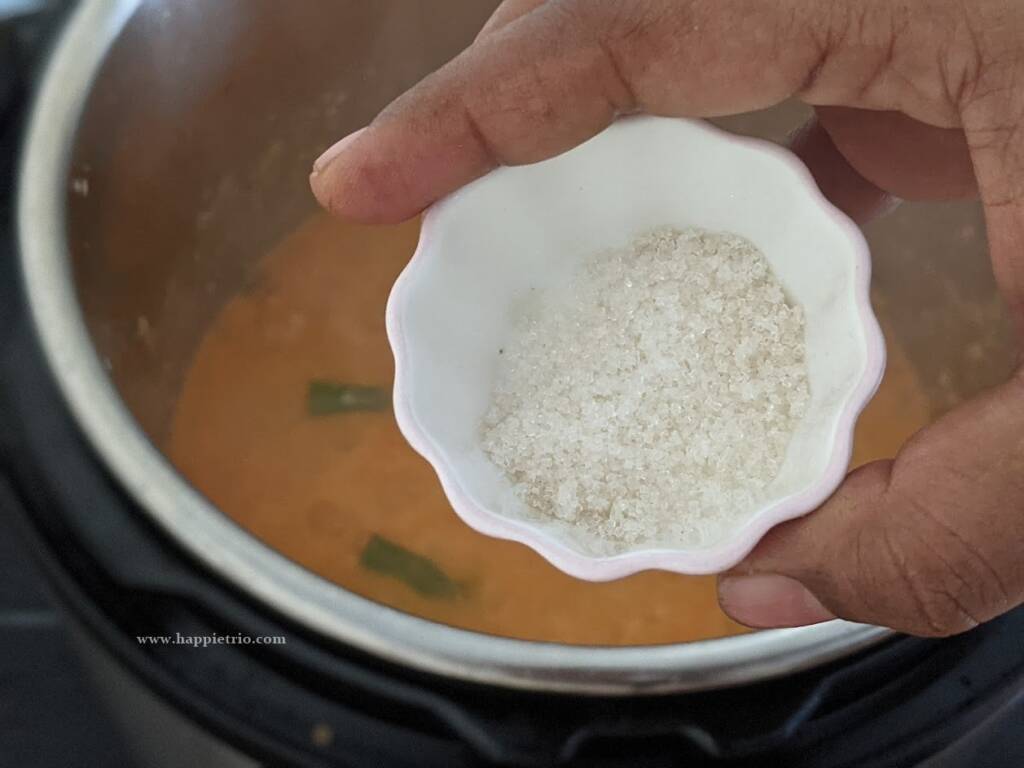
7. Combine everything and then add in ½ teaspoon of Sugar.
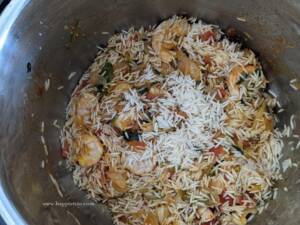
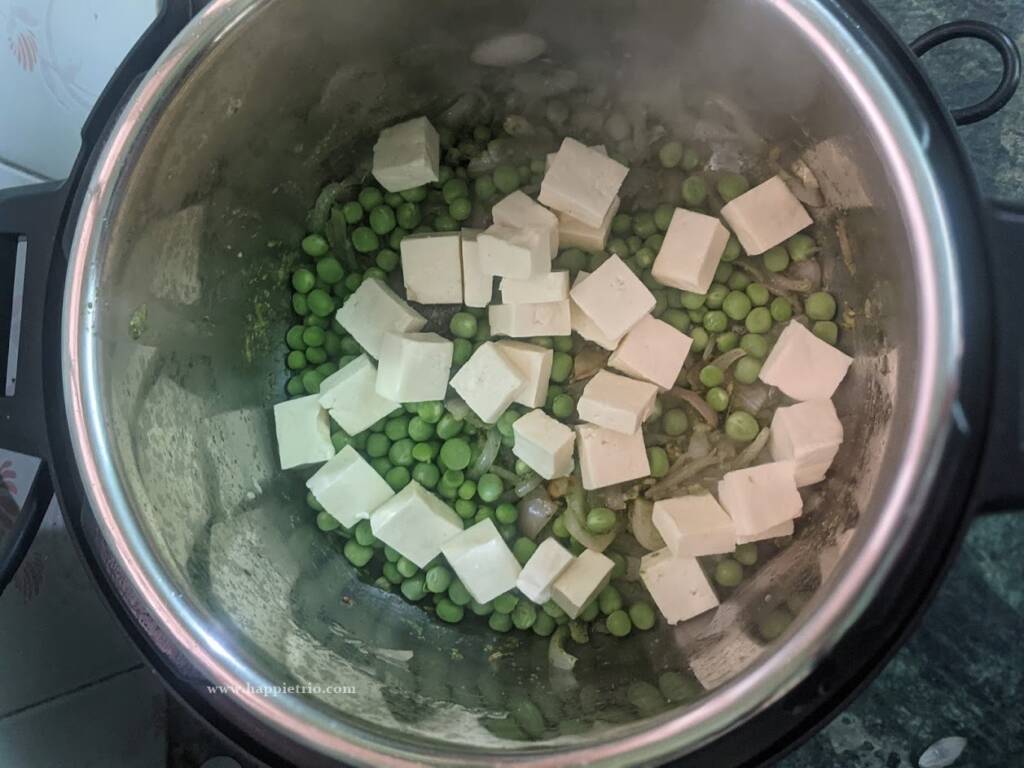
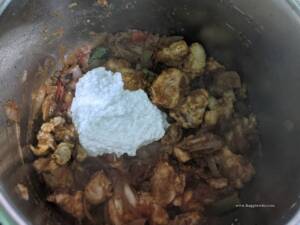
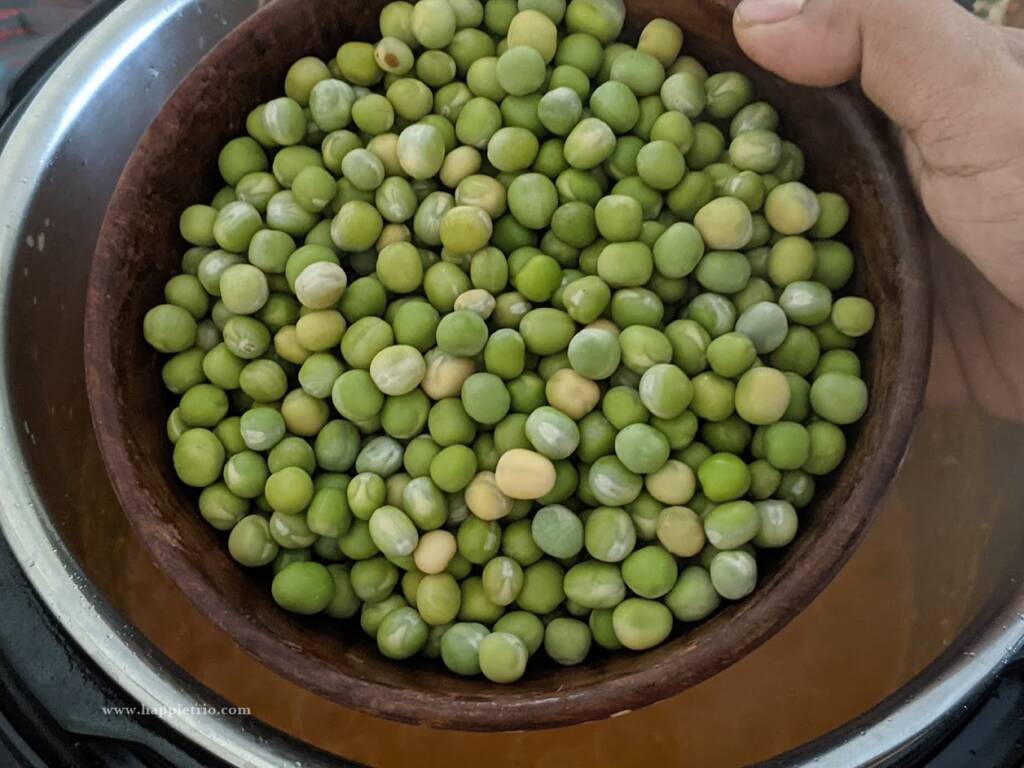
8. Soak 1.5 cups dried green peas overnight or 6 to 8 hours. Add in the soaked peas by draining the excess water. You may also add in fresh or frozen peas.
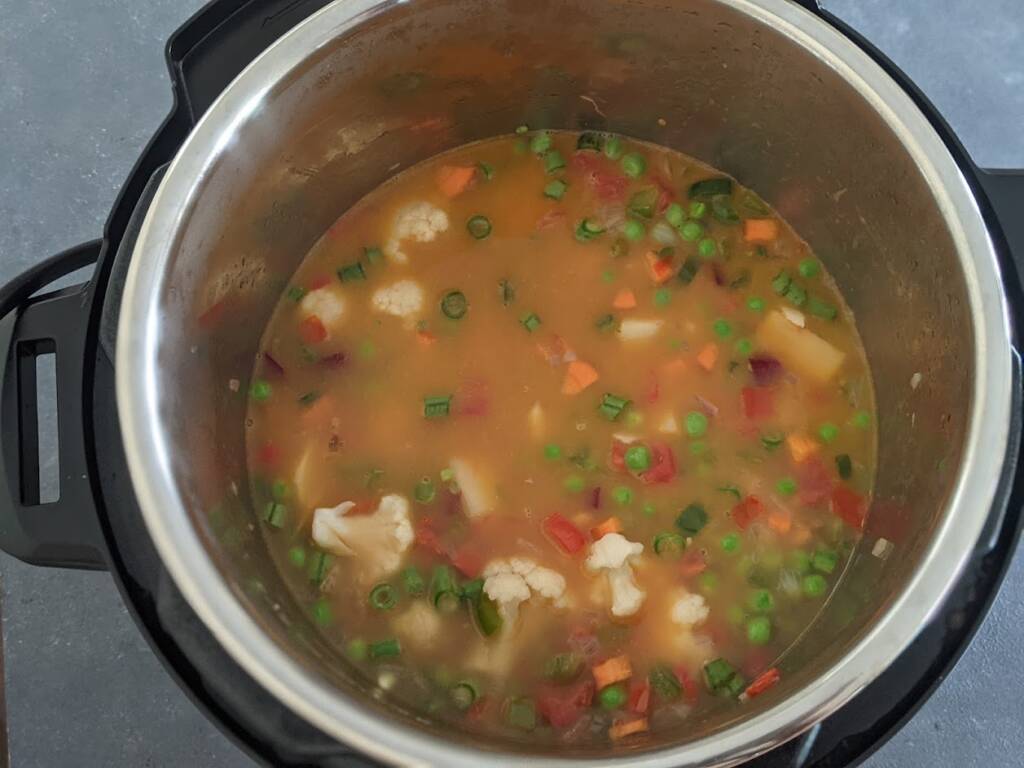
9. Next, add in 1.5 cups of water. Mix well and cook for a minute.
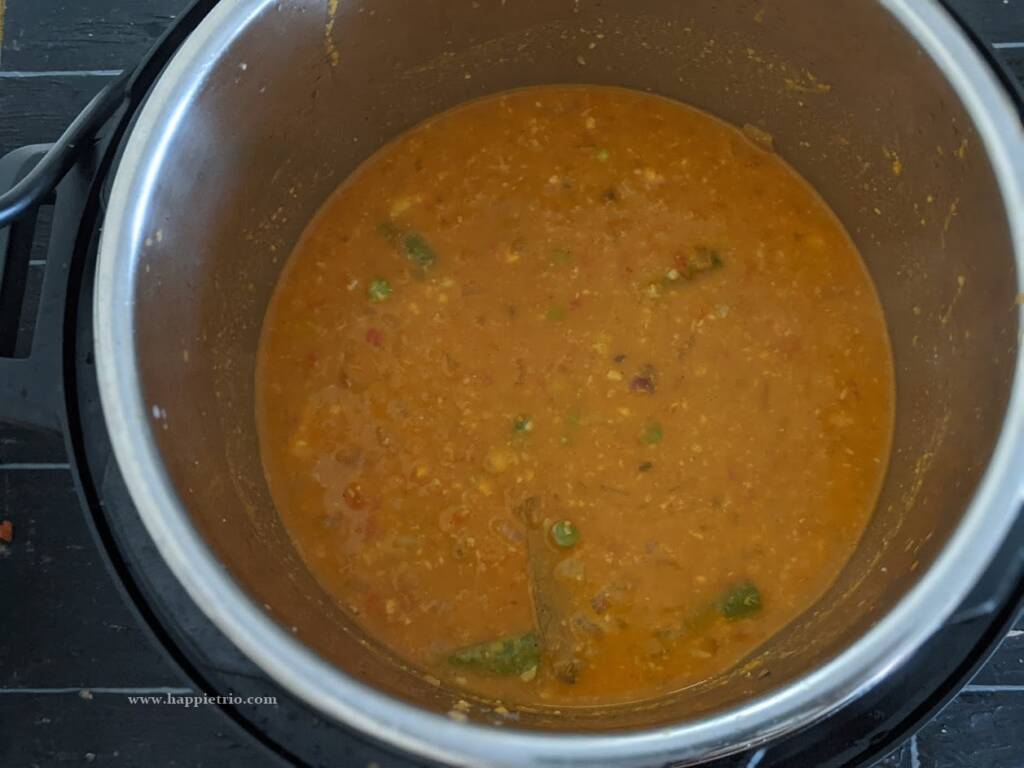
Pressure cook the Peas curry in Instant Pot
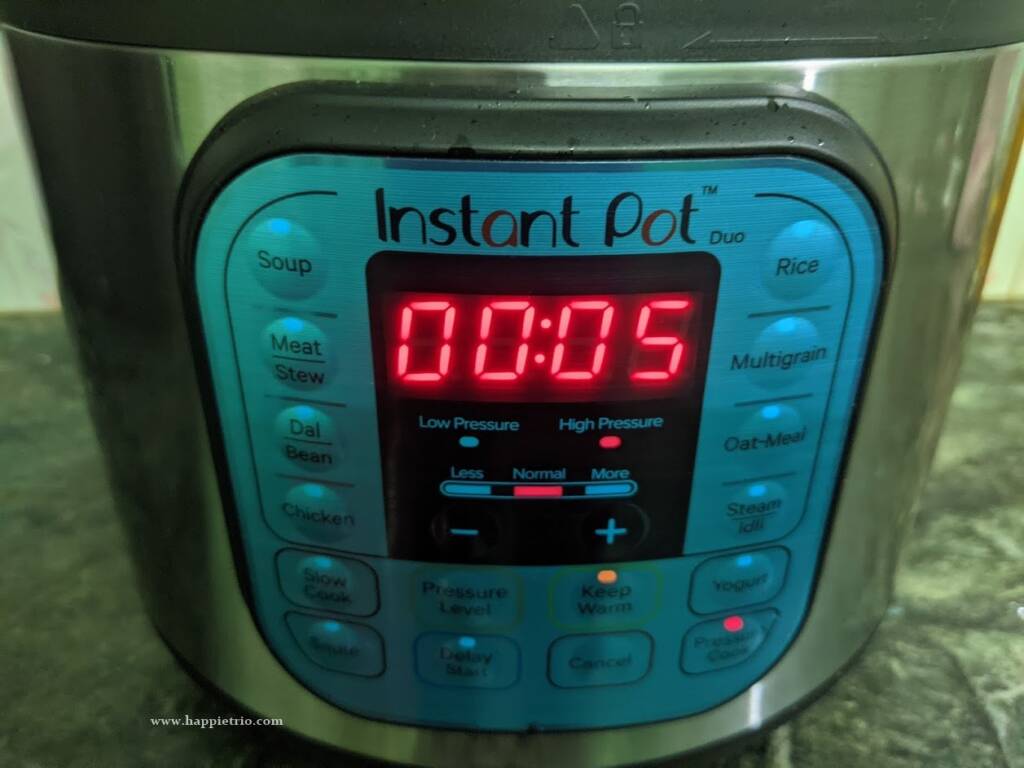
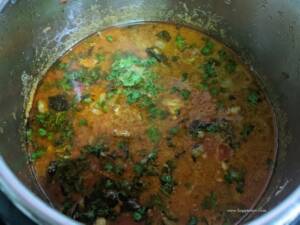
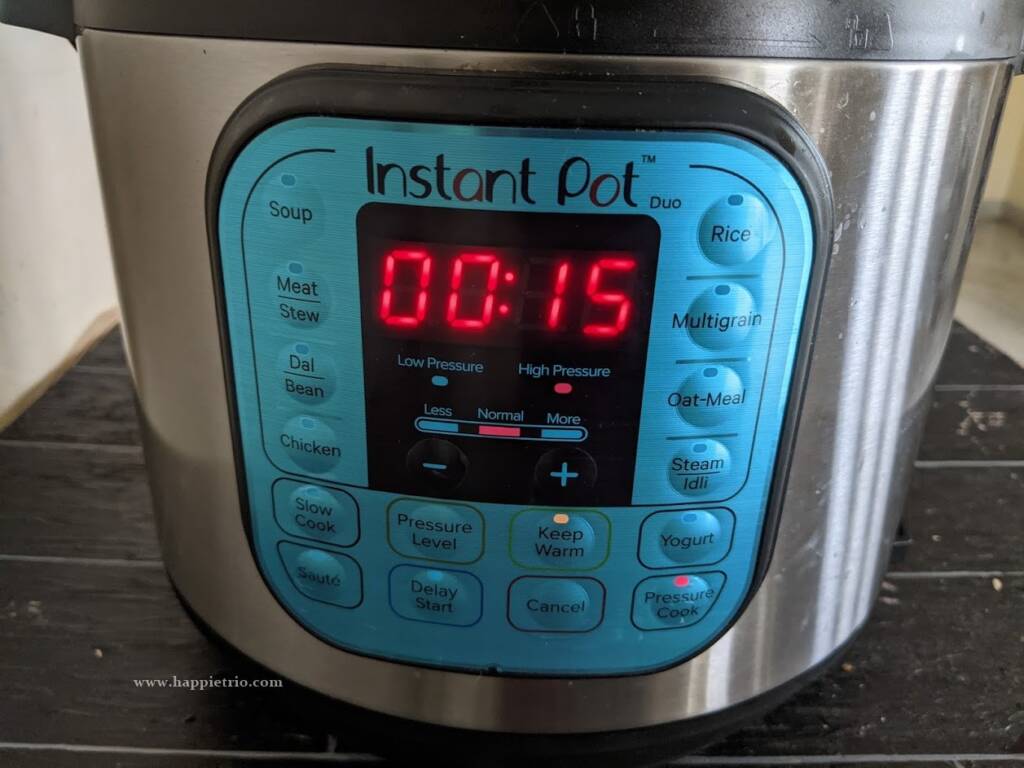
10. Close the Instant Pot. Press the cancel button and then select the pressure cook mode. Set 15 mins in high pressure. If using fresh peas set 2 mins in high pressure. If using frozen peas set 3 mins in high pressure.
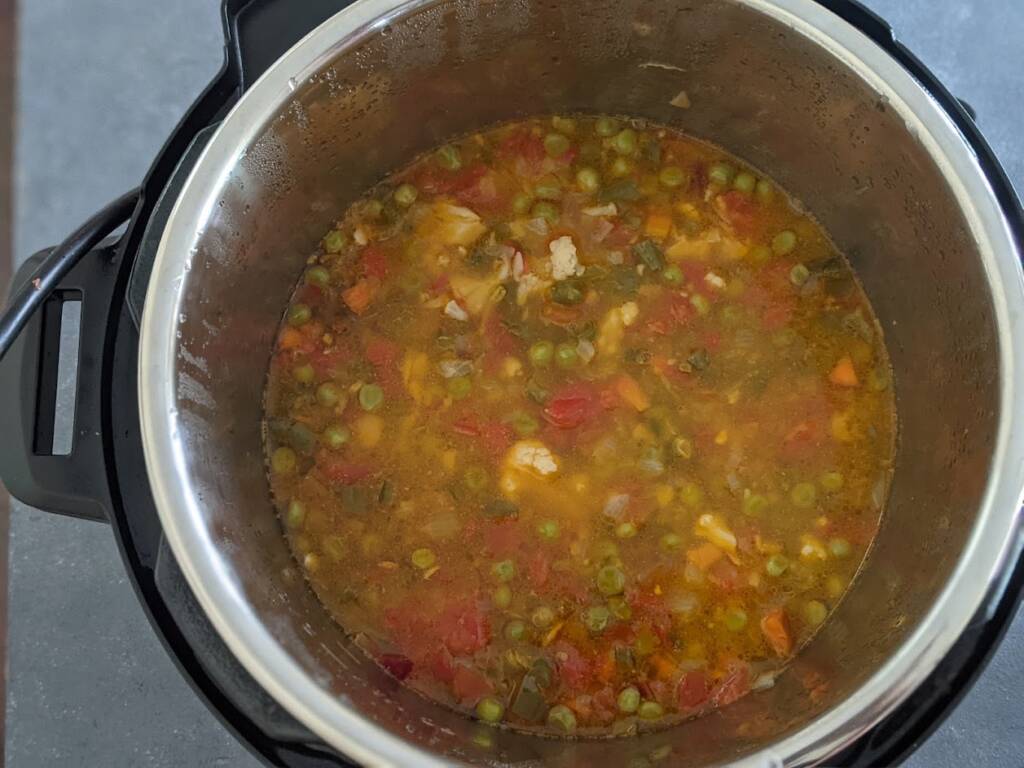
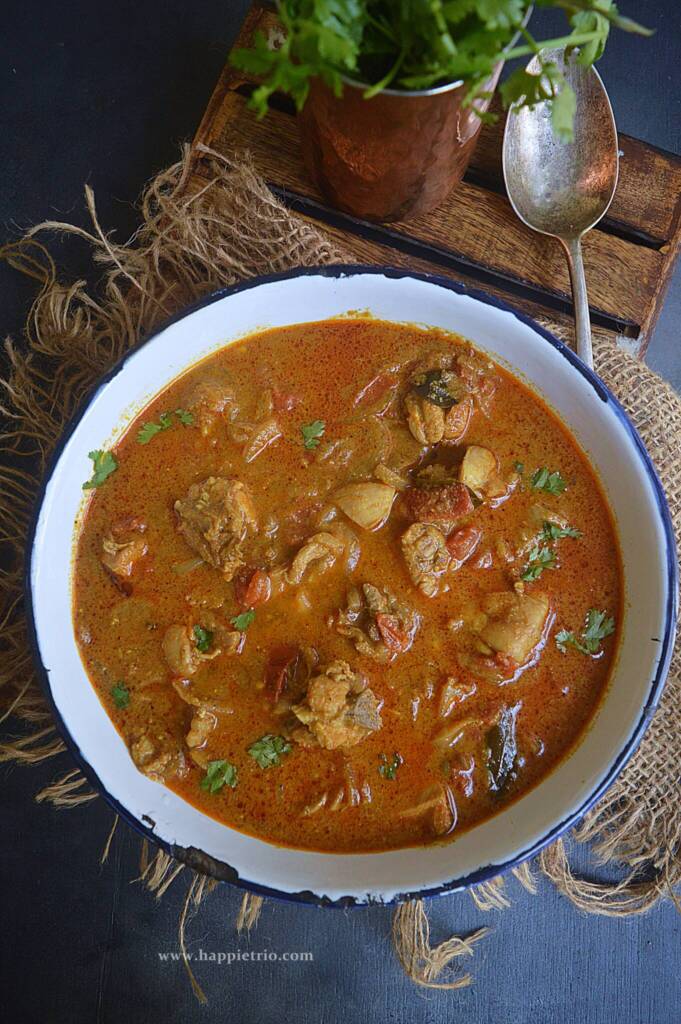
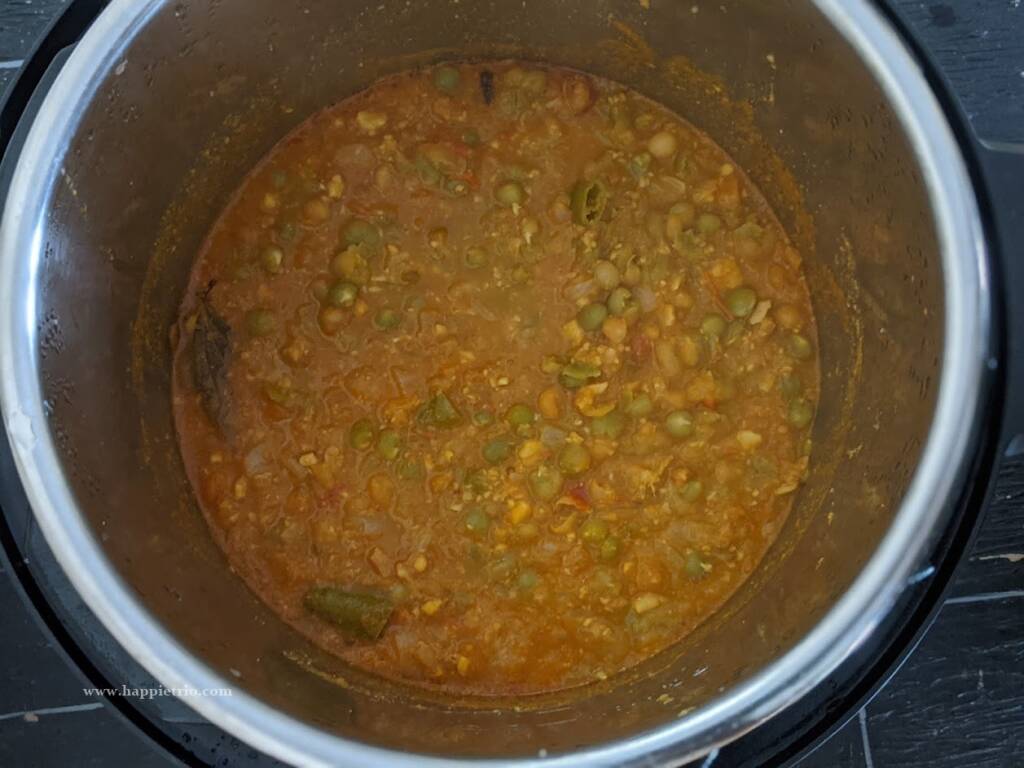
11. Wait for the natural release and then open the Instant Pot. For fresh and frozen peas you may do a quick release after 5 mins and then open the Instant Pot. Instant Pot Green Peas masala curry is now ready.
Tips & Variations
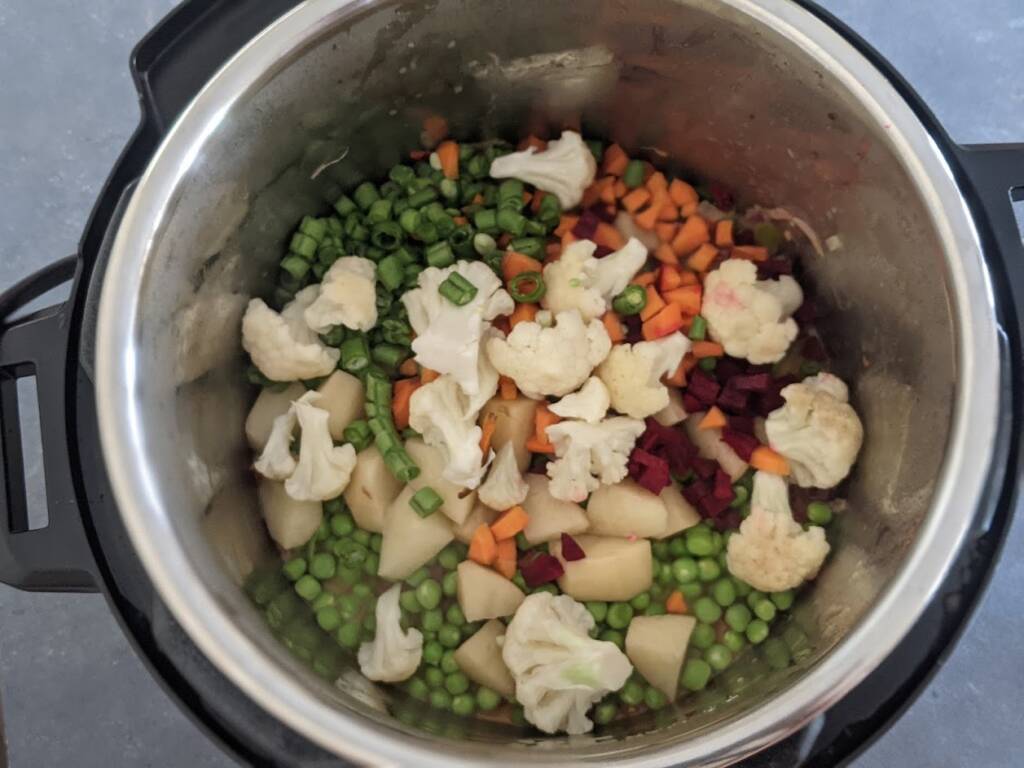
- Along with the peas you can also add in the vegetables if you prefer.
- Skip coconut if you don't prefer. It tastes good without coconut also.
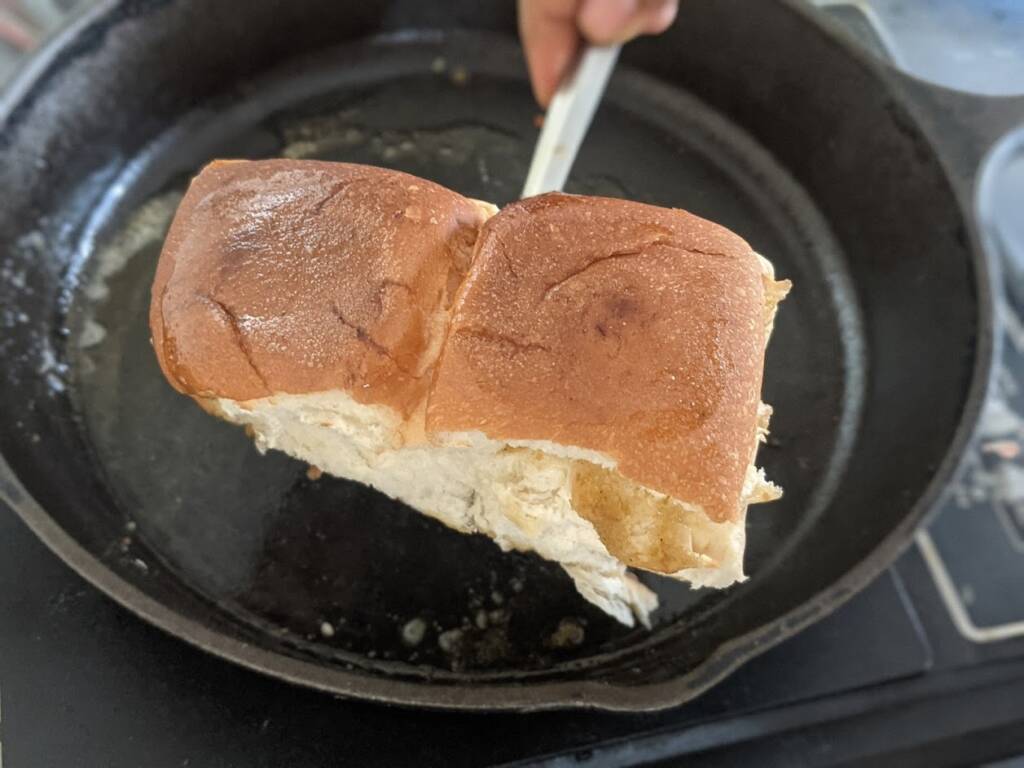
- Serve hot with Rumali Roti or any other Flatbreads.
- You may also cook the same dish in a pressure cooker.
- Follow the same method and finally cook for 4 whistles in high flame. Wait till the pressure release naturally and then open the cooker.
- If you wanted to try in stovetop. Cook the Soaked green peas for 4 whistles in a pressure cooker and then you may cook on the stovetop following the same procedure.
- Frozen Green Peas Curry - Easy to prepare and comes in handy with frozen peas. No soaking is needed.
Serving Suggestions
Peas Curry goes well with Flatbreads. You can serve them with Puri, Chapati, Idiyappam, or Appam too.
Storage Suggestions:
Peas Curry stays good in the fridge for 3 days. You may also freeze them for up to 1 month.
Similar Recipes:


★ Did you enjoy this recipe? If you happen to try it out, I would love to hear from you! I’d appreciate it if you could rate and leave a review below in the comments. Your reviews help others know the recipe better too. Thanks for your time ? You can also follow me on Facebook, Pinterest, Instagram, Youtube and Twitter for more updates from me.
📖 Recipe
Instant Pot Green Peas Curry
Standard 1 cup measures 240 ml
Equipment
- Instant Pot 6 Qz
- Instant Pot 6 Qz
Ingredients
To Grind
- 1 tablespoon Oil
- 1 onion
- 10 cashew nuts
- ¼ cup coconut
- 3 Tomato
Other Ingredients
- 1 tablespoon Oil
- ½ teaspoon Fennel seeds
- 1 Bay Leaf
- 3 Clove
- 1 inch Cinnamon Stick
- 3 Green chilli
- 1 tablespoon Ginger garlic paste
- 1 cup Onion
- ½ teaspoon Chilli powder
- 1 tablespoon Garam Masala
- ¼ teaspoon Turmeric powder
- Salt as needed
- ½ teaspoon Sugar
- 1.5 cups Green Peas
- 1.5 cups Water
Instructions
- Switch on the Instant Pot in saute mode. Once it turns on add in the oil. Wait till it gets hot and then add in the 1 onion chopped finely. Saute till they are soft and then add in 10 cashew nuts and ¼ cup grated coconut. Saute for few secs. Adding coconut is optional you may skip if you do not prefer.
- Next, add in 3 tomatoes or 1.5 cups. Saute till they are mushy. Add in 1 cup of water and then turn off the Instant Pot. Using an immersion blender, grind everything to a fine puree. Transfer them to a bowl and set them aside.
- Clean and turn on the Instant Pot in saute mode. Add in 1 tablespoon of oil. Once it turns hot add in ½ teaspoon Fennel seeds, 1 Bay leaf, 3 cloves, and 1 inch cinnamon stick. Saute till they are fragrant.
- Next, add in 2 or 3 green chili saute for few secs and then add in 1 tablespoon of ginger garlic paste. Saute till the raw smell leaves. Next, add in 1 cup finely chopped onion. Saute till they are soft.
- And then add in the ground puree and cook till they come to a boil.
- Next add in 1 teaspoon of Red Chilli powder, 1 tablespoon Garam Masla, ¼ teaspoon Turmeric powder, and salt as needed.
- Combine everything and then add in ½ teaspoon of Sugar.
- Soak 1.5 cups dried green peas overnight or 6 to 8 hours. Add in the soaked peas by draining the excess water. You may also add in fresh or frozen peas.
- Next, add in 1.5 cups of water. Mix well and cook for a minute.
- Close the Instant Pot. Press the cancel button and then select the pressure cook mode. Set 15 mins in high pressure. If using fresh peas set 2 mins in high pressure. If using frozen peas set 3 mins in high pressure.
- Wait for the natural release and then open the Instant Pot. For fresh and frozen peas you may do a quick release after 5 mins and then open the Instant Pot. Instant Pot Peas curry is now ready.
Notes
Tips & Variations
- Along with the peas you can also add in the vegetables if you prefer.
- Skip coconut if you don't prefer. It tastes good without coconut also.
- Serve hot with Rumali Roti or any other Flatbreads.
- You may also cook the same dish in a pressure cooker.
- Follow the same method and finally cook for 4 whistles in high flame. Wait till the pressure release naturally and then open the cooker.
- If you wanted to try in stovetop. Cook the Soaked green peas for 4 whistles in a pressure cooker and then you may cook on the stovetop following the same procedure.
- Frozen Green Peas Curry - Easy to prepare and comes in handy with frozen peas. No soaking is needed.
Serving Suggestions
Peas Curry goes well with Flatbreads. You can serve them with Puri, Chapati, Idiyappam, or Appam too.Storage Suggestions:
Peas Curry stays good in the fridge for 3 days. You may also freeze them for up to 1 month.Nutrition
Disclaimer: I am not a nutritionist, the nutrition value provided here is an estimate. It will vary based on the quantity and brands of the products used.