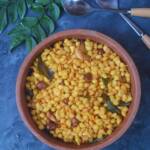
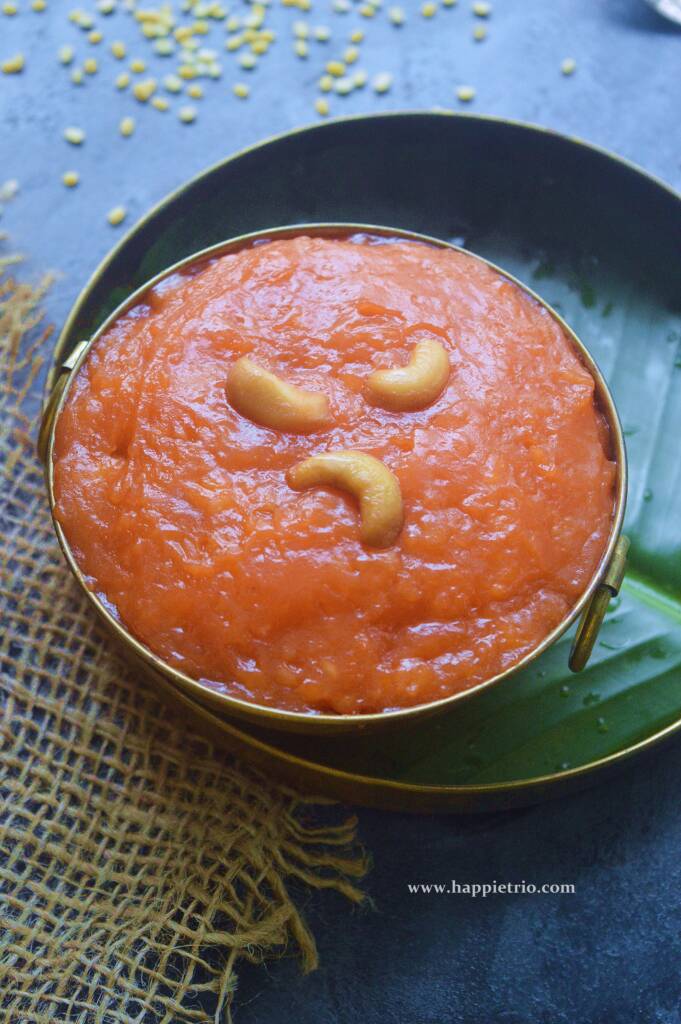
Ashoka Halwa or Moong Dal Halwa is mainly served in South Indian Weddings and it is famous in the Tanjore region of Tamil Nadu.

Diwali is around the corner and it is one of the most celebrated festival throughout India. As always food plays an important role in the festivals.
I love trying different sweets and savories and Asoka Halwa is on my list. I tasted it at my friend's wedding. That too in Tanjore where Asoka halwa is born. The authentic Ashoka Halwa has melt in mouth texture and the taste lingers for a while.
Ashoka Halwa or Moong Dal Halwa is mainly served in South Indian Weddings and it is famous in the Tanjore Region of Tamil Nadu. So give a try to this yummy halwa and enjoy the festival
[feast_advanced_jump_to]What is Ashoka Halwa:
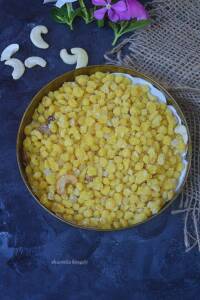
Asoka Halwa or Ashoka Halwa is a gooey halwa from Moong Lentils, Sugar, Ghee as the main ingredients.
We cook Moong Dal until it mashes to a fine paste. Sugar and ghee are then added to the moong dal and cooked till it gets halwa consistency.
History & Origin Of Asoka Halwa
Asoka Halwa or Ashoka Halwa have their origin from in Thiruvaiyaru. It's a small town near Tanjore, Tamil Nadu. Tamil Nadu is famous for its halwa recipes. Usually, in Tamil Nadu halwa is made of wheat flour.
During World word II where there was a scarcity for Wheat. It is then Asoka halwa was invented. We prepare asoka halwa with Moong Dal or Yellow Split Lentils, Sugar and Ghee.
Thiruvaiyaru style ashoka halwa Recipe:
Authentic Thiruvaiyaru style halwa uses even more Wheat flour. Also they use cardamom for flavor.
Famous Asoka Halwa Shop
Aandavar Halwa Kadai is a very famous Asoka Halwa Shop in Thiruvaiyaru . So if you visit Tanjore or Thiruvaiyaru do not forget to get the original taste of this delicacy.
Tips & Tricks to make Perfect Asoka Halwa
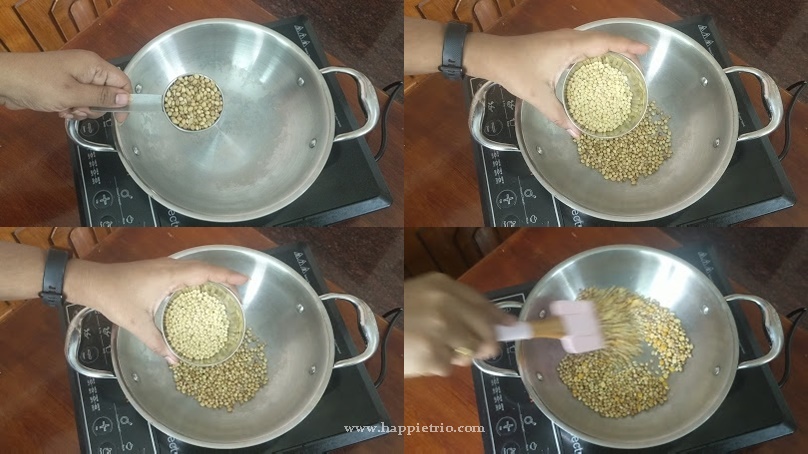
- You can dry roast and use the moong lentils for a smooth halwa.
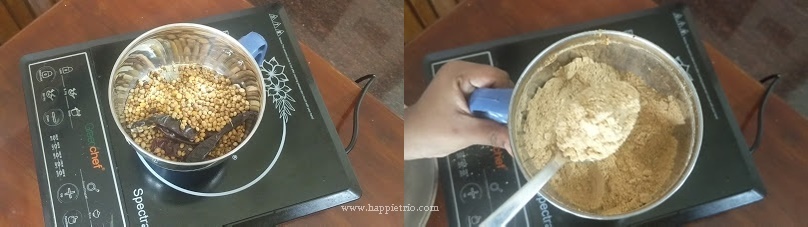
- To get a smooth perfect Halwa. You can grind the cooked moong dal in a blender or use a hand blender.
- If you feel water is less you can add ¼ to ½ cup as necessary and grind the Moong Dal.
- Feel free to generously use ghee as it the main ingredient. But you can definitely reduce the amount of ghee if you can slightly compromise on the texture of the halwa.
FAQ's
Not necessary. We are going to pressure cook moong dal. Its gets cooked eaily even without soaking.
You can definitely use it. Yet traditional halwa preparations call for Refined Sugar. For authentic Thiruvaiyaru Asoka Halwa try using White Sugar.
Definitely yes. Adding food color is optional. If you skip you will get a pale brown color, but no compromise in taste. Organic natural food color options are available these days. You can also try them.
Wheat flour gives a smooth finish and gives perfect consistency to the halwa. But you can definitely skip if you don’t prefer it.
Ashoka halwa has a sticky tendency if we use lesser ghee. So the best practice would be to use a heavy-bottomed pan. If you are a beginner try using a nonstick pan for ease. Keep stirring at regular intervals to prevent sticking.
Be generous on the ghee adding part and add as needed to get a non-sticky smooth Halwa. The quality of Moong dal added also plays a major role here. You might need to add more or less ghee as per the quality of the lentils.
It means it's undercooked. Cook for some more time to get halwa consistency. Add ghee and keep stirring if necessary.
If you have any other questions on the Asoka Halwa, Leave a comment below I will answer and update the post.
How to soften Hard Halwa:
Sometimes if the halwa is overcooked and the ghee added is not enough Halwa will be hard. In that case. Add extra ghee and keep stirring in a very low flame. The Halwa will soften.
Serving Suggestion:
It makes a great after-meal dessert. Can also serve as a bhankshaman or neivaidhyam for god. Perfect for parties & festivals.
How to make Asoka Halwa
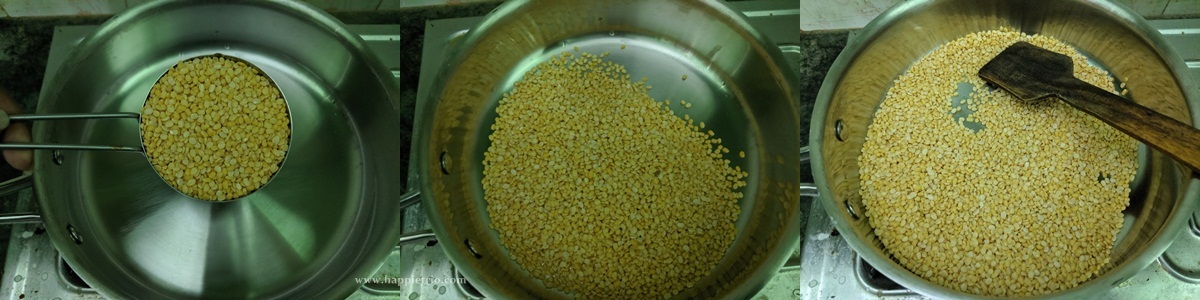
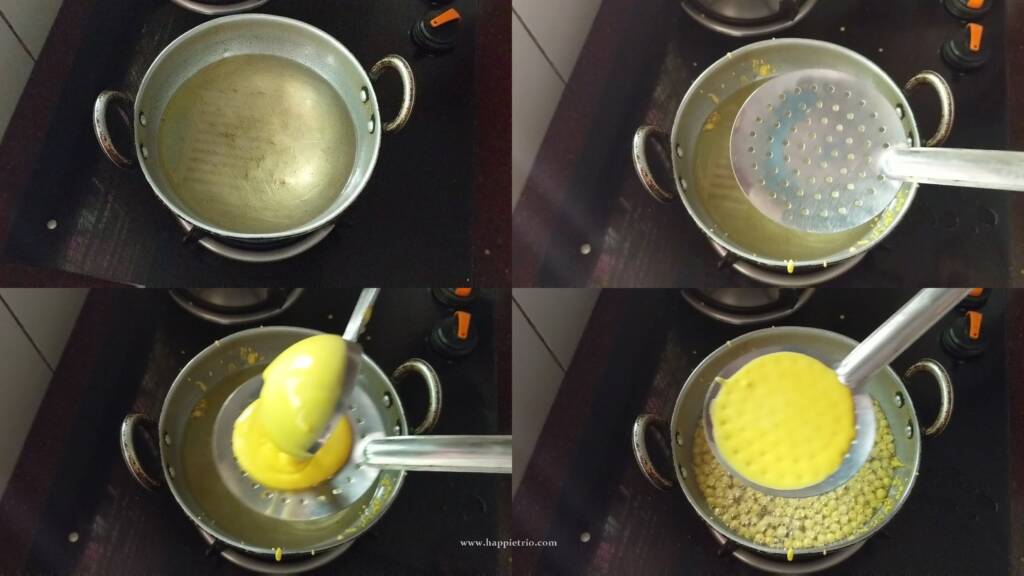
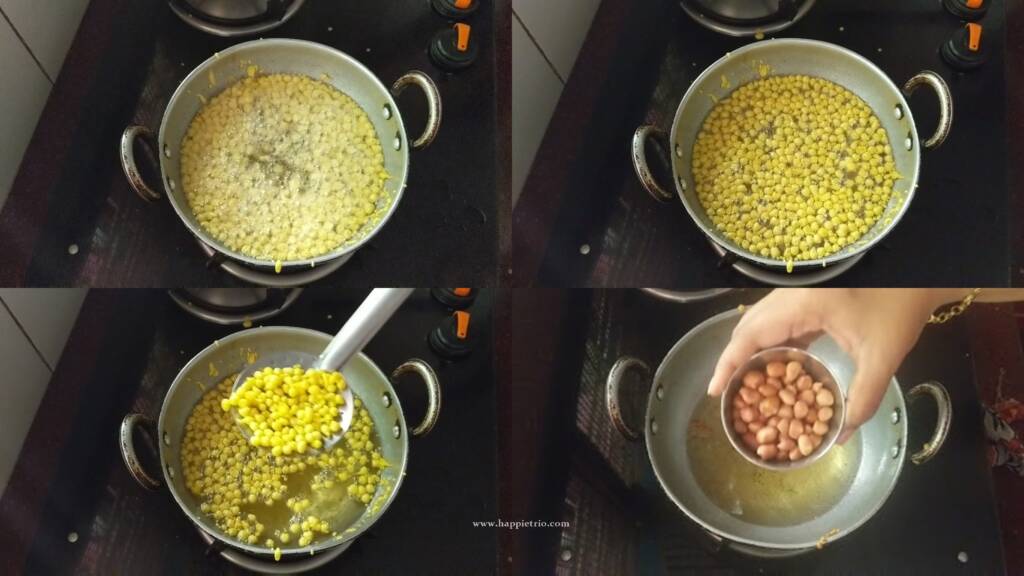
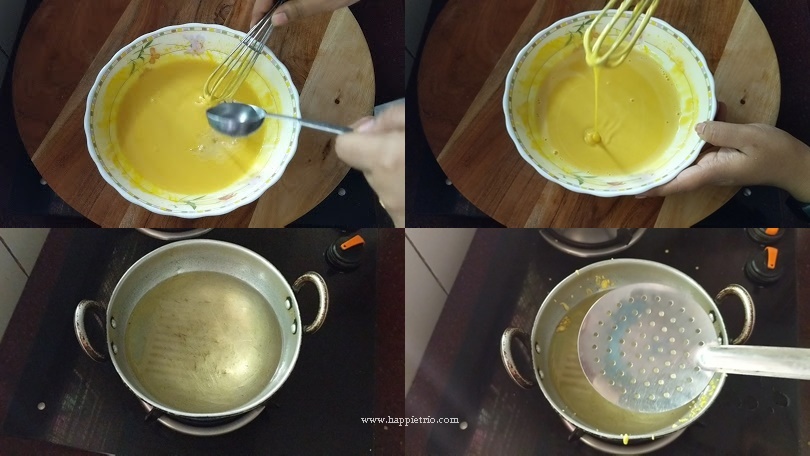
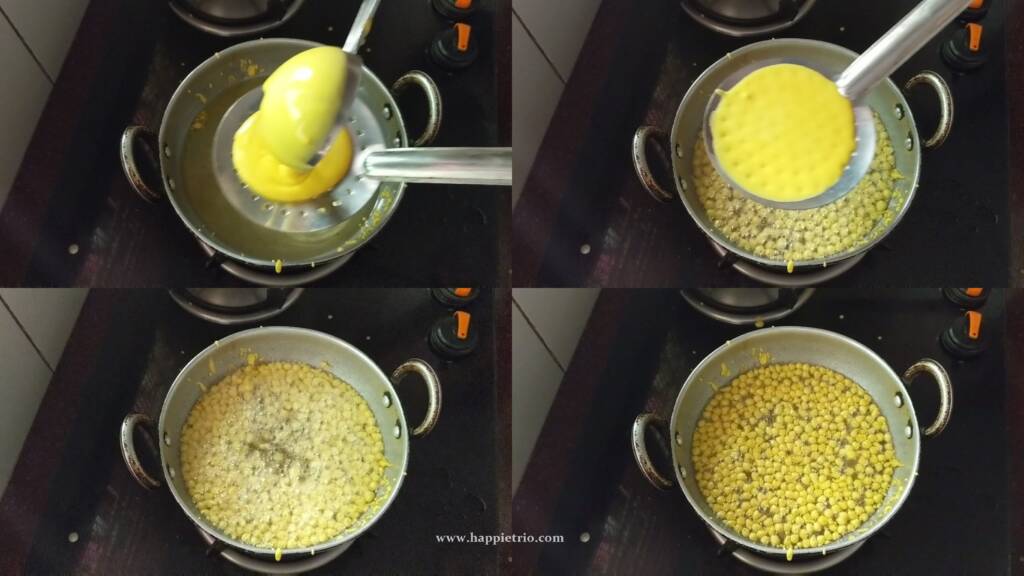
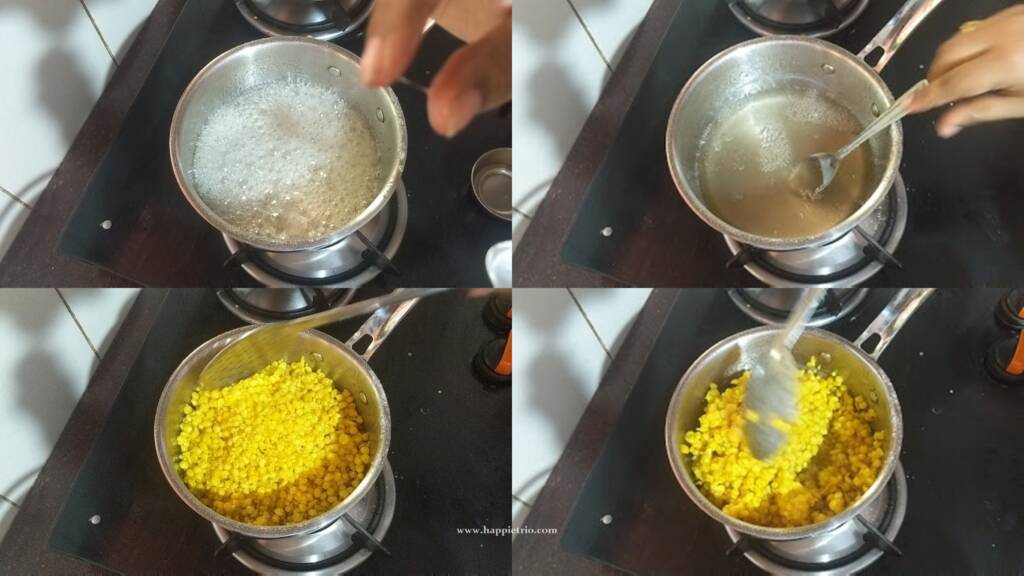
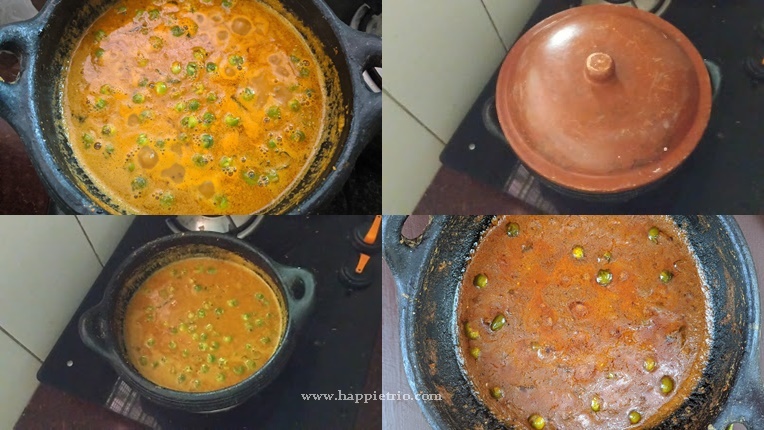
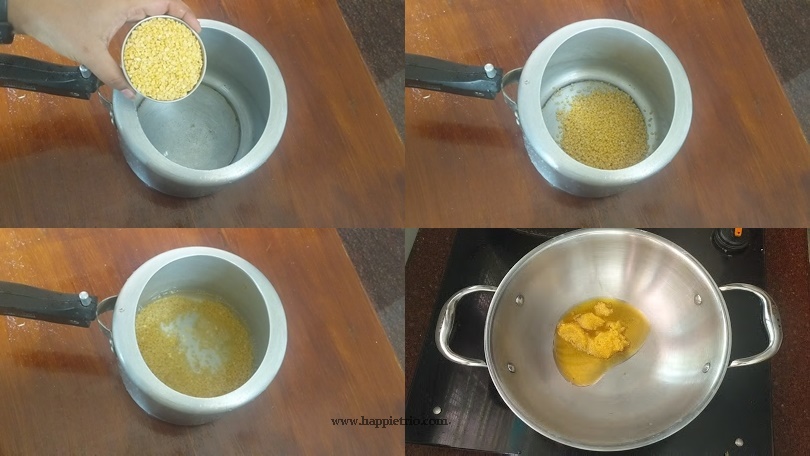
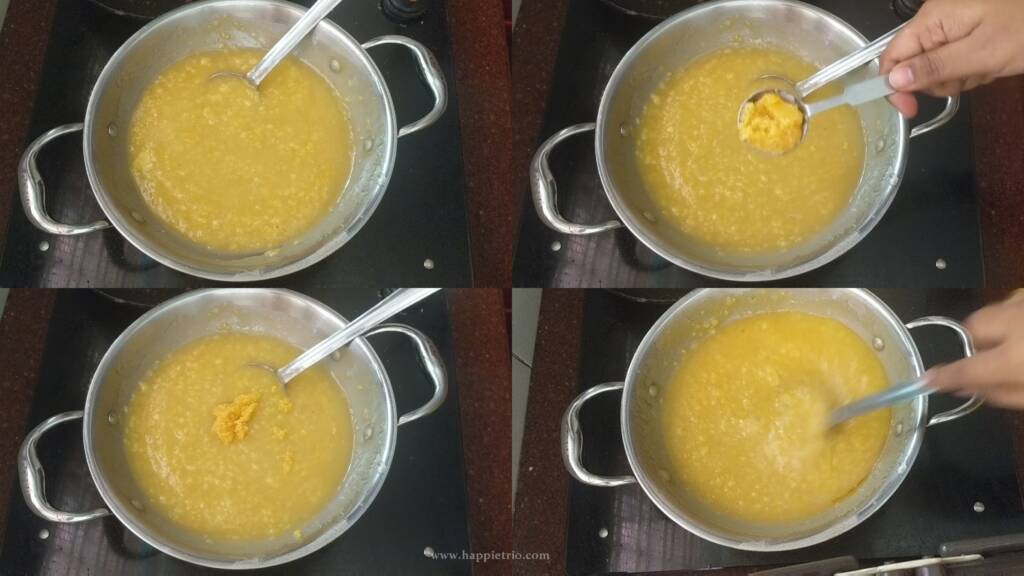
1. In a pressure cooker add in ½ cup Moong Dal along with 2 cup of water and cook till it gets mashed well or about 4 whistles in medium flame. Once the pressure is completely released mash the moong dal really well.
You can also use a blender and blend the moong dal.This is very important for a smooth halwa.
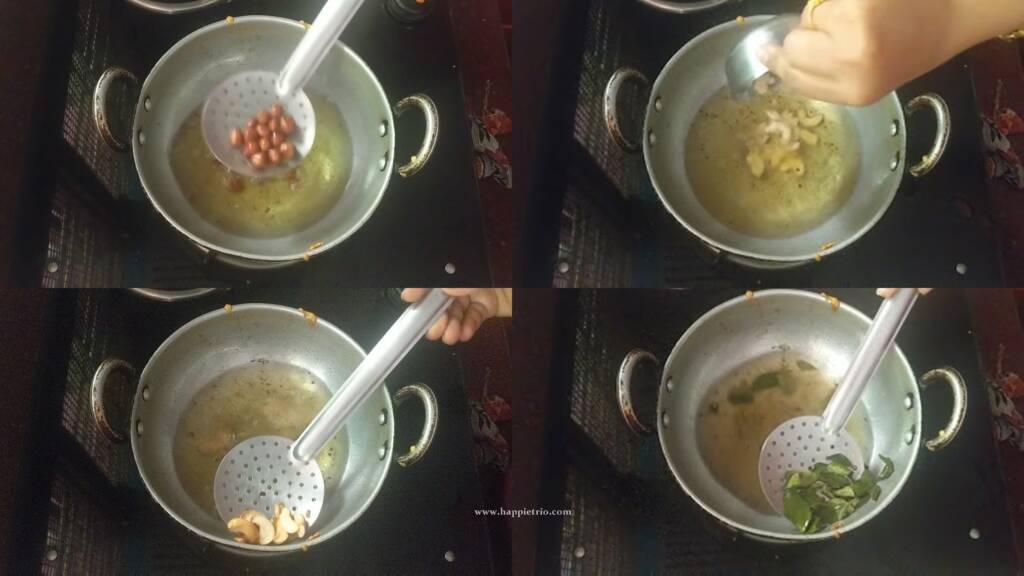
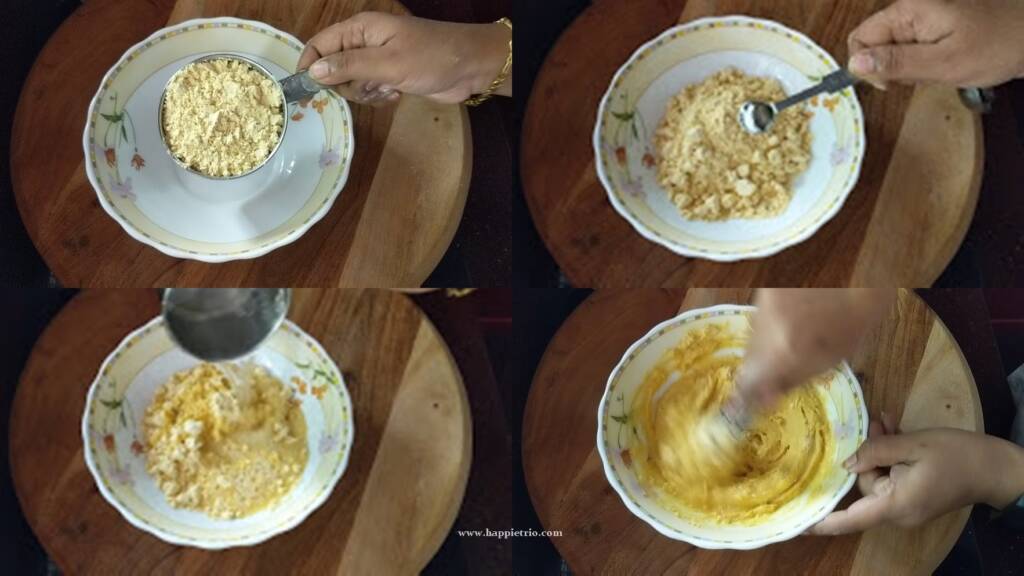
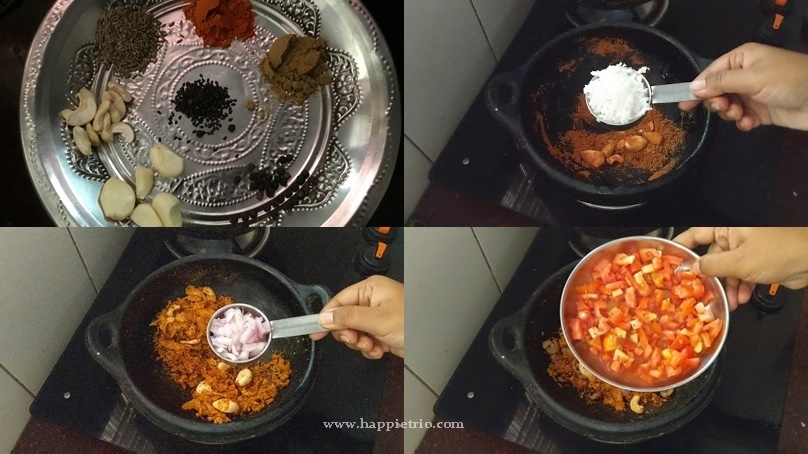
2. In a pan add in a tablespoon of ghee and fry the cashew nuts. Remove from the pan when it's golden.
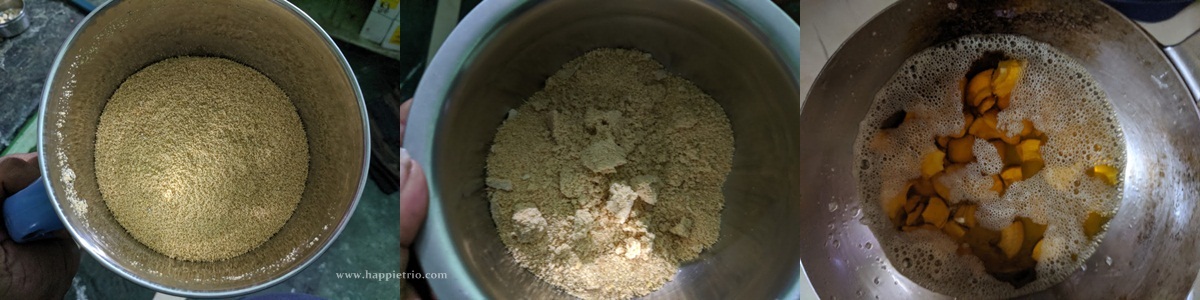
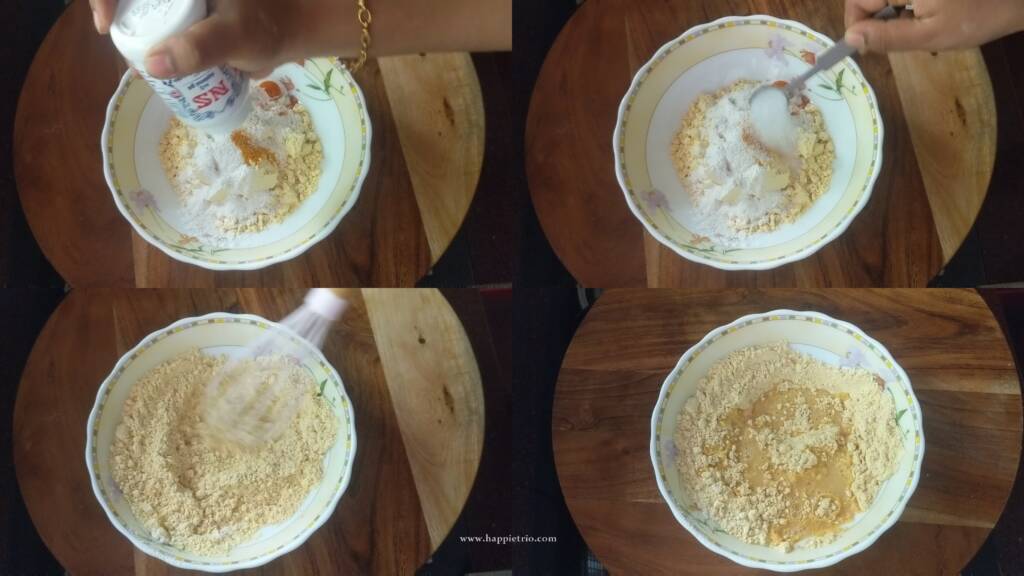
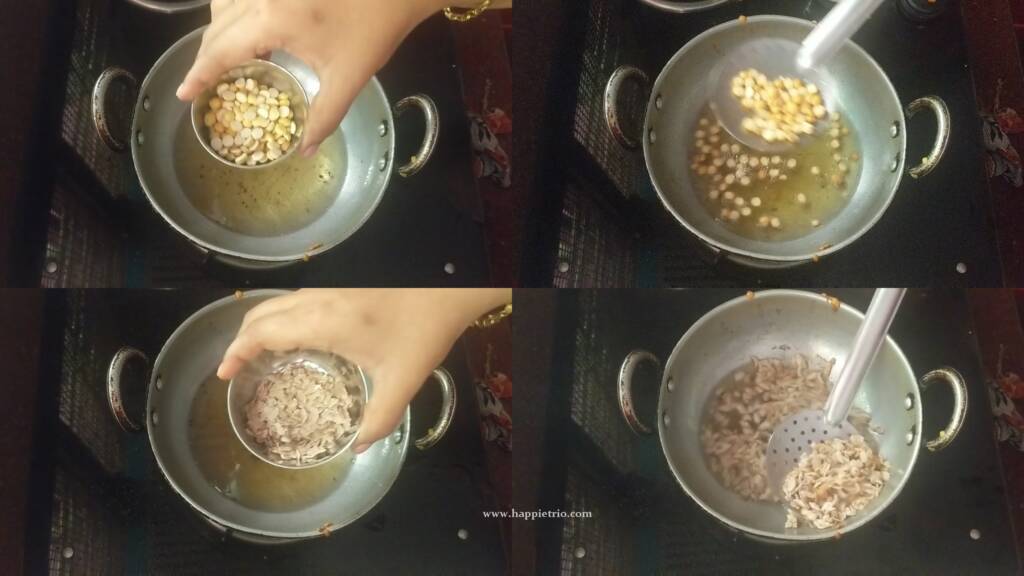
3. In the same pan add in the wheat flour and keep stirring on a low flame. Otherwise, the flour might get burnt as we are adding in a very small quantity.
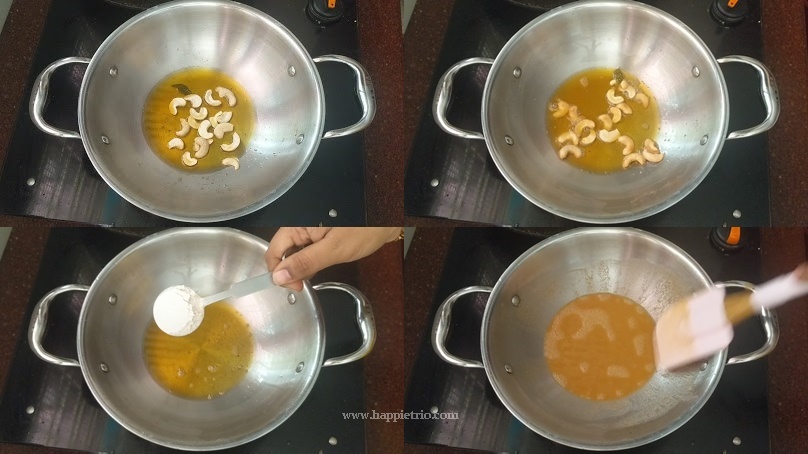
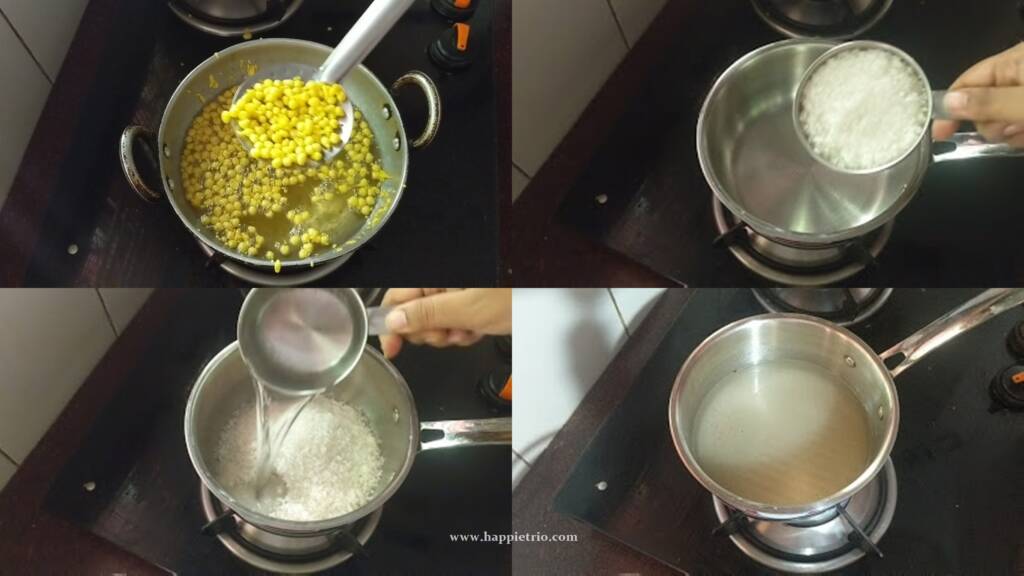
4. Once the wheat flour turns a nice golden brown switch off the flame. Set aside the pan along with the wheat flour and ghee. Take another pan and add the cooked moong dal mixture mix well and then add in sugar and keep on stirring.
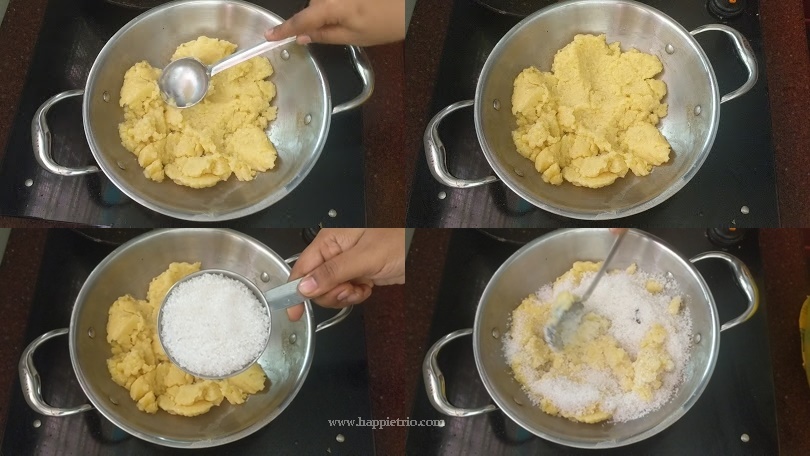
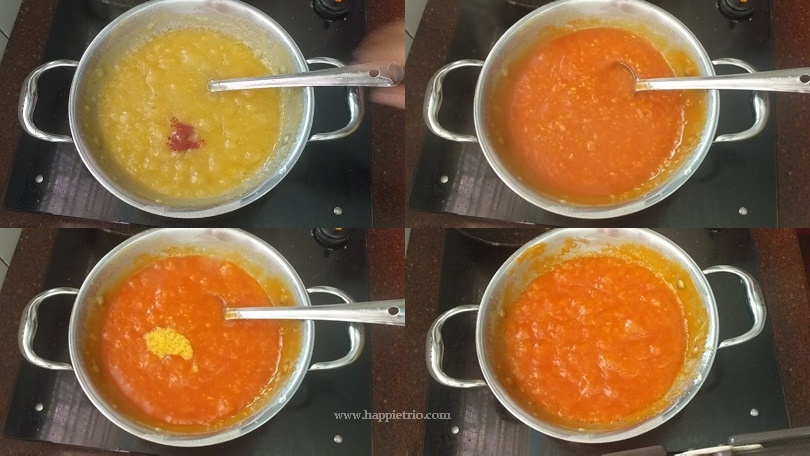
5. The sugar will dissolve completely and the mixture starts to turn glossy.
6. Keep stirring the mixture will start turning thick in this stage add 1 tablespoon of ghee.
7. Mix well then add in another 1 tablespoon of ghee and combine everything. Likewise use all the remaining ghee and keep on stirring.
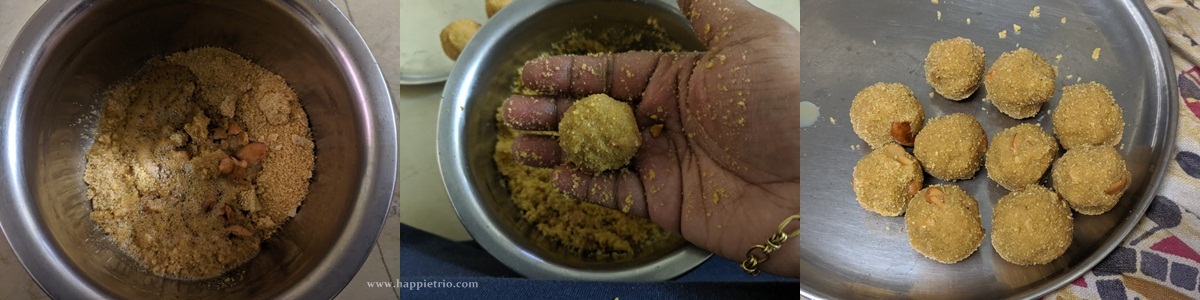
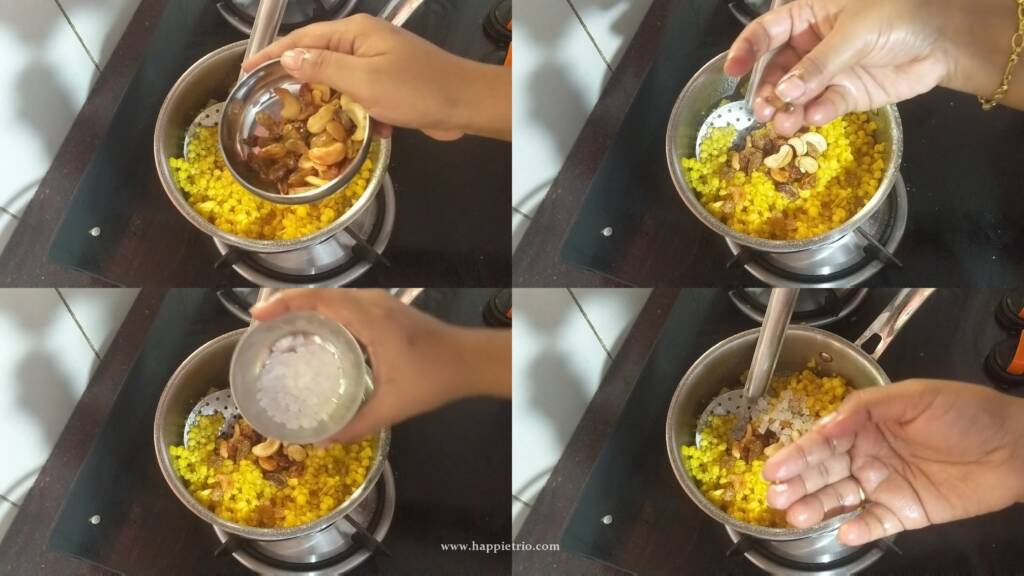
8. We have now added all the ghee to the Halwa. Continue cooking and let the halwa start to become thick. In this stage add in the food color and mix well and then add in the wheat flour along with the ghee and mix well.
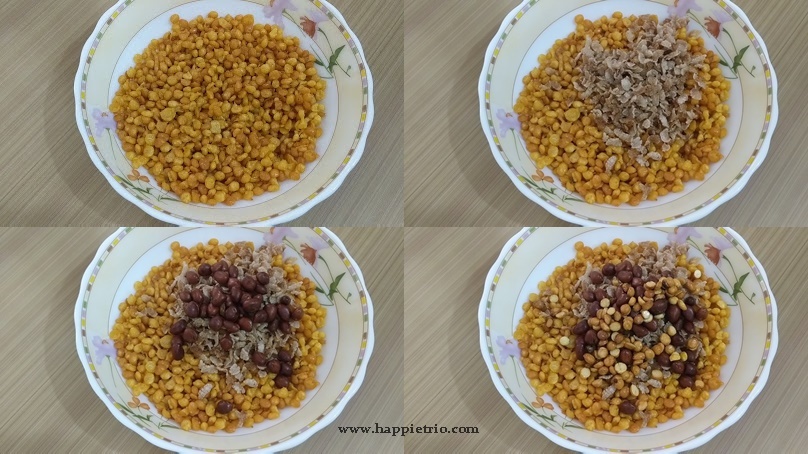
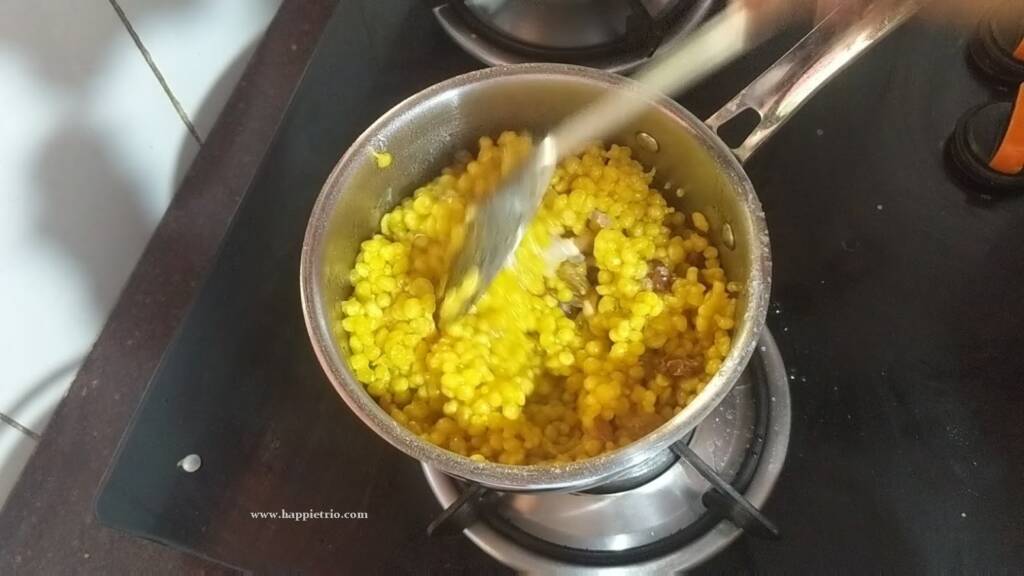
9. Next add in the cashew nuts and mix. Keep stirring until the halwa consistency. The mixture still starts to thicken oozes out oil and leaves the side of the pan. Switch off the flame at this stage
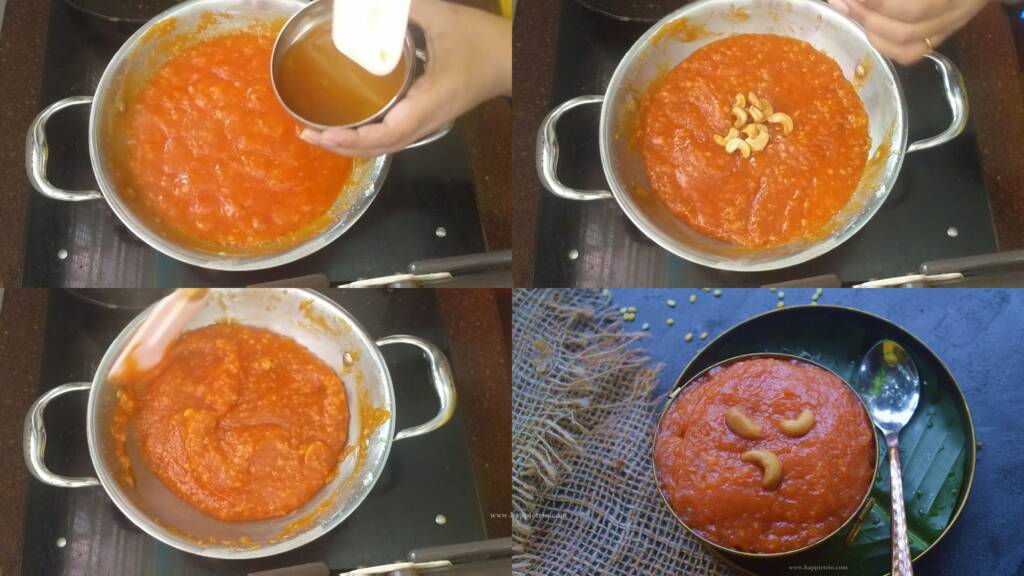
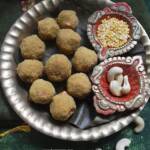
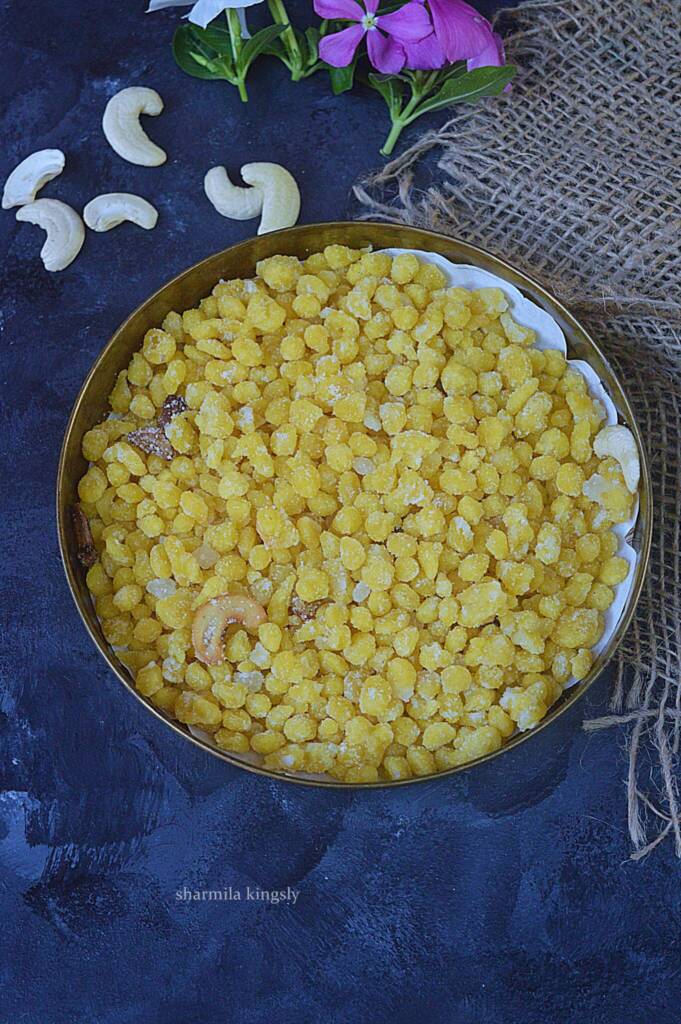
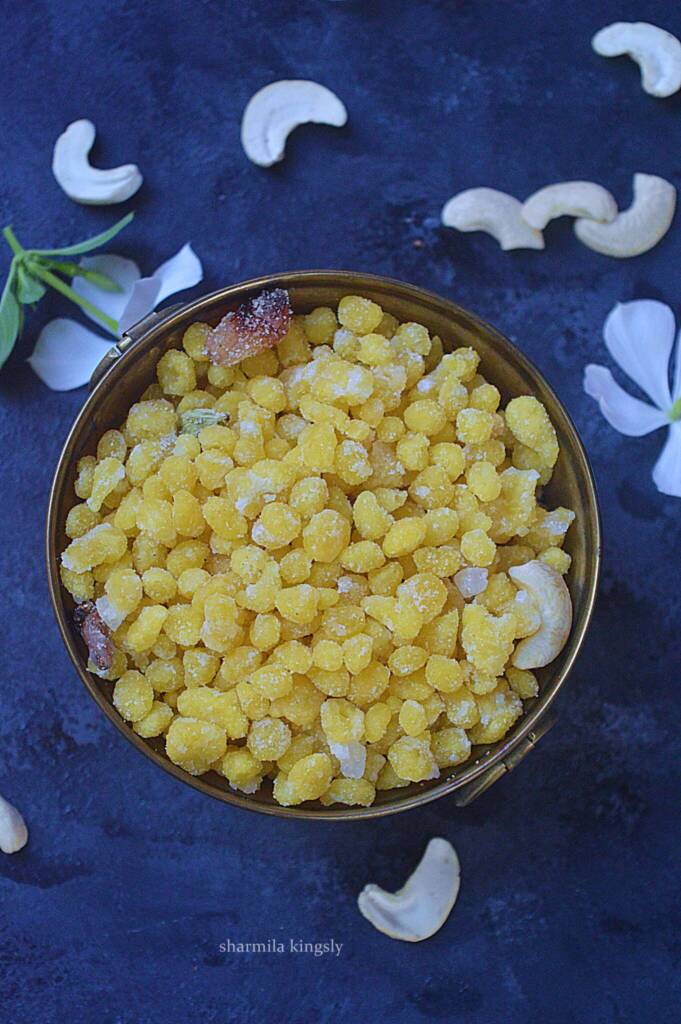
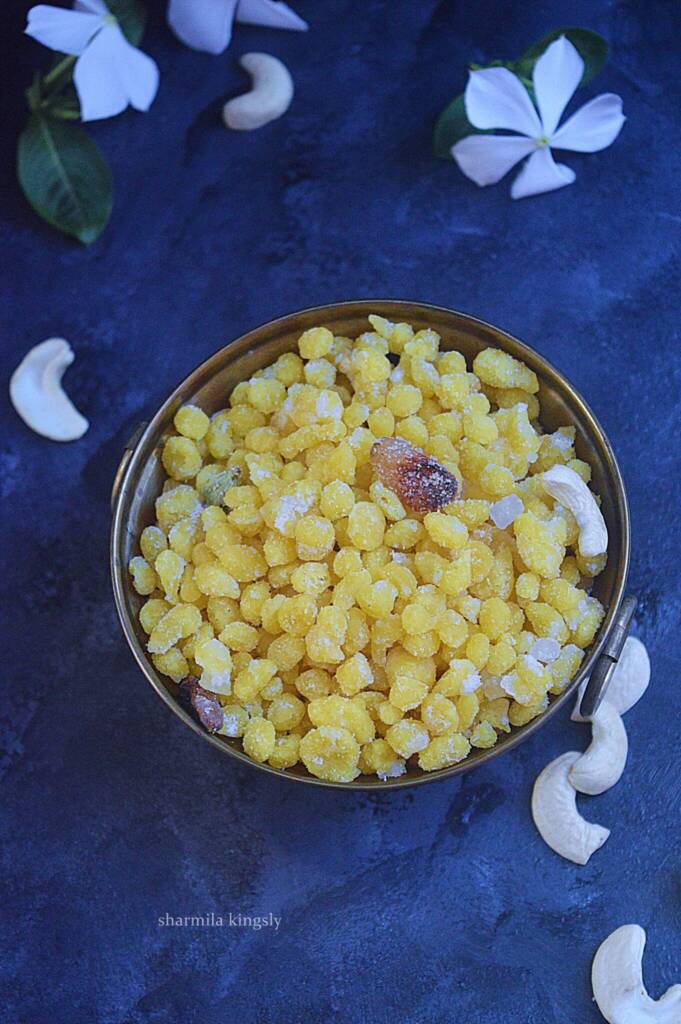
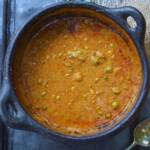
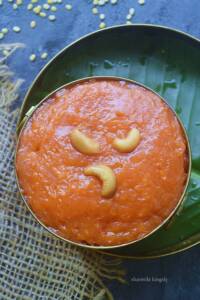
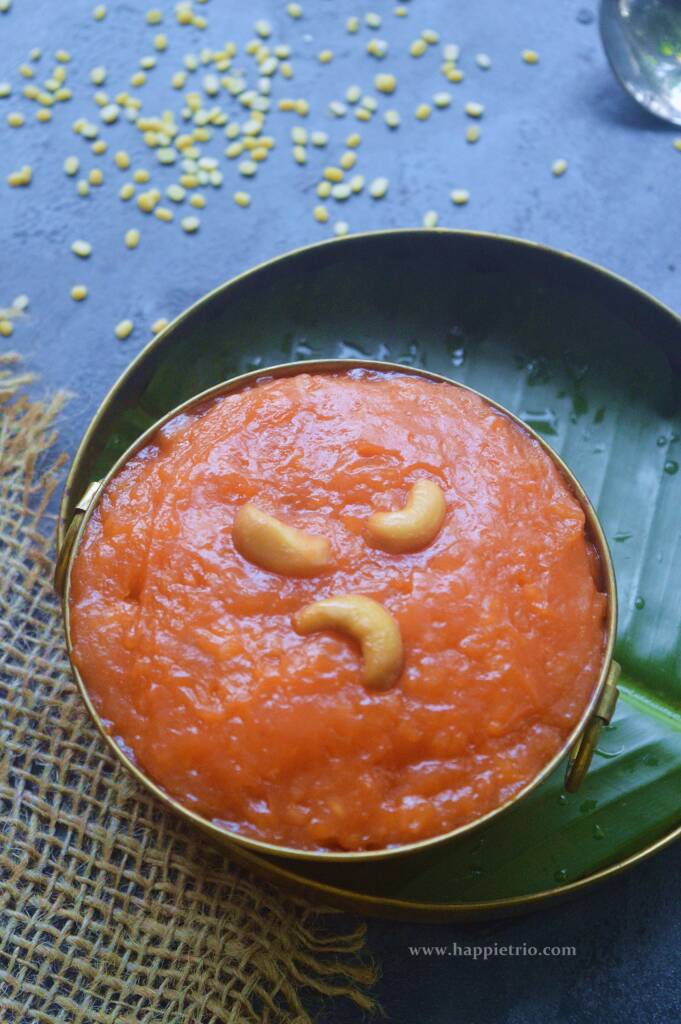
Yummy Halwa is now ready
More Halwa Recipes
Serving Suggestion:
It makes a great after-meal dessert. Can also serve as a bhankshaman or neivaidhyam for god. Perfect for parties & festivals.
★ Did you enjoy this recipe? If you happen to try it out, I would love to hear from you! I’d appreciate it if you could rate and leave a review below in the comments. Your reviews help others know the recipe better too. Thanks so much. You can also follow me on Facebook, Pinterest, Instagram, Youtube, and Twitter for more updates
📖 Recipe

Asoka Halwa | Moong Lentils Halwa
Standard 1 cup measures 240 ml
Equipment
- Pressure Cooker
- Pan
- Pressure Cooker
- Pan
Ingredients
- ½ cup Moong Dal | Yellow split Lentils
- 2 cup Water
- 1 cup Sugar
- 1 tablespoon Wheat Flour
- 8 tablespoon Ghee
- Food Color as needed
- Cardamom Powder a generous pinch (optional)
- Cashew nuts to garnish
Instructions
- In a pressure cooker add in ½ cup Moong Dal along with 2 cup of water and cook till it is done or about 4 whistles.
- Once the pressure is completely released mash the moong dal really well .This is very important for a smooth halwa .Use blender to mash the moong Dal.
- In a pan add in a tablespoon of ghee and fry the cashew nuts once it is golden brown set is aside. In the same pan add in the wheat flour and keep stirring in a low flame otherwise the flour might get burnt as we are adding in a very small quantity.
- Once the wheat flour turns nice golden brown switch of the flame and set aside the pan along with the wheat flour and ghee.
- Take another non-stick pan or heavy bottomed pan and add the cooked moong dal mixture mix well and then add in sugar and keep on stirring.
- The sugar will dissolve completely and the mixture starts to turn glossy. Keep stirring the mixture will start turning thick in this stage add 1 tablespoon of ghee and mix well then add in another 1 tablespoon of ghee and mix well ,likewise use all the remaining ghee and keep on stirring.
- Now that all the ghee has been added to the halwa continue cooking and let the halwa start to become thick in this stage add in the food color and mix well and then add in the wheat flour along with the ghee and mix well.
- Next add in the cashew nuts and mix. Keep stirring till the halwa consistency is reached, the mixture still start to thicken oozes out oil and leaves the side of the pan. Switch off the flame at this stage
Video
Notes
- Mash the moong dal very well for a smooth texture in the halwa.
- You can also blend the dal once it is cooks for a smooth texture.
- More Ghee can also be added if you prefer.
- Add Cardamom powder after adding the food colour if adding
Nutrition
Disclaimer: I am not a nutritionist, the nutrition value here is an estimate. It will vary on the basis of the quantity and brands of the products used.
Note: This post is originally from 2016 . I have updated with new Recipe card, Pictures and video now.