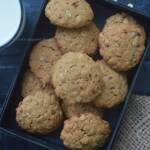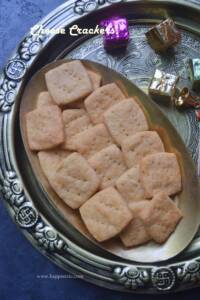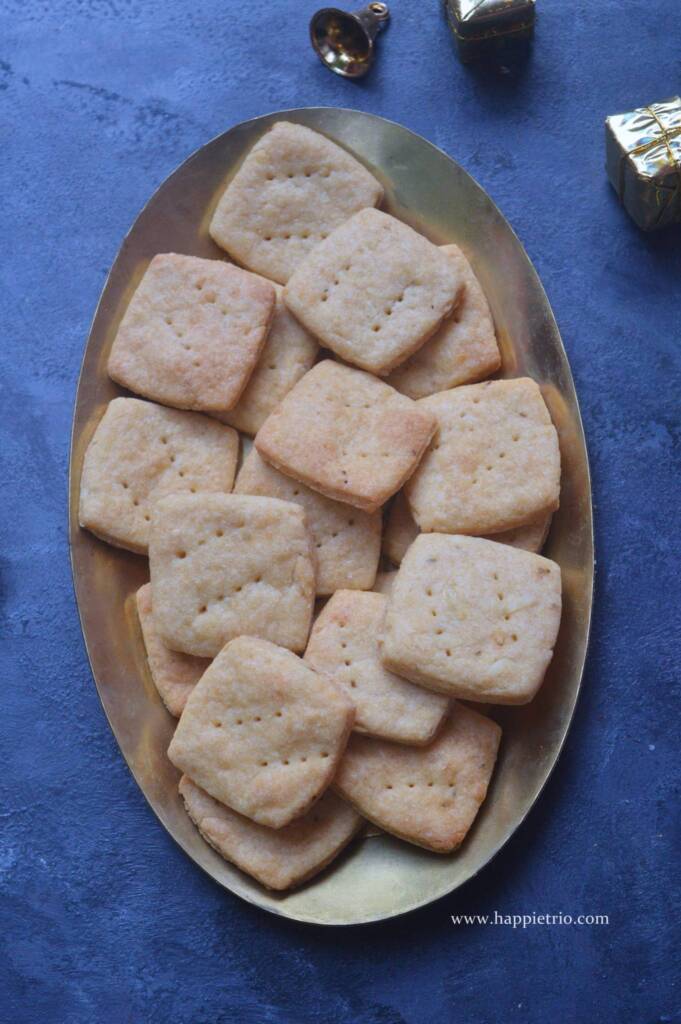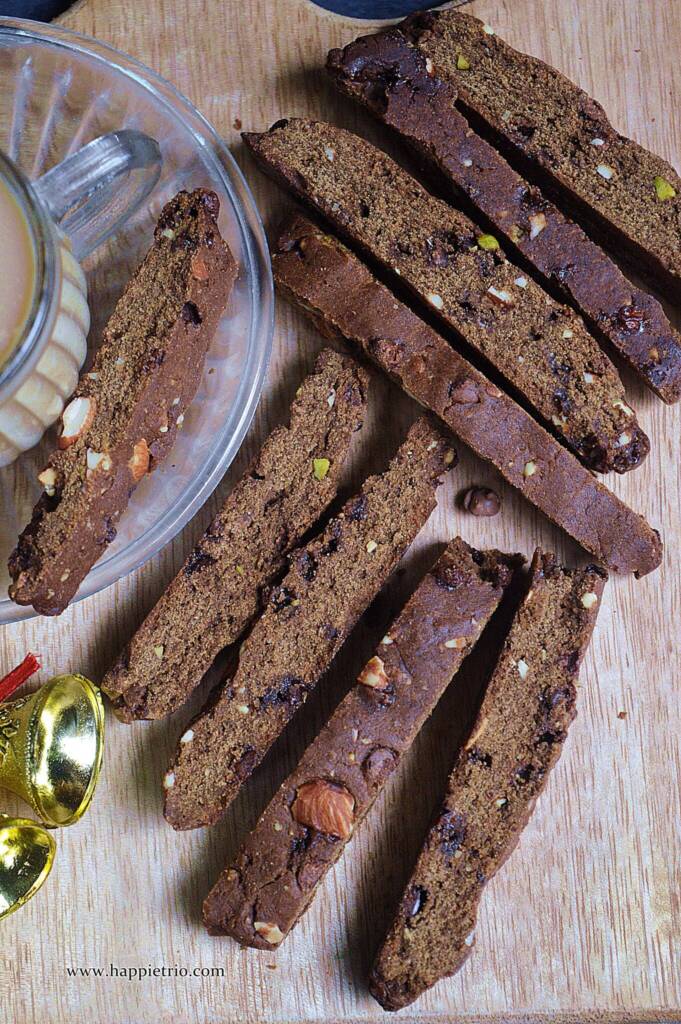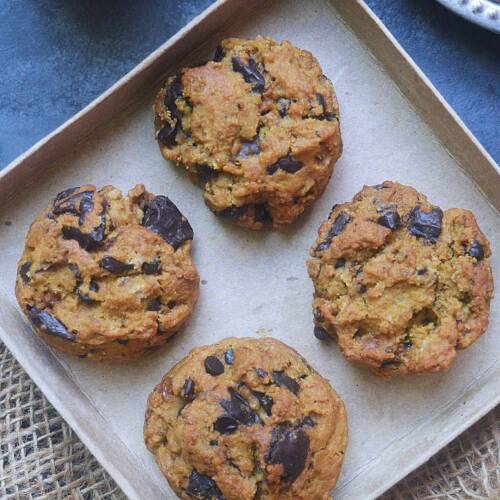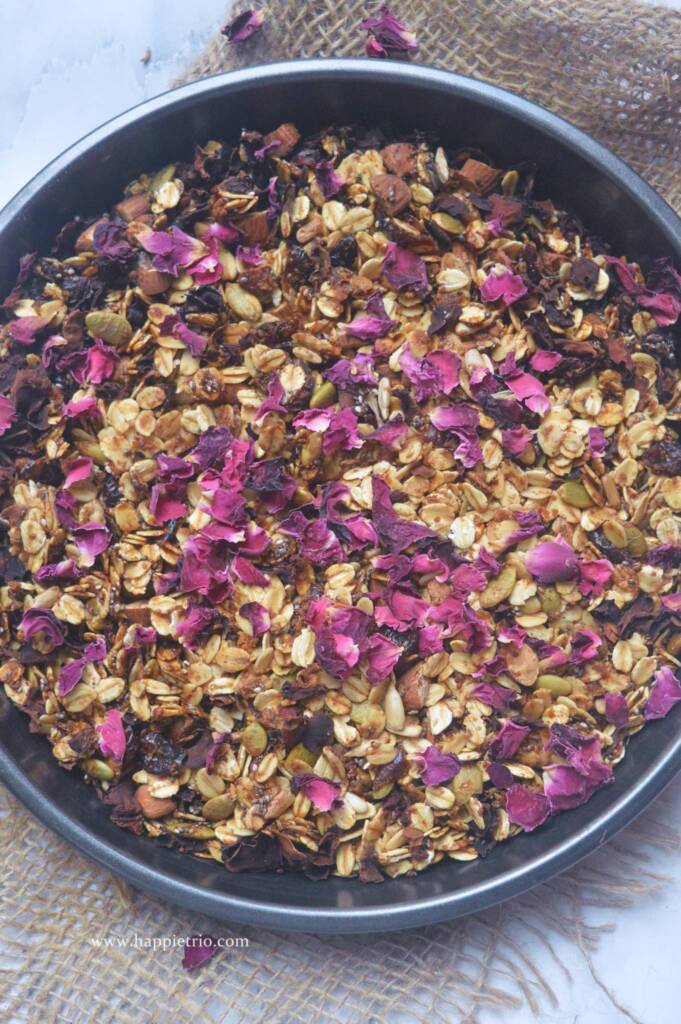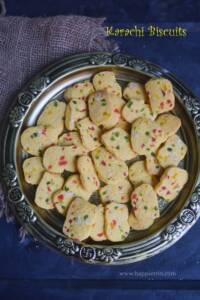
Karachi Biscuits or Eggless Tutti Frutti Cookies are very famous cookies from Hyderabad. They are crunchy and crisp fruit cookies.

Karachi Biscuits are a famous cookies from Hyderabad. Anybody in Hyderabad would sure had tasted this cookies for sure. So being a cookie lover I decided to give a try the result was lovely and I liked them a lot.
3 reasons why you should try my Karachi Biscuits Recipe
★ This is one of my trustworthy cookie recipes. I am trying this recipe for almost 4 years now and it never disappointed me even once.
★ This recipe was also very popular among my friend's circle and has been tried and tested multiple times
★ I have got baking orders also. So its a business recipe ,you can follow blindly.
[feast_advanced_jump_to]Karachi Biscuits
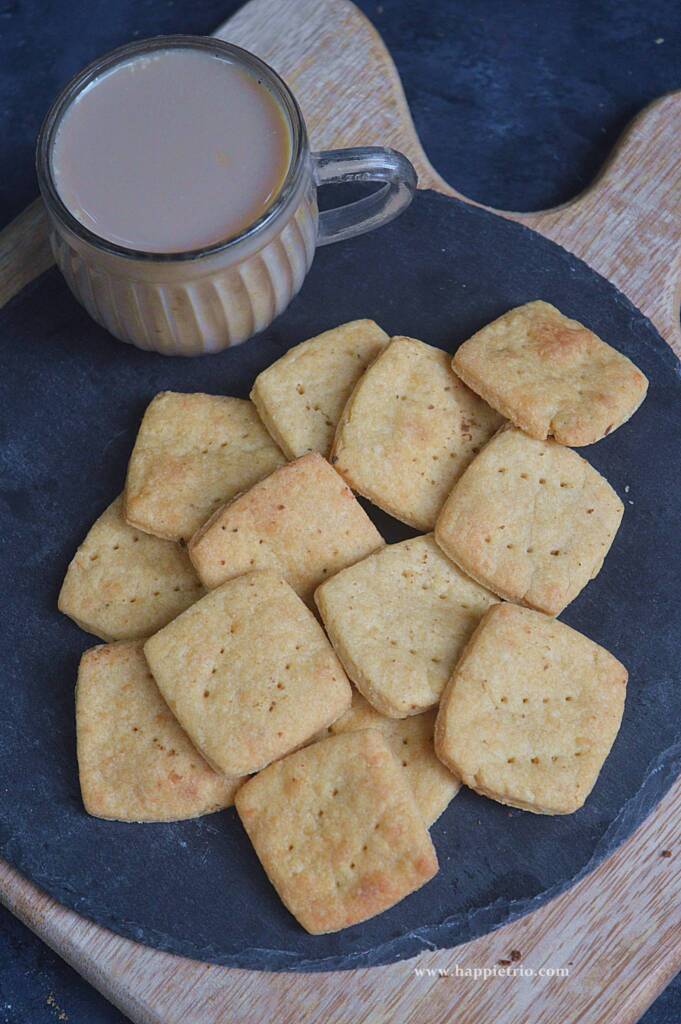
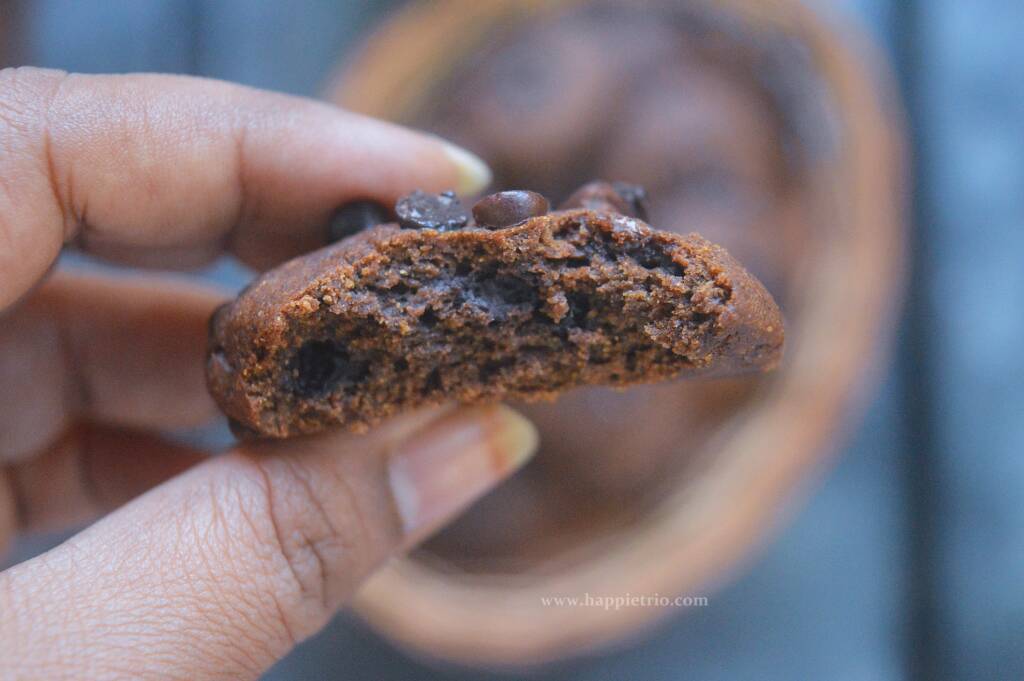
Karachi Biscuits are from the famous Karachi Bakery in Hyderabad, Telangana. It is an eggless Biscuit. They are also known as Fruit cookies. It is prepared using tutti frutti and nuts. It is crisp and stays good and fresh at room temperature for 3 weeks.
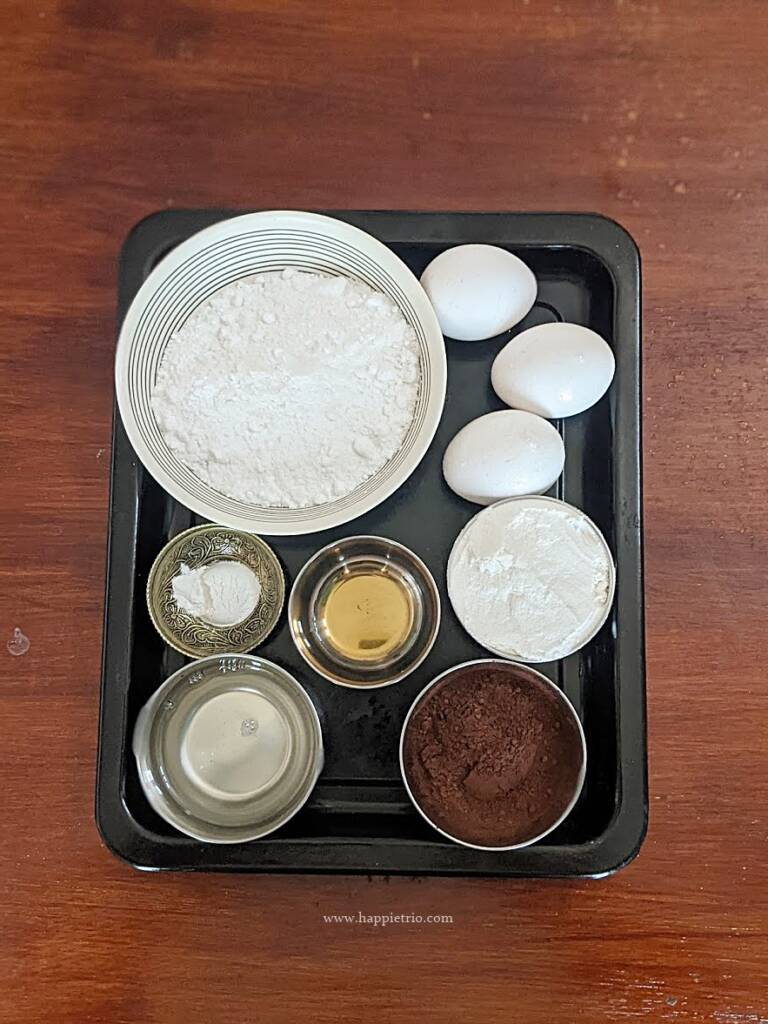
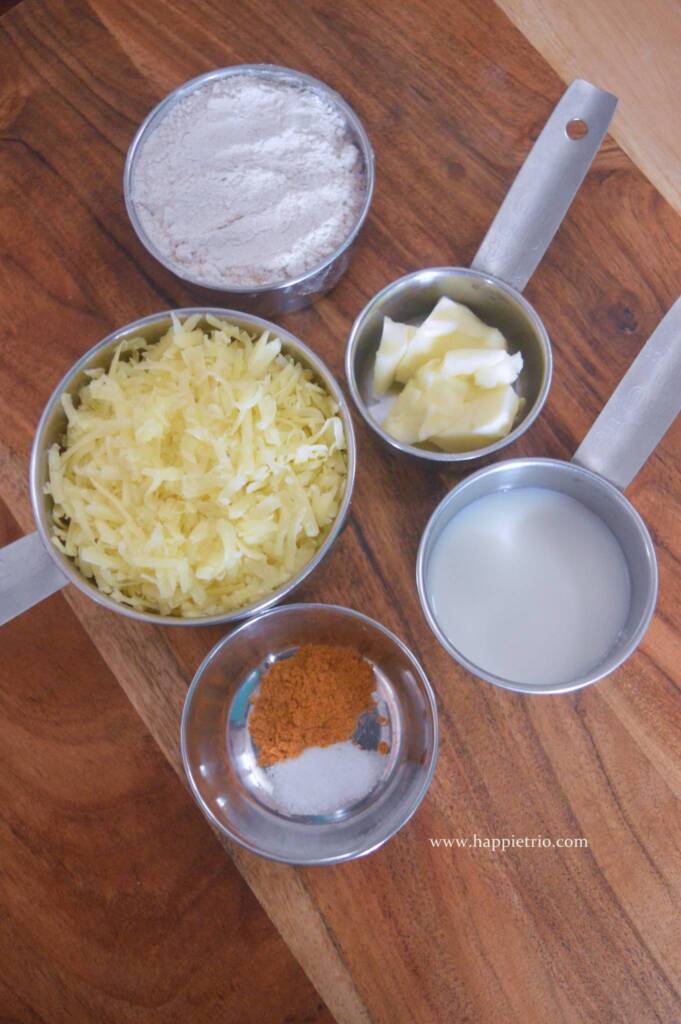
Ingredients for Karachi Biscuits

All Purpose Flour:
As all the cookies demand we use APF. We can also use Wheat flour, I have tried using it a couple of times.
Custard Powder
Custard Powder is a unique addition to Eggless Tutti Frutti Cookies. We can use Vanilla Flavoured Custard Powder for the Store bough look-alike cookies. Yet instead of that, we can also use Cornflour and a dash of Yellow color along with vanilla essence for the flavor.
Milk
Milk is the wet ingredient and in the Cookies
Butter
Use unsalted Room temperature soft Butter. If your butter is not soft microwave it for 10 or 20 secs and then use.
Tutti Frutti & Cashew Nuts
The Karachi bakery Biscuits uses Tutti fruit and cashew nuts and we can also call it the Tutti fruity cookies. So it is one of the primary ingredients.
FAQ's on Karachi Biscuits
Sri Khanchand Ramnani Ji, The founder of Karachi Biscuit is a Migrant from Pakistan. He started his bakery in Hyderabad, Telangana. Because of the founder association to Karachi the name,
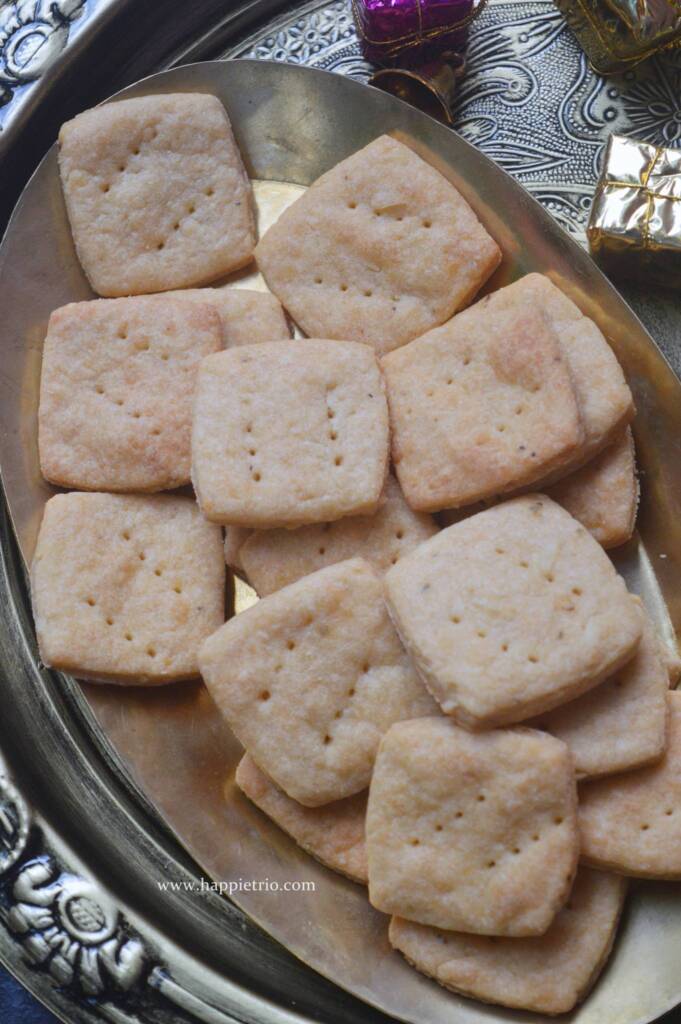
The Karachi Biscuits are rich with tutti fruits and other nuts and also coz of the taste. It is different from the normal cookies and hence the popularity.
No, My Version of Eggless Tutti Frutti Cookies are eggless. The traditional Karachi Biscuits from the Karachi Bakery is also pure Veg and Eggless.
Yes you can freeze the dough and bake . It stays good for a month.
Prep Work
- Always use room temperature ingredients.
- We will use room temperature soft butter.
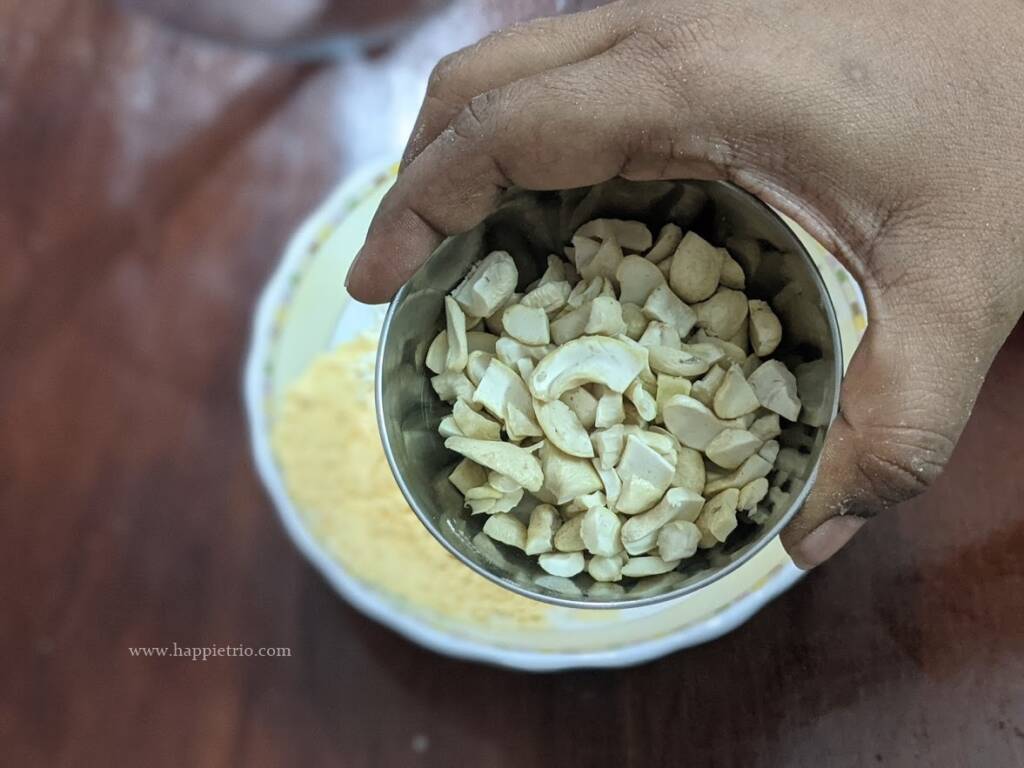
- Get the tutti frutti and the cashew nuts ready.
- Cashew nuts have to be broken and small pieces.
Similar Recipes


How to Prepare Karachi Biscuits, Pictorial
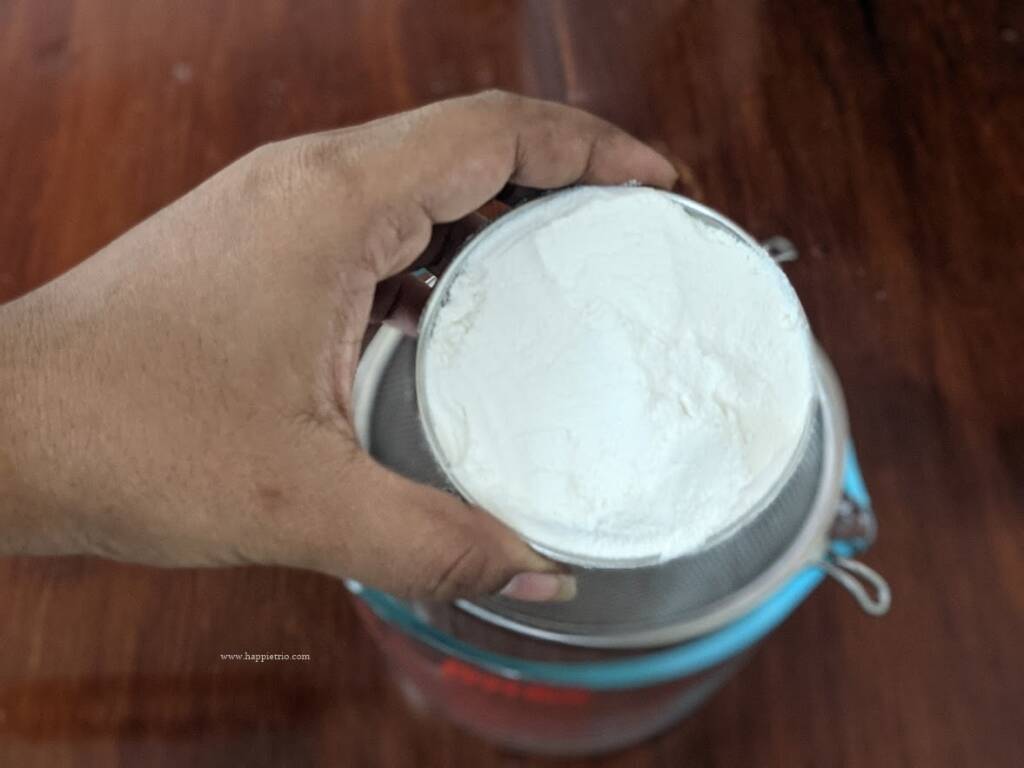
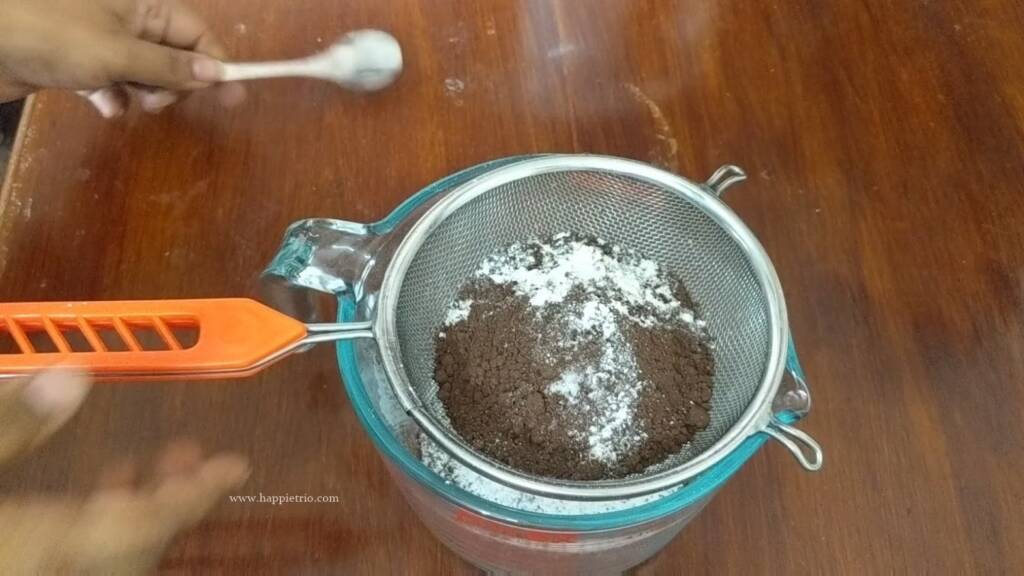
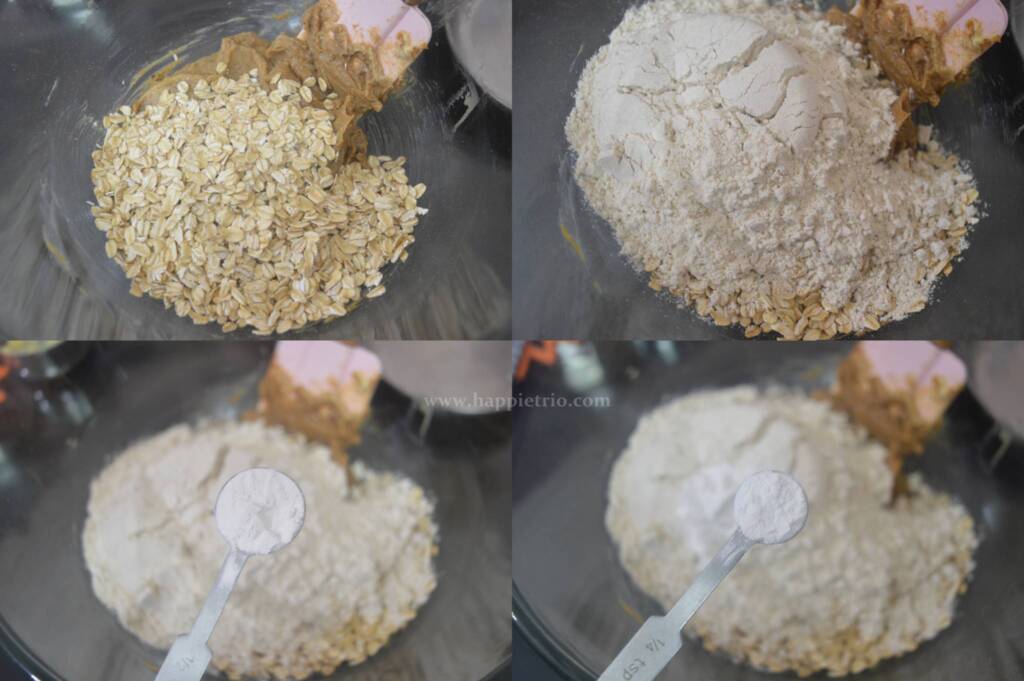
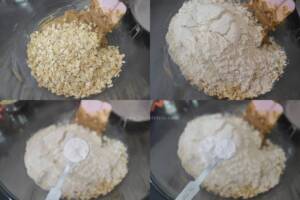
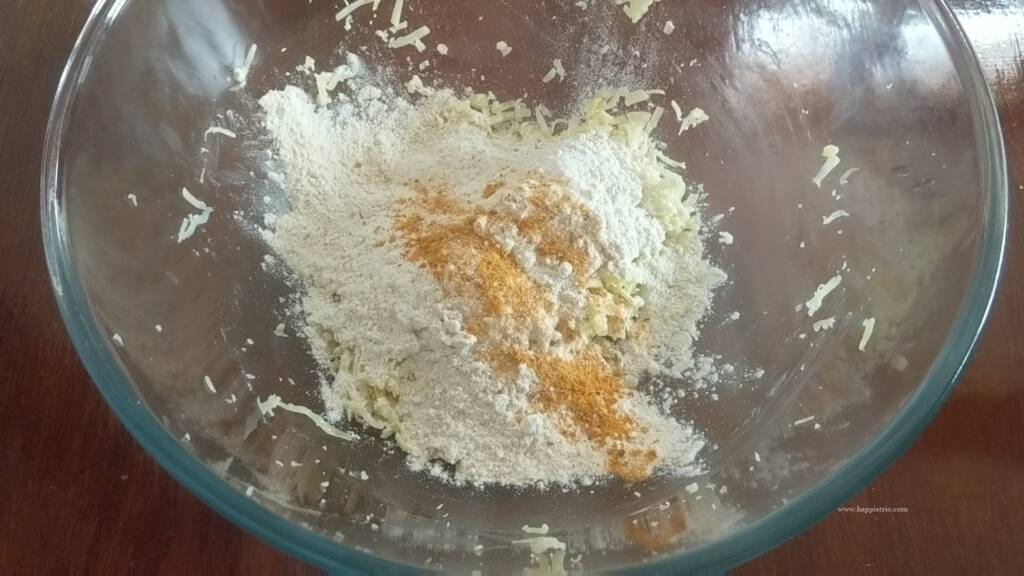
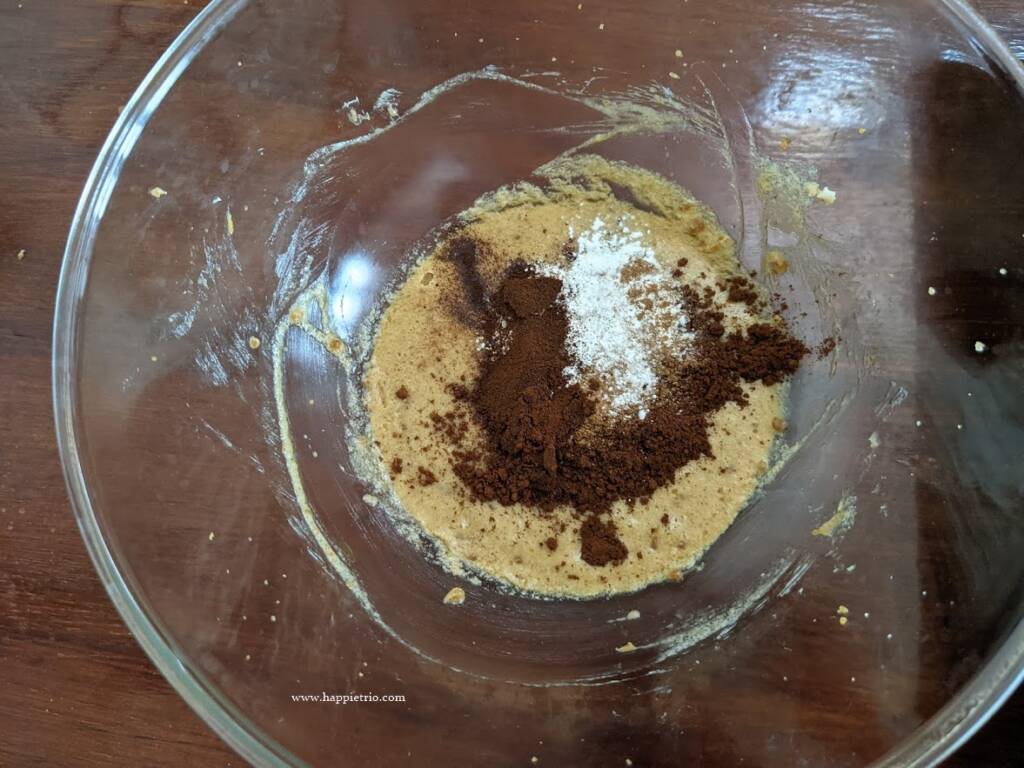
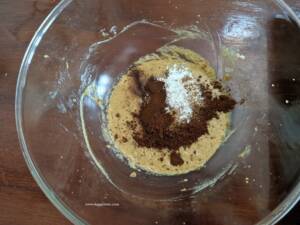
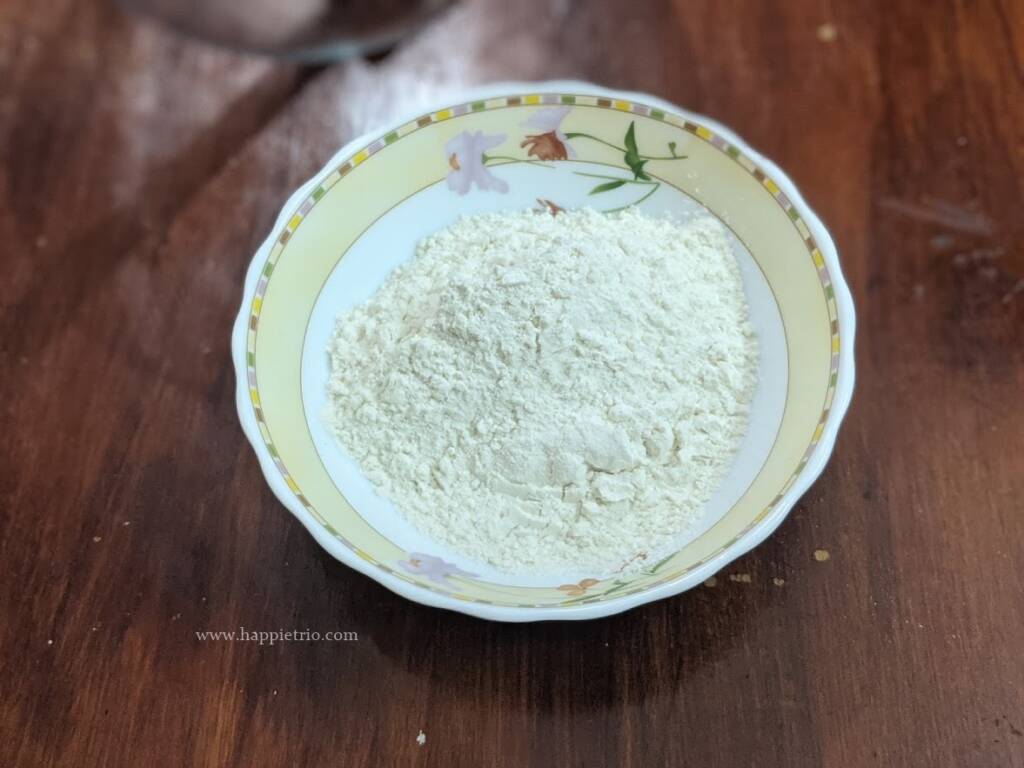
1. In a large mixing bowl sieve in 1.5 cups of All-purpose flour
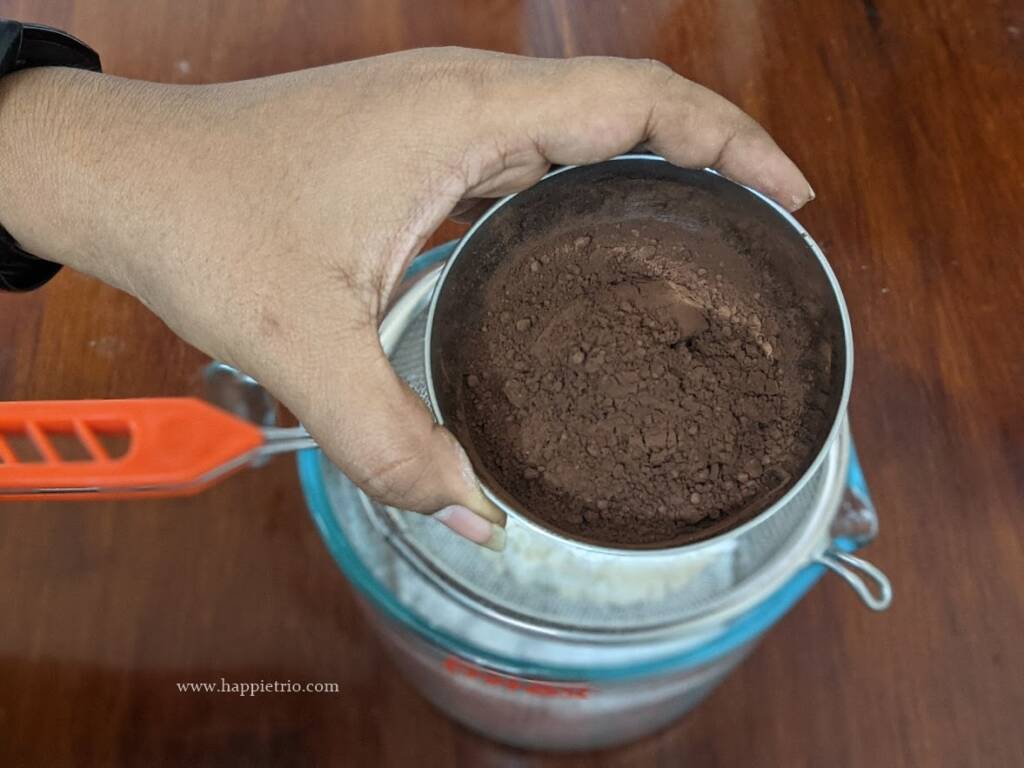
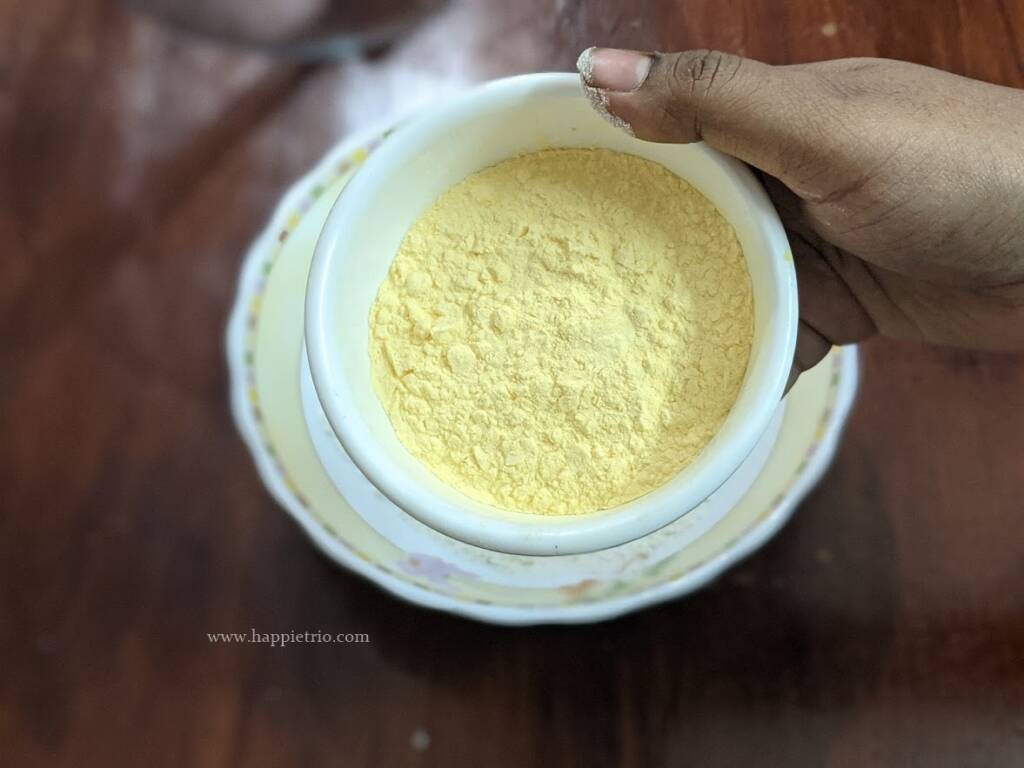
2. Add in ½ cup of Vanilla Flavored Custard powder and Mix both together.
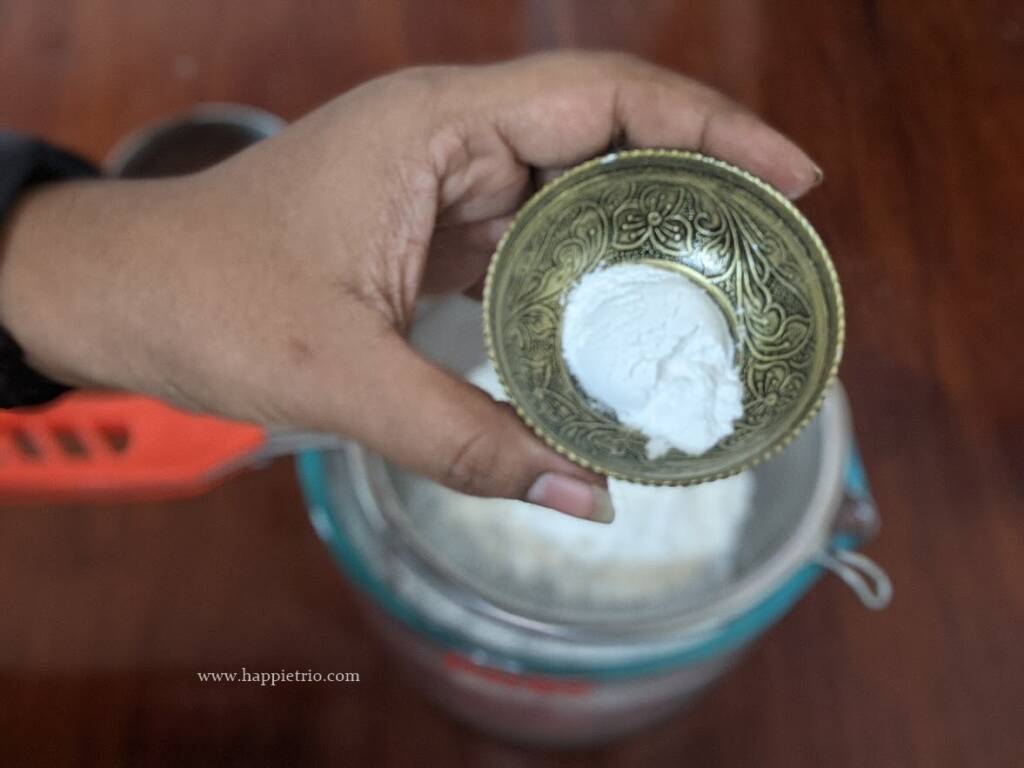
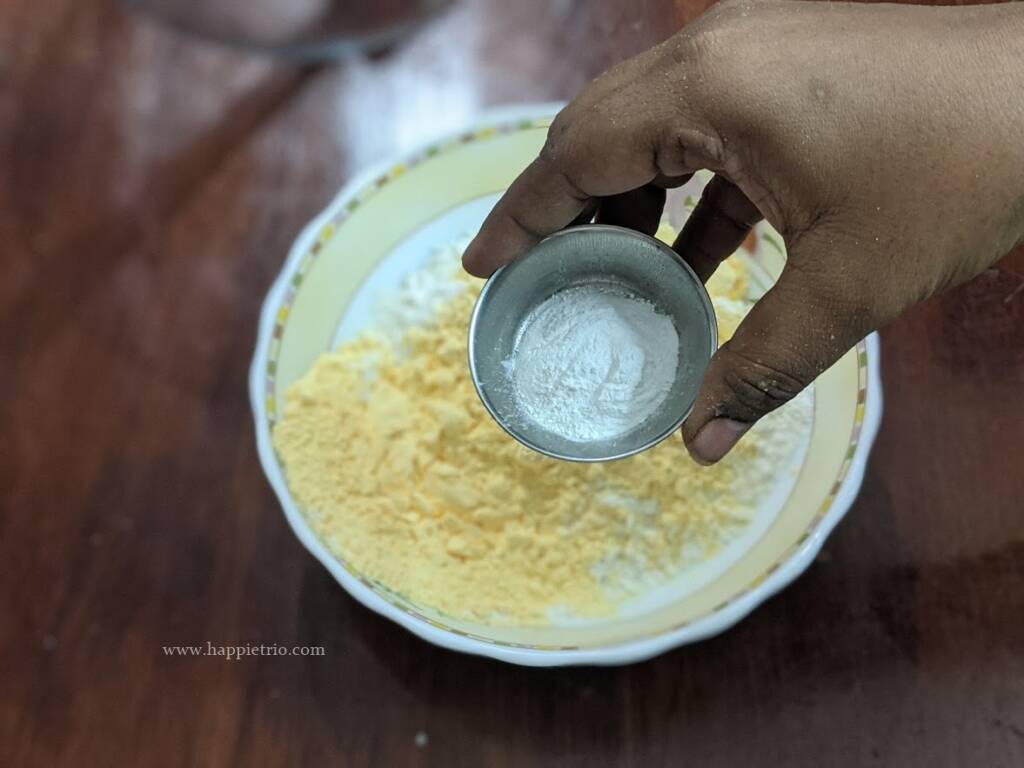
3. Next add in 1 teaspoon of Baking Powder
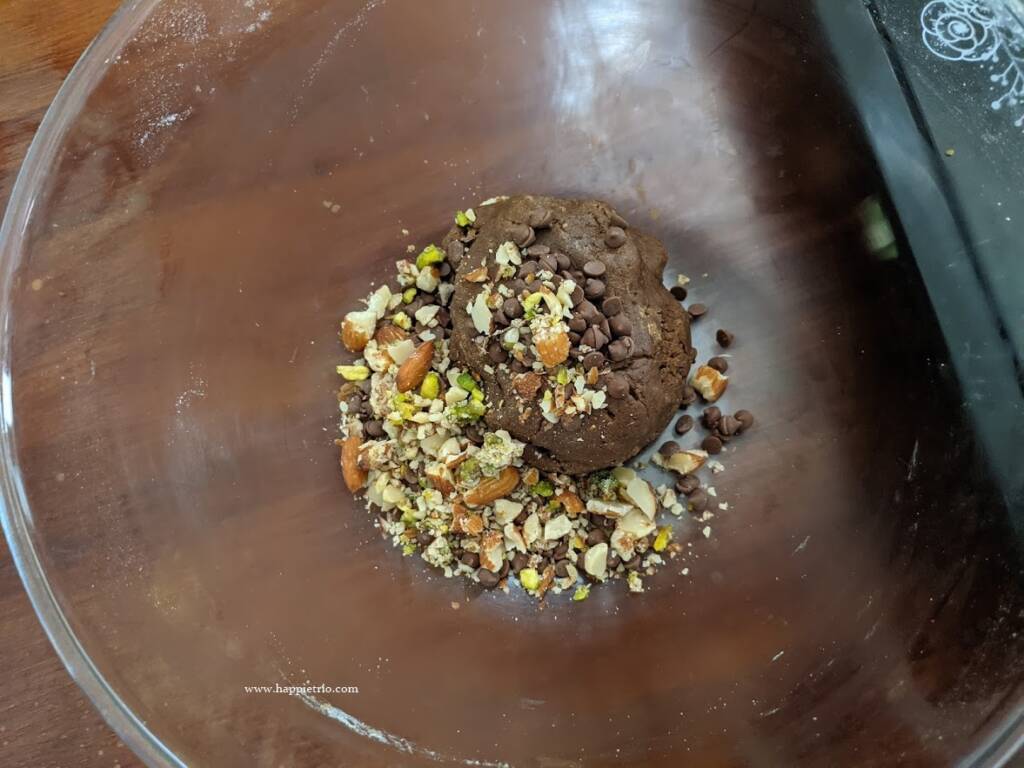
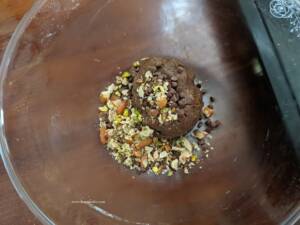
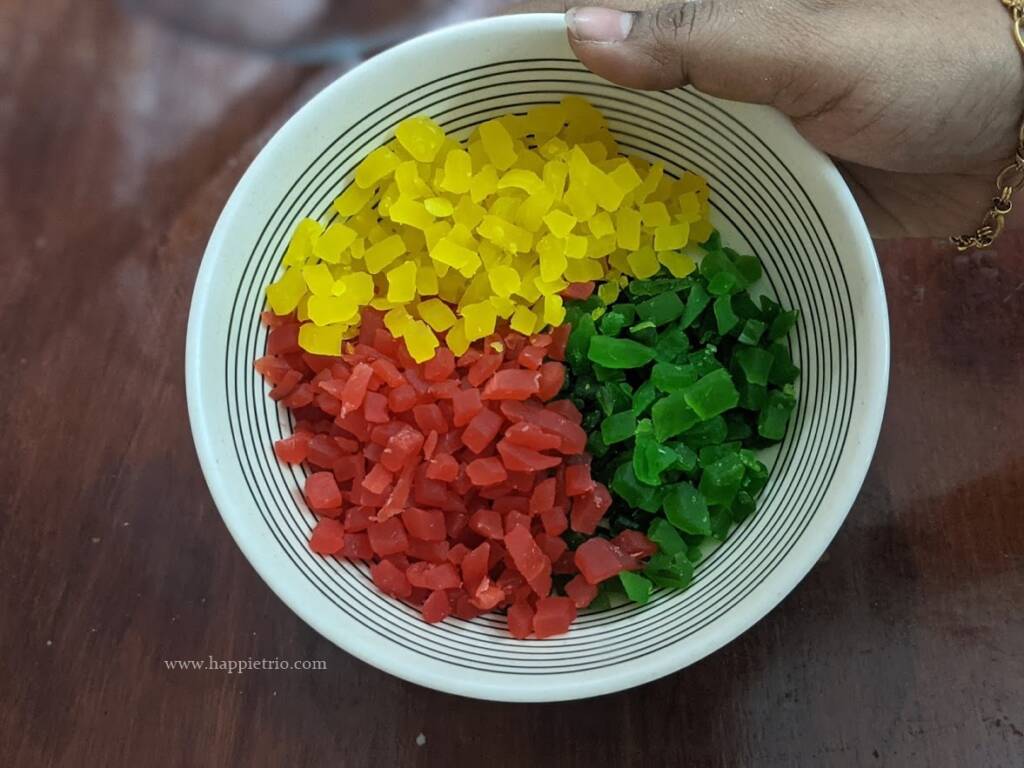
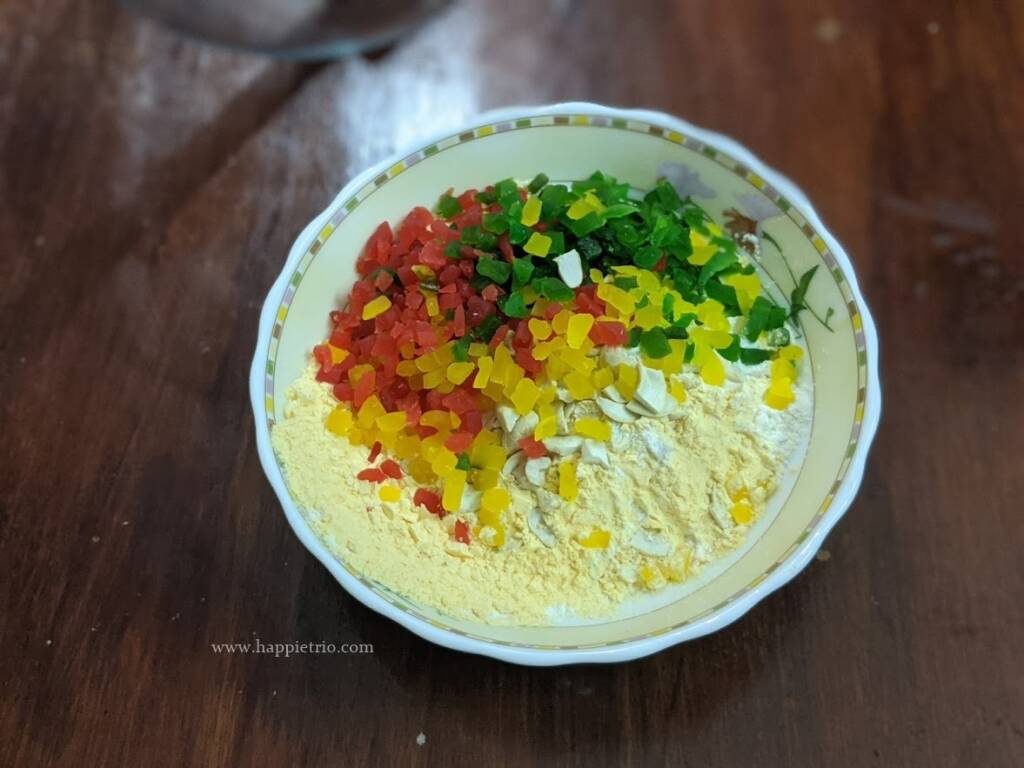
4. Add in ¾ cup of Tutti Frutti. I amusing ¼ cup in each color.
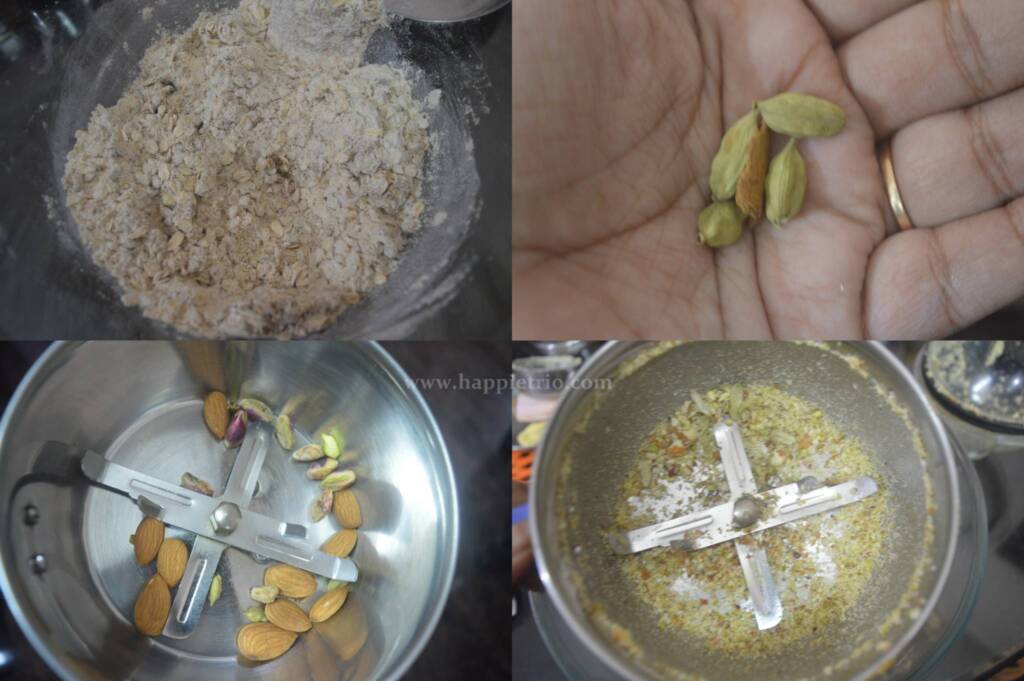
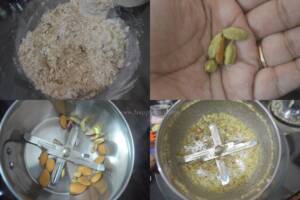
5. Next add in ¼ cup of roughly chopped cashew nuts.
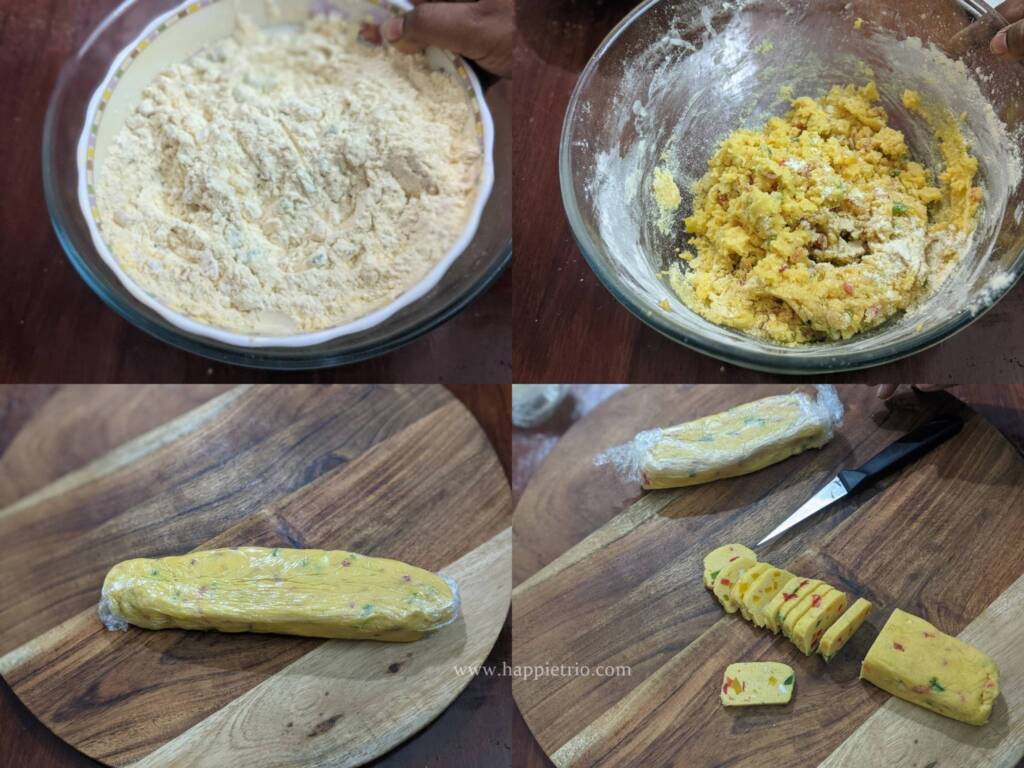
6. Whisk everything together and set it aside.
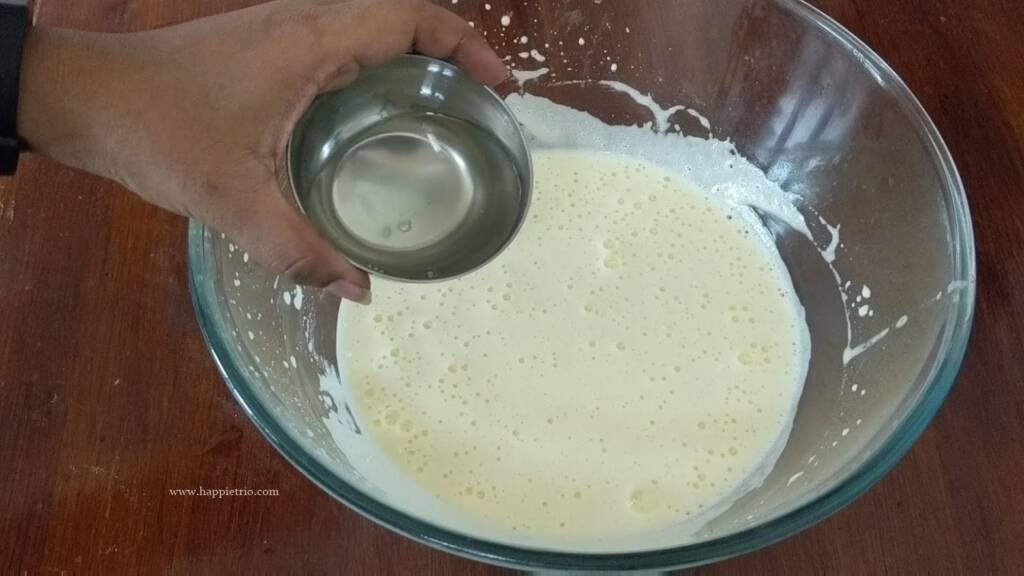
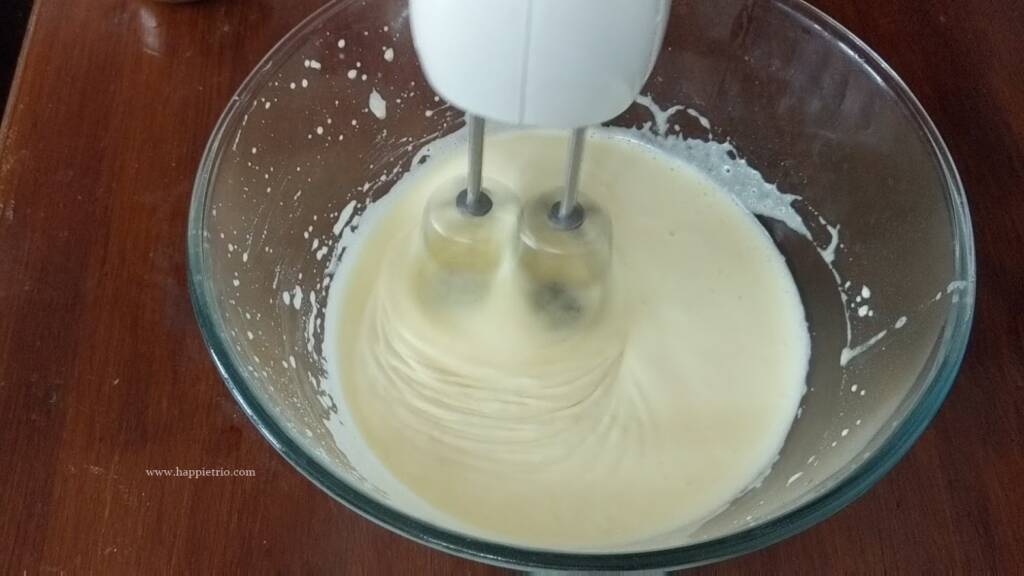
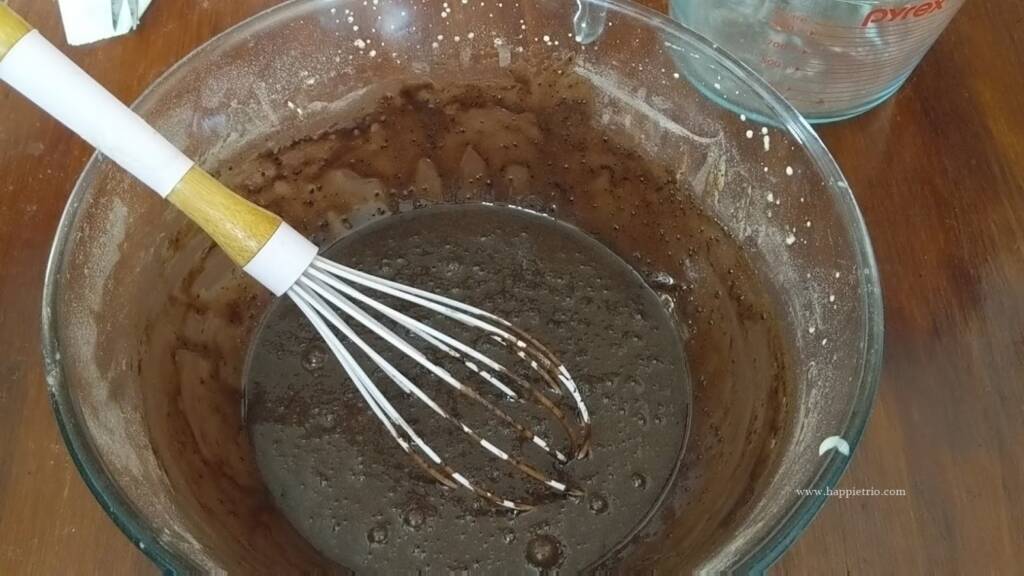
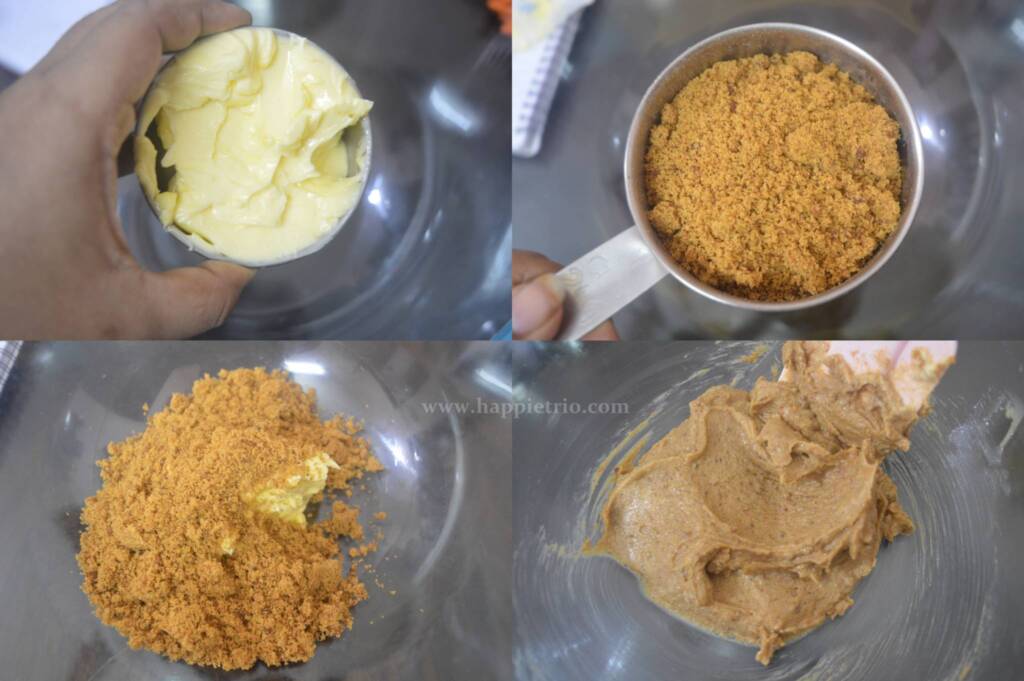
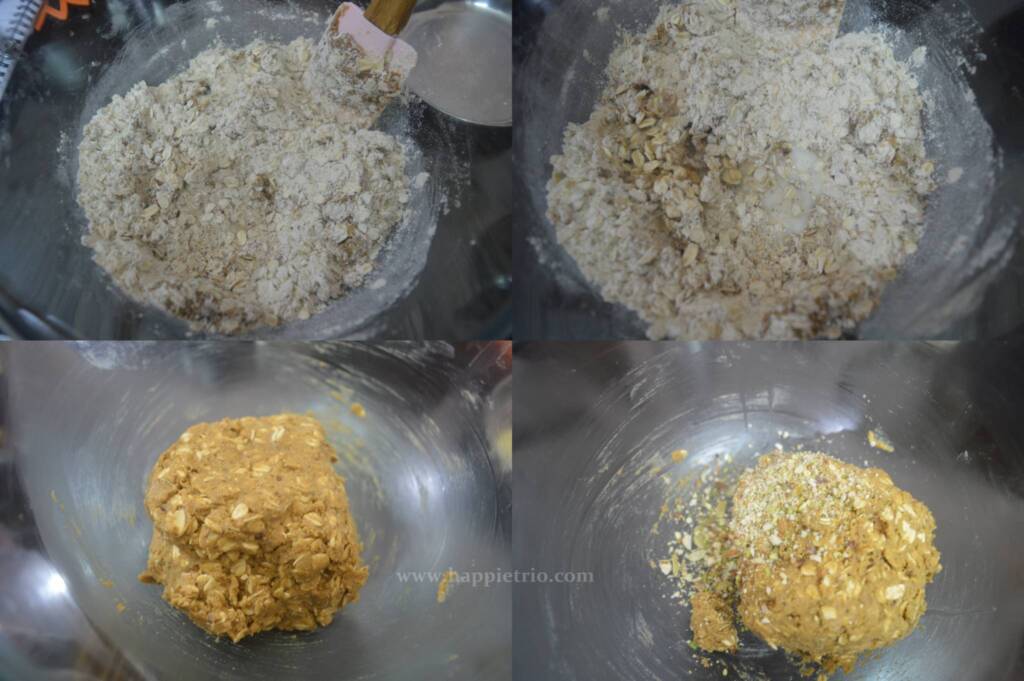
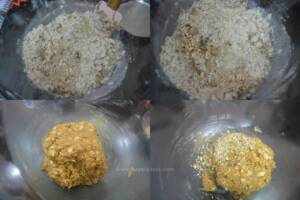
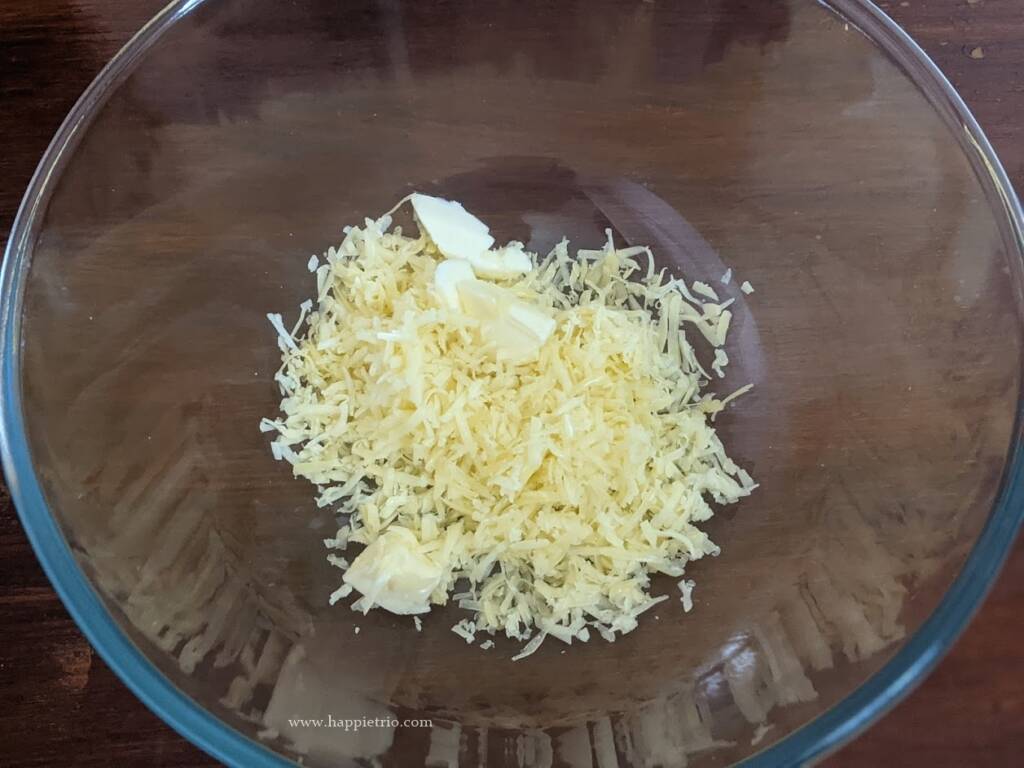
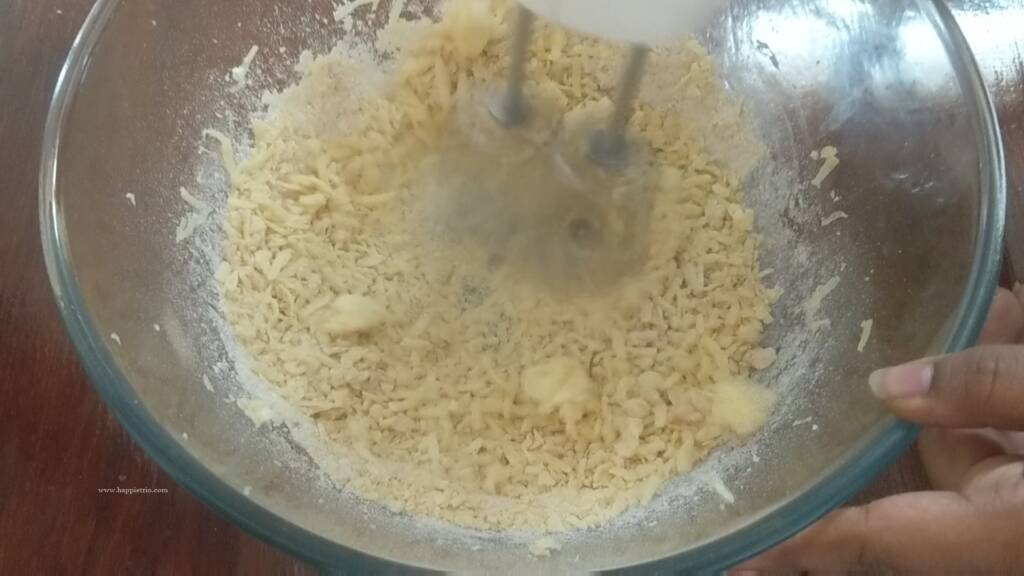
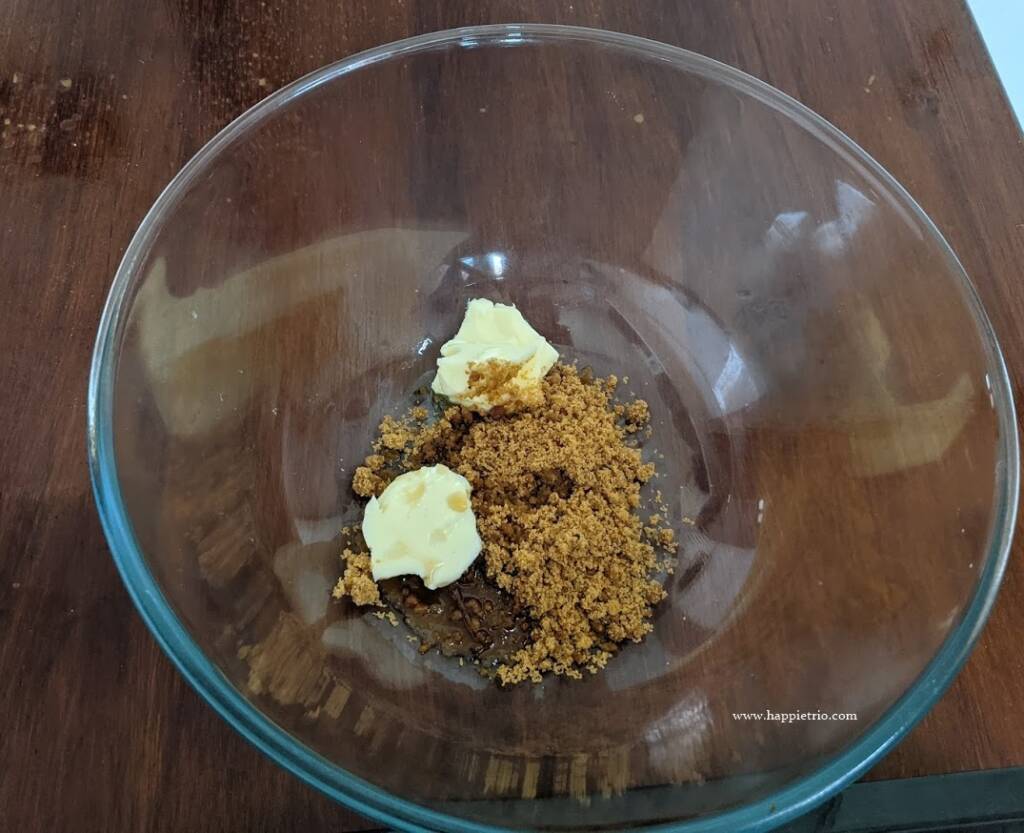
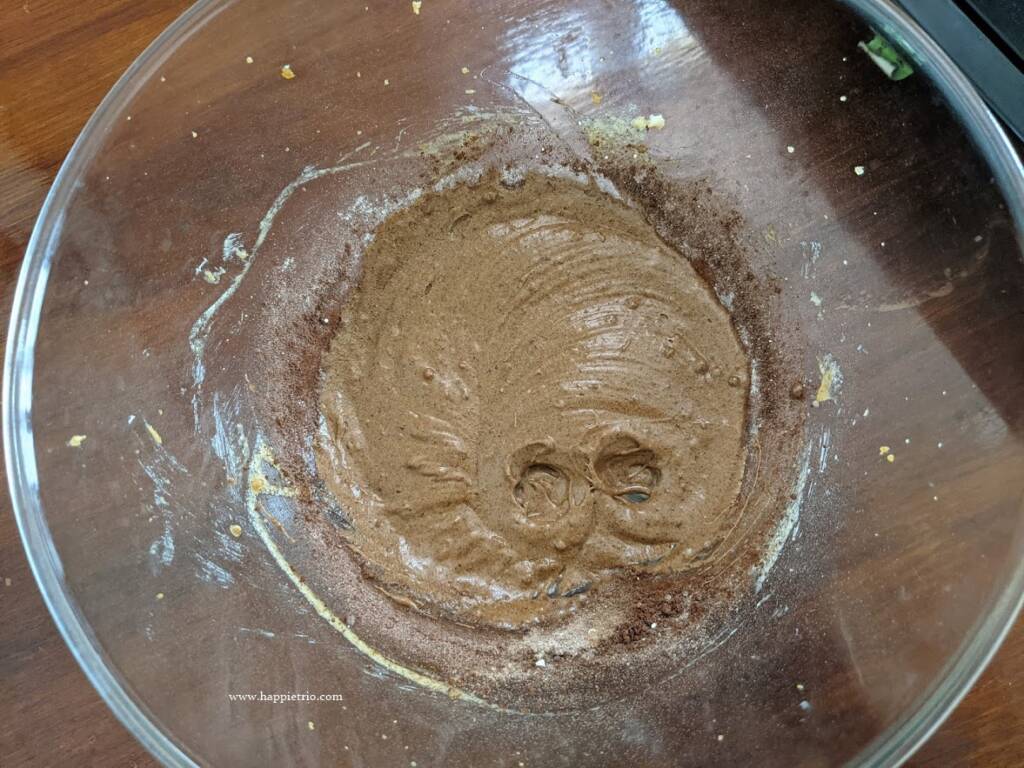
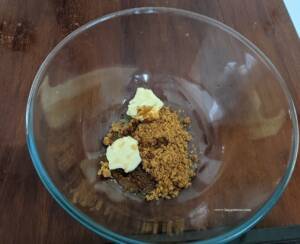
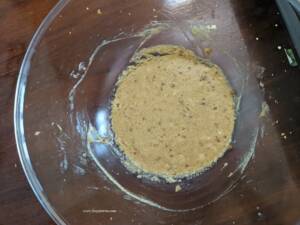
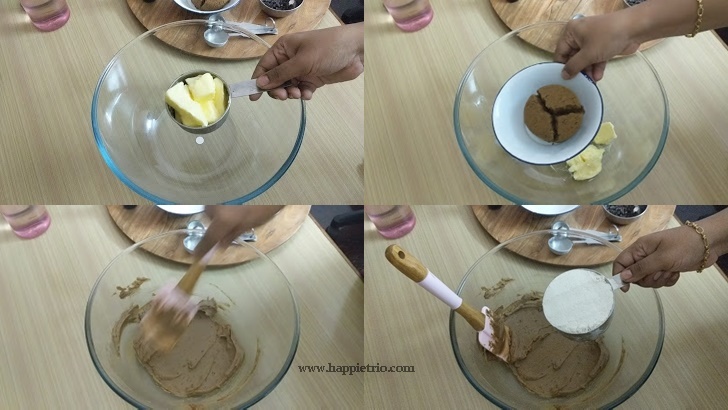
7. In another mixing bowl add in room temperature butter and powdered sugar. Cream the butter and sugar well and then add in milk.
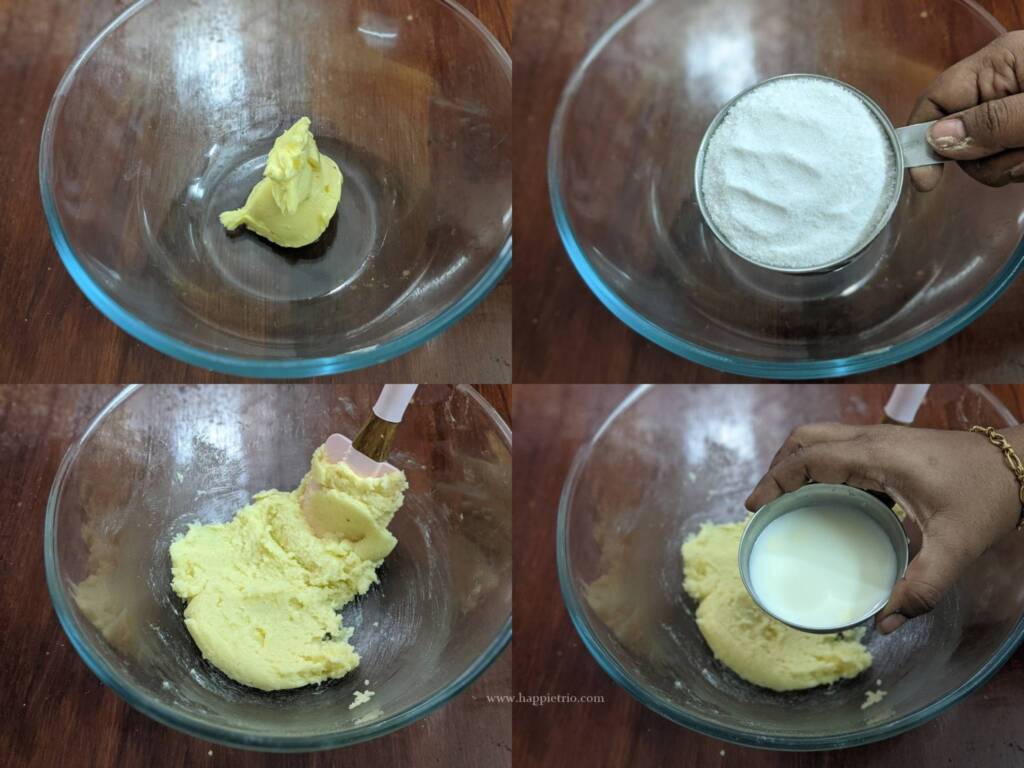
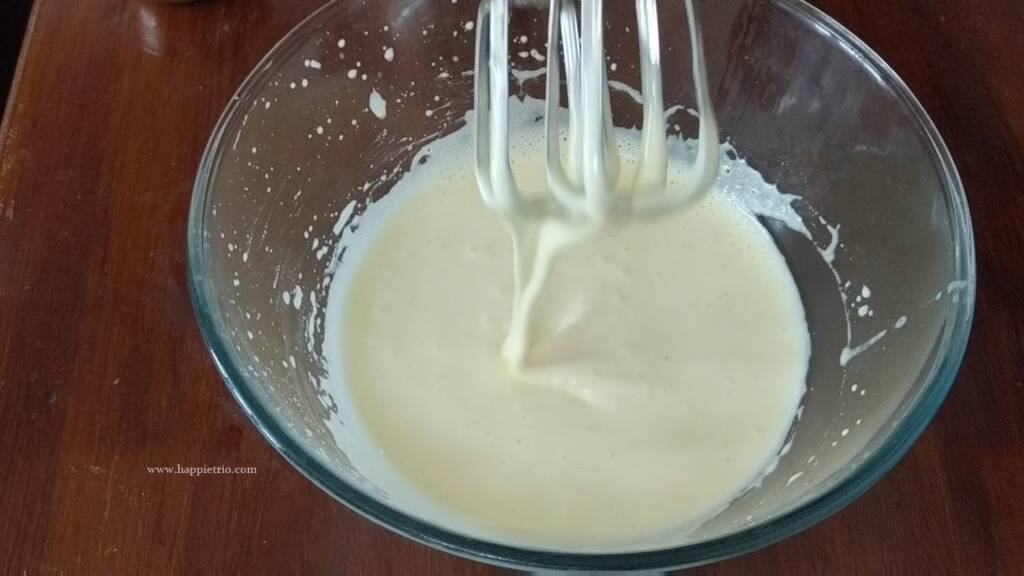
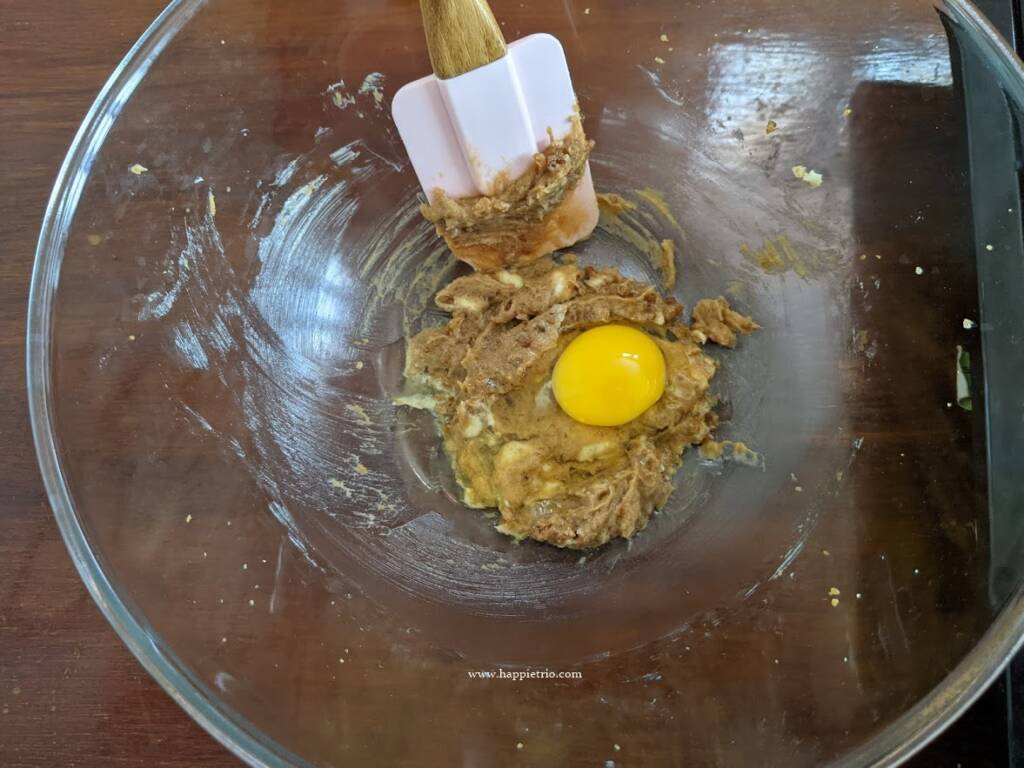
8. Whisk everything together. The mixture might appear curdled at this stage but it is normal.
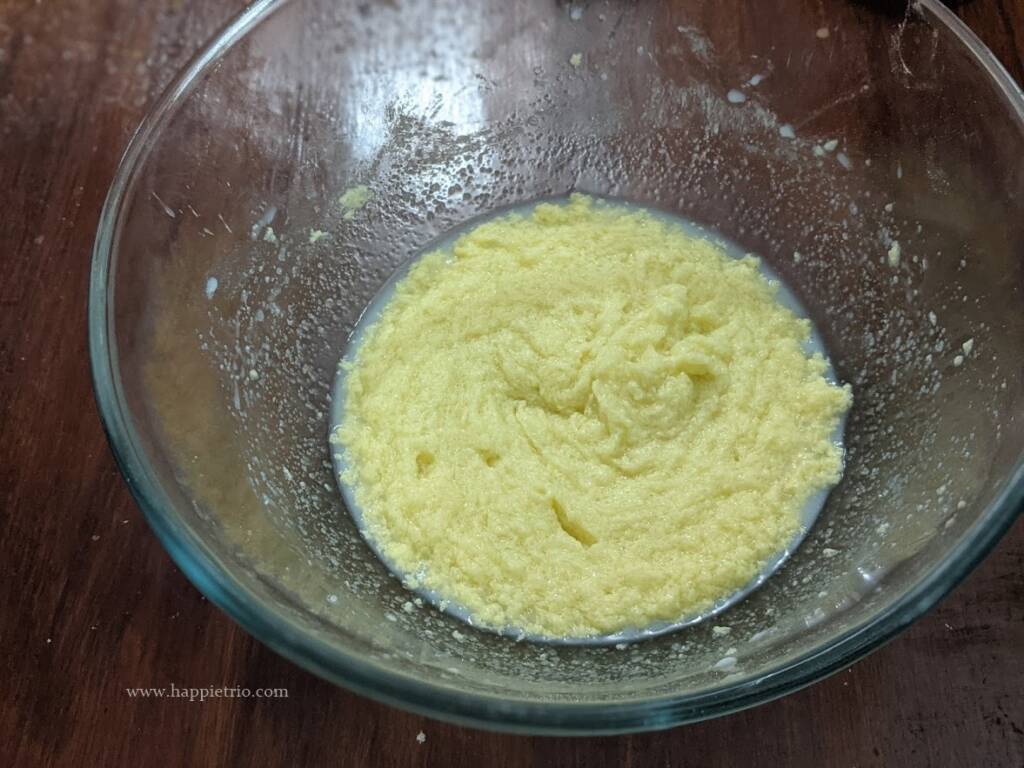
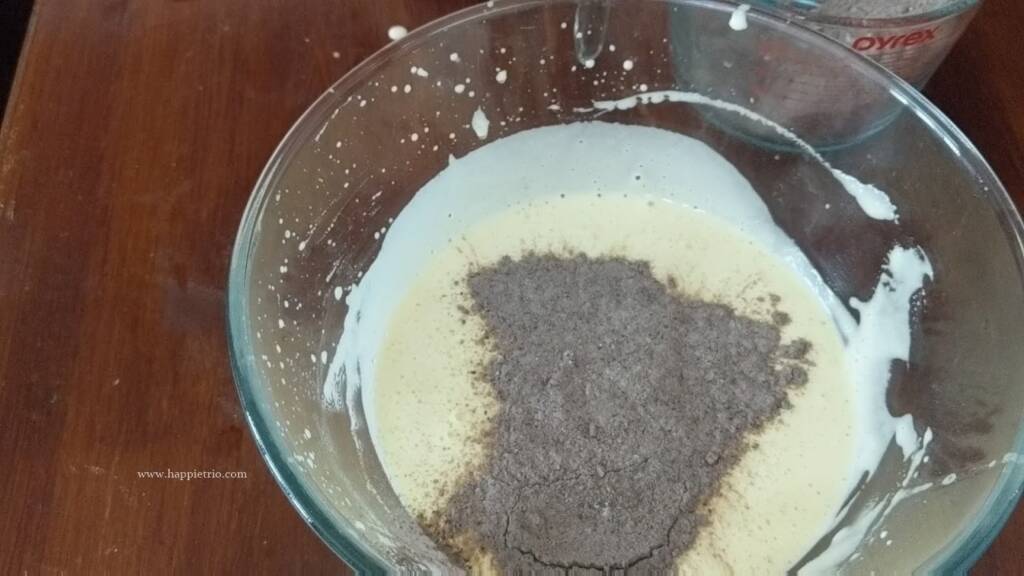
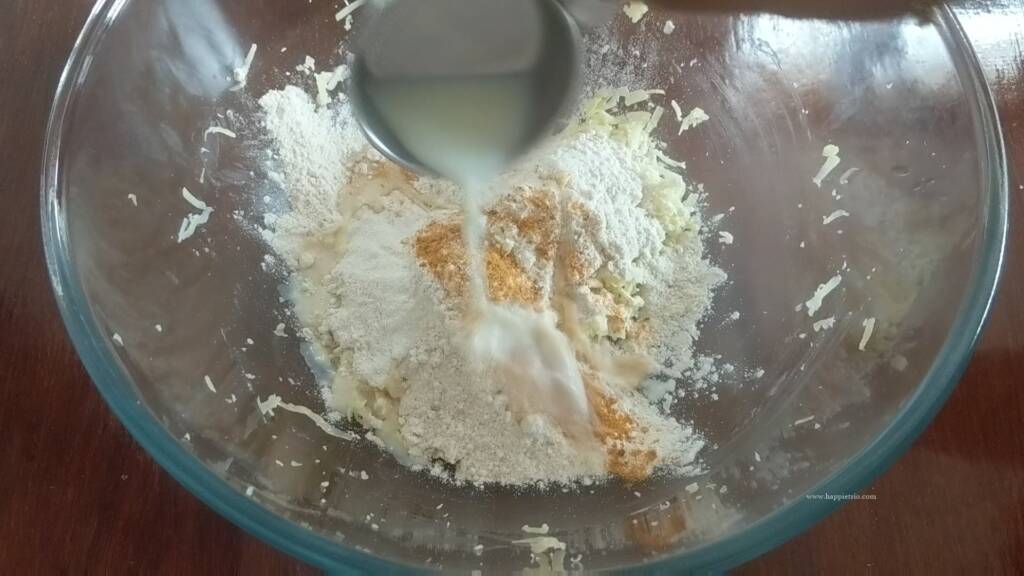
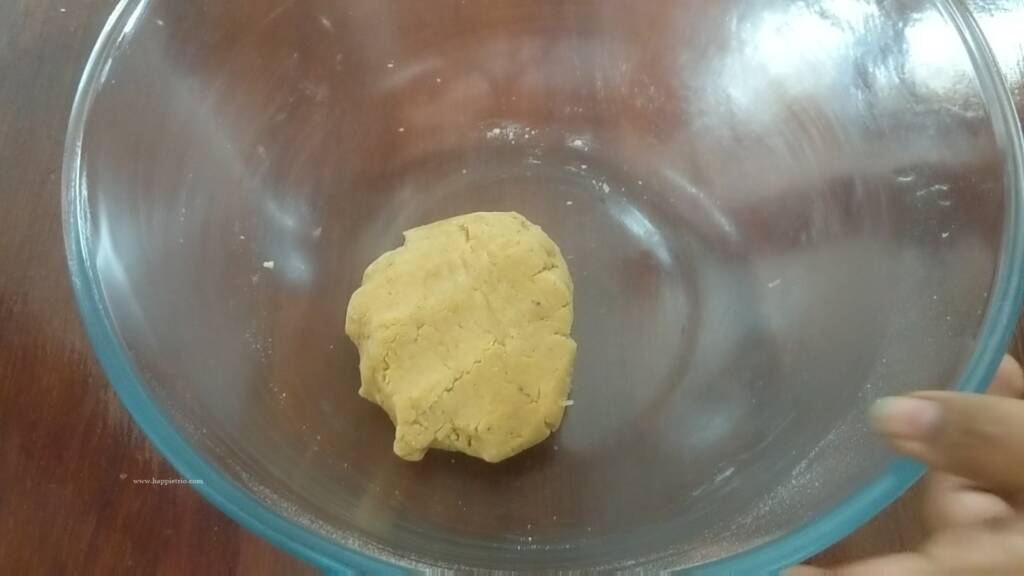
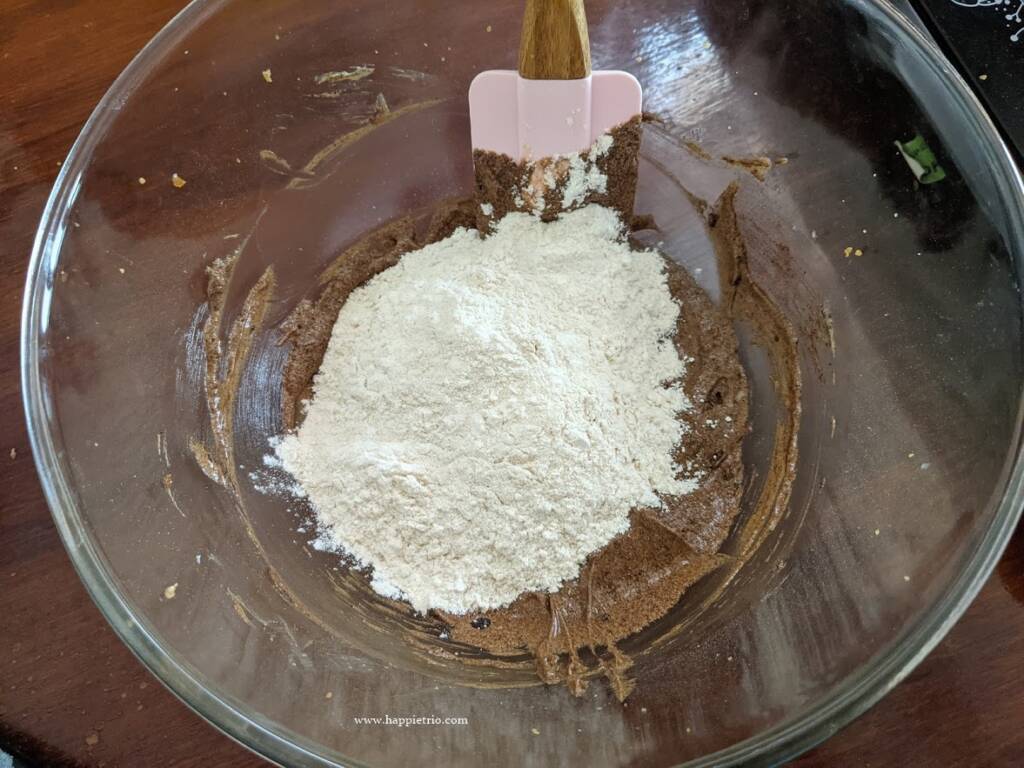
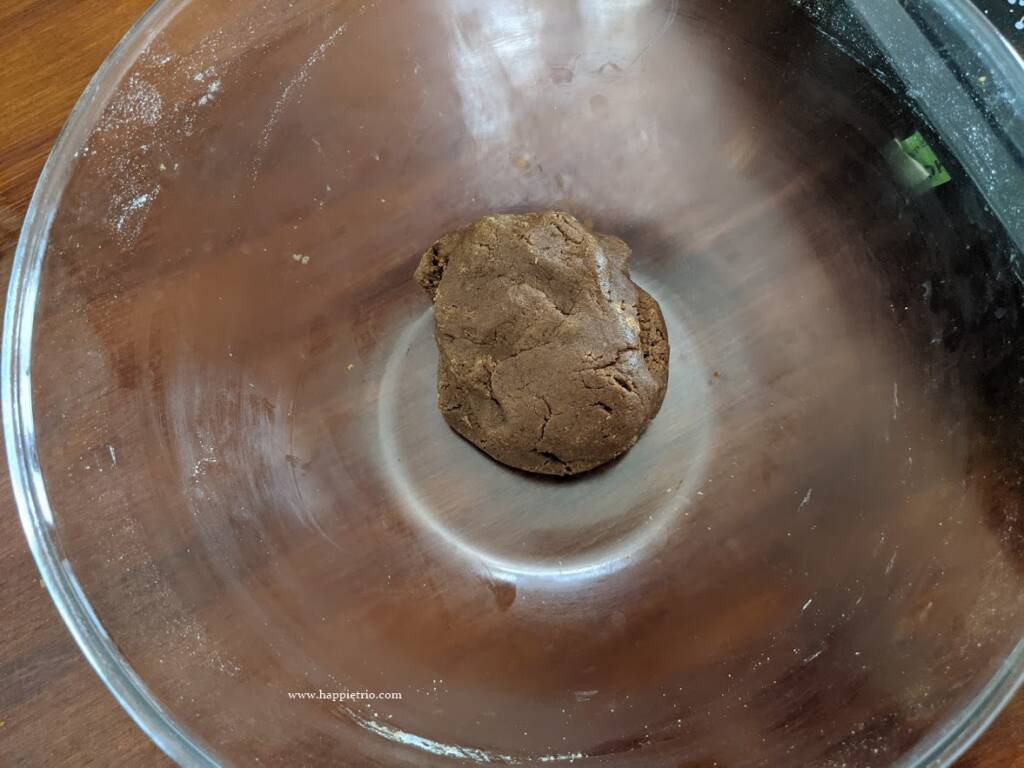
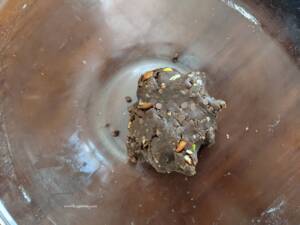
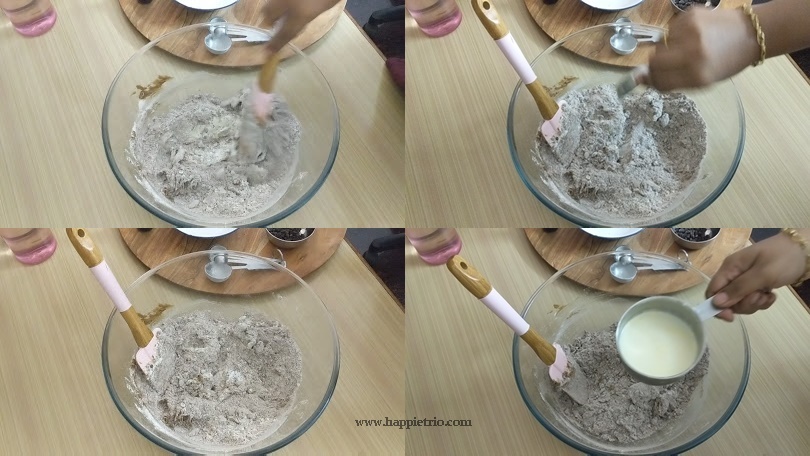
9. Once the milk, butter and sugar are well combined. Add in the prepared flour mixture in batches. Make sure there are no lumps .If the mixture is very dry add in little milk.
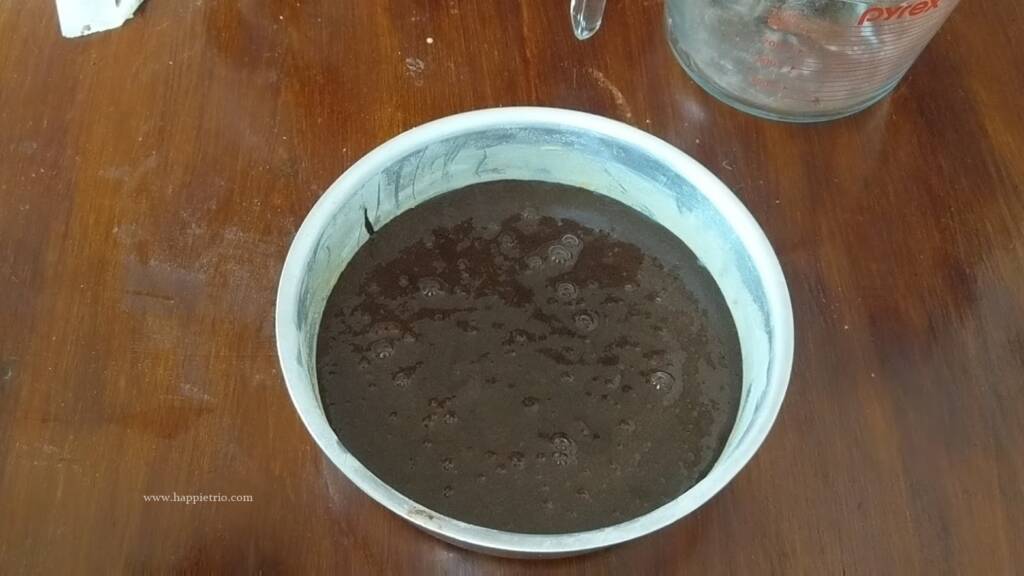
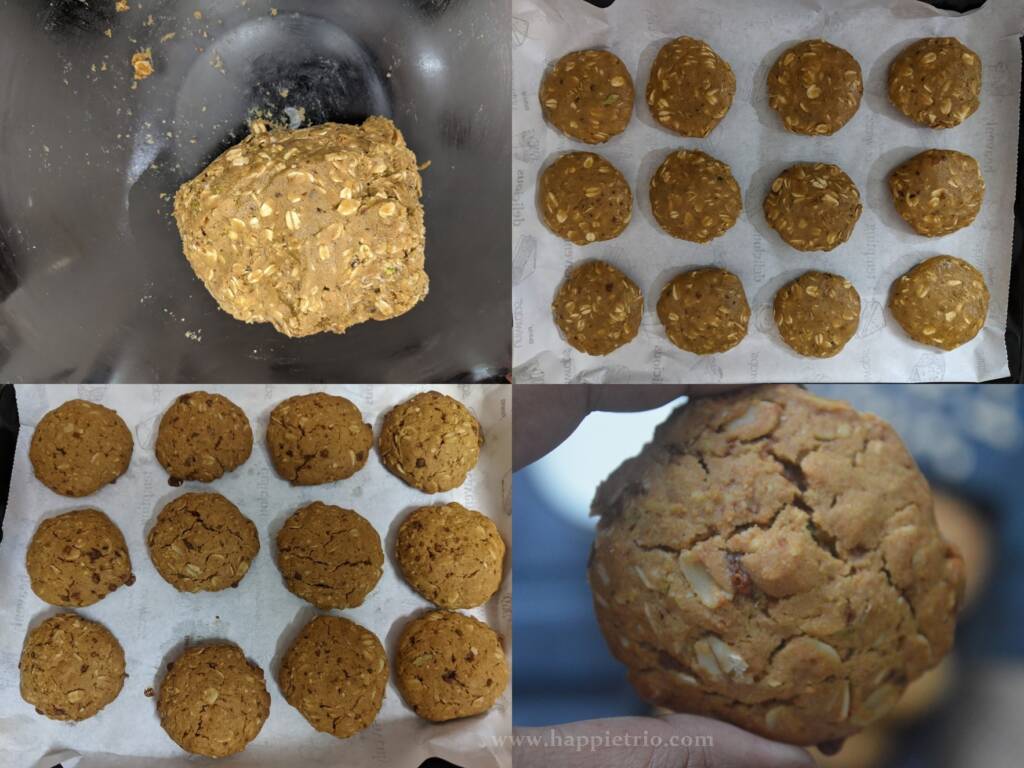
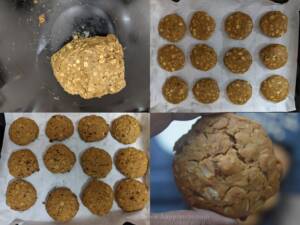
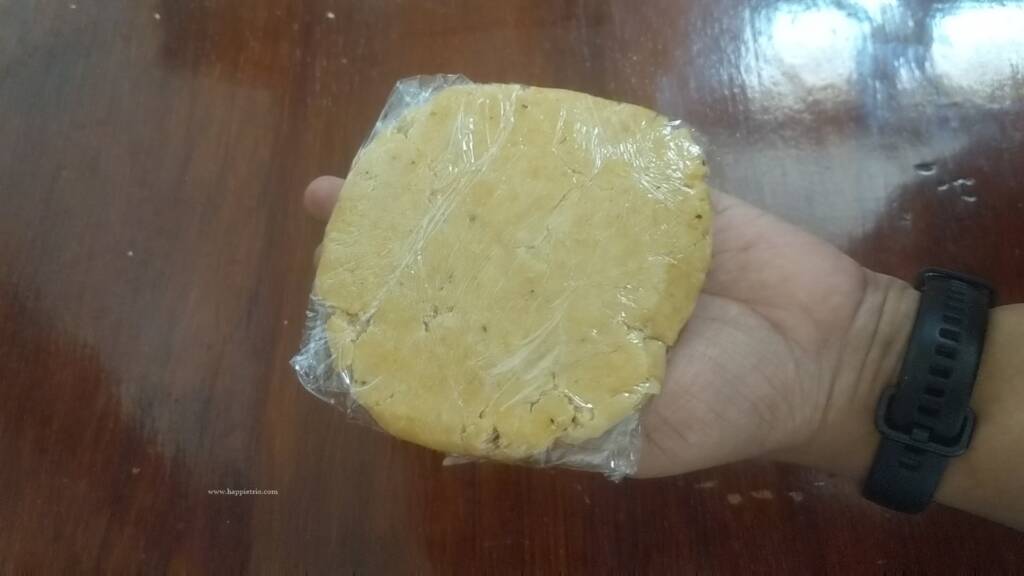
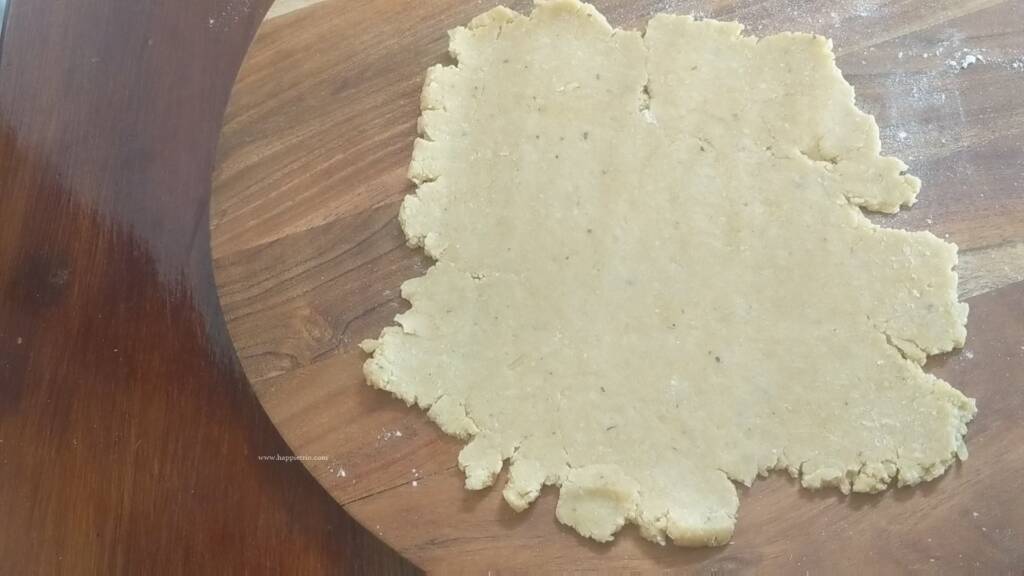
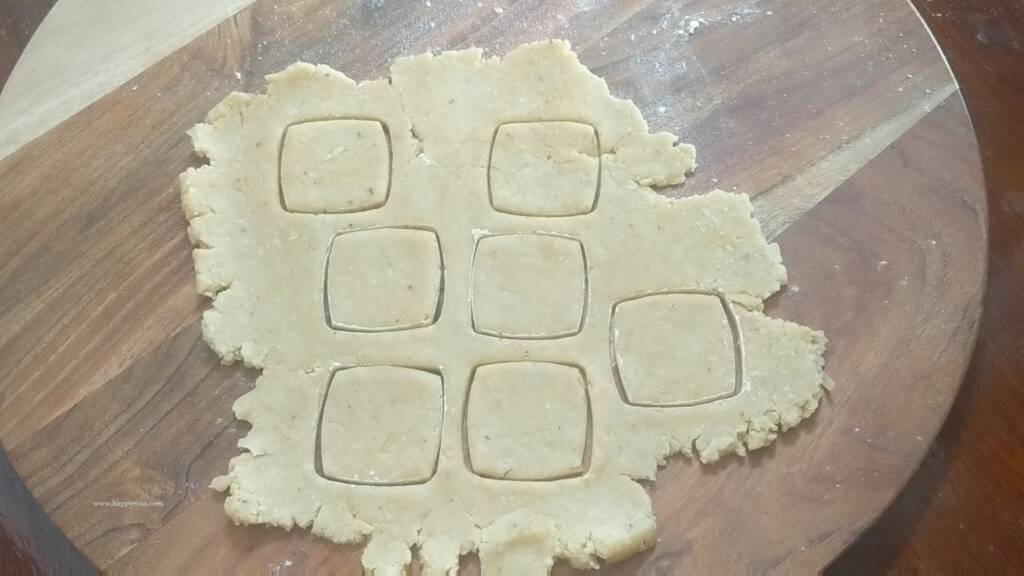
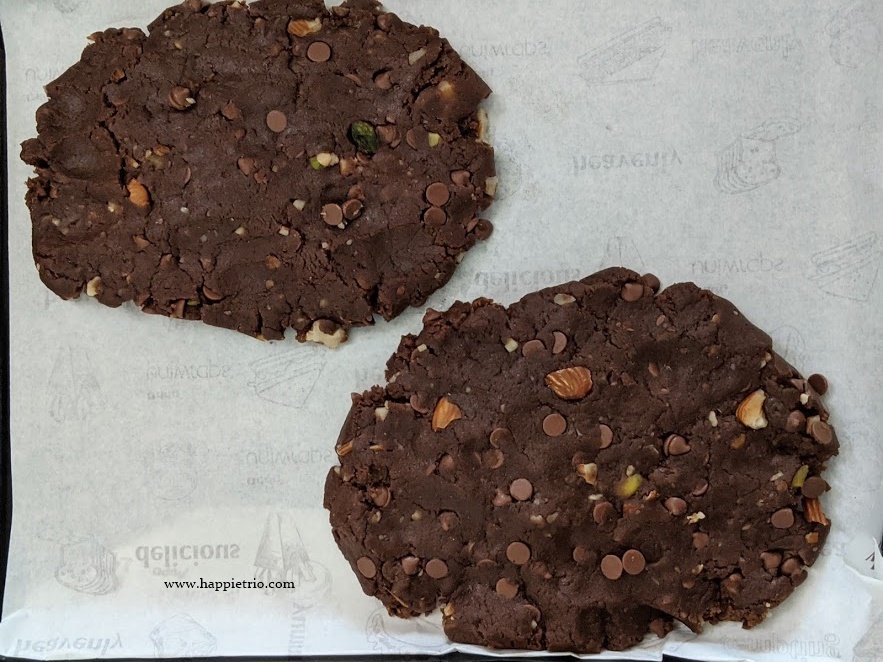
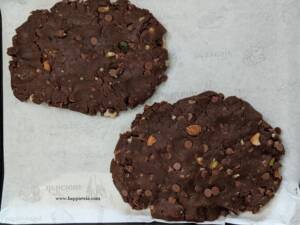
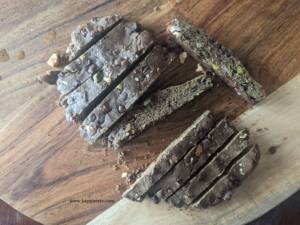
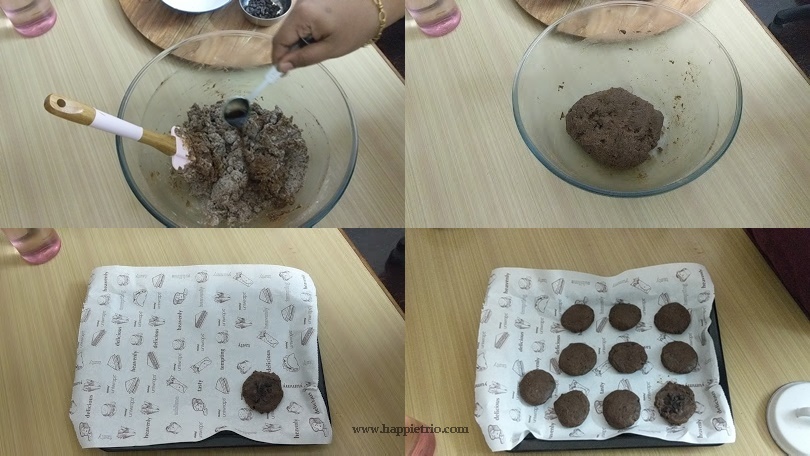
10. Roll the prepared dough to form logs or any desired shapes and cover it using a cling wrap and freeze it for about 15 mins or until it become firm .Once out of the fridge remove the cling wrap and cut into equal sized pieces
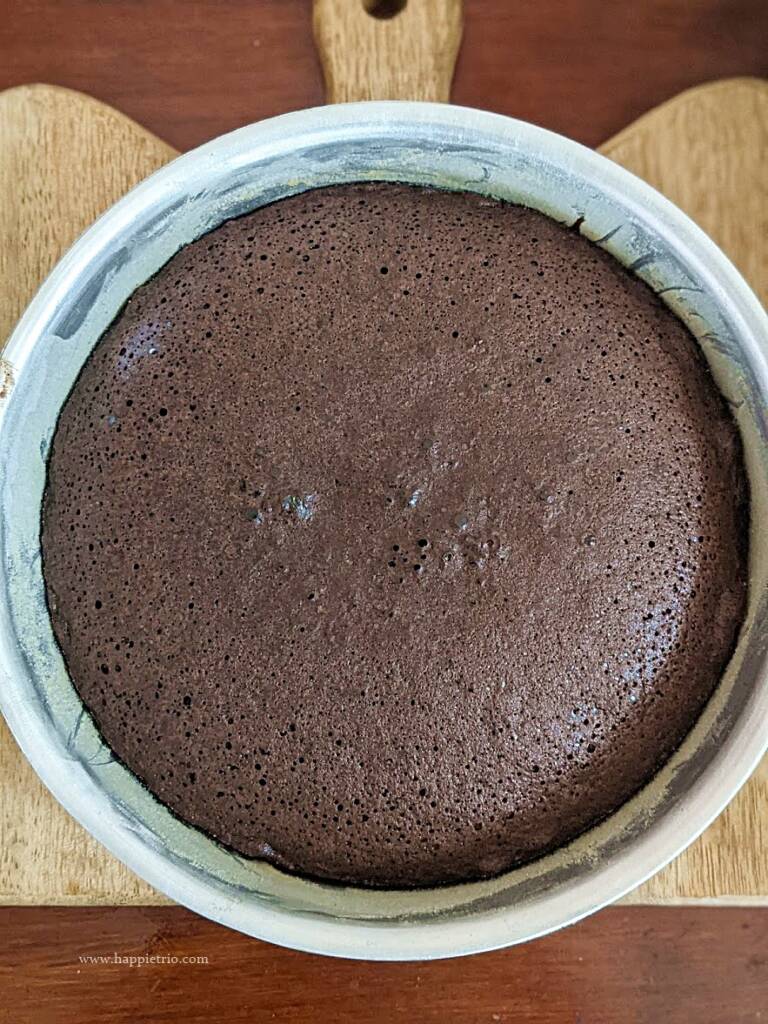
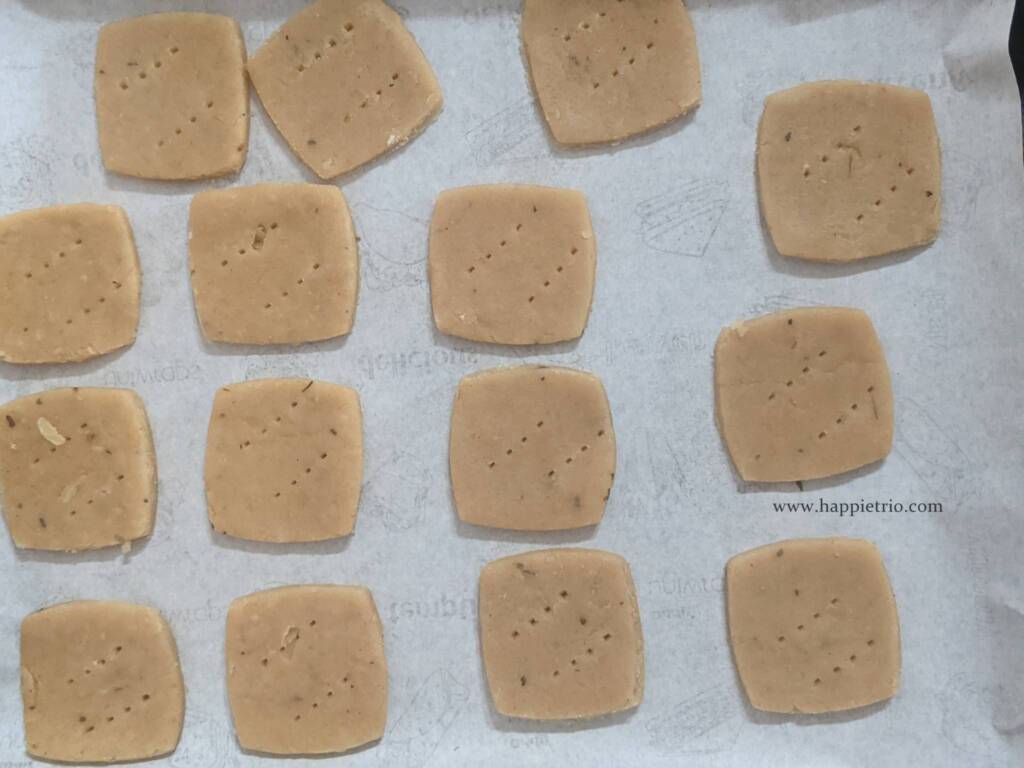
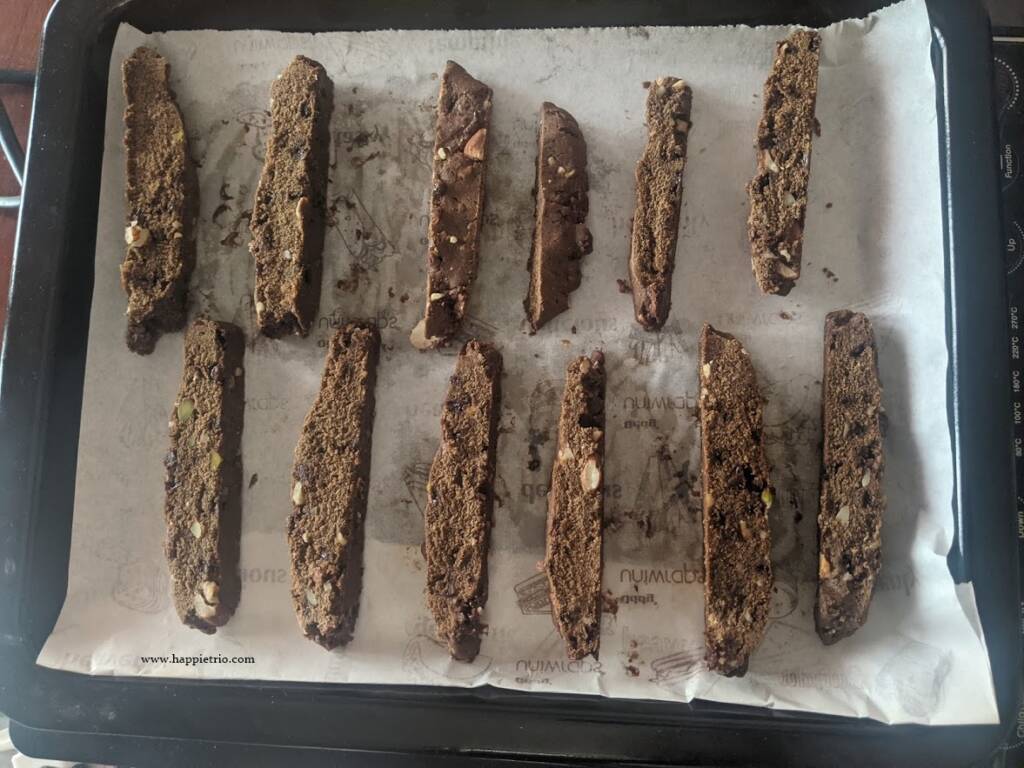
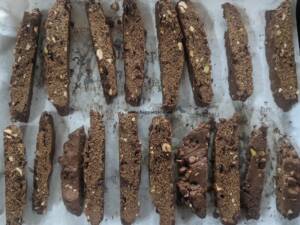
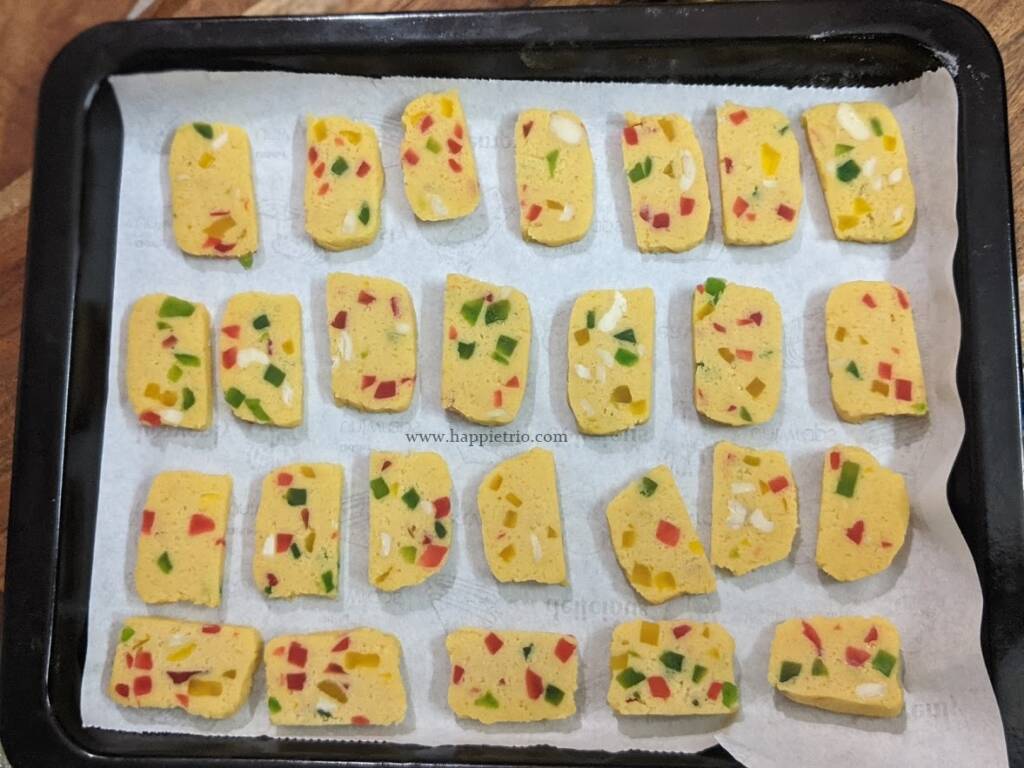
11. Arrange the cookies in a baking tray lined with PArchment paper. Leave space between the cookies . It will expand a little.Preheat the oven at 180 Deg C for about 10 mins
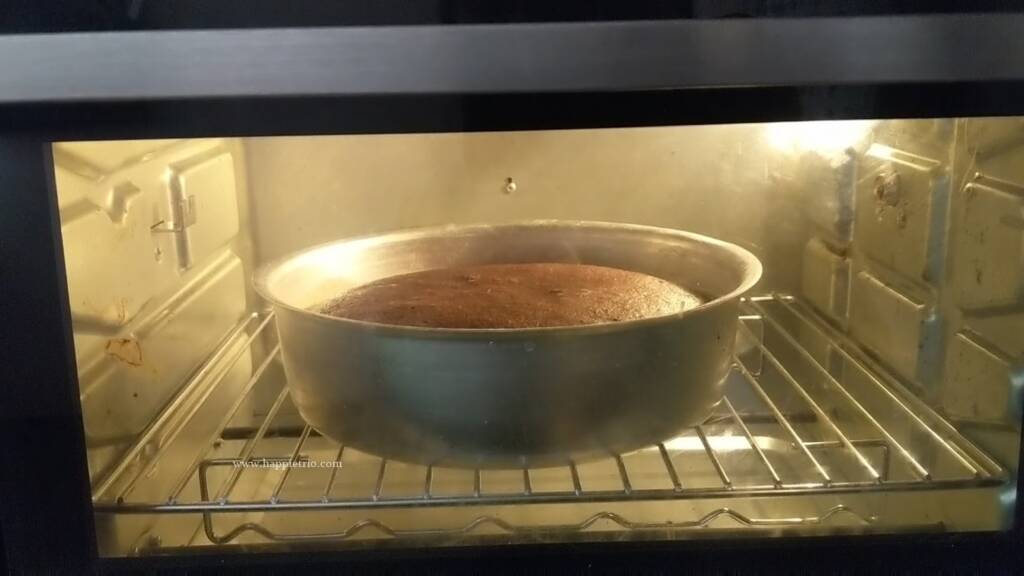
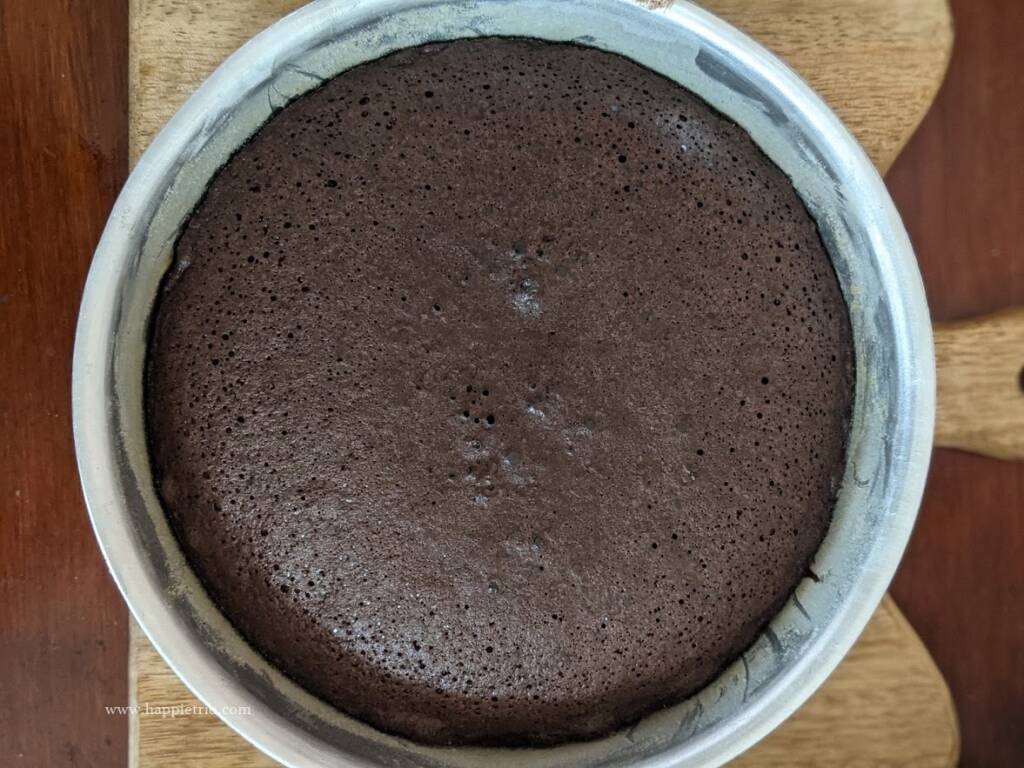
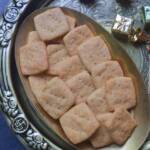
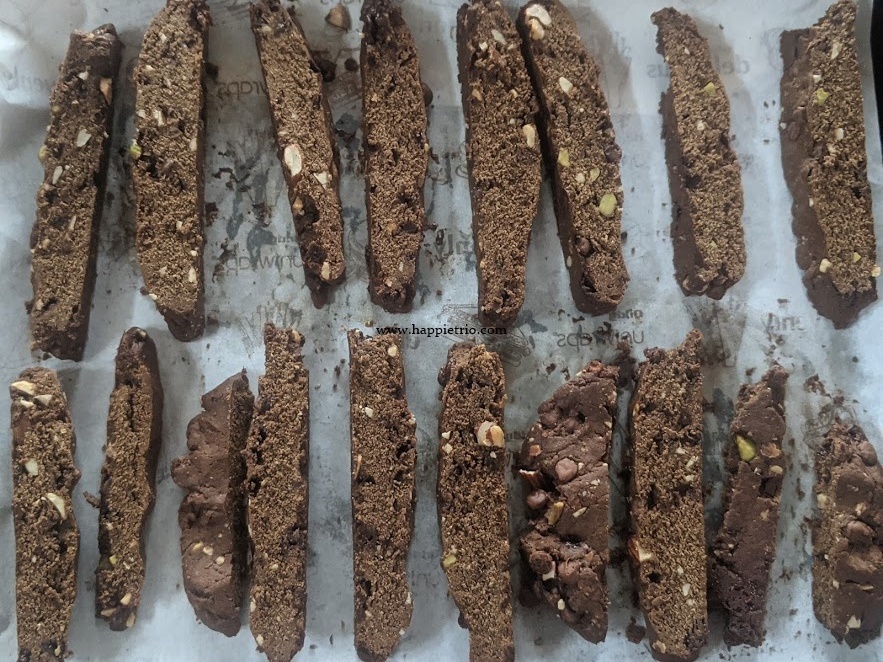
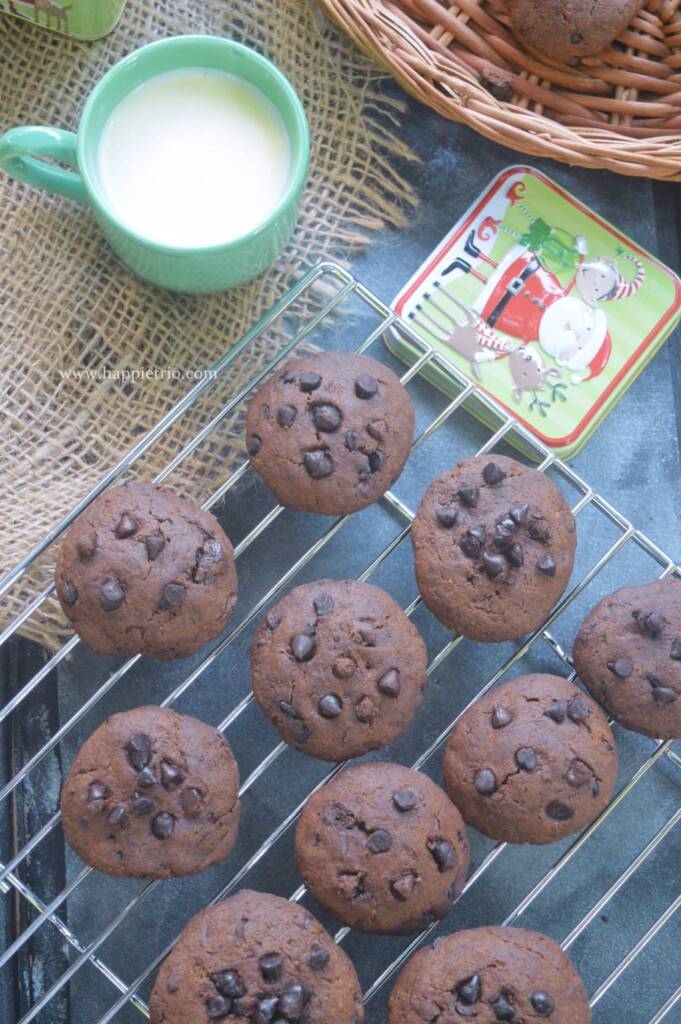
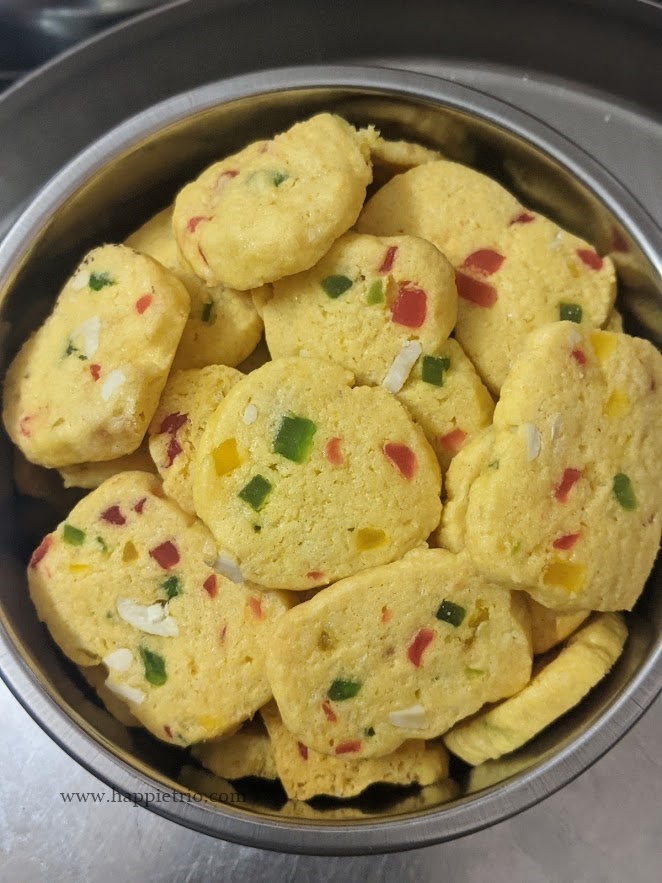
12. Bake at 180 Deg C for about 15 mins are until the cookies start turning crisp. Allow the cookies to cool down completely and then store in airtight containers and enjoy 🙂
Tips to Bake the best ever Karachi Biscuits
- Cookies expand during baking and hence leave space in the baking tray while placing the cookies.
- Always chill the cookie dough and then bake.
- You Pineapple essence for the bakery style flavor in the Karachi Biscuits
★ Did you enjoy this recipe? If you happen to try it out, I would love to hear from you! I’d appreciate it if you could rate and leave a review below in the comments. Your reviews help others know the recipe better too. Thanks for your time ?
You can also follow me on Facebook, Pinterest, Instagram,Youtube and Twitter for more updates
📖 Recipe

Karachi Biscuits | Eggless Tutti Frutti Cookies
Standard 1 cup measures 240 ml
Equipment
- OTG Oven
- OTG Oven
Ingredients
- 1.5 cups All purpose flour
- ½ cup Room Temperature Butter
- ½ cup Custard Powder Vanilla flavored
- 1 cup Powdered sugar
- ¼ cup Cashew nuts
- ¾ cup Tutti Frutti
- 1 teaspoon Baking powder
- 5 tablespoon Milk
Instructions
- In a large mixing bowl sieve in All-purpose flour and Custard powder and Mix both together.
- To the mixing bowl add in roughly chopped cashew nuts and Tutti frutti .Whisk everything together.
- In another mixing bowl add in room temperature butter and powdered sugar. Cream the butter and sugar well and then add in milk Whisk everything together.
- Once the milk, butter and sugar are well combined. Add in the prepared flour mixture in batches. Make sure there are no lumps .If the mixture is very dry add in little milk.
- Roll the prepared dough to form logs or any desired shapes and cover it using a cling wrap and freeze it for about 15 mins or until it become firm .Once out of the fridge remove the cling wrap and cut into equal sized pieces .Preheat the oven at 180 Deg C for about 10 mins and bake in 180 Deg C for about 15 mins are until the cookies start turning brown. Once the completely cooled store in air tight containers.
Video
Notes
- You can also, replace custard powder with Cornflour or all-purpose flour.
- If using corn flour you have to add 1 teaspoon of Vanilla Essence.
- Also, add in a pinch of yellow food color.
- Baking time may differ from oven to oven so keep a check on the cookies after 12 mins.
Nutrition
Disclaimer: I am not a nutritionist , the nutrition value provided here is an estimate.It will vary based on the quantity and brands of the products used.
Note: This post is originally from 2016 . I have updated with new Recipe card, Pictures and video now.