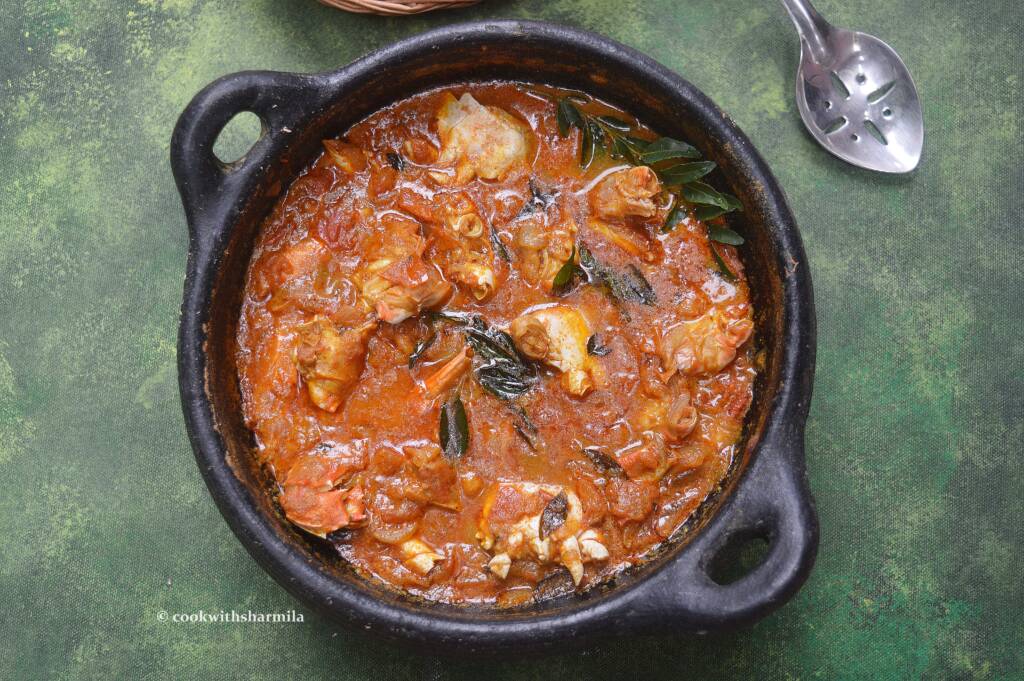
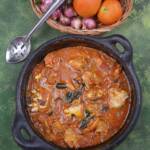
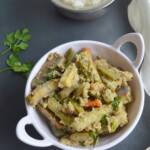
Kerala Style Aviyal recipe with step by step photos. Kerala Style Aviyal is a healthy and delicious lunch side dish from the cuisines of Kerala to the world. It is a mixed vegetable delicacy served along with Rice or Adai/Savory Lentil Pancakes .
Any foodie will never say a no to the traditional Kerala Style Aviyal. The Onam Sadhya is definitely incomplete without an aviyal.
The goodness of vegetable cooked in a coconut based masala along with the seasoning done with the coconut oil is just out of the world. The Combination of Steamed Rice, aviyal and Kerala parippu curry is one of my favourites.
Mom makes aviyal very often in home however I am lazy to prepare as I somehow miss or forget to get one of the required vegetable in the aviyal. But now a days I carefully list it out and make sure I cook it and enjoy it with family. Now let’s see how to prepare Kerala Style aviyal
Vegetable Used in Kerala Avial:
The most common vegetavles used n the Kerala Avial are Drumstick,Raw banana , Brinjal,Cluster beans, Cucumber.
However based on the regions it will be different . Yam ,Carrot Snakegourd can also be used.
Variations in Kerala Avial:
Depending on the region few ingredients vary in the traditional avail.
In some places Raw mango is used for the tangy flavor, In some place tamarind even Curd is also widely used.
Similar Onam Sadhya Recipes:
A quick Video on how to prepare Kerala Avial:
How to prepare Kerala Aviyal ,Step by step Method with pictures:


📖 Recipe
Kerala Style Aviyal Recipe
Standard 1 cup measures 240 ml
Ingredients
- 1 Raw Banana
- 1 Drum Stick
- 3 Brinjal
- 2 Carrot
- 1 Cucumber
- 10 Cluster Beans
- ¼ cup Water
- Salt as needed
To Grind:
- 1 cup Frshly grated Coconut
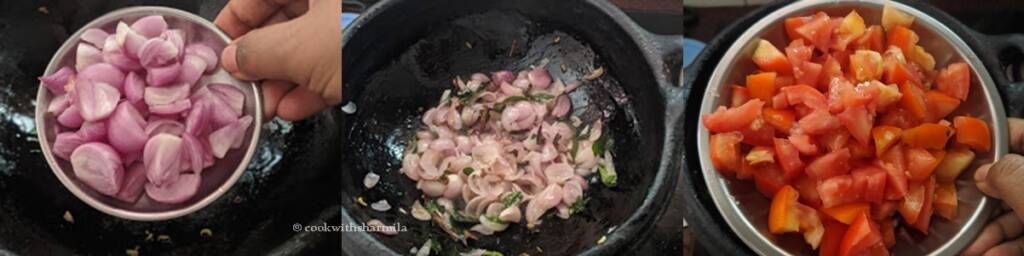
- 4 Small onions / Shallots
- ½ teaspoon Turmeric powder
- 4 Green Chilli
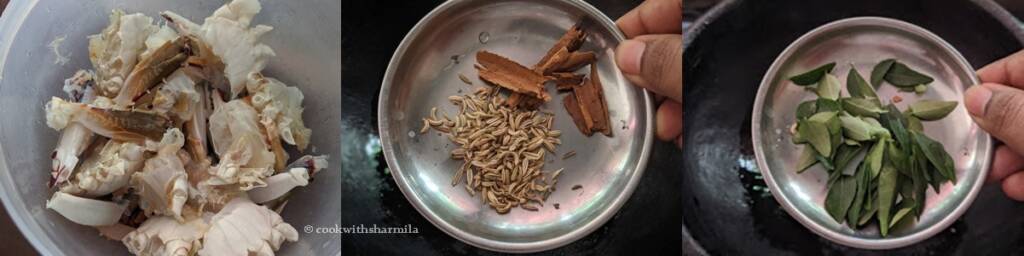
- ½ teaspoon Cumin Seeds /Jeera
- Tamarind a small piece
- 1 spring Curry Leaves
To Temper :
- 1 tablespoon Coconut oil
- 1 teaspoon Mustard Seeds
- 1 spring Curry Leaves
Instructions
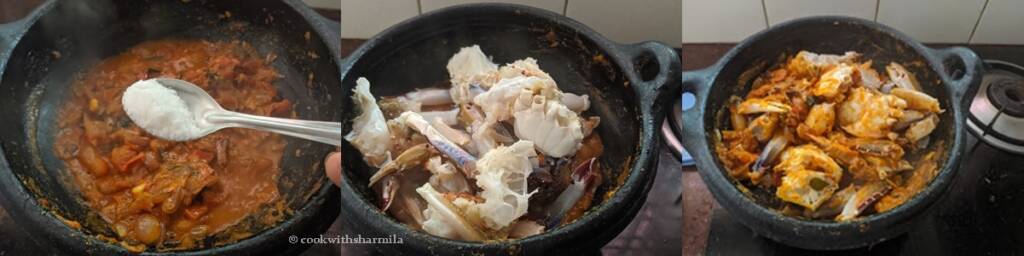
- Chop the vegetables lengthwise and soak in water until we start to cook. After slicing the vegetables ,In a non-stick or a heavy bottomed pan add in little water to cook the vegetables and add in the sliced vegetables and let them cook.
- Add in the required Salt and mix the vegetable and let it cook till they are 90% done. Make sure not to mash the vegetables it should retain its shape.
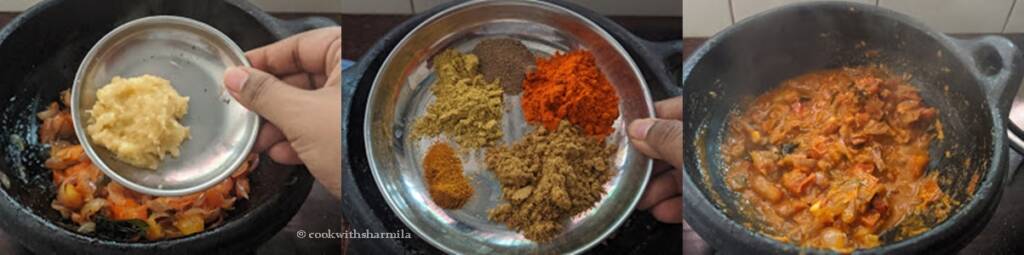
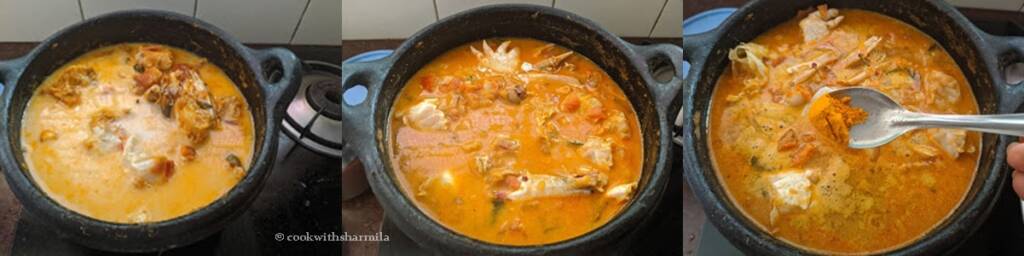
- Take the ingredients mentioned in the “To Grind” section in a blender and grind it to a course mixture or just pulse it make sure not to grind to a fine paste. Next add in the ground masala to the vegetables.
- Give a good mix and cook for another 5 mins in a low flame so that the masala blends well with the vegetables and the vegetables are fully cooked and then switch of the flame.
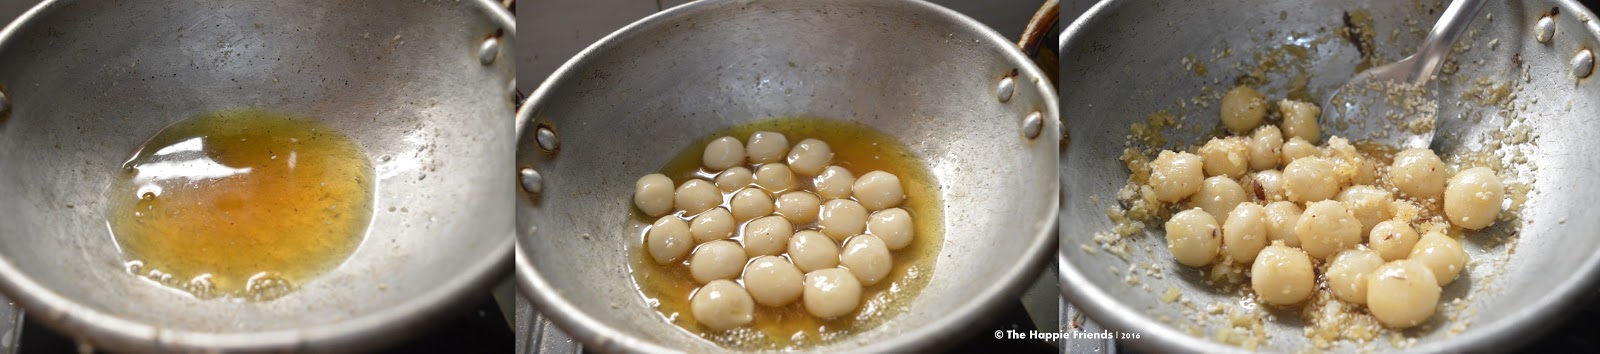
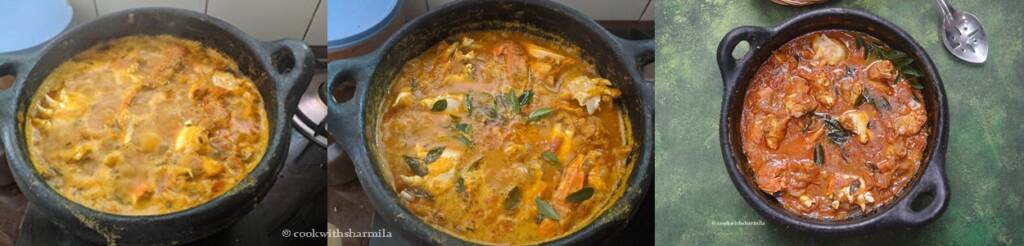
- Next in another pan add in Coconut oil and let it get hot and then add in the Mustard seeds and curry leaves and prepare the seasoning.
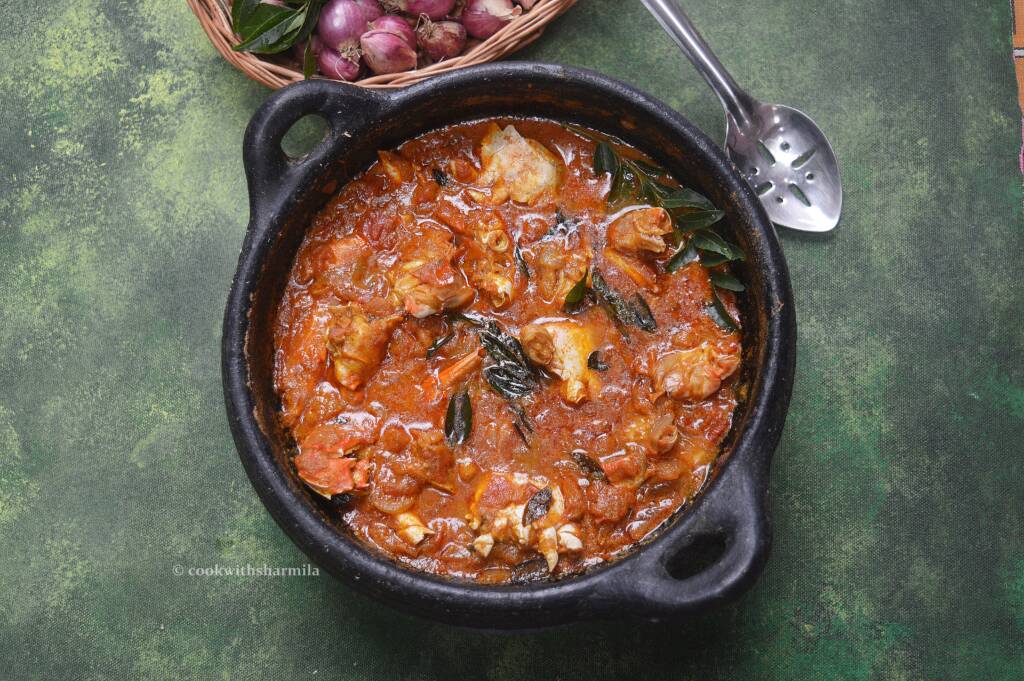
- Put the seasoning over the cooked vegetables and mix well .Aviyal is now ready to be served.
Video
Notes
- Goes well with Steamed rice and Parippu Curry.
- It can also be served along with Adai/Savoury Lentil Crepes.
- If serving for Adai prepare the Aviyal little watery by adding more water while cooking the vegetables. As I cooked my aviyal for Rice , I made it as a dry version.so adjust the water consistency according to your preference.
- Make sure not to skip Raw Banana and Drum stick as they are the main vegetables used.
- You can also use raw mango in preparing the aviyal. In that case you can skip adding tamarind.
- You can also add a tbsp. of curd to the aviyal at last.
- Never skip Coconut Oil as it the authentic way of preparing aviyal.
- You can also use vegetables like potato and yam for preparing aviyal.
- If possible try cooking aviyal in a claypot which gives the best taste.
Nutrition
Disclaimer: I am not a nutritionist , the nutrition value provided here is an estimate.It will vary based on the quantity and brands of the products used.