Kollu Thogayal Recipe | Horsegram Chutney Recipe | Kollu Recipes with step by step pictures and video. Kollu is a healthy ingredient for weight loss and many have been looking for this recipe when I have shared the same in Instagram. Finally i made it and clicked it .Kollu Thogayal Horsegram Chutney goes very well with rice. It can be mixed and had as such with rice. Can be served with idli and dosa too.Kollu Thogayal Horsegram Chutney is one wonderful find and this recipes is a treasure.,Now lets see how to prepare Kollu Thogayal

Kollu Thogayal Recipe
Step by Step Method with Pictures:
1. Heat a pan to this add in the Horse gram. Dry roast in a medium flame. At one stage the seeds start to pop switch off at this stage.

2. Allow it to cool down. Transfer it to a blender and pulse it 5 times.

3. Transfer the blended horse gram to a bamboo muram or any big plate and remove the skin. If needed pulse the horse gram more to remove the skin.

4. Transfer the cleaned horse gram back to the blender, now add the Tamarind.

5. Dry roast the red chilli or show it in direct flame and then add it to the blender, Next add Garlic pods, Curry Leaves.

6. Grated Coconut, Salt and Cumin Seeds. Pulse it, Add required water and grind it to a thogayal consistency.

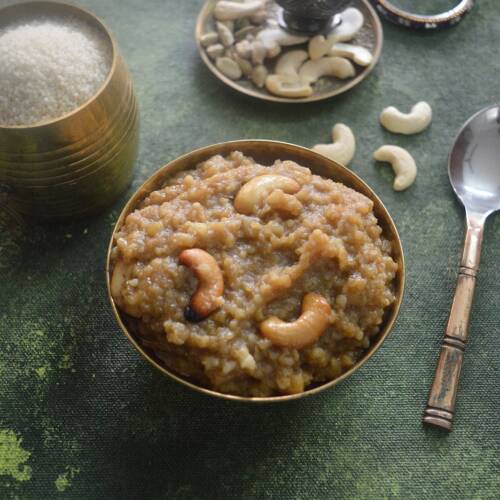
Mix with rice and can be had as it is.

📖 Recipe
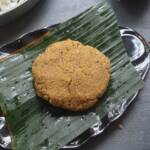
Kollu Thogayal | Horsegram Chutney
Kollu Thogayal | Horsegram Chutney is a spicy and yummy thogayal Kollu is a healthy ingredient for weight loss.
Servings: 4
Calories: 108kcal
Standard 1 cup measures 240 ml
Ingredients
- ¾ cup Kollu / Horsegram
- 4 Dry Red Chilli
- 4 Garlic pods
- Tamarind amla sized
- ½ cup Grated Coconut
- 2 sprig Curry Leaves
- ½ teaspoon Cumin Seeds
- Salt as needed
- Water as needed
Instructions
- Heat a pan to this add in the Horse gram. Dry roast in a medium flame. At one stage the seeds start to pop switch off at this stage.
- Allow it to cool down. Transfer it to a blender and pulse it 5 times.
- Transfer the blended horse gram to a bamboo muram or any big plate and remove the skin. If needed pulse the horse gram more to remove the skin.
- Transfer the cleaned horse gram back to the blender, now add the Tamarind.
- Dry roast the red chilli or show it in direct flame and then add it to the blender, Next add Garlic pods, Curry Leaves.
- Grated Coconut, Salt and Cumin Seeds. Pulse it, Add required water and grind it to a thogayal consistency.
Video
Notes
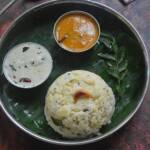
- It goes very well with rice, dosa ,idli .
- As it has coconut in it, It can be stored only for 2 days in fridge.
- Use long variety of red chilli, I did have and hence used the round variety.
- Adjust the red chillies as per your spice level.
Nutrition
Calories: 108kcal | Carbohydrates: 14.2g | Protein: 4.9g | Fat: 3.7g | Saturated Fat: 3g | Sodium: 8mg | Potassium: 52mg | Fiber: 3.4g | Sugar: 2g | Calcium: 42mg | Iron: 2mg
Tried this recipe?Mention @happietrio or tag #happietrio
Subscribe to my Channelclick for more videos