So this time when mom came home she took a big fat jackfruit. And I reserved a big portion for me to try out some recipes. So will be posting a few recipes this time before the season gets over. So the first one is the traditional chakka varatti.

As Jackfruit is a seasonal fruit chakka Varati is prepared in bulk and stored to use off season. It can be used as a spread for bread, Rolls and chapatti .Also kheer can also be prepared using Chakka Varatti. Sad part is my Chakka Varatti is done before I could prepare kheer.Ok but anyhow I am happy my family loved this and now let’s see how to prepare jackfruit preserve.

Chakka Varatti Recipe
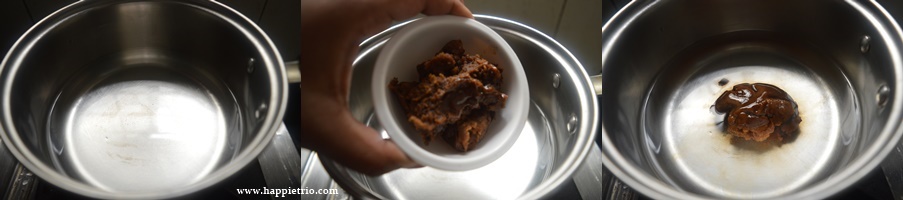
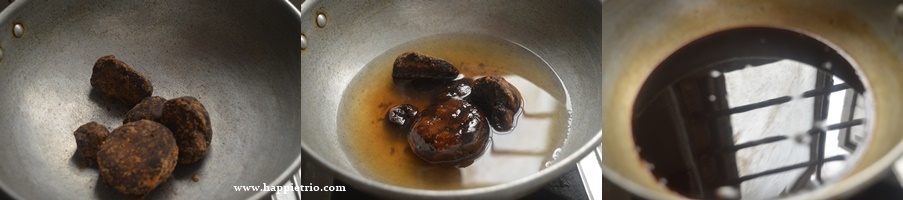
2. In a pan add in the jagerry and then add water till the immersing level of jaggery. Stir till the jagerry is completely dissolved in the water.
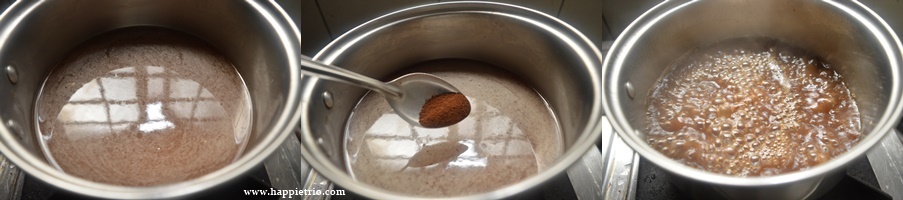
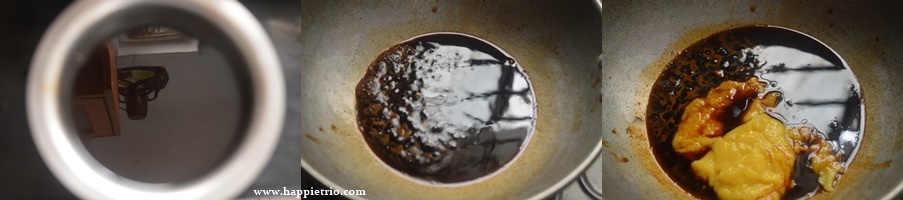
3. Once it becomes slightly thick remove from the flame and strain to remove the impurities and pour the jagerry syrup back to the pan and continue to cook. Next add in the jackfruit puree.
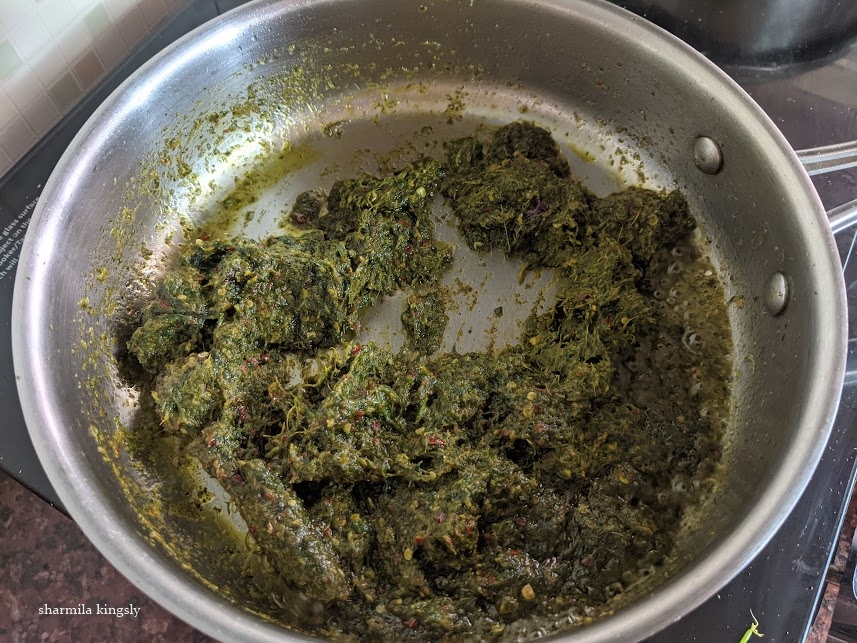
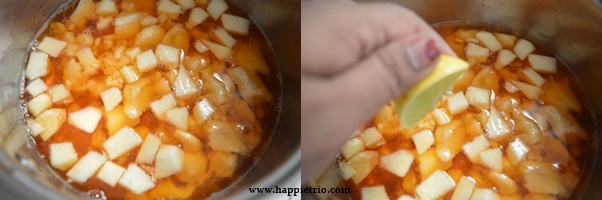
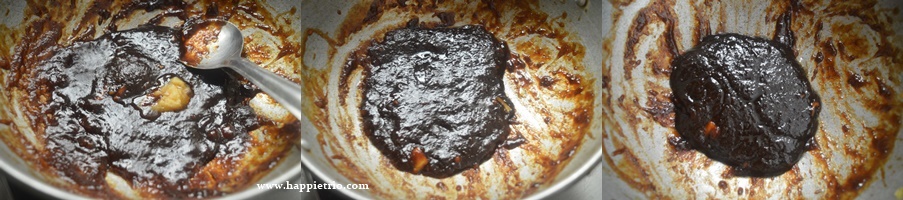
4. Mix well with a whisk so that it blends evenly with the jagerry syrup. Keep stirring and cook in a medium flame, the moisture content slowly evaporates and the halwa gets thick.
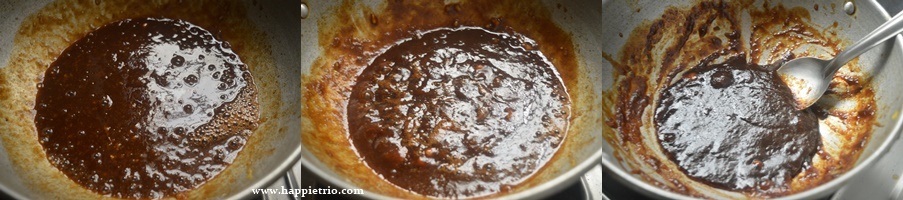
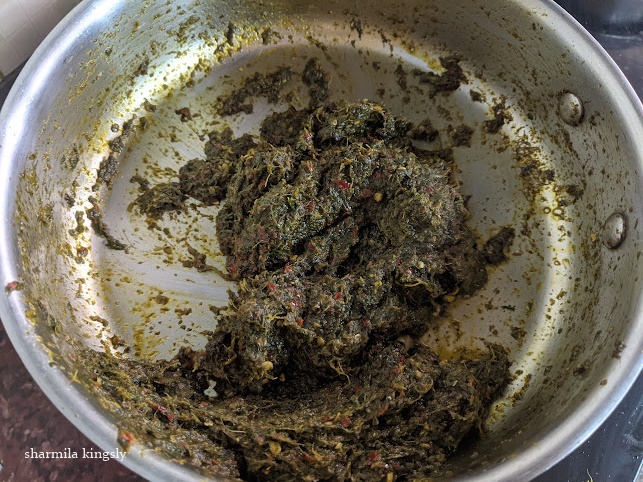
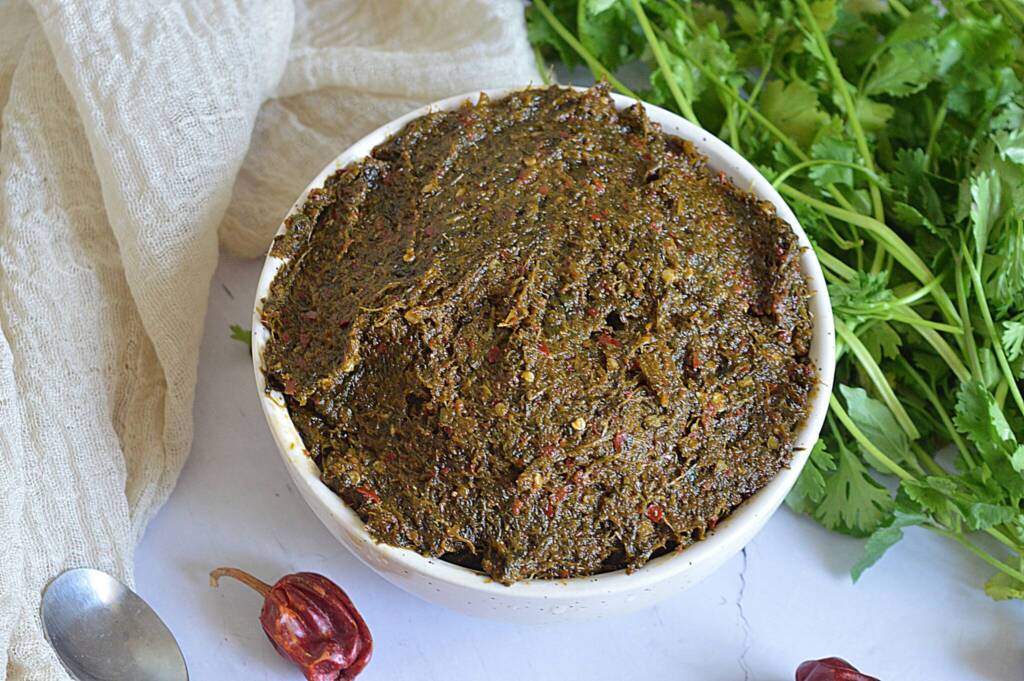
5. At this stage add in the ghee little by little and keep mixing evenly. Once the ghee is done the halwa will look glossy and leaves to the edges of the pan switch off at this stage. Let it cool completely and then store.

Enjoy with your family this yummy chakka varatti.

Few Other Jackfruit Recipes:


Did you enjoy this recipe? If you happen to try it out, I would love to hear from you! I’d appreciate it if you could rate and leave a review below in the comments. Your reviews help others know the recipe better too. Thanks for your time ?
You can also follow me on Facebook, Pinterest, Instagram, Youtube and Twitter for more updates from me.
📖 Recipe
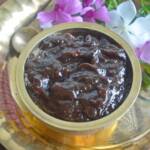
Chakka Varatti | Jackfruit Halwa
Standard 1 cup measures 240 ml
Ingredients
- 2 cups Jackfruit Puree
- 2 cups Jagerry
- 2 tablespoon Ghee
Instructions
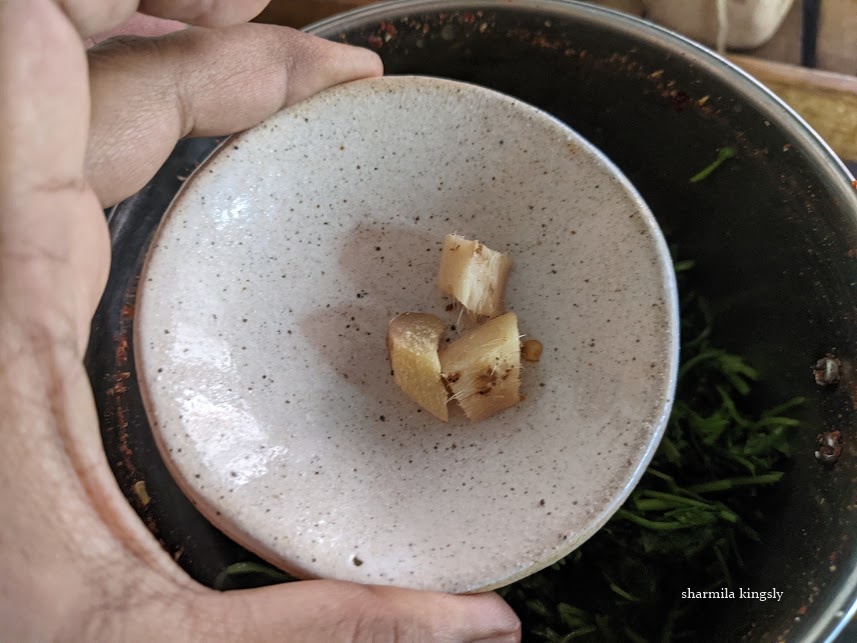
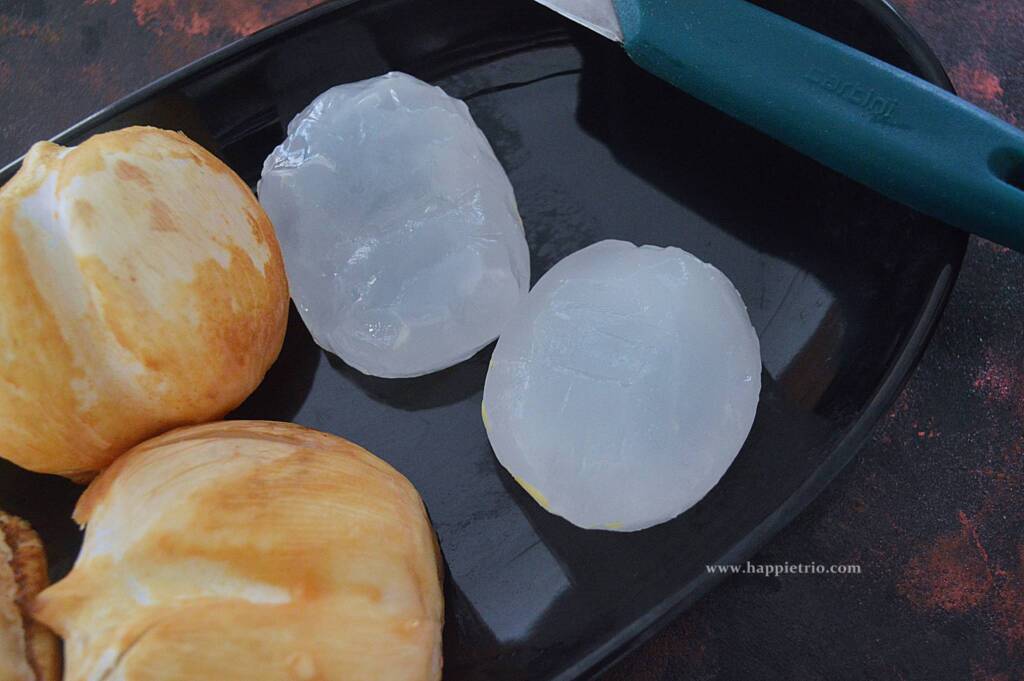
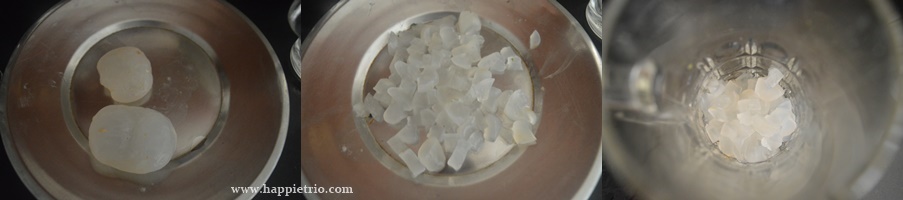
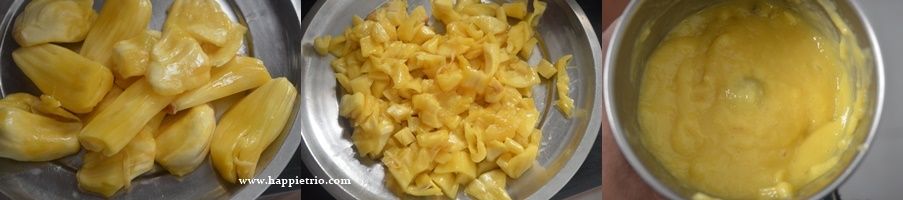
- Deseed the Jackfruit and chop them into small pieces, Make them a fine puree using a blender.
- In a pan add in the jagerry and then add water till the immersing level of jaggery. Stir till the jagerry is completely dissolved in the water.
- Once it becomes slightly thick remove from the flame and strain to remove the impurities and pour the jagerry syrup back to the pan and continue to cook. Next add in the jackfruit puree.
- Mix well with a whisk so that it blends evenly with the jagerry syrup. Keep stirring and cook in a medium flame, the moisture content slowly evaporates and the halwa gets thick.
- At this stage add in the ghee little by little and keep mixing evenly. Once the ghee is done the halwa will look glossy and leaves to the edges of the pan switch off at this stage. Let it cool completely and then store.
Video
Notes
- The colour of the halwa depends of the type of jagerry used. I used naatu sarkari (Desi jaggery) it has a dark brown colour and hence the halwa.
- Jackfruit preserve can be used to make kheer also.
- Stays good for upto a month when handled clean.
- The halwa tends to get thick once it cools down
- I used about 18 Jackfruit arils , you can adjust the nos as per the size of your fruit to yield 2 cups of jackfruit puree.