No Machine Vanilla IceCream recipe with just 3 ingredients. we can modify the recipe to get any flavors .Tastes great with chocolate brownies .Making ice cream in home was my long term wish, so once I tried custard powder ice cream, but then after that winter season has started so I couldn’t try enough recipes. But then somehow I made up my mind and tried this basic No Machine Vanilla IceCream. This is actually a basic recipe we can just customize the recipe to get any flavors as per our wish.
Similar Recipes:
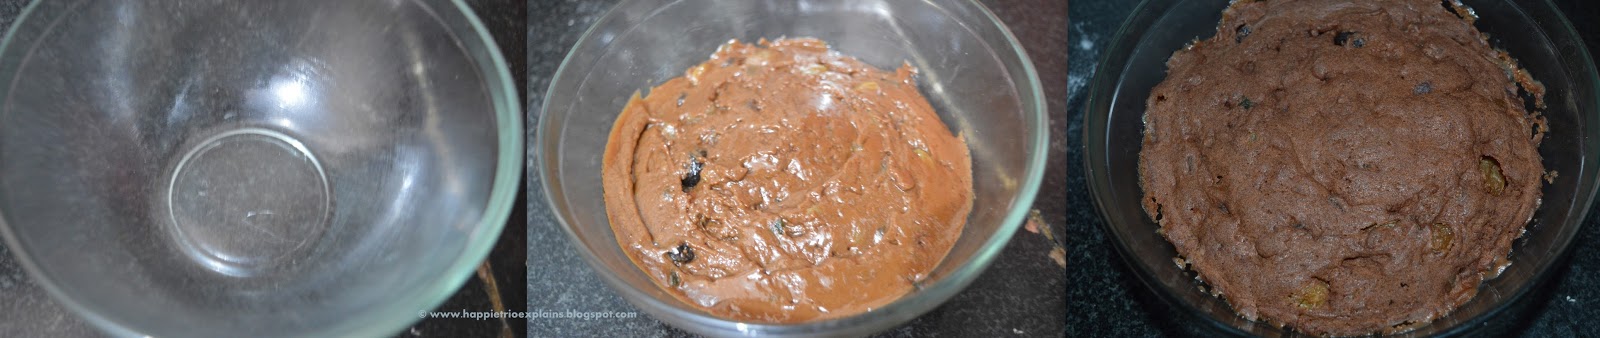
Step by Step Method with pictures:
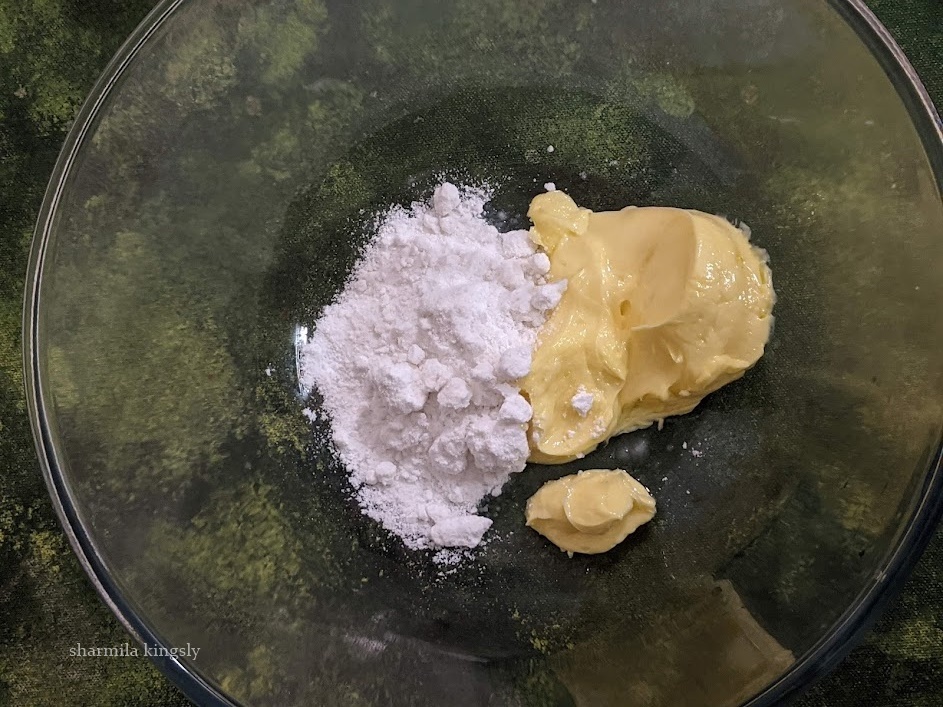
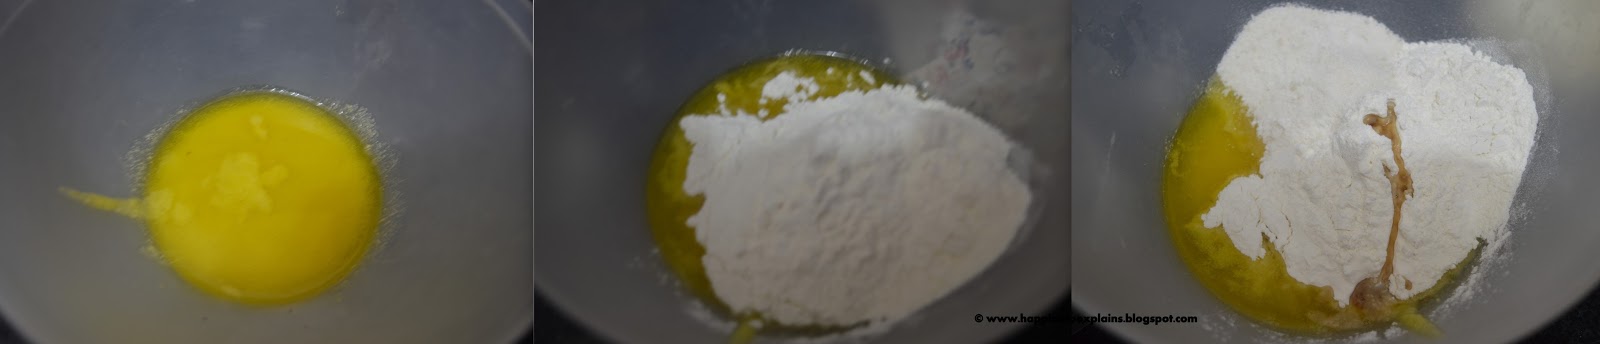
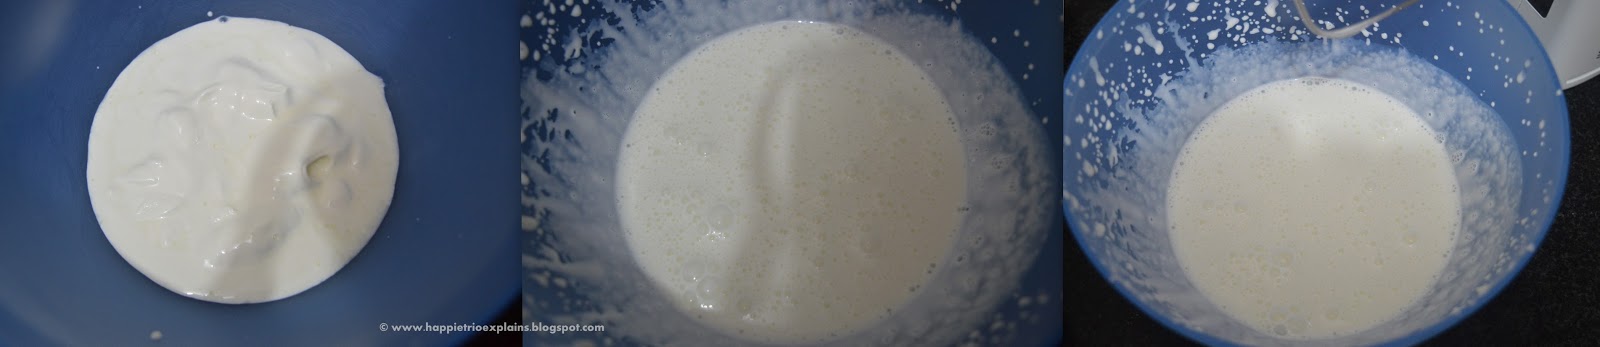
1. In a mixing bowl take the fresh cream. Whip it in high speed with a electric hand blender or stand mixer for about 3 mins. The cream would have doubled in size and become thick.
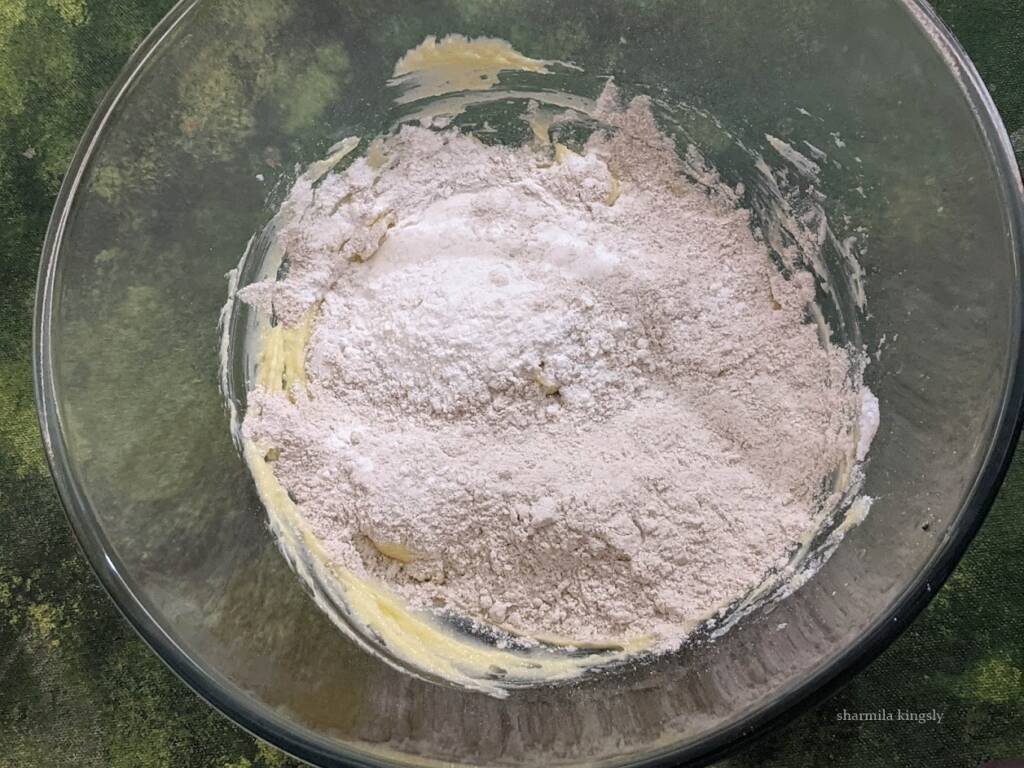
2. Now add in the condensed milk and whip once gain such that both cream and condensed milk are blended evenly. This is the ice cream base we can customize the ice cream with as many flavours as we need.
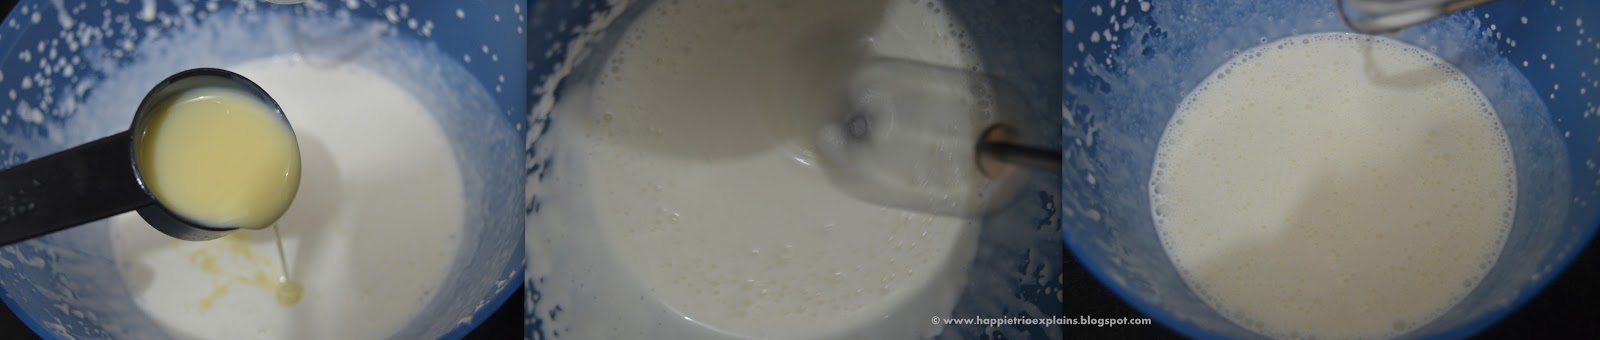
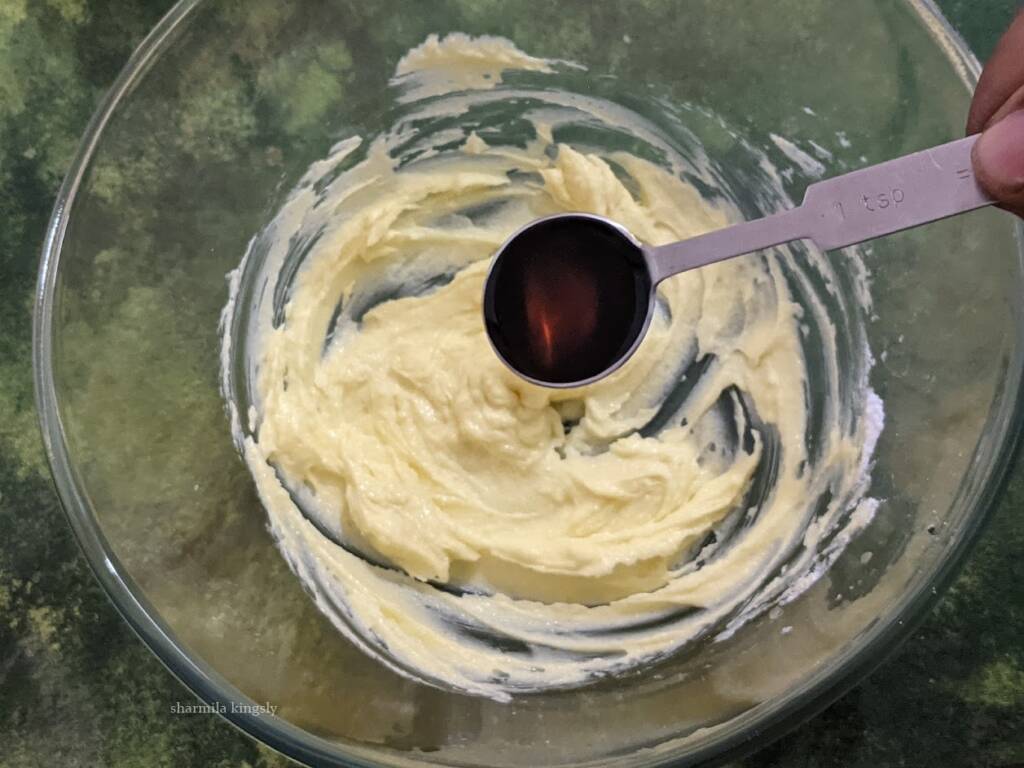
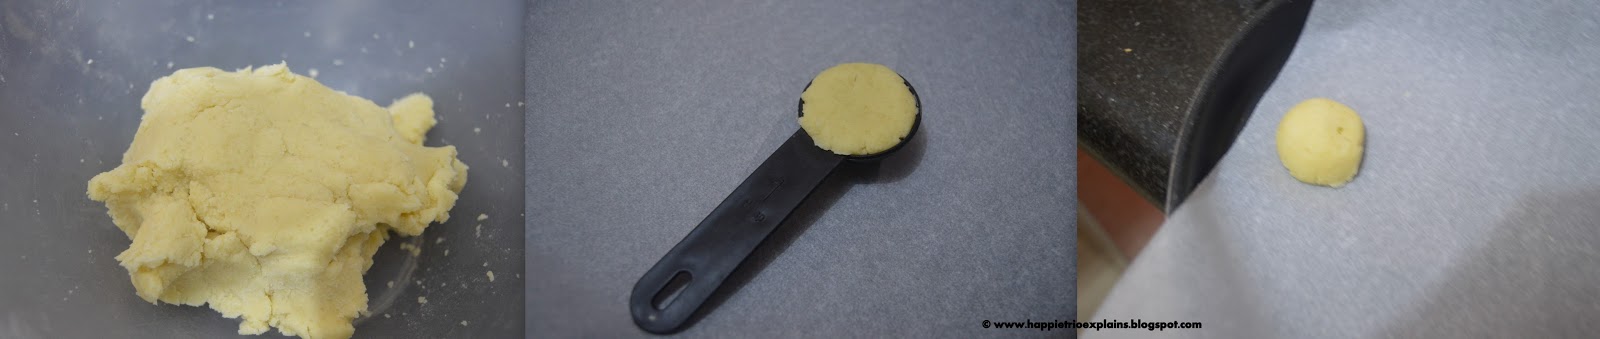
3. Next add in the Vanilla Essence and whip for another 30 secs. In a freezer safe bowl pour the ice-cream base.
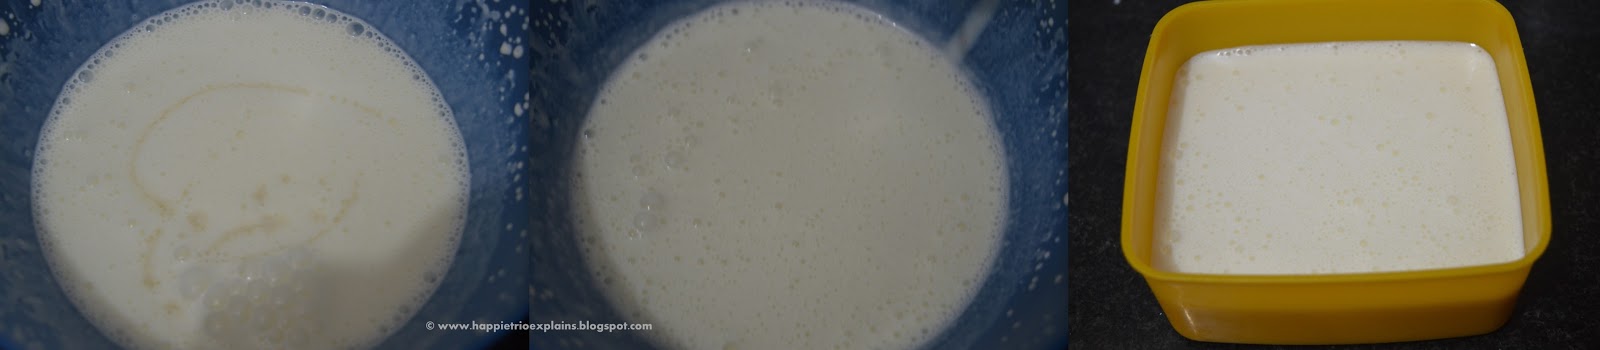
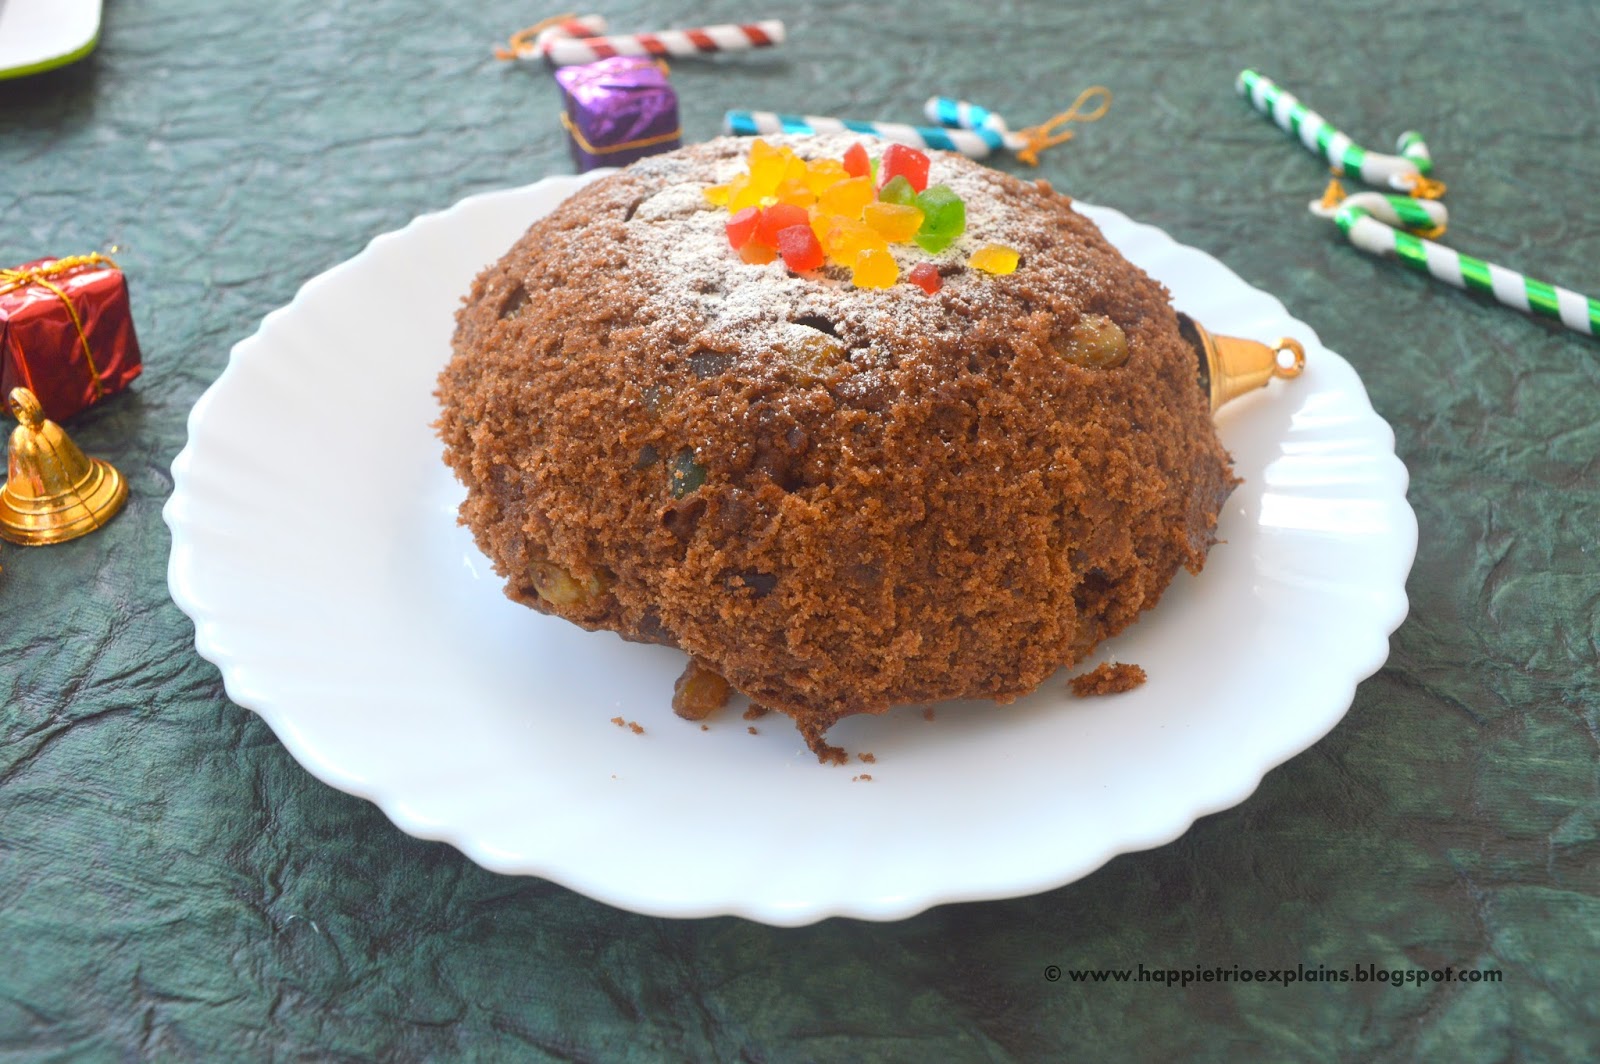
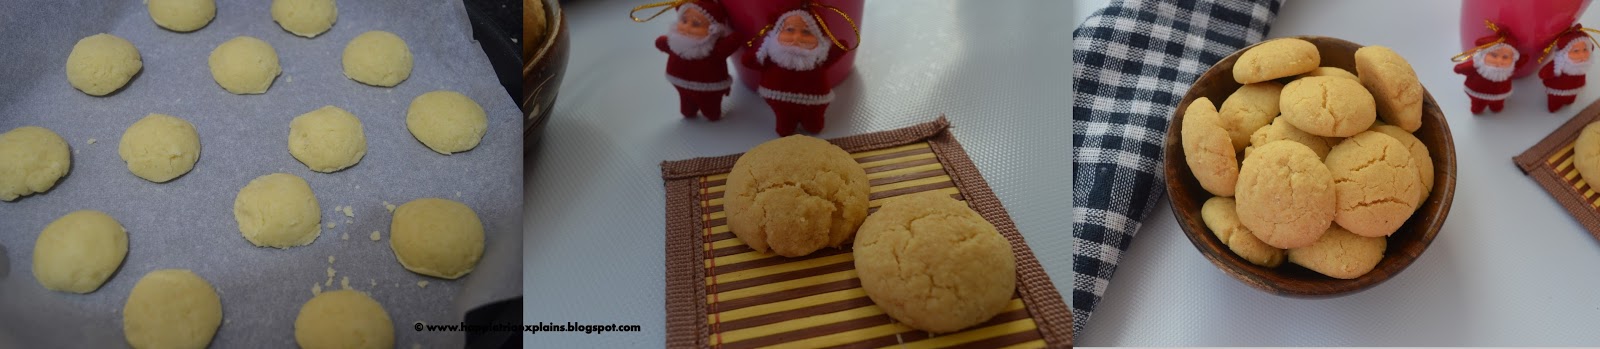
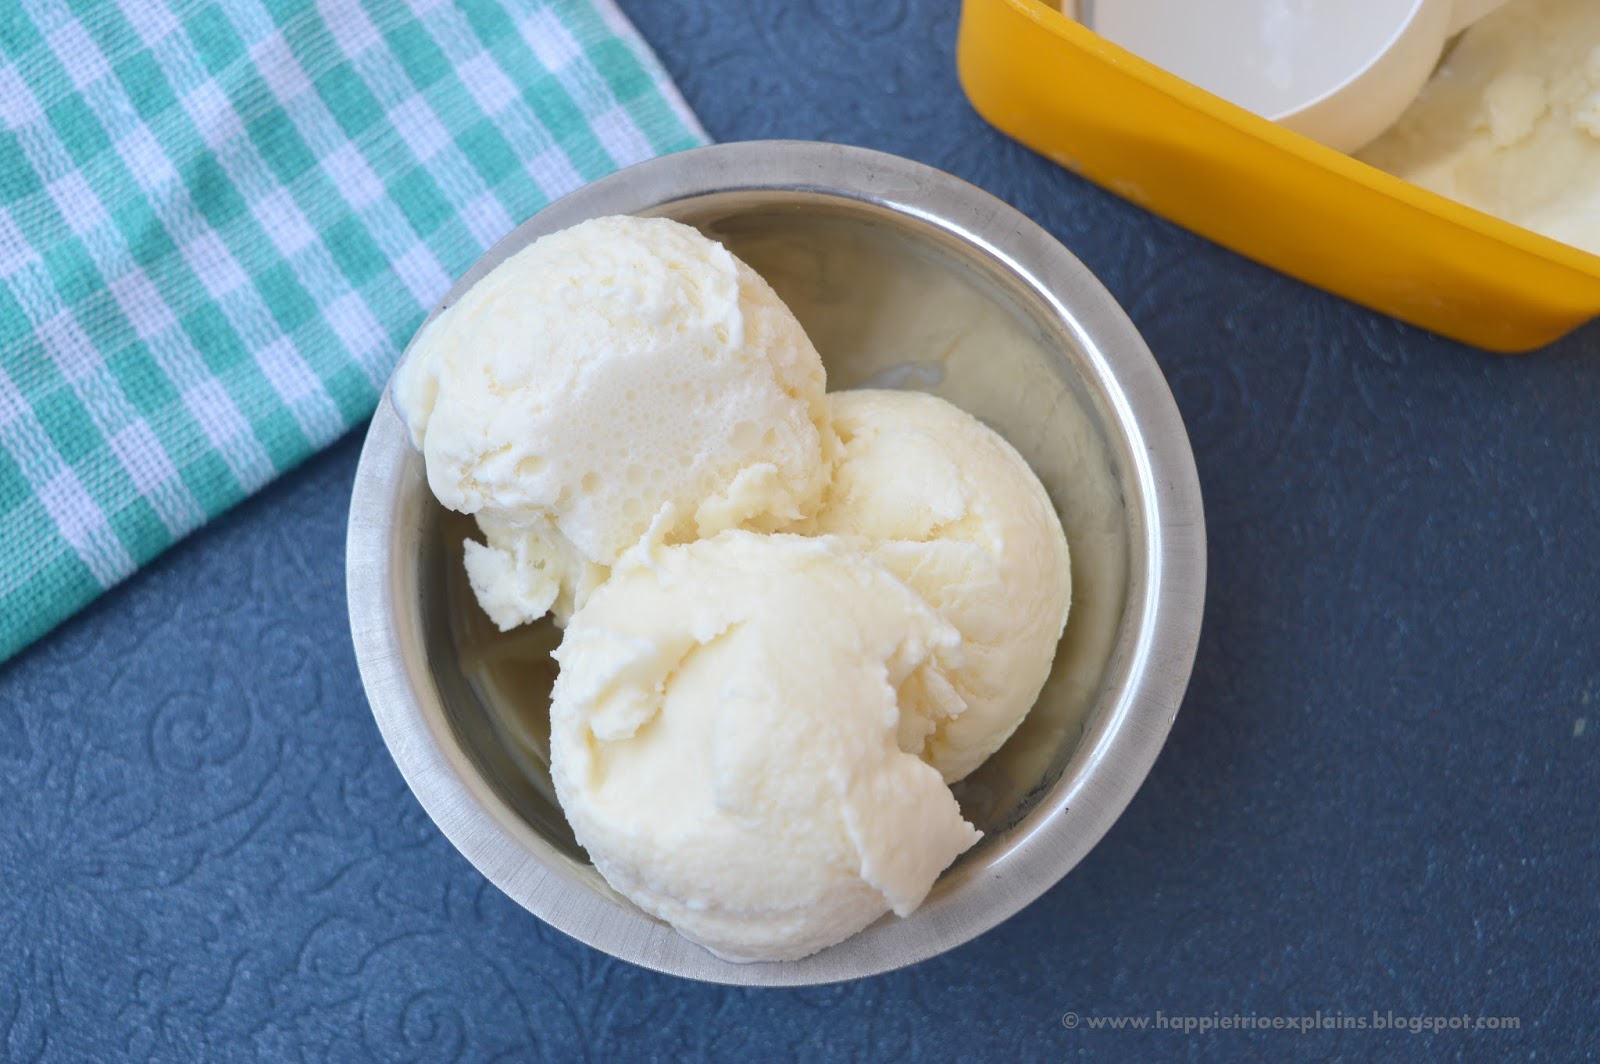
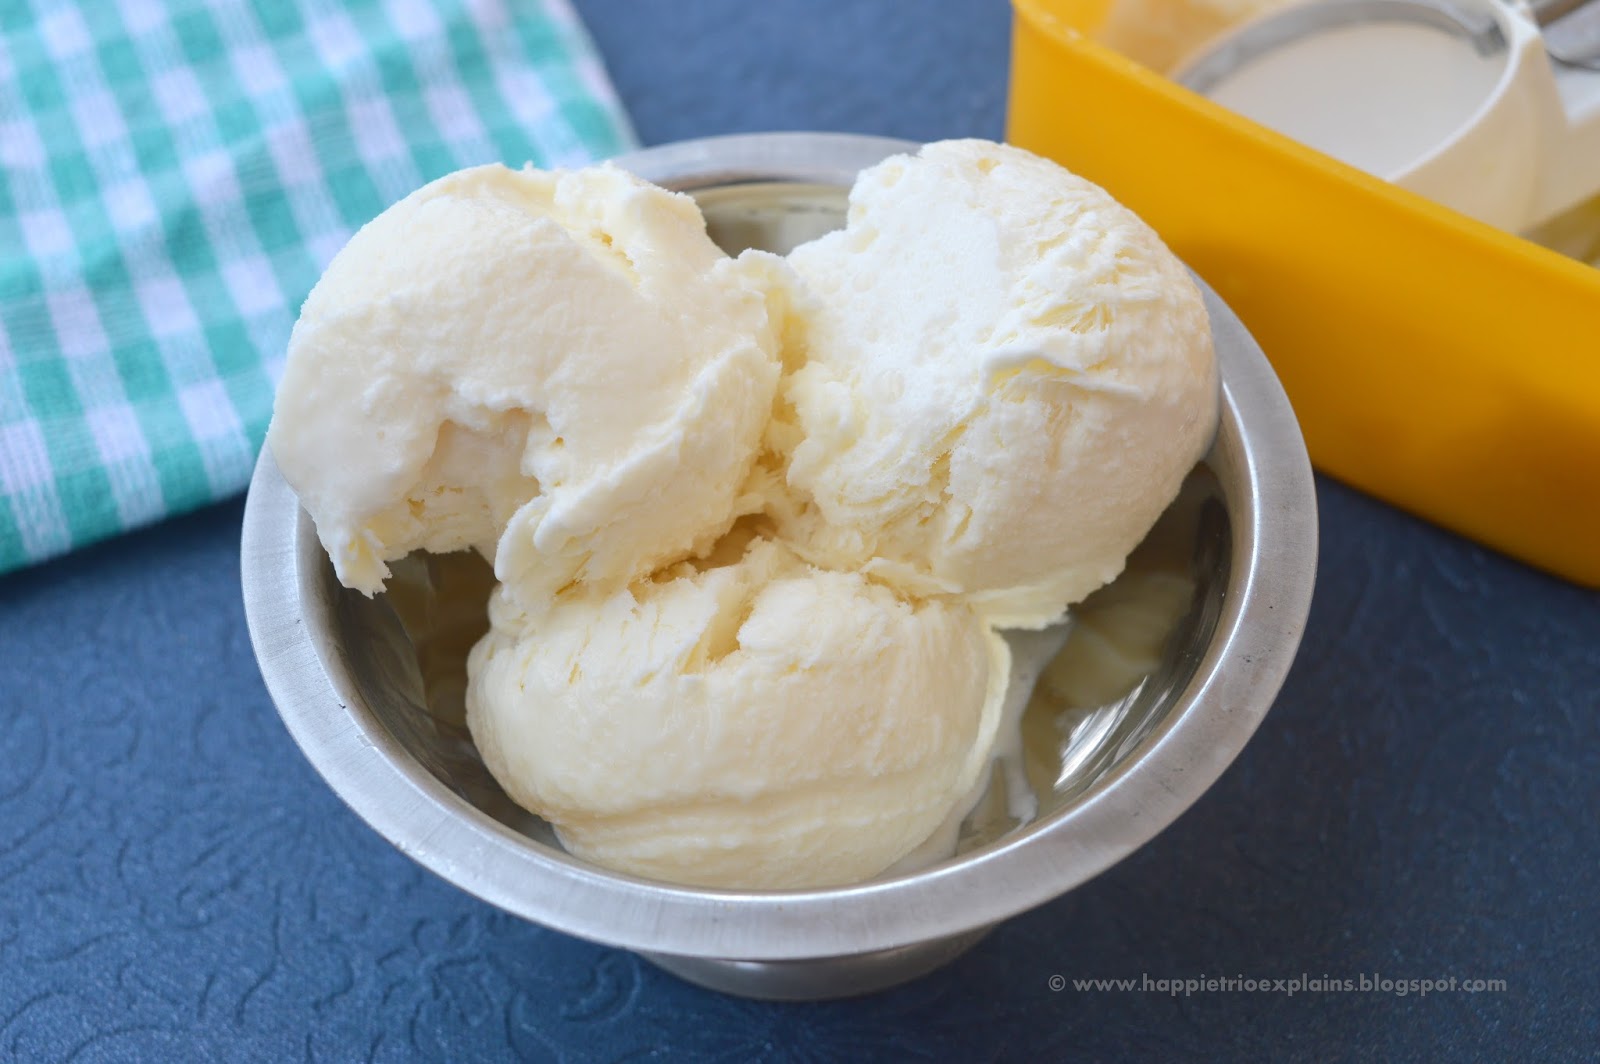
4. Freeze it for minimum 8 hours or overnight for it to get set. After freezing scoop the ice cream and serve immediately.

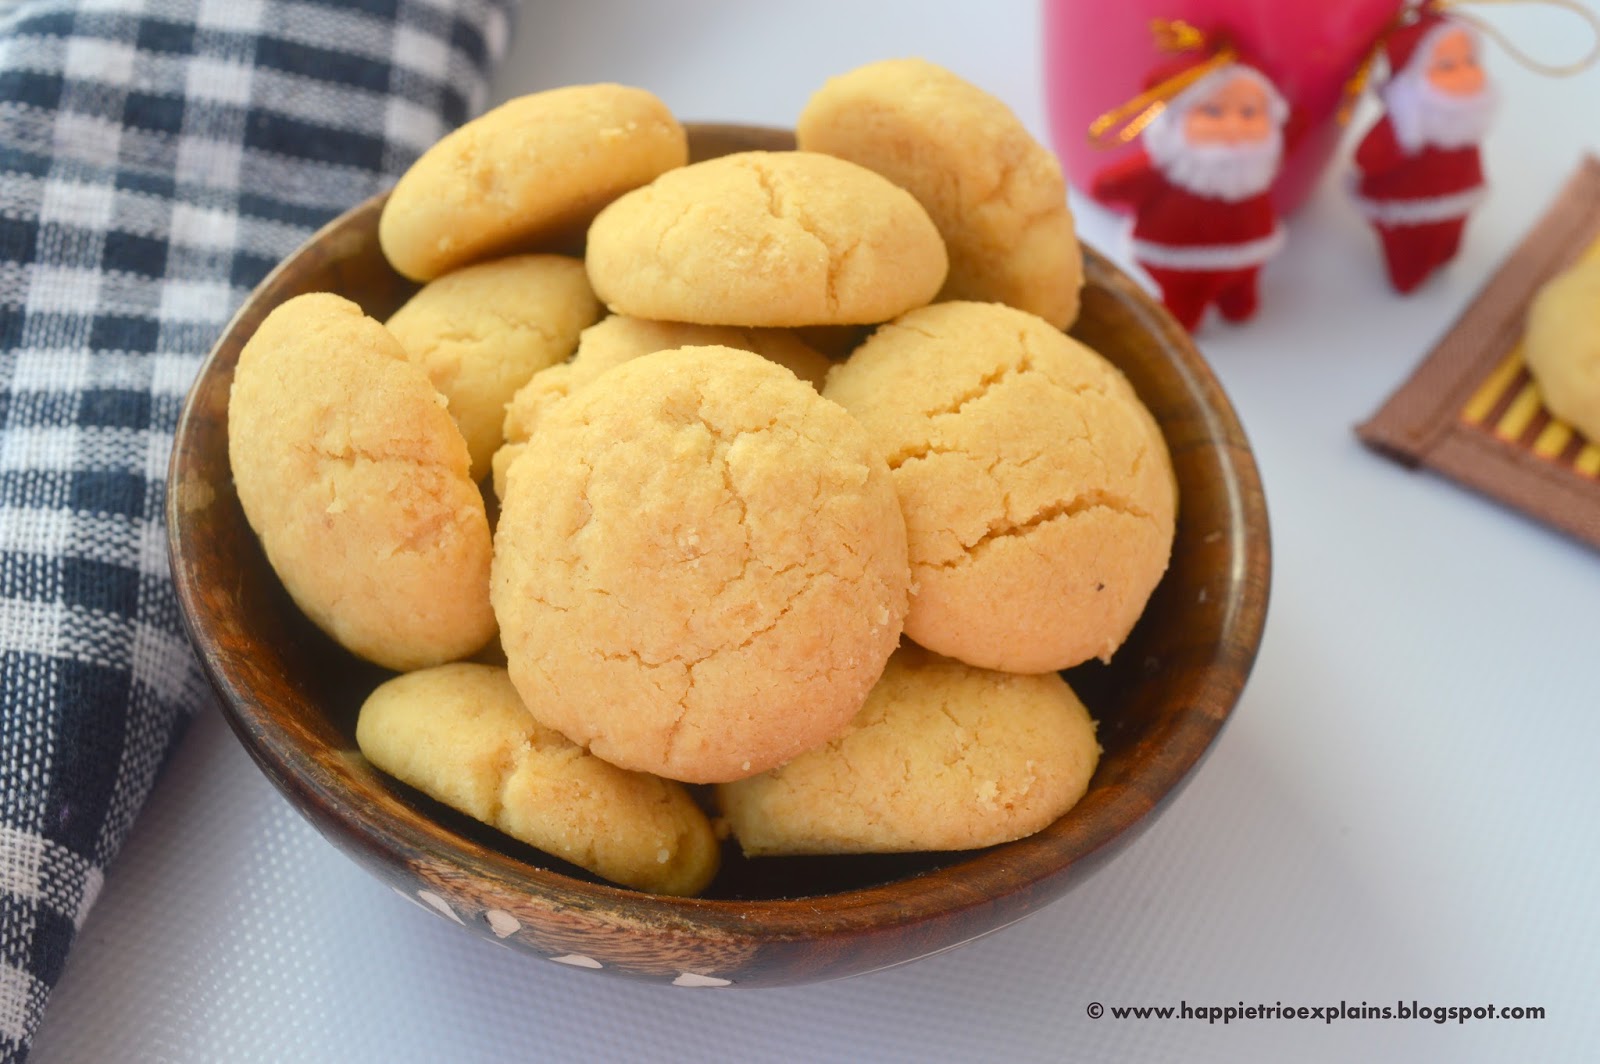
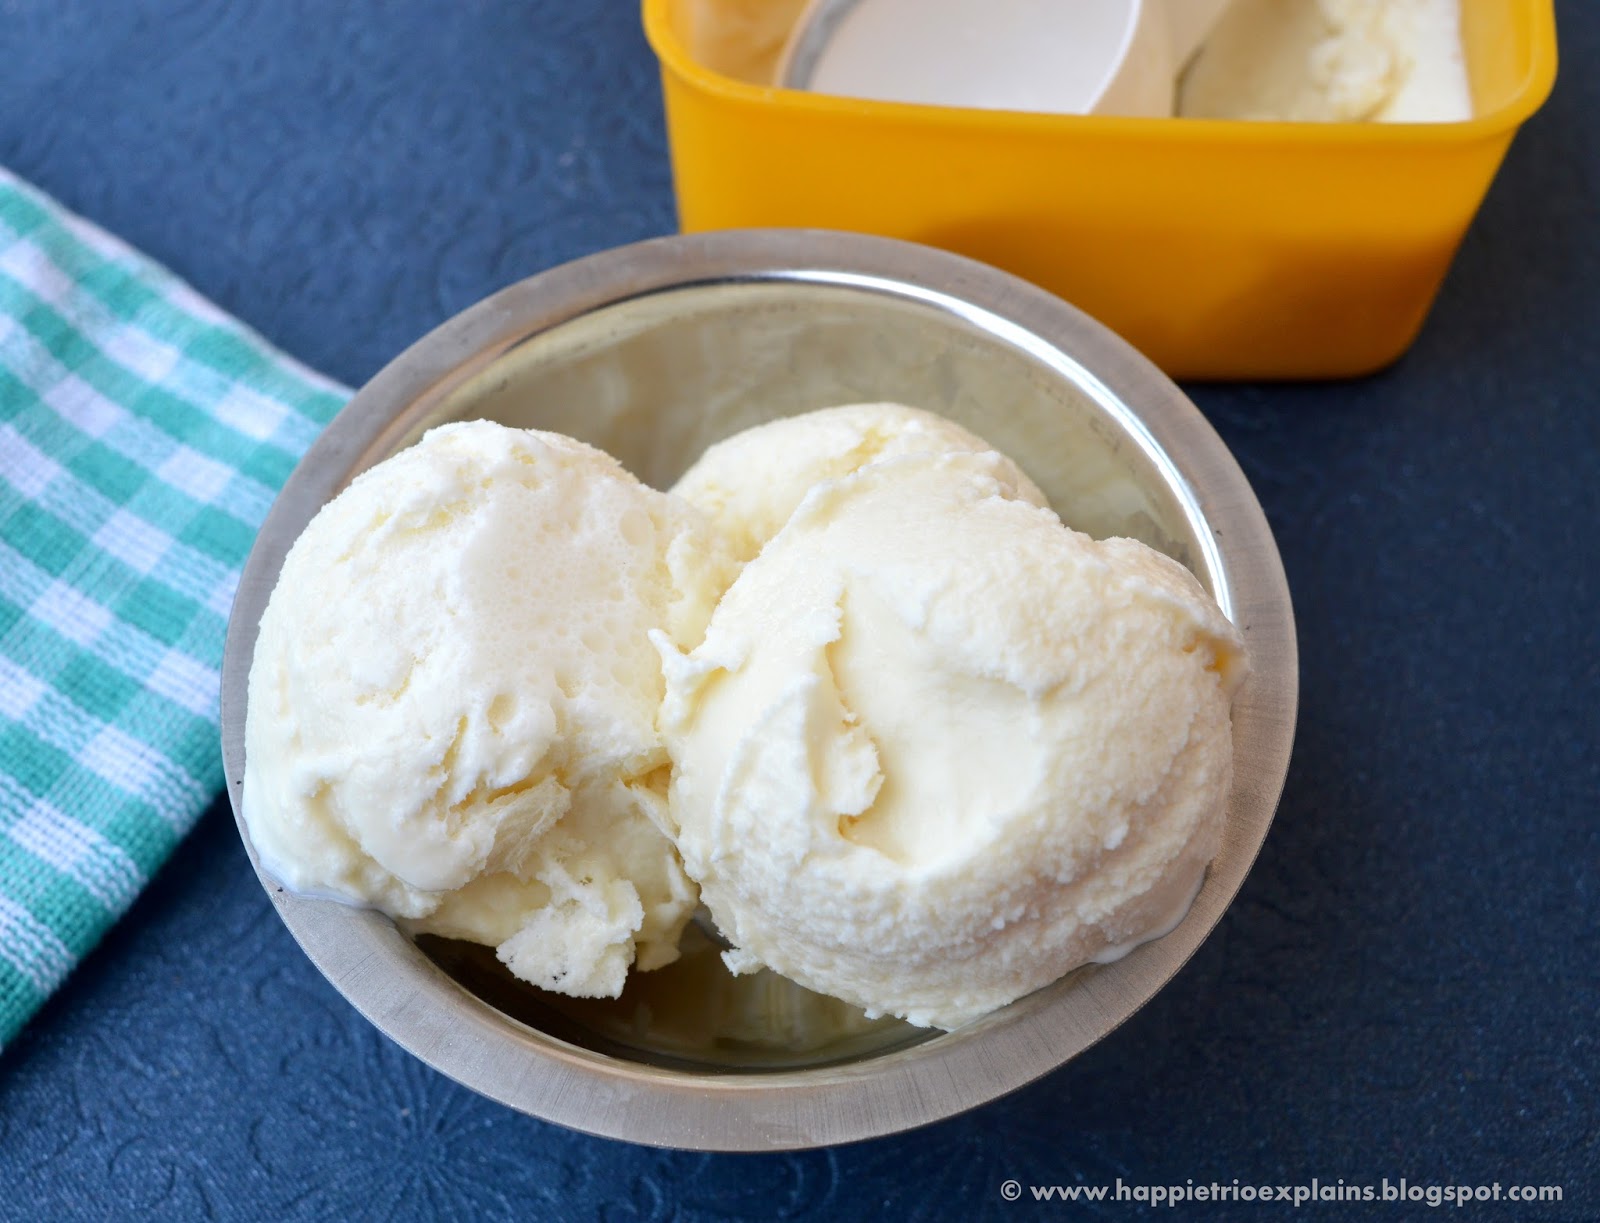
Delicious home made 3 ingredient ice creams are now ready to be served.
📖 Recipe
No Machine Vanilla Ice Cream - 3 Ingredients HomeMade Ice Cream
Basic recipe with with just 3 ingredients. we can just customize the recipe to get any flavors as per our wish.
Servings: 4
Calories: 140kcal
Standard 1 cup measures 240 ml
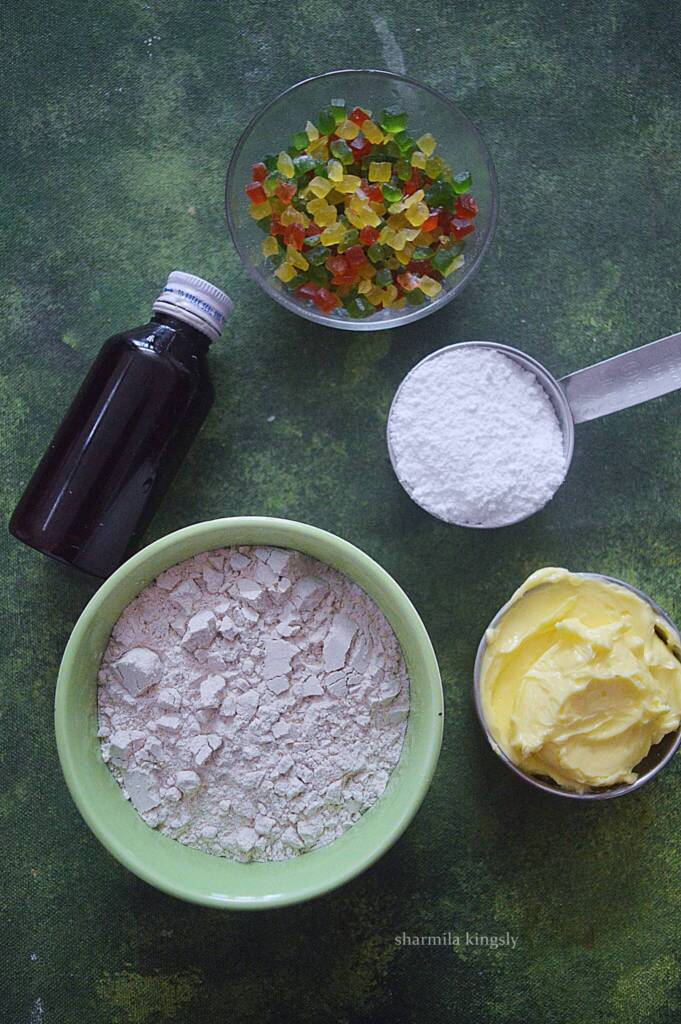
Ingredients
- 1 cup Full Fat Fresh Cream
- ¼ cup Condensed Milk
- 1 teaspoon Vanilla Essence
Instructions
- In a mixing bowl take the fresh cream. Whip it in high speed with a electric hand blender or stand mixer for about 3 mins. The cream would have doubled in size and become thick.
- Now add in the condensed milk and whip once gain such that both cream and condensed milk are blended evenly. This is the ice cream base we can customize the ice cream with as many flavours as we need.
- Next add in the Vanilla Essence and whip for another 30 secs. In a freezer safe bowl pour the ice-cream base.
- Freeze it for minimum 8 hours or overnight for it to get set. After freezing scoop the ice cream and serve immediately.
Notes
- This is a basic ice cream recipe, we can modify the same recipe for different flavours.
- The ice cream base can be made in advance and used when ever needed.
- Tastes best as a dessert after meal.
- We can top the ice cream with chocolate syrup, nuts or any sprinkles.
Nutrition
Calories: 140kcal | Carbohydrates: 4g | Protein: 0.9g | Fat: 13.2g | Saturated Fat: 8.9g | Cholesterol: 41mg | Sodium: 20mg | Potassium: 58mg | Sugar: 4g | Calcium: 84mg
Tried this recipe?Mention @happietrio or tag #happietrio
Subscribe to my Channelclick for more videos