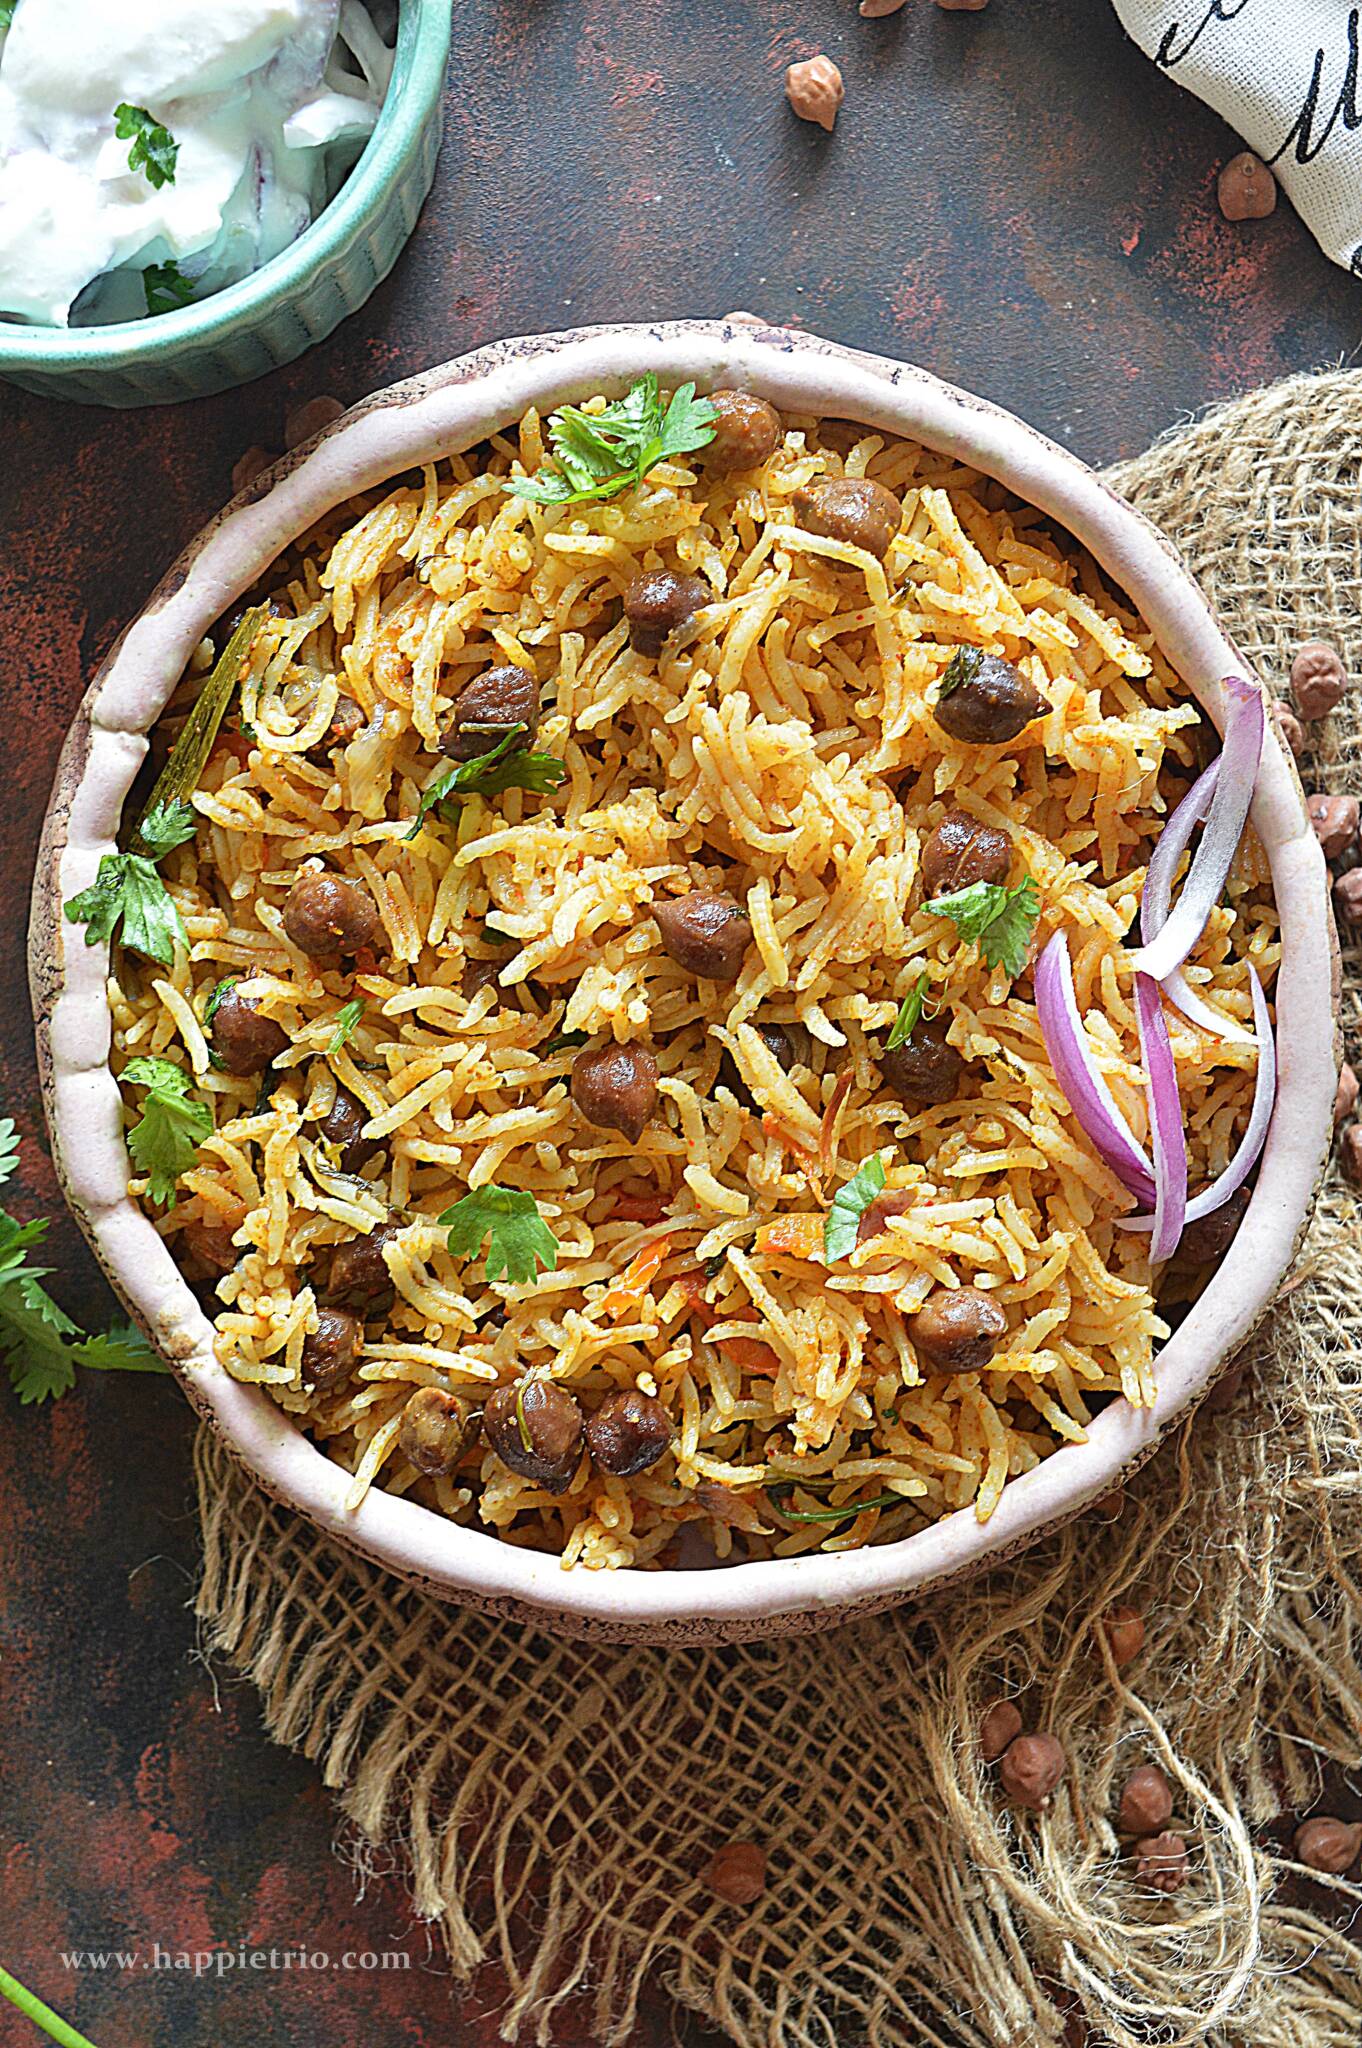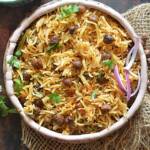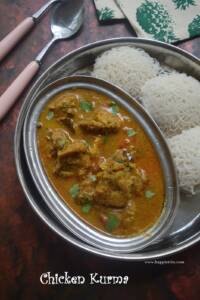
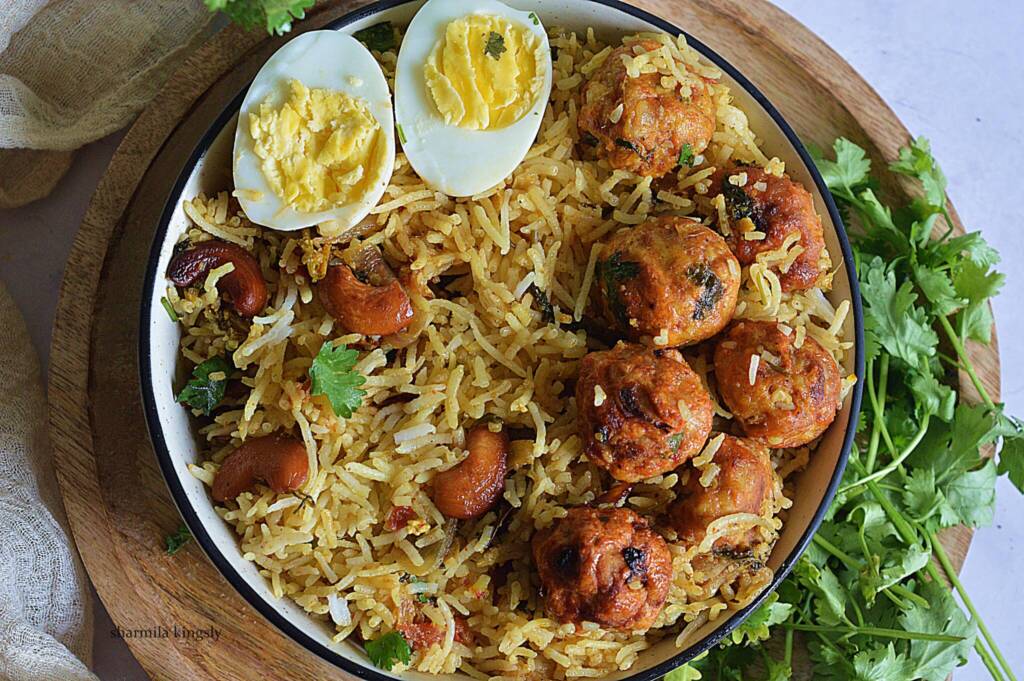
Chicken Kofta Biryani is prepared with minced chicken balls. Cooked meatballs are layered with rice and masala to perfection.
Follow us on Pinterest for delicious pins. Join our Facebook group for more Instant Pot and Air Fryer recipes.
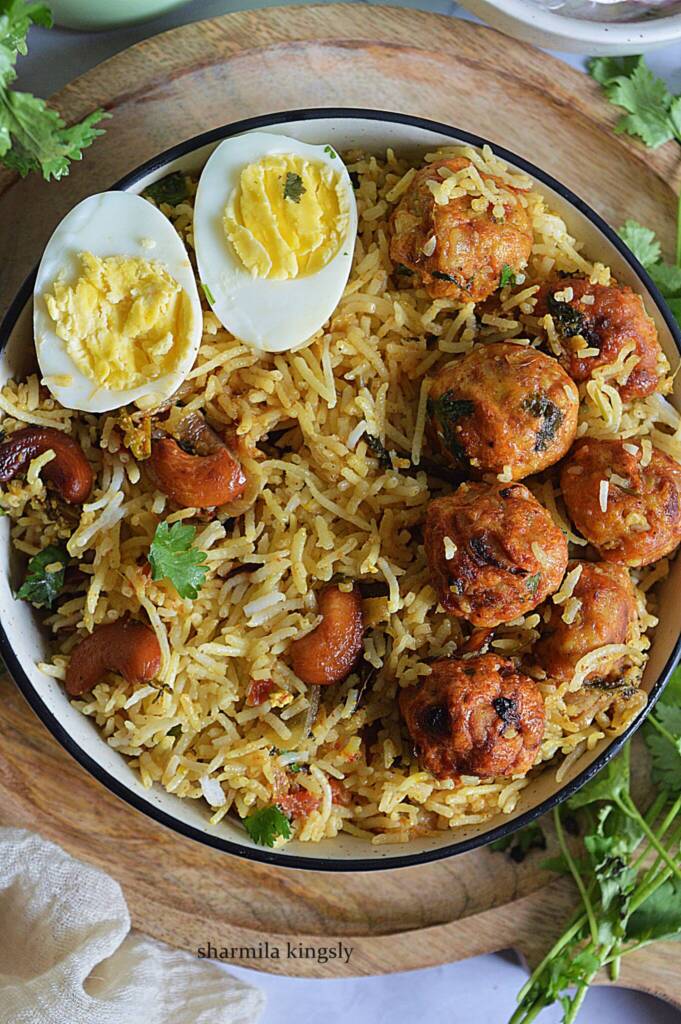
Chicken Kofta Dum Biryani is a flavorful biryani that will definitely satisfy the Sunday ritual. Yes Sundays are meant for Biryani. We can prepare Kofta biryani using either lamb or chicken. I am using minced chicken for this recipe. Now let’s get started.
Biryani Process
Cooking biryani is an art. The first and foremost thing to keep in mind is it is not complicated as it looks.
We can break down the biryani making process into the below steps.
- Prep Ingredients and Rice
- Prepare Saffron Milk, Fried Onions, fried Cashewnuts
- Cook Basmati Rice
- Prepare Biryani Masala
- Layer Biryani
- Dum Cooking
With few preps, all these steps are easily done. Cooking the best biryani takes a few trials so keep cooking.
How to make Chicken Kofta Biryani
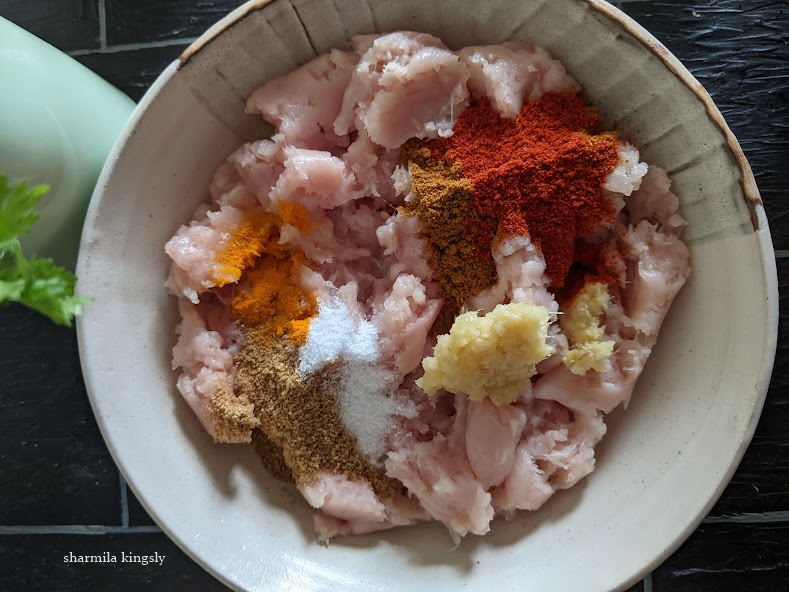
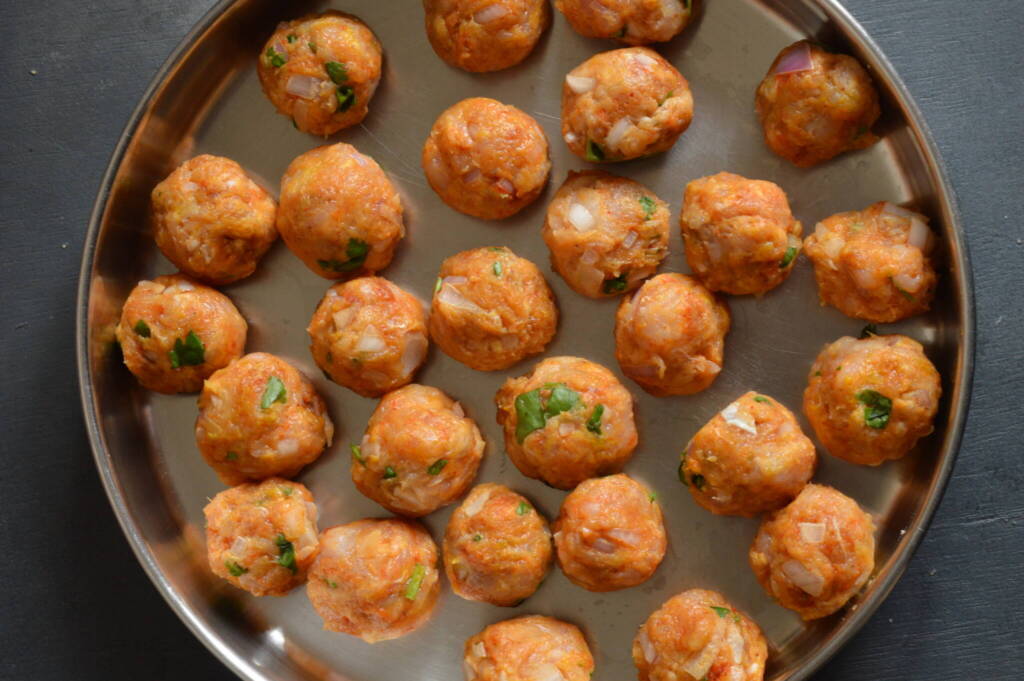
Prepare the Kofta / Meat balls
In a mixing bowl add minced chicken. Clean well and add. To this add ginger garlic paste, Red Chili powder, Garam Masala, Cumin powder, Turmeric powder and required Salt.
Next add corn flour. Also add finely chopped Cilantro and Onion.
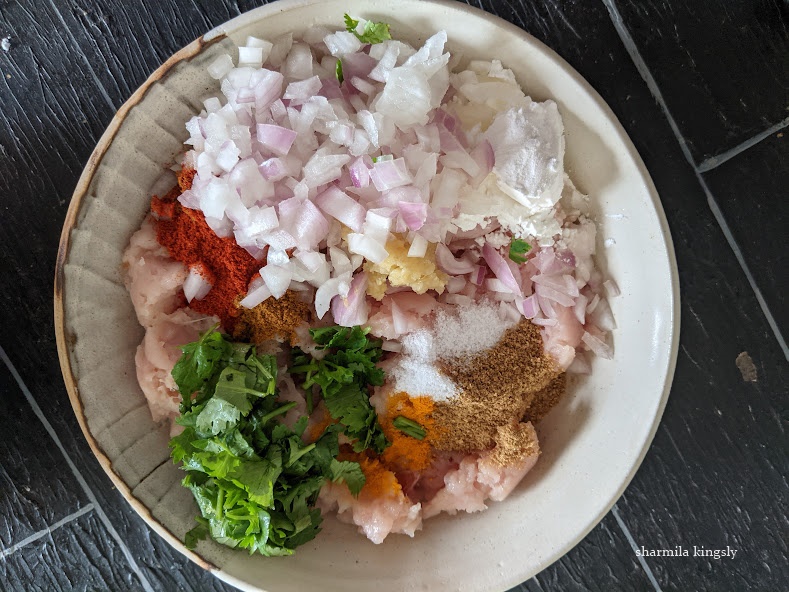
Combine everything until mixed. Shape them into equal sized balls. You can use 1 tablespoon or 1.5tbsp to of meatball base to shape. Making big meatballs will make them undercooked in the middle portion. Hence I prefer small sized balls
Air Fryer Method & Stove Top Method
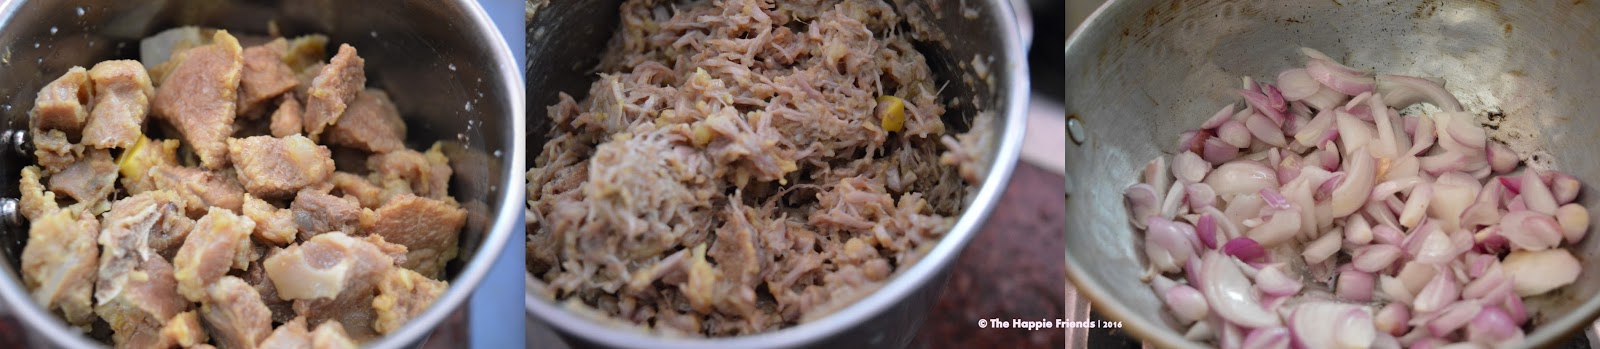
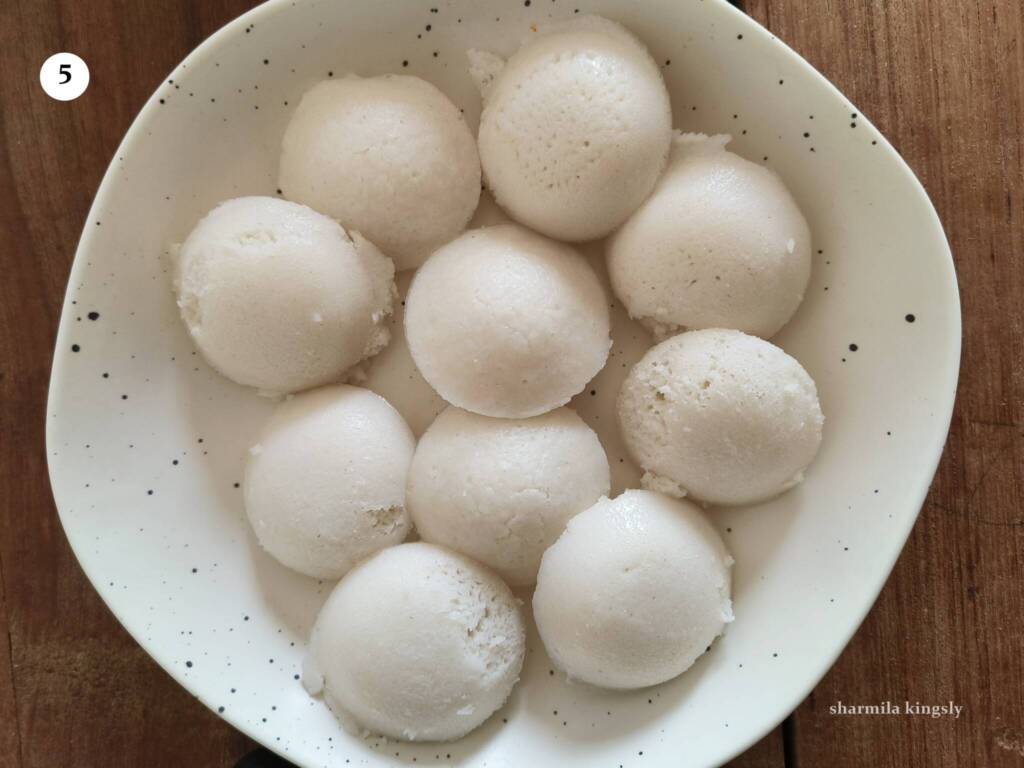
Preheat the air fryer to 200 C / 400 F for 5 mins. Spray in some oil and arrange the meatballs. Air fry at 180 C / 356 F for 16 mins. Flip once halfway and brush with oil as needed.

If cooking in stove top you add oil to a frying pan. Once its hot add the meatballs and deep fry until its crisp and cooked.
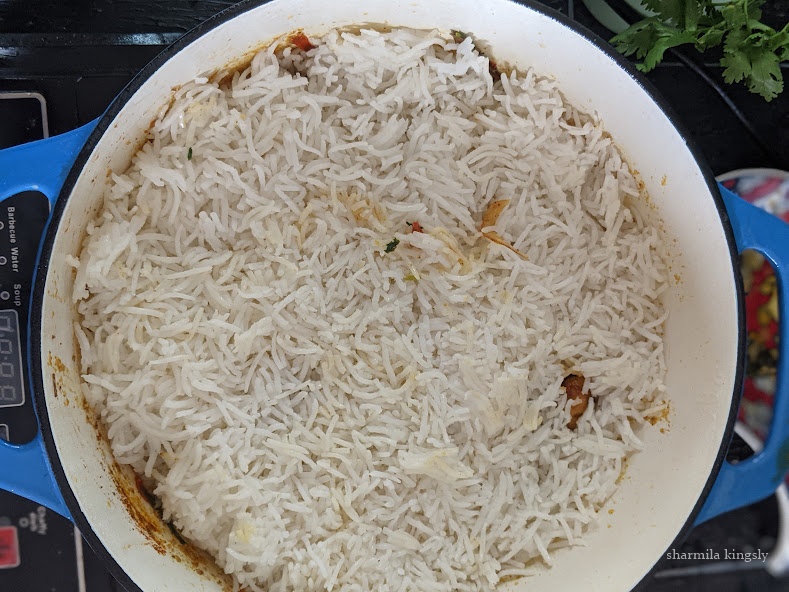
Cook Rice for Biryani
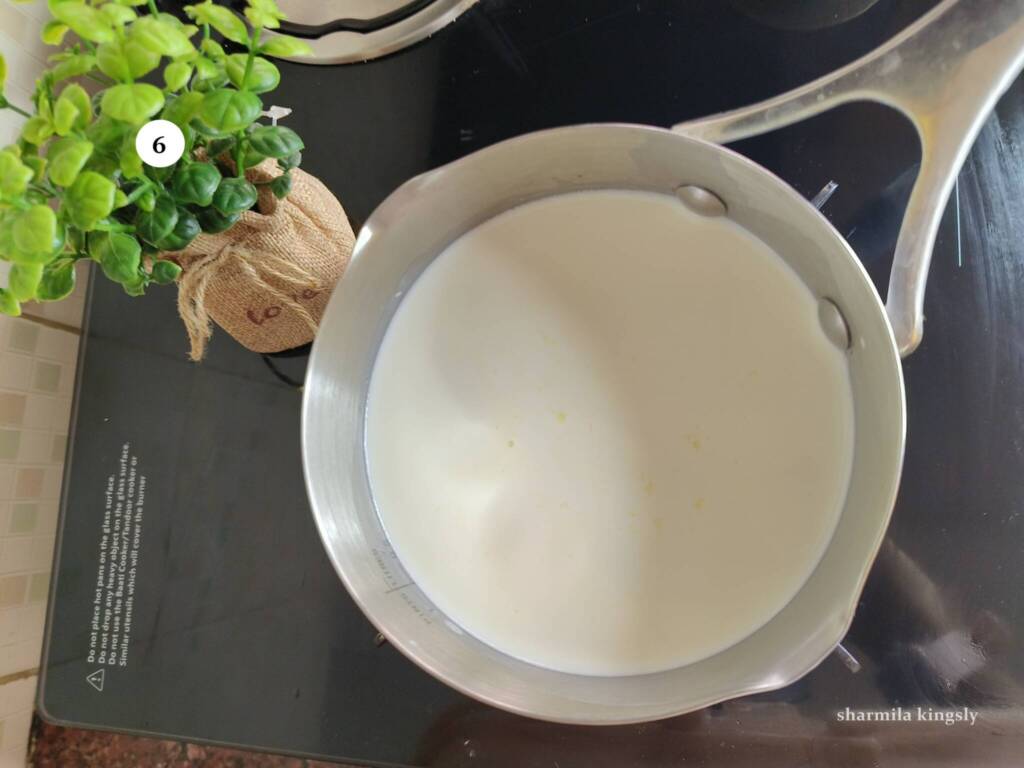
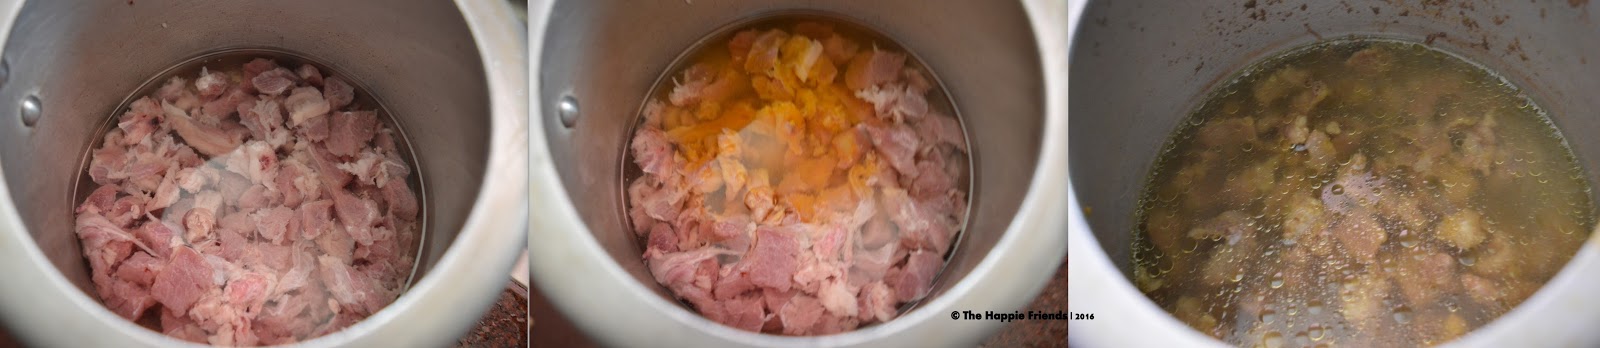
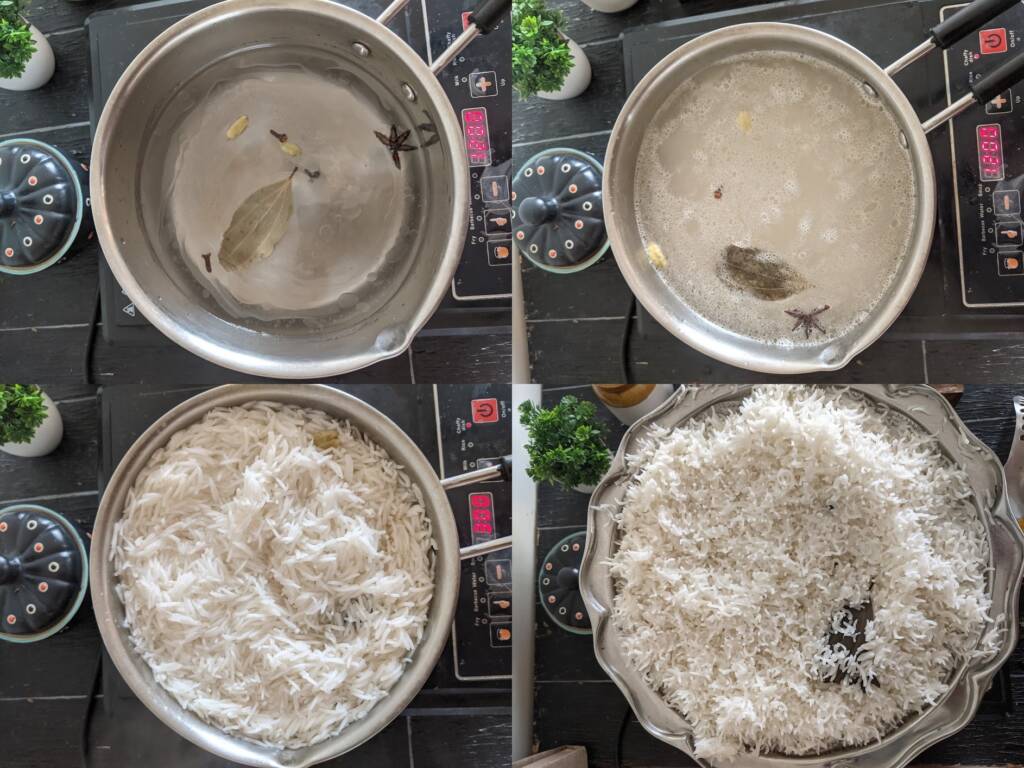
Wash 2 cups of basmati rice or seeraga samba rice in water 3 or 4 times or until the water is clear and set aside.
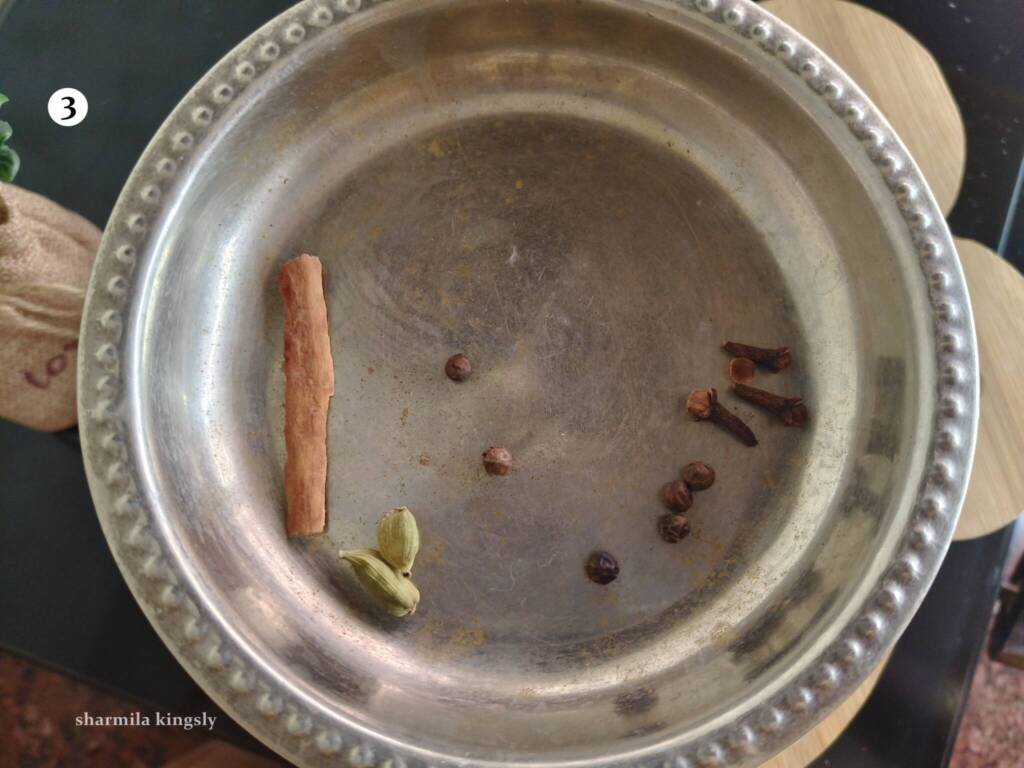
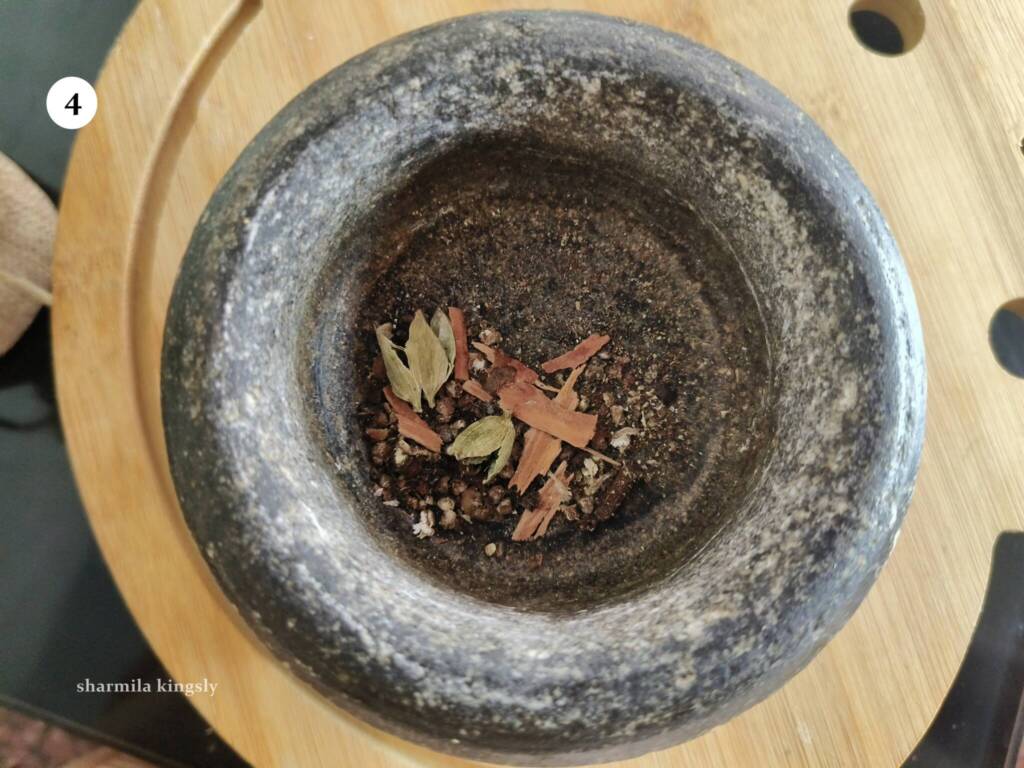
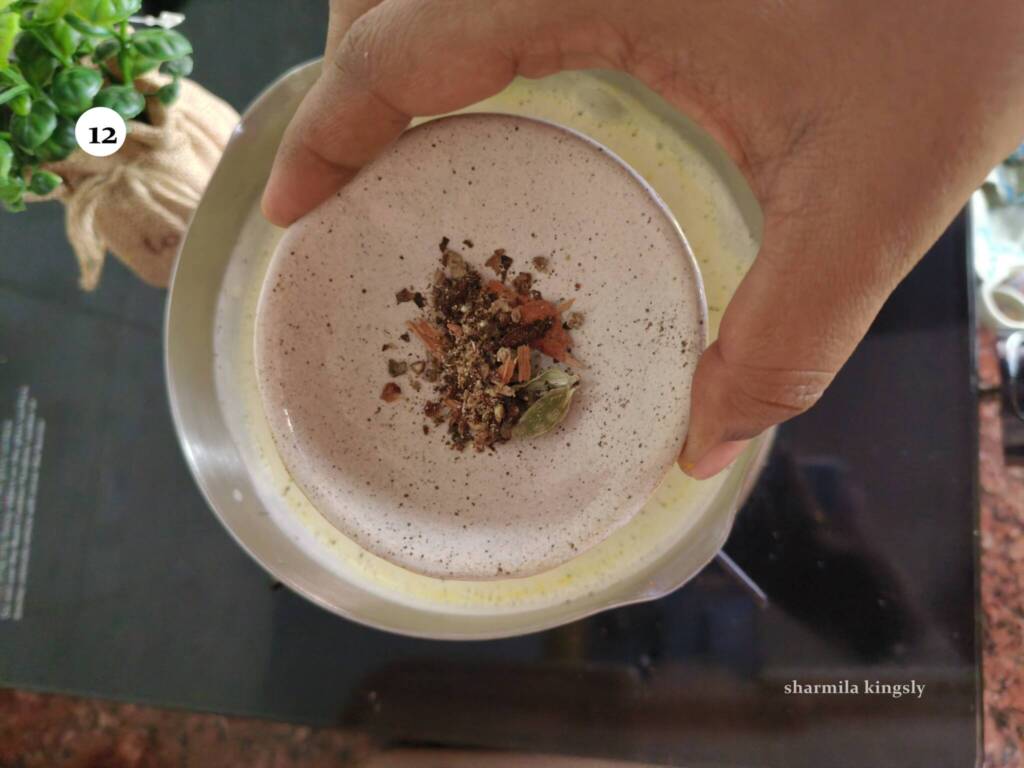
In a pan add water and start cooking. To the water add the whole spices. Add in salt and oil and bring everything to a boil.
Once the water starts boiling add the soaked rice and cook until the rice is 95 % cooked. Switch off the stove and let it rest for 5 mins.
Drain the excess water and then spread the cooked rice on a wide plate and let it cool.
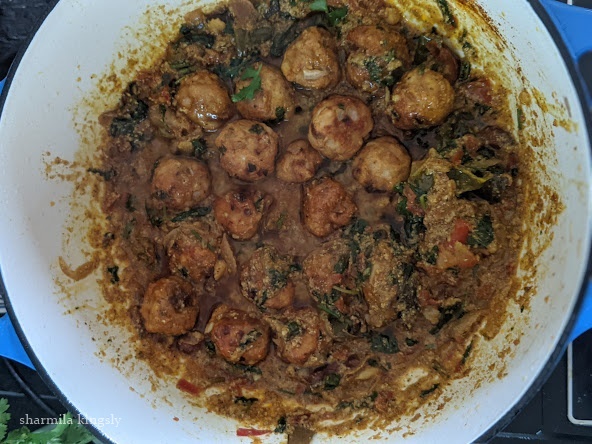
Masala for Biryani
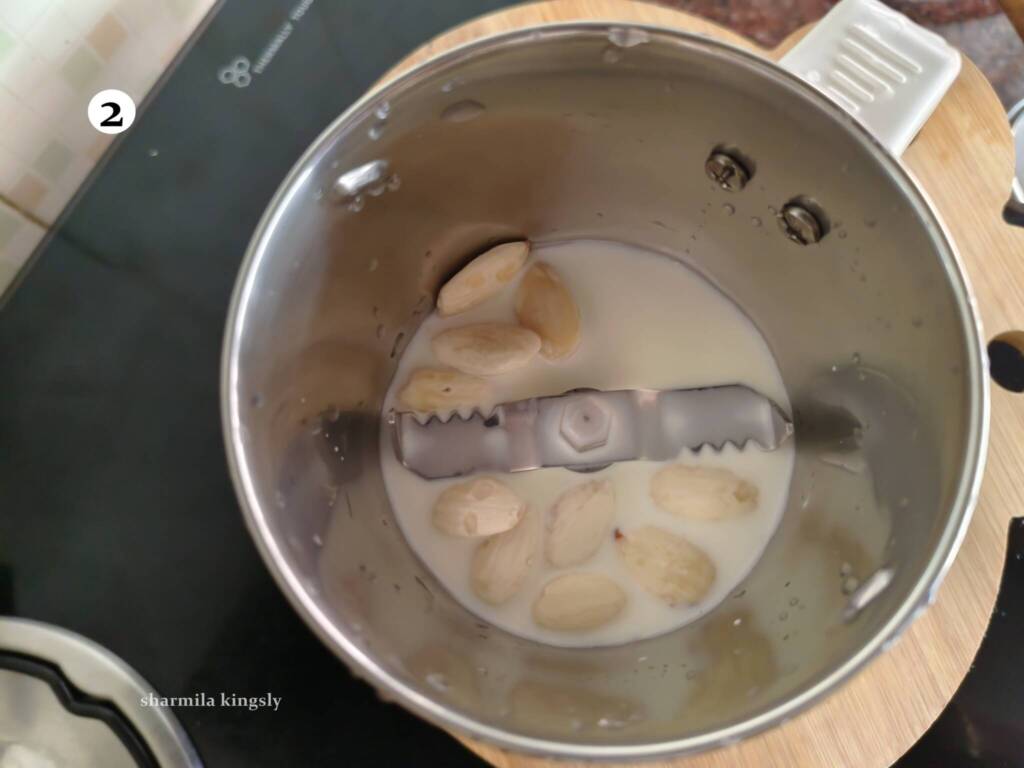
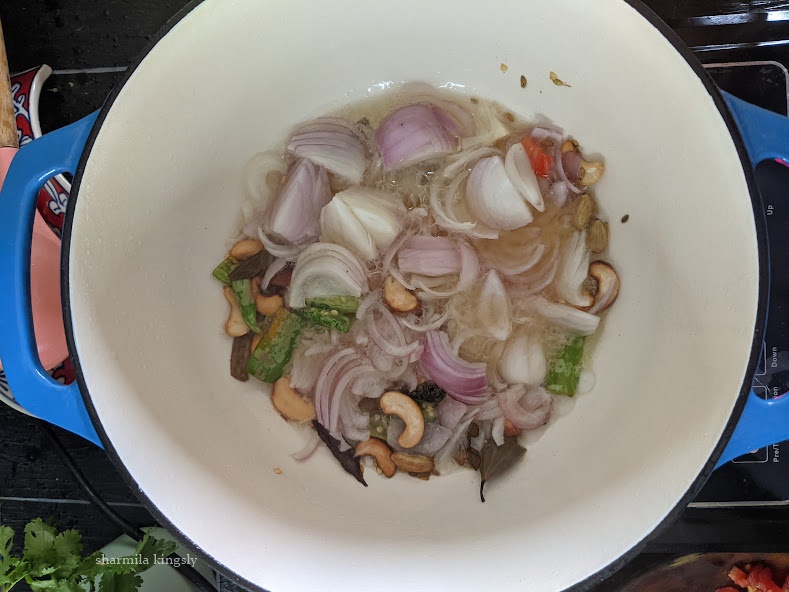
Heat a biryani pot with oil. Once it heats up add in fennel seeds and then Bay leaves, Cinnamon sticks, Cloves, and Cardamom. Let it splutter.

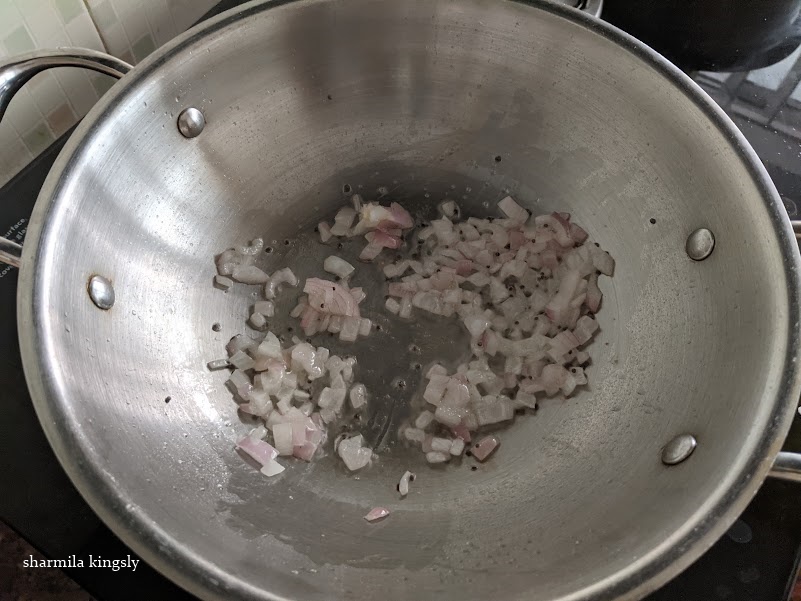
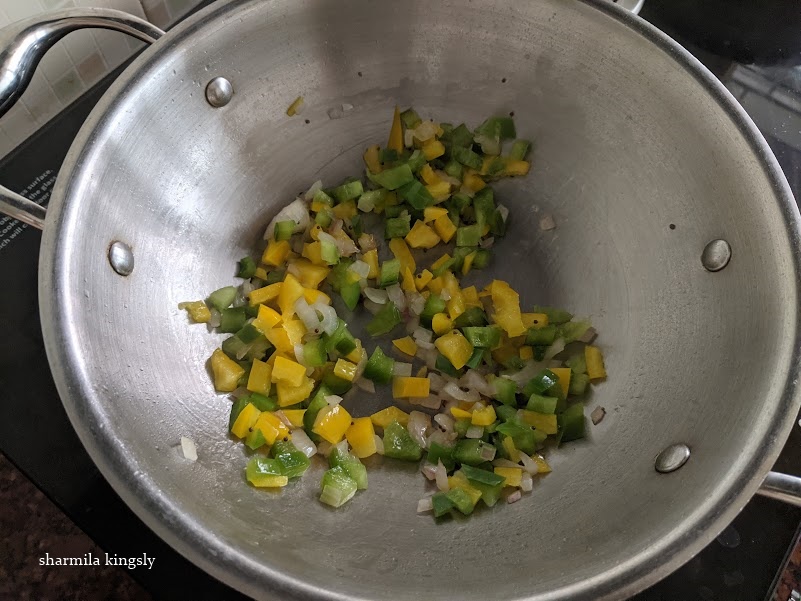
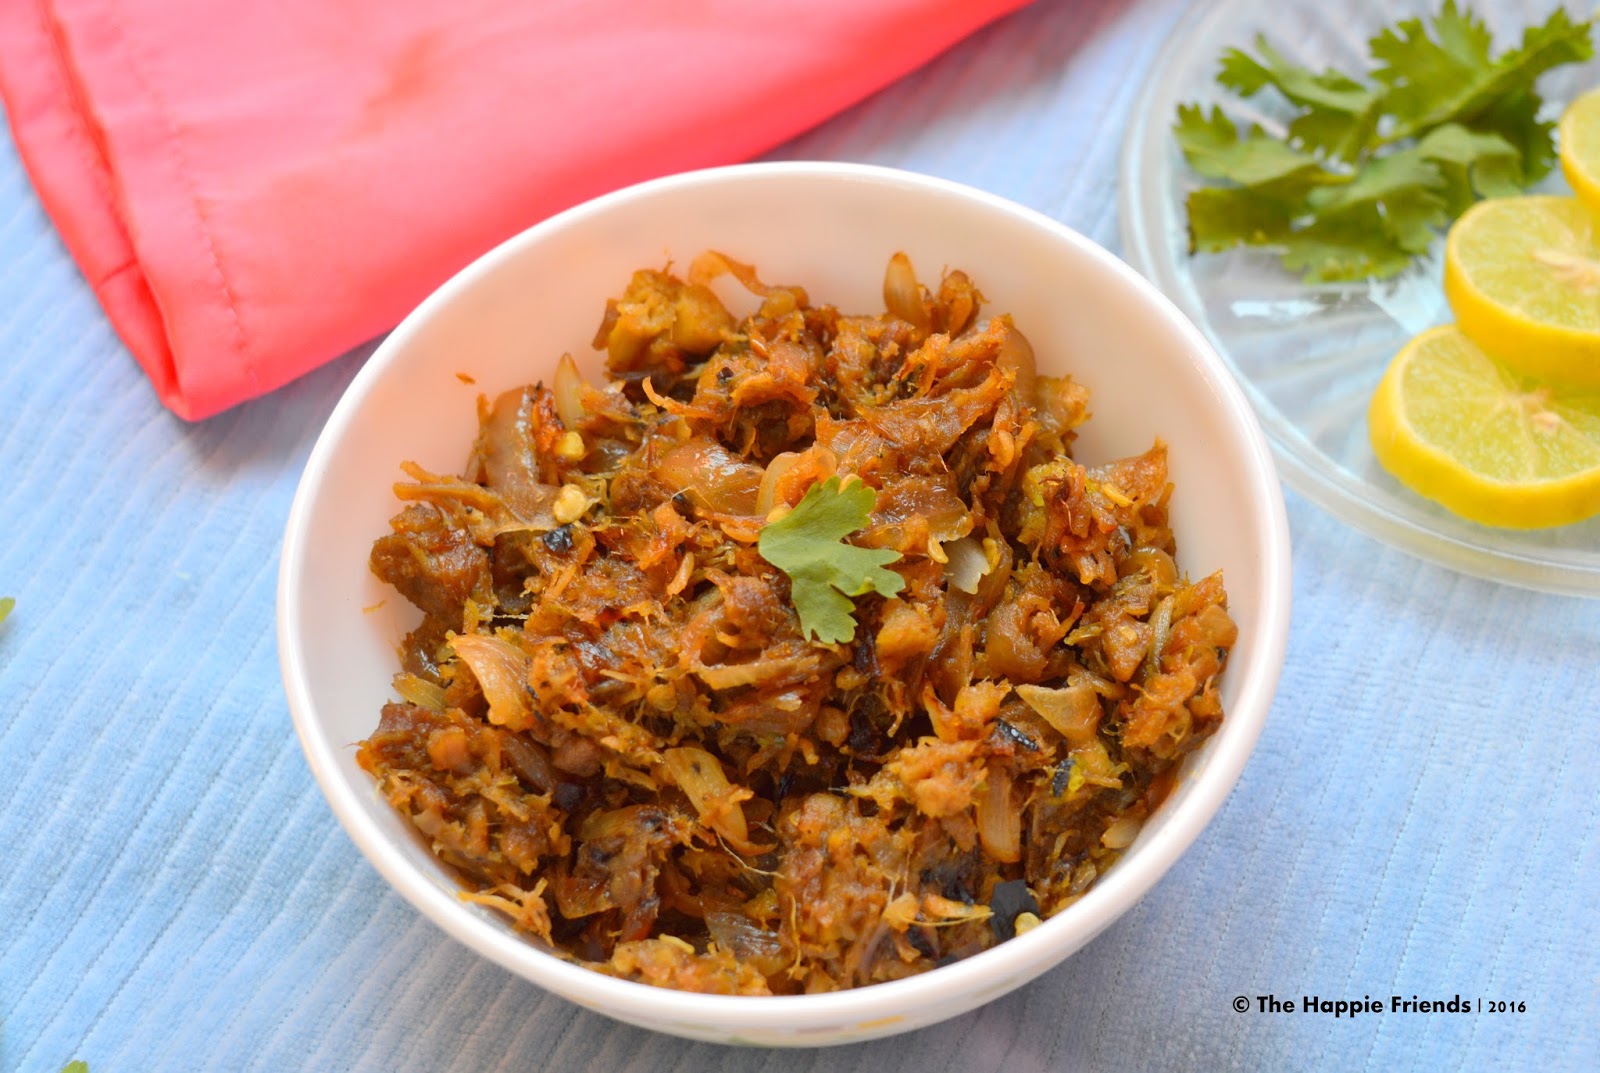
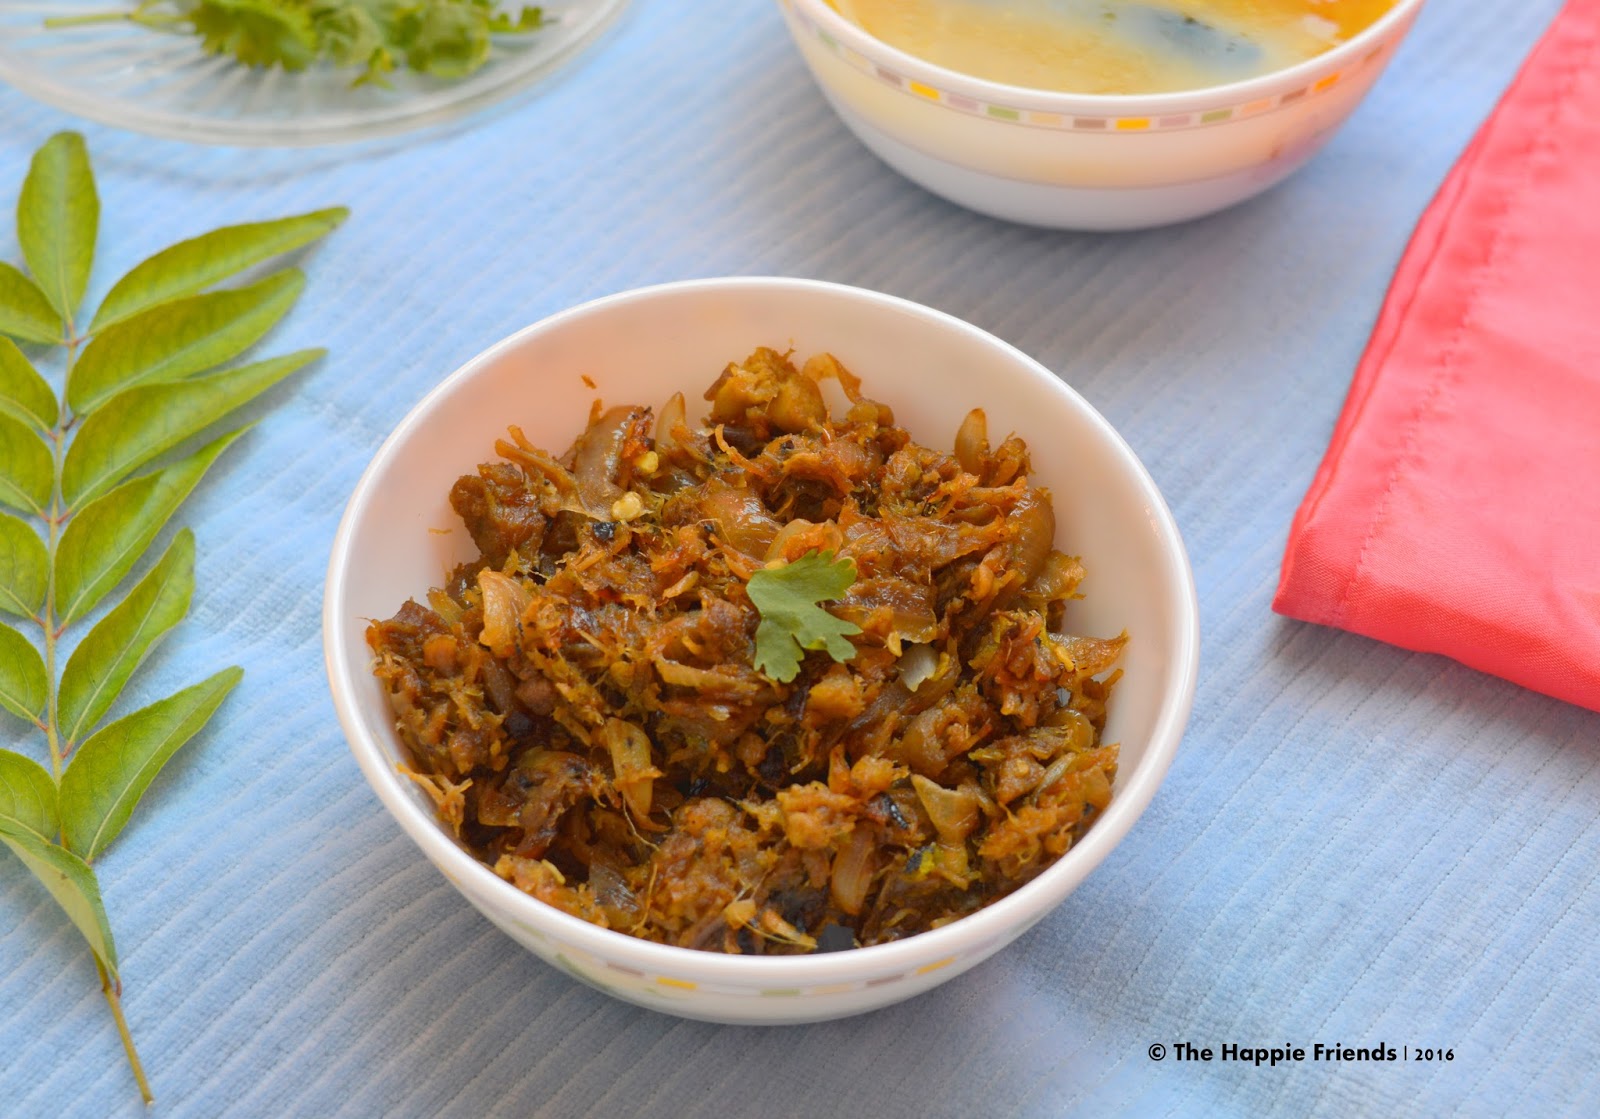
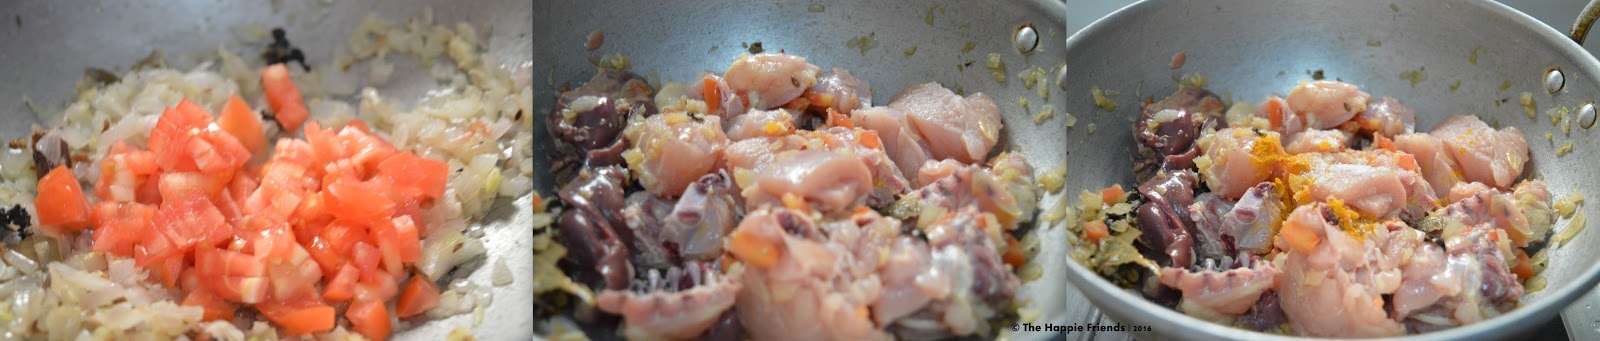
Then add in sliced onions and Saute untill the onions are soft.
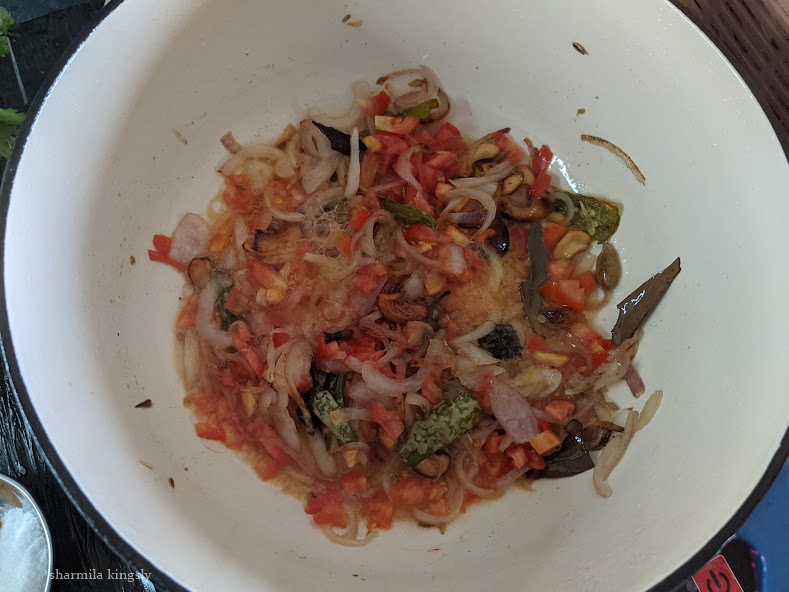
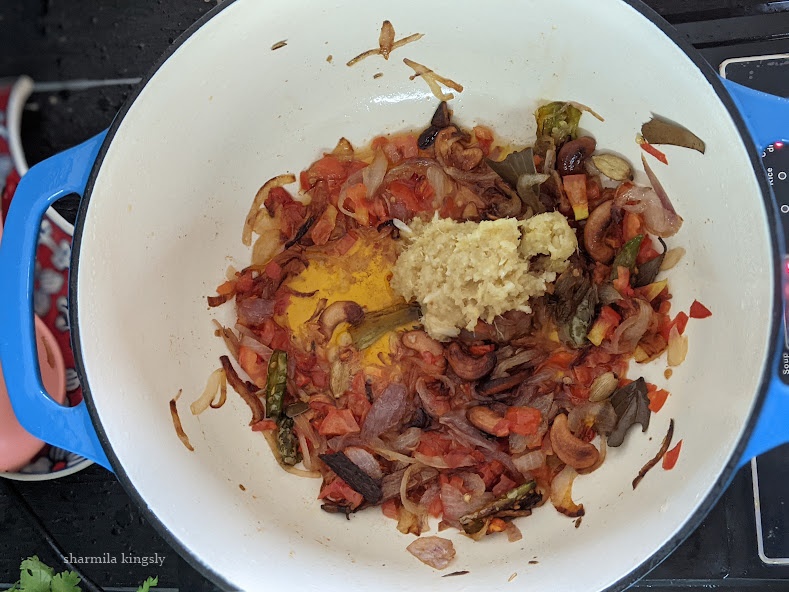
Next, add in the chopped tomatoes and cook till they become soft.
Next, add ginger garlic paste and fry till the raw smell leaves.
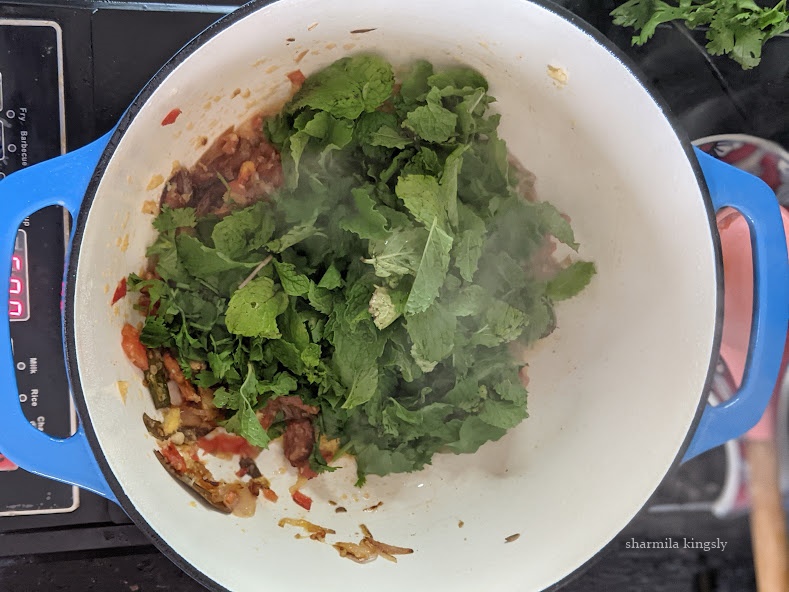
Add Mint and coriander leaves, Saute for a min or till they shrink.
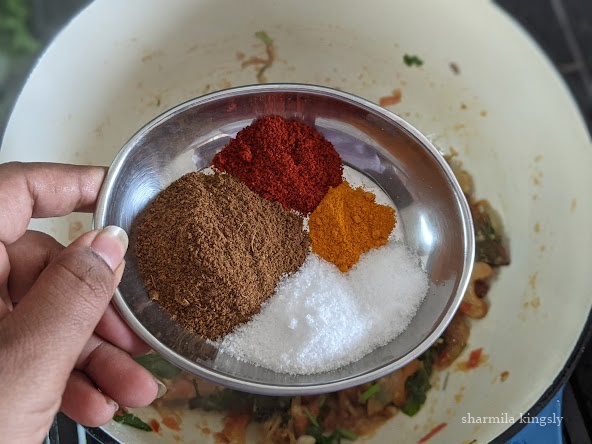
Now add the spice powders. I am using Chilli powder, Garam Masala, Cumin powder, and Salt. Mix well and cook for a min.
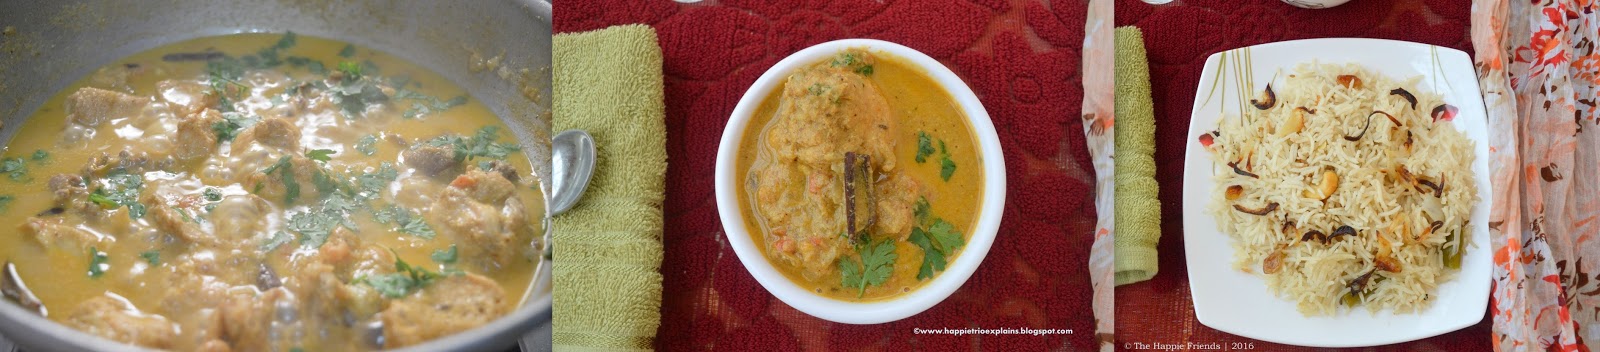
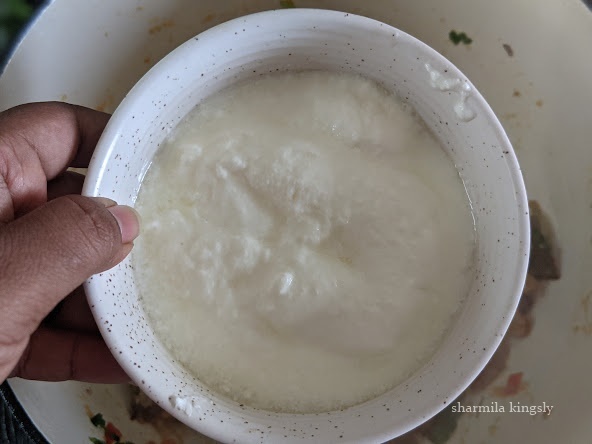
Now add in the curd/ yogurt.
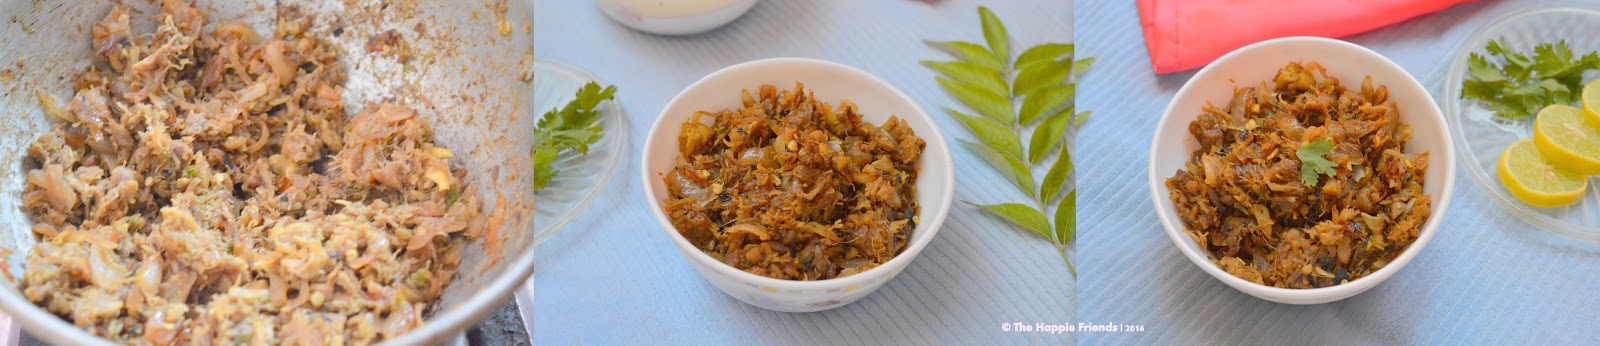
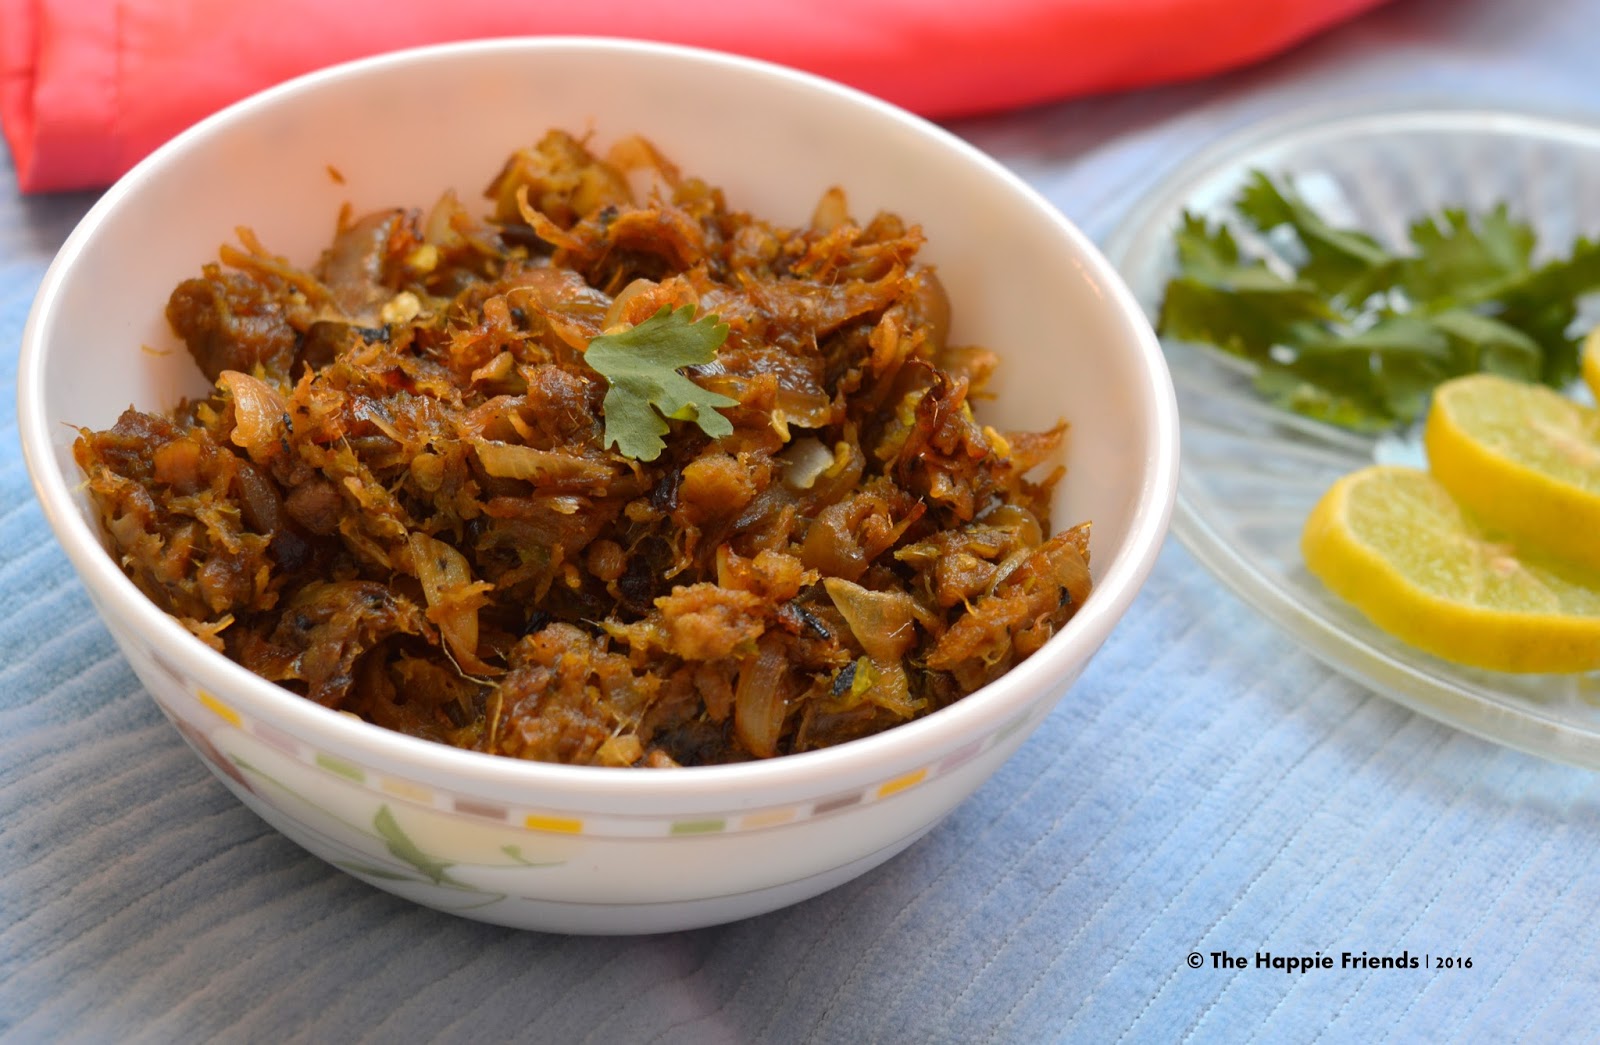
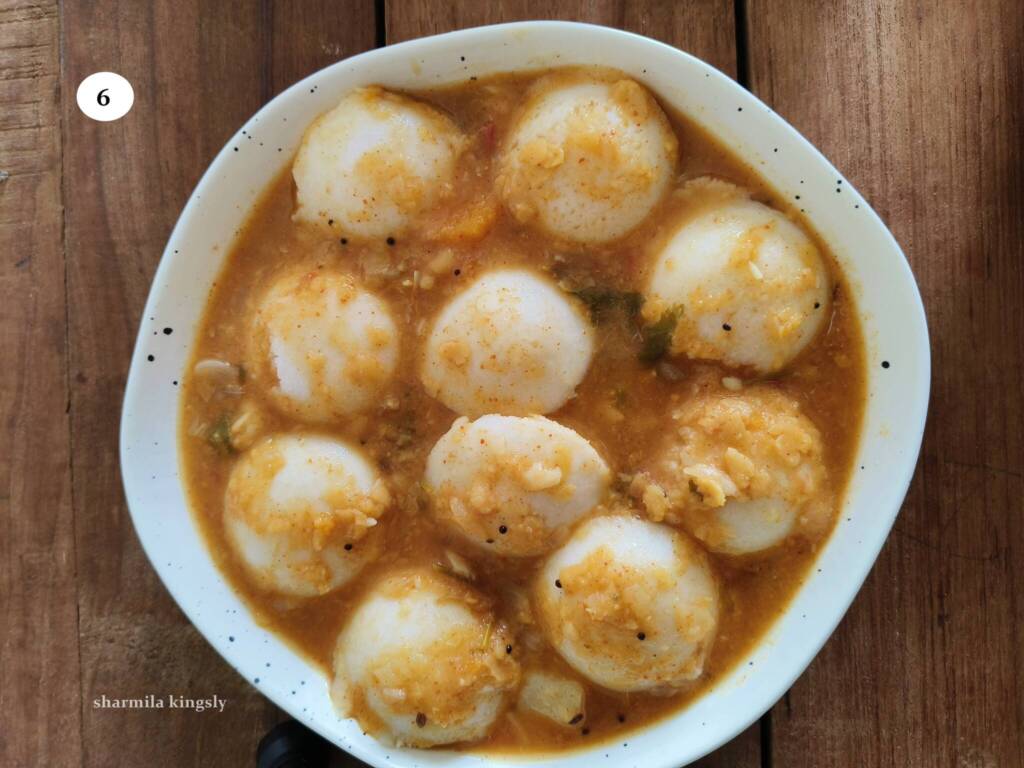
Combine and cook till the oil separates, Add Lemon Juice and Kewra water if using. Finally add ¾ of the cooked kofta ballas and combine with the masala. Cook for 2 mins and switch off the flame.
Layer the Biryani
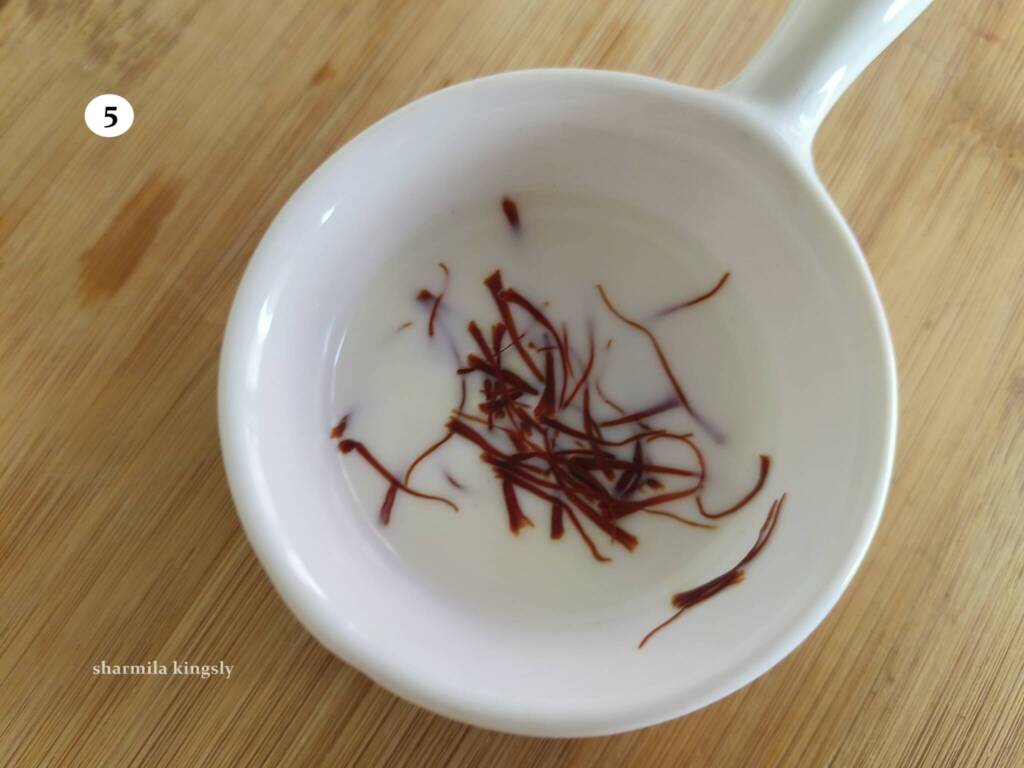
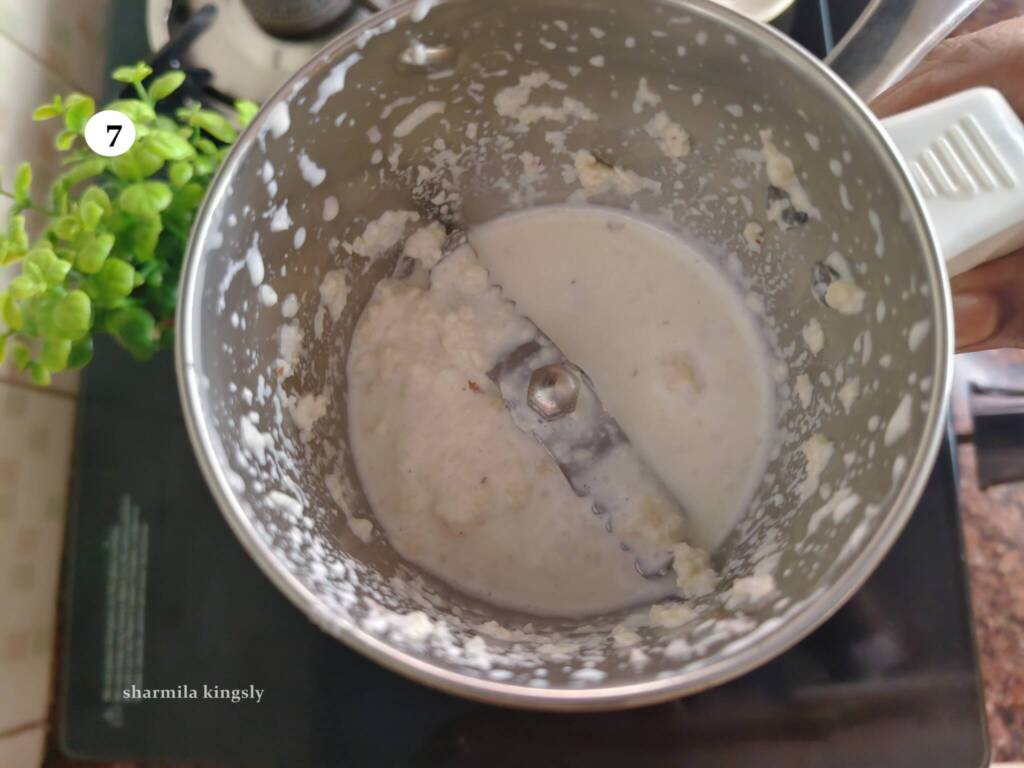
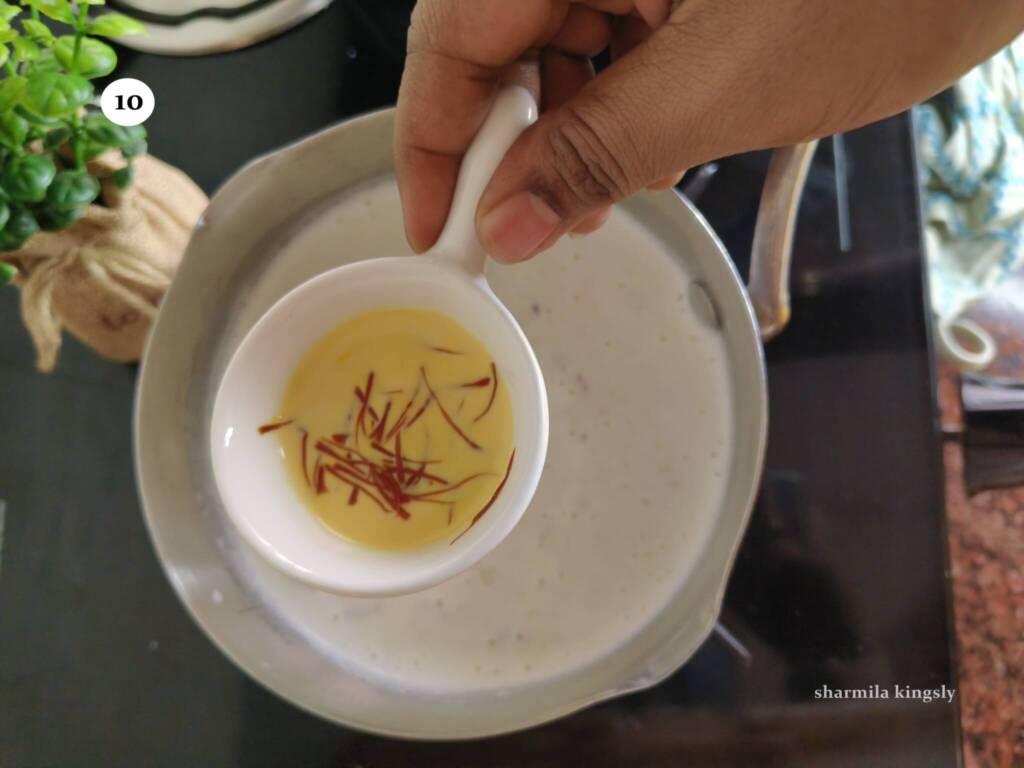
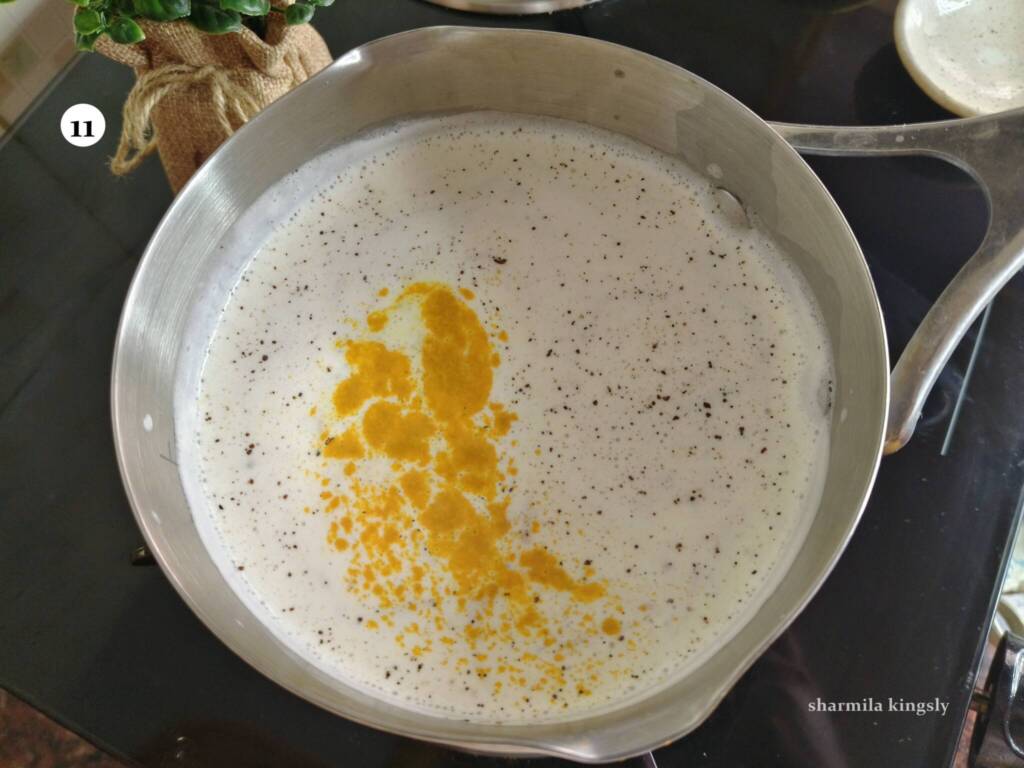
In a bowl add milk and Saffron. Let it rest for 30 mins. Chop Coriander leaves and keep them ready as well. Fry onions , Cashew nuts and keep them ready as well.
On top of the prepared biryani masala , spread half of the cooked rice.
Top it with saffron milk, Chopped coriander leaves , fried onions, fried cashew nuts and the remaining chicken meatballs.
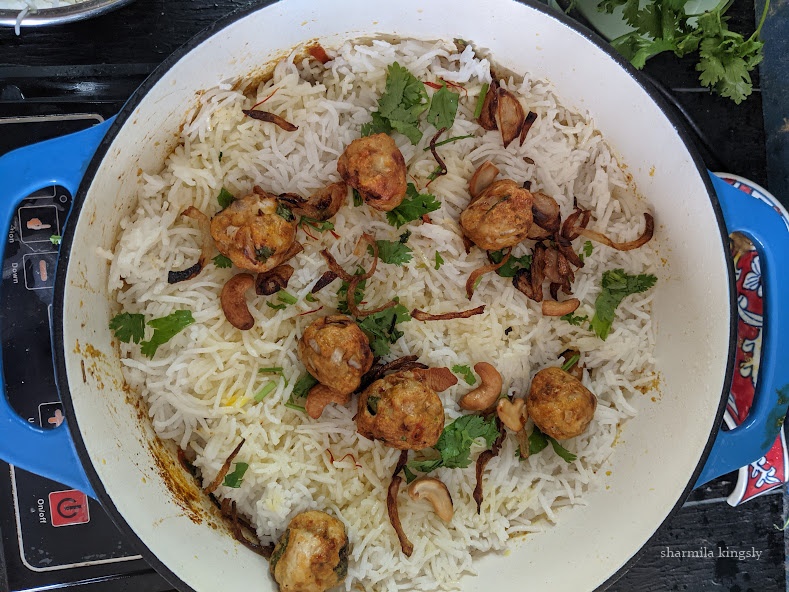
Top it with the remaining rice. Sprinkle in saffron milk, coriander leaves, fried cashew nuts and fried onion. Close the biryani pot. I used my Dutch oven.
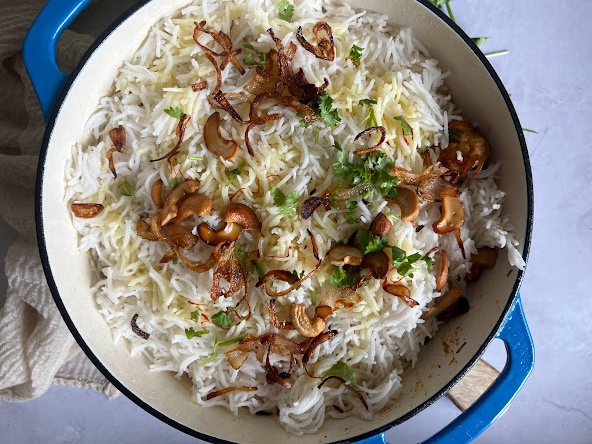
Switch on the stove to a very low flame and then place an iron dosa pan or a heavy iron pan and then place the biryani pot on top. Cook in the lowest flame for 20 mins and switch off.
Let the pot remain closed for another 30 mins and then open.
Gently fluff the rice. Delicious chicken Kofta biryani is now ready.
Tips & Variations
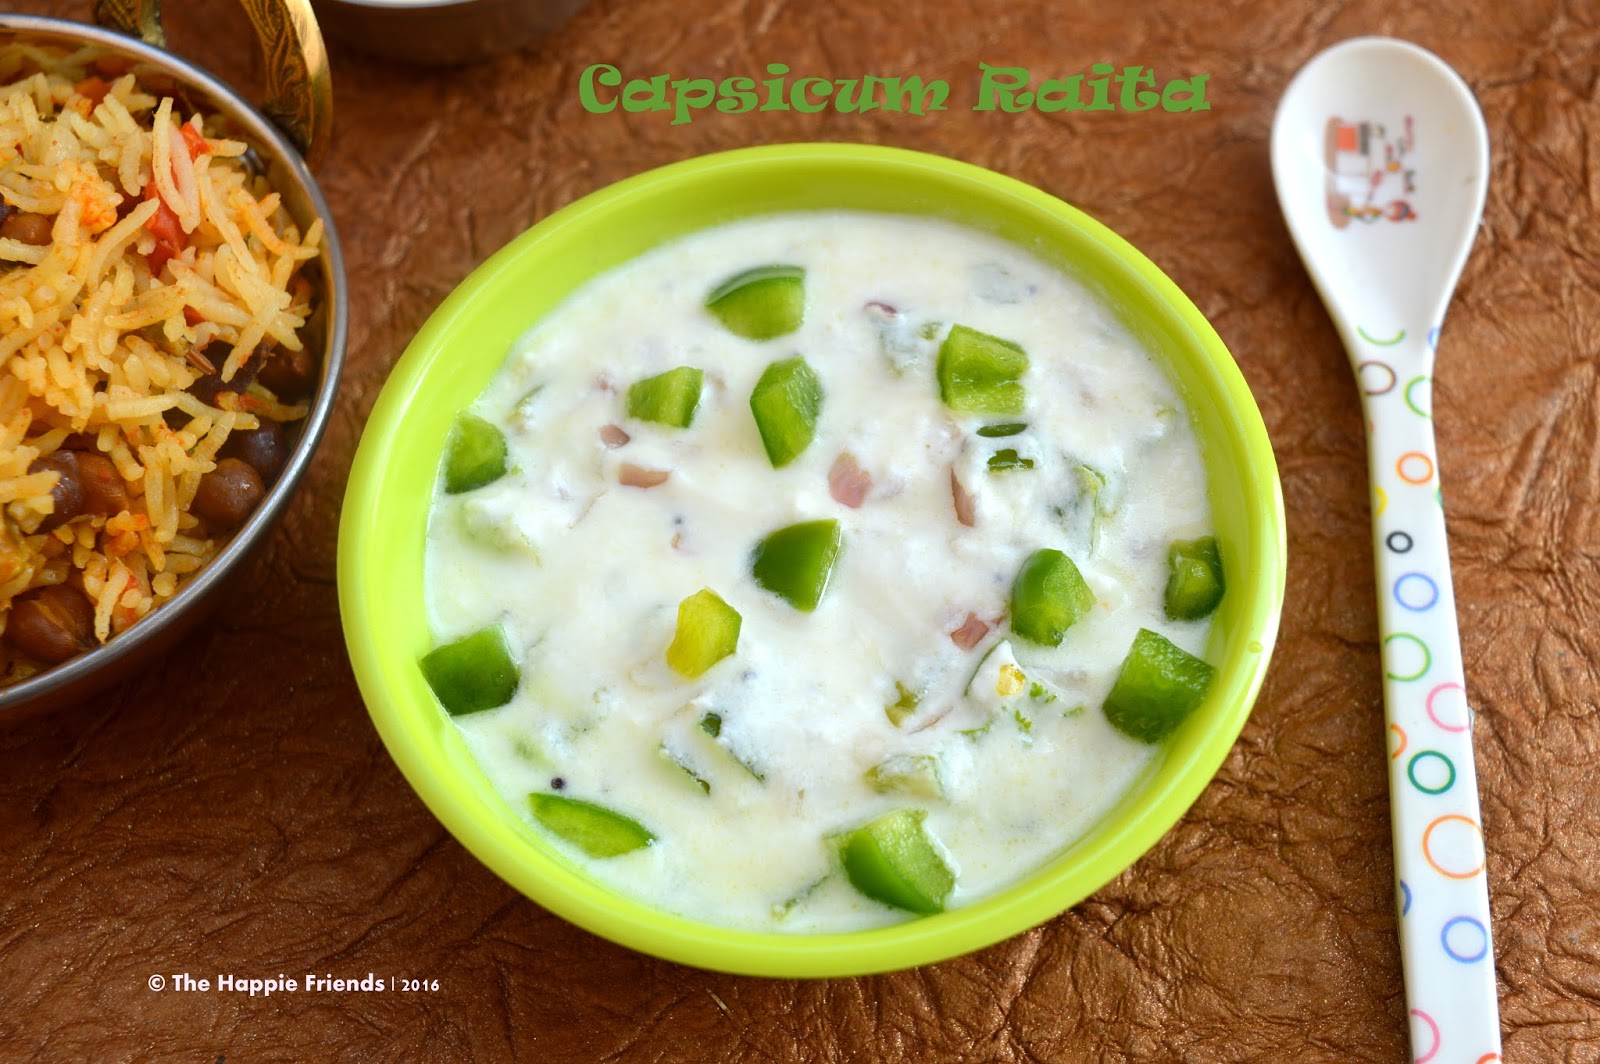
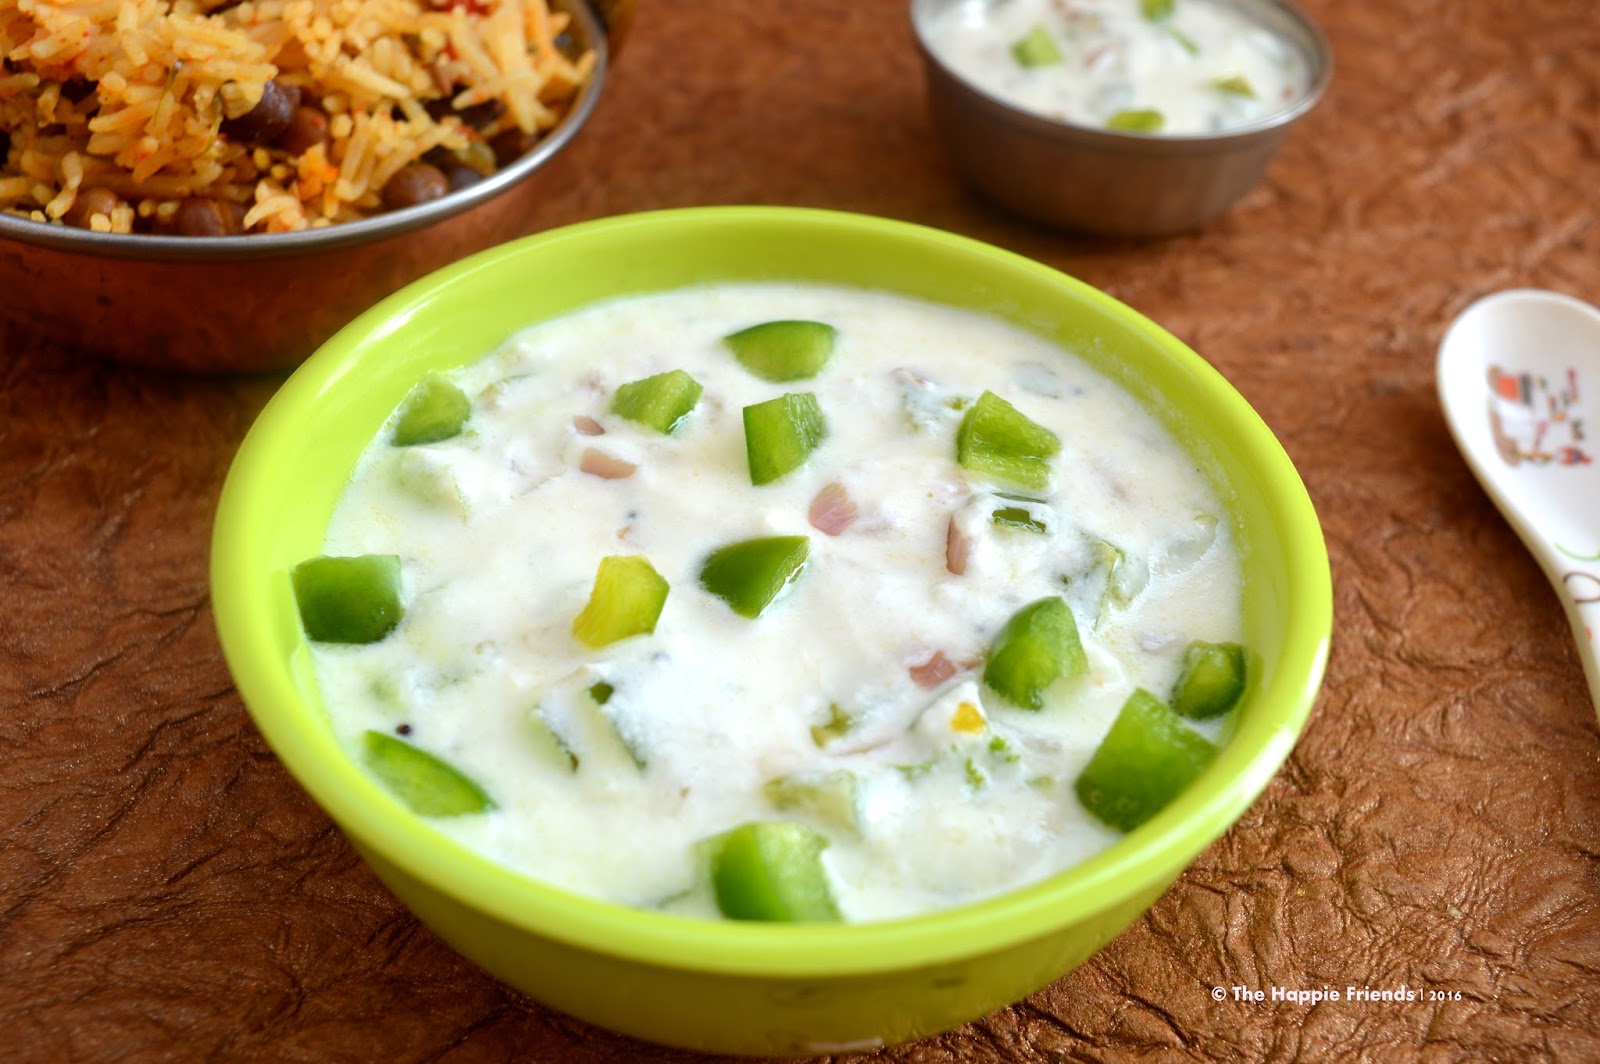
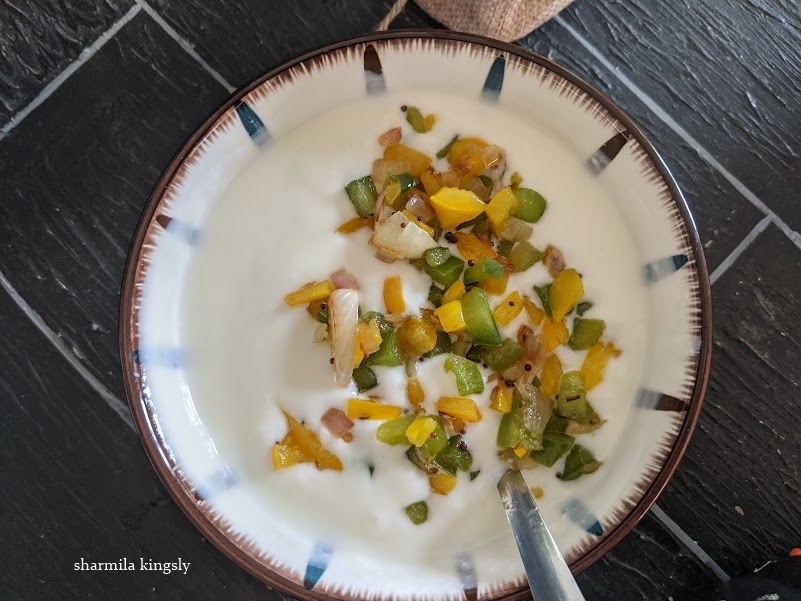
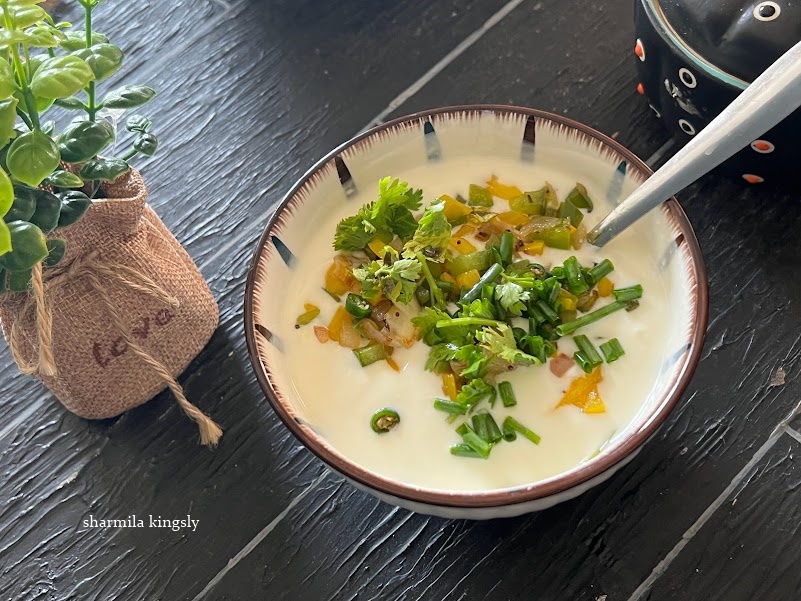
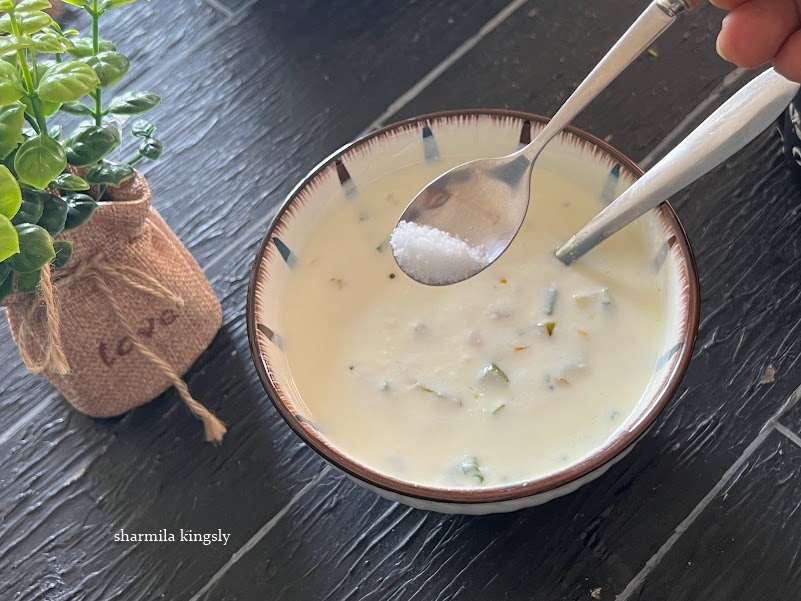
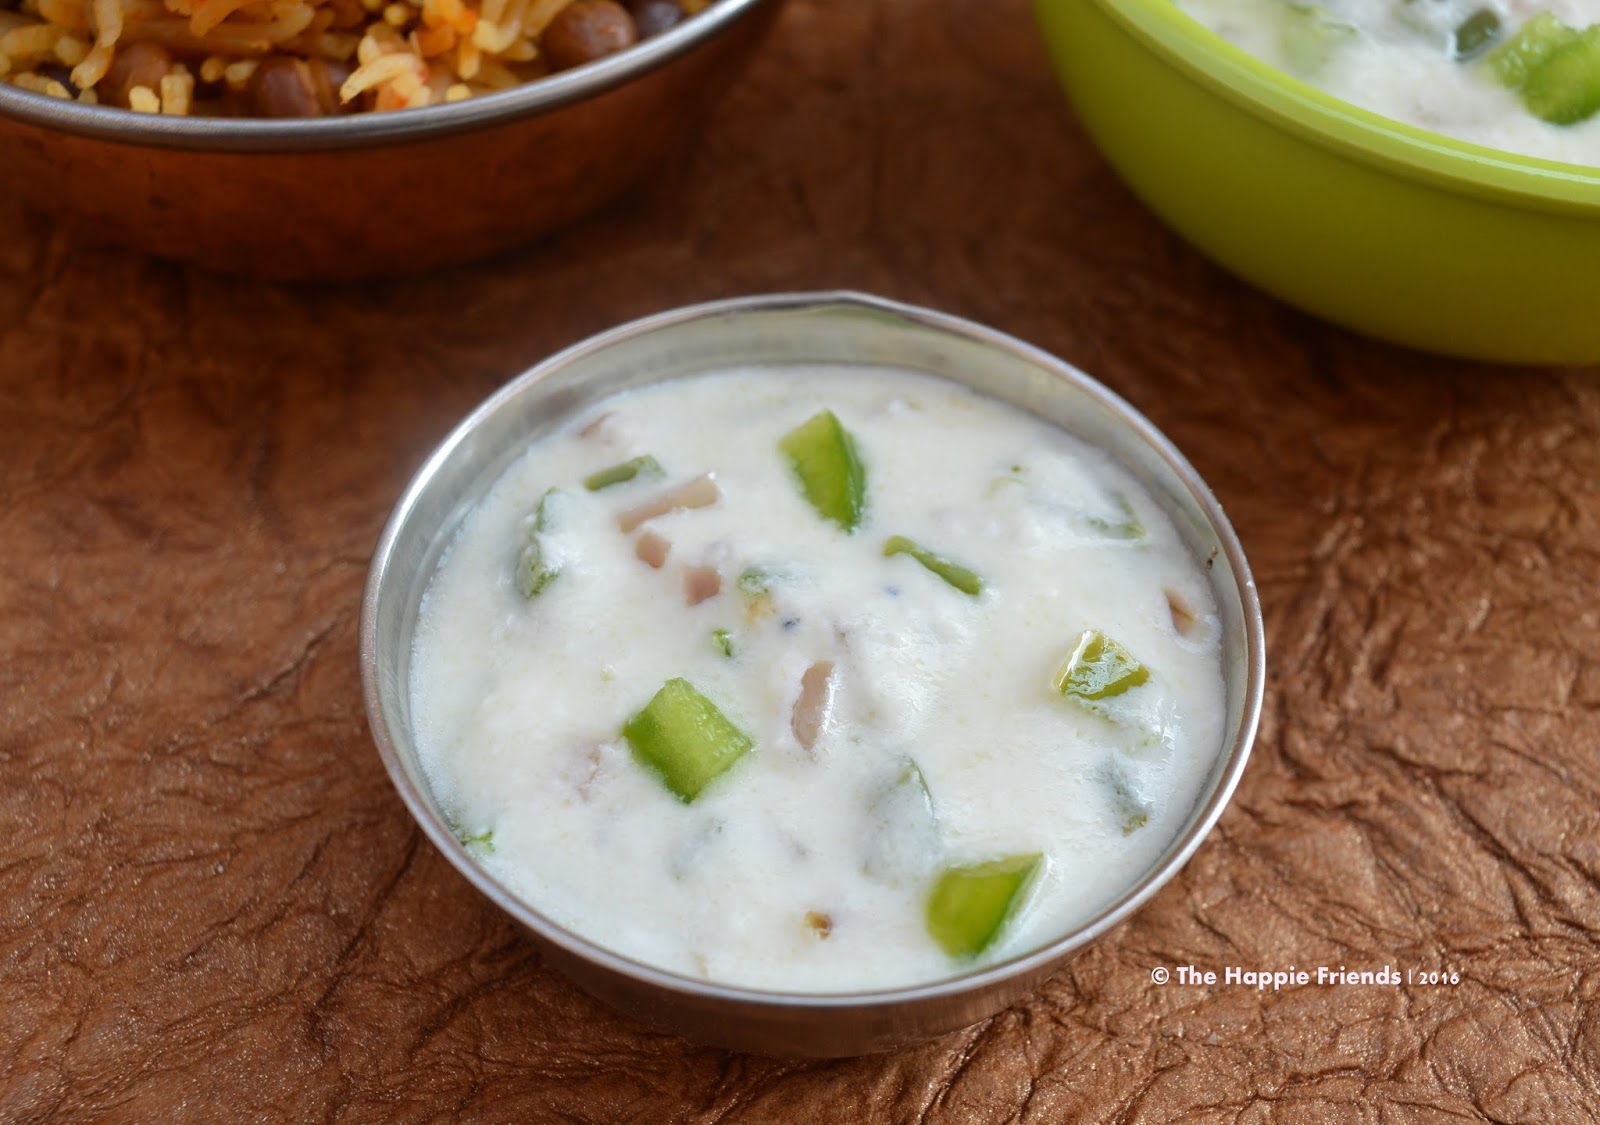
- Tastes best when served with any Raita.
- It would be an awesome and filling Sunday Lunch.
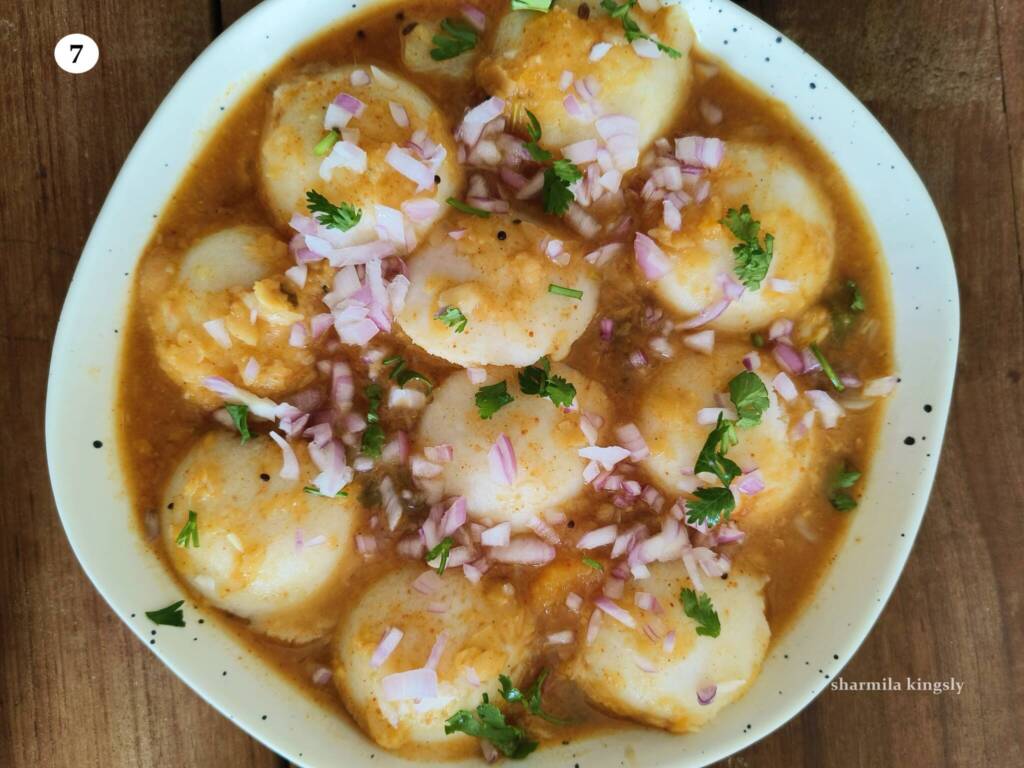
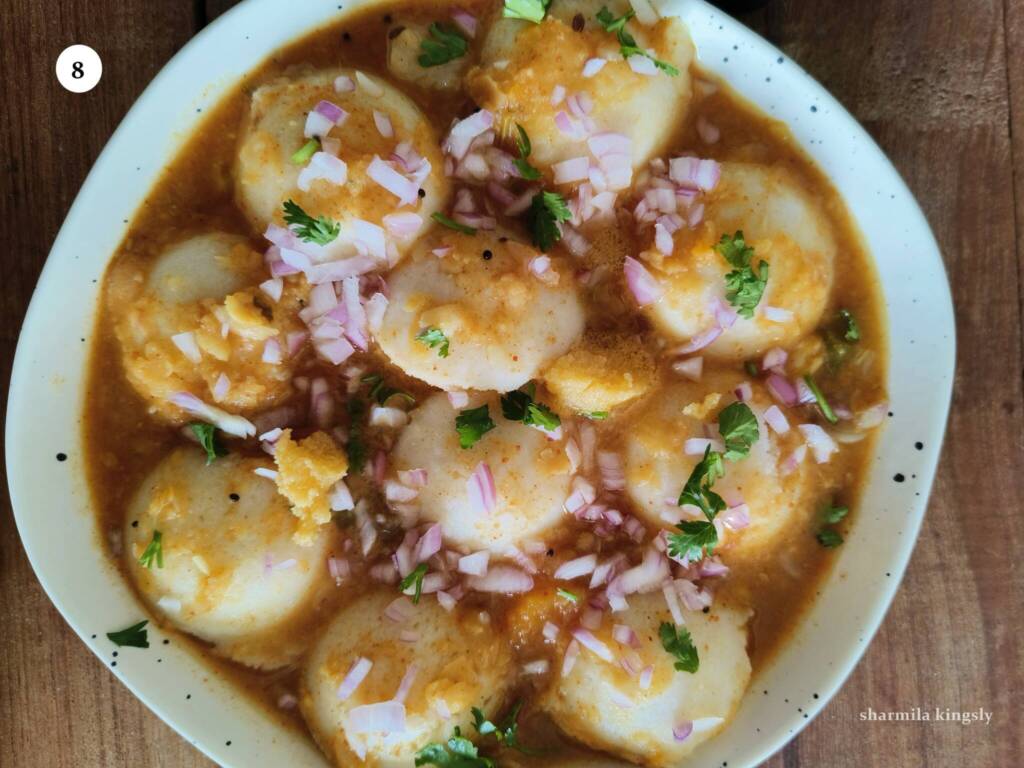
Serving Suggestions
A good biryani tastes best by itself. A few classic adds ons are Raita, Biryani Brijal thokku. Additionally with a few sliced onions, lemon wedges, and boiled egg if you prefer.
Similar Recipes


★ Did you enjoy this recipe? If you happen to try it out, I would love to hear from you! I’d appreciate it if you could rate and leave a review below in the comments. Your reviews help others know the recipe better too. Thanks for your time. You can also follow me on Facebook, Pinterest, Instagram, Youtube and Twitter for more updates
📖 Recipe

Chicken Kofta Biryani
Standard 1 cup measures 240 ml
Ingredients
Chicken Kofta Balls
- 400 gm Minced Chicken
- 1 tablespoon Ginger garlic paste
- 1 teaspoon Red Chilli powder
- 1 teaspoon Garam Masala
- ½ teaspoon Cumin powder
- ¼ teaspoon Turmeric powder
- Salt as needed
- 3 tablespoon Corn Flour
- 2 tablespoon Cilantro Coriander leaves finely chopped
- 1 Onion finely chopped
- Oil as needed for brushing
For Cooking Rice
- Water as needed
- 1 teaspoon Cooking Oil
- 1 Bay Leaf
- 1 Star Anise
- 3 Cloves
- 3 Cardamom
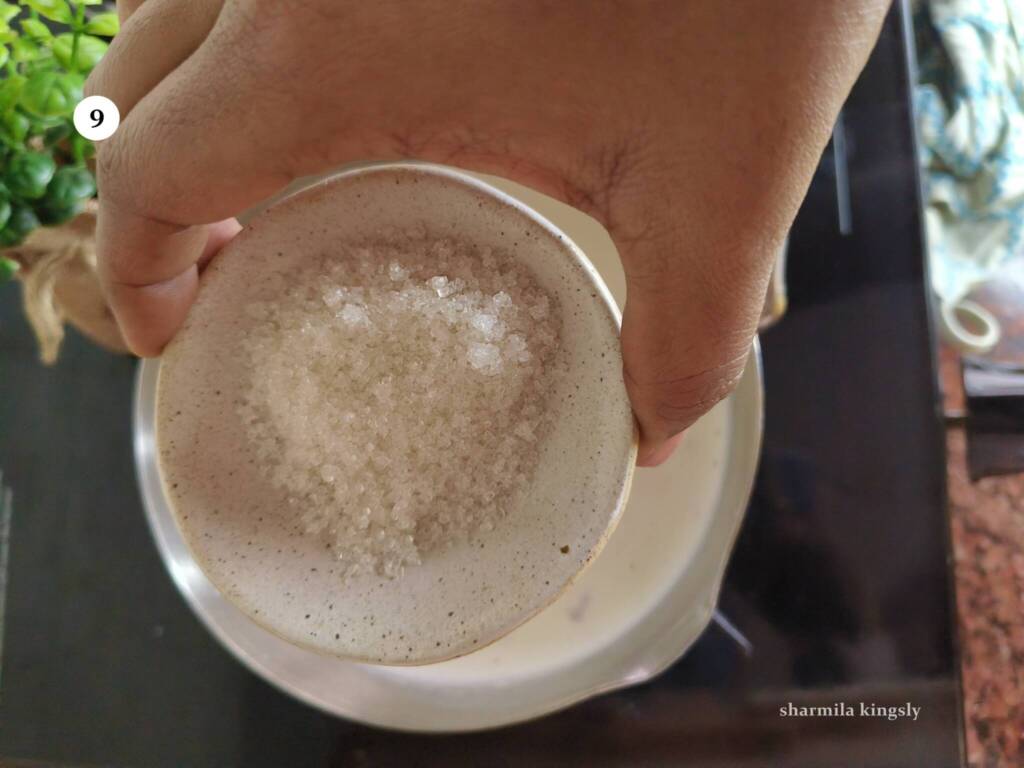
- Salt to taste
Saffron Milk
- ¼ cup Milk luke warm
- Saffron a generous pinch
Biryani Masala
- 2 tablespoon Oil
- 1 tablespoon Ghee
- 1 teaspoon Fennel seeds
- 1 Bay leaf
- 4 Cardamom
- 1 Star Anise
- 4 Cloves
- 2 inch Cinnamon stick
- 15 Cashewnuts
- 2 Onion medium sized sliced
- 1 tablespoon Ginger garlic paste
- ½ cup Mint Leaves
- ½ cup Coriander Leaves
- 3 Tomato
- 1 tablespoon Chilli powder
- 1 teaspoon Garam Masala
- ¼ teaspoon Turmeric powder
- ½ teaspoon Cumin Powder
- Salt as needed
- ⅓ cup Yogurt / Curd
- 1 teaspoon Kewra Water
- 2 teaspoon Lemon Juice
Instructions
Prepare the Kofta / Meat balls
- In a mixing bowl add minced chicken. Clean well and add.
- To this add ginger garlic paste, Red Chili powder, Garam Masala, Cumin powder, Turmeric powder and required Salt.
- Next add corn flour.
- Also add finely chopped Cilantro and Onion.
- Combine everything until mixed.
- Shape them into equal sized balls. You can use 1 tablespoon or 1.5tbsp to of meatball base to shape. Making big meatballs will make them undercooked in the middle portion. Hence I prefer small sized balls
Air Fryer Method & Stove Top Method
- Preheat the air fryer to 200 C / 400 F for 5 mins. Spray in some oil and arrange the meatballs. Air fry at 180 C / 356 F for 16 mins. Flip once halfway and brush with oil as needed.
- If cooking in stove top you add oil to a frying pan. Once its hot add the meatballs and deep fry until its crisp and cooked.
Cook Rice for Biryani
- Wash 2 cups of basmati rice or seeraga samba rice in water 3 or 4 times or until the water is clear and set aside.
- In a pan add water and start cooking. To the water add the whole spices. Add in salt and oil and bring everything to a boil.
- Once the water starts boiling add the soaked rice and cook until the rice is 95 % cooked. Switch off the stove and let it rest for 5 mins.
- Drain the excess water and then spread the cooked rice on a wide plate and let it cool.
Masala For Biryani
- Heat a biryani pot with oil. Once it heats up add in fennel seeds and then Bay leaves, Cinnamon sticks, Cloves, and Cardamom. Let it splutter.
- Then add in sliced onions and Saute untill the onions are soft. Next, add ginger garlic paste and fry till the raw smell leaves.
- Add Mint and coriander leaves, Saute for a min or till they shrink.
- Next, add in the chopped tomatoes and cook till they become soft.
- Now add the spice powders. I am using Chilli powder, Garam Masala, Cumin powder, and Salt. Mix well and cook for a min.
- Now add in the curd/ yogurt.
- Combine and cook till the oil separates, Add Lemon Juice and Kewra water if using.
- finally add ¾ of the cooked kofta ballas and combine with the masala. Cook for 2 mins and switch off the flame.
Layer the Biryani
- In a bowl add milk and Saffron. Let it rest for 30 mins. Chop Coriander leaves and keep them ready as well. Fry onions , Cashew nuts and keep them ready as well.
- On top of the prepared biryani masala , spread half of the cooked rice.
- Top it with saffron milk, Chopped coriander leaves , fried onions, fried cashew nuts and the remaining chicken meatballs.
- Top it with the remaining rice. Sprinkle in saffron milk, coriander leaves, fried cashew nuts and fried onion. Close the biryani pot. I used my Dutch oven.
- Switch on the stove to a very low flame and then place an iron dosa pan or a heavy iron pan and then place the biryani pot on top. Cook in the lowest flame for 20 mins and switch off.
- Let the pot remain closed for another 30 mins and then open.
- Gently fluff the rice. Delicious chicken Kofta biryani is now ready.
Video
Notes
- Tastes best when served with any Raita.
- It would be an awesome and filling Sunday Lunch.
Nutrition
Disclaimer: I am not a nutritionist, the nutrition value provided here is an estimate. It will vary based on the quantity and brands of the products used.
Note: This post is originally from 2016. Its now updated with new Recipe card, Pictures and video.