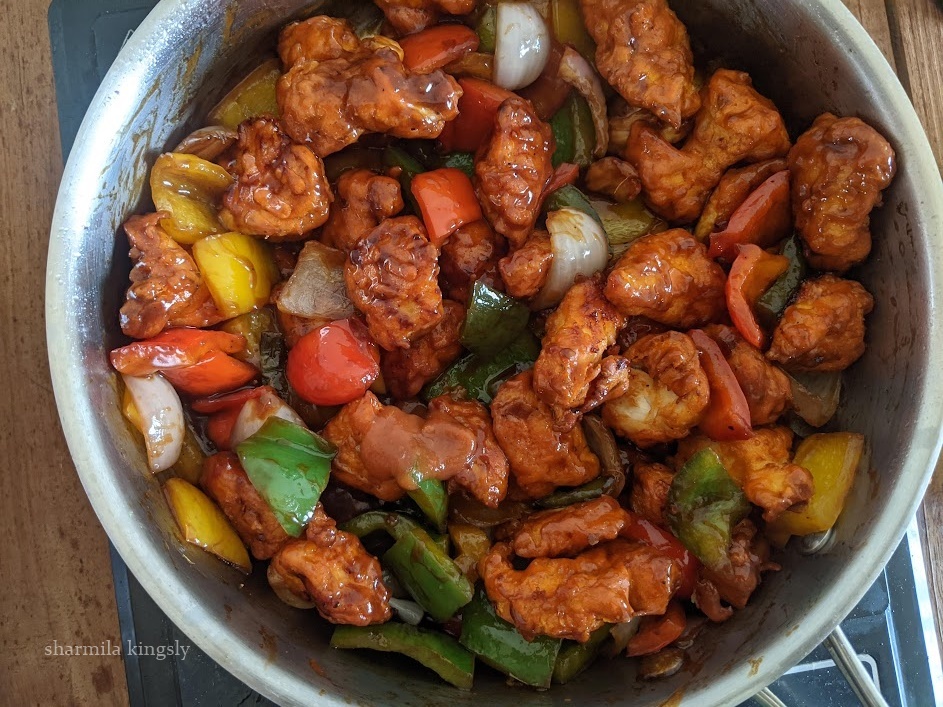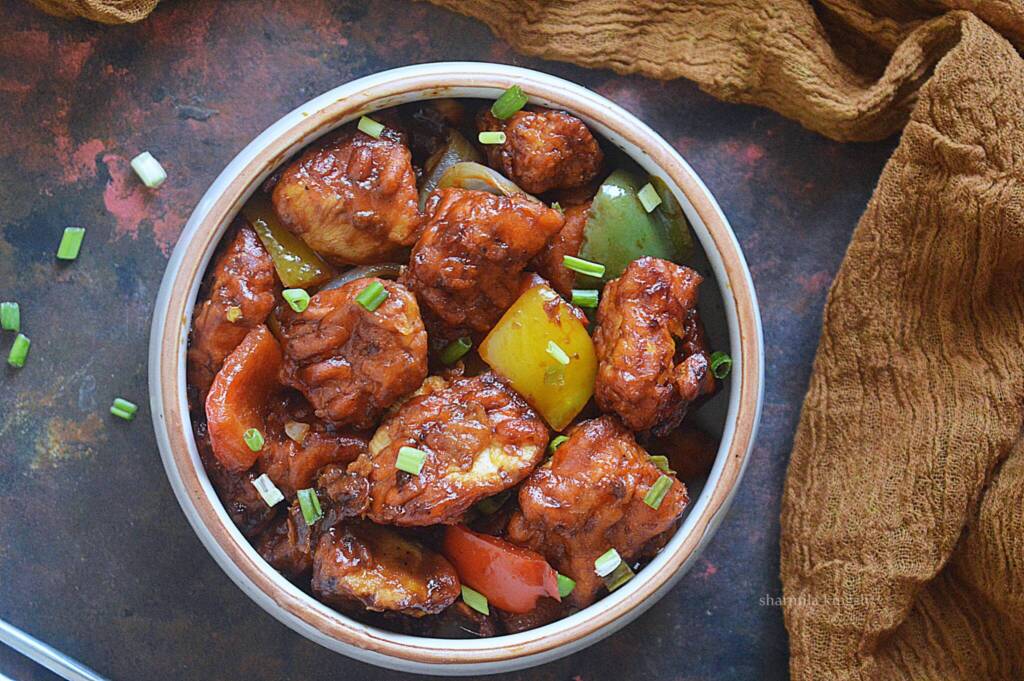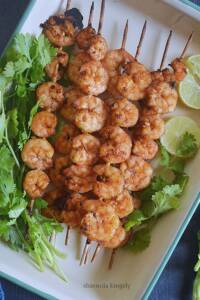
Air Fryer Grilled Shrimp is a juicy appetizer that is just right for any occasion. Best when made for a BBQ night or Potlucks.
Follow us on Pinterest for delicious pins. Join our Facebook group for more Instant Pot and Air Fryer recipes.

It is a beginner-friendly recipe. All you have to do is clean and marinate the shrimp. The marinated shrimp are put in skewers and then grill cooked to perfection.
[feast_advanced_jump_to]Air Fryer Shrimp
The best thing about these air fryer shrimps is that no babysitting. Shrimp gets grilled and cooked perfectly in just minutes. Perfect for the weekend dinner or potlucks and starter.
Cooking shrimp in air fryer is one of the easiest and beginner-friendly options. Air Fryer Shrimps come in handy if cooking on short notice.
Ingredients
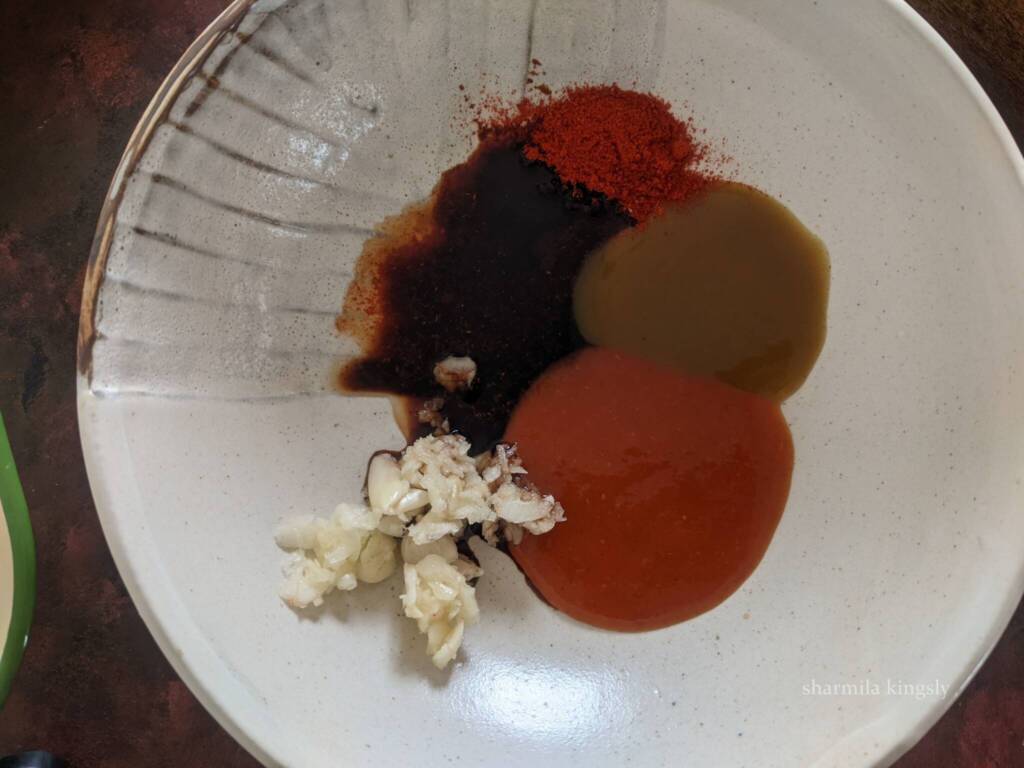
Sauce - We use Red and Green Chili Sauce along with Soy sauce, for the recipe.
Spice Powders - I am using paprika powder and salt. You may also replace the paprika powder with Kashmiri red chili powder. It gives deep red color.
Minced garlic - Gives a yummy flavor to the shrimp.
Shrimp - Use cleaned and deveined shrimp. with or without tail both work well.
FAQ's
How long to air fry shrimp?
Shrimp gets cooked really fast. Hence I prefer cooking at a low temperature. My usual timing is 356 F / 180 C for 6 mins. Or you can make it to 320 F / 160 C for 8 mins. Grilling more makes the shrimp overcooked and rubbery. Also, the timing may vary for air fryers so adjust accordingly and check after 5 mins.
How to Clean the Prawns?
We usually remove the outer skin of the shrimp and then chop the head and tail portions. However, removing the tail and the head portion is optional. Some prefer using the tail portion as it is. The next part is the deveining. This is a mandatory and very important step.
How to devein Shrimp?
Always remove the black vein in the shrimp. There are two mini black veins on both sides and I prefer removing both. These veins are nothing but the intestinal parts of the shrimp. Make a small insertion on the backside of the shrimp and then pull off the black parts. The vein comes easily when pulled.
How to make grilled shrimp in air fryer
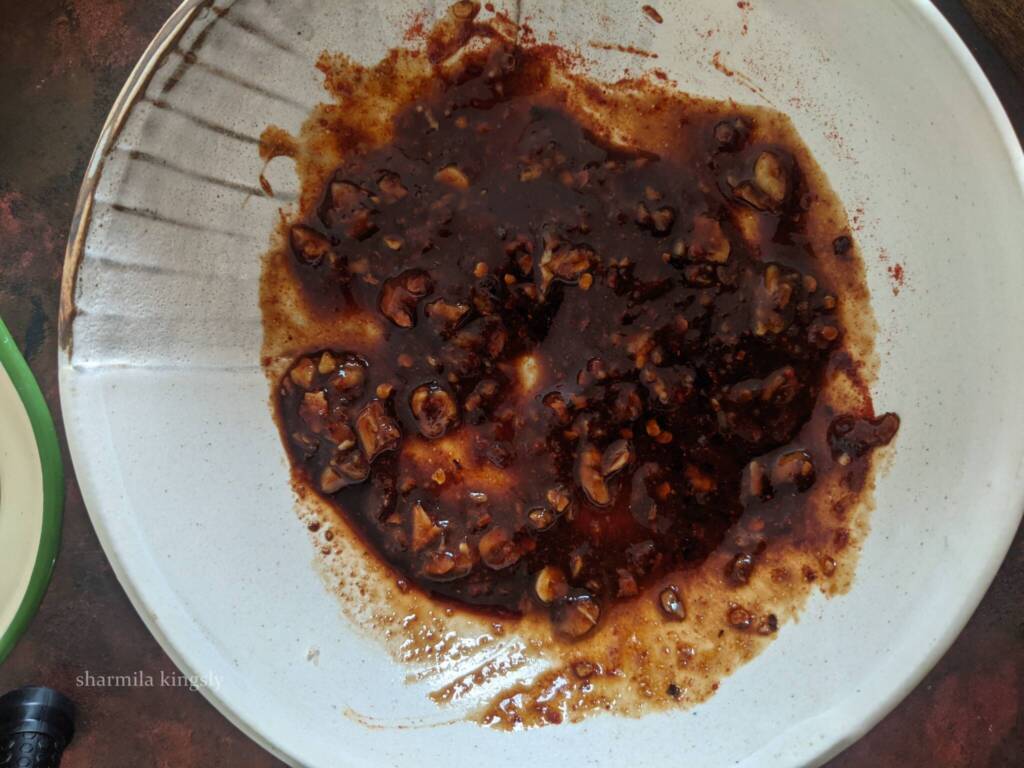
1.In a mixing bowl add all the marinade ingredients. I am using Red chili sauce, Green chili sauce, Soy sauce, Vinegar, Minced Garlic, and Paprika Powder.
2. Next, add in the chili flakes if using and the required salt.
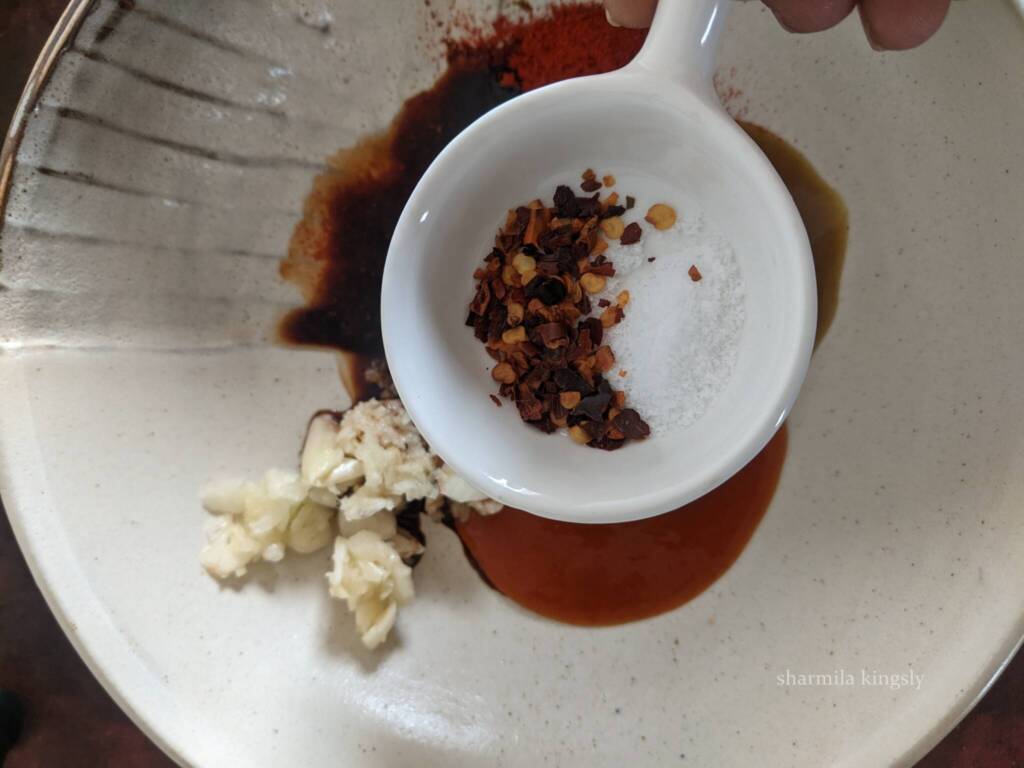
3. Combine everything.
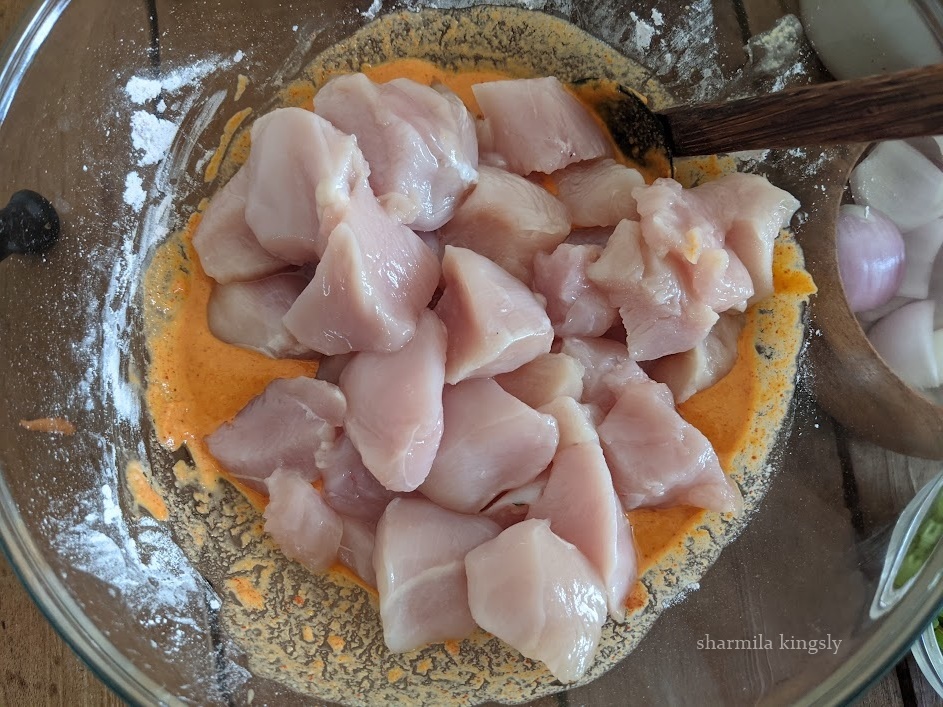
4. Deshell the shrimp. Clean and devein the shrimps and keep them ready. Add the cleaned shrimp to the mixing bowl.
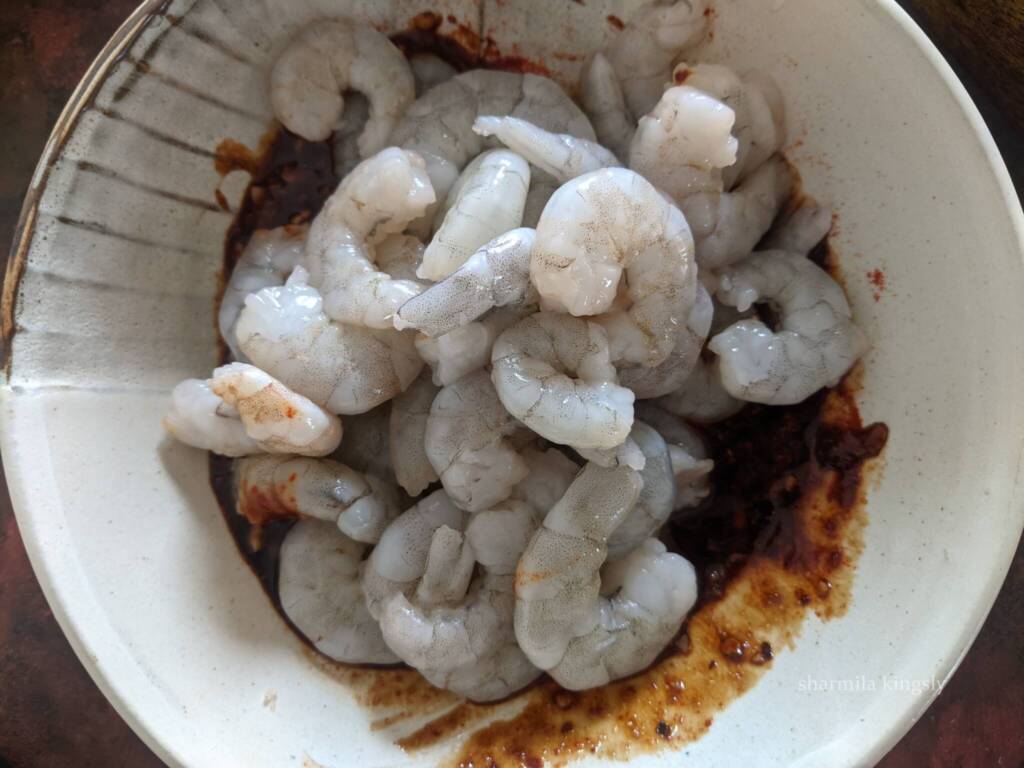
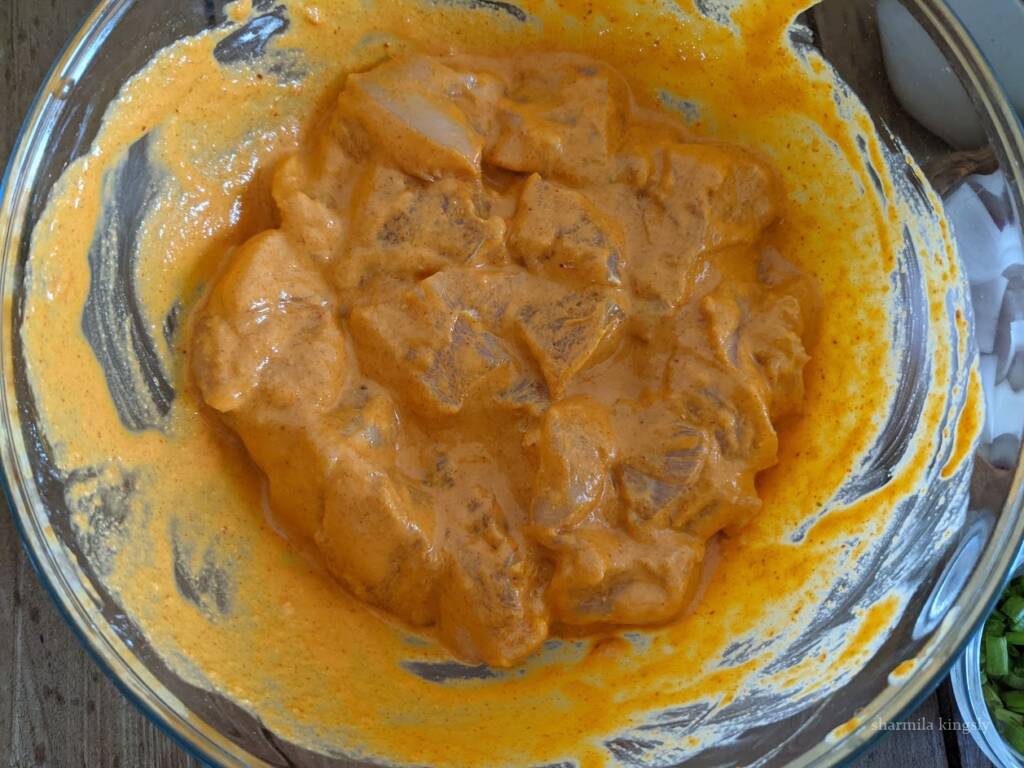
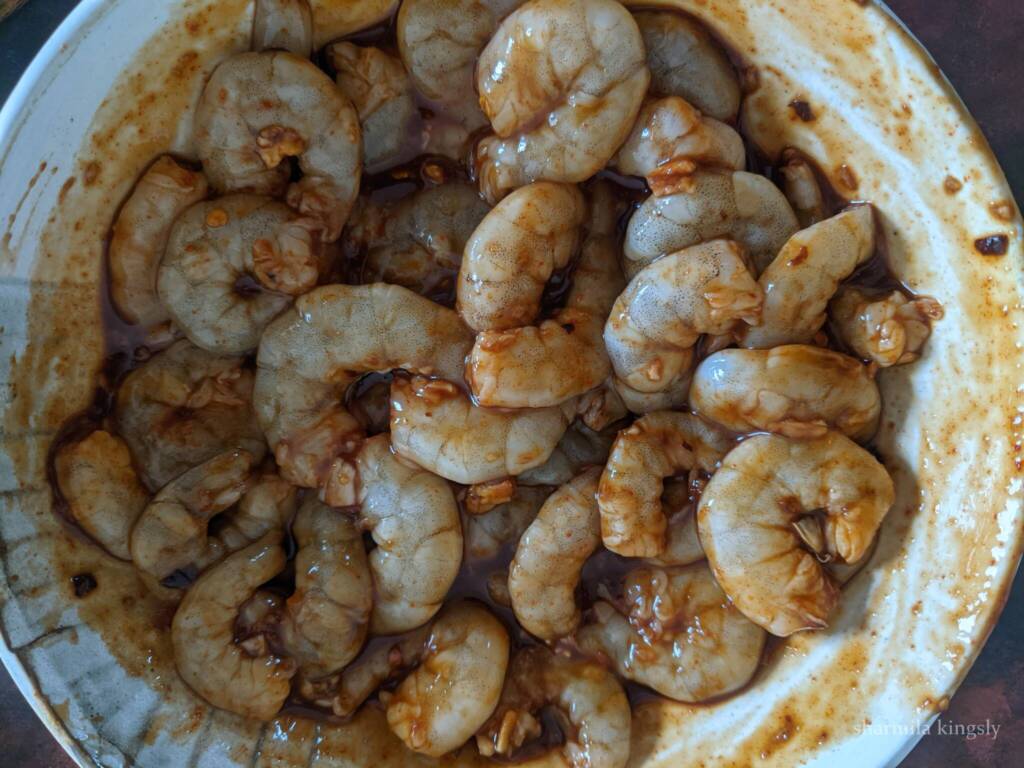
5. Mix well and let it marinate for 15 mins.
6. Dip the skewers in water for 15 mins and then use. This is to prevent the browning of the skewers as we grill. Now skew in the marinated shrimps and keep them ready.
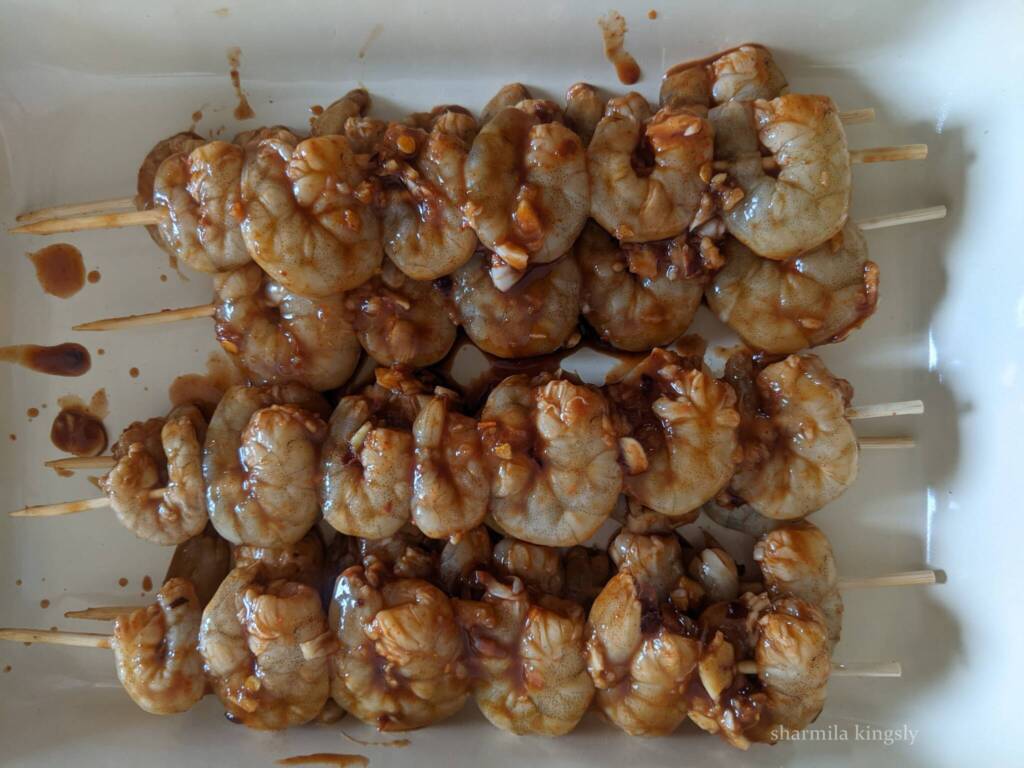
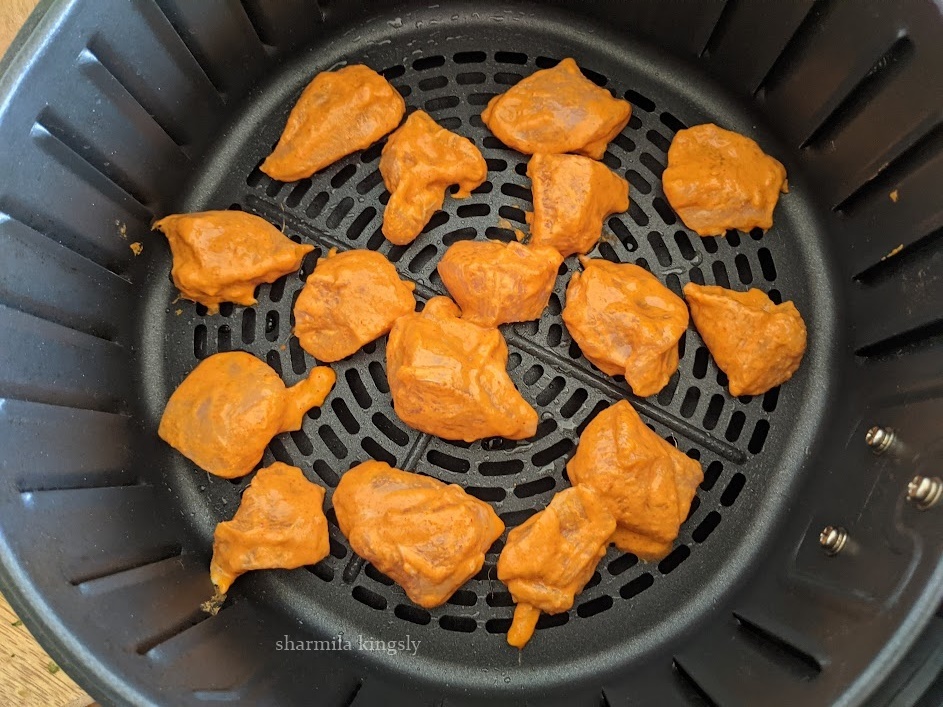
7. Preheat the air fryer to 392 F /200 C for 5 mins. Brush or spray oil to the preheat air fryer basket. Arrange the skewers without touching each other. Spray in some oil.
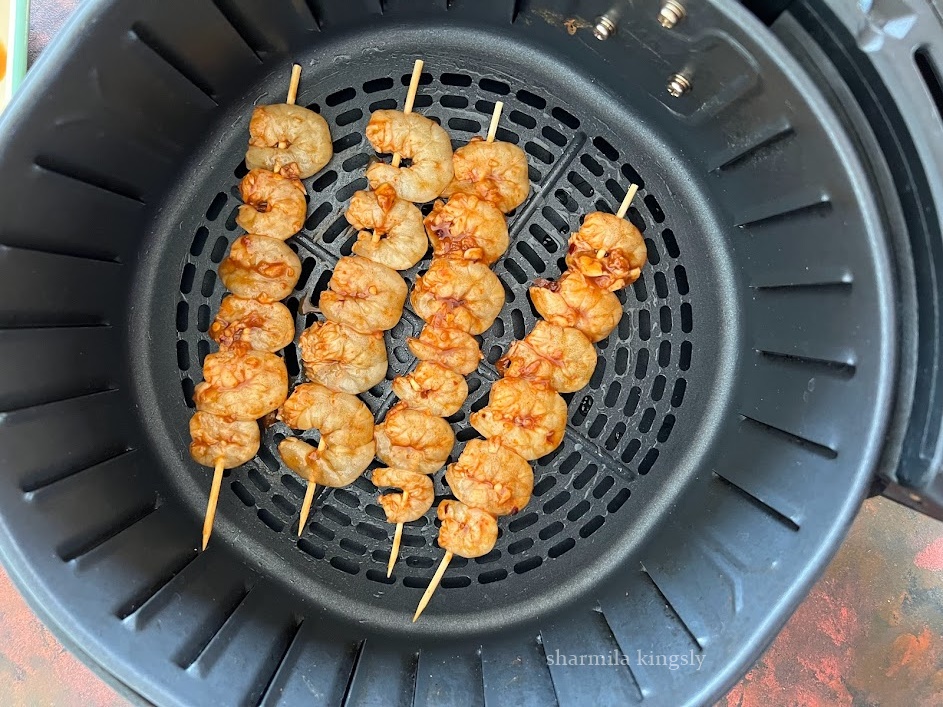
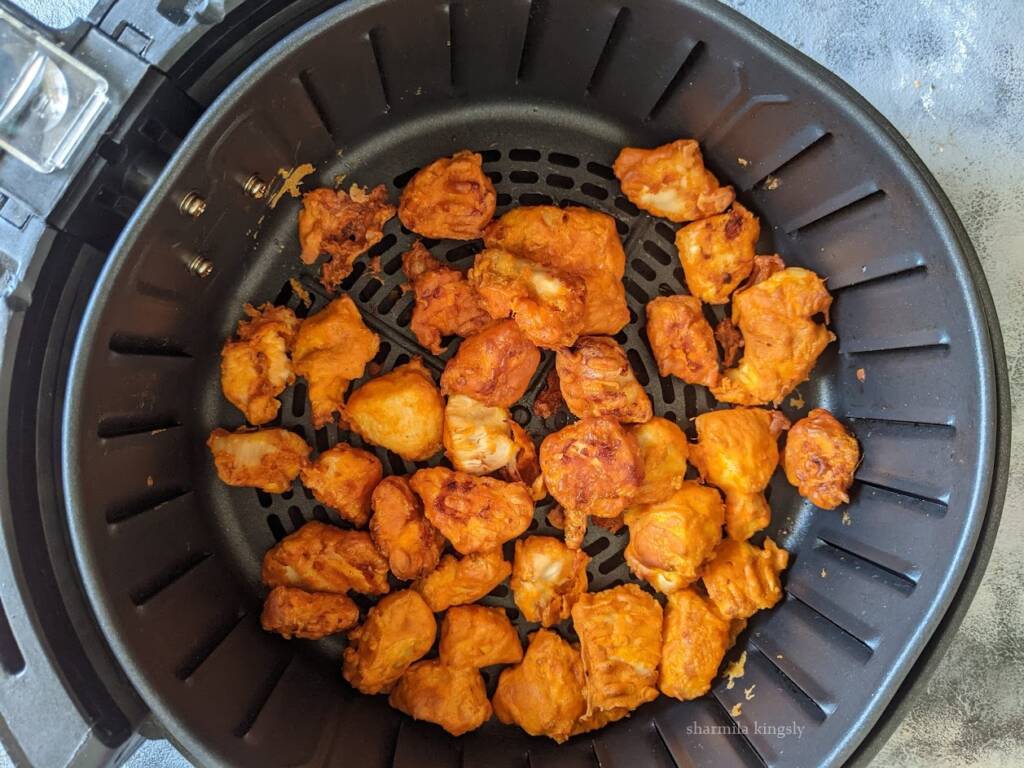
8. Air fry at 356 F / 180 C for 6 mins. After 3 mins you may flip once and spray little oil. Air fryer grilled shrimp is now ready.

Tips & Variations
- This recipe is very forgiving and you may use the ingredients for the marinade as you like based on your preference.
- You can use the cajun spice along with salt and pepper for the cajan grilled shrimp.
- You can use the taco seasoning for the Tex Mex style shrimps.
- We can also use the Indian style Garam Masala, Chilli powder, ginger garlic paste, and Turmeric powder for the Indian style grilled prawns air fryer.
- In this recipe, I am using an Asian style marinade. You may just modify them based on your preference.
- If you have some leftovers you may store them in the fridge and use them for a few more days as well.
- You can also use frozen shrimp in this recipe. Either you thaw them and grill or grill for extra 2 minutes.
- The cooking time is very important when it comes to air frying the shrimps hence check and adjust as per your air fryer settings.
- Indian Prawns are small and tender and hence get cooked easily. The time for cooking may vary based on the size of the shrimp.
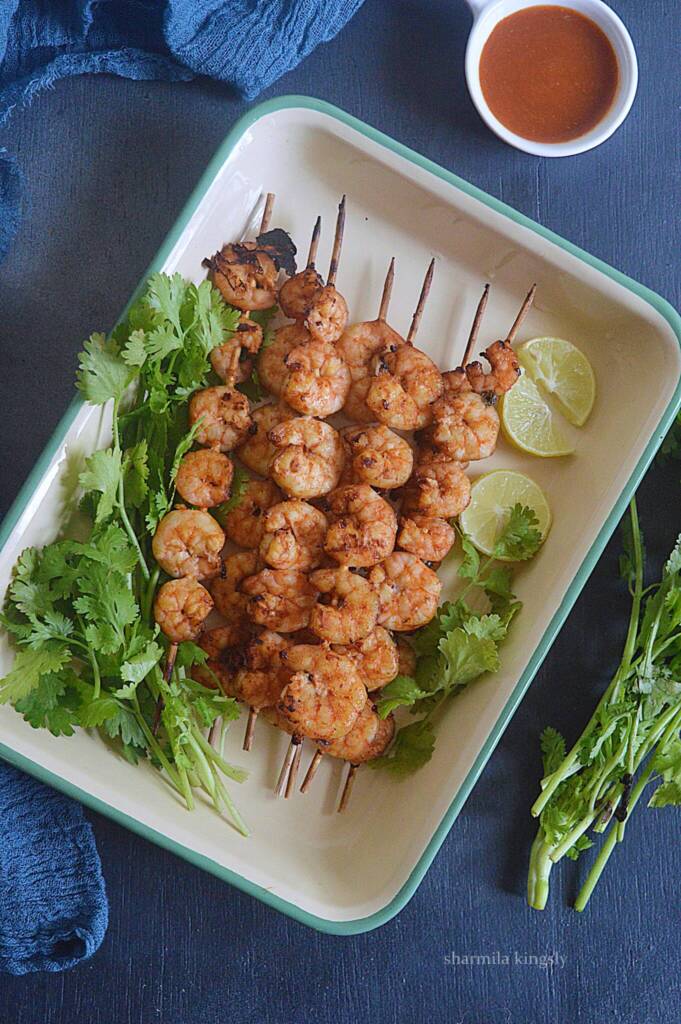
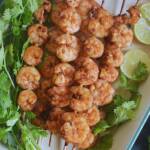
Serving Suggestions
Goes well with Ketchup and with Mayonnaise. You can serve them with both or any one of the above with some pickled onions, Lemon wedges too.
Storage Options
Store the leftover shrimp in zip lock bags or in air-tight containers. They stay good for 3-4 days. You can reheat them on the stovetop or microwave and then serve.
Similar Recipes


★ Did you enjoy this recipe? If you happen to try it out, I would love to hear from you! I’d appreciate it if you could rate and leave a review below in the comments. Your reviews help others know the recipe better too. Thanks for your time. You can also follow me on Facebook, Pinterest, Instagram, Youtube and Twitter for more updates
📖 Recipe
Air Fryer Grilled Shrimp
Standard 1 cup measures 240 ml
Equipment
- Airfryer
- Airfryer
Ingredients
- 1 tablespoon Red Chilli Sauce
- 1 teaspoon Green Chilli Sauce
- 1 teaspoon Soy Sauce
- 1 teaspoon Vinegar
- ½ teaspoon Paprika powder
- 1 teaspoon Chilli Flakes optional
- Salt as needed
- Oil as needed
- 30 Shrimp
Instructions
- In a mixing bowl add all the marinade ingredients. I am using Red chili sauce, Green chili sauce, Soy sauce, Vinegar, Minced Garlic, and Paprika Powder.
- Next, add in the chili flakes if using and the required salt.
- Combine everything.
- Deshell the shrimp. Clean and devein the shrimps and keep them ready. Add the cleaned shrimp to the mixing bowl.
- Mix well and let it marinate for 15 mins.
- Dip the skewers in water for 15 mins and then use. This is to prevent the browning of the skewers as we grill. now skew in the marinated shrimps and keep them ready.
- Preheat the air fryer to 392 F /200 C for 5 mins. Brush or spray oil to the preheat air fryer basket. Arrange the skewers without touching each other. Spray in some oil.
- Air fry at 356 F / 180 C for 6 mins. After 3 mins you may flip once and spray little oil.
- Air fryer grilled shrimp is now ready.
Video
Nutrition
Disclaimer: I am not a nutritionist, the nutrition value provided here is an estimate. It will vary based on the quantity and brands of the products used