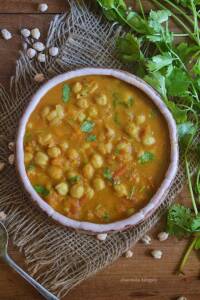
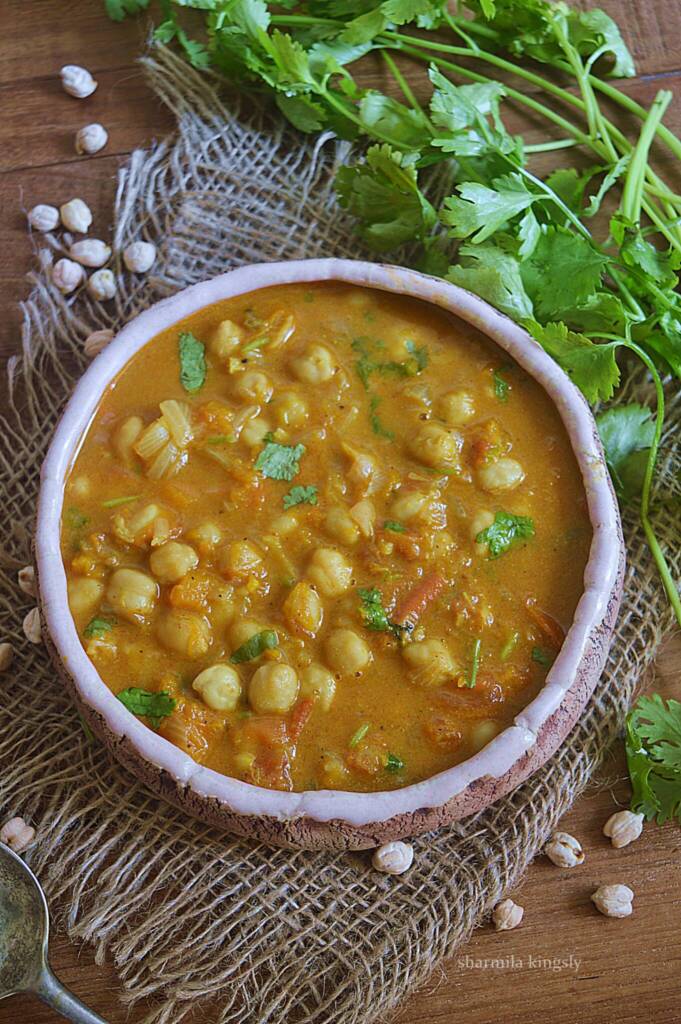
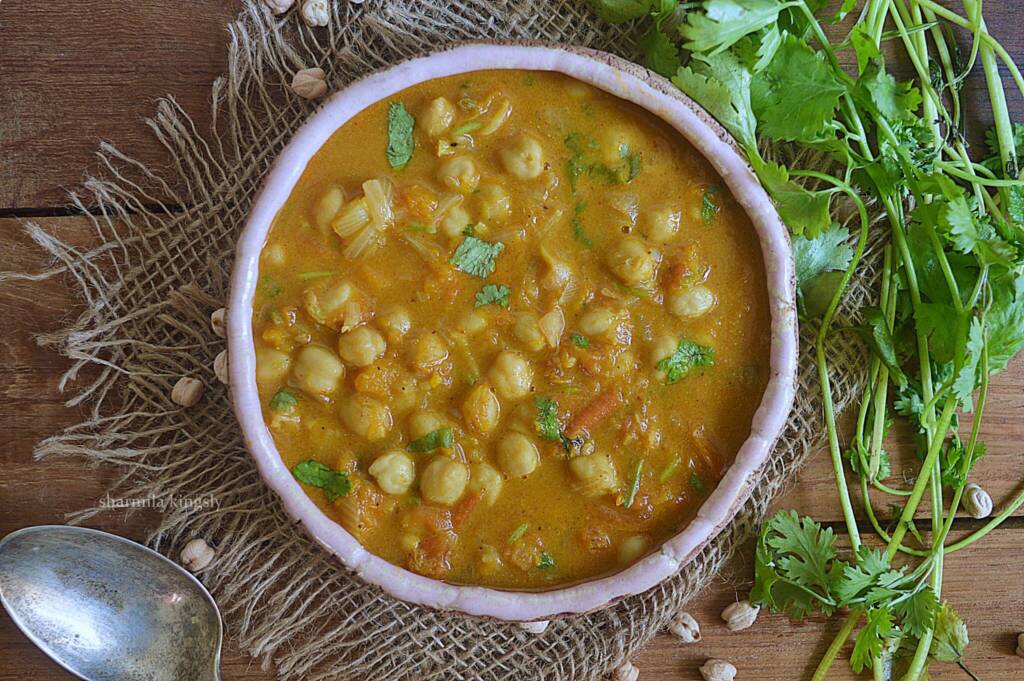
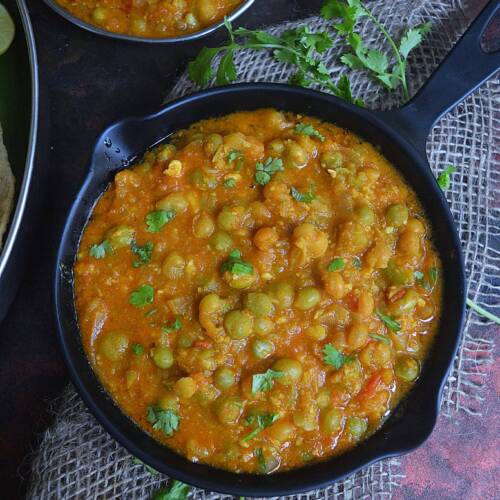
Butternut Squash and Chickpea Curry is a creamy delicious Indian-style curry prepared in Instant Pot. Makes a perfect accompaniment with flatbreads.
Follow us on Pinterest for delicious pins. Join our Facebook group for more Instant Pot and Air Fryer recipes.

Chickpea and butternut squash curry with coconut milk and Indian spices makes delicious food. It makes one of the best-ever curries to go with flatbreads. My personal favorite is to go with roti, poori, or Naan.
[feast_advanced_jump_to]Why you will love this Curry
- They are easy to put together in just 30 mins.
- It's vegan and gluten free.
- Makes a perfect option for weeknight dinners.
- It's a mess free one pot dish.
- The spices are mild and hence suit all taste buds.
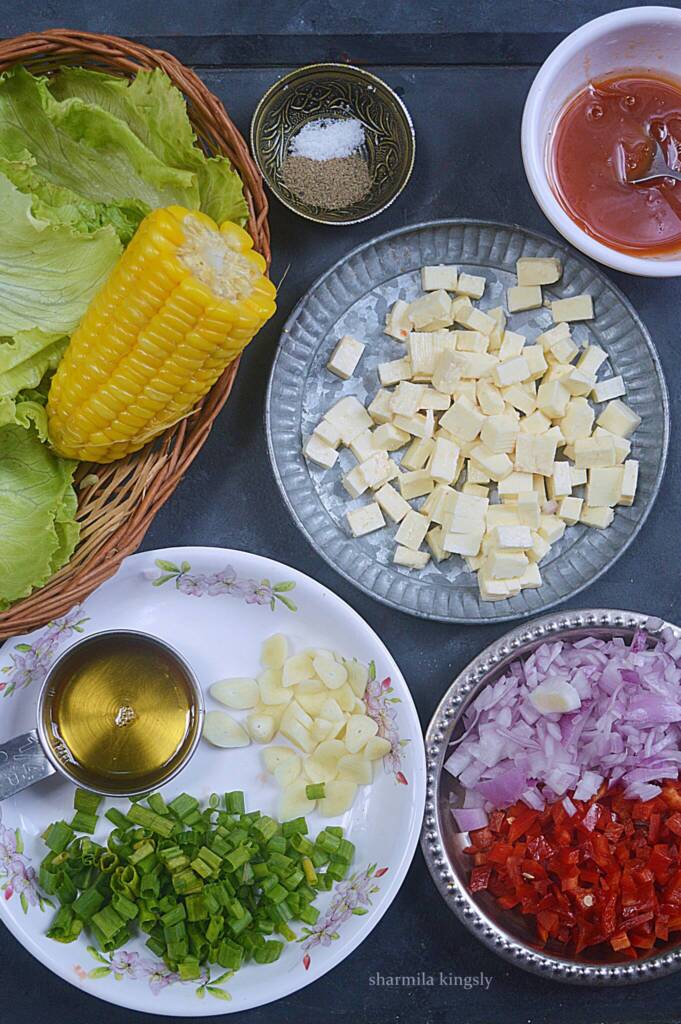
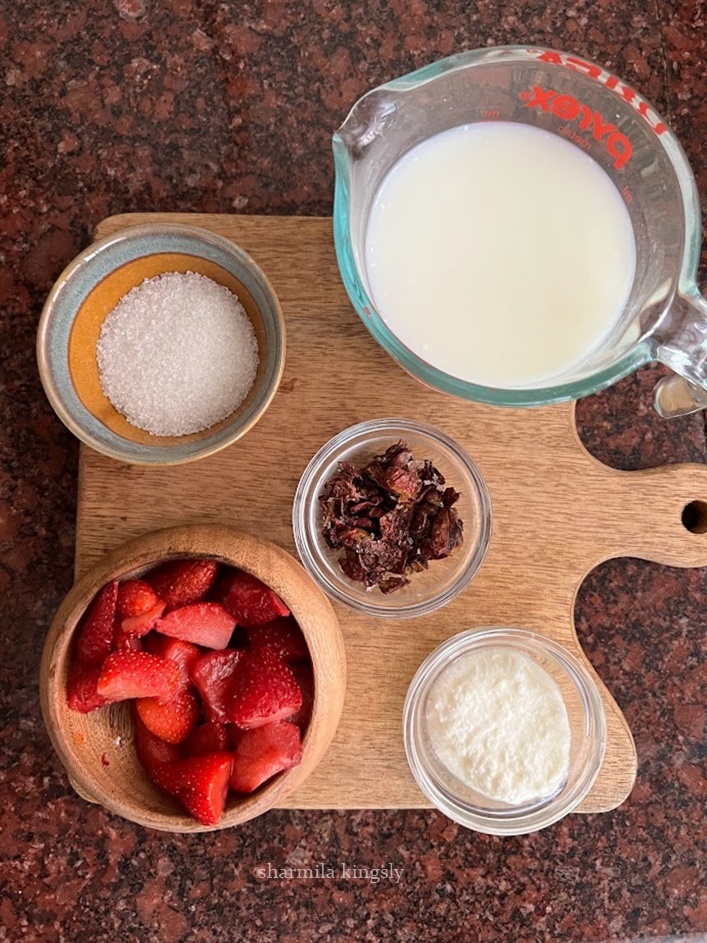
Ingredients
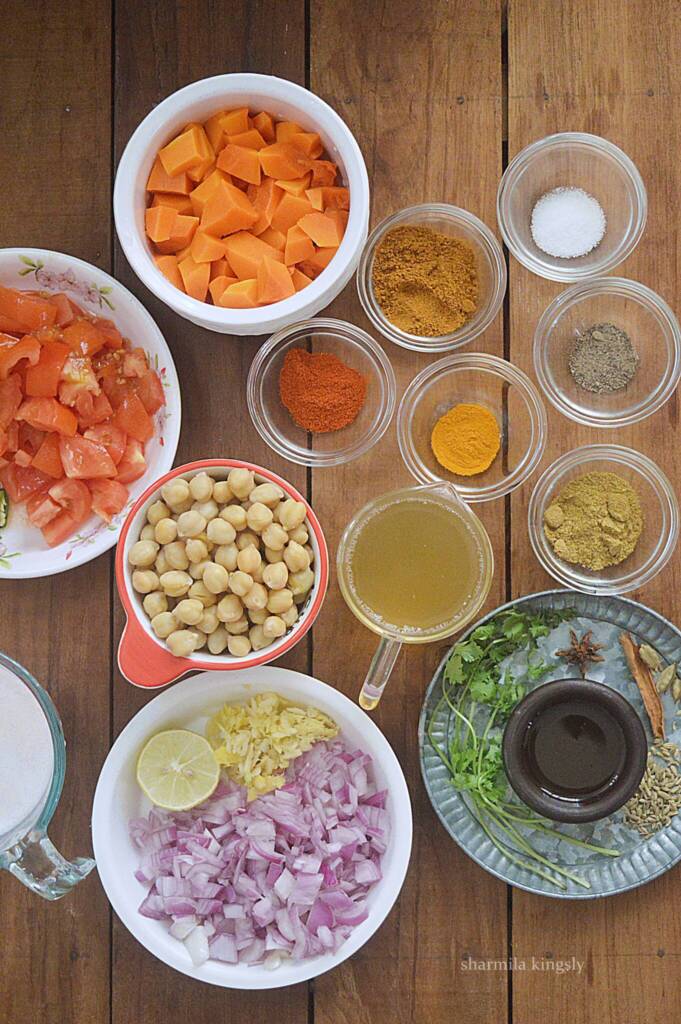
Chickpeas or Garbanzo beans - I am using dried beans, hence I soaked them overnight and cooked them in Instant Pot. If using canned beans you may drain the water and use them directly while cooking.
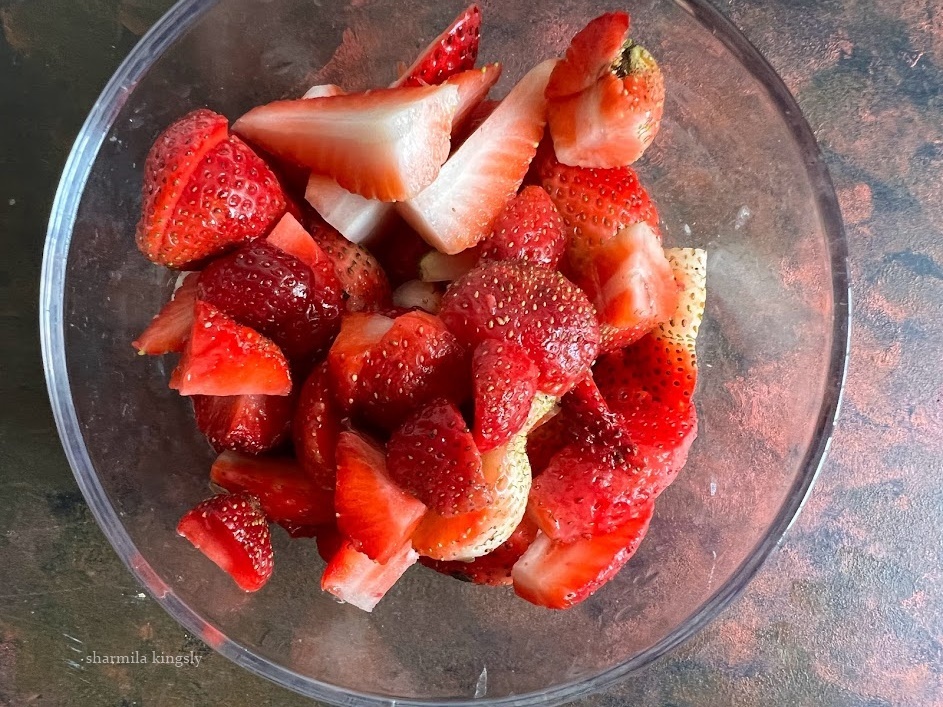
Butternut squash - Peel the skin and chop them into cubes and use. If using frozen ones thaw and bring to room temperature and then use.
Whole spices - THey add a lot of flavors when sauteed in oil. Feel free to skip them if you find them too flavorful and do not suit you.
Crushed ginger and garlic - Feel free to use the paste if you have them.
Onion- Use finely chopped red onion.
Tomato - I am using fresh tomatoes you may also use diced tomatoes.
Spice powders - I am using the basic Indian spice powders. They add a nice taste to the curry.
Aquafaba or chickpea stock - I am adding the liquid that I used for cooking the chickpeas. They add so much flavor to the curry. You may use water if you don't have it.
Coconut Oil - This is highly recommended and enhances the flavor quotient. Never skip adding it.
Cilantro - Garnish the curry with finely chopped cilantro along with lemon juice.
How to cook chickpeas in Instant pot
These instant pot garbanzo beans are soft buttery and melt in the mouth. So easy to cook. All it needs is some soaking time and cooking time.
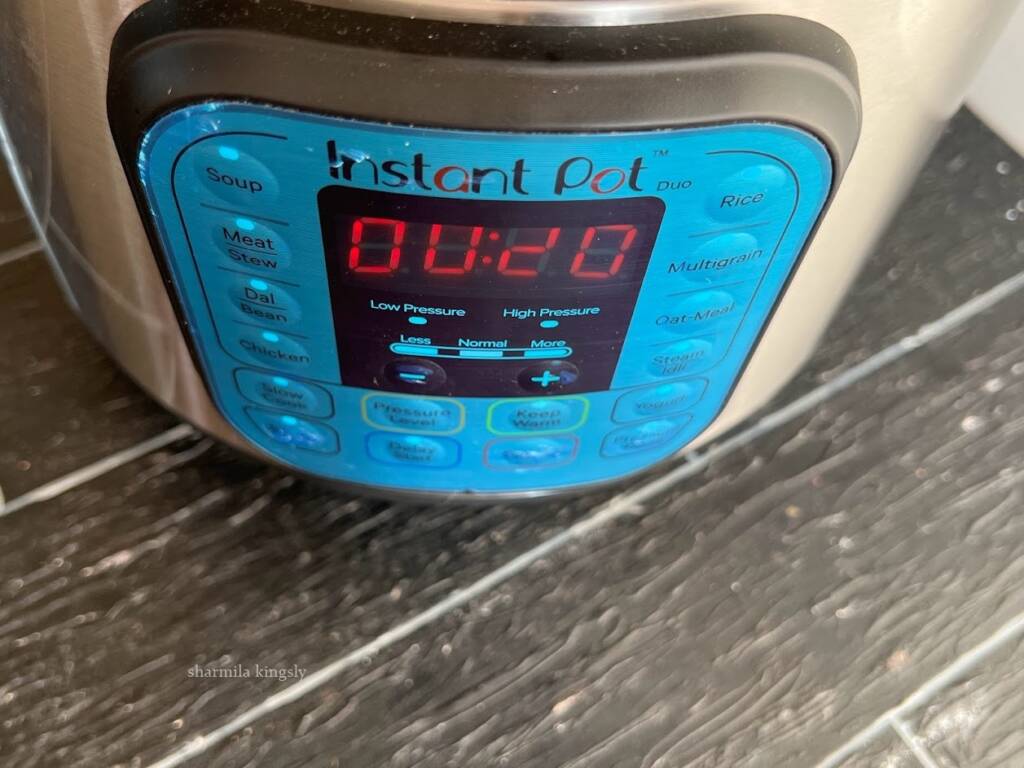
You can set manual cook time or use the preset timer as well. They require around 6 hours of soaking time and 20 mins of active cooking at high pressure followed by a natural pressure release. Drain the excess water and the chickpeas are now cooked to perfection. Instant Pot Chickpeas are ready to add to any curry, hummus, or salad.
I dint waste the liquid used for cooking the dried chickpeas. Use them while preparing the curry. They add more flavor to the dish.
How to make Butternut Squash and Chickpea Curry
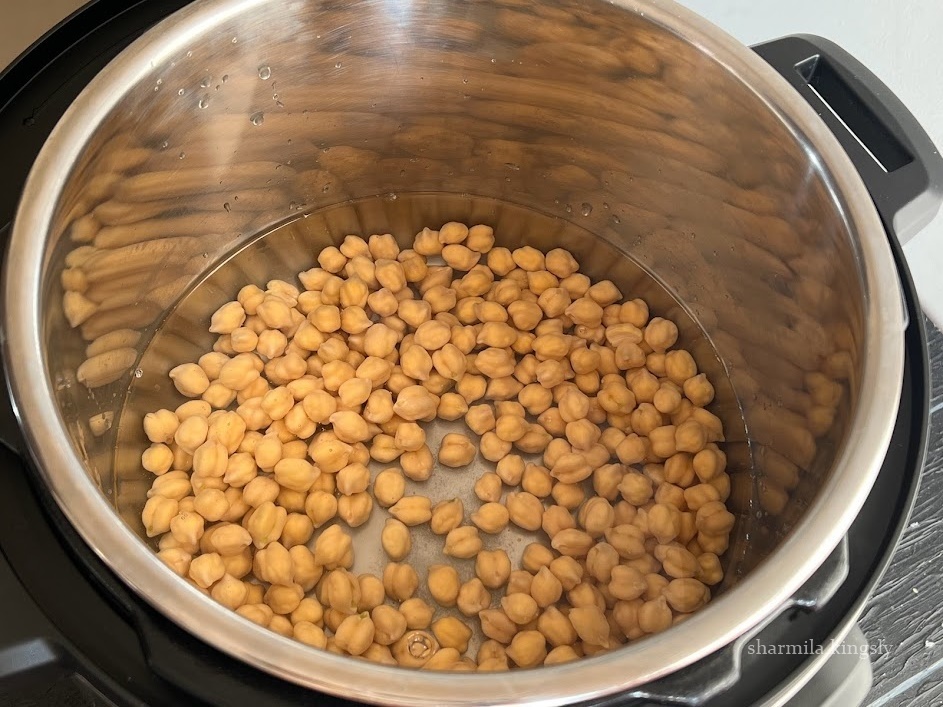
Cook the Garbanzo Beans
Soak the dried beans overnight or about 6 hours. Drain the excess water and add the beans to Instant Pot. Add required salt and about 3 cups of water.
Close the Instant Pot and set 20 mins in high pressure. Wait for natural pressure release and then open the Instant Pot.
Chickpeas are now cooked perfectly. Drain the chickpeas and stock. Reserve the stock to use in curry.

Butternut squash and chickpeas curry
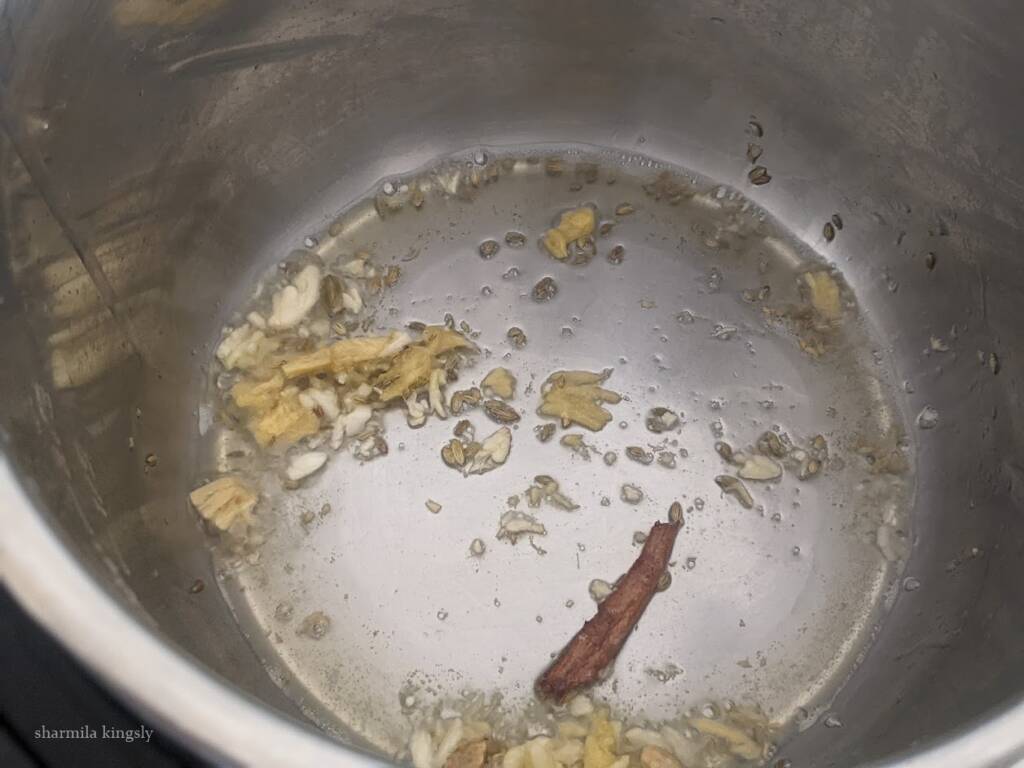
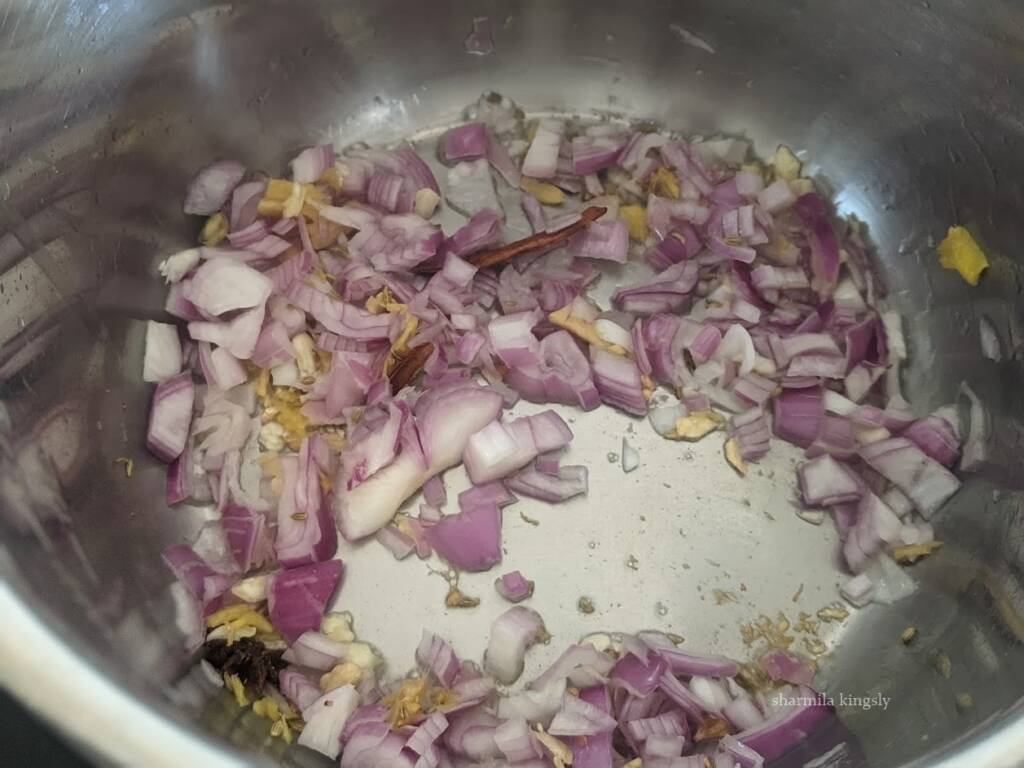
1. Switch on Instant Pot in saute mode. Wait for a min and then add 1 tablespoon of groundnut oil. Let it get hot. Next, add the cinnamon stick, cardamom pods, and star anise. Let them splutter. Next, add the crushed ginger and garlic. Saute for a min.
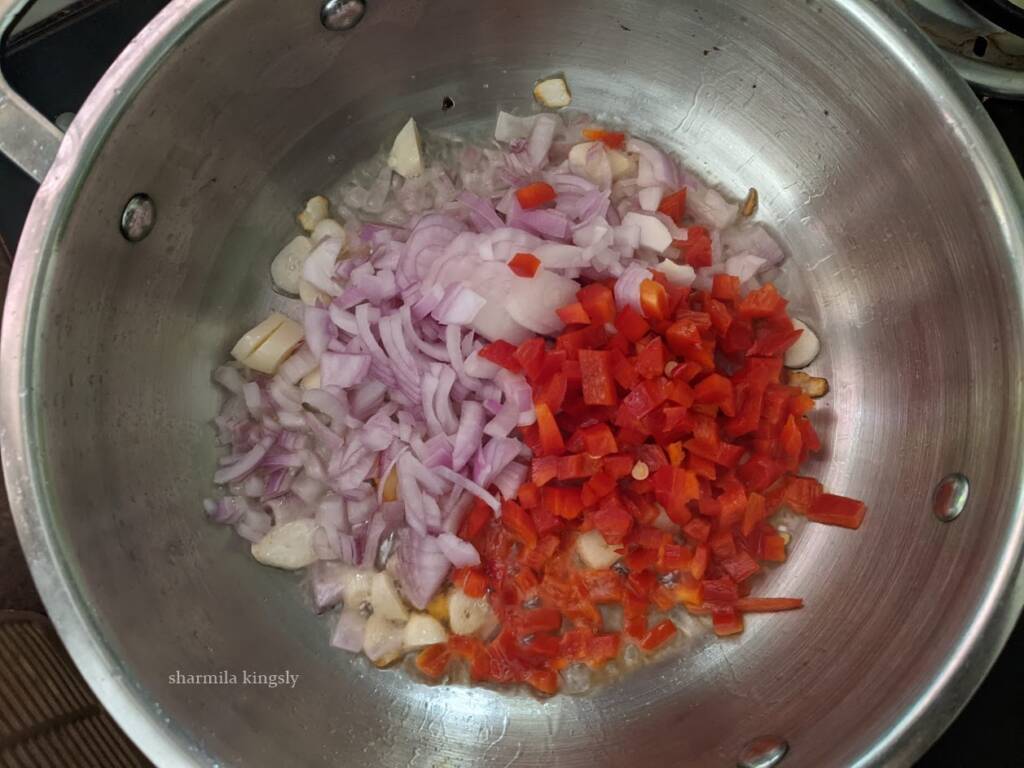
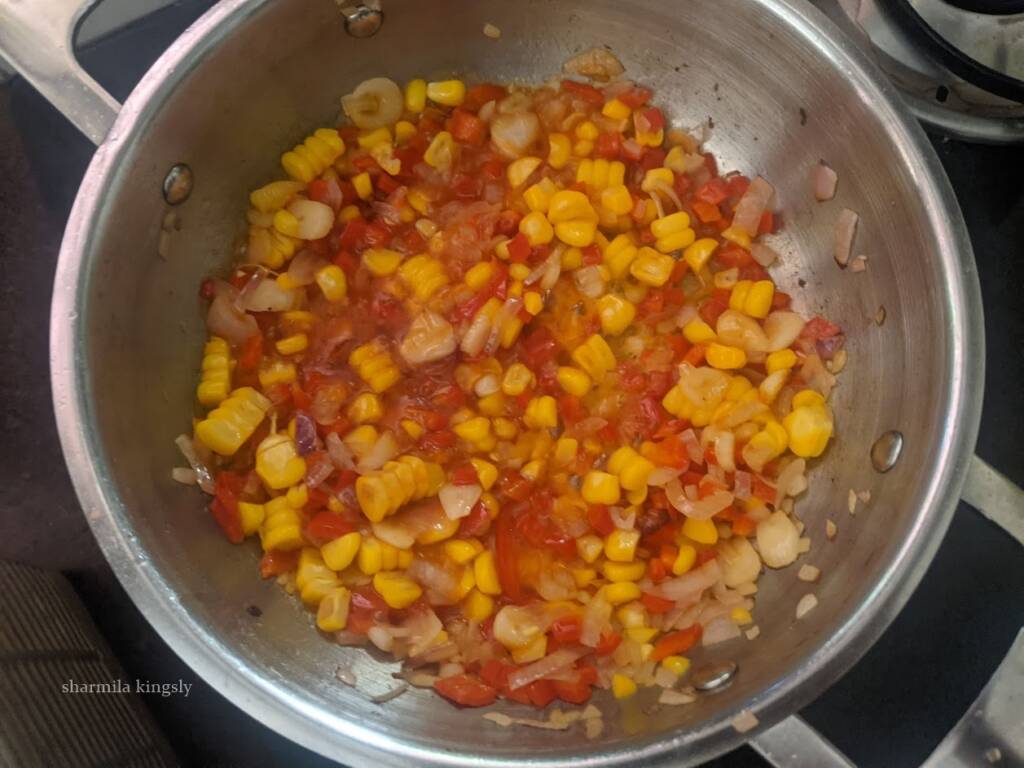
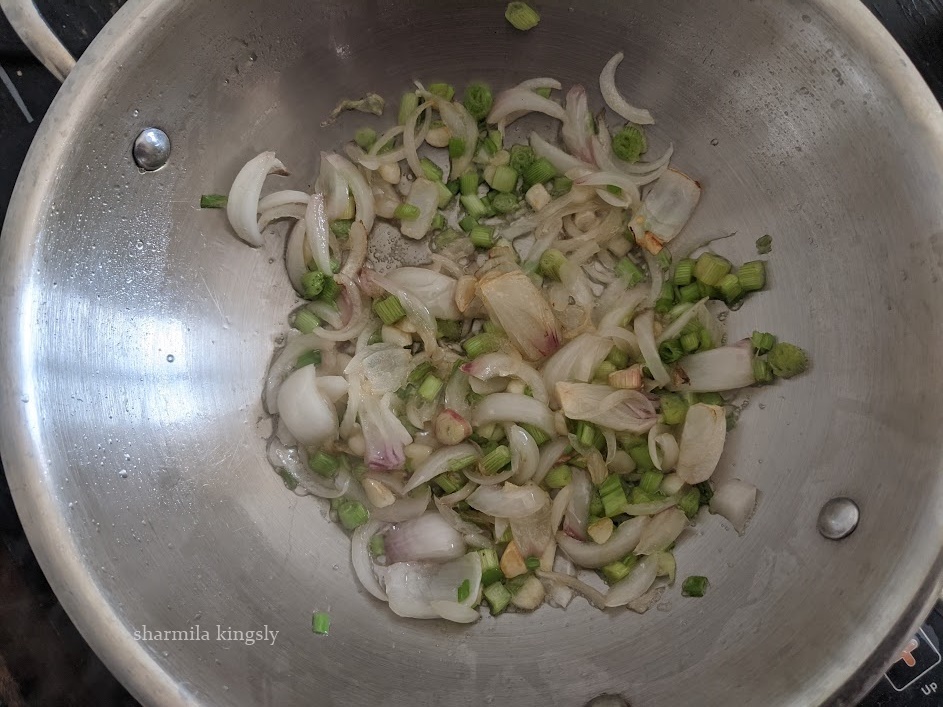
2. Now add the finely chopped onions and saute till they get soft.
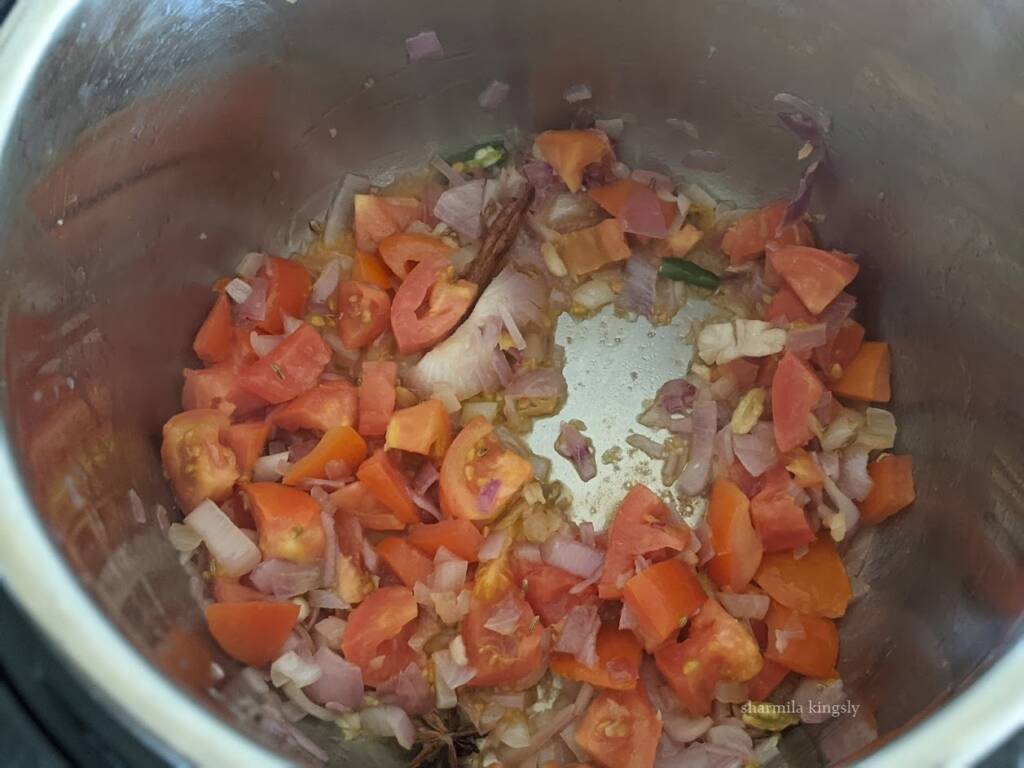
3. Next, add in the chopped tomatoes and cook for 4-5 mins till they are soft. Cover and cook if you prefer.
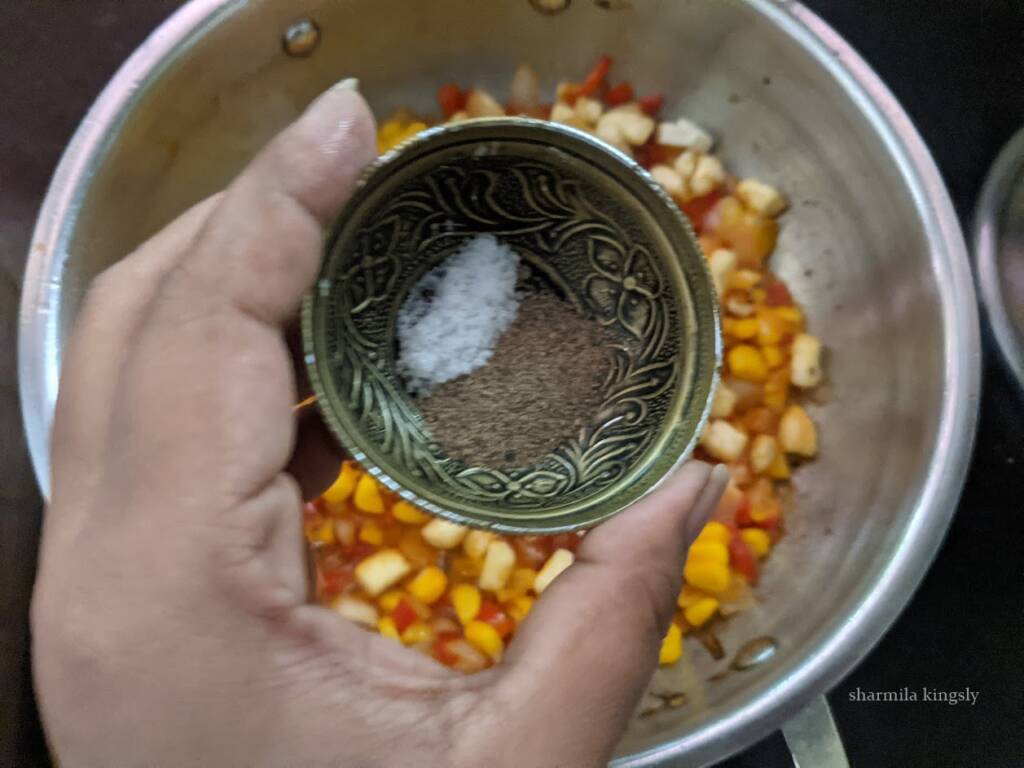
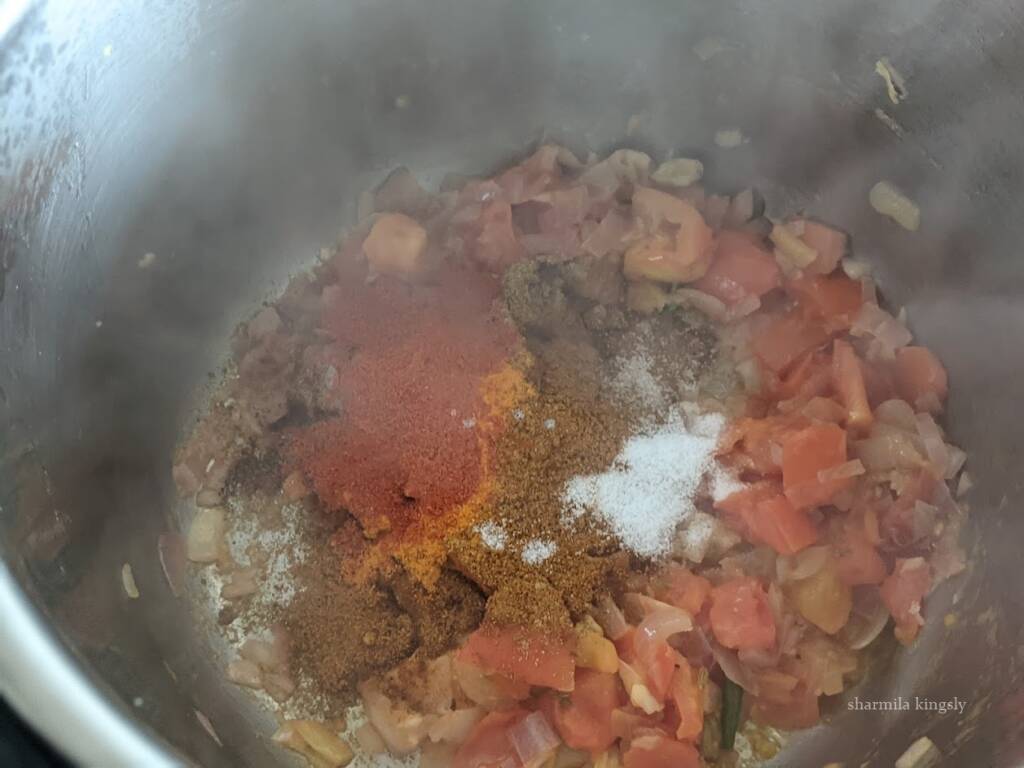
4. Next, add all the spice powders. I am using 1 teaspoon Coriander powder, 1 teaspoon red chili powder or paprika powder, ½ teaspoon Cumin powder, ½ teaspoon black pepper powder, ½ teaspoon Turmeric powder, and the required Salt. Combine everything and cook for a min.
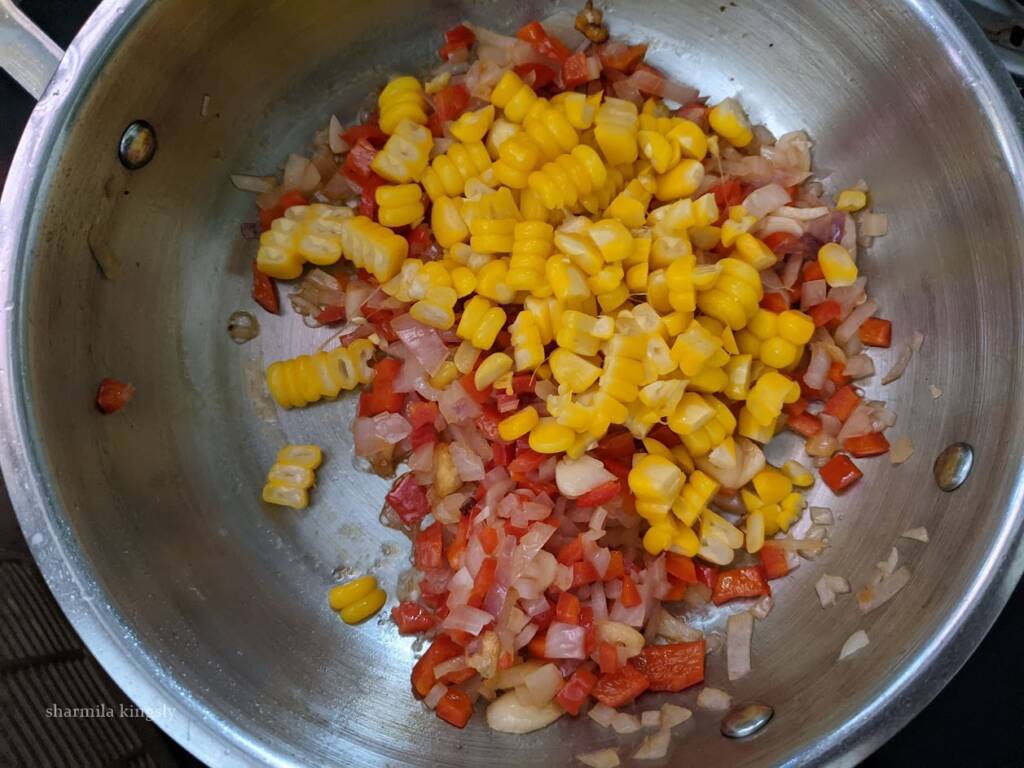
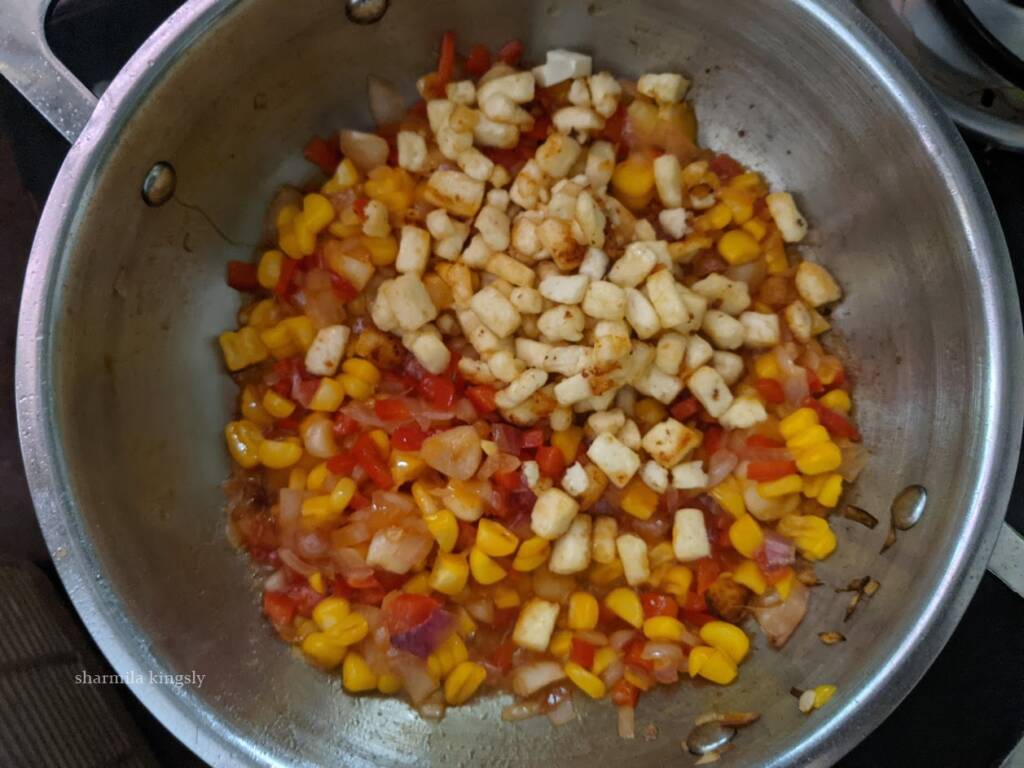
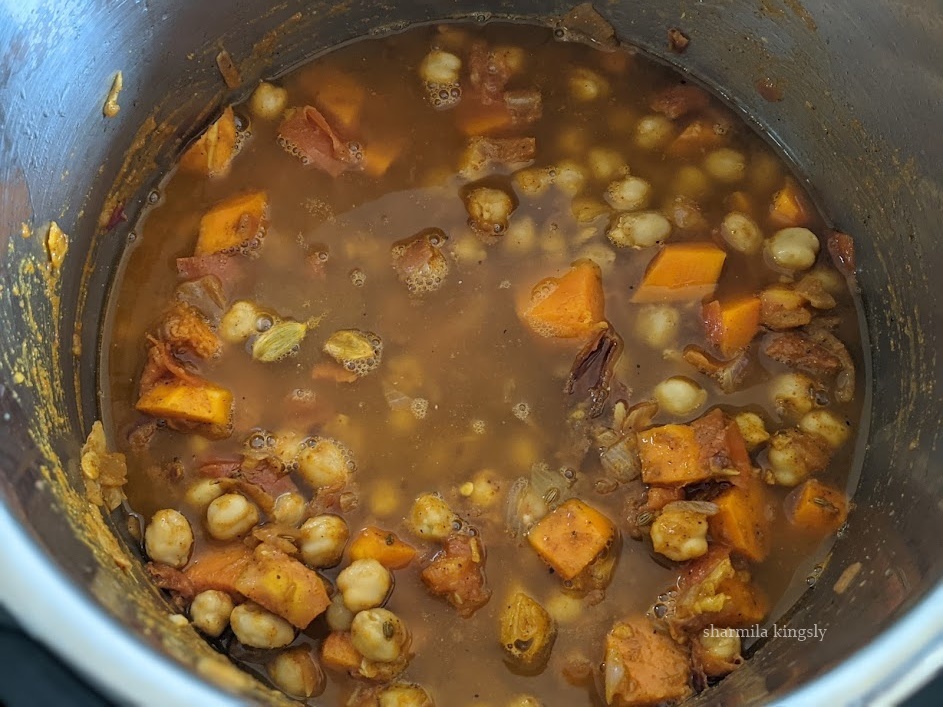
5. Now add the chopped butternut squash cubes and cooked chickpeas. Combine everything.
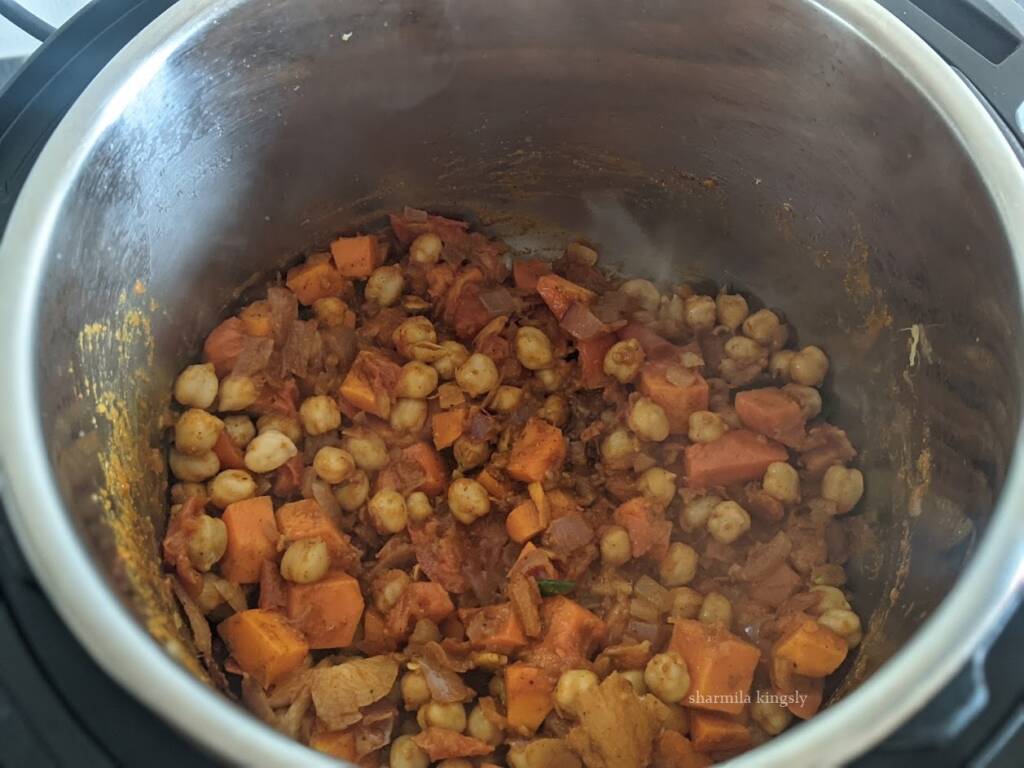
6. Add approximately 1 of the chickpea stock. Add 2 cups if you prefer a watery curry.
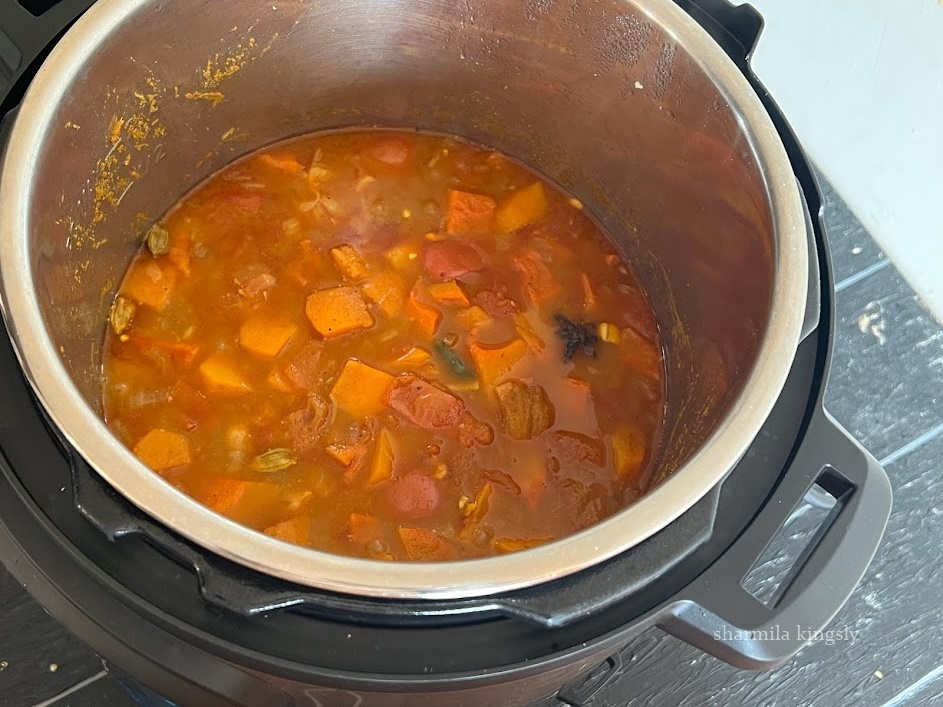
7. Close the Instant pot and cook for 2 mins at high pressure and do a quick pressure release and open the Instant Pot.
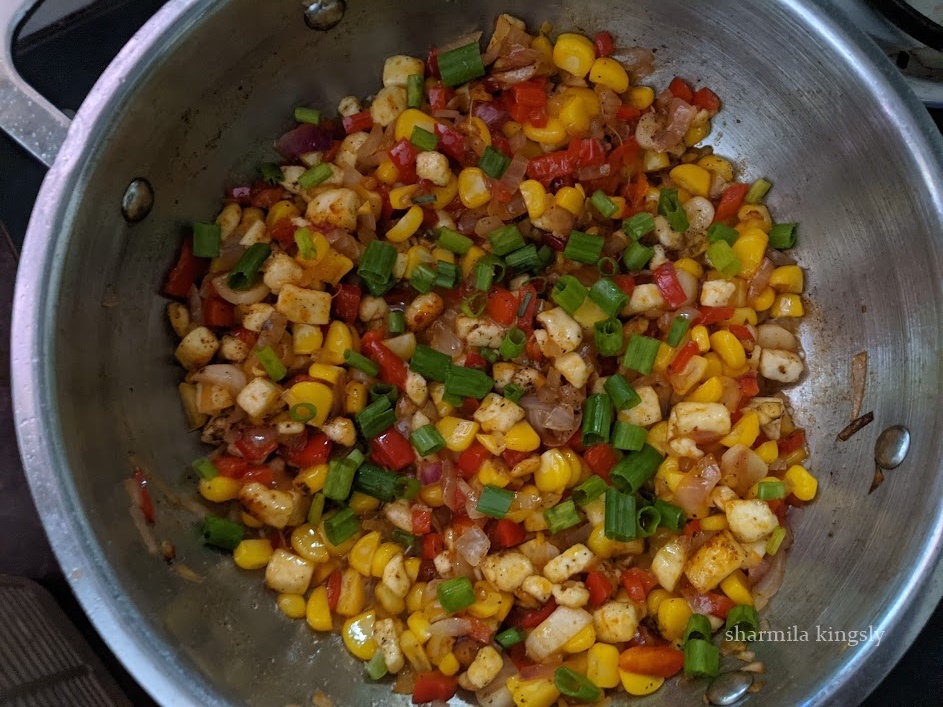
8. Now add 1 cup of coconut milk and mix everything. Drizzle in the lemon juice and garnish with finely chopped Cilantro.
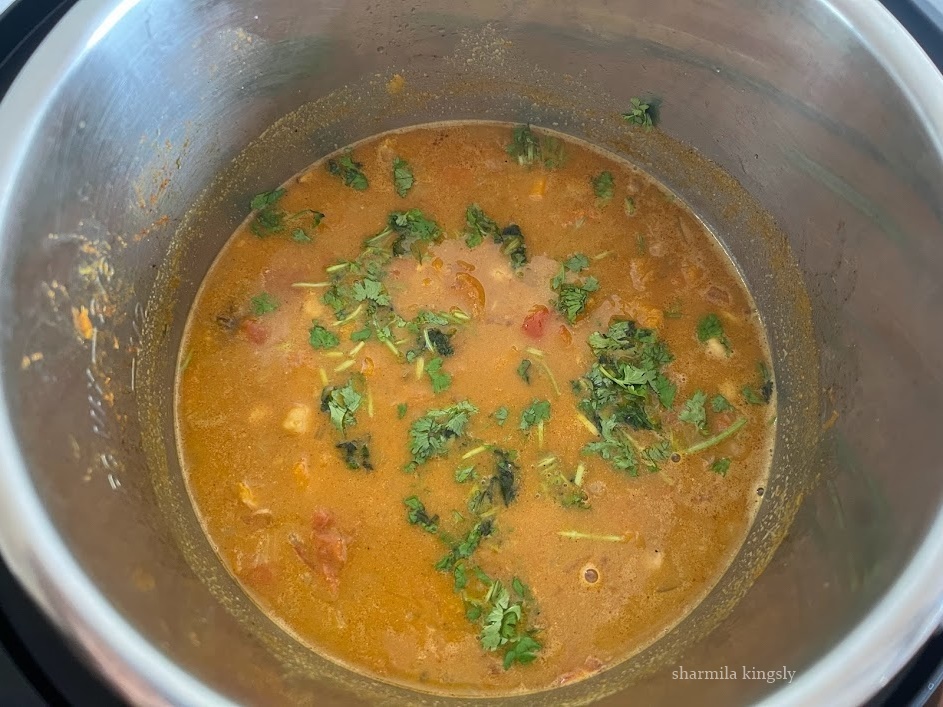
Instantpot Butternut squash chickpea curry is ready.
Tips & Variations
- You may use fresh or frozen squash. The same with chickpeas. You may use canned or dried ones.
- There are even shortcuts to cooking the dried chickpeas without soaking.
- However, I recommend soaking the chickpeas and then cooking. Soaking the chickpeas removes the phytic acid in them and prevents bloating or other digestive side effects from the beans.
- Adjust the spices as you prefer. you may use Kashmiri red chili powder for a brighter colored curry.
- If you prefer less spice you may use paprika powder or use ½ teaspoon chili powder.
Serving Suggestion
The best ever dish to serve the curry is with poori (puffed flatbread), or roti. My perfect option is to go with Garlic Naan.
Similar Recipes


★ Did you enjoy this recipe? If you happen to try it out, I would love to hear from you! I’d appreciate it if you could rate and leave a review below in the comments. Your reviews help others know the recipe better too. Thanks for your time. You can also follow me on Facebook, Pinterest, Instagram, Youtube and Twitter for more updates from me.
📖 Recipe

Butternut Squash and Chickpea Curry
Standard 1 cup measures 240 ml
Equipment
- Instant Pot 6 Qz
- Instant Pot 6 Qz
Ingredients
For Cooking Chickpeas
- 2 cup Chickpeas
- Salt a pinch
- 3 Water
For Curry
- 1 tablespoon groundnut oil
- 1 Star Anise
- 3 Cardamom
- ½ inch Cinnamon Stick
- 6 garlic crushed
- 1 inch ginger crushed
- 1 onion finely chopped
- 2 Green Chilli
- 3 Tomato medium sized
- 1 teaspoon Red Chilli powder
- 1 teaspoon Coriander powder
- ½ teaspoon Cumin powder
- ½ teaspoon Turmeric powder
- ½ teaspoon Pepper powder
- Salt as needed
- 1 cup Butternut Squash chopped in cubes
- 2 cup Water or use the chickpea stock
- 1 cup Coconut Milk
- ½ tablespoon Lemon Juice
- ¼ cup Cilantro finely chopped for garnishing
Instructions
Cook chickpeas
- Soak the dried beans overnight or about 6 hours. Drain the excess water and add the beans to Instant Pot. Add required salt and about 3 cups of water.
- Close the Instant Pot and set 20 mins in high pressure. Wait for natural pressure release and then open the Instant Pot.
- Chickpeas are now cooked perfectly. Drain the chickpeas and stock. Reserve the stock to use in curry.
Chickpeas Butternut squash Curry
- Switch on Instant Pot in saute mode. Wait for a min and then add 1 tablespoon of ground nut oil. Let it get hot. Next, add the cinnamon stick, cardamom pods, and star anise. Let them splutter. Next, add the crushed ginger and garlic. Saute for a min.
- Now add the finely chopped onions and saute till they get soft.
- Next, add in the chopped tomatoes and cook for 4-5 mins till they are soft. Cover and cook if you prefer.
- Next, add all the spice powders. I am using 1 teaspoon Coriander powder, 1 teaspoon red chili powder or paprika powder, ½ teaspoon Cumin powder, ½ teaspoon black pepper powder, ½ teaspoon Turmeric powder, and the required Salt. Combine everything and cook for a min.
- Now add the chopped butternut squash cubes and cooked chickpeas. Combine everything.
- Add approximately 1 of the chickpea stock. Add 2 cups if you prefer a watery curry.
- Close the Instant pot and cook for 2 mins at high pressure and do a quick pressure release and open the Instant Pot.
- Now add 1 cup of coconut milk and mix everything. Drizzle in the lemon juice and garnish with finely chopped Cilantro. Instantpot Butternut squash chickpea curry is ready.
Video
Nutrition
Disclaimer: I am not a nutritionist, the nutrition value provided here is an estimate. It will vary based on the quantity and brands of the products used.