Feta Rolls in the air fryer is a guiltfree treat to make with just a few ingredients. Perfect for any party or meetup.
Follow us on Pinterest for delicious pins. Join our Facebook group for more Instant Pot and Air Fryer recipes.

These yummy and crispy cheese rolls are a quick snack option. Perfect when you have some sudden cravings. Goes well with some dipping sauce or ketchup.
[feast_advanced_jump_to]Ingredients
Feta Cheese - Use feta cheese, crumble them and use them along with the other ingredients.
Mozzarella Cheese - THis is totally optional. But gives a nice taste. Adding more cheese might spill out from the roll while air frying. Hence it's good to use only the mentioned quantity. You can also skip adding.
Smoked paprika - Gives a nice smokey taste to the rolls.
Red Chilli flakes - Gives the needed spice along with the paprika powder.
Cilantro - The herby flavor goes very well with the texture.
Spring Roll Sheets - Use room temperature spring roll sheets. They are easy to roll and do not tear. Comes perfectly to roll. You can also use the phyllo dough for rolling. But they are really thin hence handle them carefully.
FAQ's
Why my cheese rolls did not crisp up?
This might happen when your air fryer did not heat up properly. Always preheat and then use the air fryer for even heating.
Will the Mozzarella Cheese spill out of the rolls?
It might happen if you use more mozzarella use. Hence use only the mentioned quantity. Also, freeze the rolls for 30 mins and then use them for air frying. Never use more mozzarella towards the edges. Even if the cheese comes out of the rolls, Never mind! They are still yummy.
What other cheese can I substitute for Feta Cheese?
Instead of feta, you may also use ricotta cheese. They have a texture similar to the feta.
How to make Feta Rolls in Air Fryer
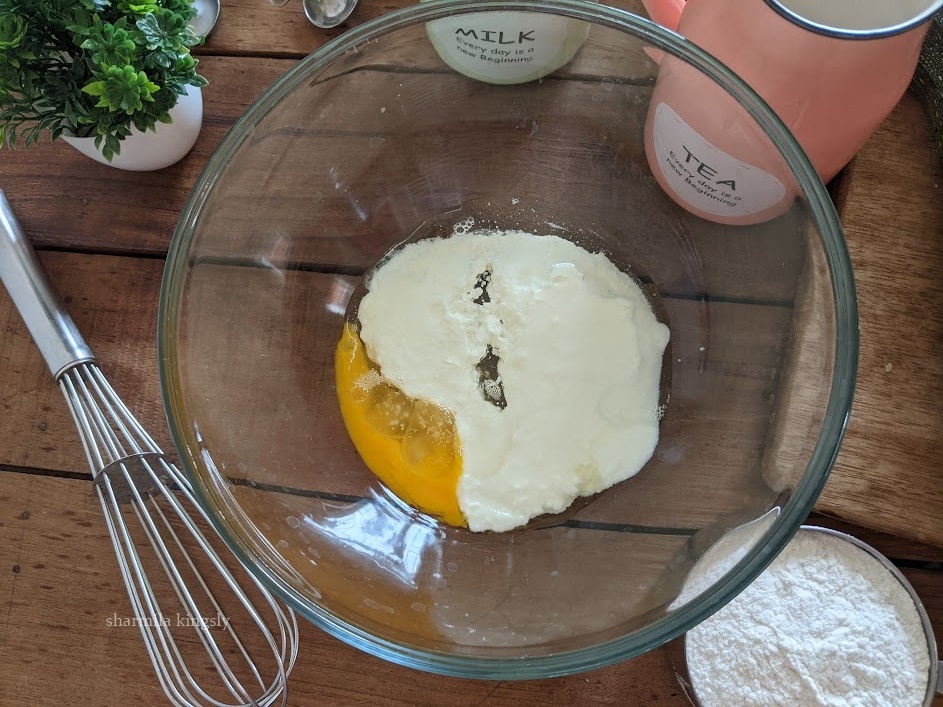
In a mixing bowl add the crumbled feta cheese

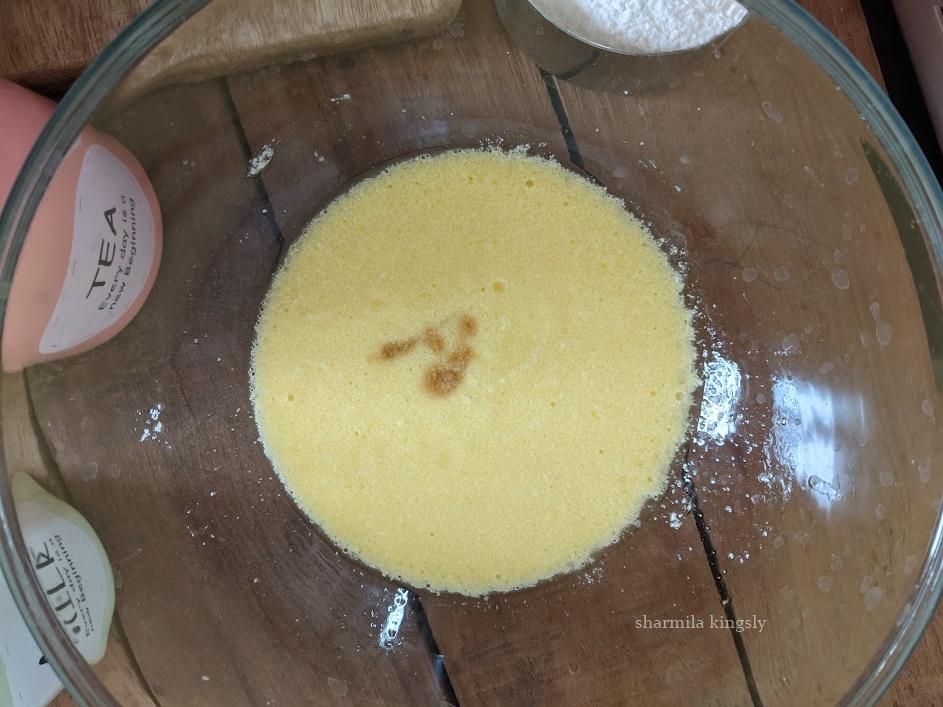
2. Next, add the grated mozzarella cheese. If you wanted to skip adding mozzarella you may skip it and add 1 cup of feta cheese.

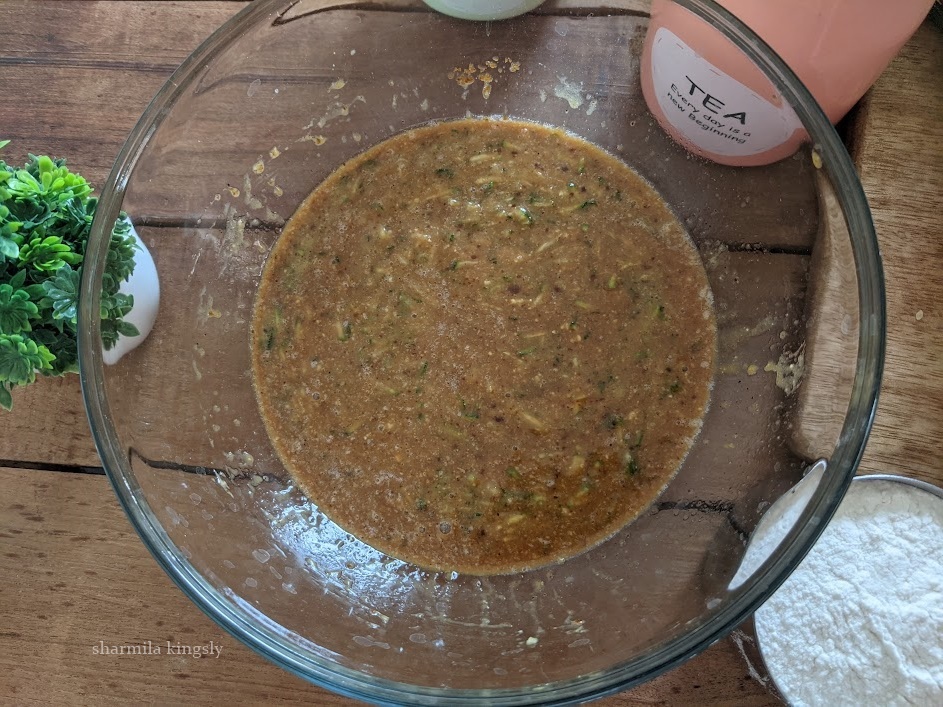
3. Add Smoked Paprika powder, Red Chili flakes, and finely chopped cilantro or Parsley.

4. Combine everything.

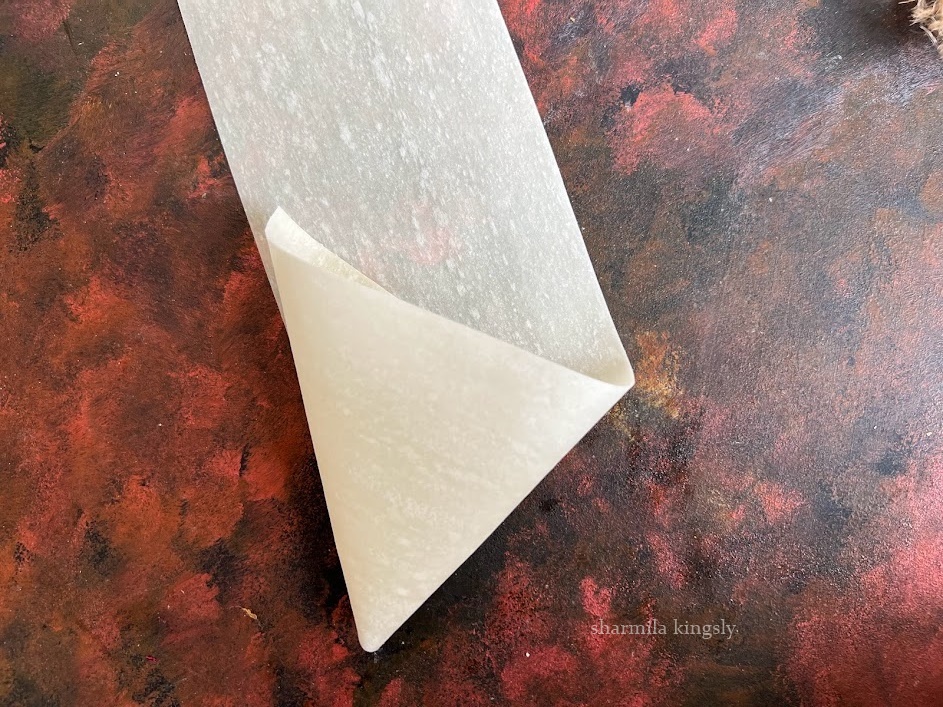
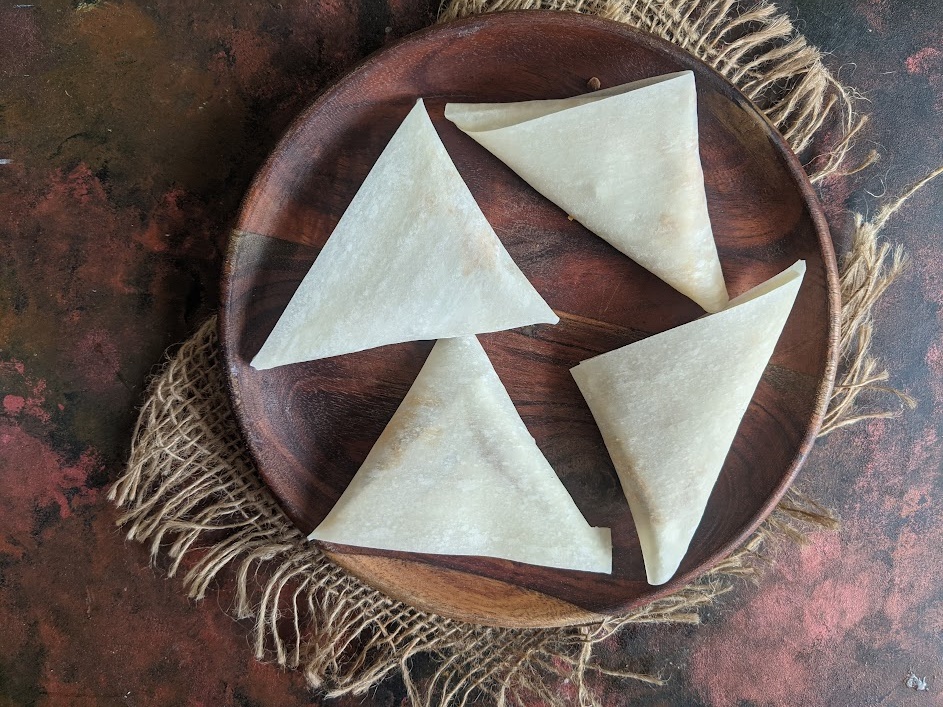
5. Take room-temperature spring roll sheets. cut them like a big triangle as shown in the pic. Stuff in 1.5 tablespoon of the filling towards one end.

6. Start rolling the sheets till you have 2 inches left. Combine all-purpose flour with water and make a paste. Apply the past towards the edge and then roll again till the edge. The paste acts like a seal and makes the rolls stay intact.

7. Continue with the remaining filling as well. Freeze them for 30 mins. This is an important step as it prevents the cheese from spilling out of the rolls.

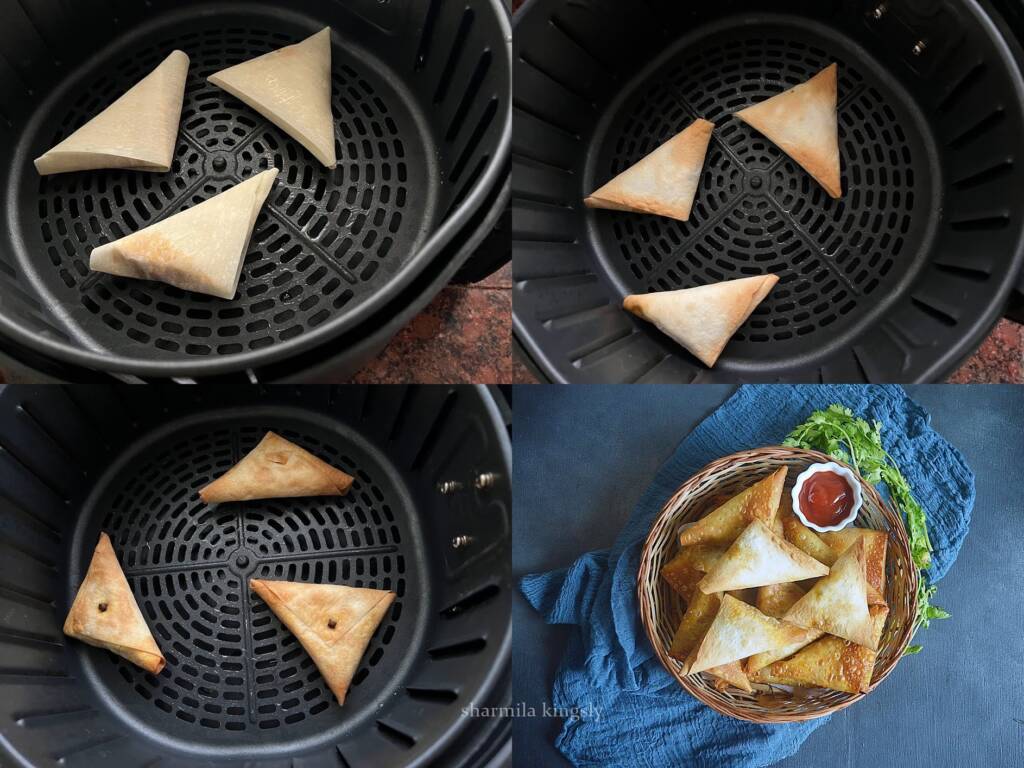
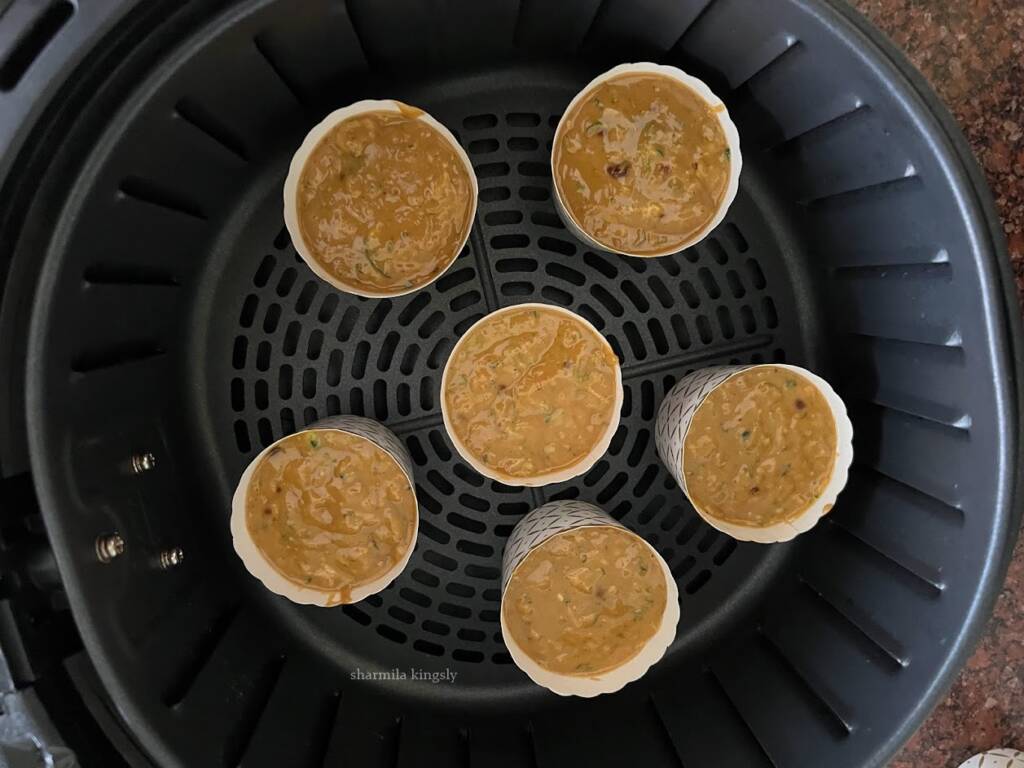
8. Preheat the air fryer to 390 F (200 Deg C) for 5 min. Spray little oil and arrange the prepared rolls in the basket.

9. Air fry them at 356 F (180 deg C) for 11 mins. Brush the rolls with oil and then air fry. Make sure you flip the rolls once halfway.
10. Airfryer Feta Cheese Rolls are now ready

Tips & Variations
- Never overcrowd the air fryer. Always arrange the rolls one by one on the sides for crispy rolls.
- The cooking time may vary by 2 or 3 mins for each brand of air fryer. 12 mins in 356 F worked perfectly for me. If your Feta rolls are not crispy, air fry them for another 2 mins.
- If you do not have an air fryer you can easily try it in the oven too. For Oven fried feta rolls just preheat the oven to 356 F and bake at 356 F for 25 - 30 mins.
- You can also add dill leaves in place of Cilantro.
- Spinach feta rolls are also a yummy and healthy variation. You can add chopped baby spinach to the filling to make them healthier. I think kids don't mind having spinach when included with cheese right? Spinach and feta rolls make a yummy collection for the snack box too.
- Turkish filo pastry with feta cheese is a very popular snack in the middle east. It is very similar to this feta wrap.
- I am using a Spring roll sheet for the wrap you can also use phyllo sheets or even puff pastry sheets.
- Handle the phyllo sheets carefully if making these phyllo feta rolls as they are very delicate and might tear off easily.
Serving Suggestions
Goes well with some dipping sauce or ketchup.
Storing Suggestions
Tastes best when served fresh and hot. They keep well in the fridge for a week. Store them in air tight containers. Before serving reheat in a microwave for 30 secs and then serve.
They freeze well too. After rolling place them in a baking tray and freeze them for 2 hours or until they are solid. Now transfer them to a zip lock bag and store.
Similar Recipes


★ Did you enjoy this recipe? If you happen to try it out, I would love to hear from you! I’d appreciate it if you could rate and leave a review below in the comments. Your reviews help others know the recipe better too. Thanks for your time. You can also follow me on Facebook, Pinterest, Instagram, Youtube and Twitter for more updates from me.
📖 Recipe

Feta Rolls in Air Fryer
Standard 1 cup measures 240 ml
Equipment
- Air Fryer
- Mixing Bowl
- Air Fryer
- Mixing Bowl
Ingredients
- ¾ cup Feta Cheese
- ¼ cup Mozzarella Cheese
- ½ teaspoon Smoked Paprika Powder
- ½ teaspoon Red Chilli flakes
- 2 tablespoon Cilantro or Parsley finely chopped
- 1 tablespoon Oil
- Spring Roll Sheets
- 1 teaspoon All purpose FLour
- ¼ cup Water
Instructions
- In a mixing bowl add the crumbled feta cheese
- Next, add the grated mozzarella cheese. If you wanted to skip adding mozzarella you may skip it and add 1 cup of feta cheese.
- Add Smoked Paprika powder, Red Chili flakes, and finely chopped cilantro or Parsley.
- Combine everything.
- Take room-temperature spring roll sheets. cut them like a big triangle as shown in the pic. Stuff in 1.5 tablespoon of the filling towards one end.
- Start rolling the sheets till you have 2 inches left. Combine all-purpose flour with water and make a paste. Apply the past towards the edge and then roll again till the edge. The paste acts like a seal and makes the rolls stay intact.
- Continue till with the remaining filling as well.
- Preheat the air fryer to 390 F (200 Deg C) for 5 min. Spray little oil and arrange the prepared rolls in the basket.
- Air fry them at 356 F (180 deg C) for 11 mins. Brush the rolls with oil and then air fry. Make sure you flip the rolls once halfway.
- Airfryer Feta Cheese Rolls are now ready
Video
Nutrition
Disclaimer: I am not a nutritionist, the nutrition value provided here is an estimate. It will vary based on the quantity and brands of the products used.