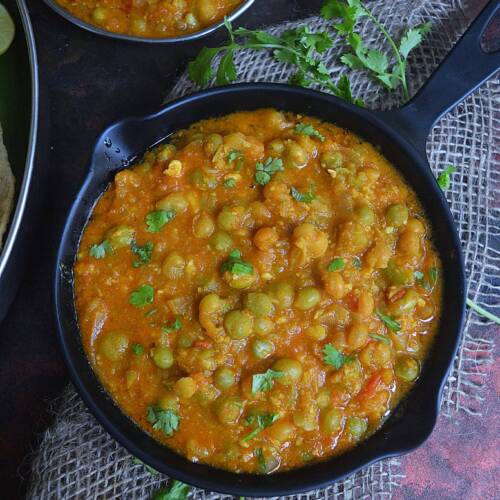
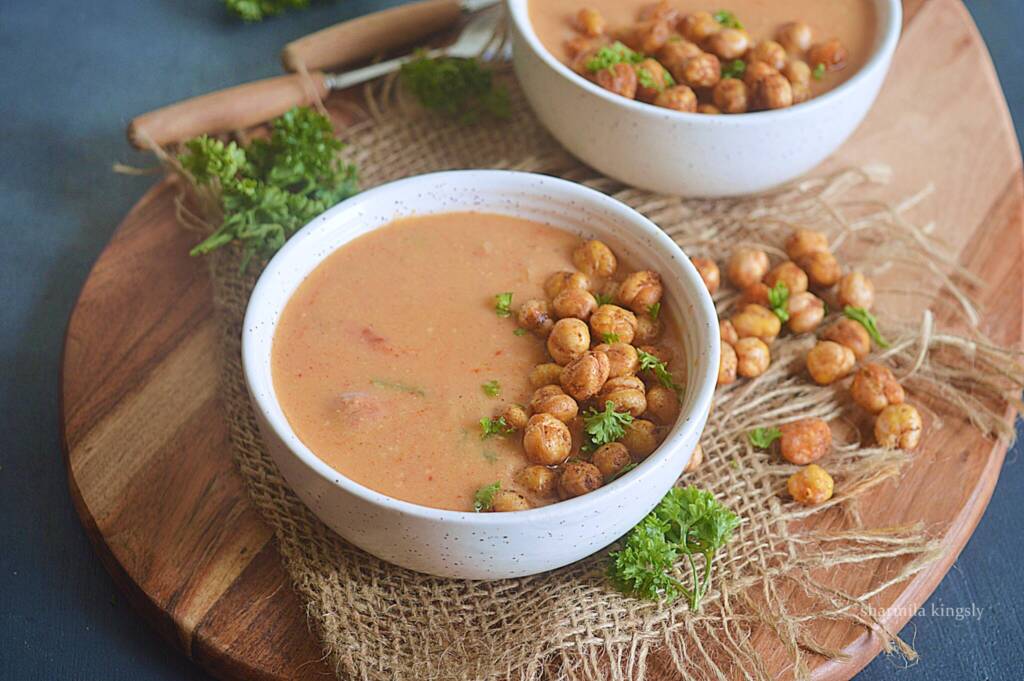
Vegan Chickpea Soup is creamy with just simple ingredients made in the Instant Pot. It is an easy 20 min soup perfect for a warm dinner with some toasted bread.
Follow us on Pinterest for delicious pins. Join our Facebook group for more Instant Pot and Air Fryer recipes.

Why you'll love this soup?
Beginner friendly - This is an easy beginner friendly soup. You can always adjust the spice powders and its easily customized.
Fool Proof - Add all the ingredients and a basic saute and let Instant Pot do its job. Perfect for busy work days.
Ready in 30 mins - You have a warm and cozy dinner ready in no time. From the pot to the table it all needs just 30 mins.
They are freezer friendly and can also include in the meal prep.
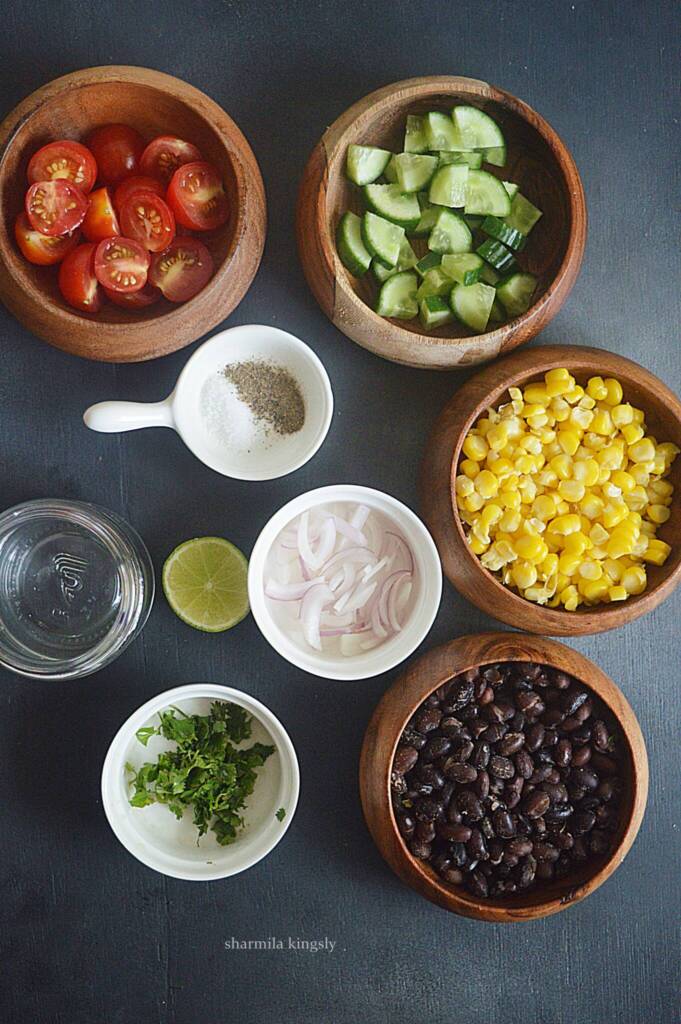
Garbanzo beans Ingredients
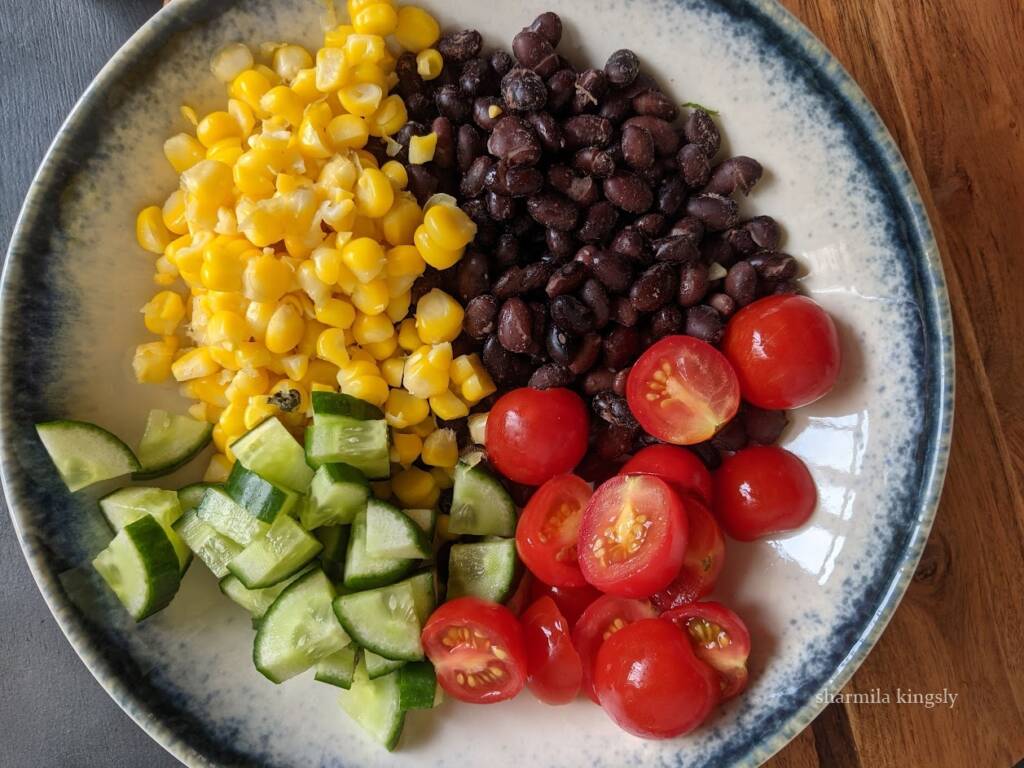
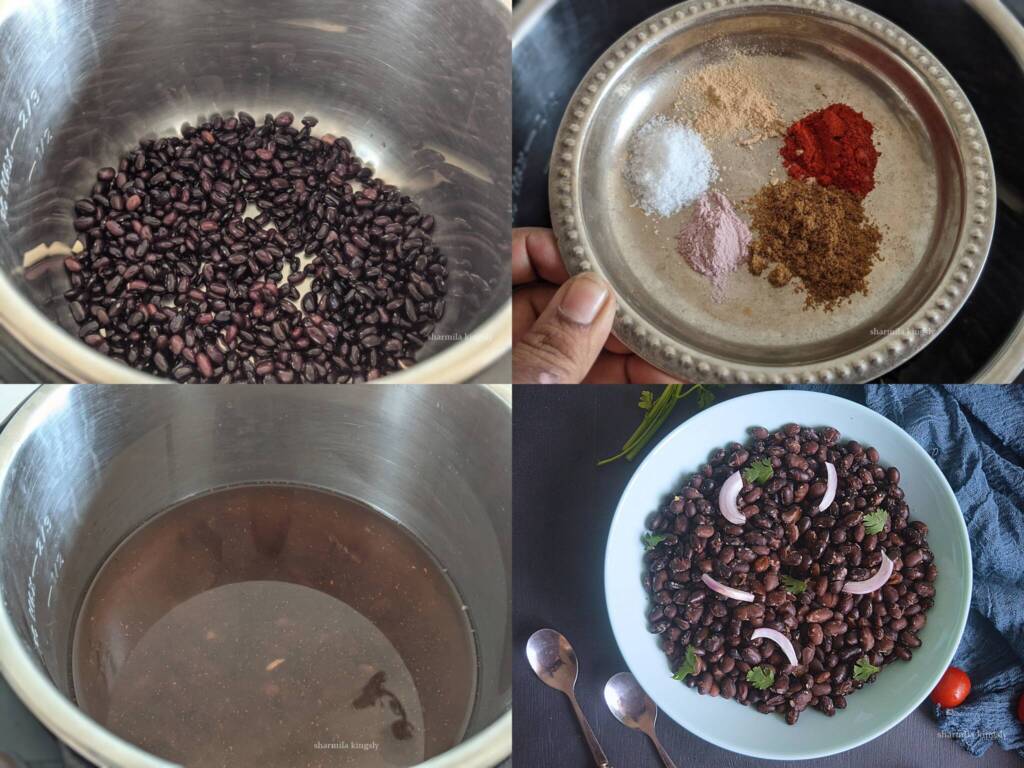
Chickpeas - You may use either dried beans or canned beans. Using canned beans makes it really simple. If using dried ones you have to soak them overnight and cook them before you add them to the soup.
Olive oil - Gives a nice flavor to the soup. You may also replace olive oil with avocado oil.
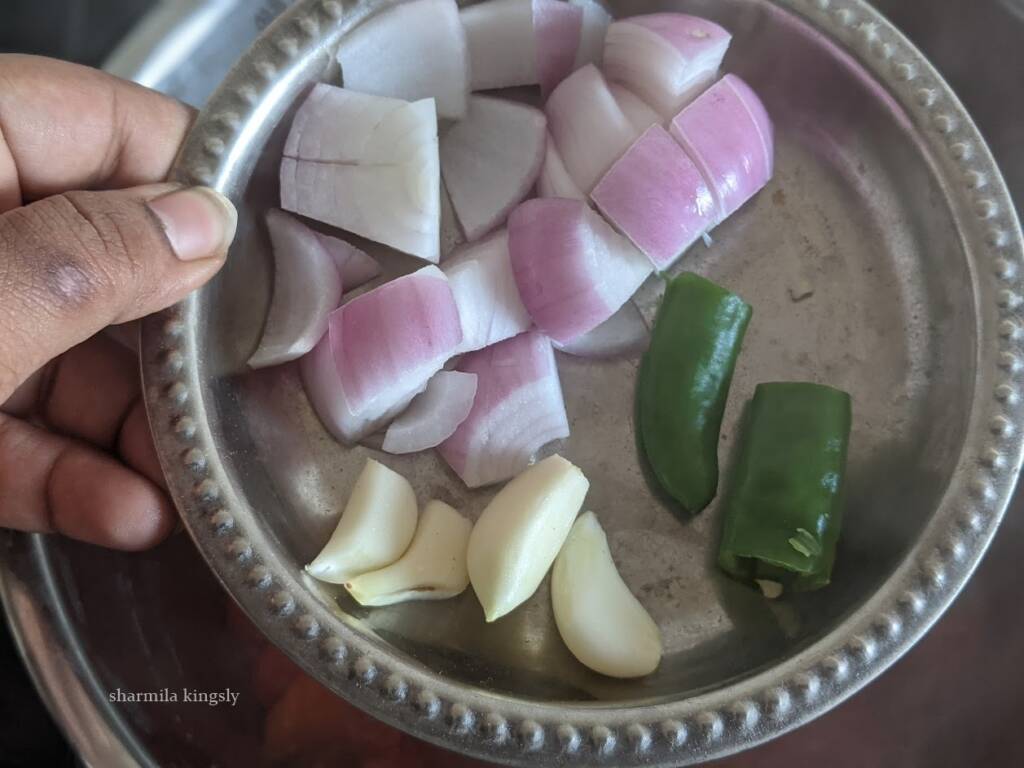
Garlic - Use fresh garlic and they are important flavor building ingredients.
Onion - Use red onions or white onions.
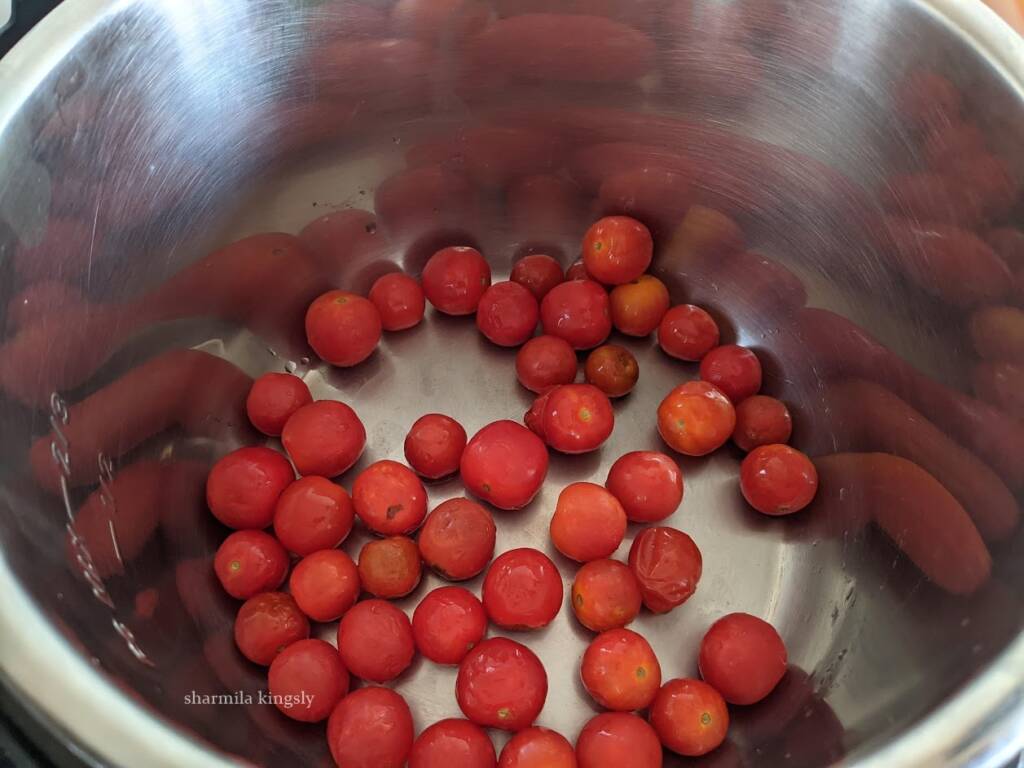
Tomato - Use juicy red tomatoes.
Liquid - Use vegetable broth for a flavorful soup or just liquid.
Coconut milk - gives a yummy flavor to the soup so do not substitute.
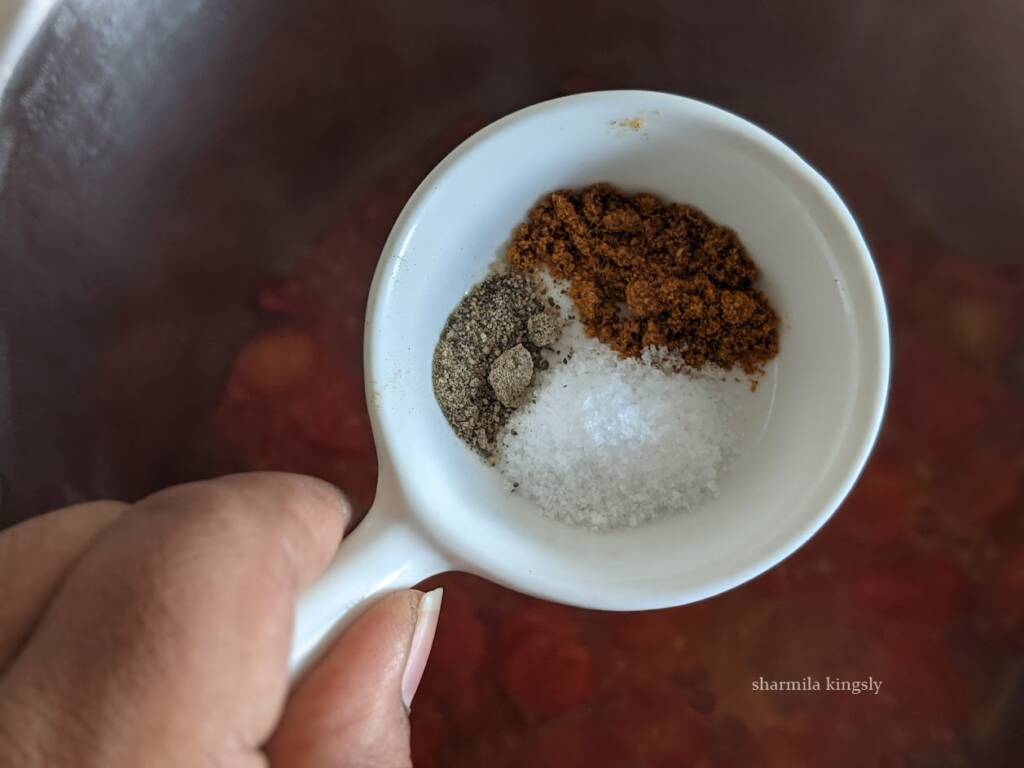
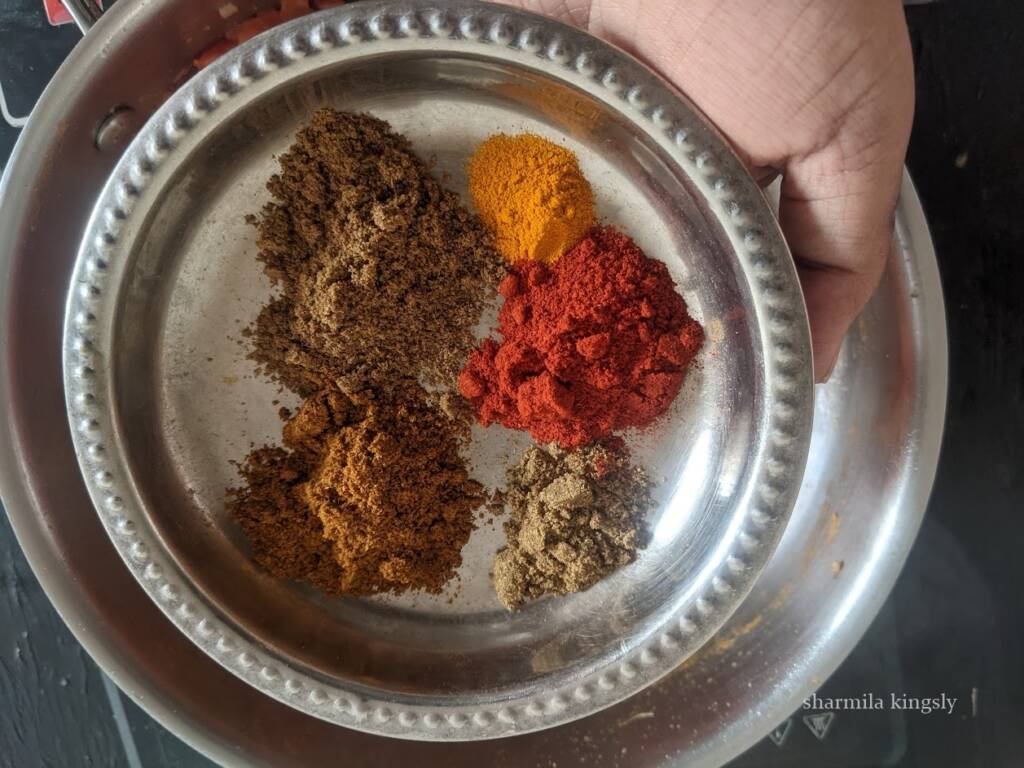
Spices - Just use the basic spice powders.

How to make vegan chickpea soup
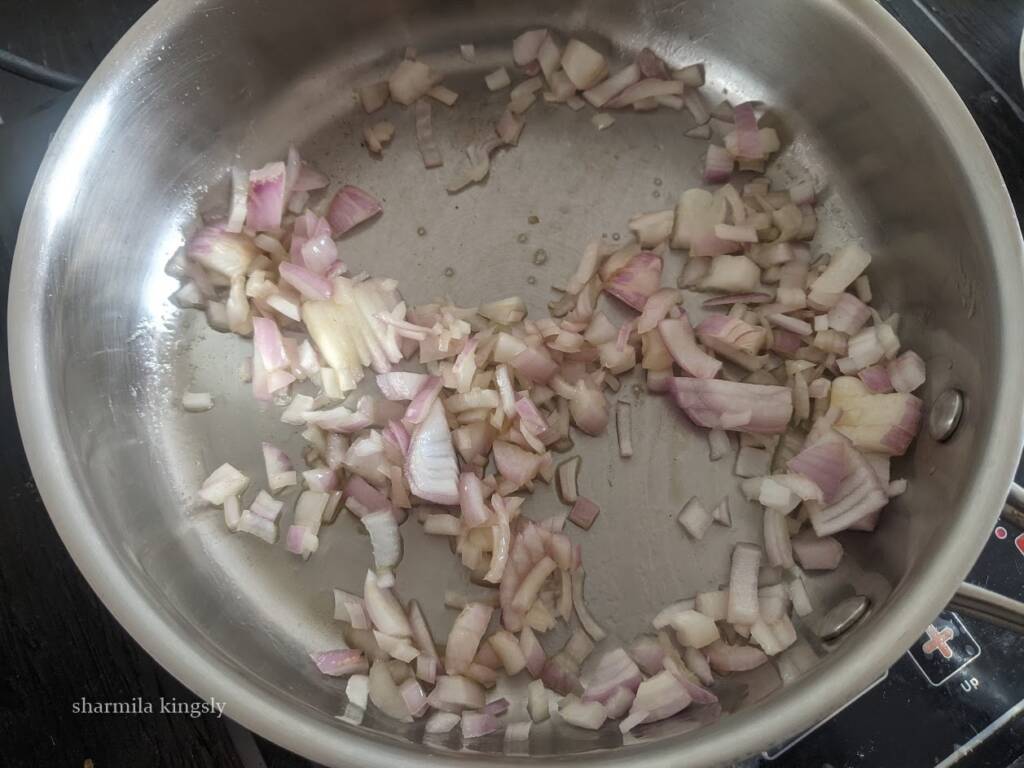
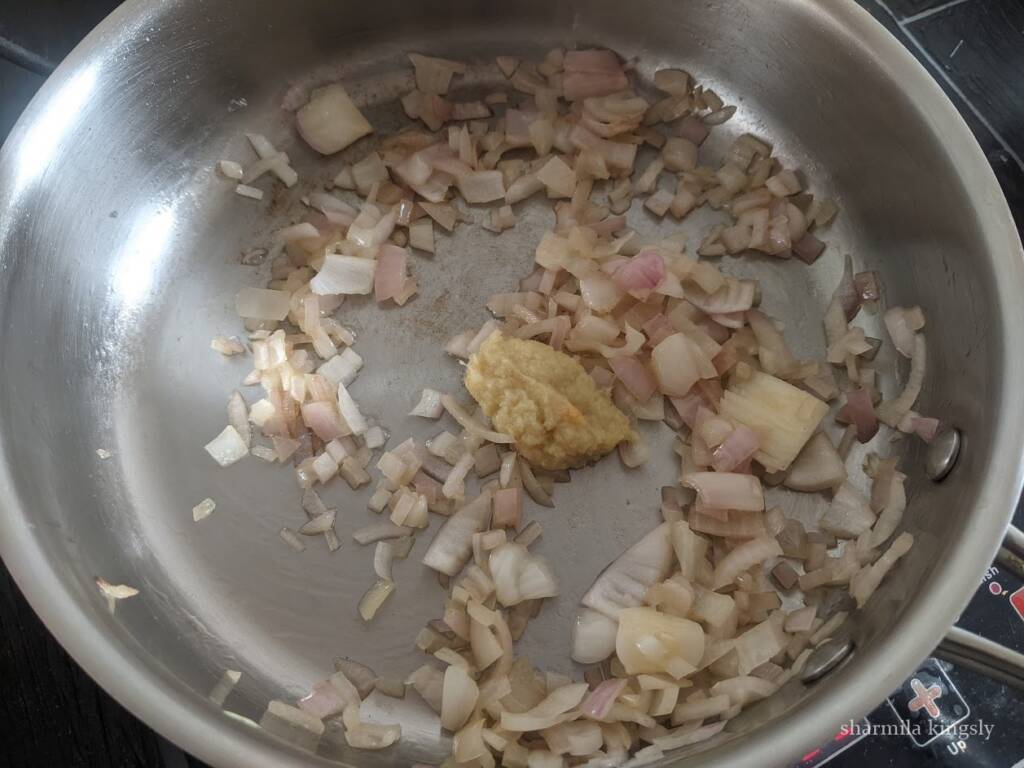
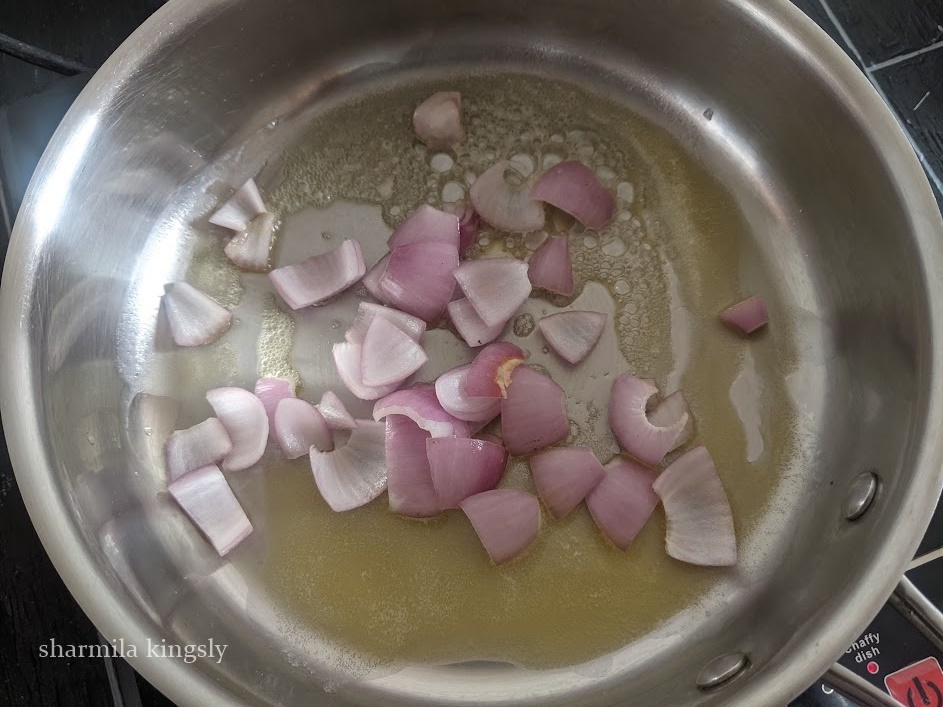
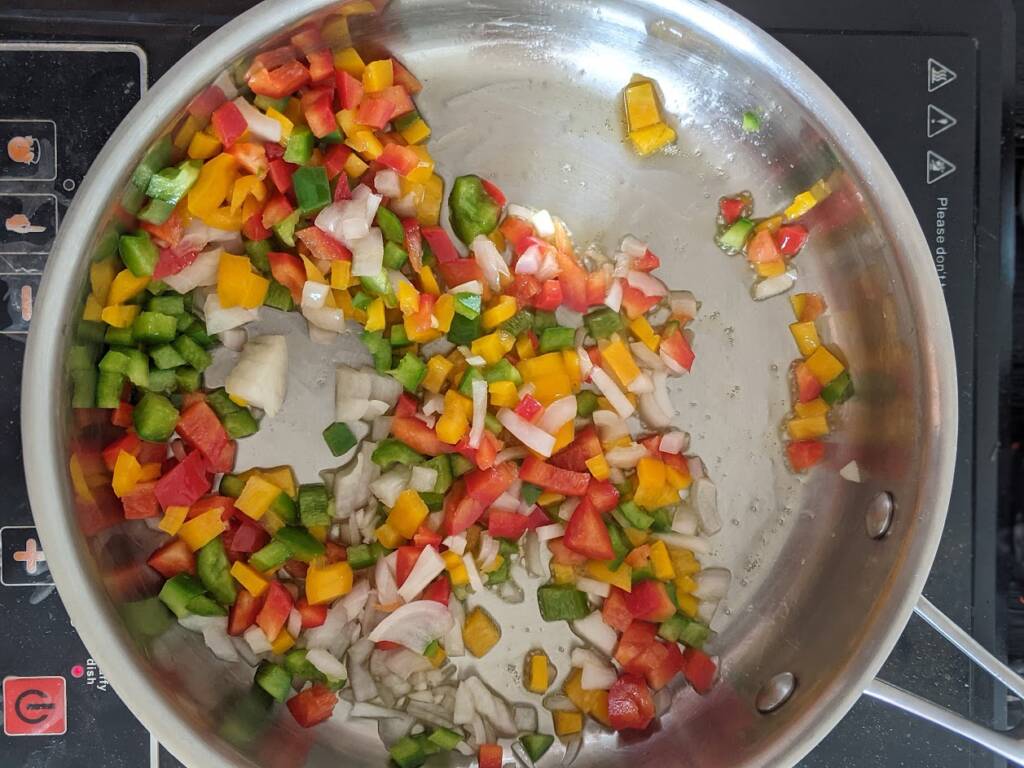
1.Switch on the Instant Pot in saute mode. Add 2 tablespoon of olive oil to the inner pot. Wait for a min and then add the sliced garlic saute for a few secs and add onion. Saute for 2 mins.

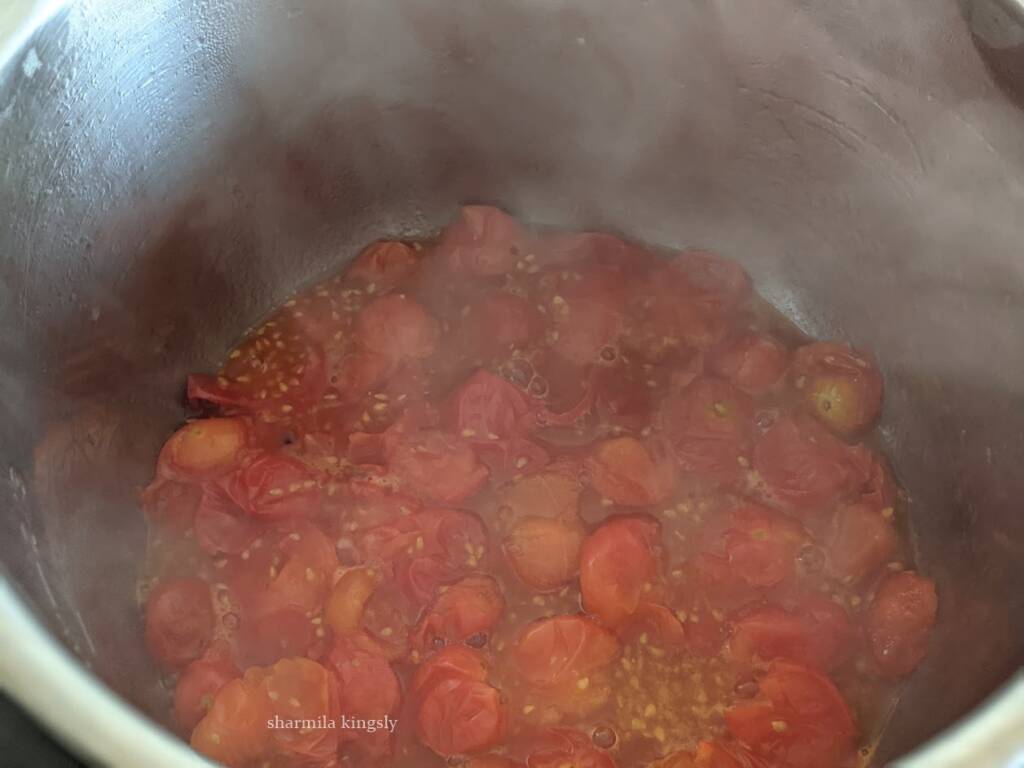
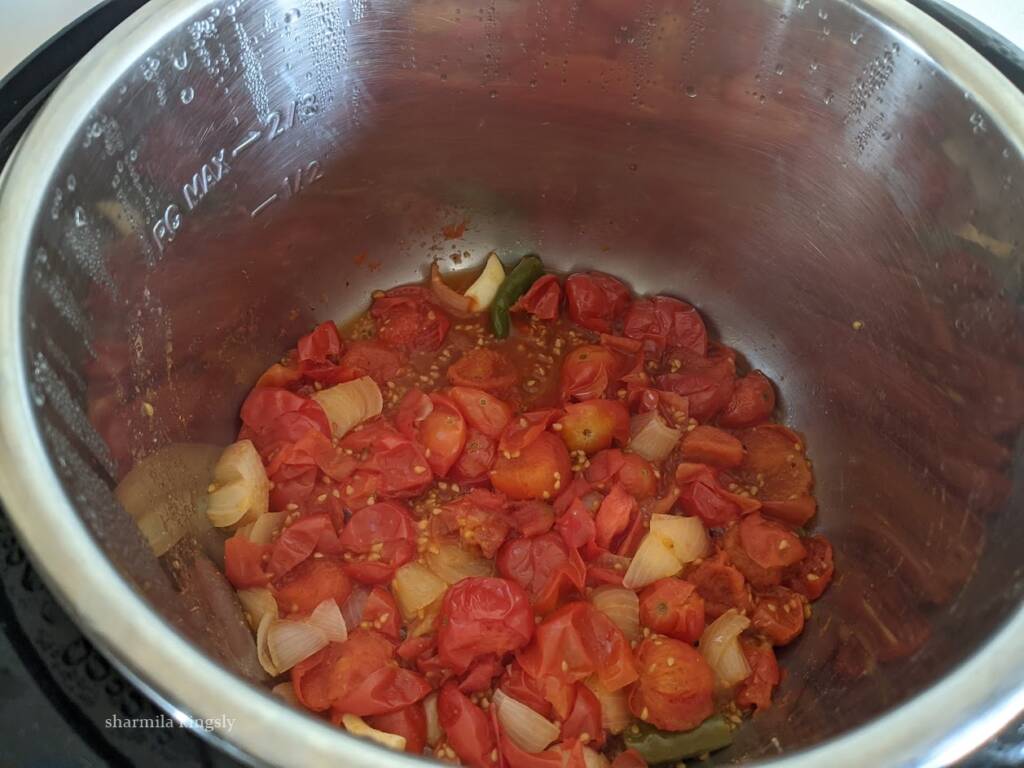
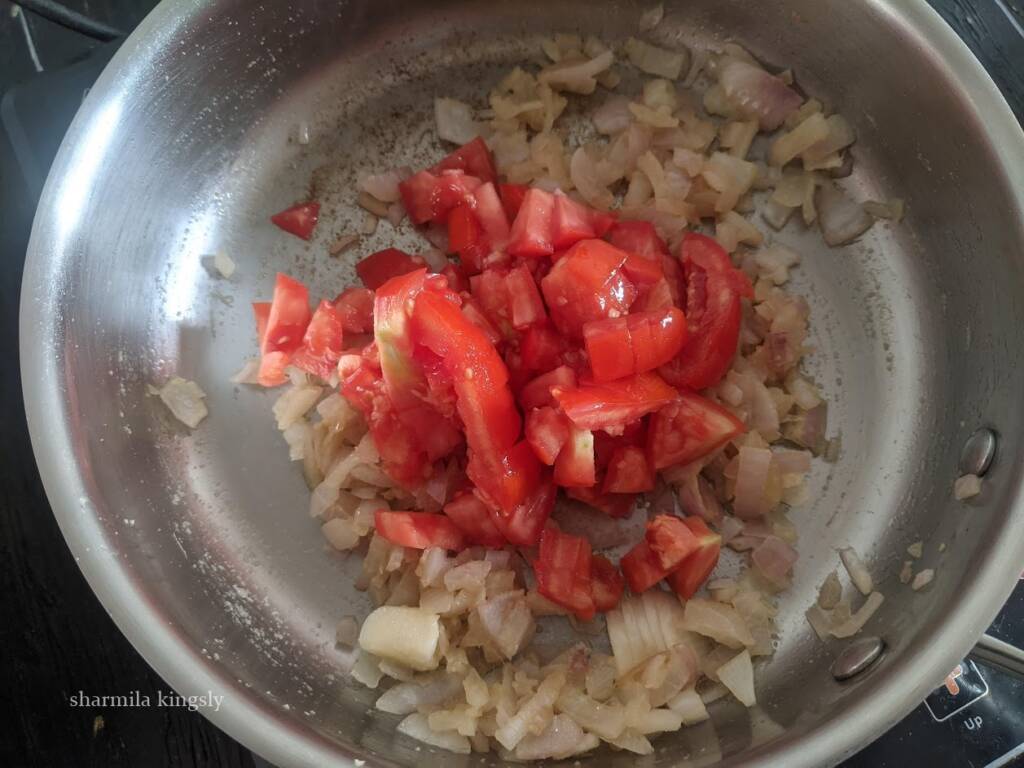
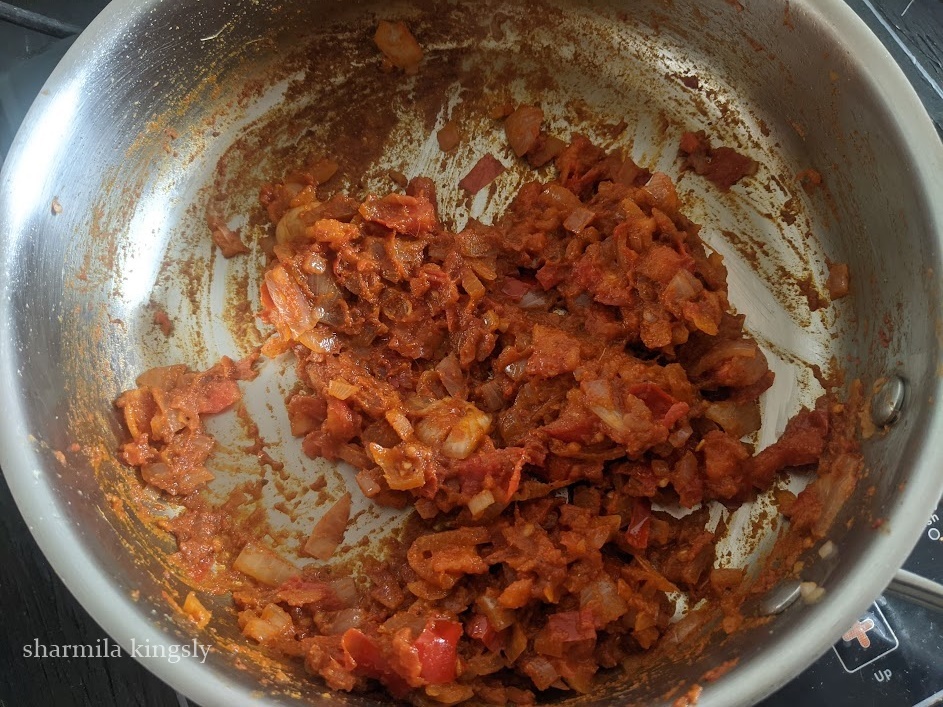
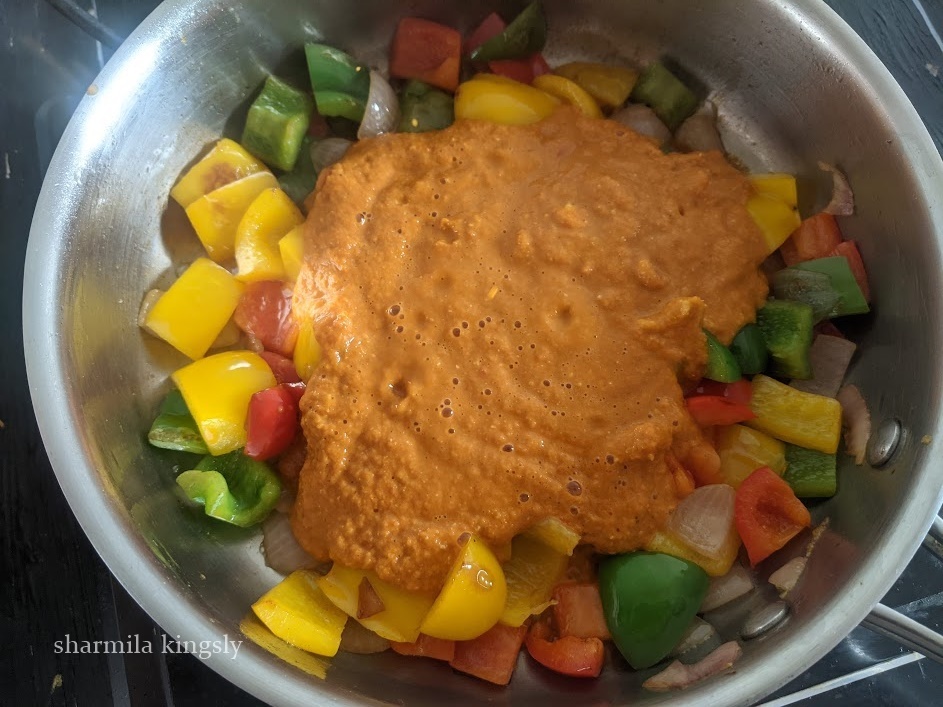
2. Next, add the chopped tomatoes and cook for another 2 mins.

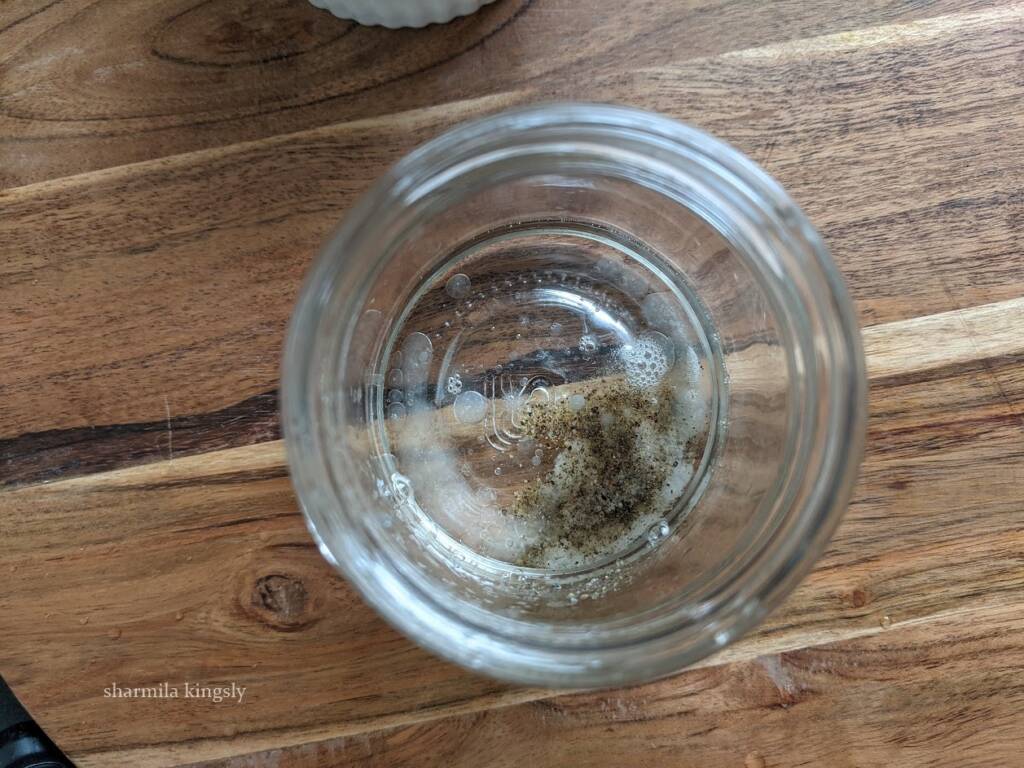
3. Now add the paprika powder, Cumin powder, Black pepper powder, and the required salt. Combine everything.

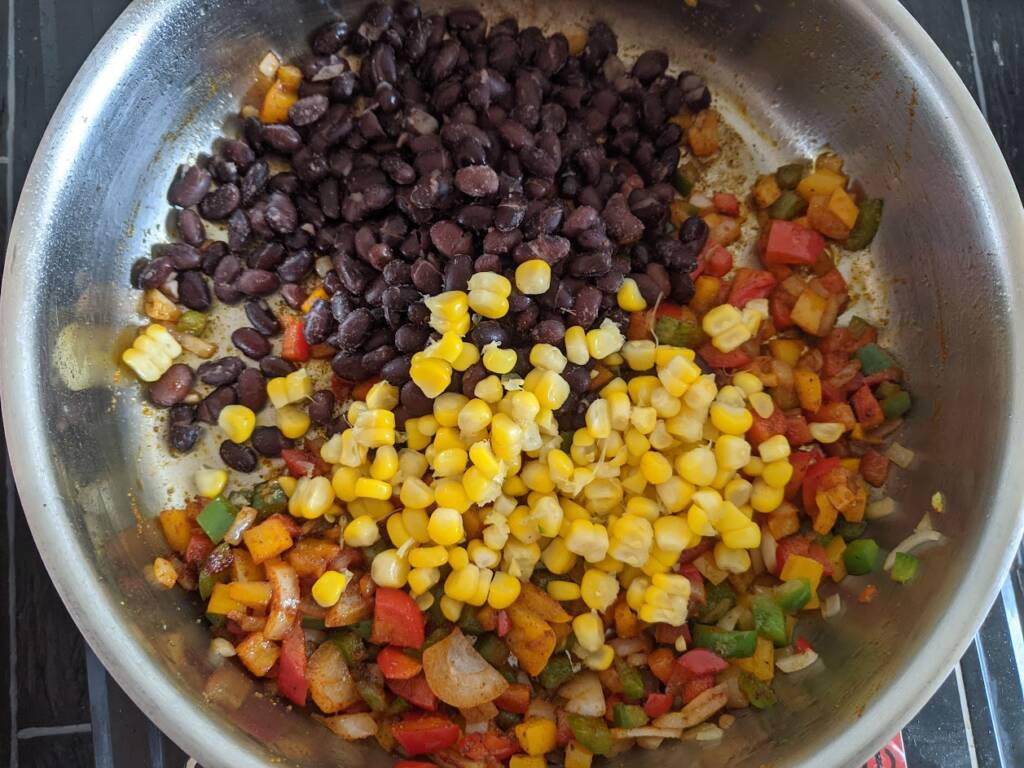
4. Add the chickpeas. You may use canned ones or dried chickpeas too.

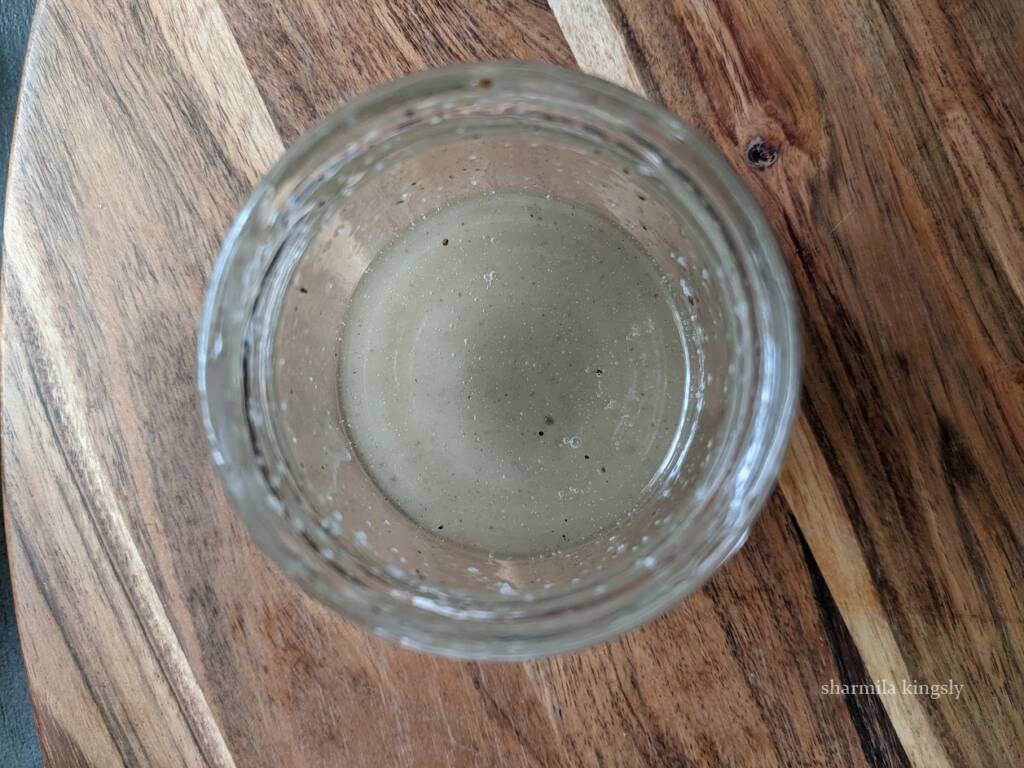
5. Add the 2 cups of water. Combine everything once and deglaze the sides of the Instant Pot.

6. Close the Instant Pot and move the pressure knob to sealing position. Set 8 mins in high pressure.

7. Wait for a natural pressure release and then open the Instant Pot.

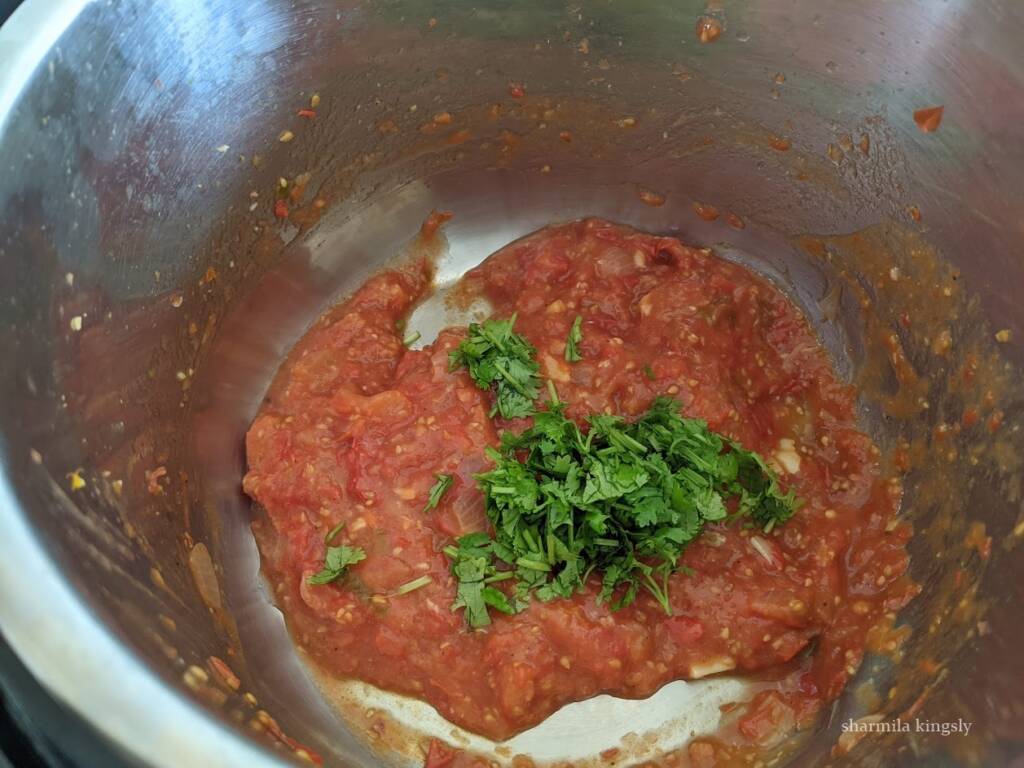
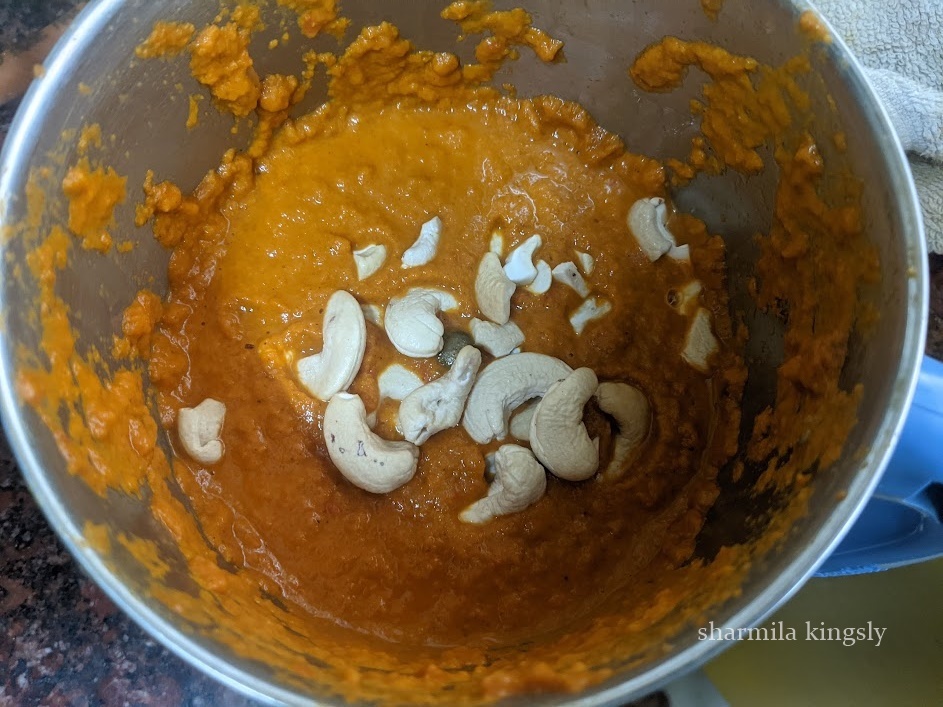
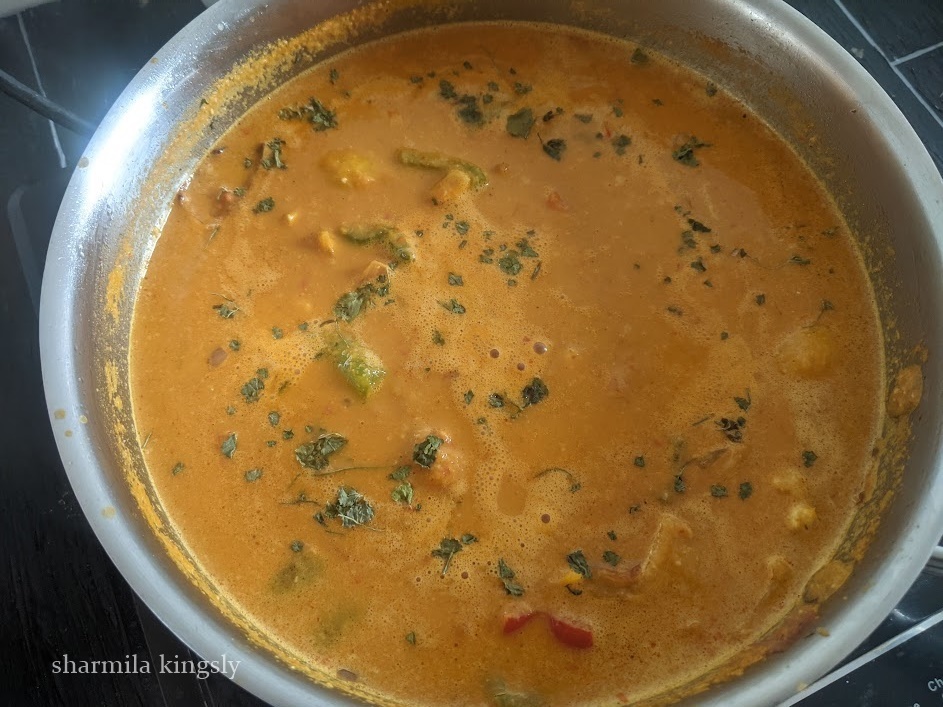
8. Using an immersion blender everything to a soupy consistency and add the coconut milk.

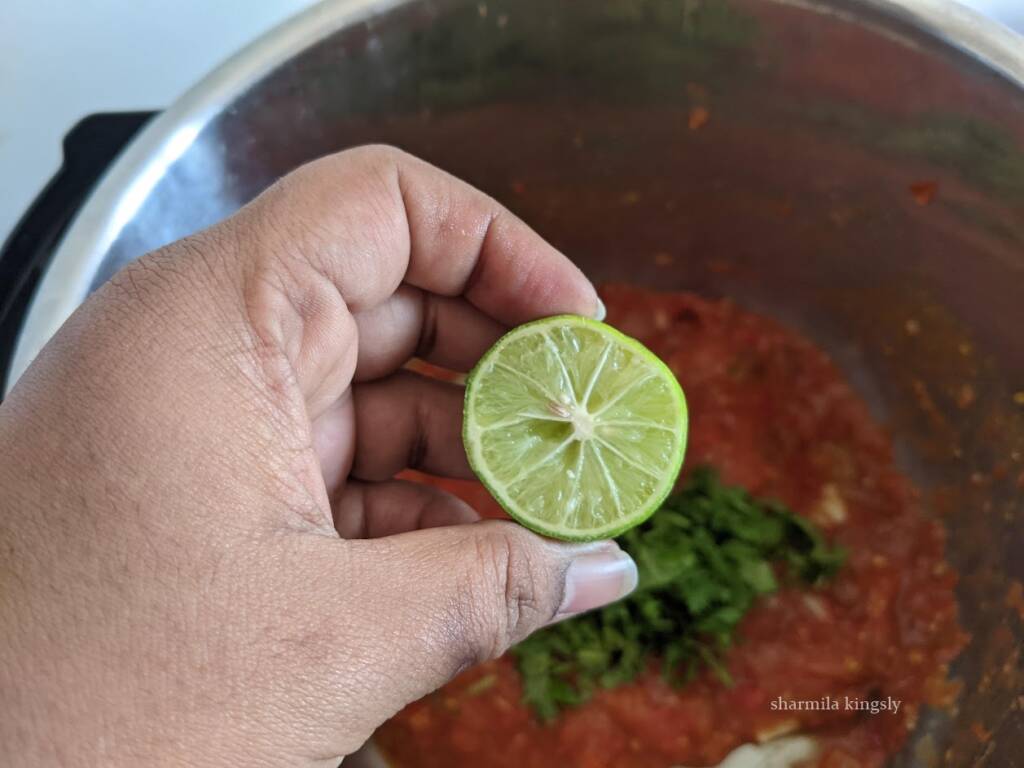
9. Combine everything and garnish with some chopped parsley.

10. Vegan chickpea soup is now ready.
Tips & Variations
- Use vegetable broth instead of water for a more flavorful soup.
- Always use a low sodium vegetable broth or you may prepare your own homemade broth.
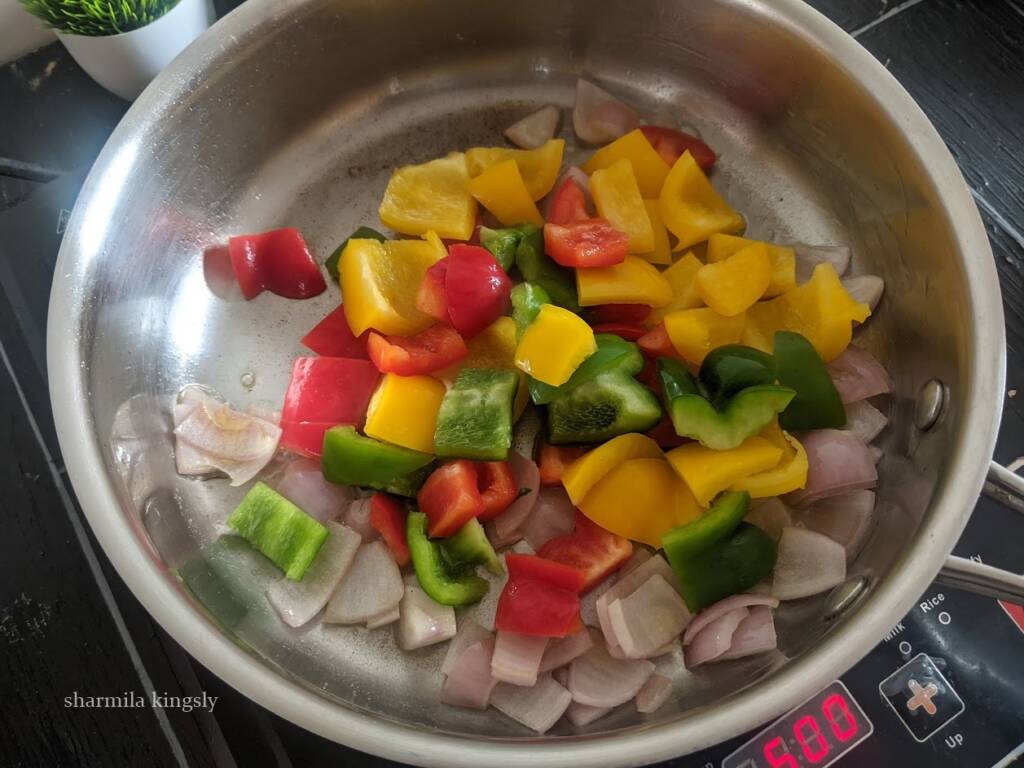
- You may also add carrots and celery to the soup. They blend well with chickpeas.
- I prefer sauteing the onions and tomatoes and then adding the chickpeas and liquid. This adds more flavor rather than a dump and go soup.
- You may easily double or triple the recipe.If you do not have an Instant Pot you can cook them on the stovetop too.
- Use a heavy bottomed pan and let the soup simmer for about 20-25 mins on low flame.
- If you do not have an immersion blender you can also cool down the soup and then blend them in your blender.
How to store Garbanzo Soup
This easy chickpea soup stays good in the fridge for 3 days. To reheat them add them to the stovetop or microwave them.
You can also freeze the soup for up to 2 months. To freeze the soup let the soup cool completely and then add and then freeze. While using you may thaw them for a while or defrost them in the microwave and use them.
Serving Suggestions
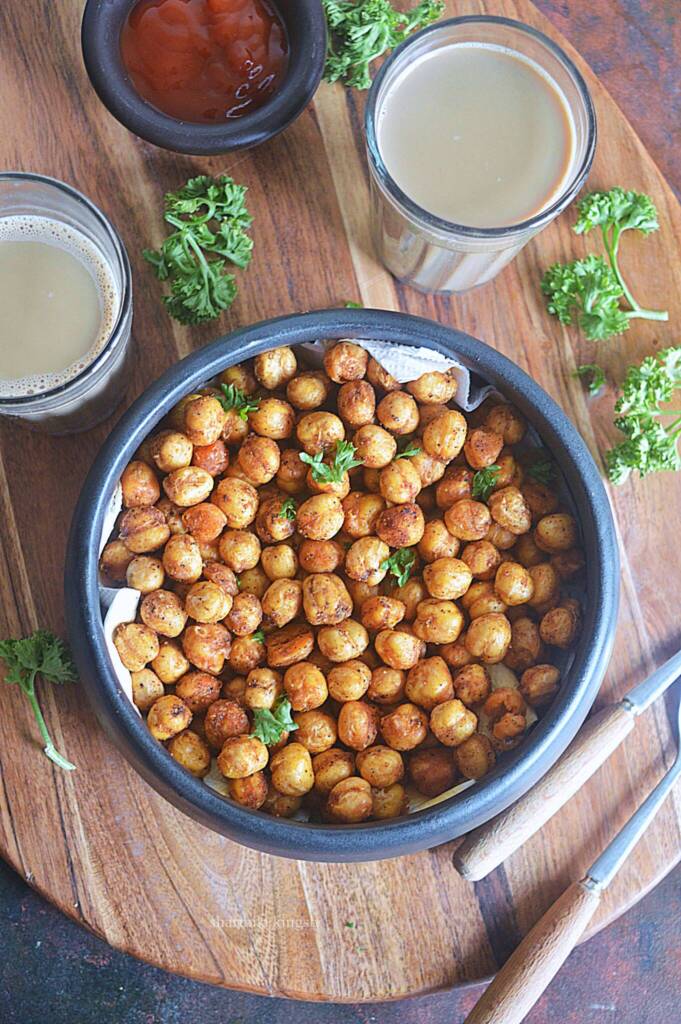
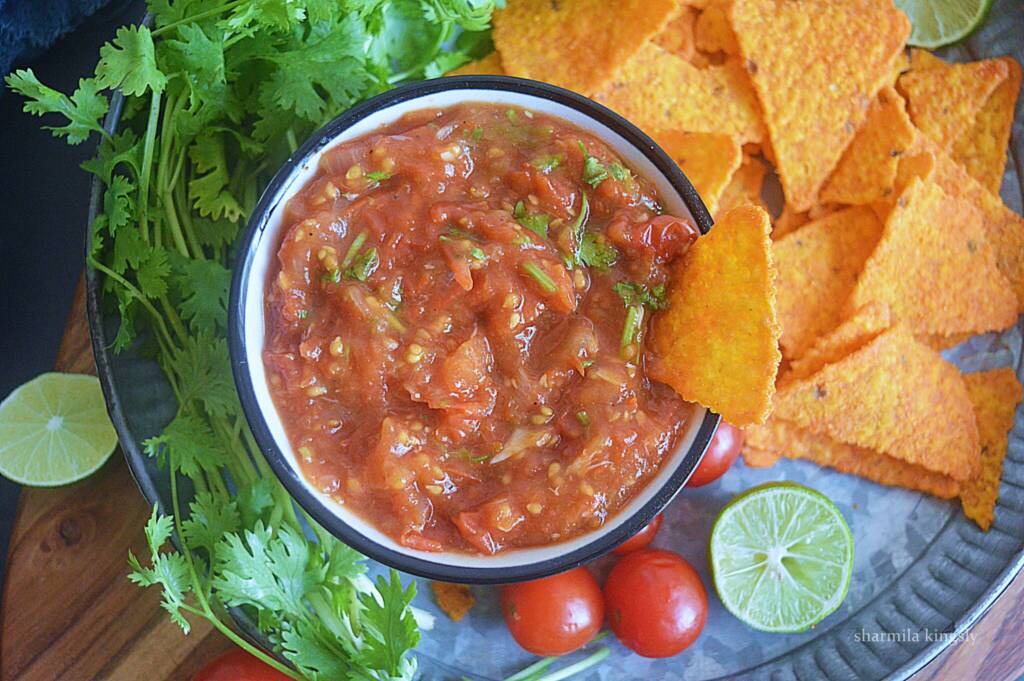
Serve the creamy chickpea soup with an extra dose of parsley or cilantro. Goes well with some garlic bread or crusty bread. You may also top them with some croutons. I used my air fried roasted chickpeas.
More Soup Recipes


★ Did you enjoy this recipe? If you happen to try it out, I would love to hear from you! I’d appreciate it if you could rate and leave a review below in the comments. Your reviews help others know the recipe better too. Thanks for your time. You can also follow me on Facebook, Pinterest, Instagram, Youtube and Twitter for more updates
📖 Recipe

Vegan Chickpea Soup
Standard 1 cup measures 240 ml
Ingredients
- 2 cups Chickpeas
- 2 tablespoon Olive Oil
- 4 clove Garlic
- 1 Onion
- 3 Tomato
- 1 teaspoon Paprika powder
- 1 teaspoon Cumin powder
- ½ teaspoon Black pepper powder
- Salt as needed
- 2 cups Water
- ¾ cup Coconut Milk
Instructions
- Switch on the Instant Pot in saute mode. Add 2 tablespoon of olive oil to the inner pot. Wait for a min and then add the sliced garlic saute for a few secs and add onion. Saute for 2 mins.
- Next, add the chopped tomatoes and cook for another 2 mins.
- Now add the paprika powder, Cumin powder, Black pepper powder, and the required salt. Combine everything.
- Add the chickpeas. You may use canned ones or dried chickpeas too.
- Add the 2 cups of water. Combine everything once and deglaze the sides of the Instant Pot.
- Close the Instant Pot and move the pressure knob to sealing position. Set 8 mins in high pressure.
- Wait for a natural pressure release and then open the Instant Pot.
- Using an immersion blender everything to a soupy consistency and add the coconut milk.
- Combine everything and garnish with some chopped parsley.
- Vegan chickpea soup is now ready.
Notes
-
- Use vegetable broth instead of water for a more flavorful soup.
-
- Always use a low sodium vegetable broth or you may prepare your own broth
-
- You may also add carrots and celery to the soup. They blend well with chickpeas.
-
- I prefer sauteing the onions and tomatoes and then adding the chickpeas and liquid. This adds more flavor rather than a dump and go soup.
-
- You may easily double or triple the recipe. If you do not have an Instant Pot you can cook them on the stovetop too.
-
- Use a heavy bottomed pan and let the soup simmer for about 20-25 mins on low flame.
-
- If you do not have an immersion blender you can also cool down the soup and then blend them in your blender.
Nutrition
Disclaimer: I am not a nutritionist, the nutrition value provided here is an estimate. It will vary based on the quantity and brands of the products used.