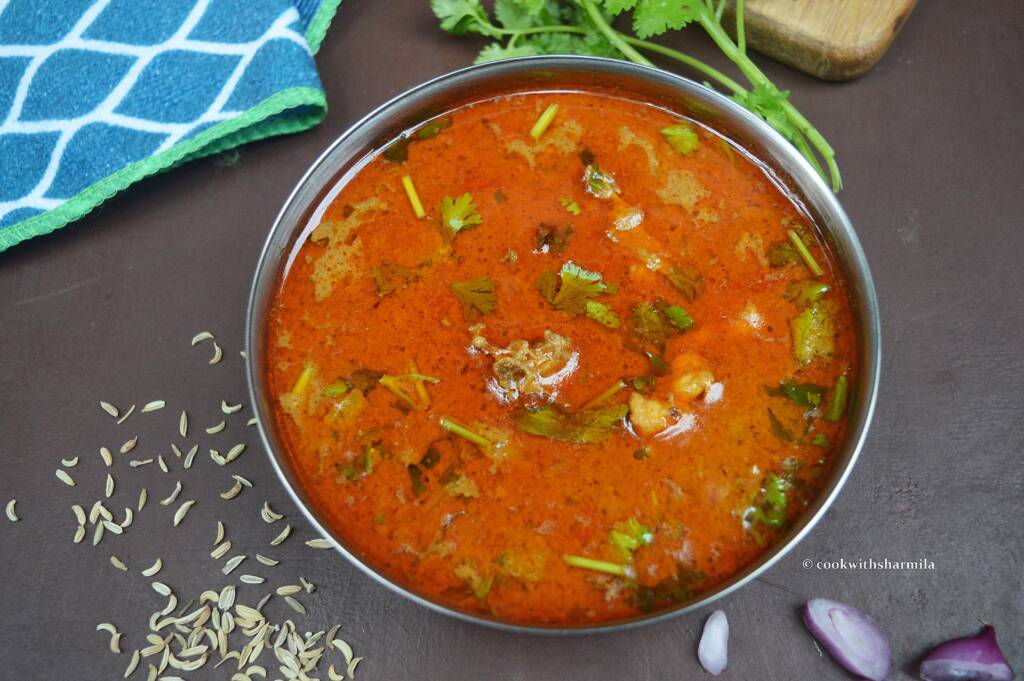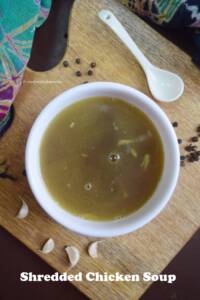

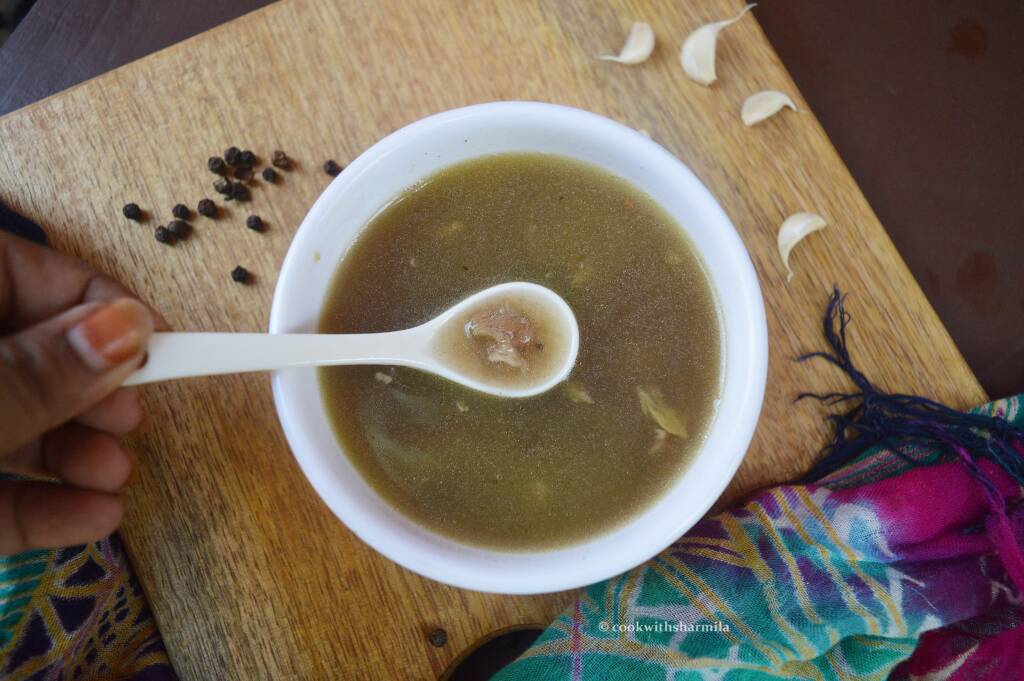
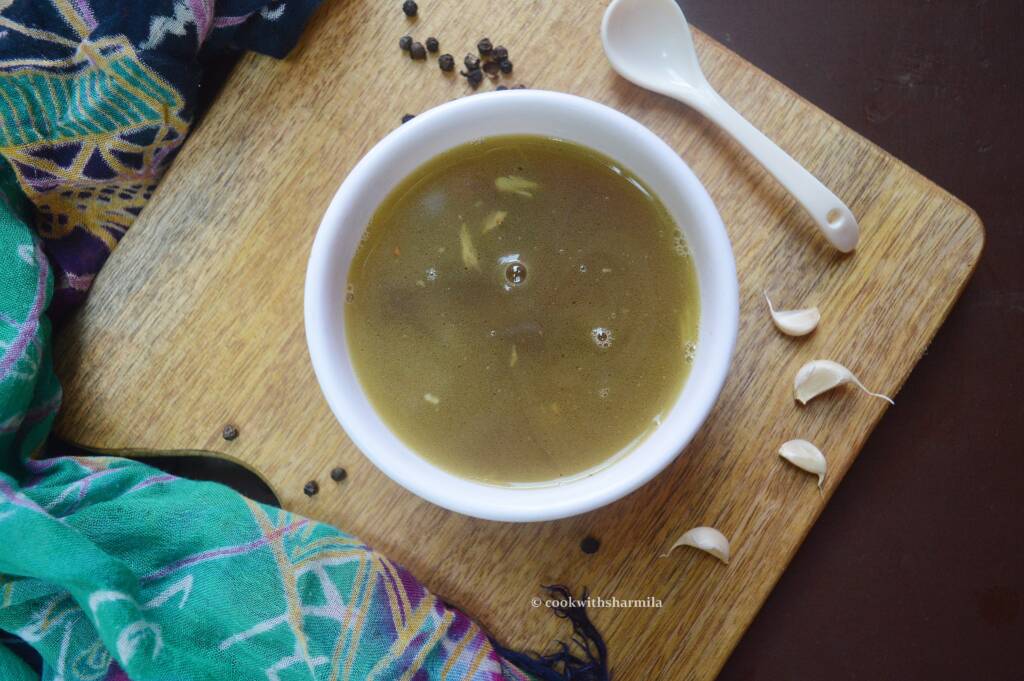
Shredded Chicken Soup is a filling and nutritious soup made by cooking the shredded chicken pieces in a delicious broth.It can be had as a whole meal combined with some bread sticks.
[feast_advanced_jump_to]What is Shredded Chicken Soup:
It is a filling and nutritious soup made by cooking the shredded chicken pieces in a delicious broth.It can be had as a whole meal combined with some bread sticks.
How to prepare Shredded Chicken Soup:
We usually prepare it by pressure cooking the chicken and then shredding the chicken pieces and finally garnishing the broth and the shredded chicken pieces.
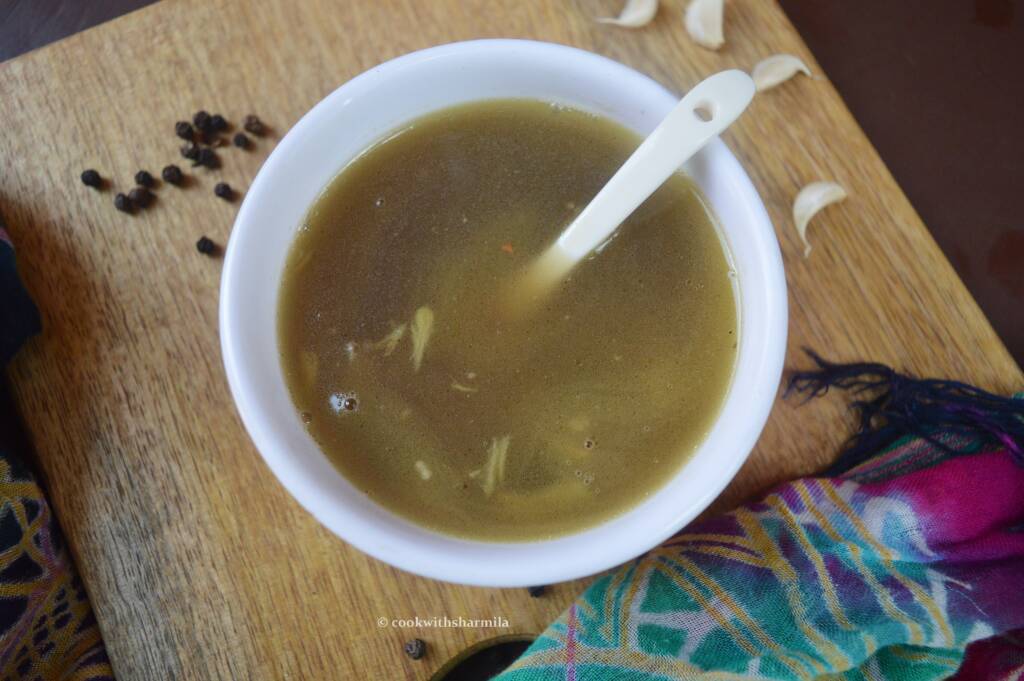
Serving Suggestion:
Serve with Bread Sticks or some Garlic bread.
Garnishing options:
We can garnish the soup with sliced spring onions , also with cilantro or parsley leaves.
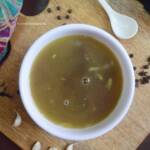
Thumb Rule and not to forget is to serve the soup hot.Also add extra pepper and Salt as you prefer.
Other Chicken Soup varieties which i have already posted in blog :
How to make Shredded chicken Soup
1.In a pressure cooker add the chicken pieces , Carrot and chopped onions

2.Next add in the Water , Pepper powder and Salt.

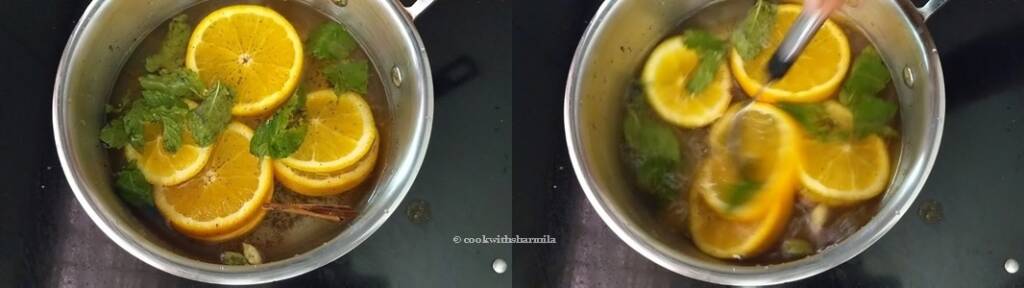
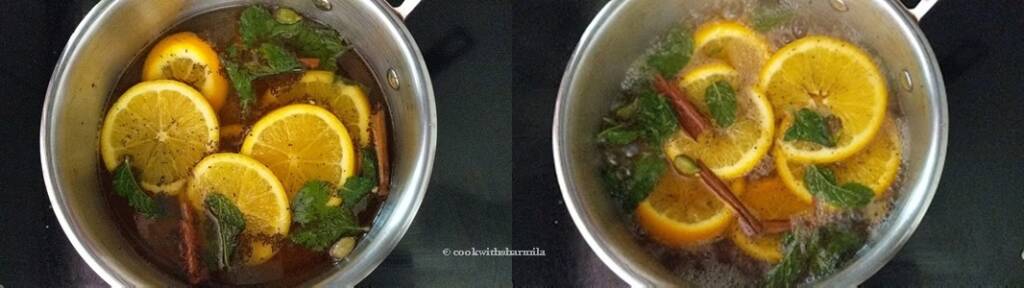
3.Next add in the Bay leaf, Cardamom pods, Cinnamon stick.Close the cooker and cook in a high flame for 4 whistles.

4.Wait till the pressure is completely released and then open the cooker. Mash everything together and filter the soup . Also take the cooked chicken pieces and set it aside.

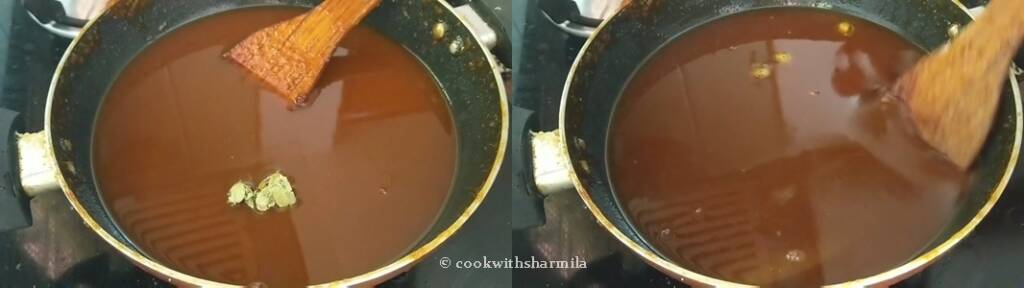
5.Heat a sauce pan with butter ,let it melt add crushed ginger and slices garlic pods and saute till the raw smell leaves.

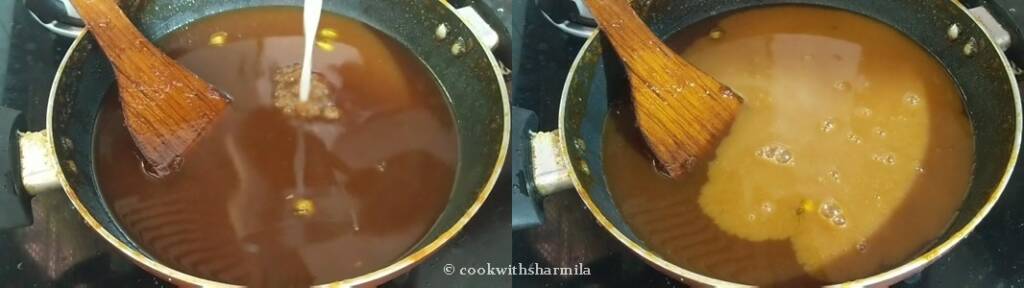
6.Add in the strained soup ,give a good mix and keep cooking in a low flame. From the cooked chicken pieces. Shred the chicken and add them to the soup.

7.Cook till it comes to a boil. Add extra pepper powder add Salt if needed at this stage.Cook for another 2 mins in low flame and switch off.Garnish with sliced spring onions and serve.
Similar recipes


★ Did you enjoy this recipe? If you happen to try it out, I would love to hear from you! I’d appreciate it if you could rate and leave a review below in the comments. Your reviews help others know the recipe better too. Thanks for your time. You can also follow me on Facebook, Pinterest, Instagram, Youtube and Twitter for more updates
📖 Recipe
Shredded Chicken Soup
Standard 1 cup measures 240 ml
Ingredients
To Pressure Cook
- ½ Cup Chicken
- ¼ Cup Carrot Chopped
- ¼ Cup Onion Chopped
- 1 cup water
- ½ teaspoon Pepper Powder
- ¼ teaspoon Salt
- 1 Bay Leaf
- 1 Cardamom
- 1 inch Cinnamon Stick
Other Ingredients
- 1 tablespoon Butter
- ½ teaspoon Ginger Crushed
- 1 teaspoon Garlic Sliced
- ½ teaspoon Pepper powder optional
- Salt as needed
- 2 tablespoon Spring Onions optional
Instructions
- In a pressure cooker add the chicken pieces , Carrot and chopped onions
- Next add in the Water , Pepper powder and Salt.
- Next add in the Bay leaf, Cardamom pods, Cinnamon stick.Close the cooker and cook in a high flame for 4 whistles.
- Wait till the pressure is completely released and then open the cooker. Mash everything together and filter the soup . Also take the cooked chicken pieces and set it aside.
- Heat a sauce pan with butter ,let it melt add crushed ginger and slices garlic pods and saute till the raw smell leaves.
- Add in the strained soup ,give a good mix and keep cooking in a low flame. From the cooked chicken pieces. Shred the chicken and add them to the soup.
- Cook till it comes to a boil. Add extra pepper powder add Salt if needed at this stage.
- Cook for another 2 mins in low flame and switch off.Garnish with sliced spring onions and serve.
Video
Notes
- Always serve the soup hot.
- Add extra pepper and Salt as per your taste.
- If you do not like the ginger and garlic as a whole you can add it while pressure cooking .