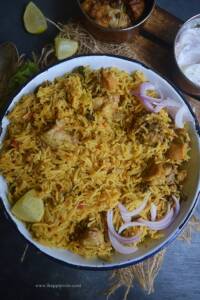
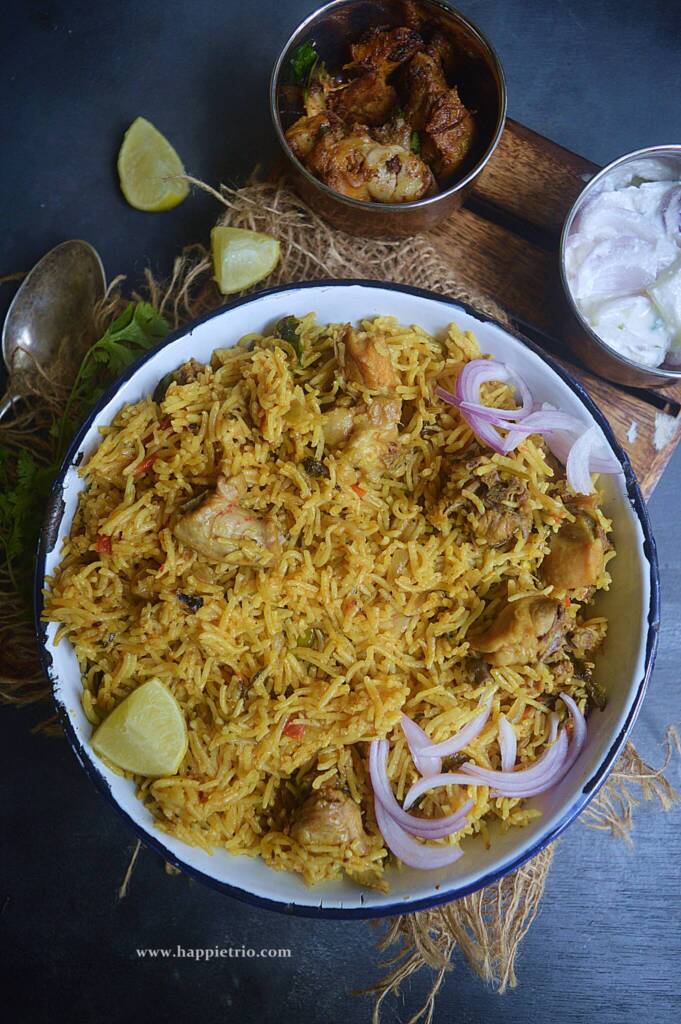
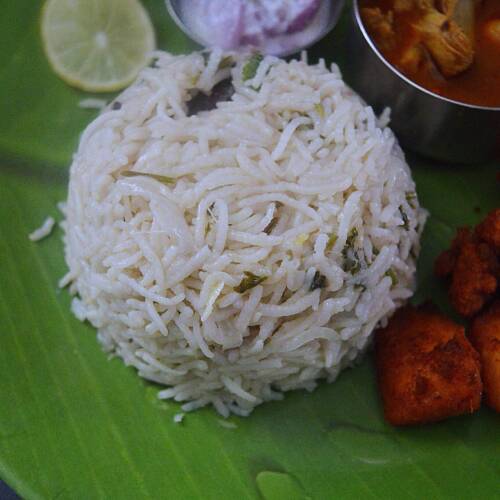
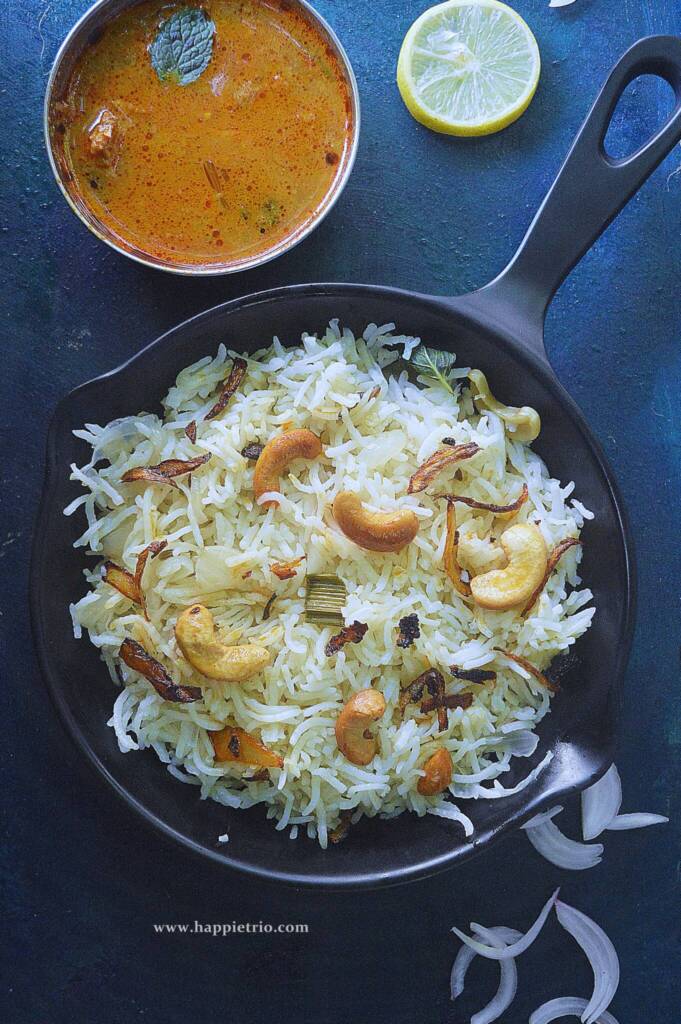
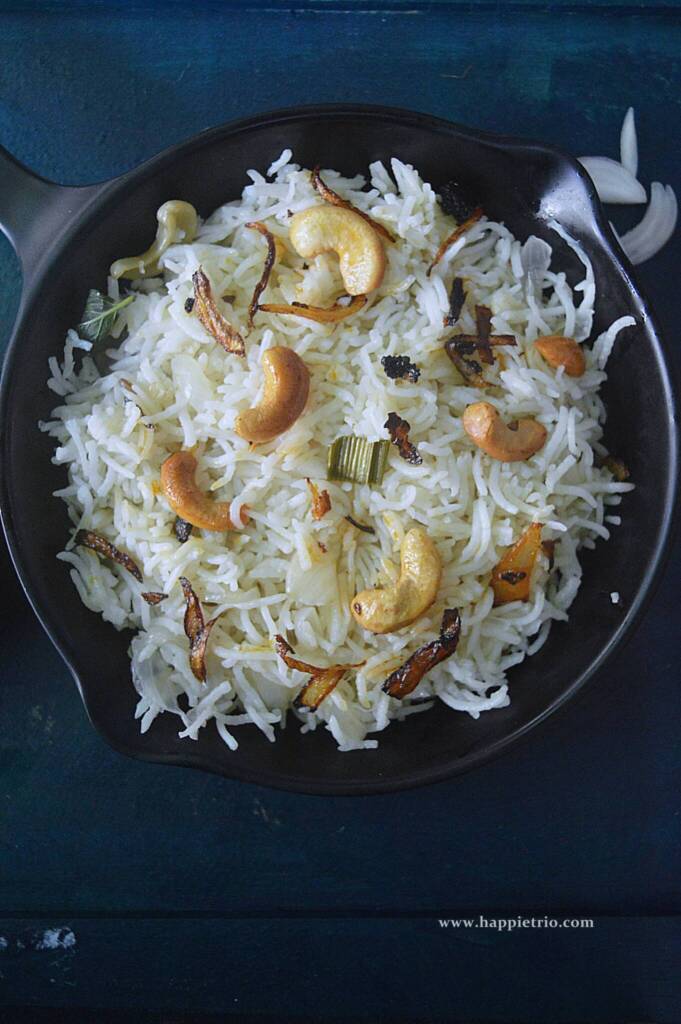
Ghee Rice or Ney Choru is a delicious festival special Main Course made with Rice and flavored with Ghee. It goes well with chicken Kurma
Follow us on Pinterest for delicious pins. Join our Facebook group for more Instant Pot and Air Fryer recipes.
Ghee Rice is an aromatic rice main course that is popular in Kerala and many other Southern states. We usually prepare it for festivals or functions.
[feast_advanced_jump_to]What is Ghee Rice
Ghee Rice translates to Clarified Butter Rice. Ghee Rice is popularly known as Ney choru in Southern India. "Nei" means ghee or clarified butter and "Choru" means Rice.
Ghee Rice is an aromatic mild rice dish that is popular in the Southern states of India especially Kerala. They usually make it for festivals or Weddings.
The richness of the rice comes from the ghee added, so do not look for a replacement for this. Ghee Rice is gluten free and the perfect party material.
If you are a vegetarian you can serve with some starter, Raita, and Veg Kurma or Potato Kurma. For nonveg option, you can serve with Chicken Fry, Chicken korma, and Raita.
There is a habit of including raisins in ghee rice. Raisins and cashew nuts are toasted in ghee and sprinkled in the rice along with fried onions. These might look like a simple garnish but that is what forms the base for the rice.
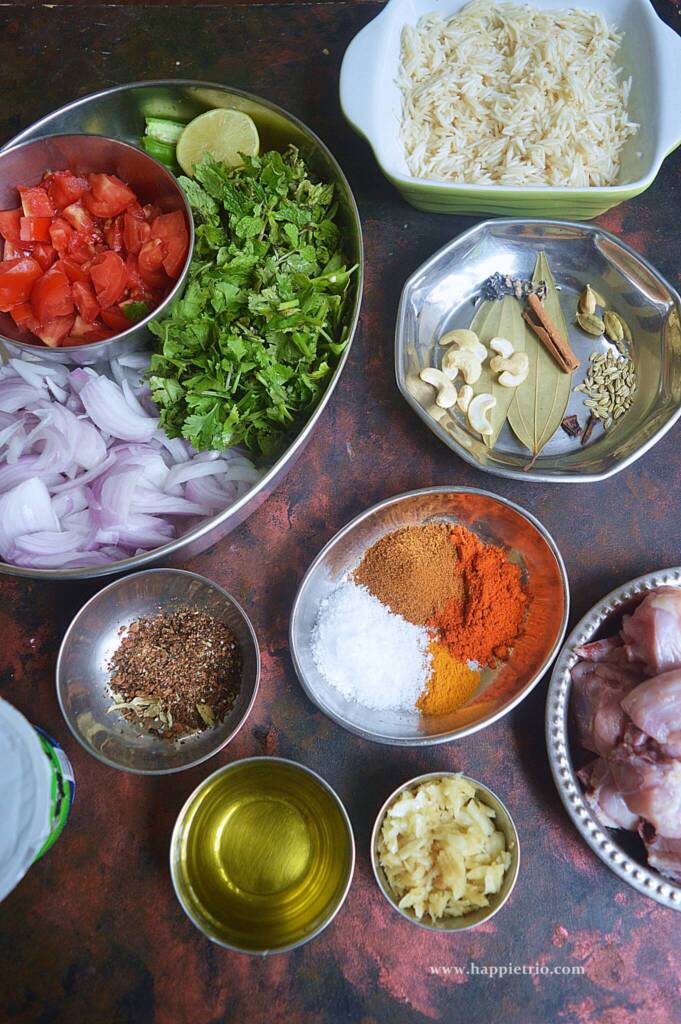
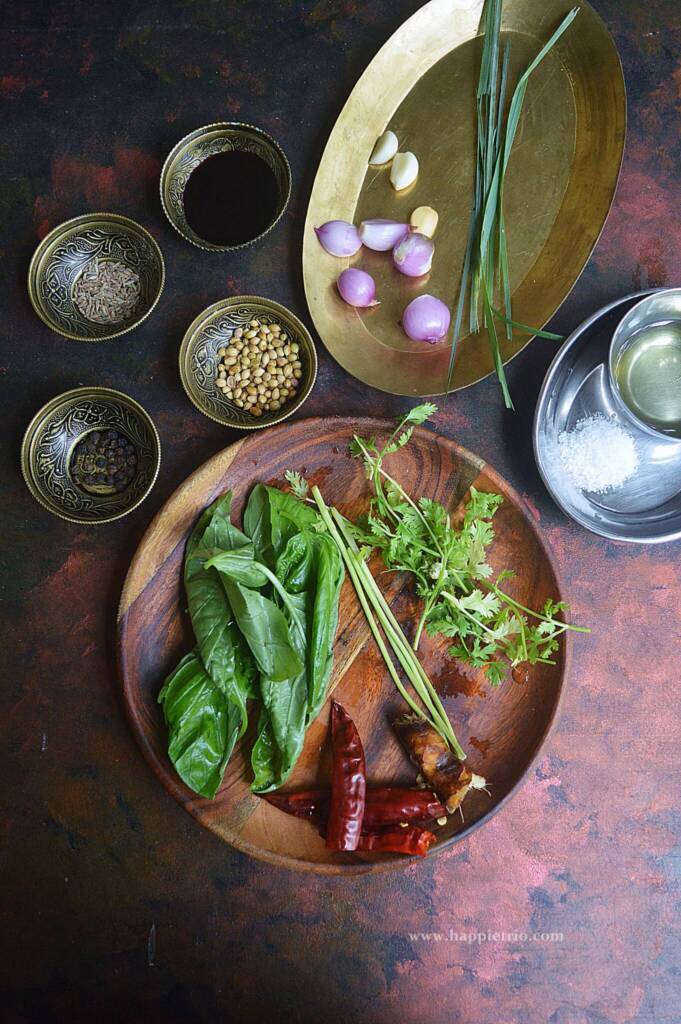
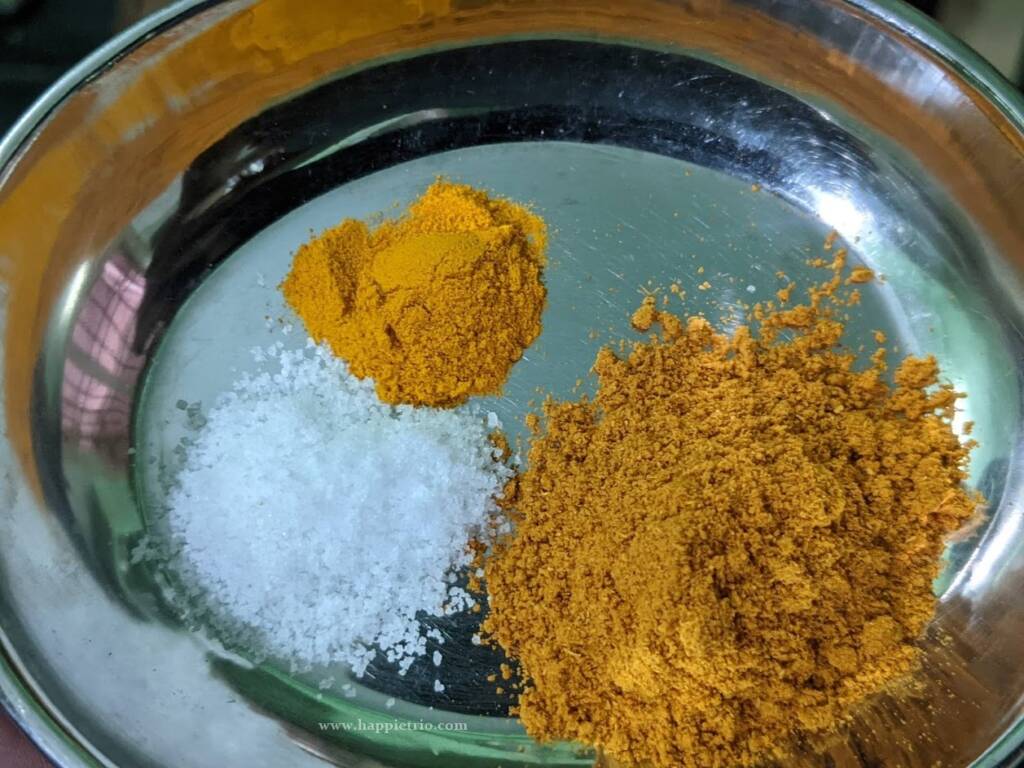
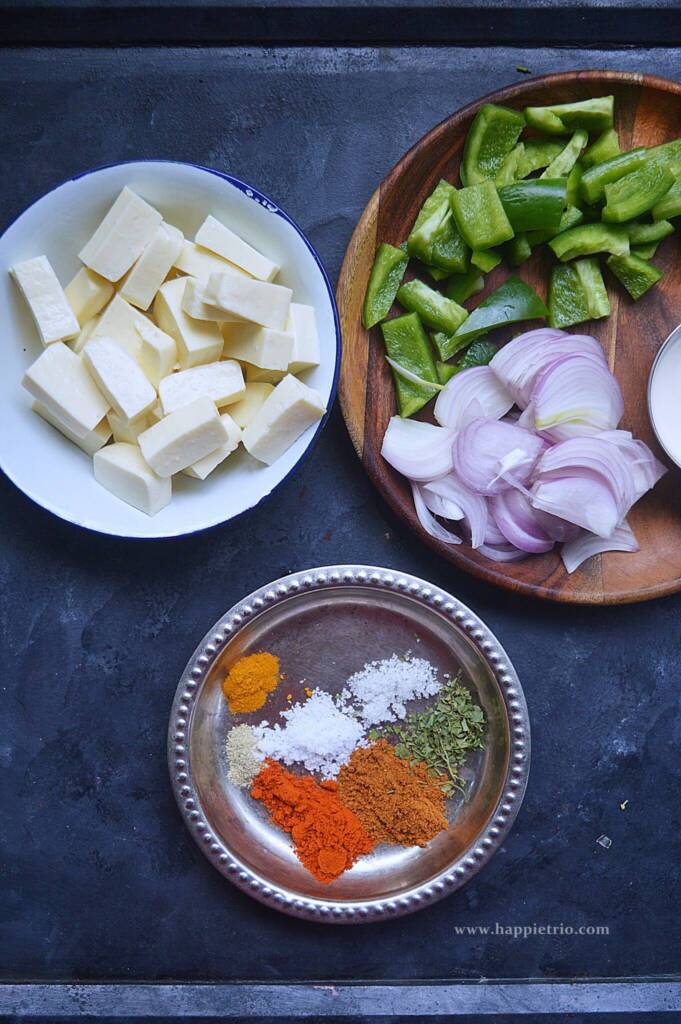
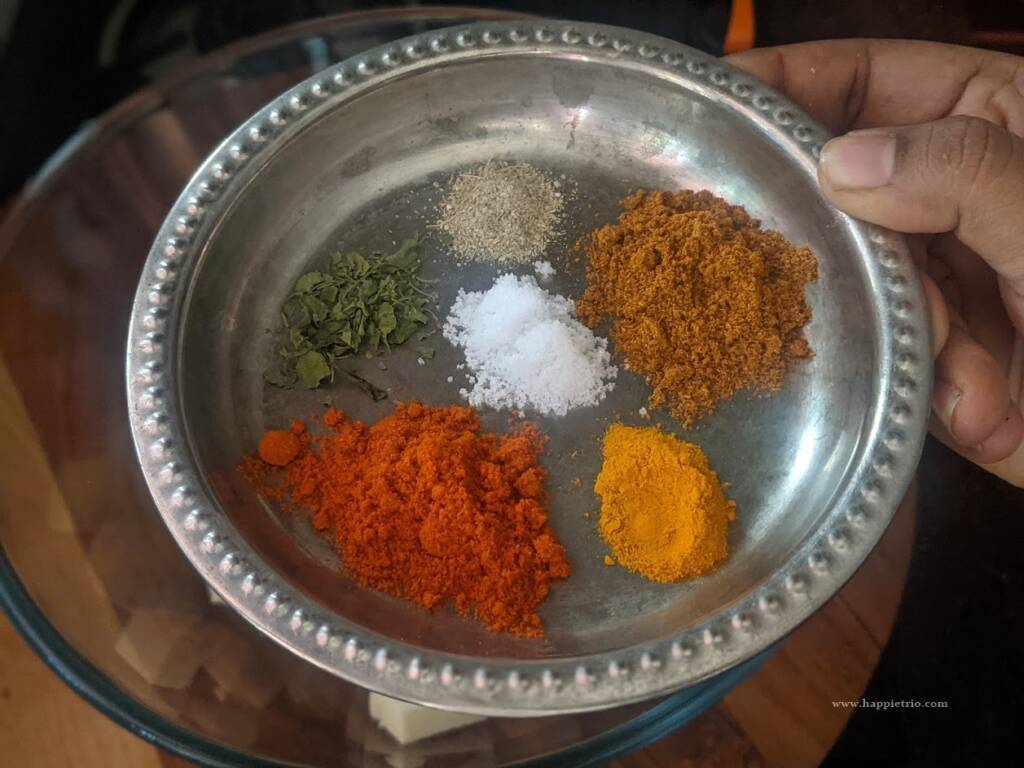
Ingredients
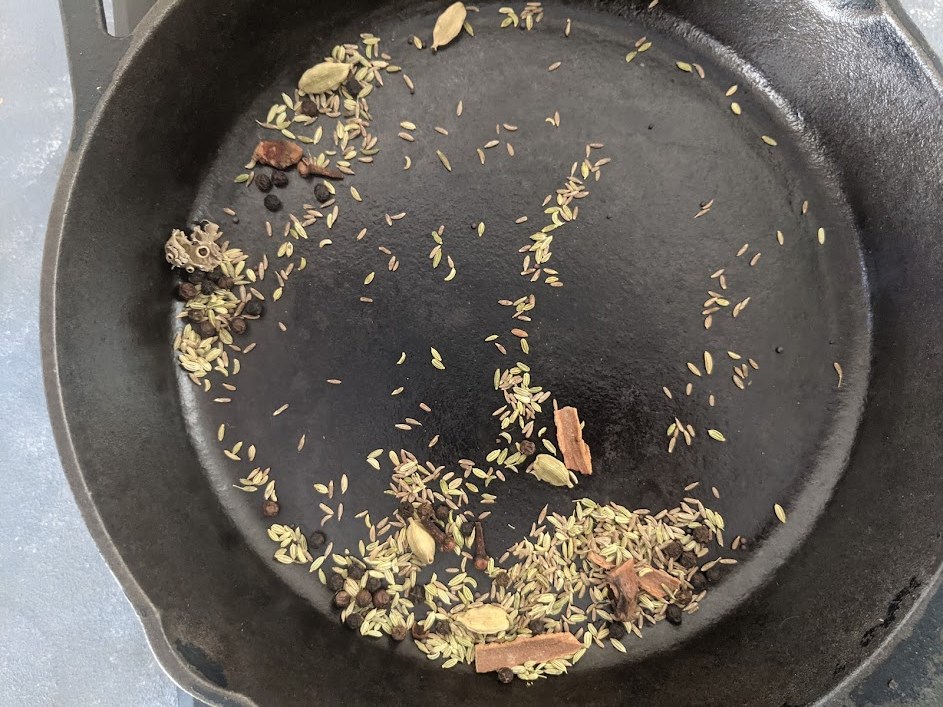
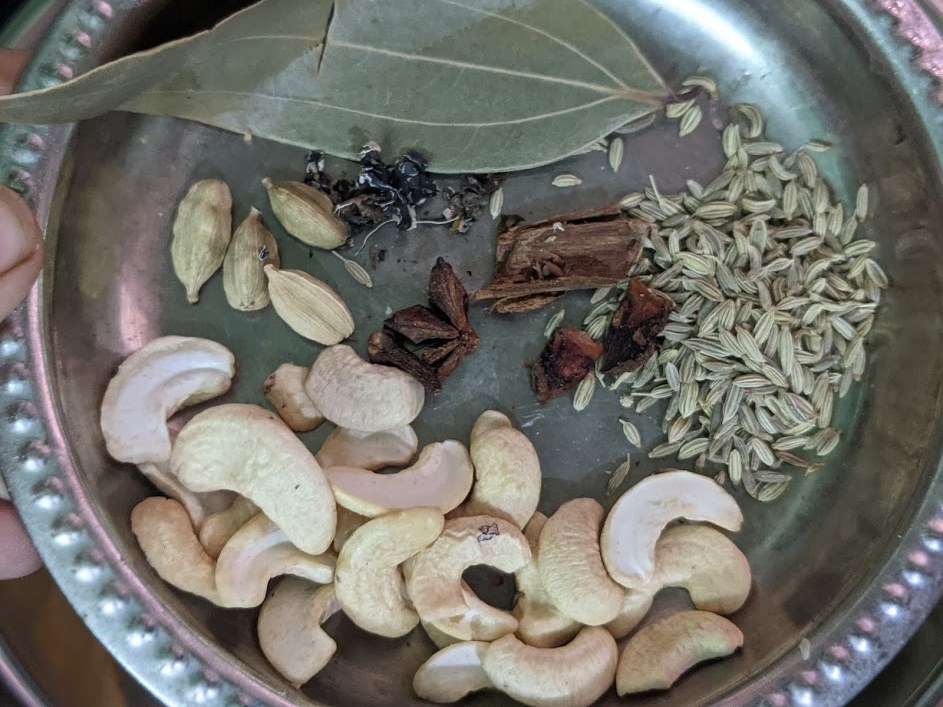
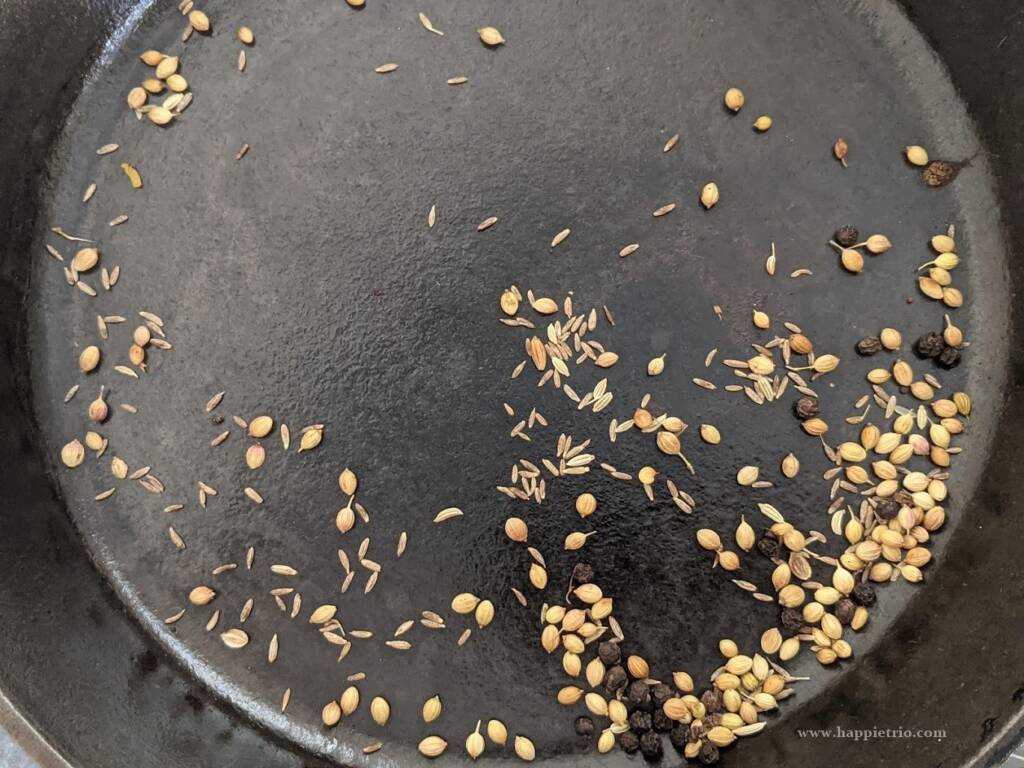
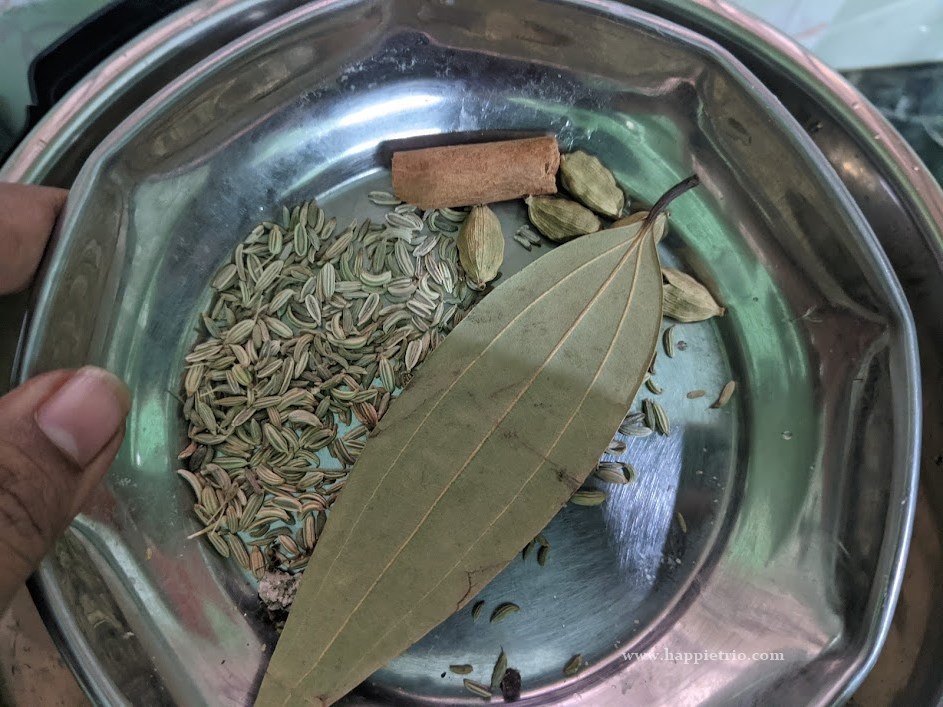
Whole Spices - We usually temper the whole spices in Ghee. As we fry them in Ghee the spices turn fragrant.
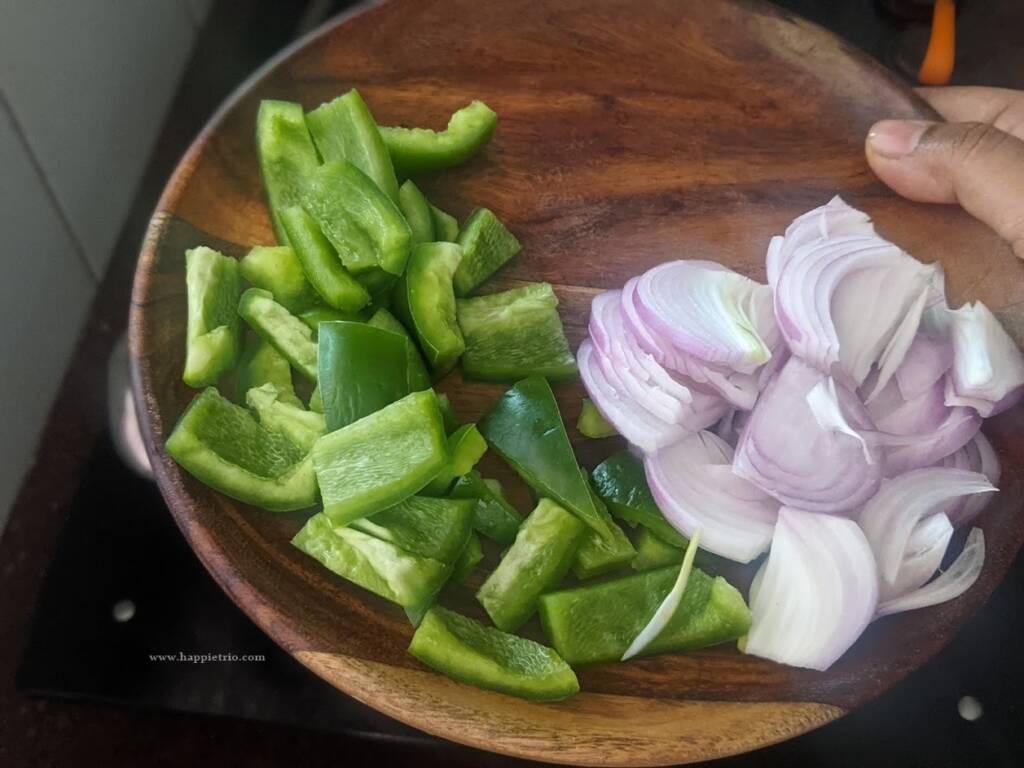
Onion,ginger, and garlic paste - These are the basics we add thinly sliced onions and ginger garlic paste for flavor.
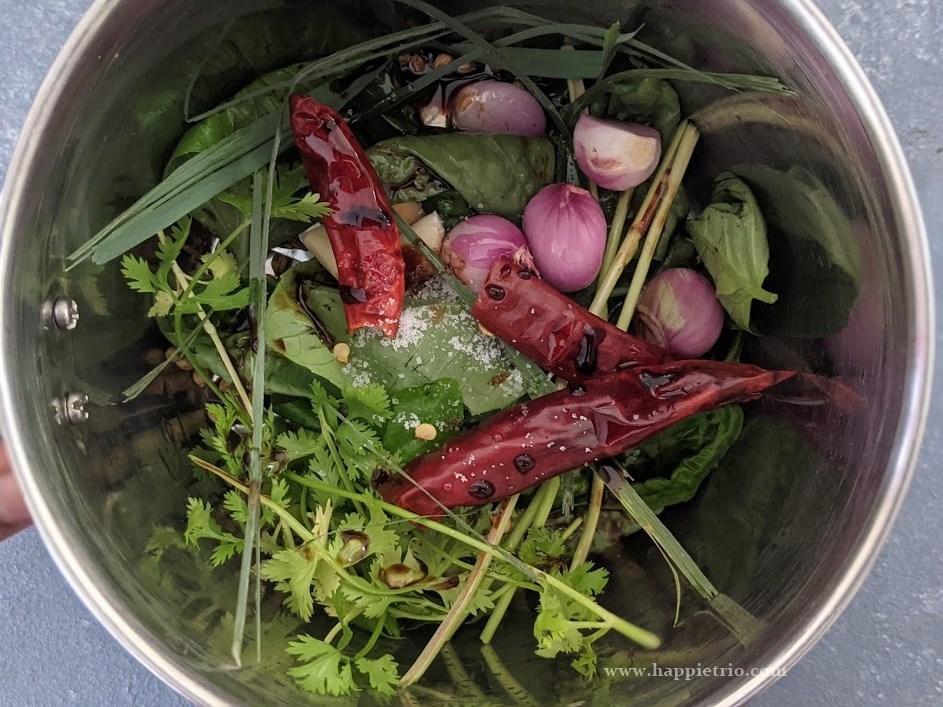
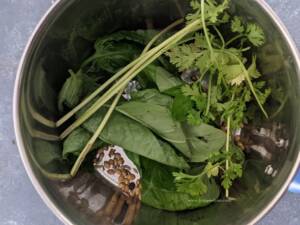
Mint, cilantro, and Green Chilli - Again Mint and Cilantro bring in lots of flavors to the Rice. You can also Pandan Leaves if you are able to source.
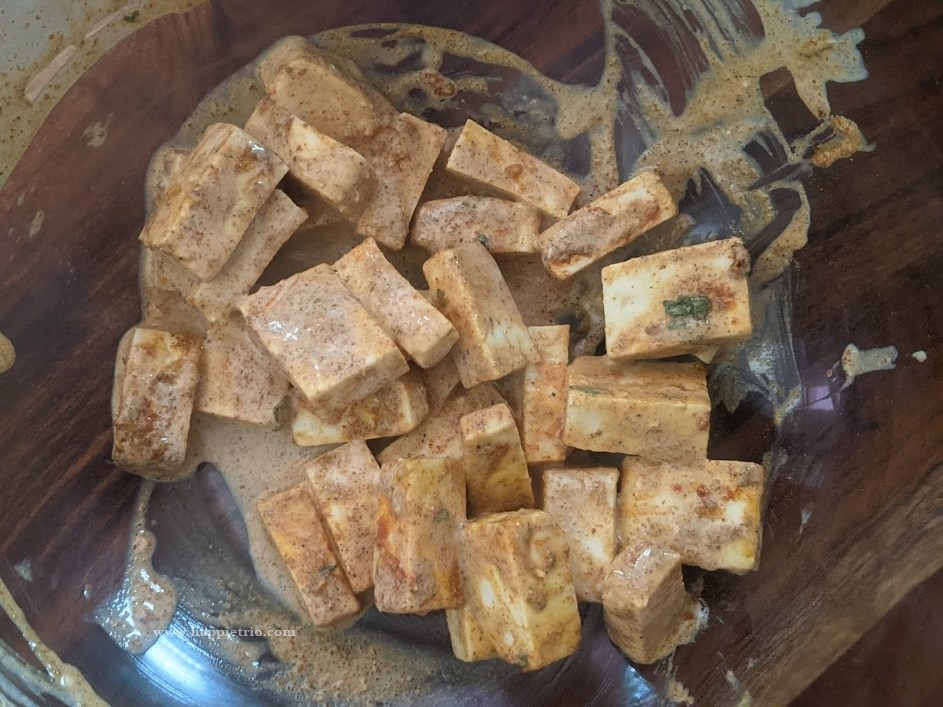
Curd or Yogurt, Lemon - Both Curd and Lemon balance the flavors in the Rice.
Basmati rice - Use aromatic long grained Basmati Rice or Short grained Seeraga Sambaa rice.
Cashew Nuts, Raisins - They enhances the richness of the dish.
FAQ's
The essence of the dish lies only in the ghee. and hence I would not recommend replacing ghee with oil. If we replace ghee with oil it will be just like any other rice pilaf.
If cooking on the stovetop use 1.5 cups of water for every 1 cup of rice. Cover the pan and cook in a medium flame until all the liquid is absorbed and switch off. Fluff the rice and close the vessel for another 30 mins.
Soak the rice properly and follow the instructions for the water ratio and timings perfectly. If you can, saute the rice in ghee for a min and then use.
How to Prepare Ghee Rice in Instant Pot
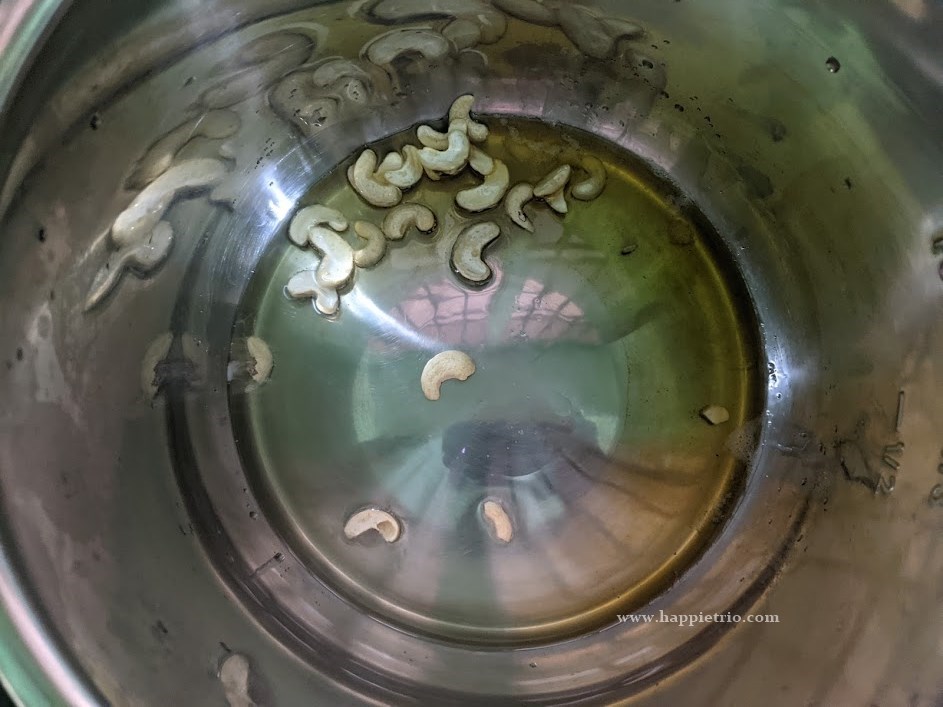
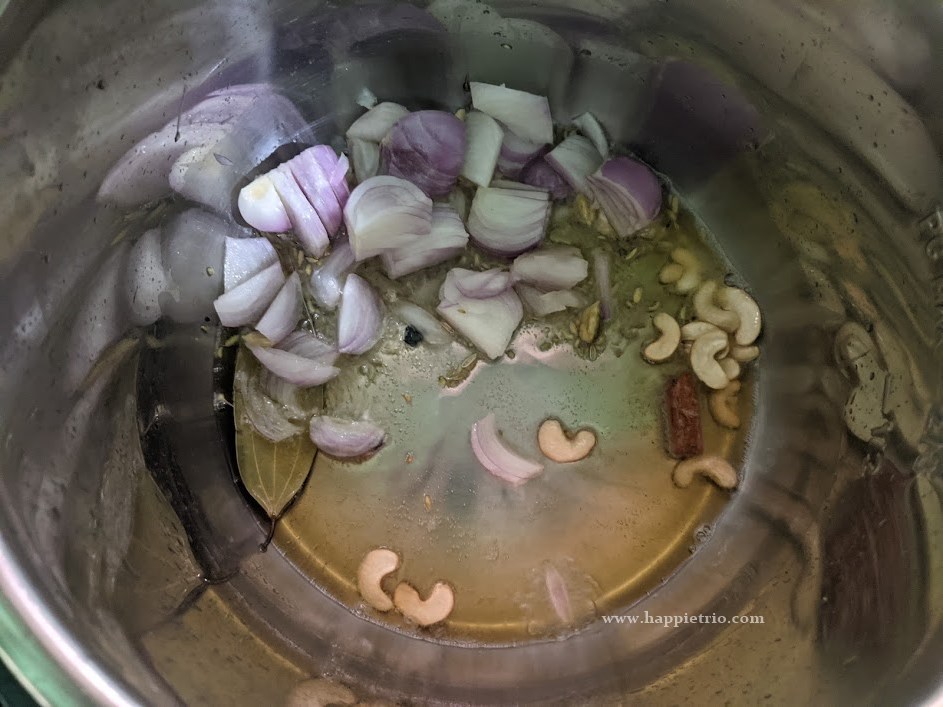
Switch on the Instant Pot and press the saute mode. Once it turns ON add in a tablespoon of ghee and fry the Raisins and Cashew nuts and set aside. In the remaining ghee add in ¼ the portion of the sliced Onions and fry till dark brown set that also aside.
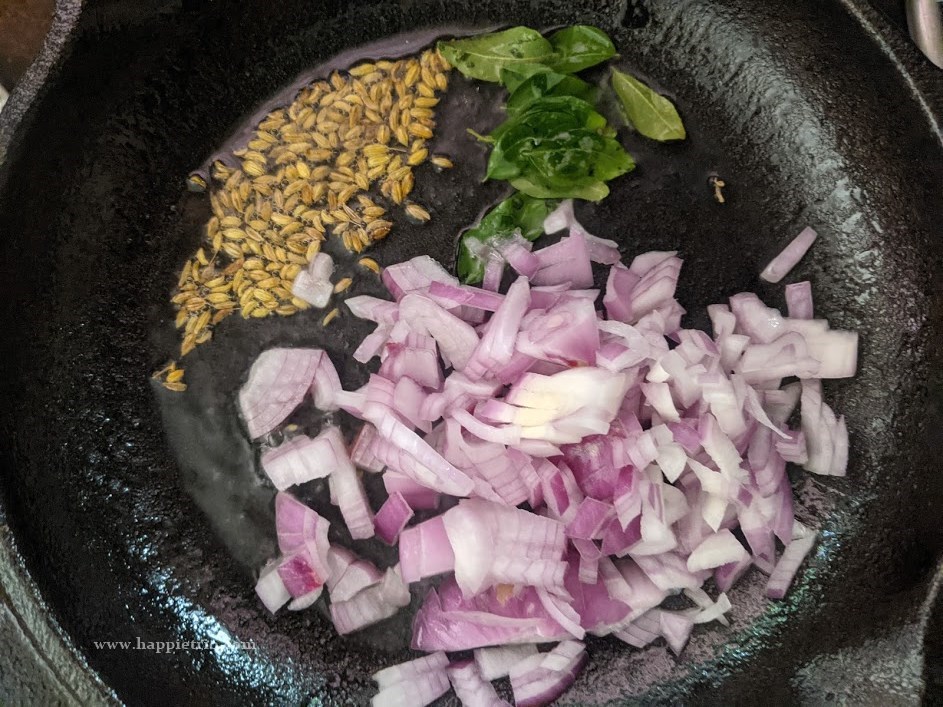
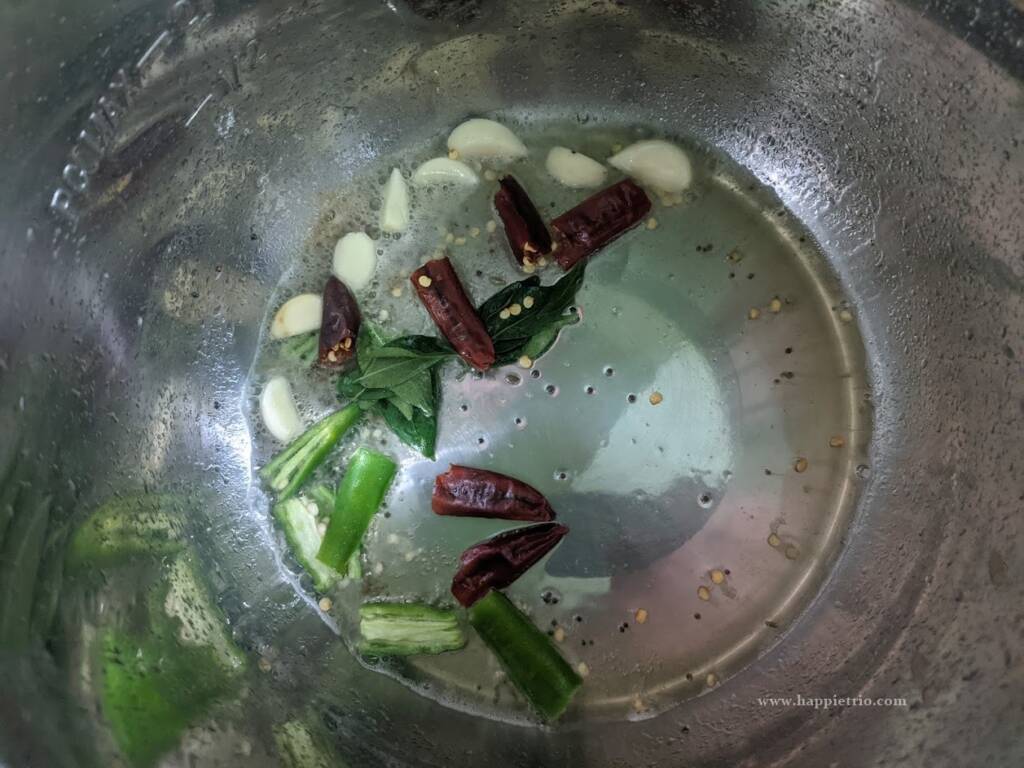
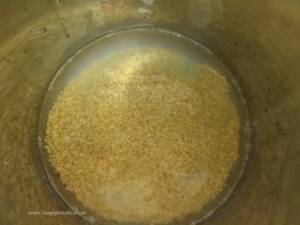
Add in another tbsp. of Ghee and then add in Fennel Seeds, Cinnamon sticks, Star Anise, Green Cardamom, Clove, and Bay Leaf and fry for a minute or till they are fragrant.
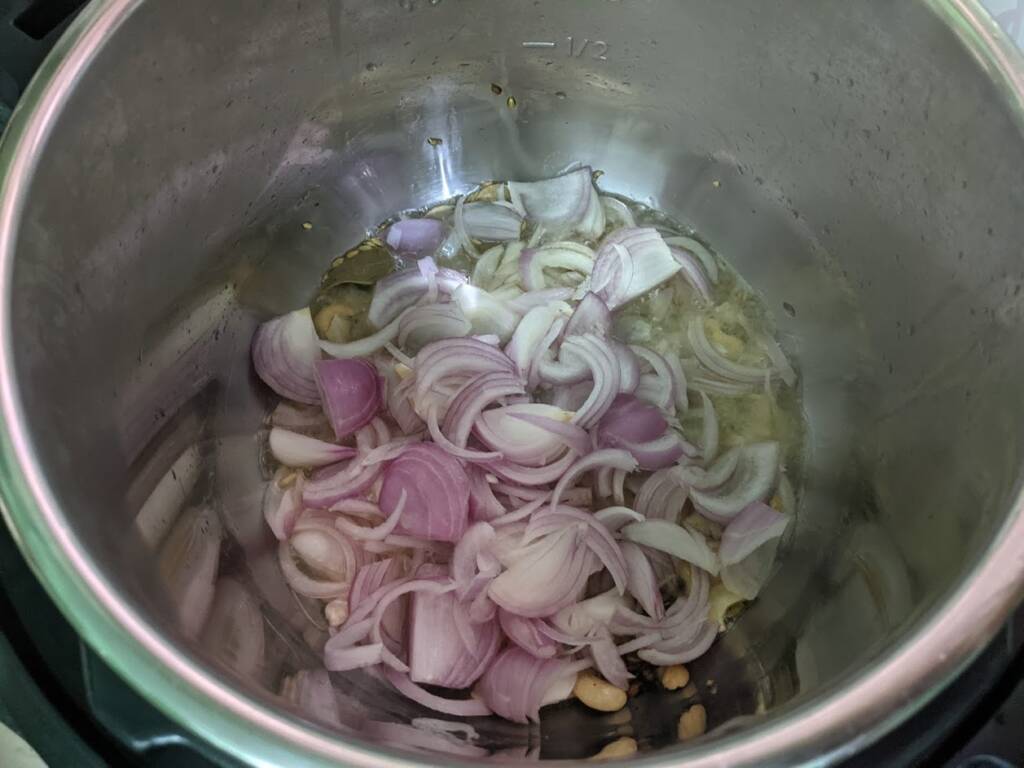
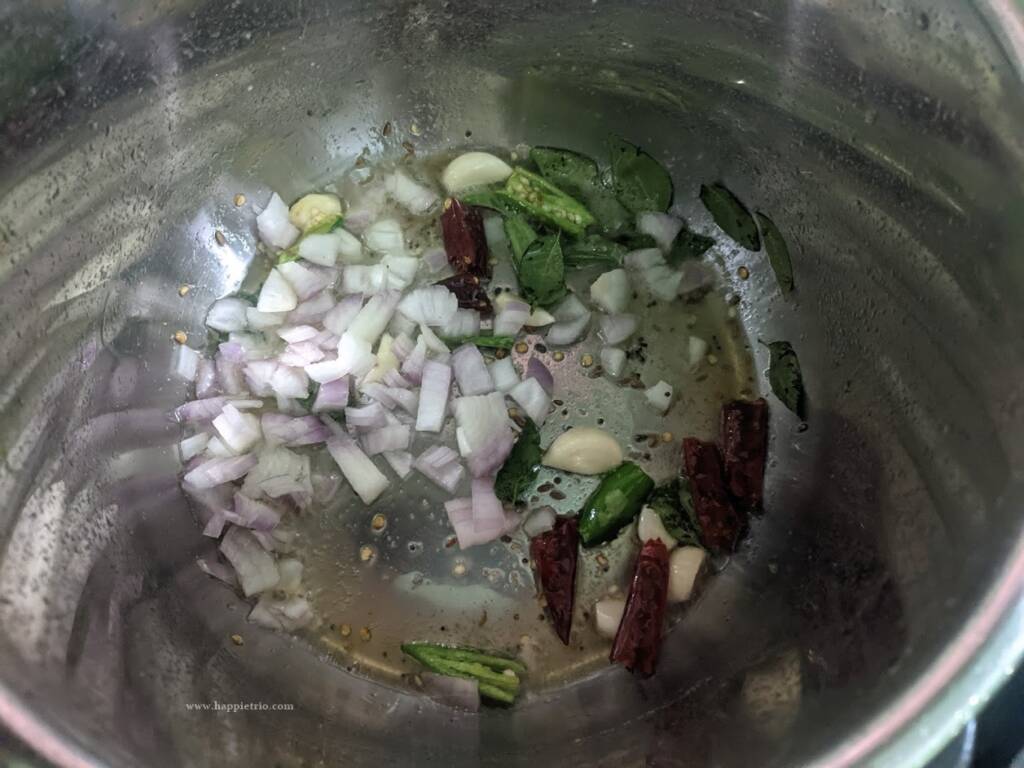
Next, add in the remaining sliced onion and saute till they become golden brown.
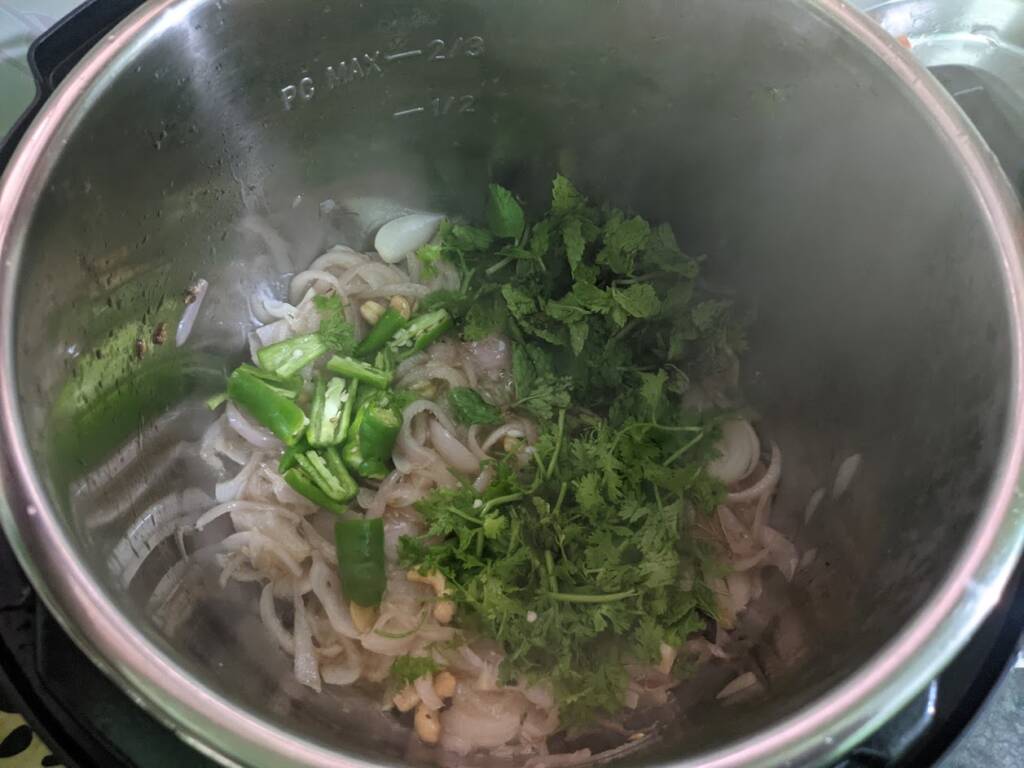
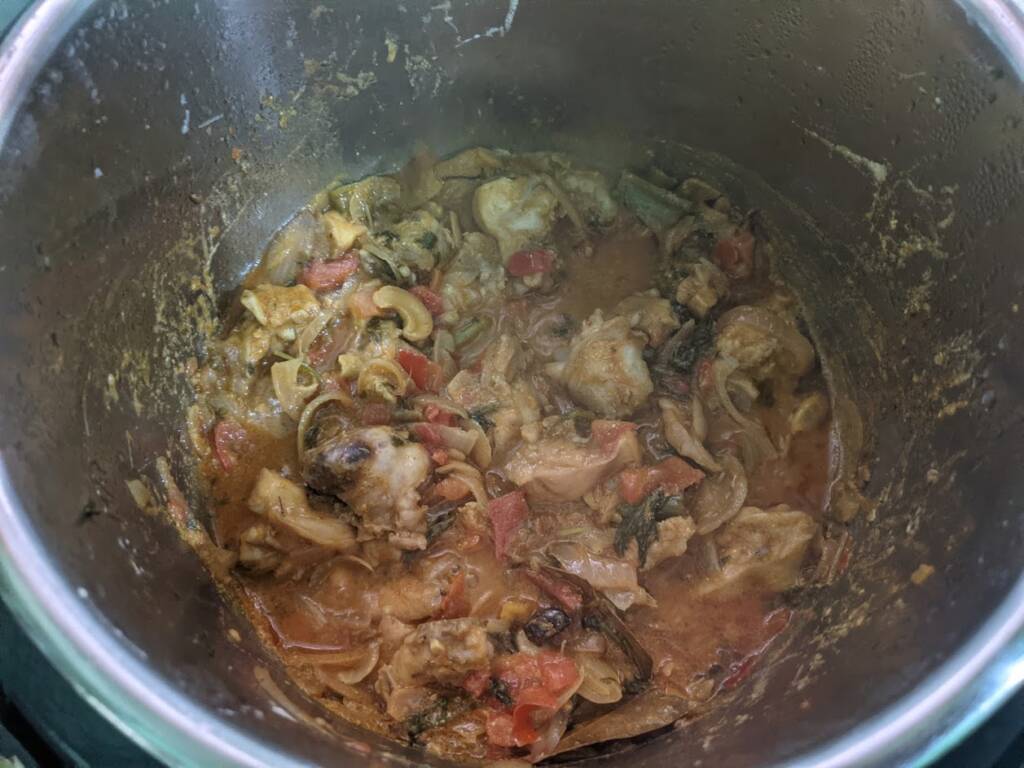
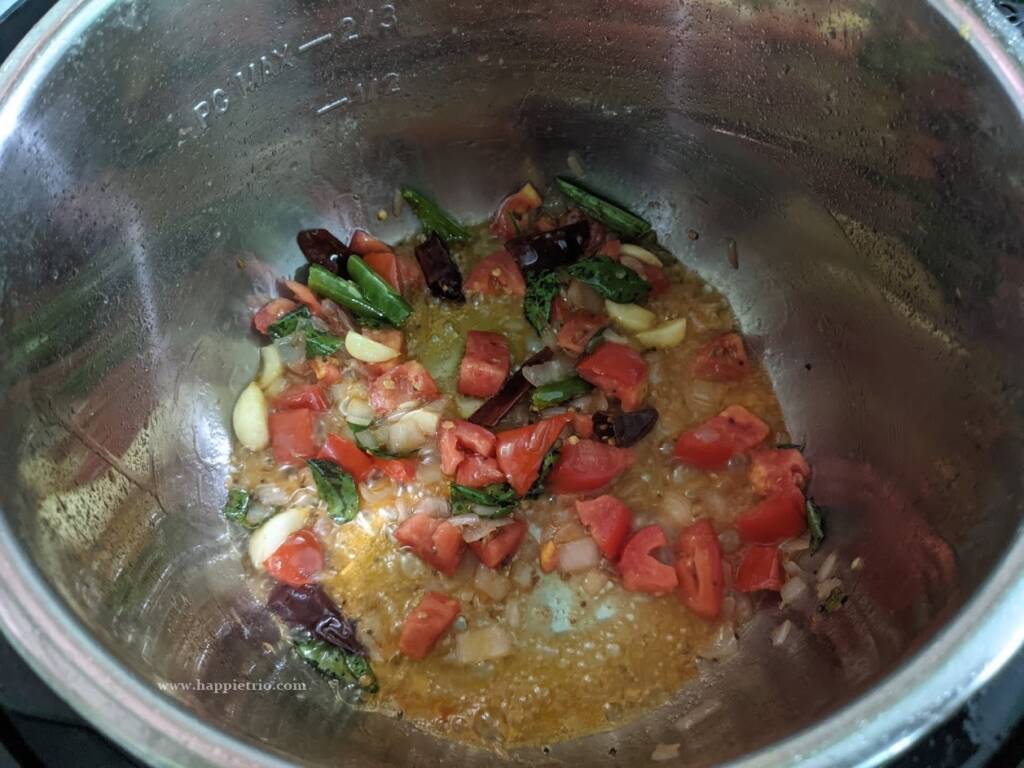
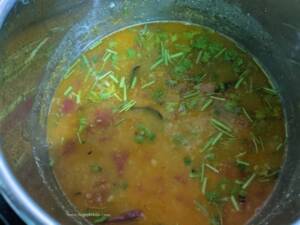
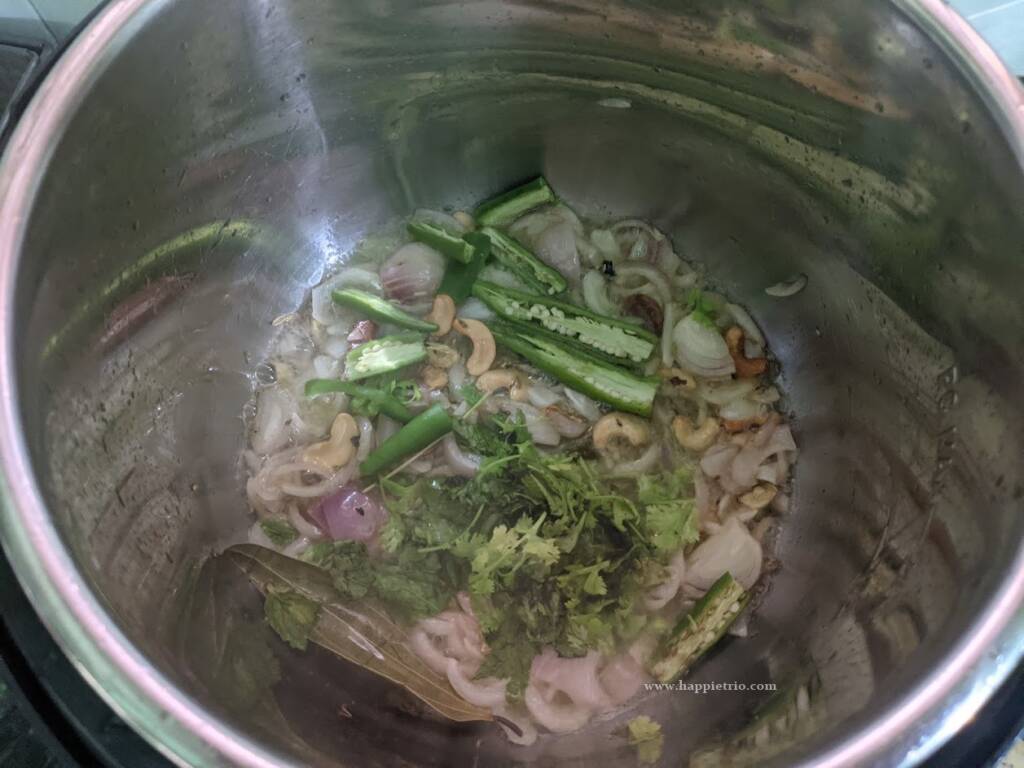
Next, add in the green chili, Mint leaves, and Cilantro Saute for few secs till the leaves shrink.
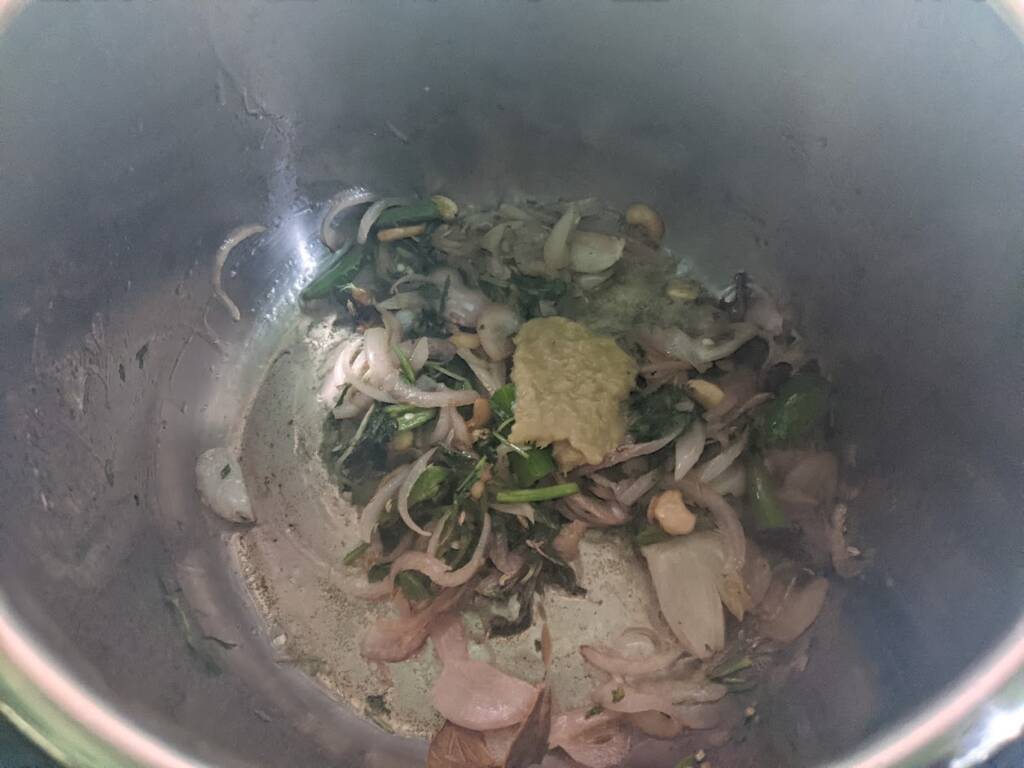
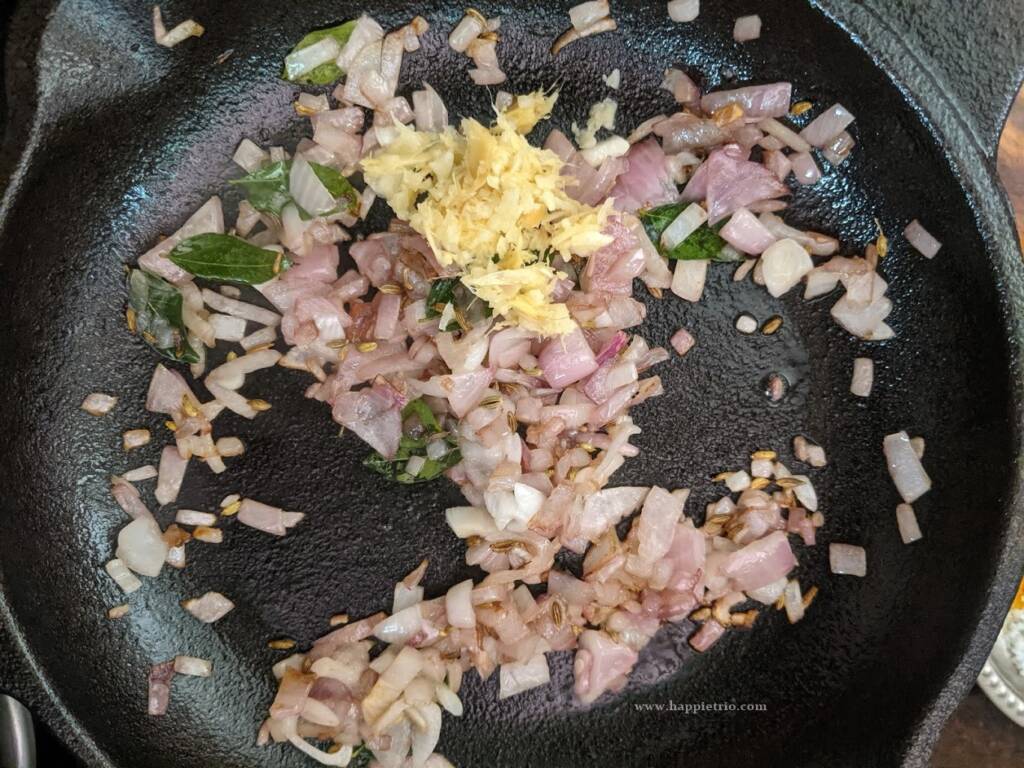
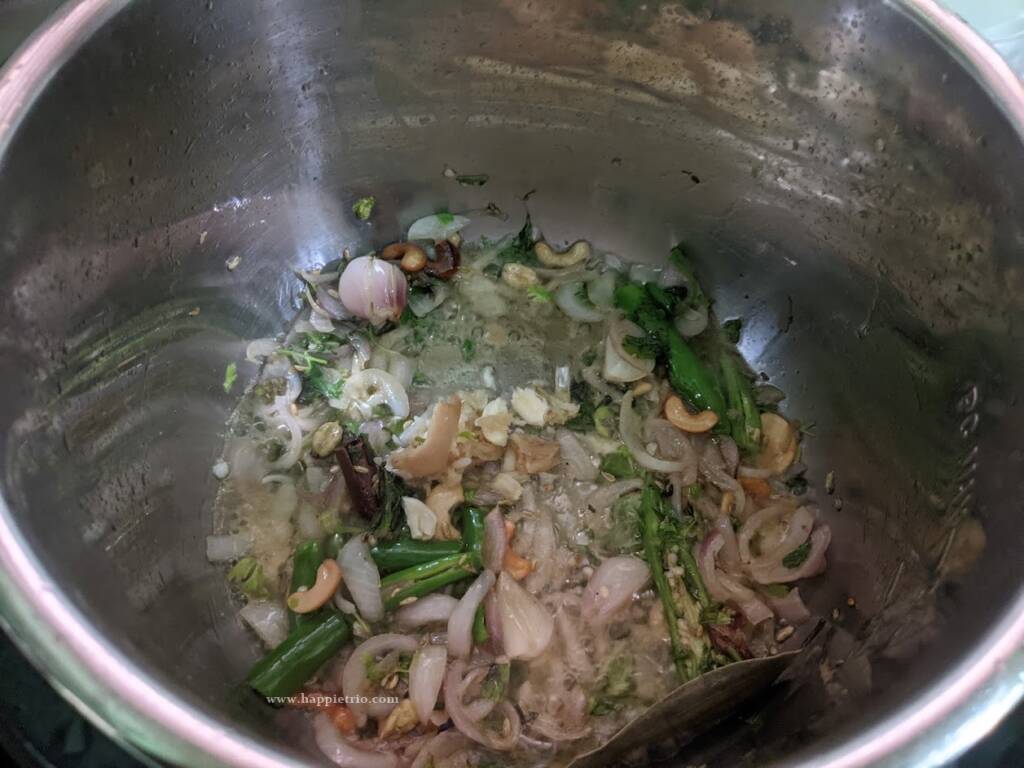
Next, add in the Ginger Garlic paste and fry till the raw smell leaves.
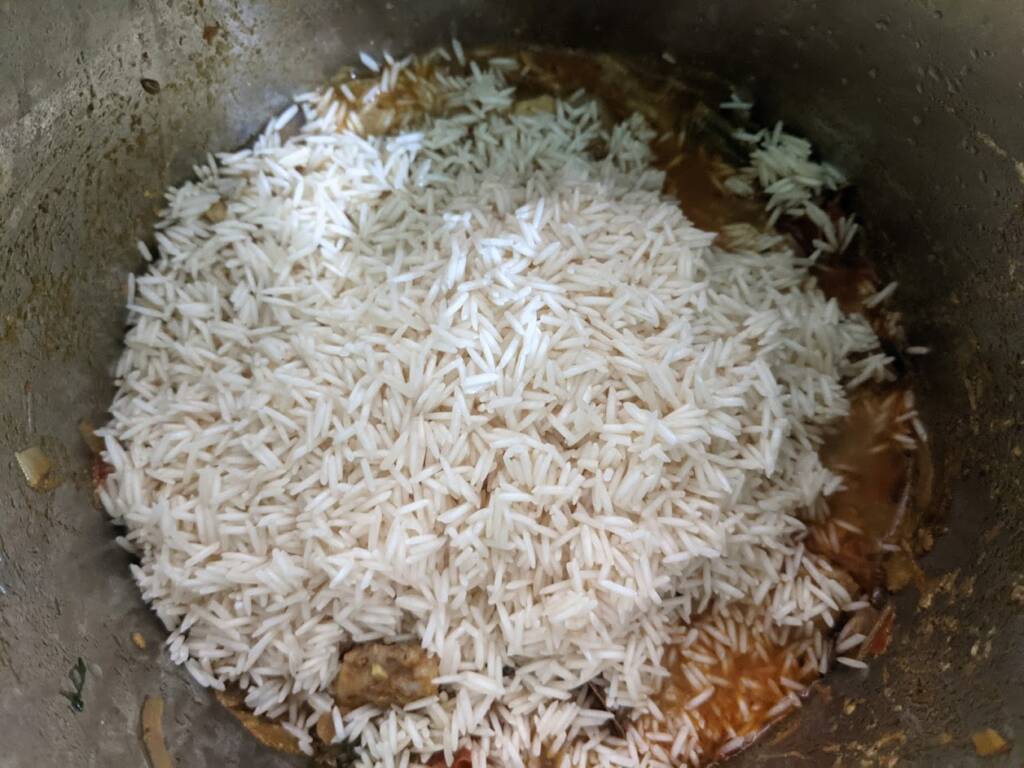
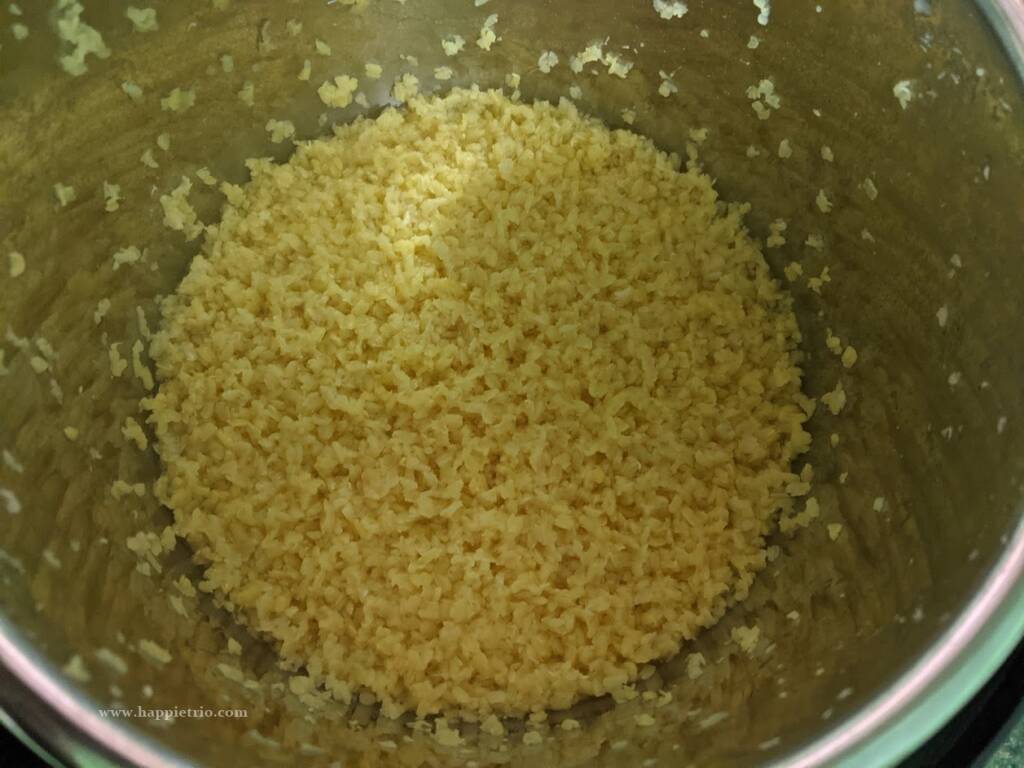
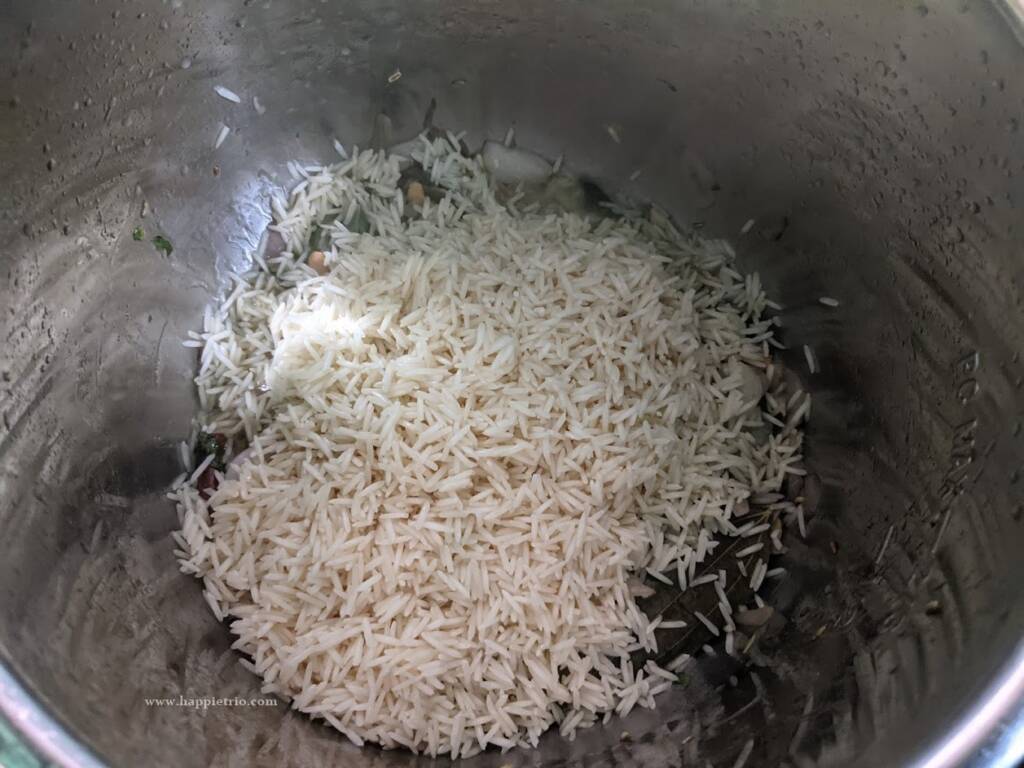
Wash the basmati Rice really well and soak for 30 mins. Now, add in the Soaked Basmati Rice. Fry for a minute, keep stirring.
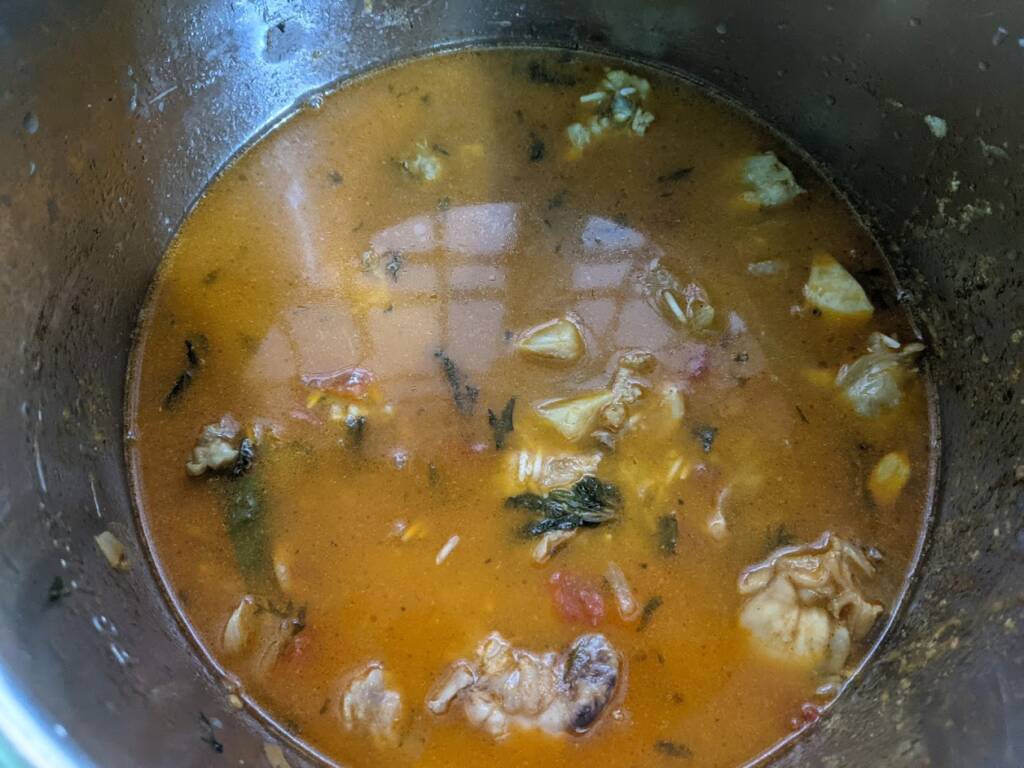
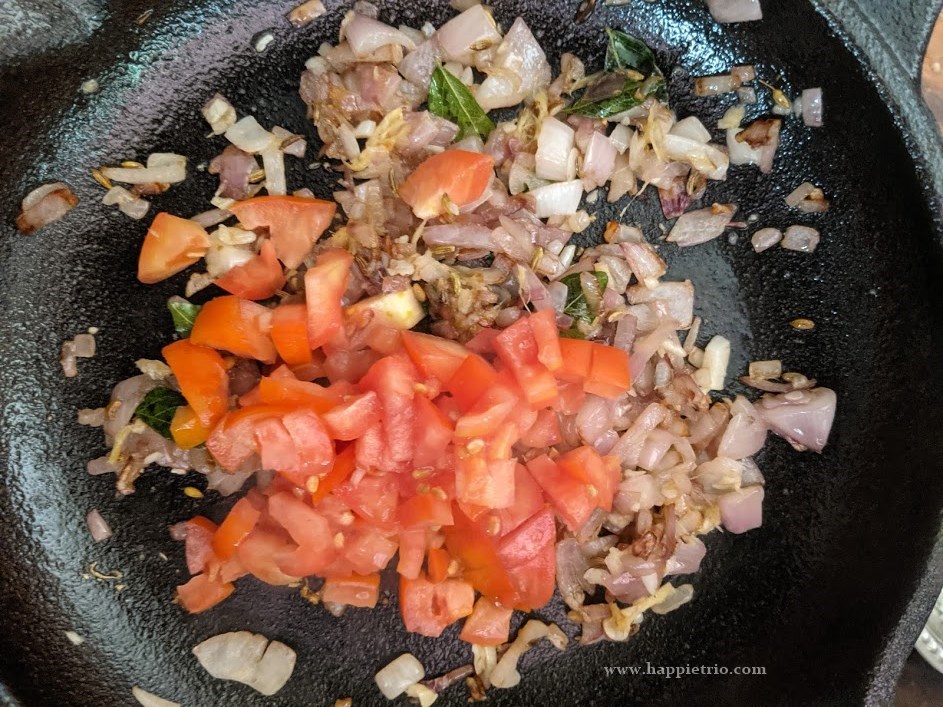
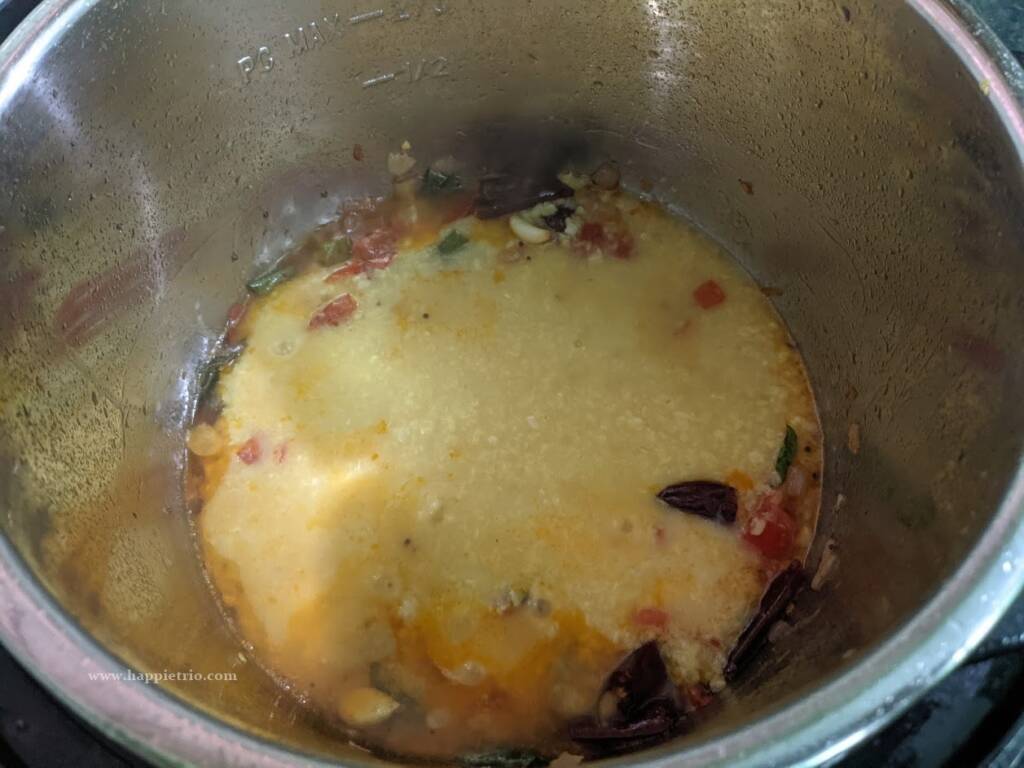
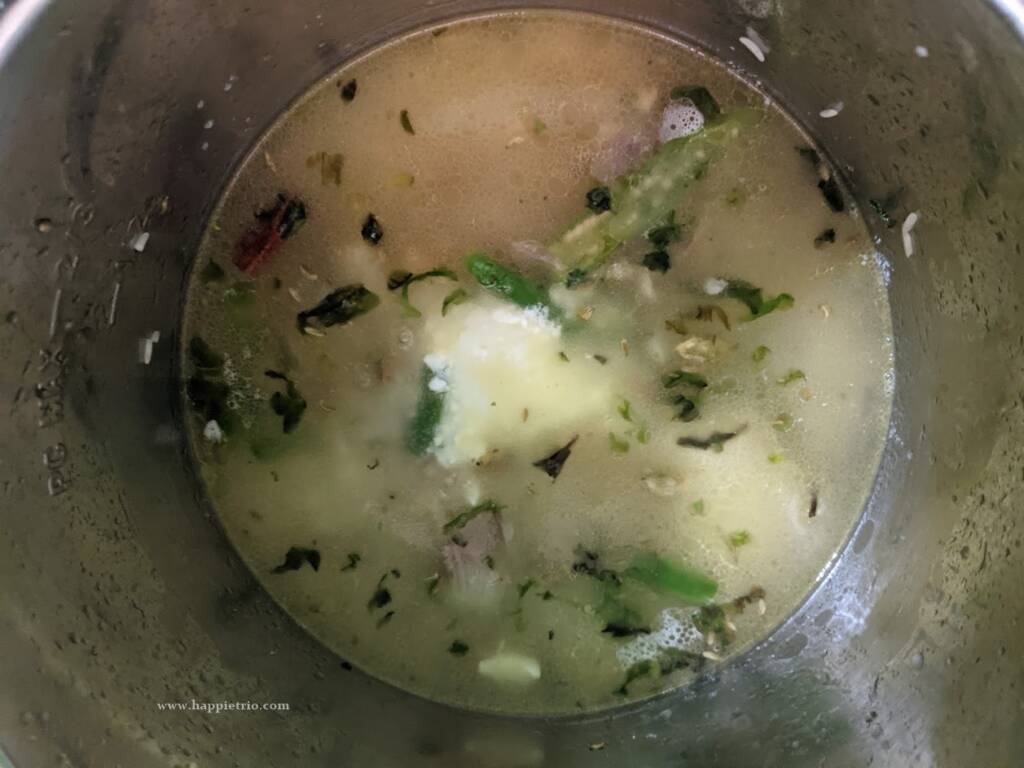
Mix well and add the measured water. Add in the required salt and mix well. Also, add in the yogurt.
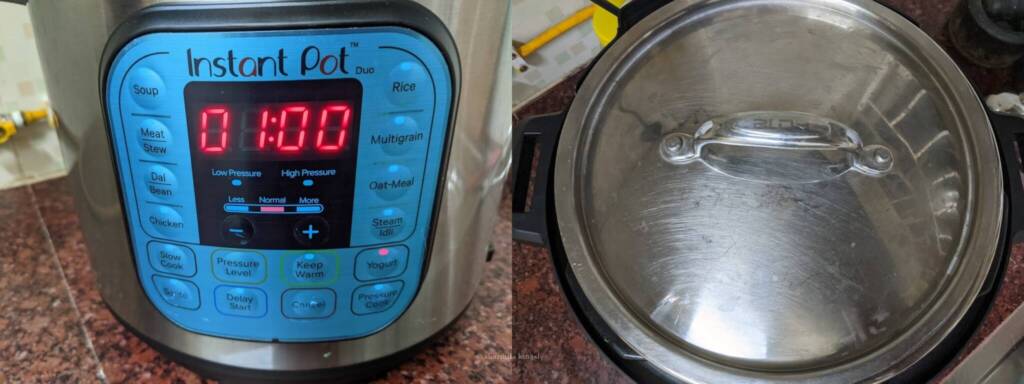
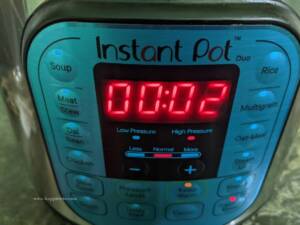
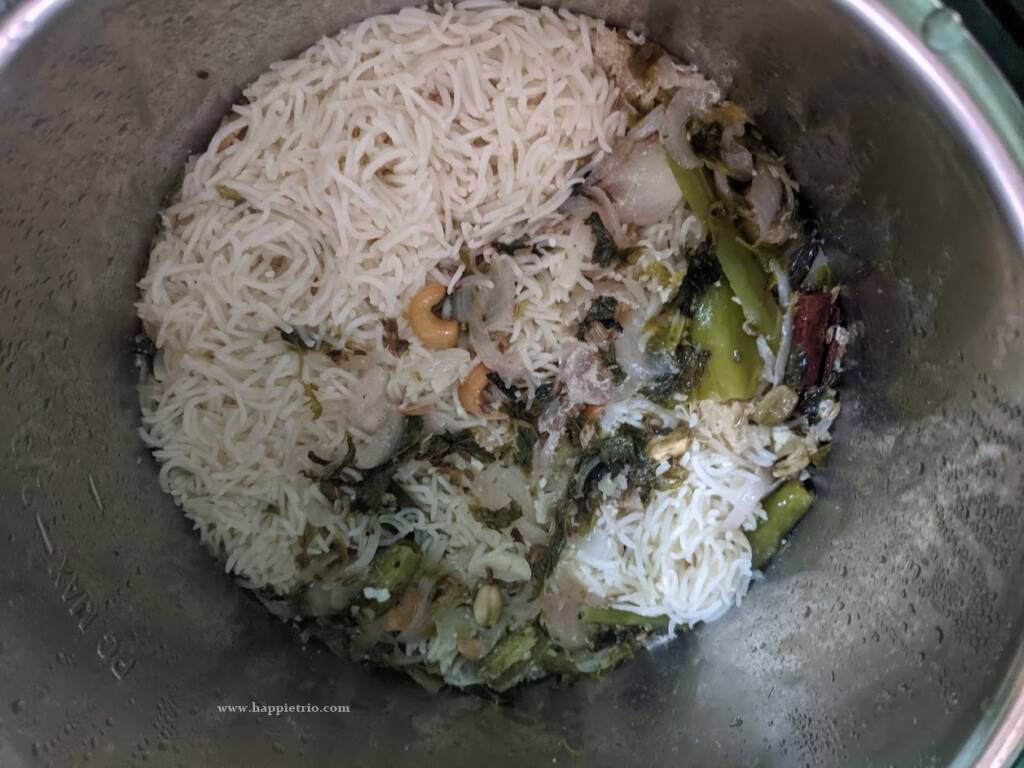
Add in the remaining 1 tablespoon of Ghee and close the Instant Pot. Now Close the Instant pot and turn the pressure value in sealing position. Press the pressure cook option and set 5 mins in high pressure and do a quick release. After 5 mins open the Instant pot and fluff the Rice once gently and turn off the Instant Pot.
Once again close the Instant pot and leave it undisturbed for 30 mins. After 30 mins open the IP, fluff the rice gently and it is now ready to enjoy.
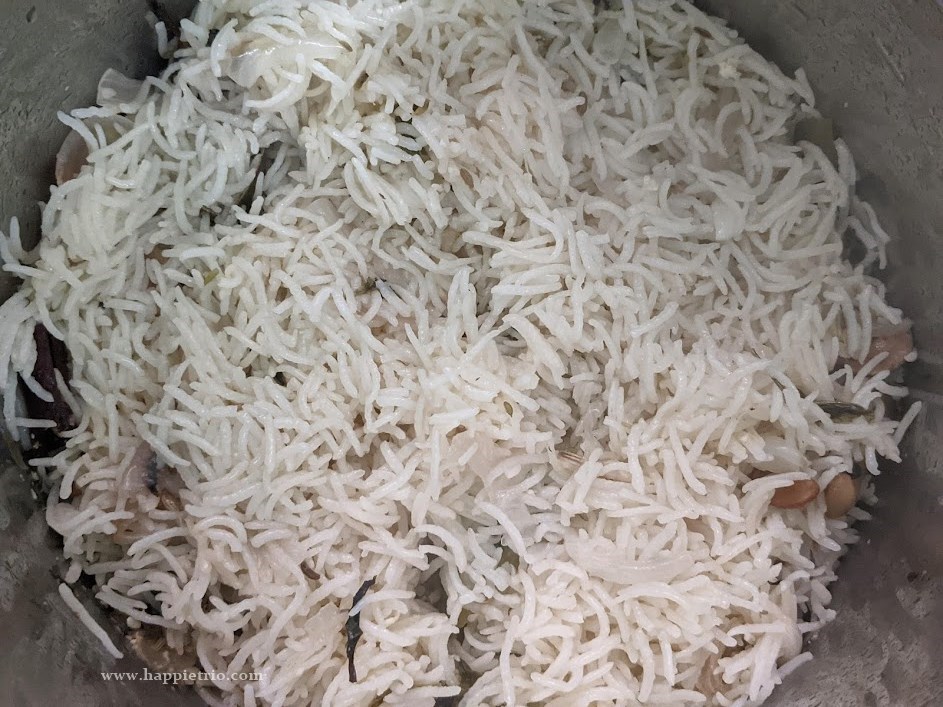
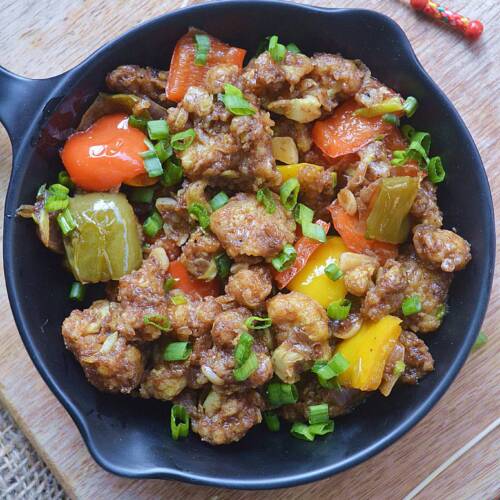
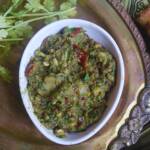
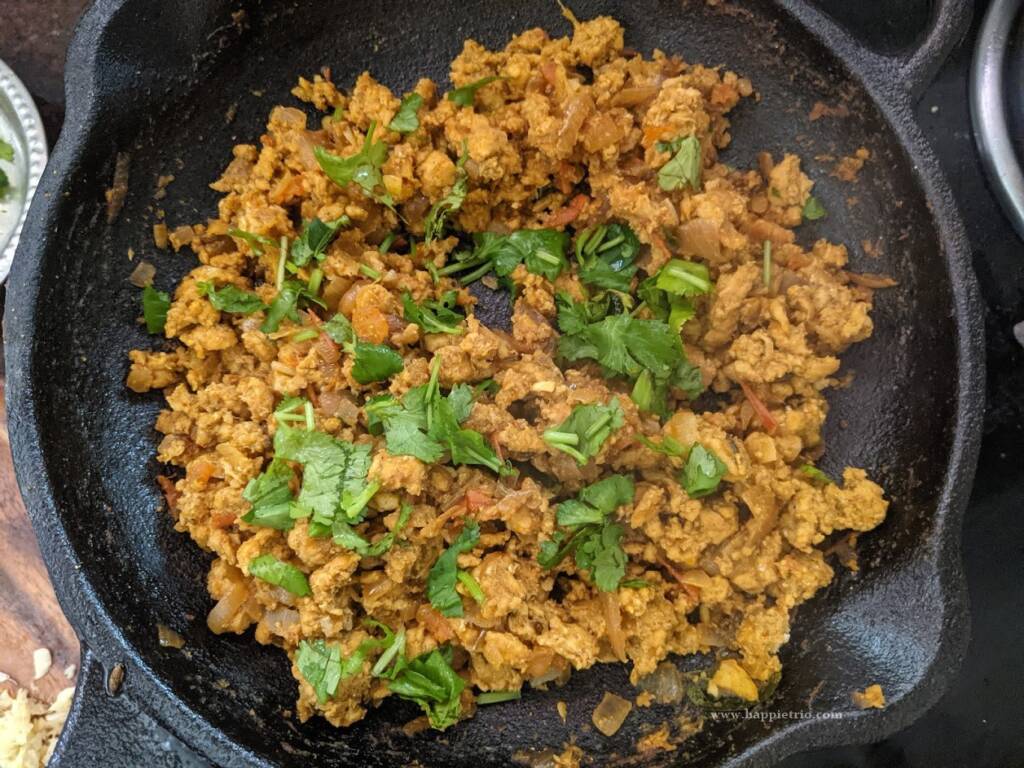
Ghee Rice is ready to serve.
Pressure Cooker Ghee Rice:
You can also prepare the Rice in your pressure cooker. If cooking in the pressure cooker the rice to water ratio is 1: 1.25 cups. For every 1 cup of Rice add 1.25 cups of water. Follow the same method.
After closing the pressure cooker, wait for the steam to come vigorously and then put on the whistle. After the whistle is on, cook on a high flame for 3 mins and switch off. Let the pressure release naturally and, then open the cooker. Ghee rice in the pressure cooker is ready easily.
Tips
- Traditionally we use the short-grained Seeraga Samba rice for Ghee Rice. It is soo fragrant. However, I try with both the seeraga samba as well as long grained basmati rice.
- Fry the whole spices in ghee and then start with the rice. This is an important step for flavorful rice.
- Cooking the onions is another important step. Do it with care without burning the onions.
- If you ever get a burn message switch off the Instant Pot. Or you can fry the onions on the stovetop itself.
- The recipe can be doubled or tripled as needed. But try with the respective Instant Pot. You can triple the recipe in 7 qz Instant Pot.
- Always soak the rice for 30 mins and then use.
- At times I saute the rice in ghee for a minute and then use. It gives aromatic and fluffy rice.
Serving Suggestions:
Chicken Korma or Lamb Korma is one good combination for Ghee Rice. Ghee is mild and hence it goes well with any spicy curry. Chicken Curry or Egg Kurma too goes well. Serve with any spicy curry and Onion Raita.
Storage Suggestions
I personally do not recommend storing Neychoru. It tastes best only when they are served hot. However, you may store it in the fridge for up to 2 days.
Similar Recipes:


★ Did you enjoy this recipe? If you happen to try it out, I would love to hear from you! I’d appreciate it if you could rate and leave a review below in the comments. Your reviews help others know the recipe better too. Thanks for your time ? You can also follow me on Facebook, Pinterest, Instagram, Youtube and Twitter for more updates from me.
📖 Recipe
Instant Pot Ghee Rice
Standard 1 cup measures 240 ml
Equipment
- Instant Pot
- Instant Pot
Ingredients
- 1 cup Basmati Rice
- 1 Onion big
- 2 Green Chilli
- 1 tablespoon Ginger Garlic paste
- 1 tablespoon Ghee
- 1 teaspoon Fennel Seeds
- 1 Bay Leaves
- 1 Star Anise
- 3 Cloves
- 2 Cardamom
- Salt as needed
- 6 Cashew nut
- 4 Raisins
- 1.5 cup Water
Instructions
- Switch on the Instant Pot and press the saute mode. Once it turns ON add in a tablespoon of ghee and fry the Raisins and Cashew nuts and set aside. In the remaining ghee add in ¼ the portion of the sliced Onions and fry till dark brown set that also aside.
- Add in another tbsp. of Ghee and then add in Fennel Seeds, Cinnamon sticks, Star Anise, Green Cardamom, Clove, and Bay Leaves and fry for a minute or till they are fragrant.
- Next, add in the remaining sliced onion and saute till they become golden brown.
- Next, add in the green chili, Mint leaves, and Cilantro Saute for few secs till the leaves shrink.
- Next, add in the Ginger Garlic paste and fry till the raw smell leaves.
- Wash the basmati Rice really well and soak for 30 mins. Now, add in the Soaked Basmati Rice. Fry for a minute, keep stirring.
- Mix well and add the measured water. Add in the required salt and mix well. Also, add in the yogurt.
- Add in the remaining 1 tablespoon of Ghee and close the Instant Pot. Now Close the Instant pot and turn the pressure value in sealing position. Press the pressure cook option and set 5 mins in high pressure and do a quick release. After 5 mins open the Instant pot and fluff the Rice once gently and turn off the Instant Pot.
- Once again close the Instant pot and leave it undisturbed for 30 mins. After 30 mins open the IP, fluff the rice gently and it is now ready to enjoy. Ghee Rice is ready to serve.
Notes
- The same recipe can be used to cook in an Electric Rice cooker also. In that case for 1 cup of Rice 2 cups of Water needs to be added.
- It is sure a bachelor friendly recipe.
- Pairs well with Chicken Gravy or Vegetable Gravy, Onion Raita, and Brinjal Curry.
Nutrition
Disclaimer: I am not a nutritionist , the nutrition value provided here is an estimate.It will vary based on the quantity and brands of the products used.
This post is originally from 2017 . It is now updated with new Pictures, details and recipe card.