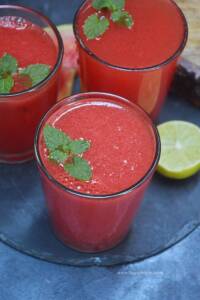
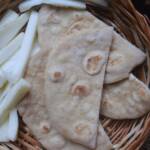
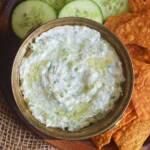
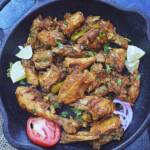
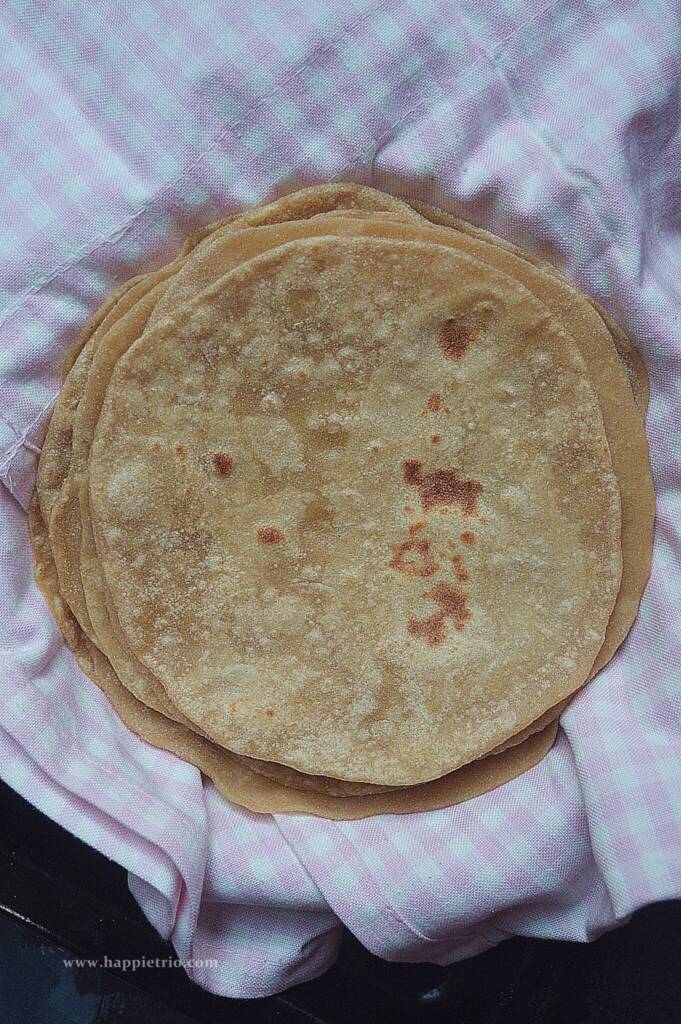
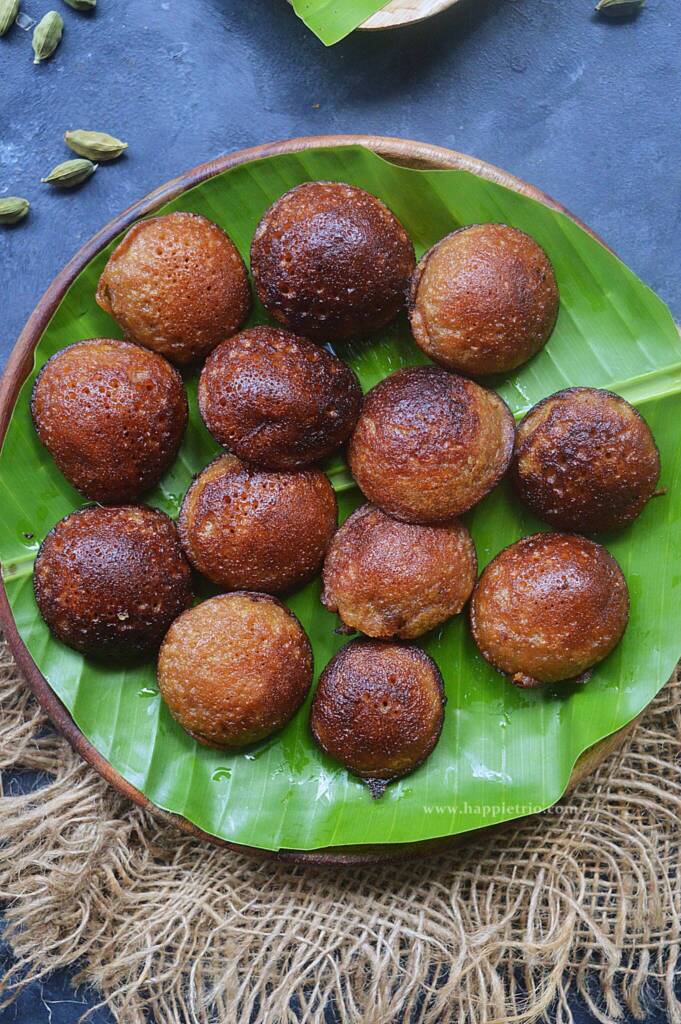
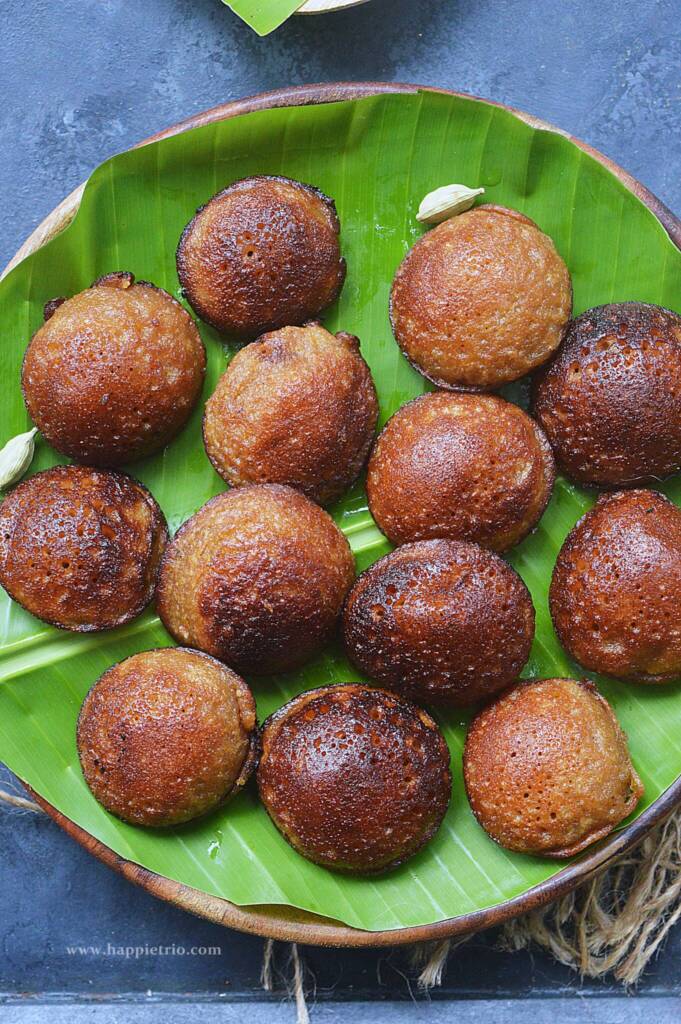
Jackfruit Sweet Paniyaram is like a mini pancake or dumpling made of jackfruit, jaggery and cooked in the paniyaram pan with ghee.
Jackfruit Appam Recipe | Chakka Paniyaram | Jackfruit Sweet Paniyaram with Step by step photos. I have already mentioned my family’s love for Jackfruit here .This Jackfruit season I was lucky to get some good share of jackfruit to try some recipes.
Chakka Paniyaram was in my mind for a long time and I was just waiting to get some fresh jackfruit and last weekend I tried this jackfruit appam and shared in my Instagram handle. I am overwhelmed with so many recipe requests. So sharing it now.
[feast_advanced_jump_to]What is Kuzhi Paniyaram
Kuzhi paniyaram is a sweet or spiced dumpling that is popular in the southern states of India. Almost all the states in South India have their own name and version of the kuzhi paniyaram. The only common thing is that they are cooked in the paniyaram pan.
It is known as Paniyaram in Kerala. Kuzhi Paniyaram in Tamil Nadu.Paddu in Karnataka. Ponganalu in Andha and appe in Maharashtra.
Sweet Paniyaram
Sweet Paniyaram or Sweet Kuzhi paniyaram is a soft easy to prepare quick snack. It prepared with wheat flour or rice flour. Sometimes fruits like Jackfruit or Banana are also used. It is either deep fried or made in a Paniyaram pan ( a special vessel with many small cavities ). It is usually prepared on a festival day, or simply as an evening snack.
Sweet Kuzhi Paniyaram
This is a sweet version of Kuzhi Paniyaram. We sweeten the paniyaram batter with Jaggery or Palm Jaggery. Very rarely we use sugar. It is a flowing batter like the dosa batter consistency and cooked until golden in the paniyaram pan.
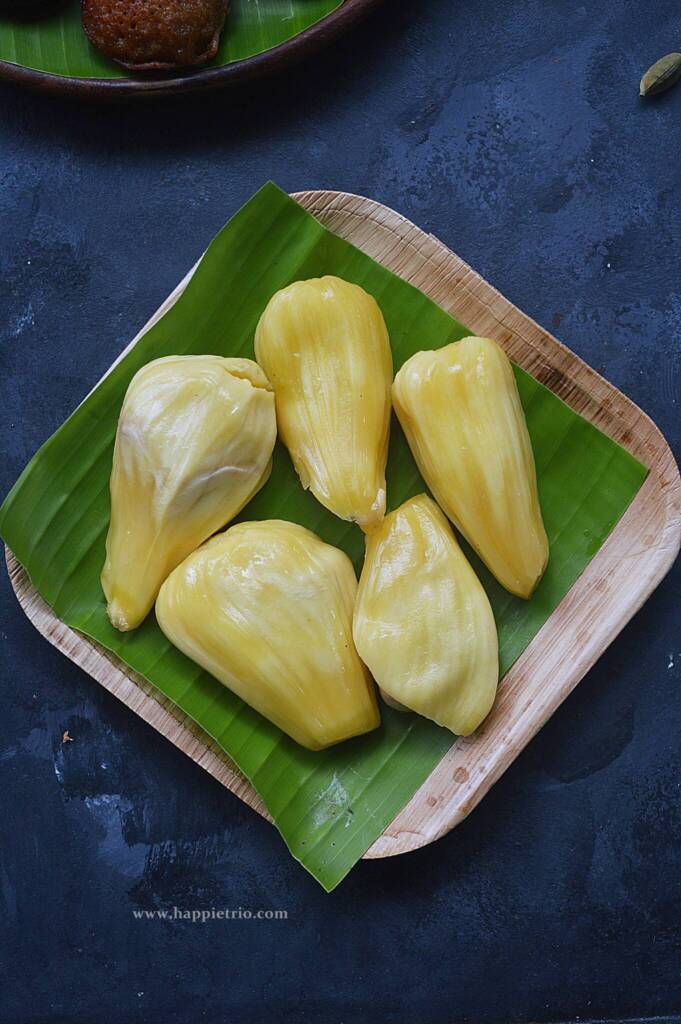
In this recipe, I am using Jackfruit. It goes very well in the paniyaram. Usually, we add bananas or jackfruit in the paniyaram as they both are naturally sweet. Jackfruits are in season during the summer and we had a big good batch of jackfruit this year. This is the jackfruits from my backyard.
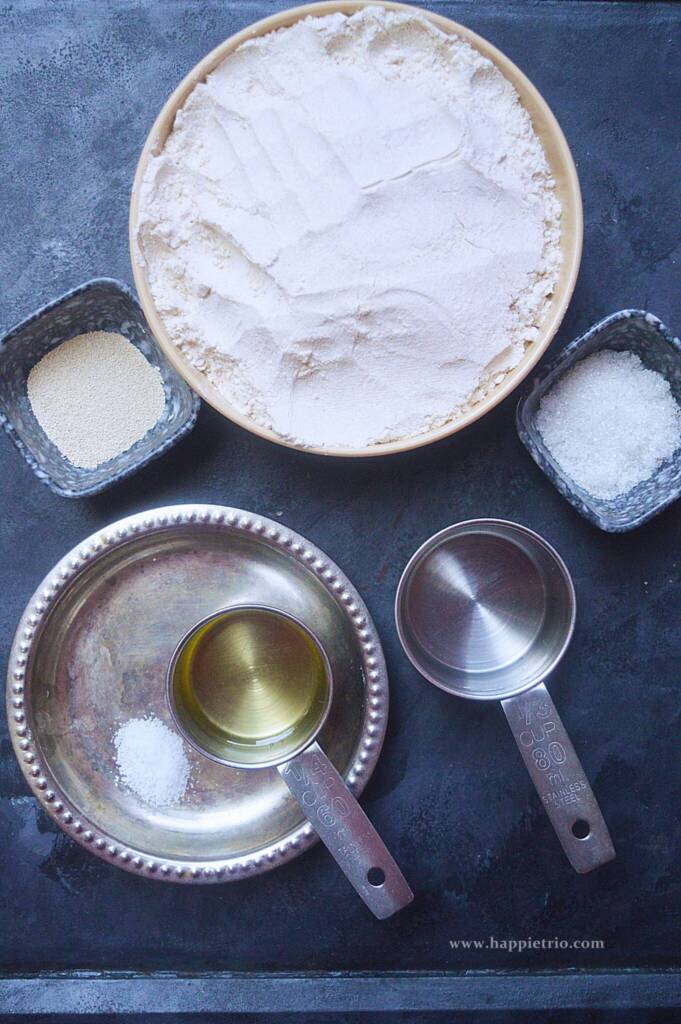
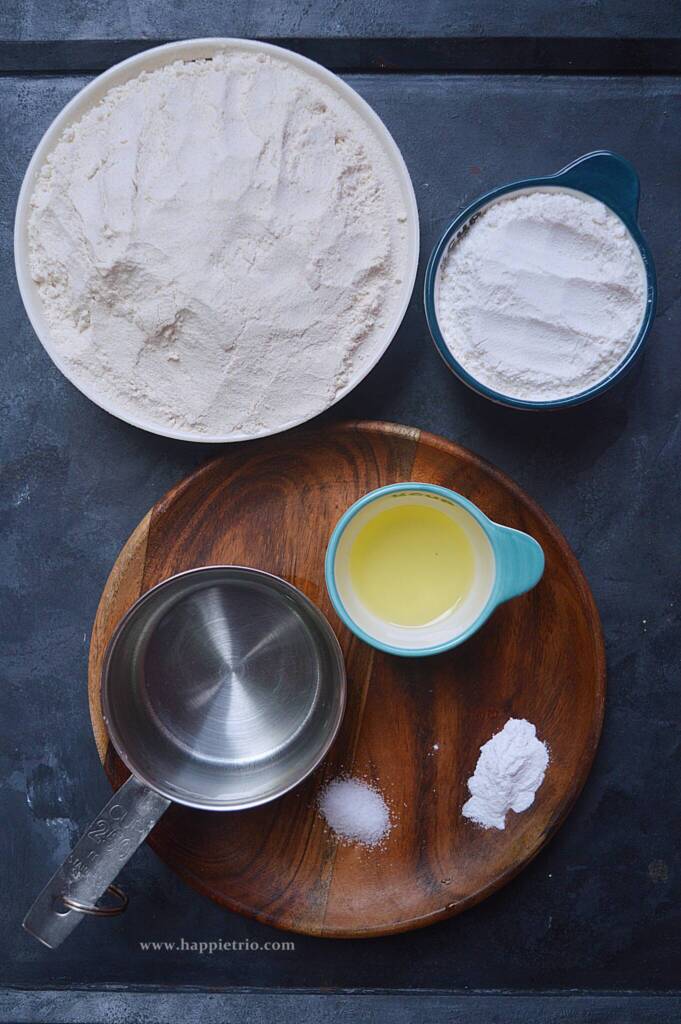
Ingredients for Jackfruit sweet paniyaram
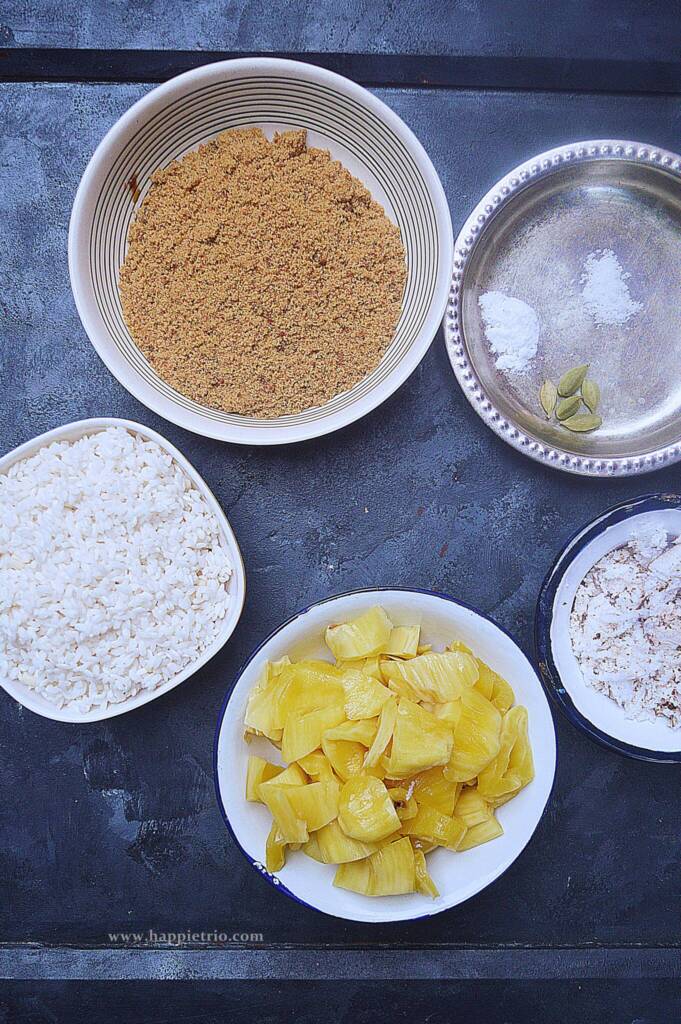
Raw Rice - Use raw rice for making the paniyaram. It has a slightly sweet taste and gives fluffy paniyaram.
Jackfruit - Use good quality sweet Jackfruits. When they are not in season you may use bananas also in place of jackfruit. Or canned Jackfruits also works well.
Coconut - Coconut gives a lovely texture to the paniyaram. Also, they are taste enhancers.
Jaggery - Use good quality organic jaggery without any impurities.
Cooking Soda - Since we do not ferment the batter cooking soda is a must for a porous paniyaram.
Cardamom - Cardamom adds a lovely flavor to the paniyaram so it is a must for the recipe.
Salt - A pinch of Salt always makes a difference. It balances the taste.
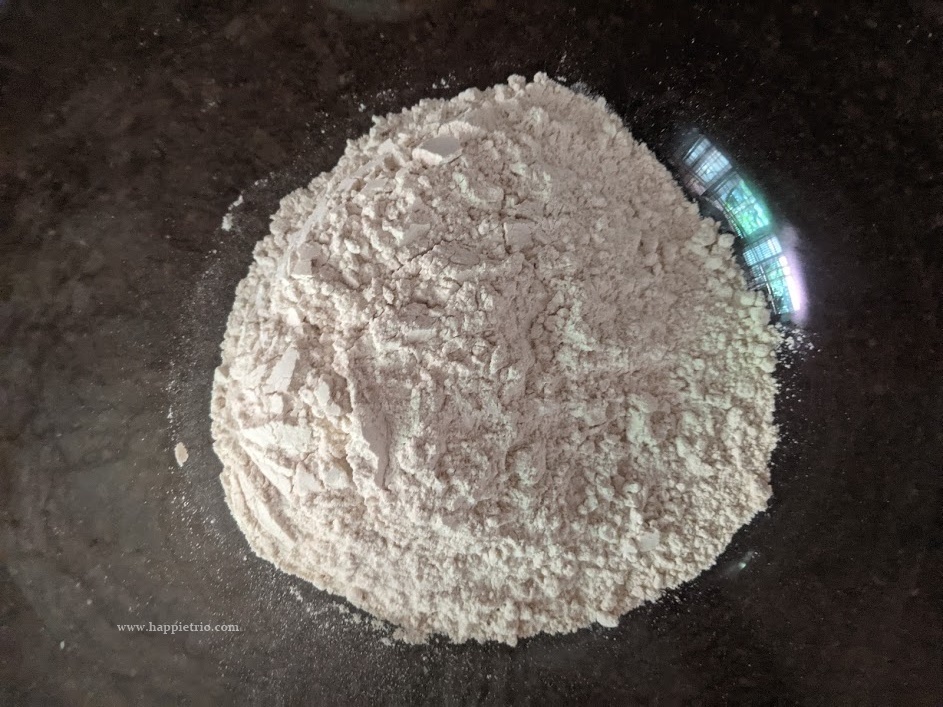
Sweet kuzhi paniyaram with wheat flour
Here in this recipe I am soaking the raw rice and using the same. We can also use wheat flour in the recipe. So no soaking is necessary. We can grind the wheat flour along with jaggery, jackfruit, and coconut. We have to add water and adjust the batter consistency like the dosa batter.
Sweet Paniyaram , FAQ
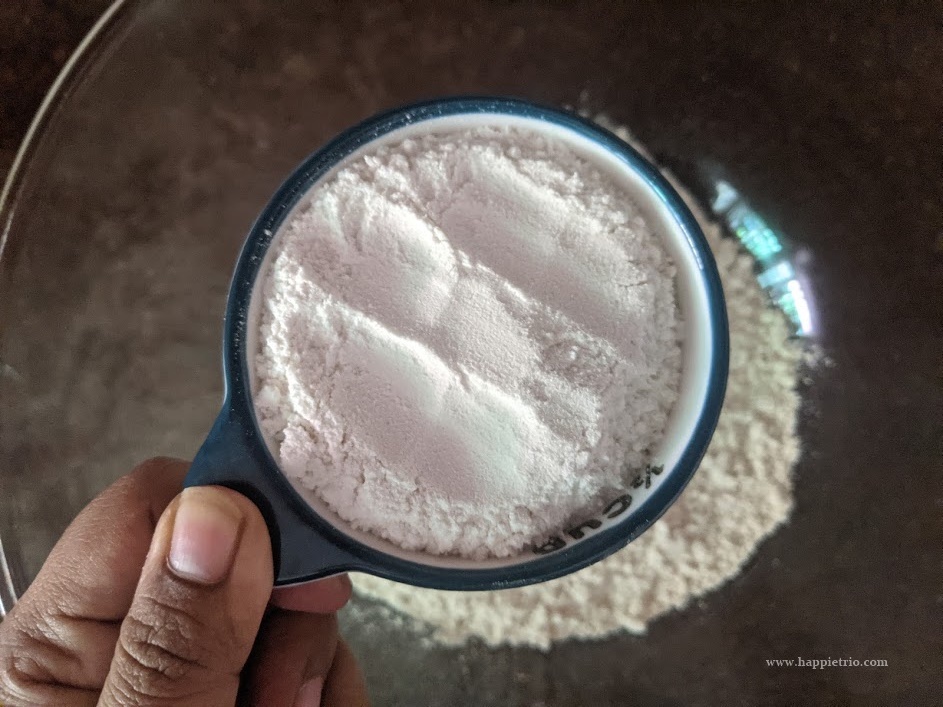
What can you substitute for rice in paniyaram?
As I said before we can use Wheat flour or Semolina in place of Rice. The quantity of water might be different for different flours. So add little by little and then check.
Which is the quickest way to make paniyaram?
For a quick version of the paniyaram use Rice flour (idiyappam flour). Add all the ingredients to the blender and the batter gets ready in minutes. Also, no fermentation is necessary. Just that we add the cooking soda for soft porous paniyaram.
What is Chettinad Sweet Paniyaram
In the Chettinad sweet kuzhi paniyaram we usually add Rice, Urad dal, and fenugreek seeds for grinding the batter. Just that the ingredients other than that the remaining process are the same.
Jackfruit sweet paniyaram recipe
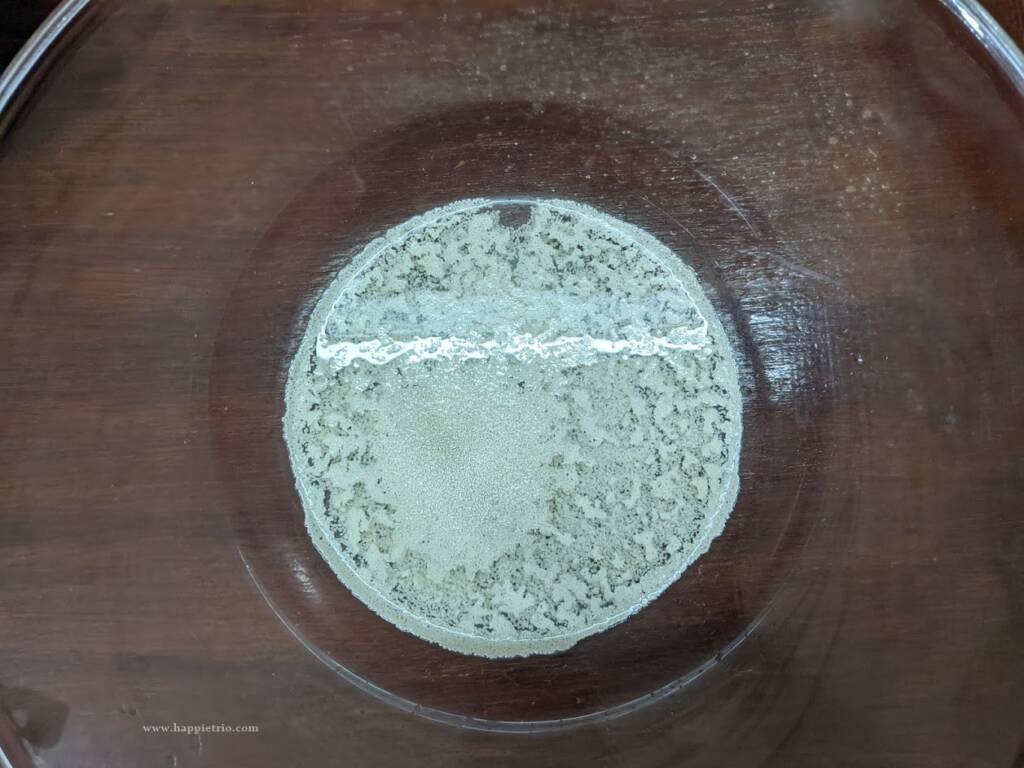
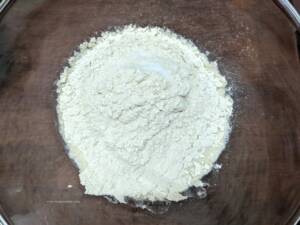
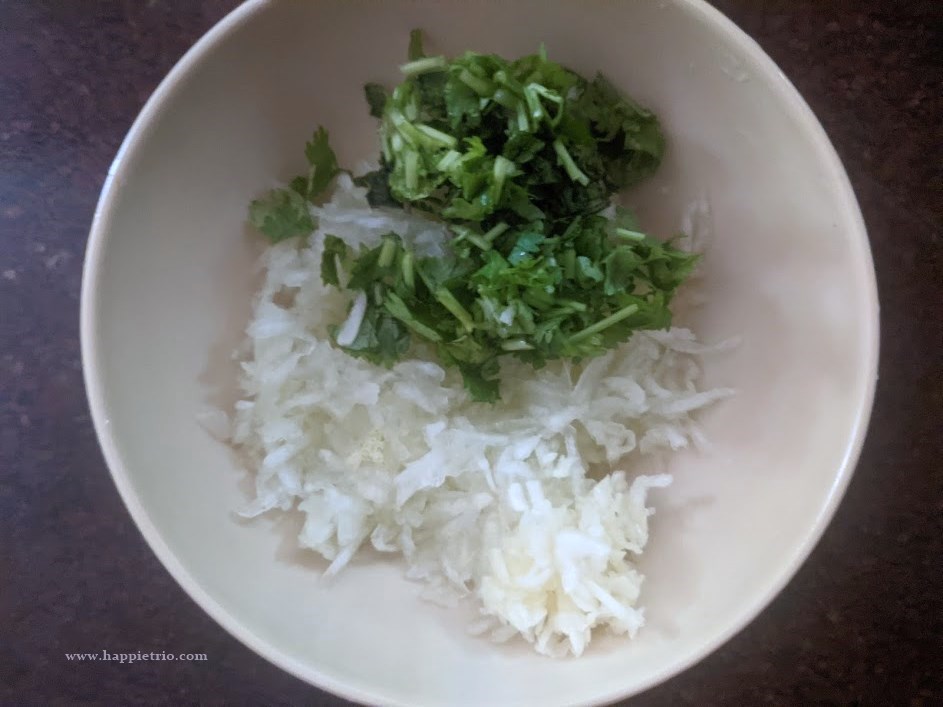
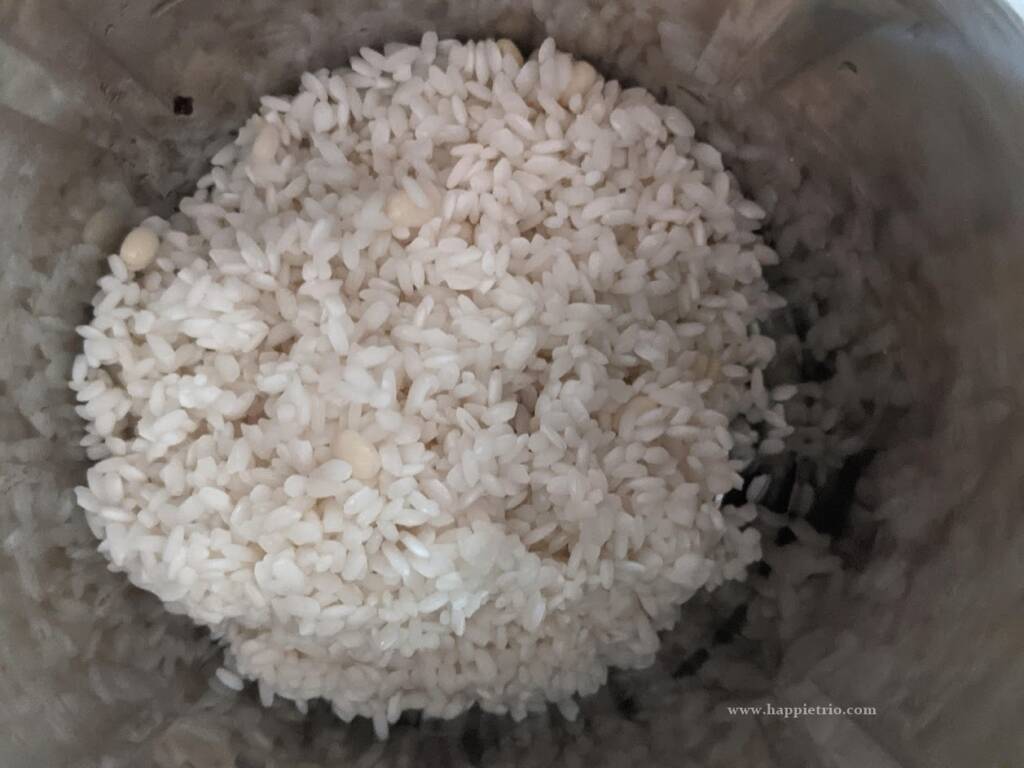
1.Soak raw rice in water for 3 hours. After soaking drain the rice and add the soaked rice to a blender
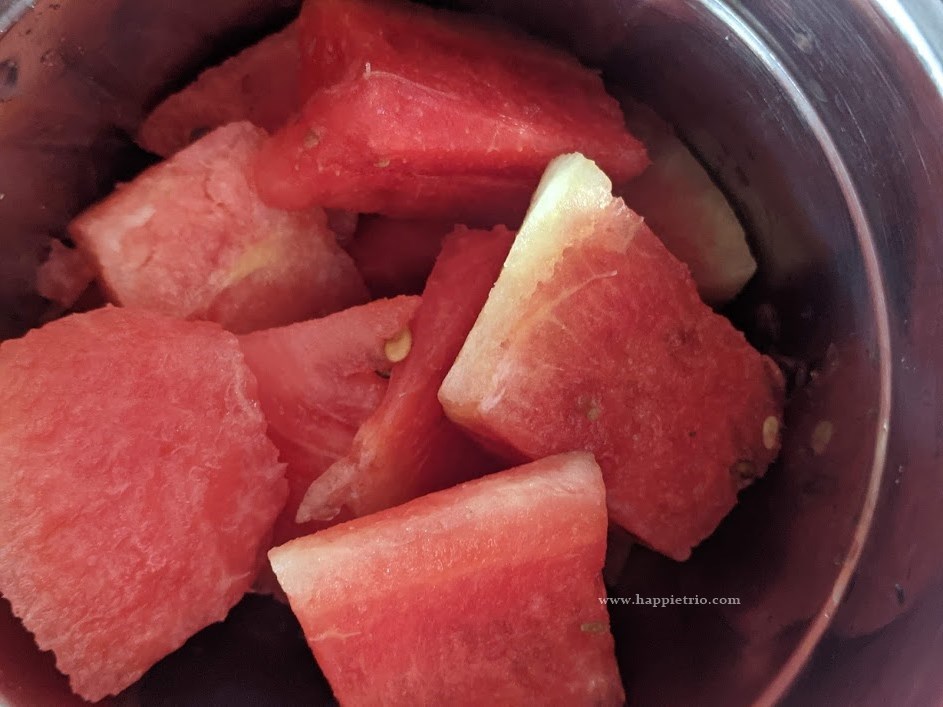
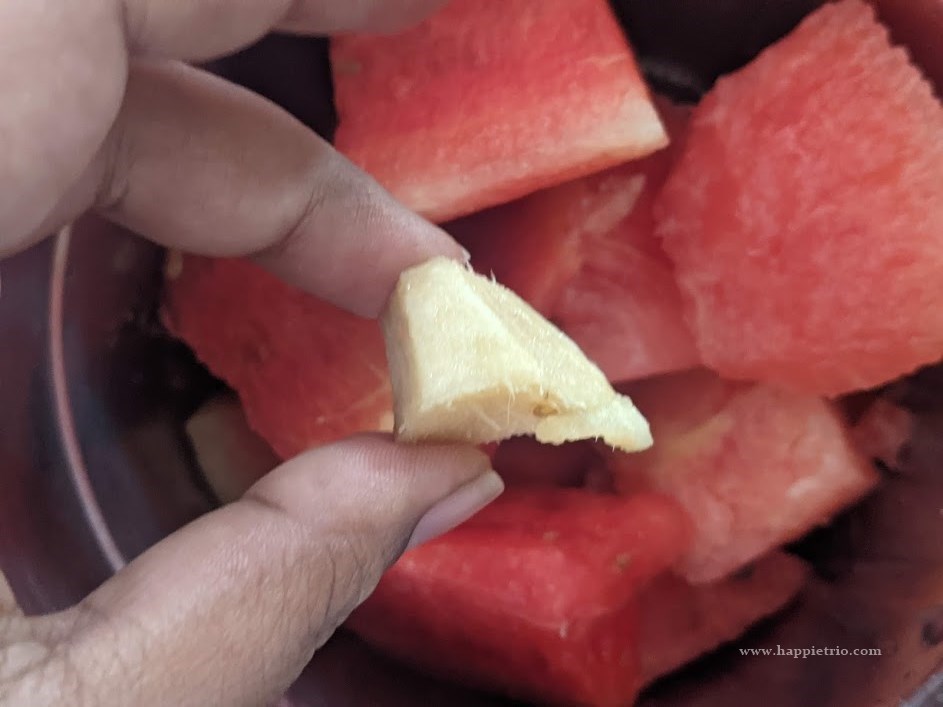
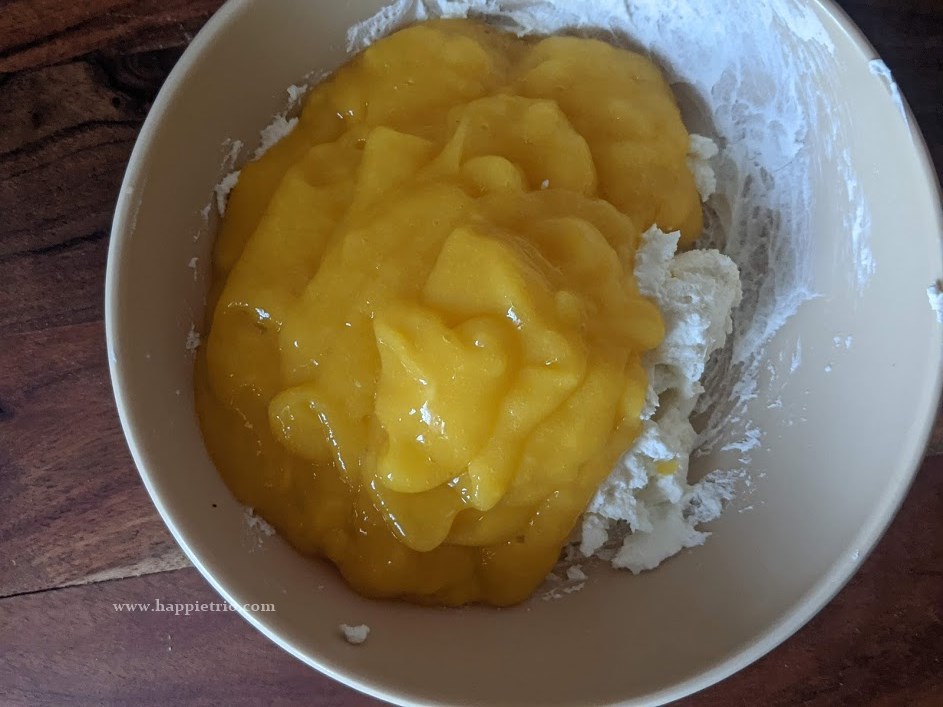
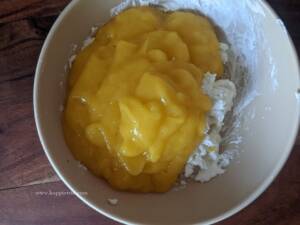
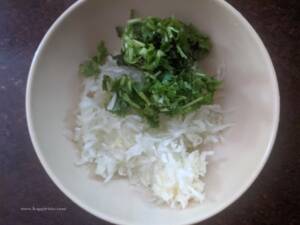
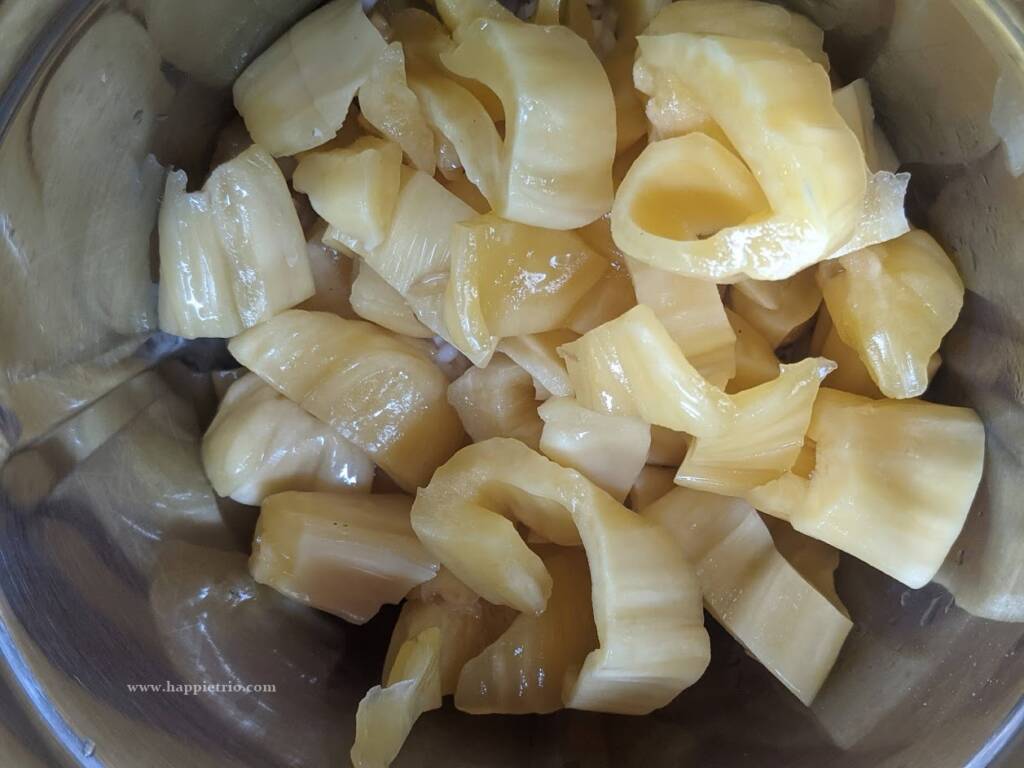
2. To this add in the chopped jack fruit pieces.
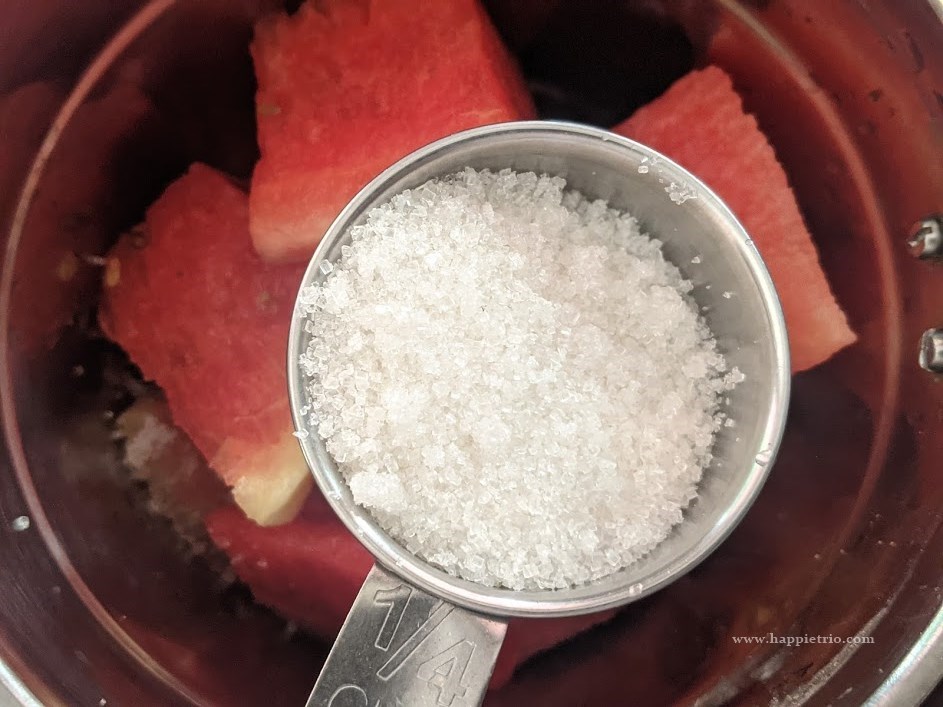
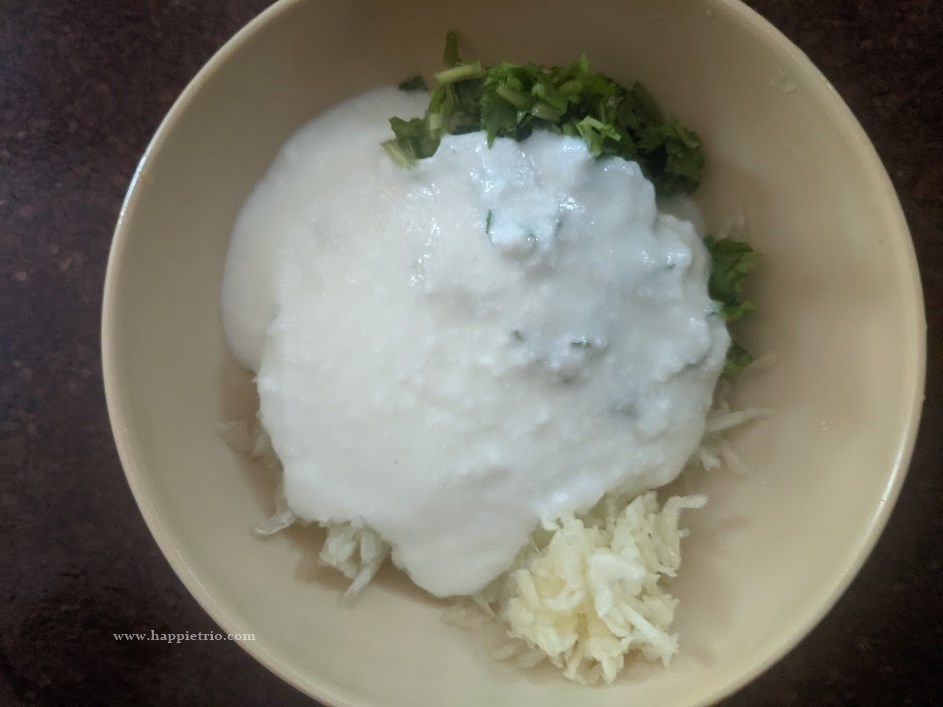
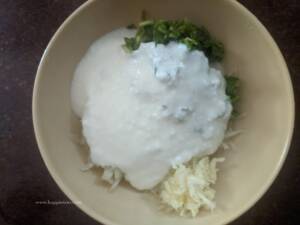
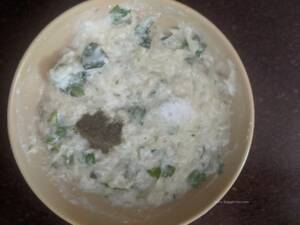
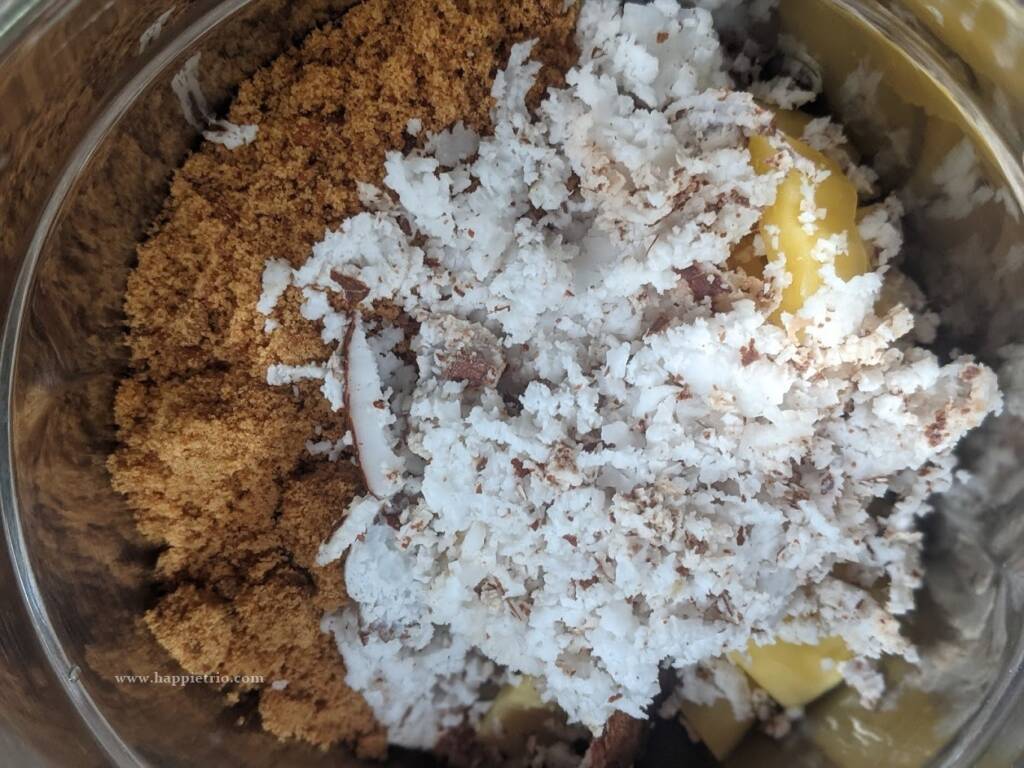
3. Add in the Jaggery and coconut.
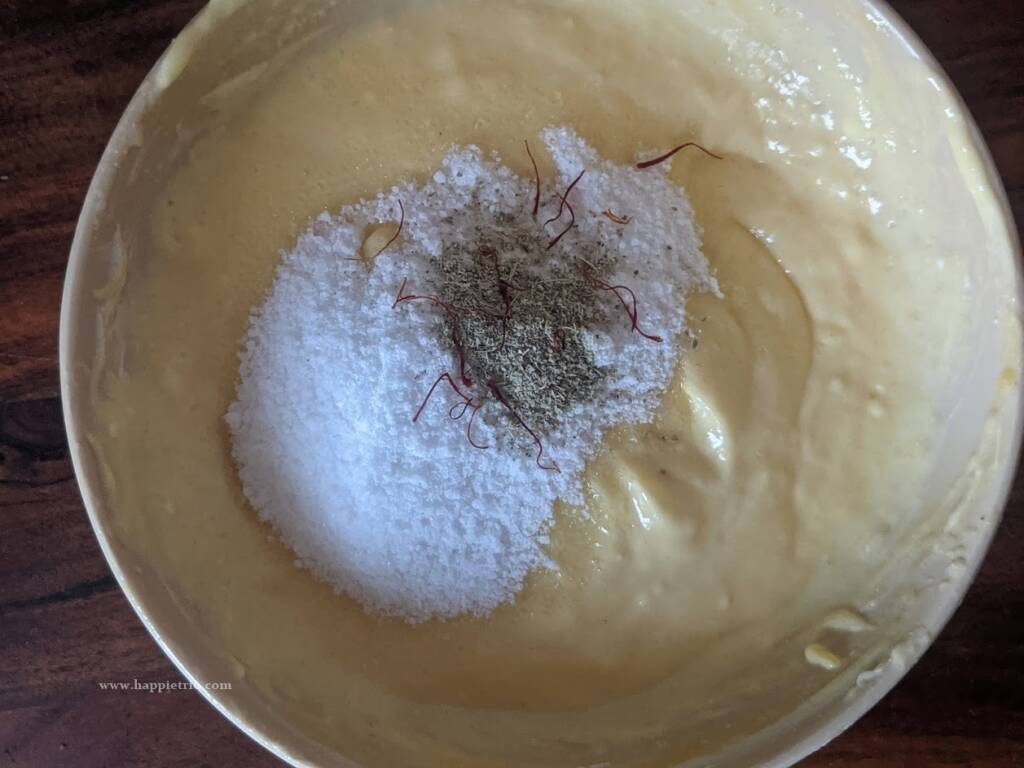
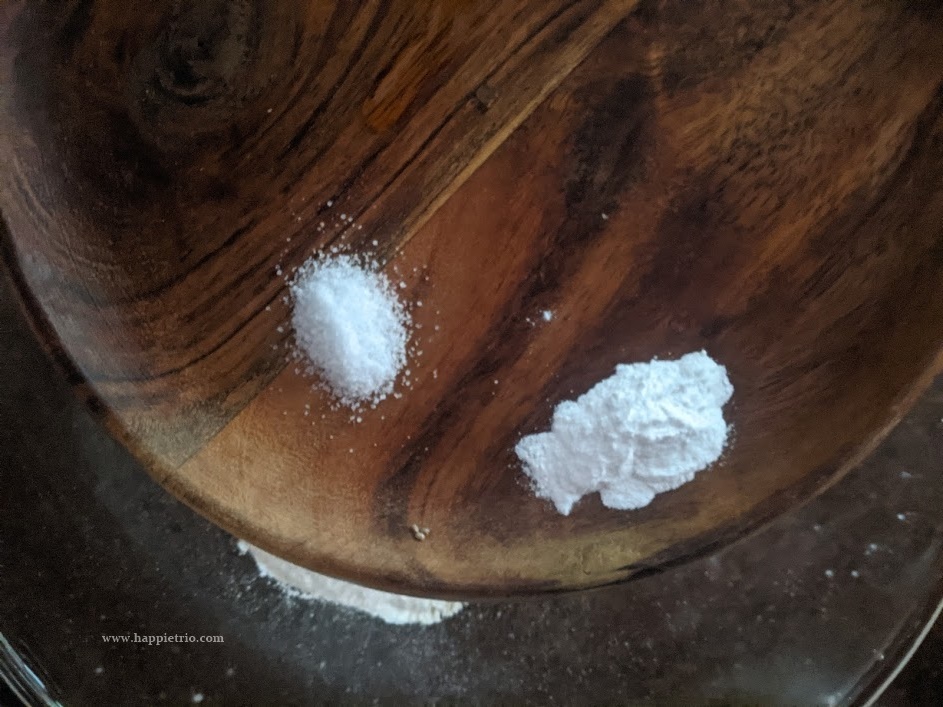
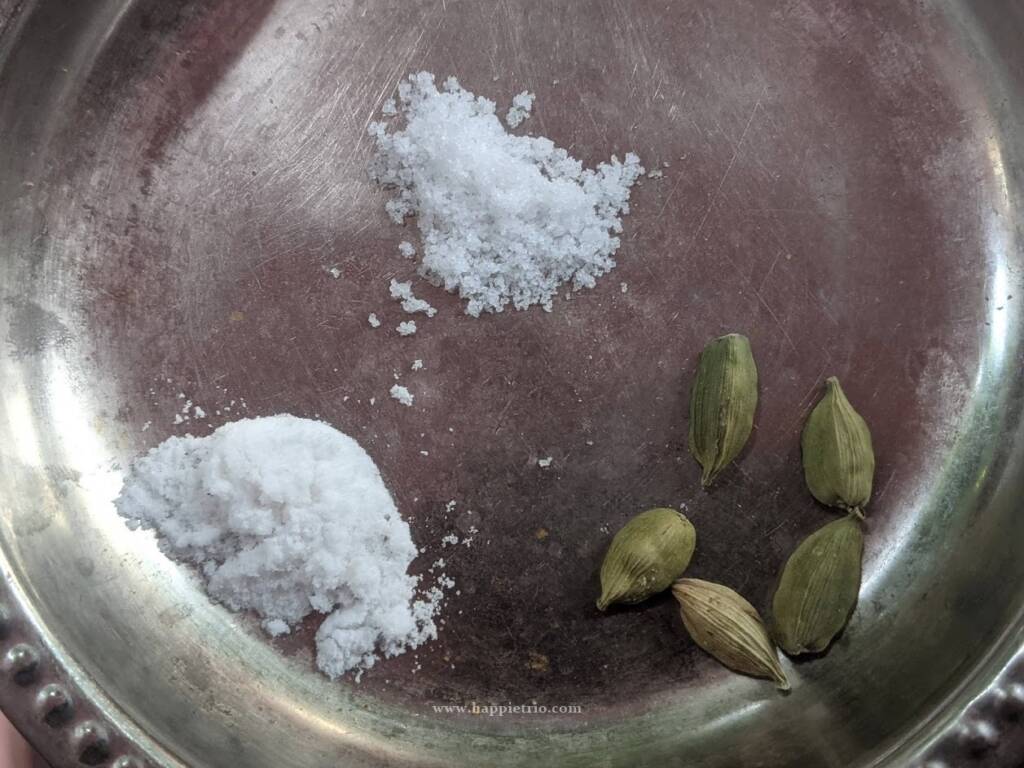
4. Next add in cooking soda, Salt, and cardamom pods.
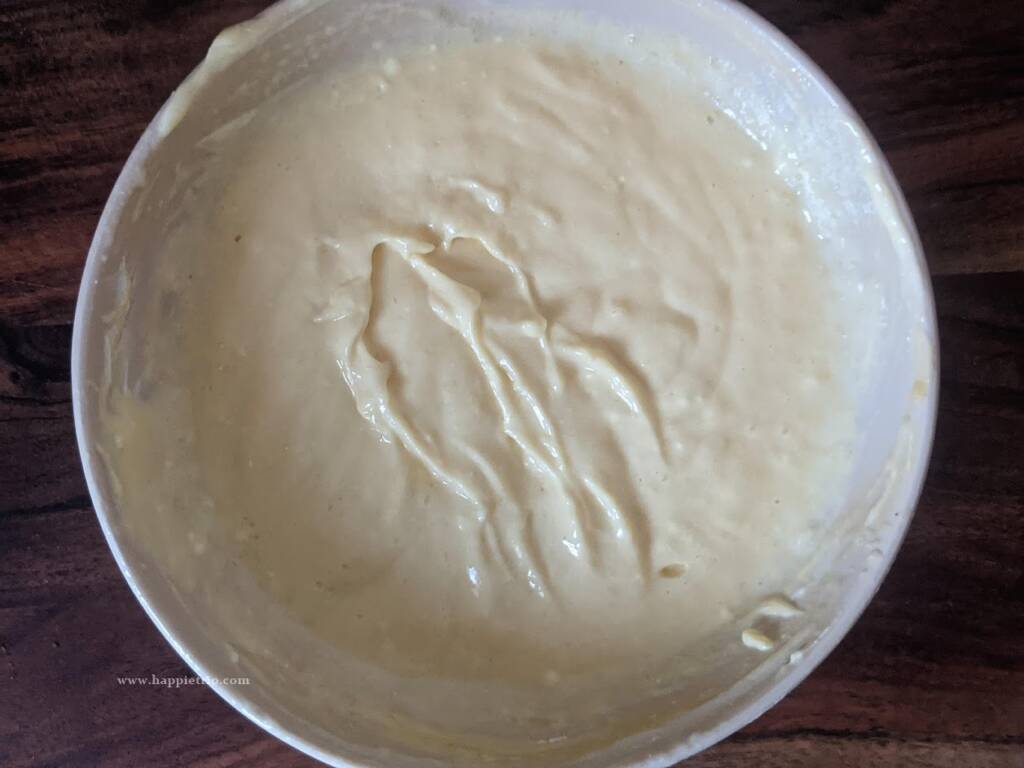
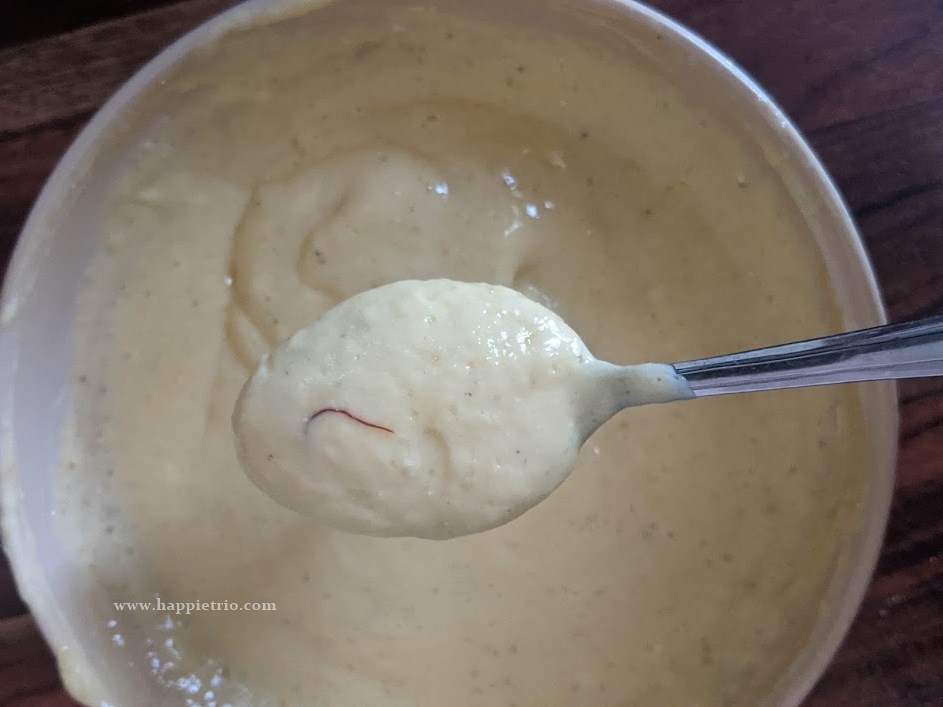
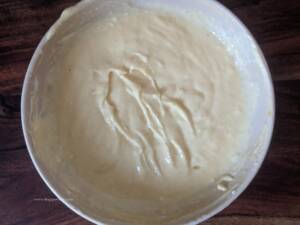
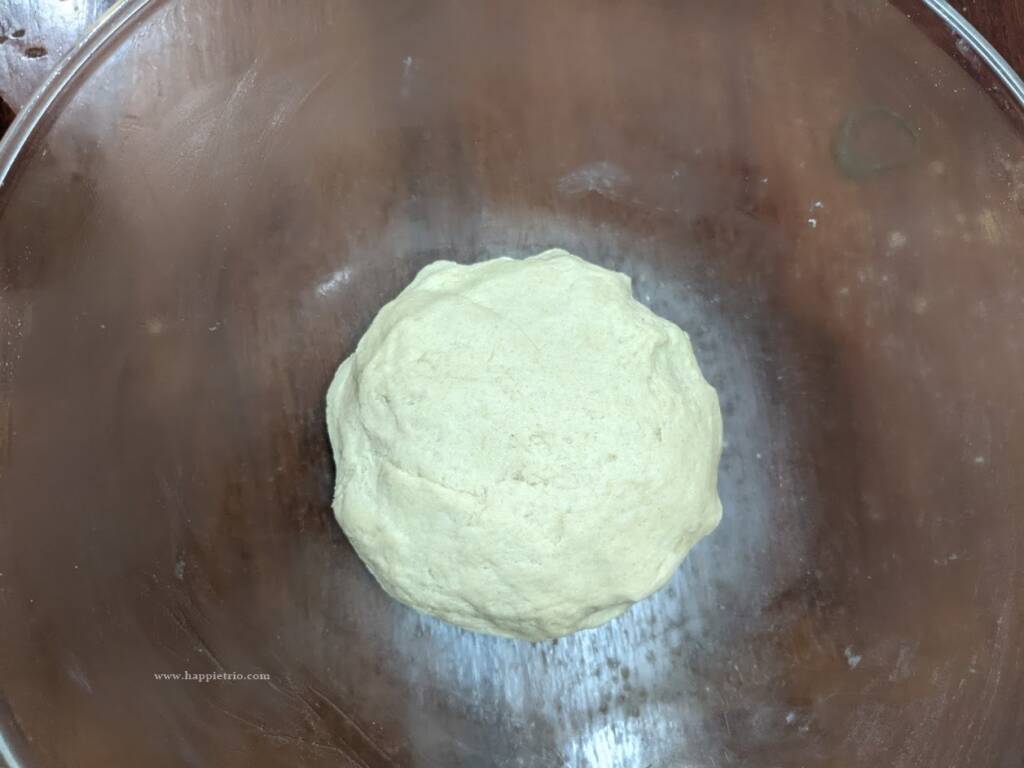
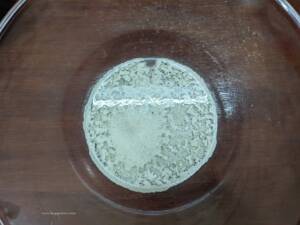
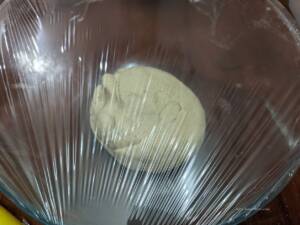
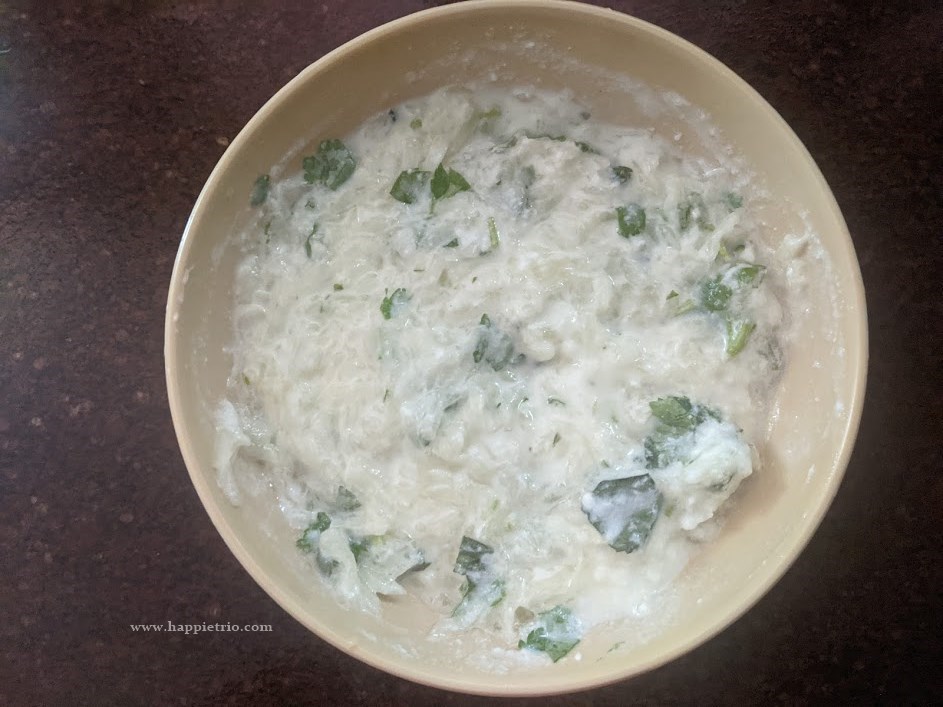
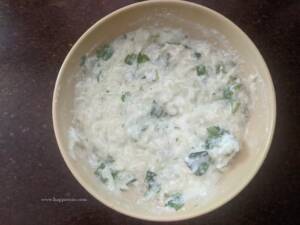
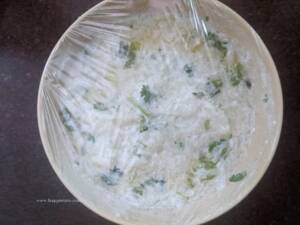
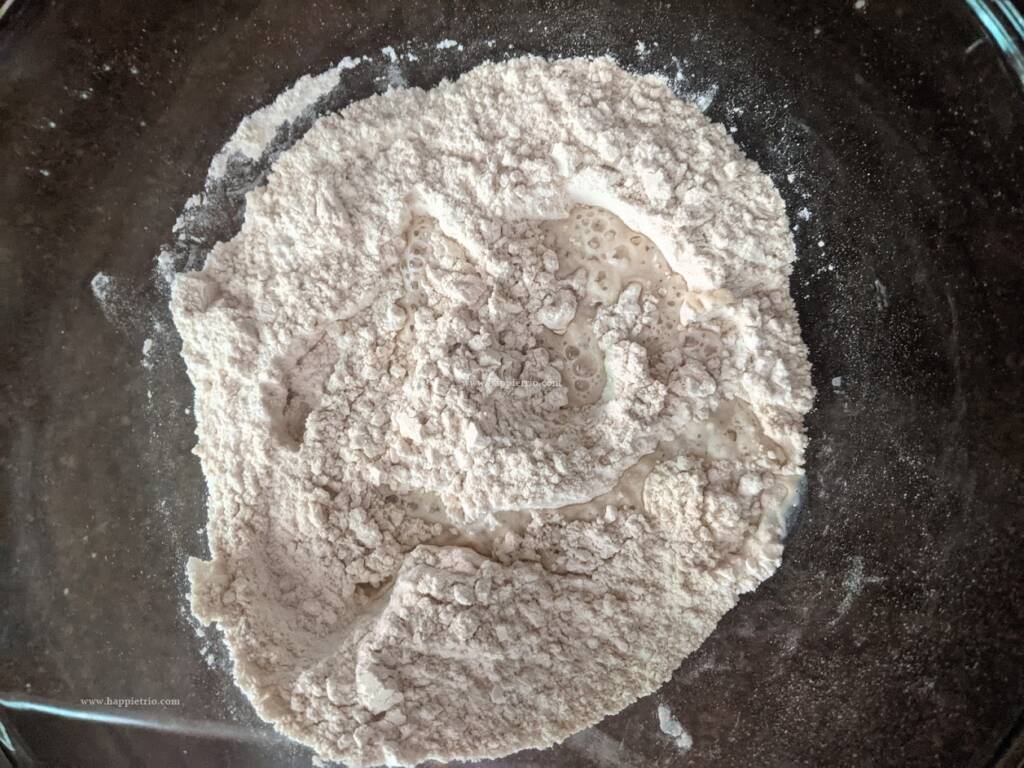
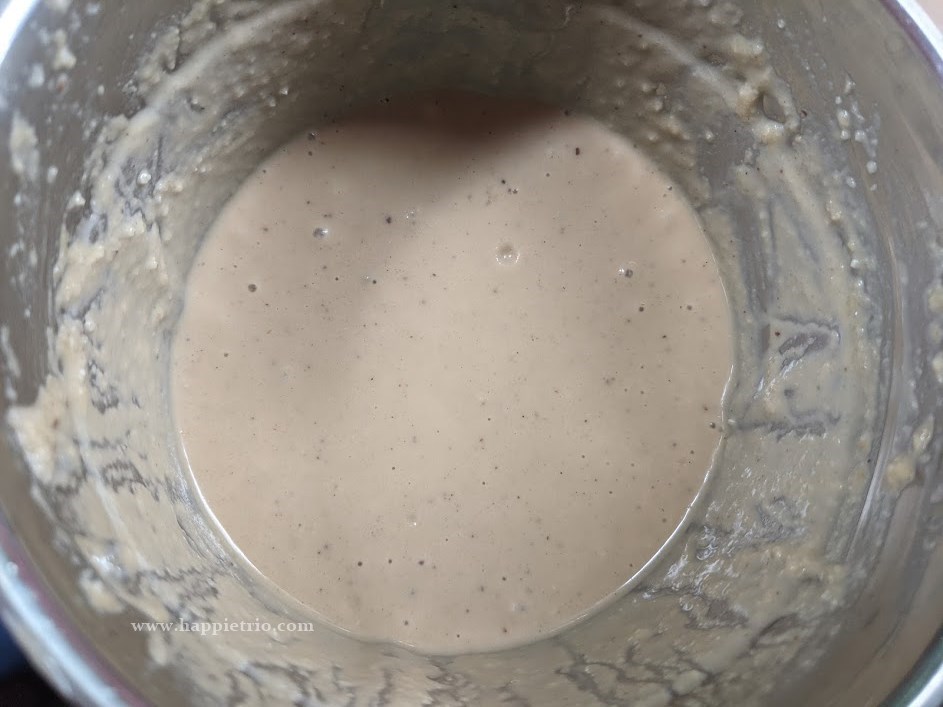
5. Without adding water blend them into a smooth batter. Mix well.
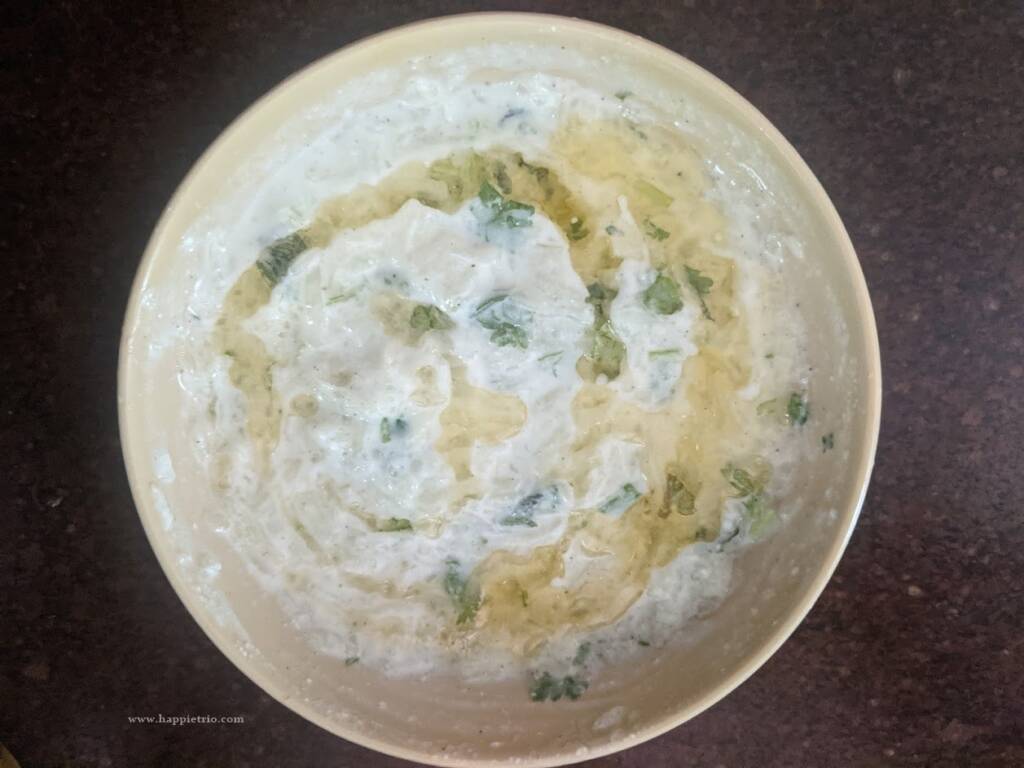
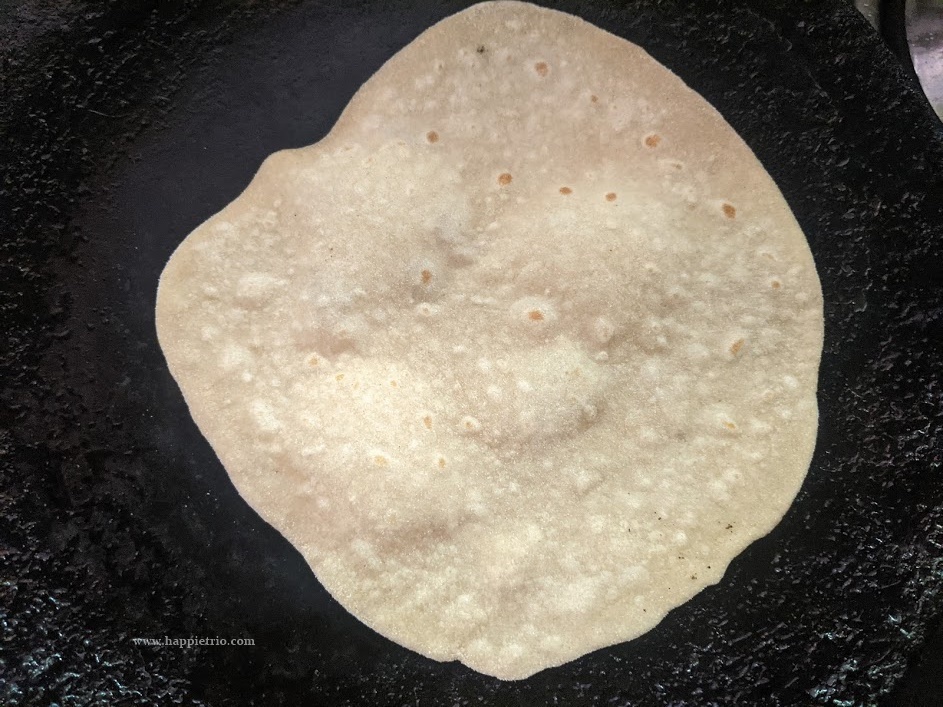
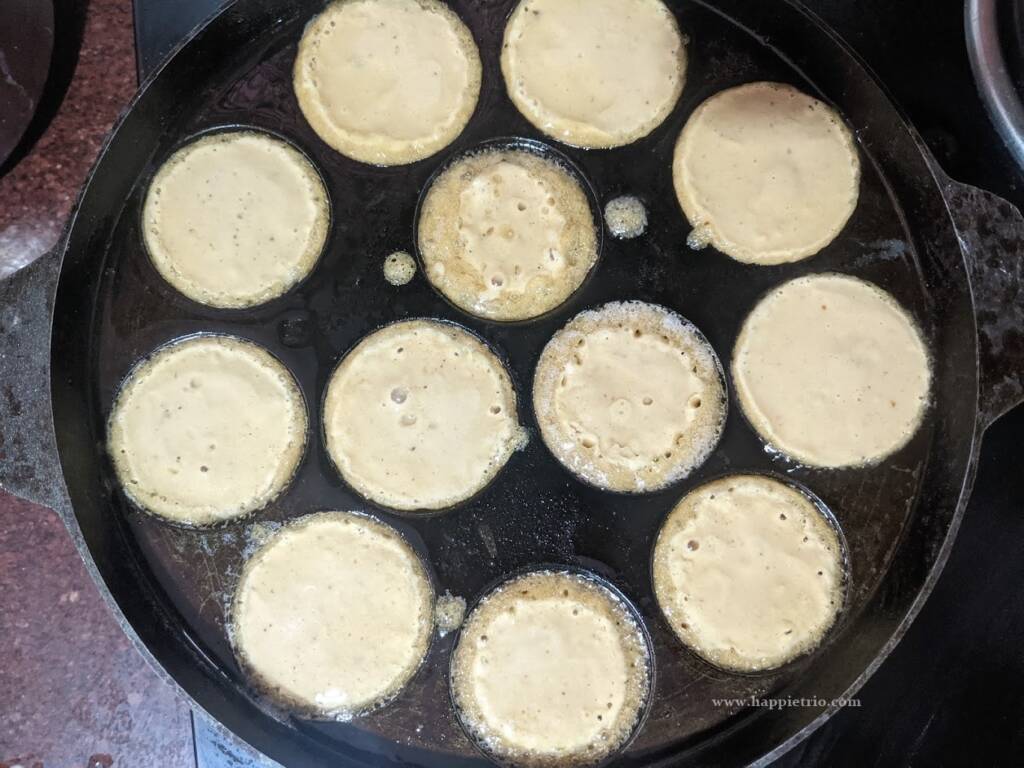
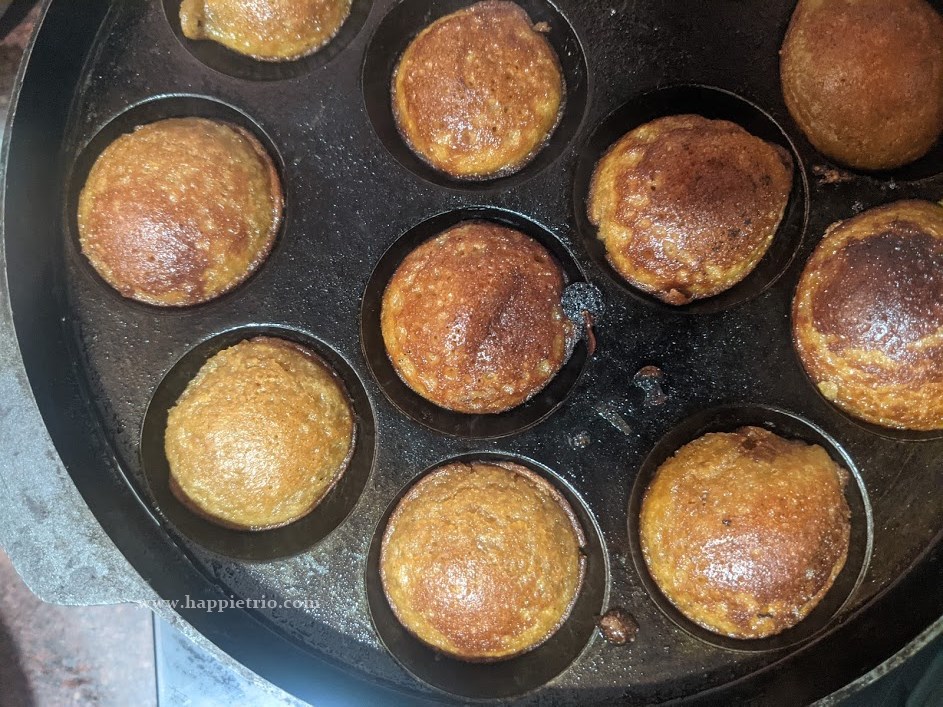
6. Heat the appe pan, drizzle in ghee and pour the batter and cover cook in a medium flame for 3 mins.
7 . After 3 mins flip and cook the other side of the appam
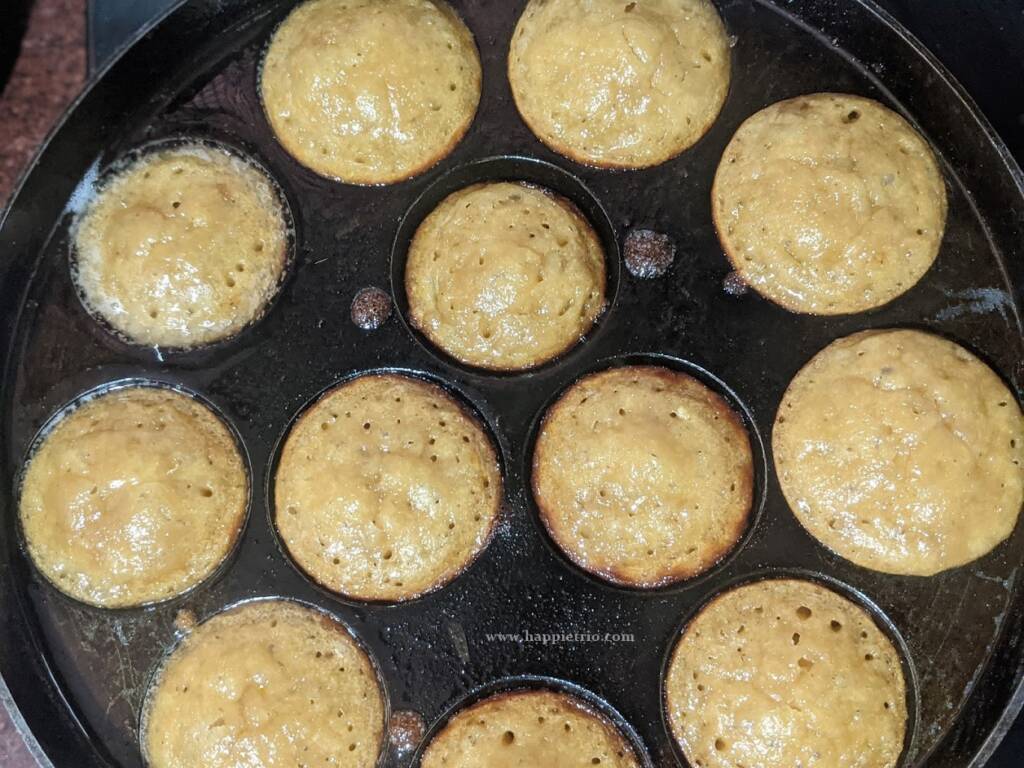
8. Cook till it turns golden and fully cooked. Serve hot.
Tips on Jackfruit Sweet Paniyaram
- If you do not have Jackfruit, you may use banana in the same recipe.
- Use an iron paniyaram pan for the perfect textured sweet Kuzhi paniyaram.
- We can cook banana Sweet panniyarm and Jackfruit paniyaram following the same recipe.
- It tastes good when served hot.
- I am using organic Jaggery powder without any impurities. Hence I am adding it directly to the blender.
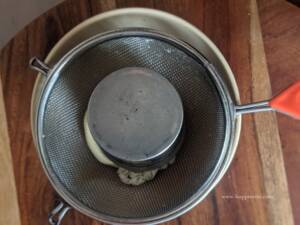
- If you are using normal jaggery add water a little in a pan and bring it to boil and add Jaggery to it. Cook till the Jaggery is dissolved and the sauce thickens and then strain and remove the impurities and then use in the paniyaram.
Variations & Storage Suggestions:
- Replace Jackfruit with banana, when the jackfruit is not in season.
- You can also canned Jackfruit or Jackfryuit puree.
- The batter stays good in the fridge for 2 days. Do not keep more than that as the batter will turn sore.
Similar Paniyaram Recipes


★ Did you enjoy this recipe? If you happen to try it out, I would love to hear from you! I’d appreciate it if you could rate and leave a review below in the comments. Your reviews help others know the recipe better too. Thanks for your time ?
You can also follow me on Facebook, Pinterest, Instagram, Youtube and Twitter for more updates
📖 Recipe
Jackfruit Sweet Paniyaram
Standard 1 cup measures 240 ml
Ingredients
- 1 cup Raw Rice
- ¾ cup Jaggery
- 8 Jackfruit arils approximatley 1 cup
- 3 tablespoon Grated coconut
- ½ teaspoon Cooking Soda
- Salt a pinch
- teaspoon Cardamom powder
- Ghee as needed
Instructions
- 1.Soak raw rice in water for 3 hours. After soaking drain the rice and add the soaked rice to a blender
- To this add in the chopped jack fruit pieces.
- Add in the Jaggery and coconut.
- Next add in cooking soda, Salt, and cardamom pods.
- Without adding water blend them into a smooth batter. Mix well. 6. Heat the appe pan, drizzle in ghee and pour the batter and cover cook in a medium flame for 3 mins.
- 7 . After 3 mins flip and cook the other side of the appam
- Cook till it turns golden and fully cooked. Serve hot.
Video
Notes
- Perfect for evening snack.
- Add in dry ginger powder if you like the snack.
- The same can be deep fried too.
- Also don’t give any waiting time after preparing the batter. Cook immediately as we have used fresh jack fruit.
Nutrition
Disclaimer: I am not a nutritionist , the nutrition value provided here is an estimate.It will vary based on the quantity and brands of the products used.
This post is originally from 2018 . It is now updated with new Pictures, Video , details and recipe card.