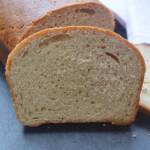
Whole Wheat bread made with 100 % whole wheat flour. It is soft and has no butter. It is a Perfect Vegan breakfast bread.

Making bread in home is always a kind of therapy for me as I love the whole process and love to have the freshly baked bread .As it is free from preservatives and way healthy than the store brought ones.
[feast_advanced_jump_to]Whole wheat bread recipe
I have been baking almost for half a decade now and I always have a quest for 100 % vegan whole wheat flour bread. So my quest ended here. This one perfect healthy Wheat bread recipe. No stablizers, No butter, No eggs or No Maida. Just the basic ingredients along with some good active yeast and Oil does the magic. I feel absolutely guiltfree upon have a slice.
This is a basic whole wheat flour recipe, You may customize it as you prefer. You can make it lightly sweet with cinnamon and raisins. Or Just toast with butter and serve it as Jam. Use it as sandwich bread.
whole wheat bread machine recipe
Lately, Bread Machine is getting popular. But I feel it doesn't make much difference. Except we will have to use few extra bowls and a dish washer. If you have a stand mixer feel free to use them to knead the dough or some good muscle work should do the needful. However, if you have a bread machine. You can follow the exact measurements and bake the same bread. Feel free to reduce the recipe to half for the size of your bread machine.
whole wheat bread vs white bread
On comparing the health benefits of Wheat flour bread vs White flour bread we see multiple. Wheat bread is rich in fiber, lesser in calories, and has more nutritional value than Whitebread. But one thing we can never deny is the texture and pillowy soft bread is only from white flour bread.
Ingredients
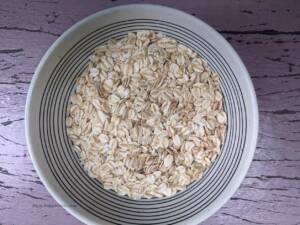
Wheat Flour - Use 100 % whole Wheat flour for the bread.
Yeast - When it comes to bread Yeast plays an important role and it's unavoidable. Use good quality Instant Yeast or Active Dry yeast. Make sure your yeast is alive and active alone.
Oil - I made the Wheat bread Vegan. Yes, so no butter or Egg. All it has is just oil for the texture. You may use any cooking oil without a strong flavor. I suggest Canola Oil.
Almond Milk - Usually, we brush the bread with either egg wash or Milk for the glossy finish or even Butter for that Matter. I am using Almond Milk it was absolutely perfect. You may use any Vegan Milk as you prefer. If you are okay with the dairy you may use cow's milk also.
Sugar - We add Sugar to activate the yeast. We can add either white or Cane sugar. Works well with both. I have tested both versions.
Salt - Without Salt, the bread will be totally bland. Hence I suggest adding it rightly as needed.
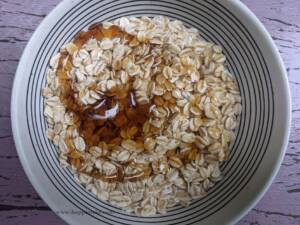
Vinegar - The acidic nature of the Vinegar helps greatly in the texture. In case you ran out of vinegar you may replace it with lemon juice.
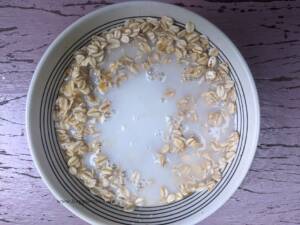
Water - Finally the most important thing, Always use luke warm water. Hot water will kill the yeast. So be sure on that.
How to shape the Bread
During my initial days of baking, I always have a problem shaping the bread. I didn't realize or never cared about it I would say. Still, the texture of the bread will be good, but the finish will not be appealing. If you see my White bread recipe you may realize what I meant.
Later upon practice, I got the right way. All you have to do is to knead, knead and knead the dough perfectly. After proofing the dough using a rolling pin spread the dough to a rectangle, and then roll it in a cylindrical shape. By this way you will get a smooth finish bread. You may follow this tip for all the bread you bake.
FAQ's
Is whole wheat bread vegan
Absolutely yes, I am using only Vegan milk for brushing the bread while baking. I went on with Almond Milk so the bread is completely Vegan. You may replace Almond milk with any Plant based Milk.
Always use a serrated bread knife for perfect slices. With a normal Knife, the crumbs may break and will be difficult to slice. Also, give enough time for the bread to cool down. I preferably wait overnight and then slice the bread.
Bread has Yeast in them, so it's better to finish it within 5 days. You can store them at room temperature for 2 days and beyond that put them in the fridge.
Recipe Instructions
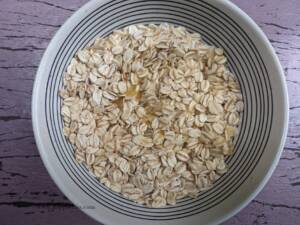
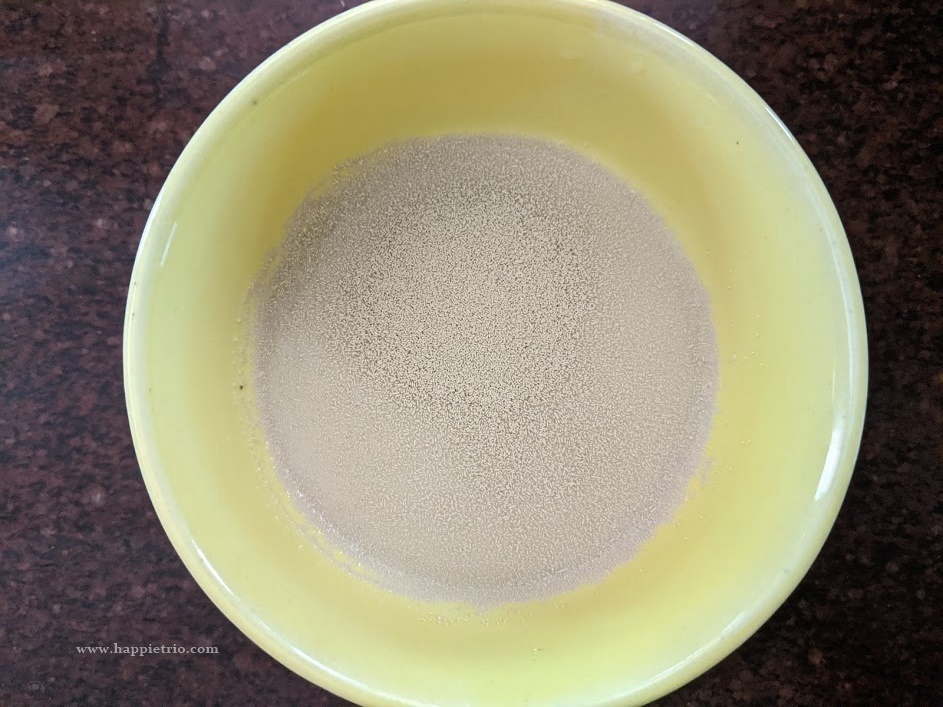
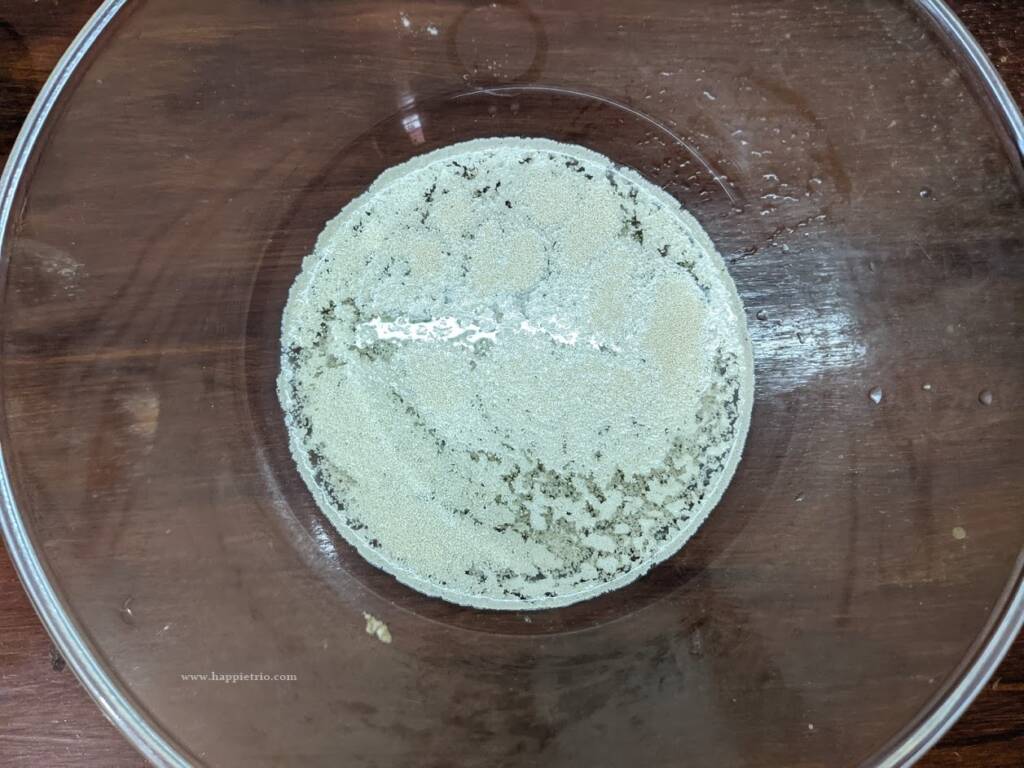
1. In a bowl add in Luke warm water and Sugar add in the active dry yeast to allow it to get activated, It may take around 3-5 mins.
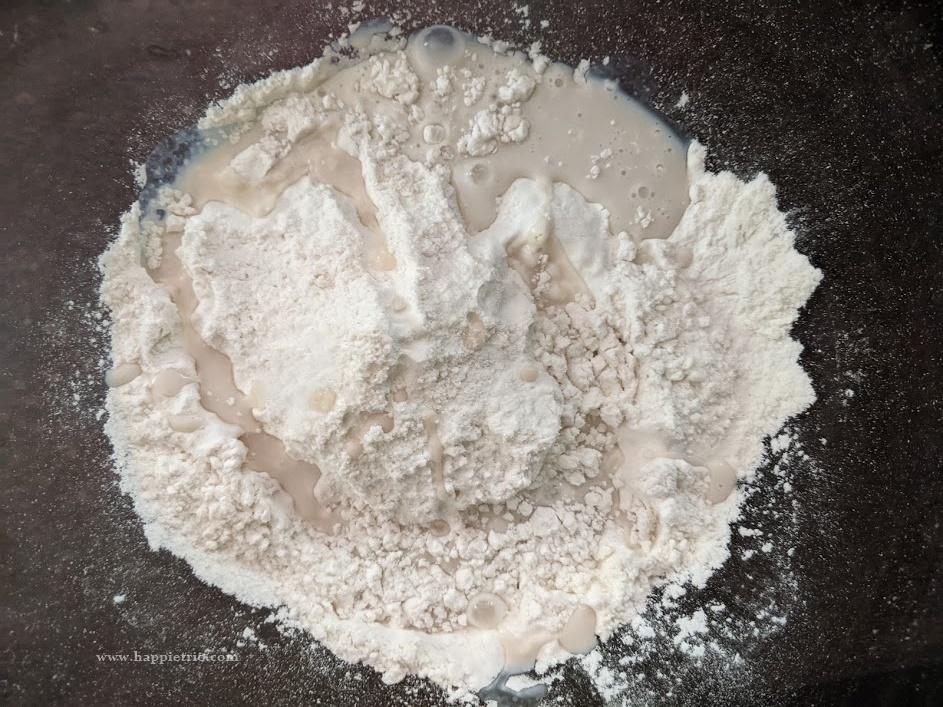
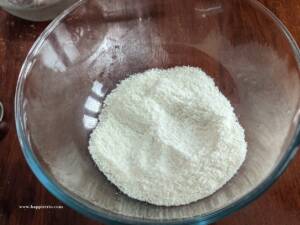
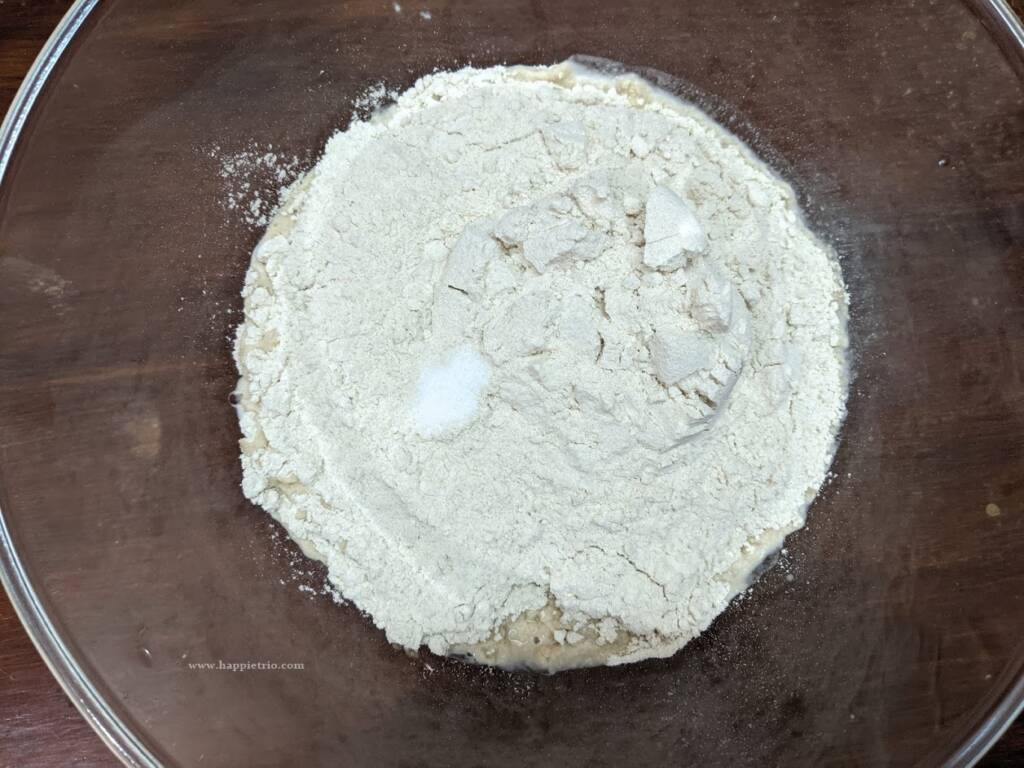
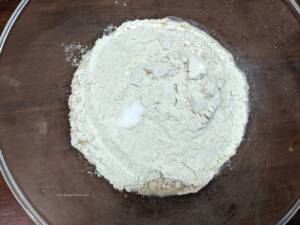
2. Now in the mixing bowl sift in the Wheat flour and Salt together.
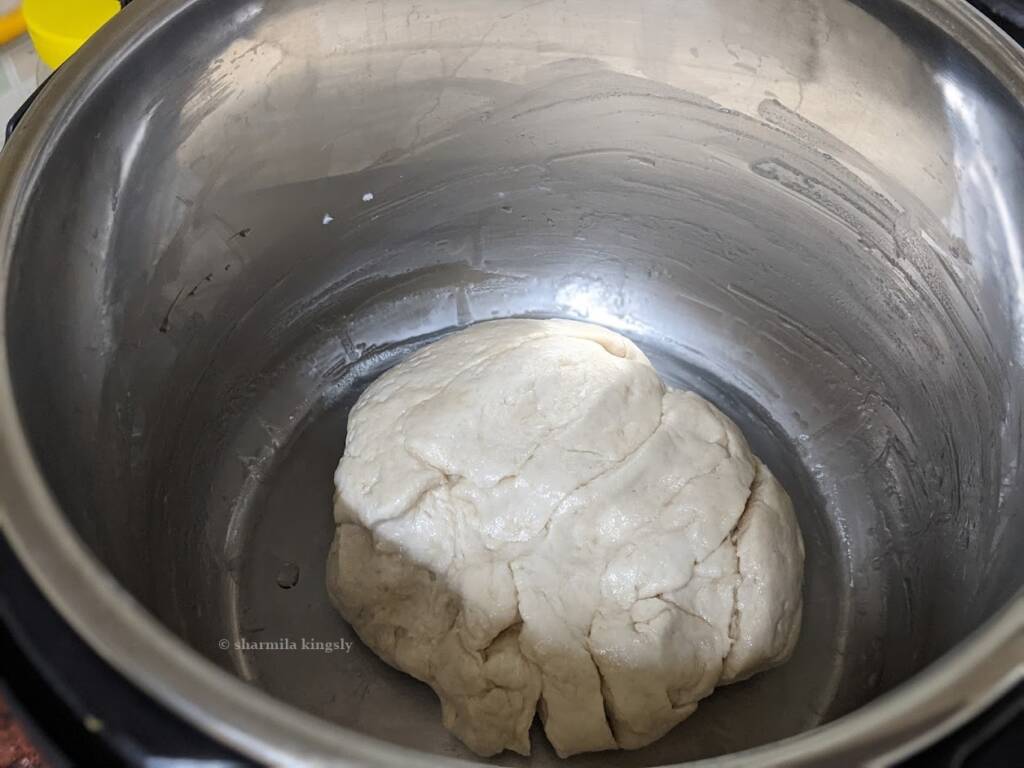
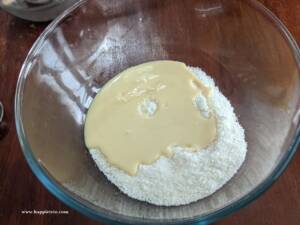
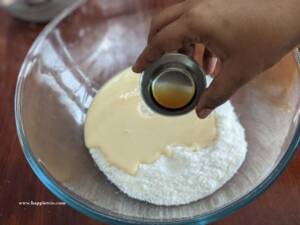
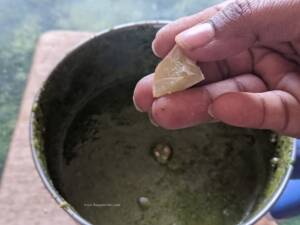
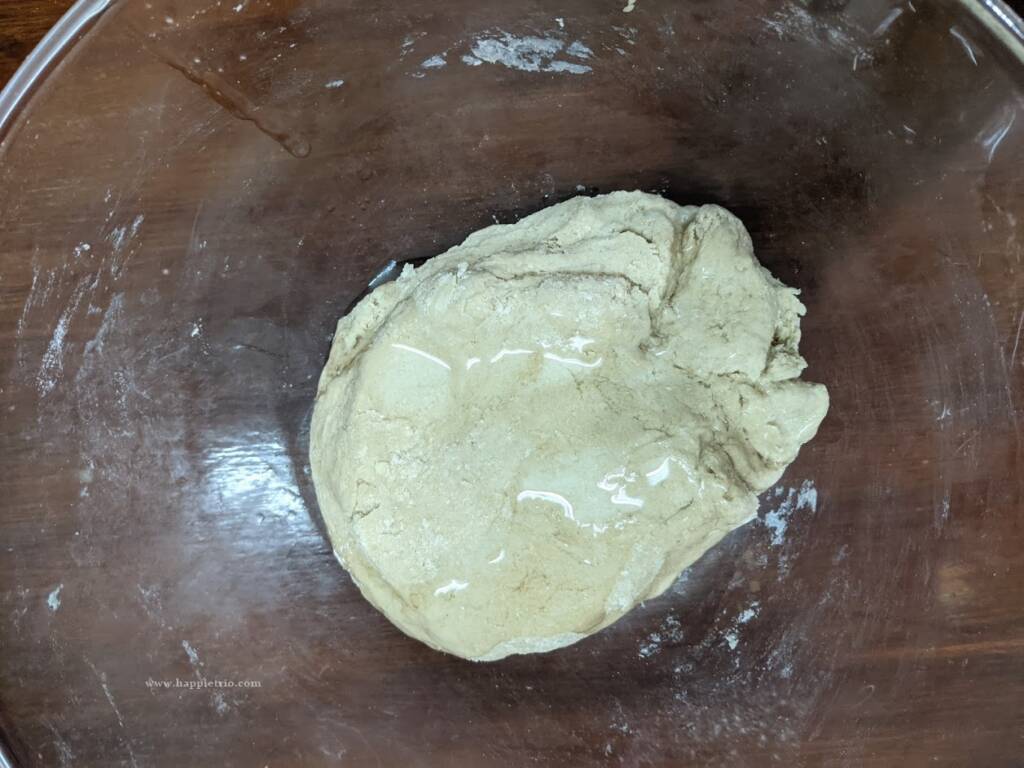
3. Combine everything once and then to this add in Vinegar, and mix everything to form a soft dough. Add more water if required. After kneading add the oil and knead the dough once again.
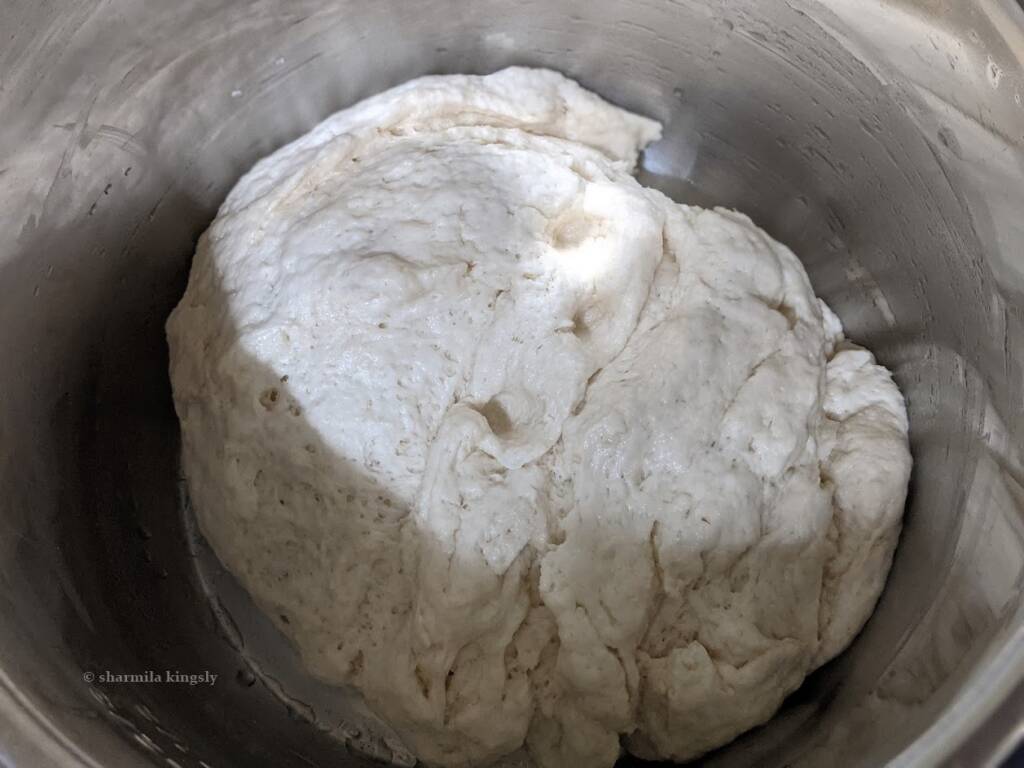
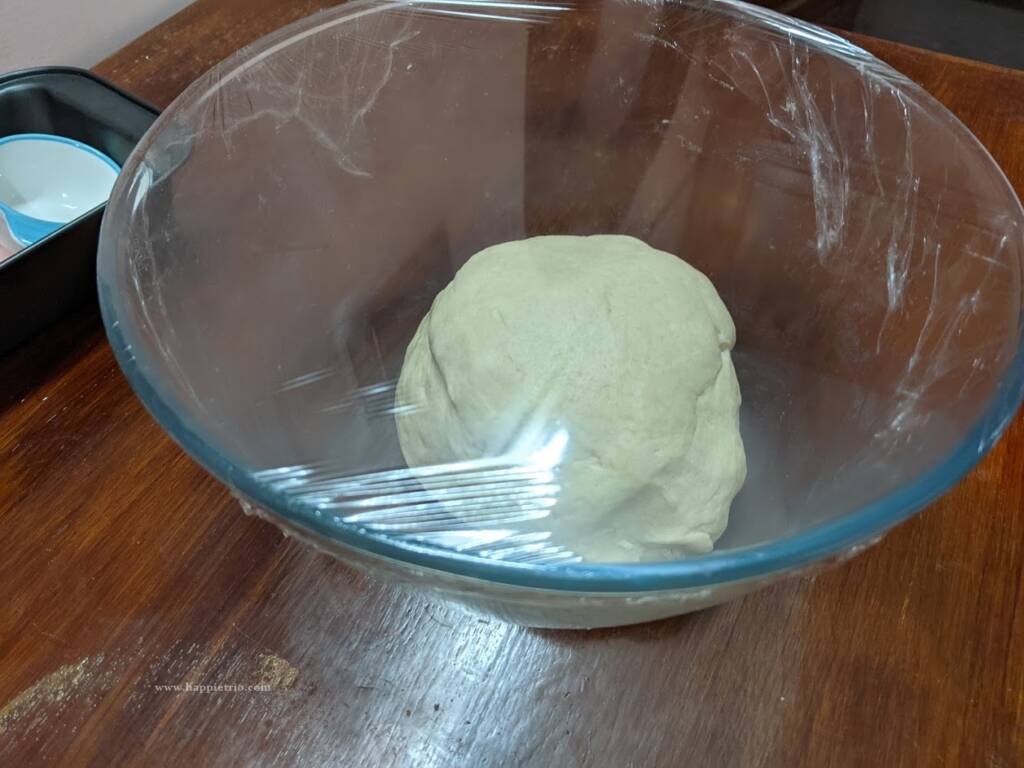
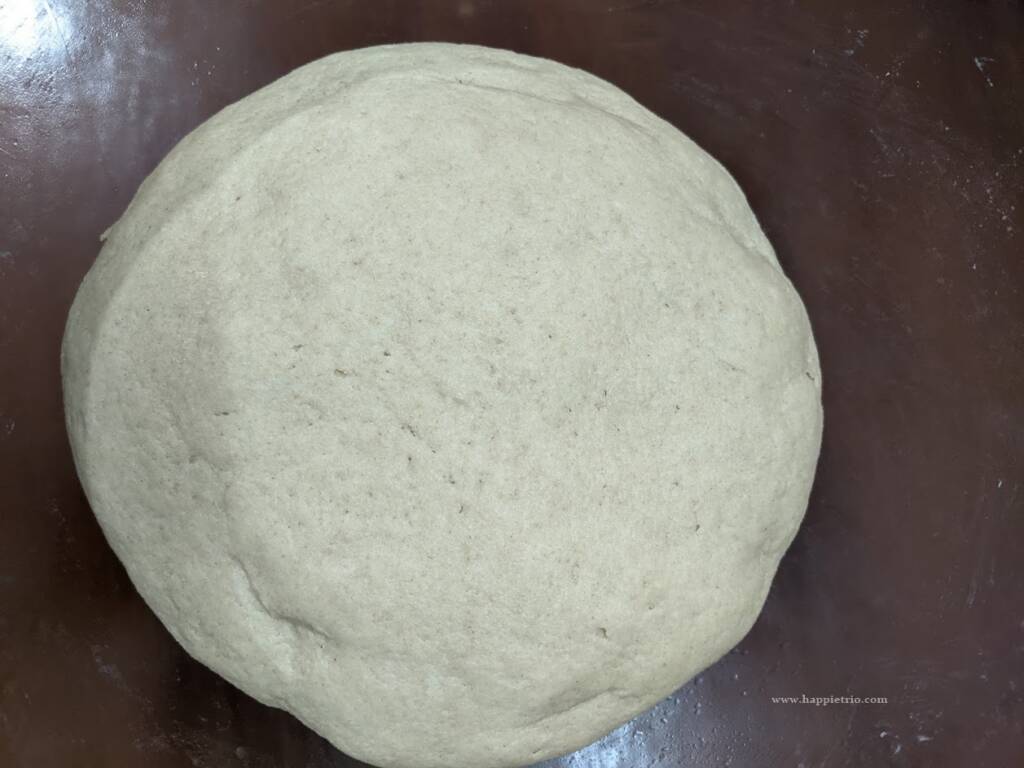
4. Cling wrap the bowl which has the dough and cover it with a kitchen towel. Set it in a dark place for 1 and a half hours the dough will proof up in this time.
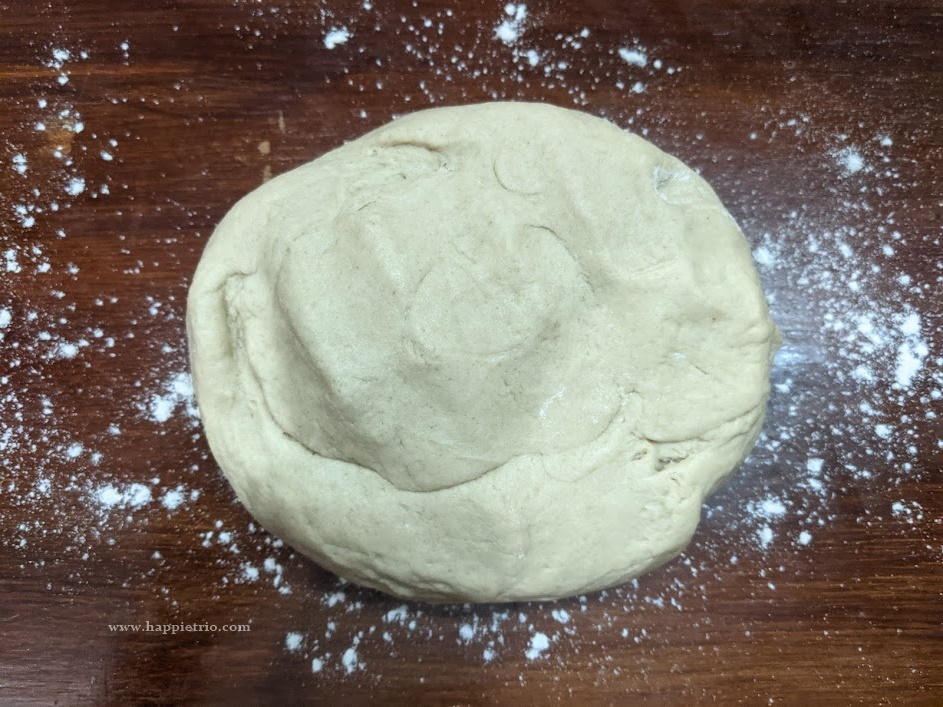
5. After the dough gets proofed up punch the dough to release the excess air. Knead once again in the working Surface.
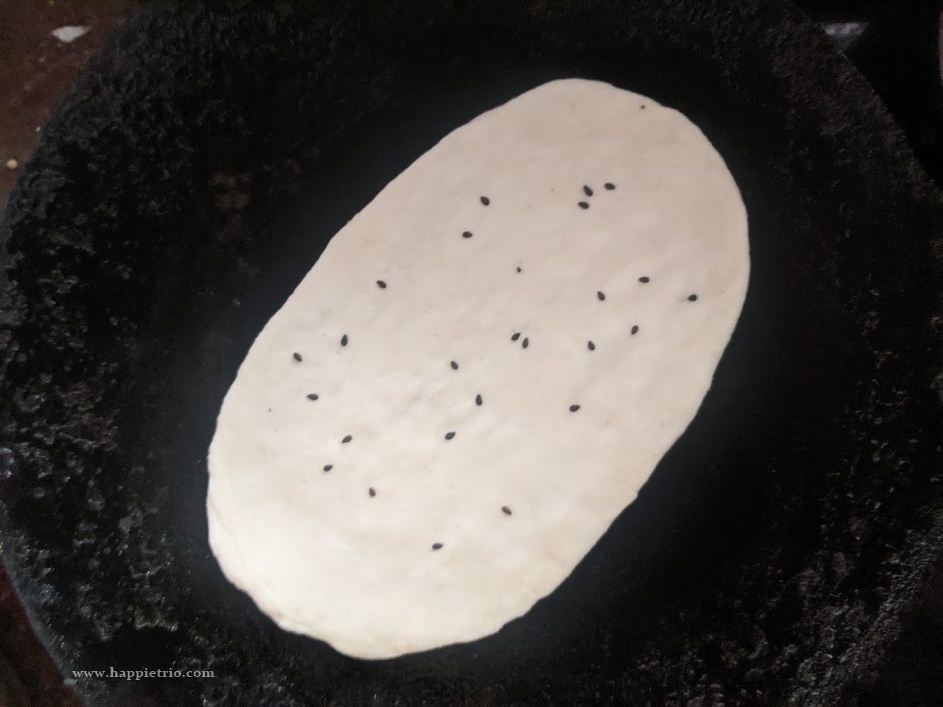
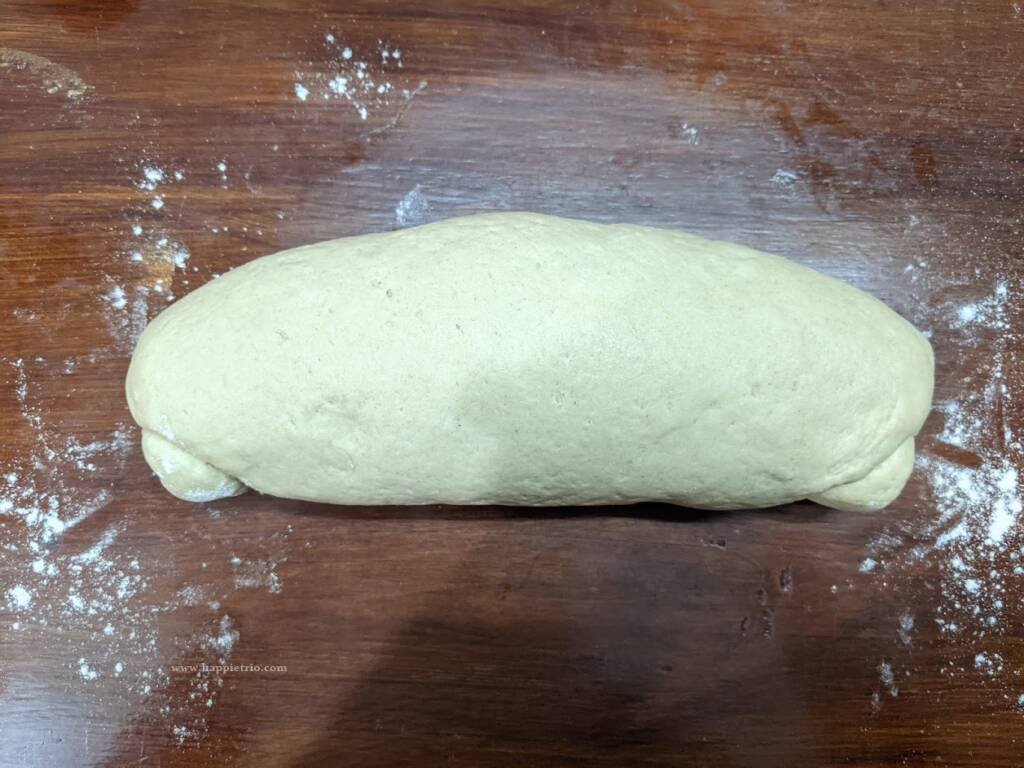
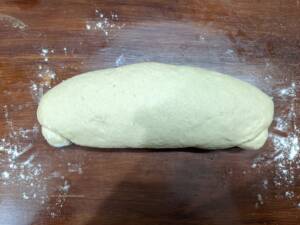
6. With a rolling pin roll the dough to a flat rectangle.
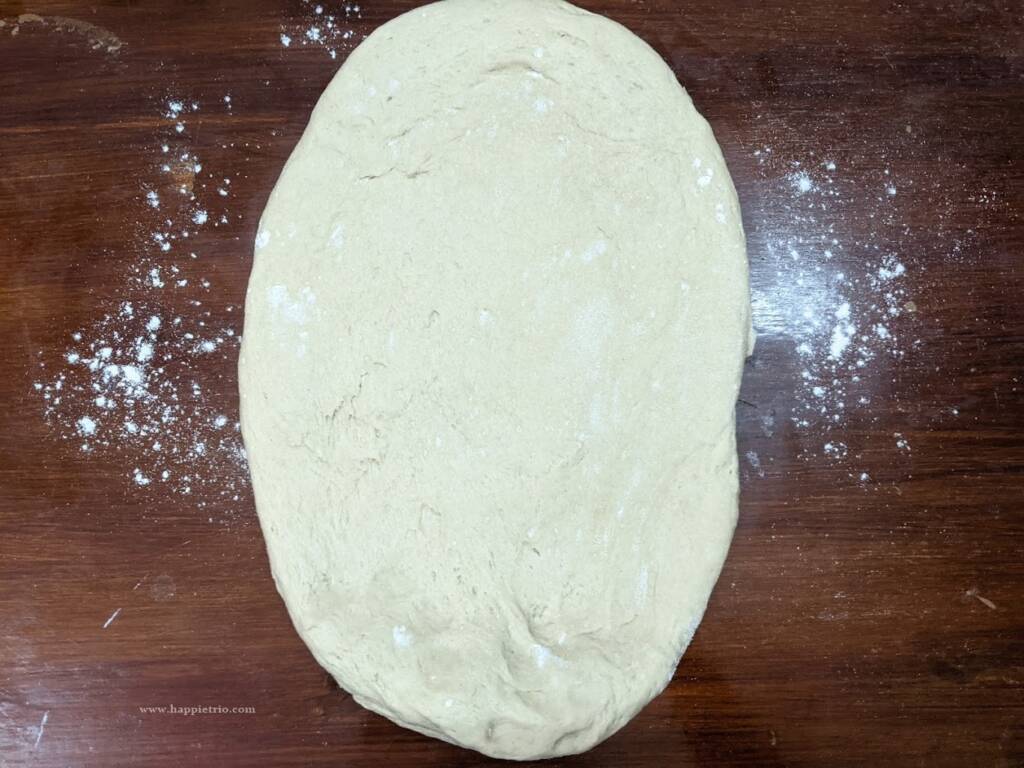
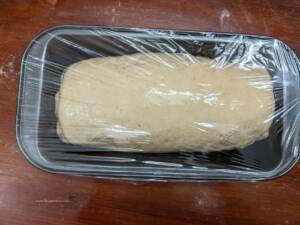
7. Now roll the dough and then form the shape of the log and place it in a prepared bread tin
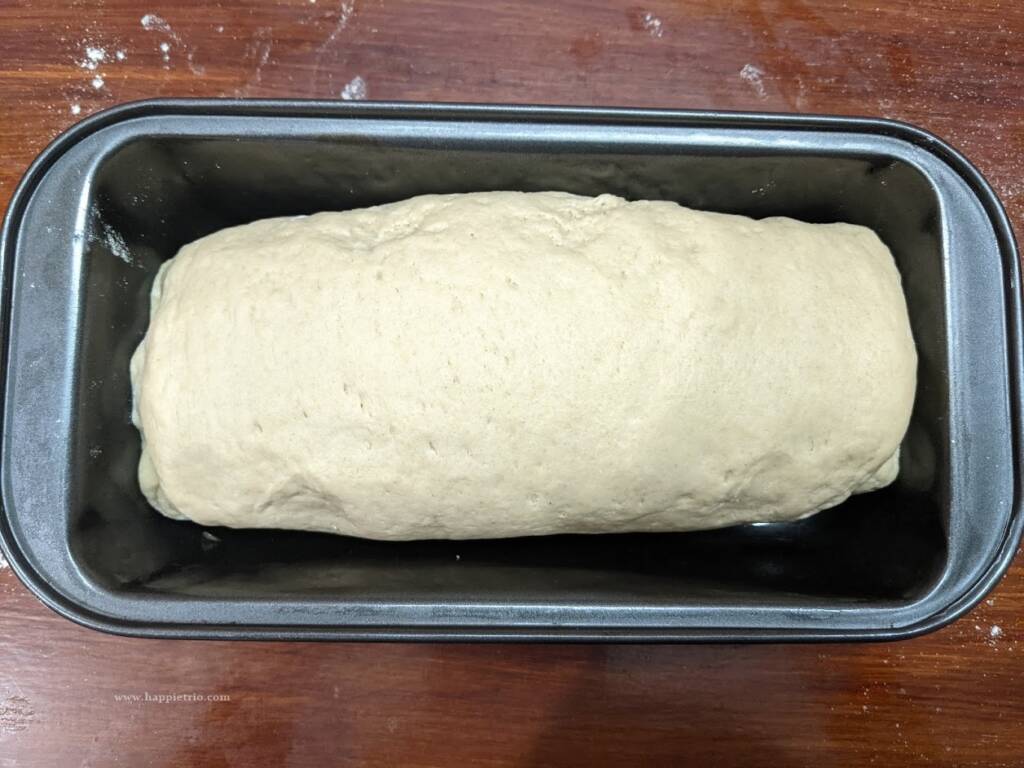
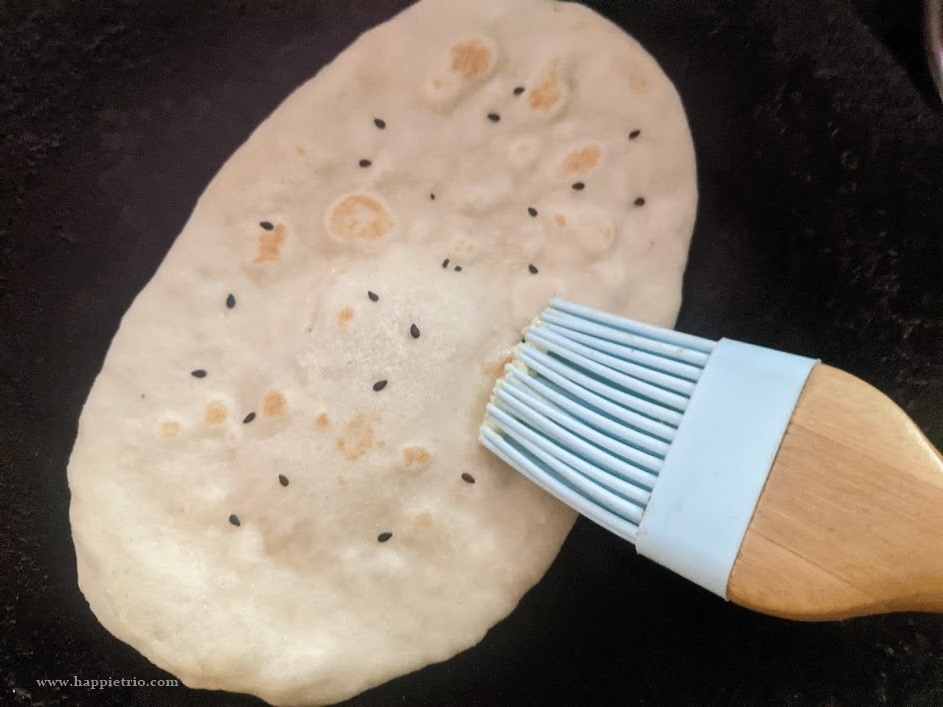
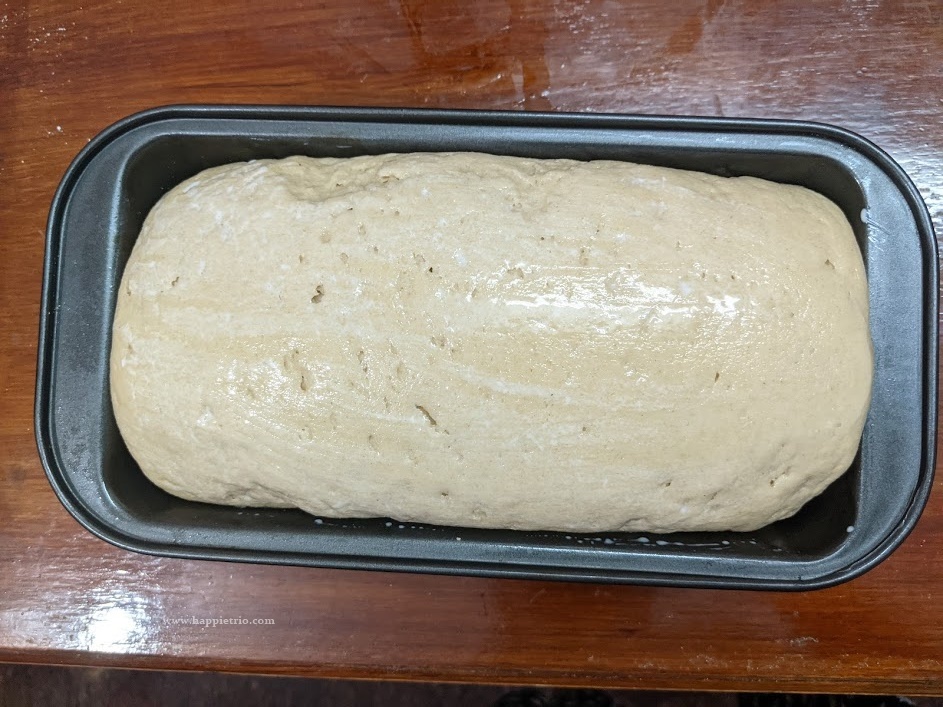
8. Cling wrap and allow it to rise for another 30 mins. Brush the loaf with milk before baking. I am using almond Milk

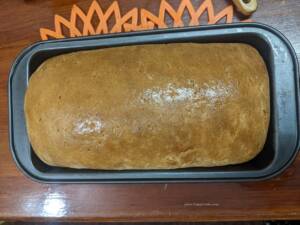
9. Preheat the oven at 200 Deg C for about 15 mins and then bake at 200 Deg C for 40-45 mins. Make sure the baking tin sounds hollow when tapped to the bottom. Allow it to cool completely preferably for 2 hours and then slice and serve.
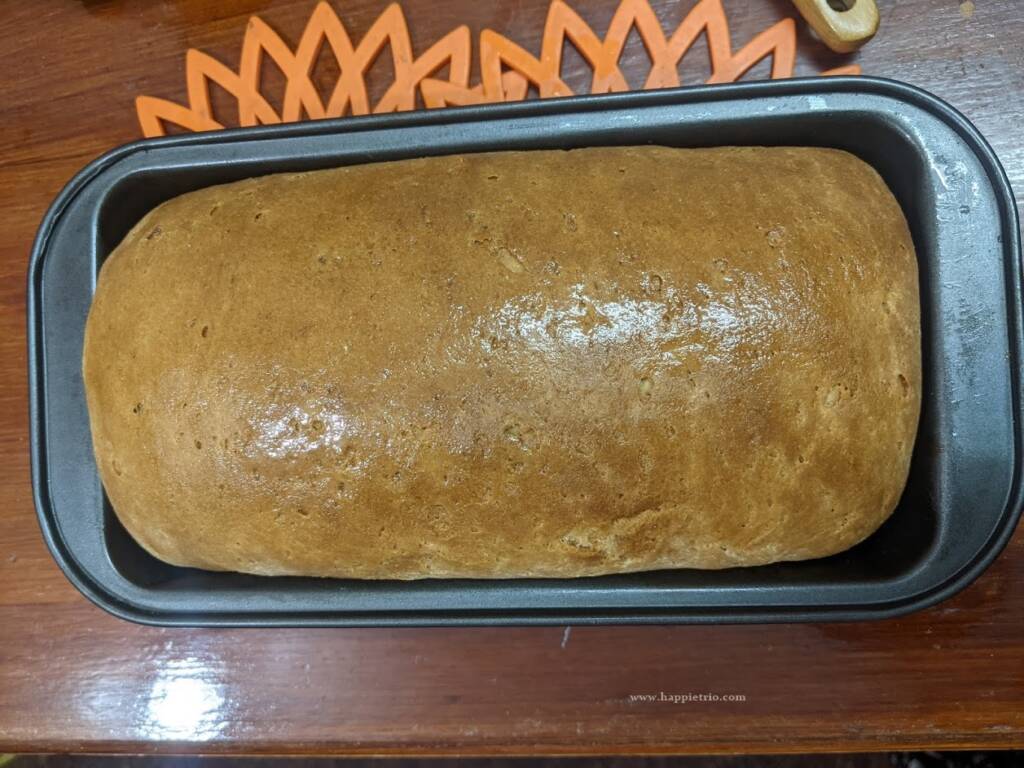
Soft and delicious perfect homemade Whole Wheat bread.
Similar Bread Recipes:

★ Did you enjoy this recipe? If you happen to try it out, I would love to hear from you! I’d appreciate it if you could rate and leave a review below in the comments. Your reviews help others know the recipe better too. Thanks for your time ?
You can also follow me on Facebook, Pinterest, Instagram, Youtube and Twitter for more updates
📖 Recipe
Whole Wheat Bread
Standard 1 cup measures 240 ml
Ingredients
- 3 cups Whole Wheat Flour | Atta
- 1 cup Luke Warm Water to as needed to knead the dough
- ½ tablespoon Active dry yeast
- 1 tablespoon Cane Sugar You can also add White sugar , works well with both
- 1½ tablespoon Vinegar
- 2 tablespoon Oil
- 1 teaspoon Salt
- Milk to brush on top of the bread.
Instructions
- In a bowl add in Luke warm water and Sugar add in the active dry yeast to allow it to get activated, It may take around 3-5 mins.

- Now in the mixing bowl sift in the Wheat flour and Salt together.
- Combine everything once and then to this add in Vinegar, and mix everything to form a soft dough. Add more water if required. After kneading add the oil and knead the dough once again.
- Cling wrap the bowl which has the dough and cover it with a kitchen towel. Set it in a dark place for 1 and a half hours the dough will proof up in this time.
- After the dough gets proofed up punch the dough to release the excess air. Knead once again in the working Surface. With a rolling pin roll the dough to a flat rectangle. Now roll the dough and then form the shape of the log and place it in a prepared bread tin.
- Cling wrap and allow it to rise for another 30 mins. Brush the loaf with milk before baking. I am using almond Milk
- Preheat the oven at 200 Deg C for about 15 mins and then bake at 200 Deg C for 40-45 mins. Make sure the baking tin sounds hollow when tapped to the bottom. Allow it to cool completely preferably for 2 hours and then slice and serve.


Notes
You can replace Vinegar with Yogurt or Lemon Juice.
Nutrition
Disclaimer: I am not a nutritionist , whole wheat bread nutrition label provided here is an estimate.It will vary based on the quantity and brands of the products used.
Note: This post is originally from 2017. Its now updated with new Recipe card, Pictures and Content.