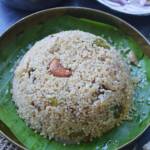
Tomato Thokku or Thakali thokku is an Indian Lunch side dish. It tastes great with Idly, Dosa, or Roti. It is a Vegan and Gluten-free accompaniment.
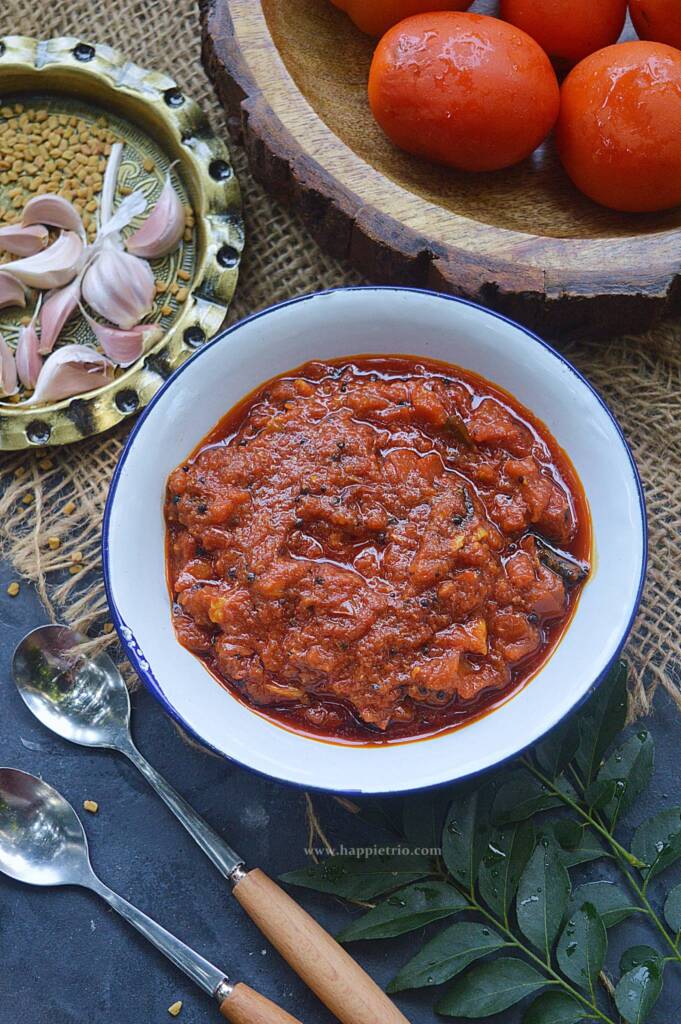
Tomato ThokkuThakali thoku is an Indian style side dish recipe .It tastes great with Idly, Dosa ,Indian Flat bread and even with Steamed Rice or curd rice .
We usually have it with Idli or Dosa. I try to make a big batch during the weekend. so it will come in handy on a busy working day. You can also prepare this in bulk when the tomatoes are in season and could be stored up to a month .
Always use a clean spoon for more shelf life. Don’t replace gingelly oil with any other cooking oil as it gives a nice taste and aroma to this.
I also have one more version of Tomato Thokku recipe in the blog. It is another way of preparing the thokku and both the method yield the best taste.
[feast_advanced_jump_to]What is Thokku
Tokku is like a pickle that is usually made with grated vegetables. In pickles usually we use big chunks or pieces of vegetables. We always cook the thooku until the spread or paste consistency.
Tomato Thokku
Tomato Thoooku in pressure is a quick and instant method. Usually, to meet the thokku consistency we cook the vegetables for long cooking hours. Whereas in a cooker, It is really quick and you get a yummy thokku. Use juicy local tomato variety for the best thokku.
Why Tomato thokku in Pressure Cooker
Tomato thokku always takes time to cook. It is a slow-cooked dish. If doing it in a normal pan we might need to stir it once in a while to avoid the thokku from sticking to the pan. In a Pressure cooker it's an added advantage. No need to babysit the thokku. It gets cooked gracefully by itself.
You may also follow the same pressure cooker method in Instant pot or even in Mealthy Multi pot. The results are very much satisfying.
Ingredients for Tomato thokku:
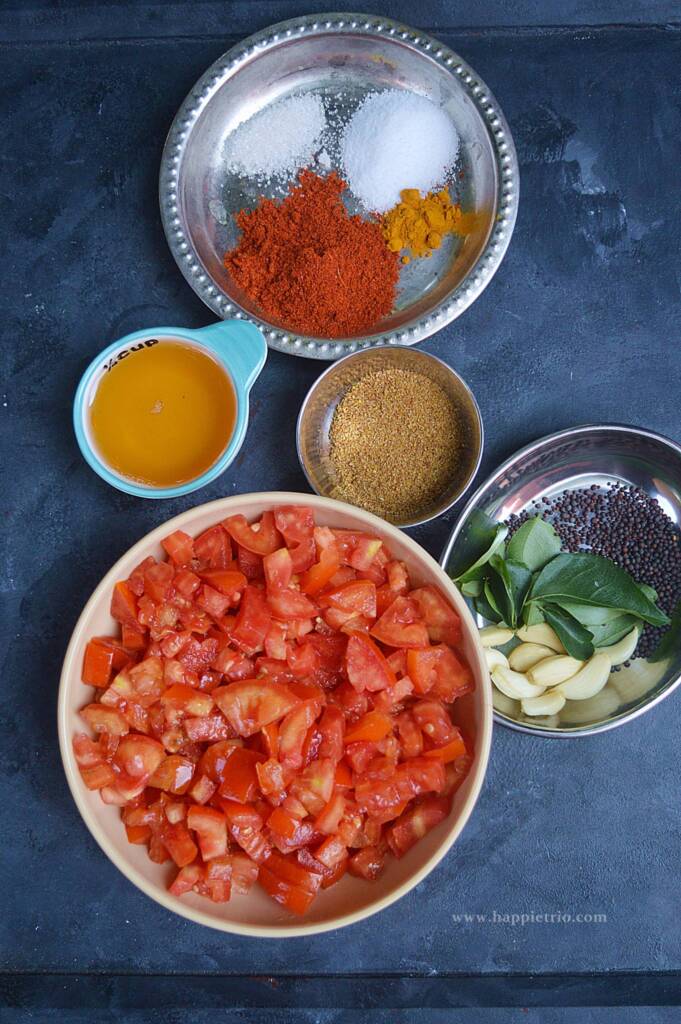
Tomato
Choose any juice variety tomatoes for thokku. I prefer the local tomatoes over the Bangalore variety as they are juicier. But you can use both based on availability. Avoid cherry tomato or any other small tomato variety.
Gingelly oil
Be it any pickle or relish close your eyes and blindly go for gingelly oil or sesame oil. It helps in improving the shelf like of the pickle. Also, it plays a major role in taste.
Garlic , Curry leaves
We use both garlic pods and curry leaves for flavor. You may also skip them if you do not prefer.
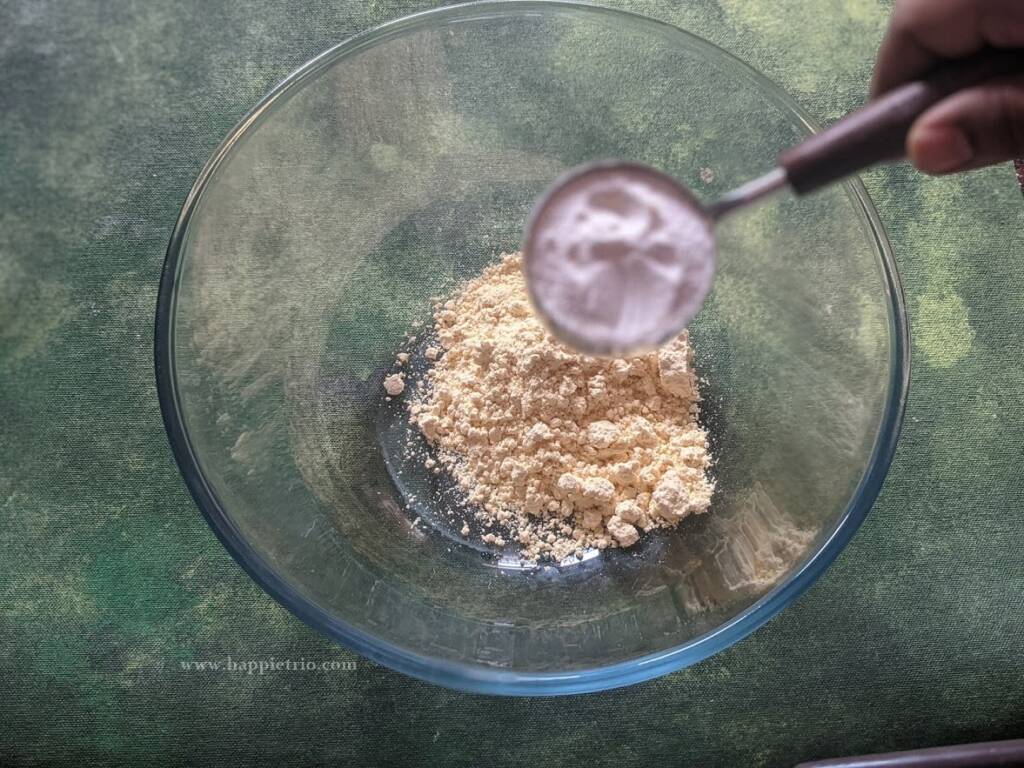
Fenugreek or Methi powder
Fenugreek powder gives the pickle flavor to the thokku and hence do not skip it. Add only the mentioned quantity not more than that. Adding more might bring in a bitter taste to the thokku.
If you do not have fenugreek powder. Just roast the whole fenugreek seeds for 5 mins on medium flame or till it give s a nice aroma. Cooldown and grind to a fine powder. You can use the same in all pickles.
Sugar or Jaggery
Always adding a small piece of jaggery balance the taste and bring in the best flavors. You can also add sugar for the same reason.
How to prepare Tomato Thokku in Cooker, Pictorial:
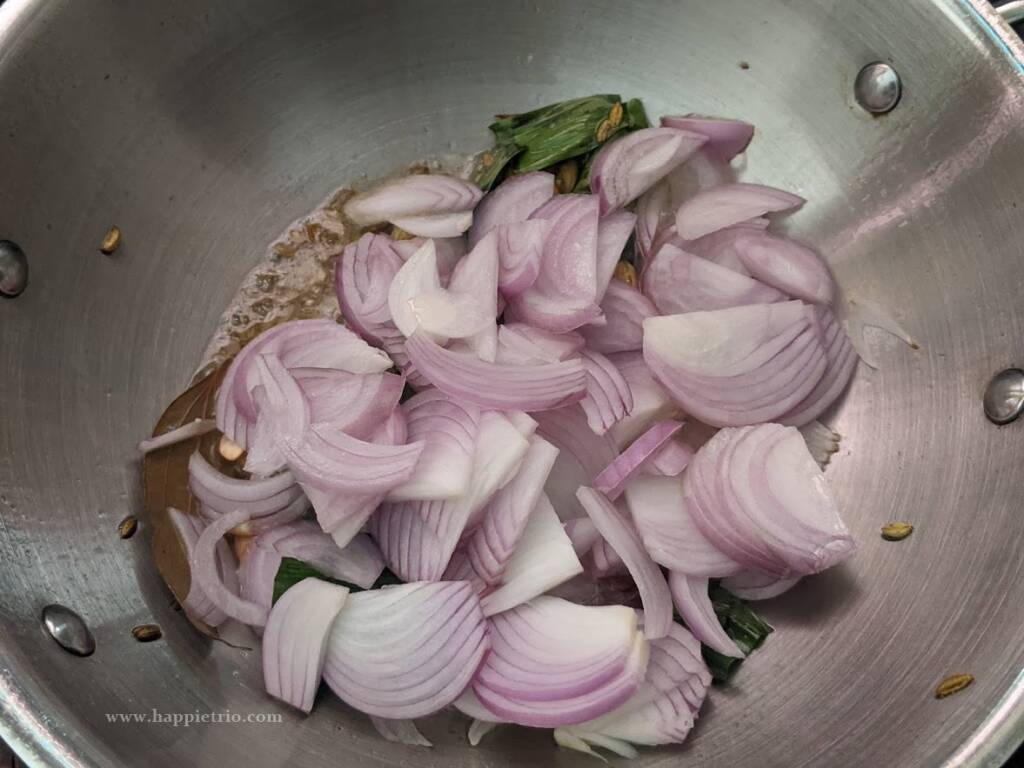
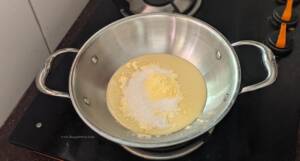
1) Heat ¼ cup of gingelly oil in a pressure cooker. I am using Idhayam mantra sesame oil for my thokku

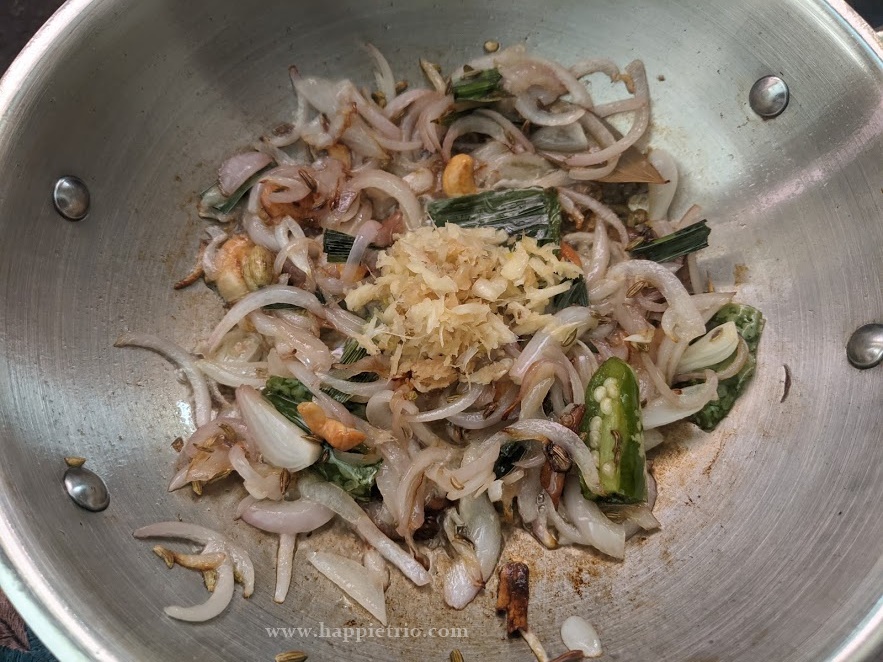
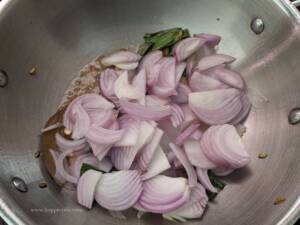
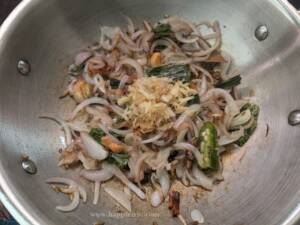
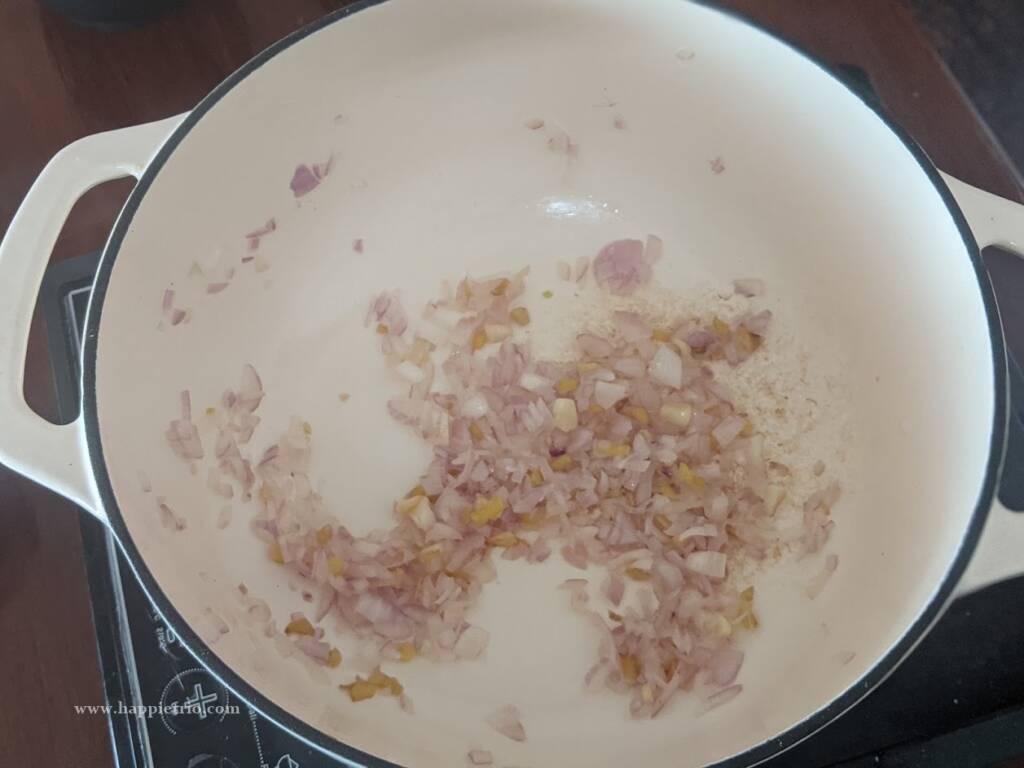
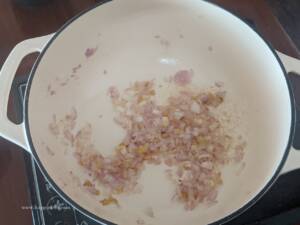
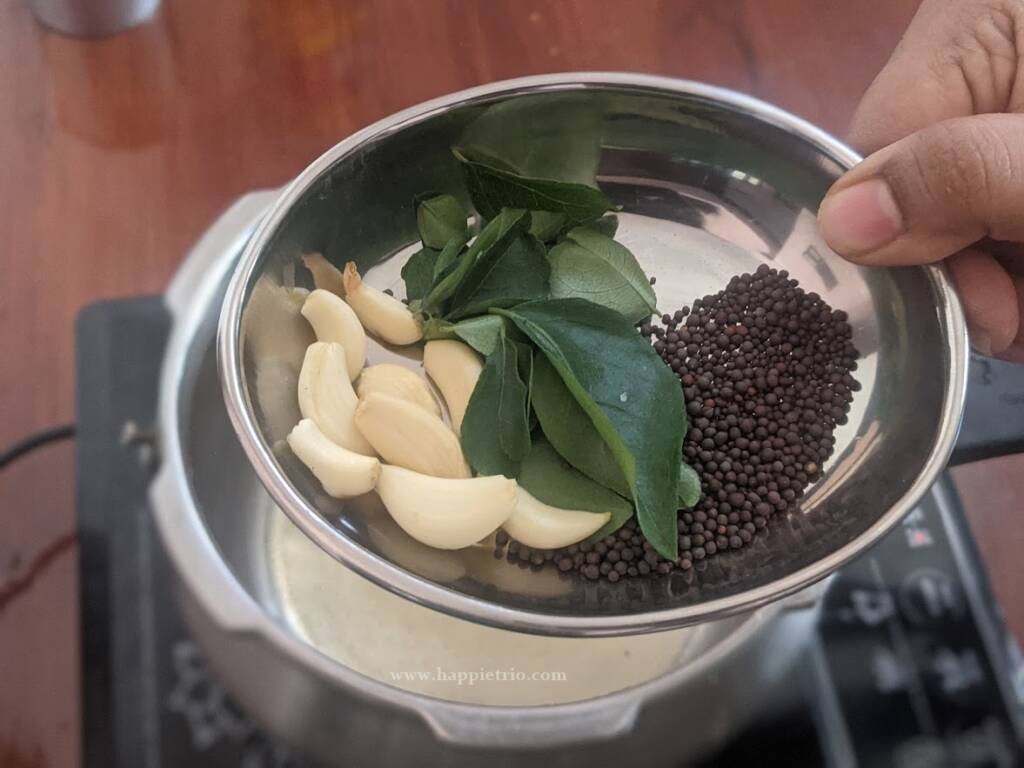
2) Once it's hot add in Mustard seeds let it splutter and then add in garlic pods and curry leaves.
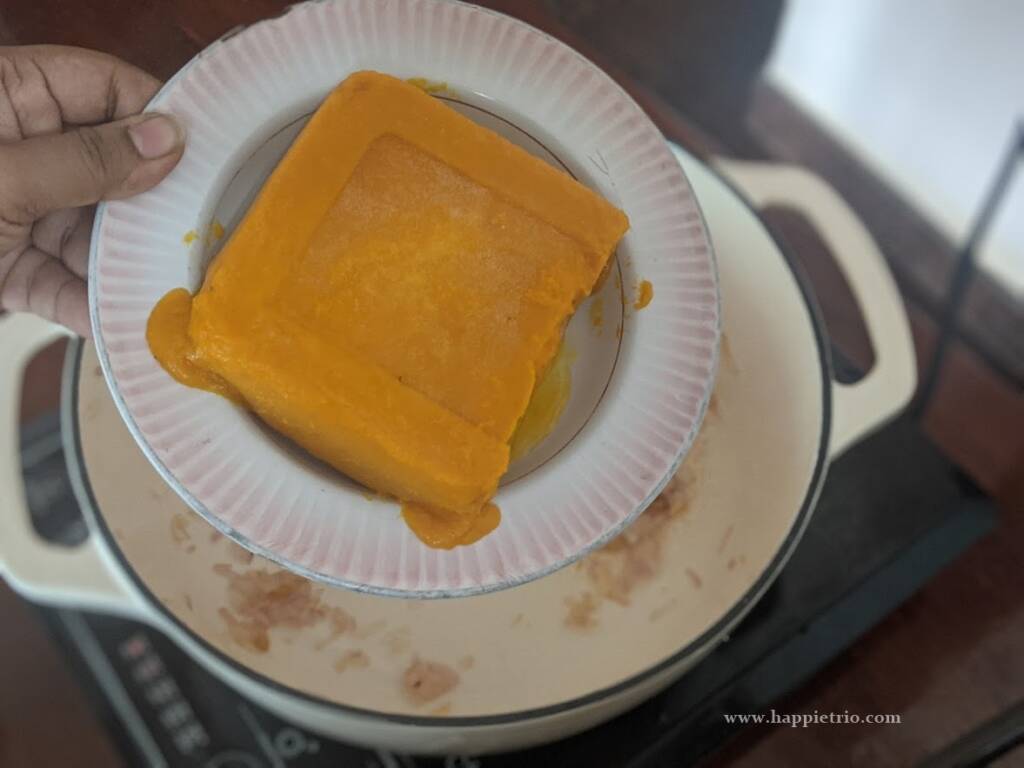
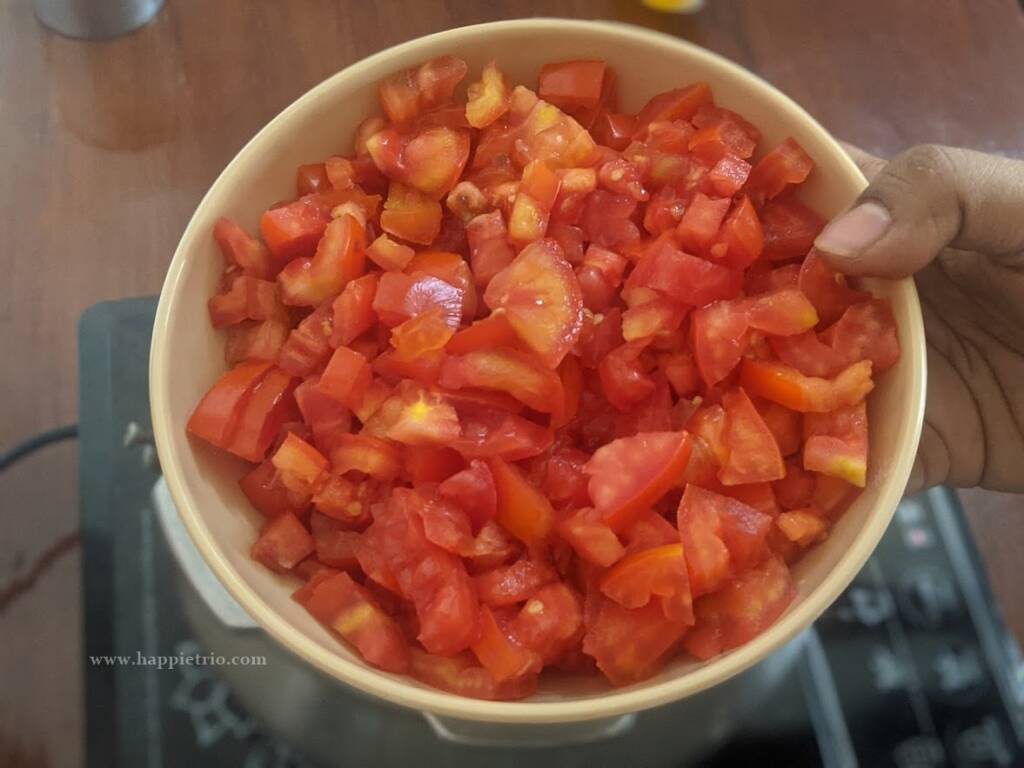
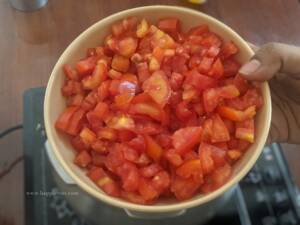
3) Next add in the chopped tomatoes. Saute for 2 mins.
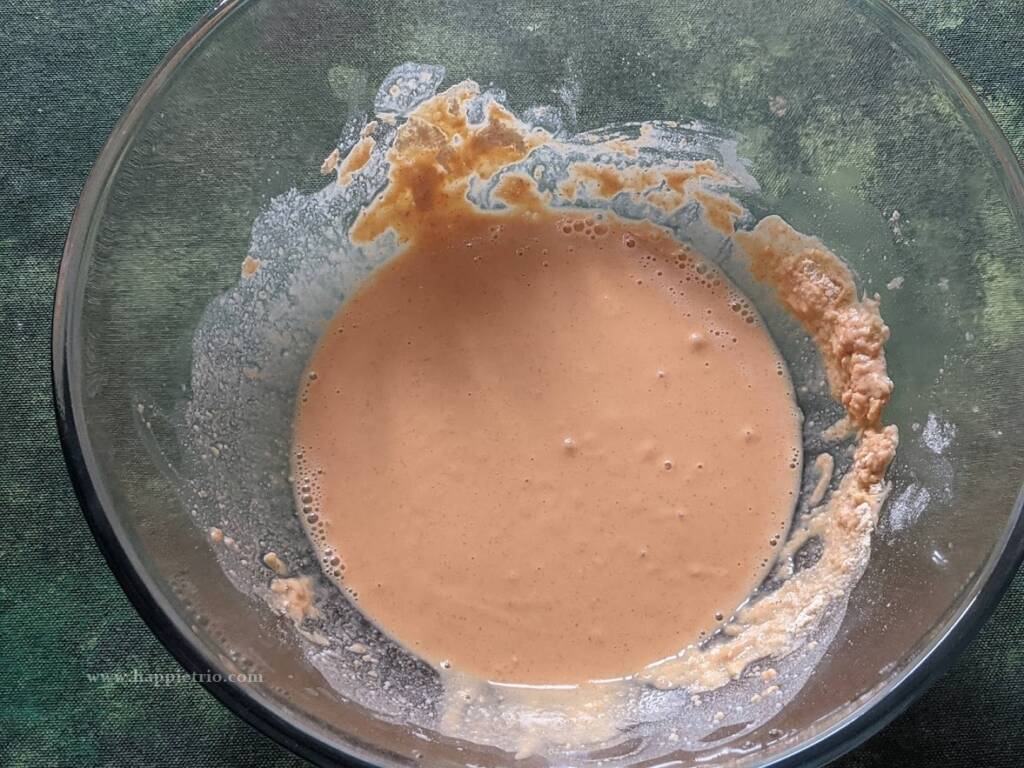
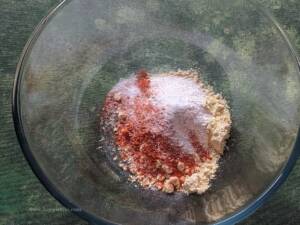
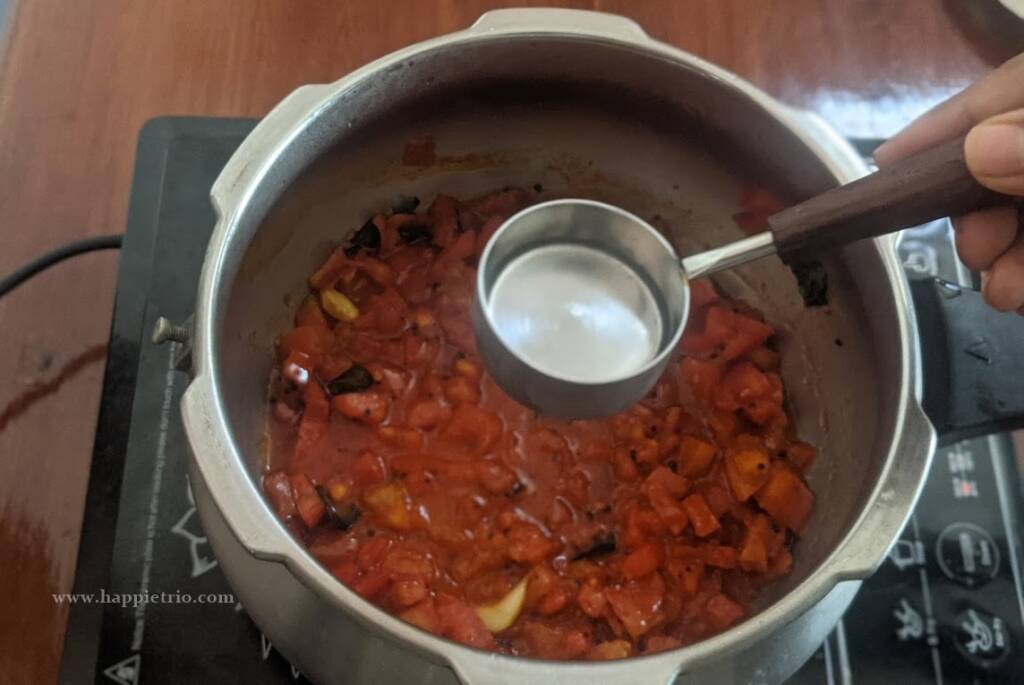
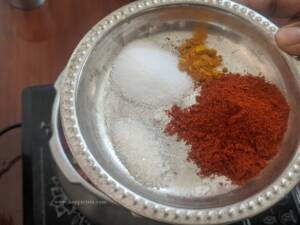
4) To this add in Red Chilli powder, Turmeric powder, and Salt. Also, add in sugar or Jaggery.

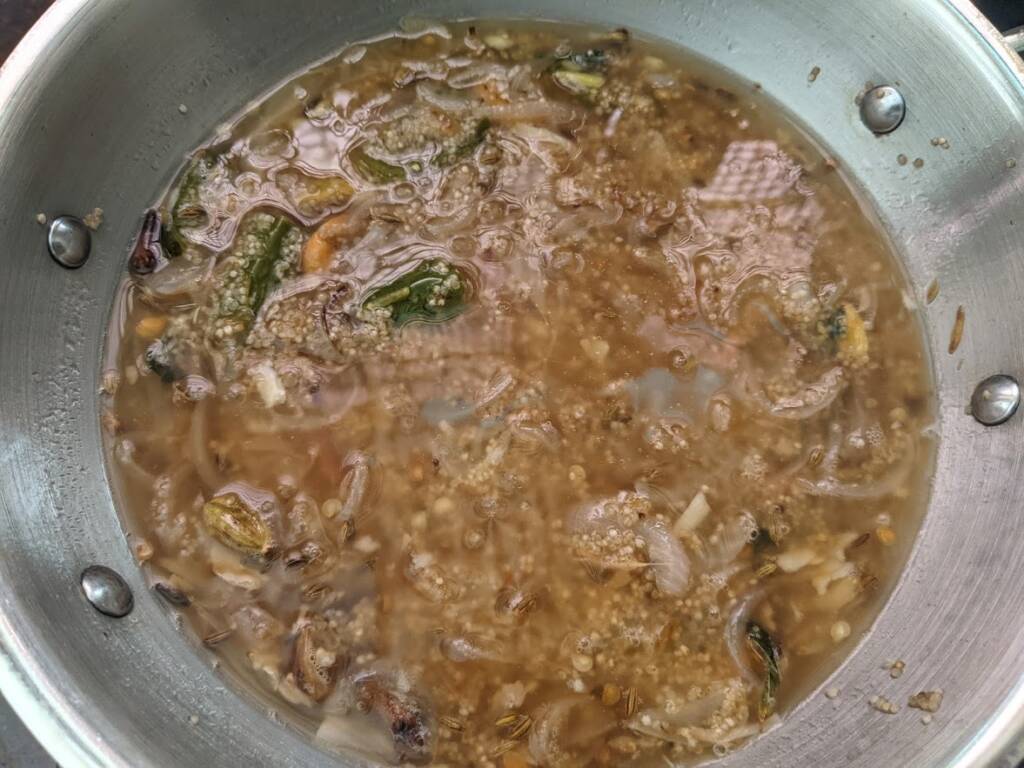
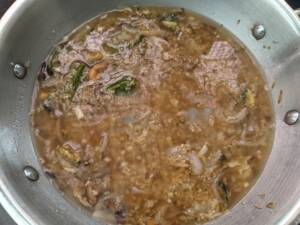
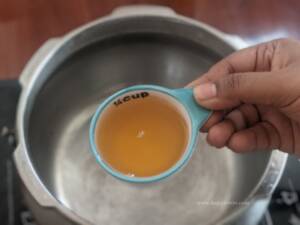
5) Now add in ¼ cup of water. Mix well and cook for a min and then close the pressure cooker. Close and pressure cook on a medium flame for 10 mins.
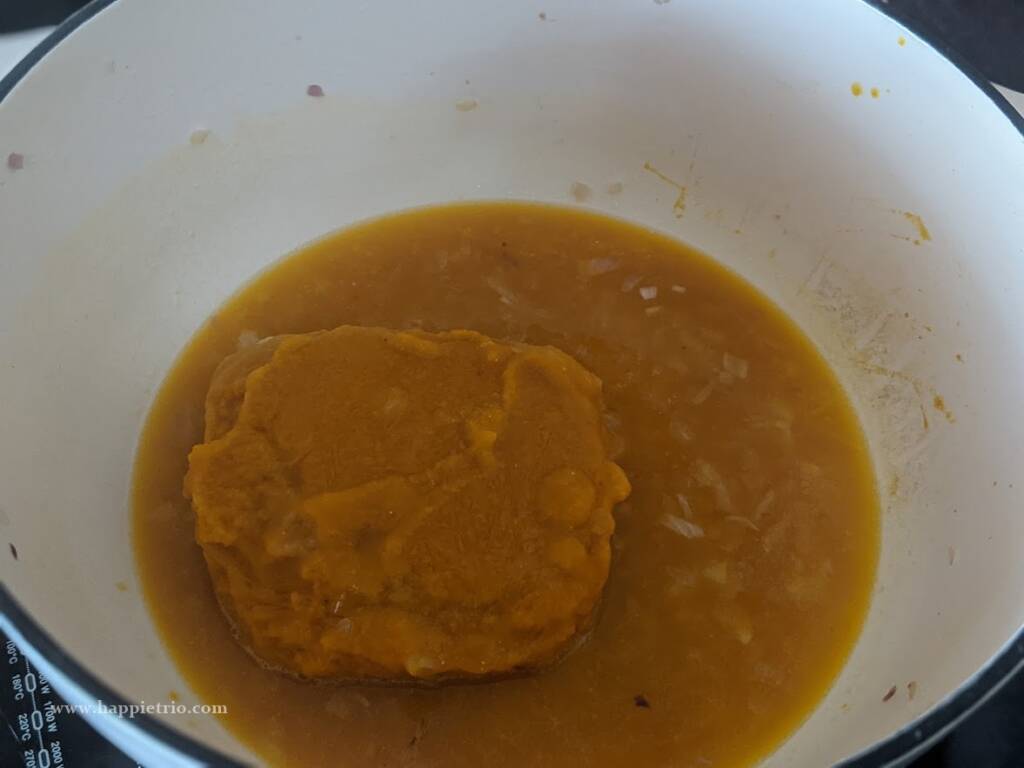
6) Wait till the pressure is completely released and then open the cooker.
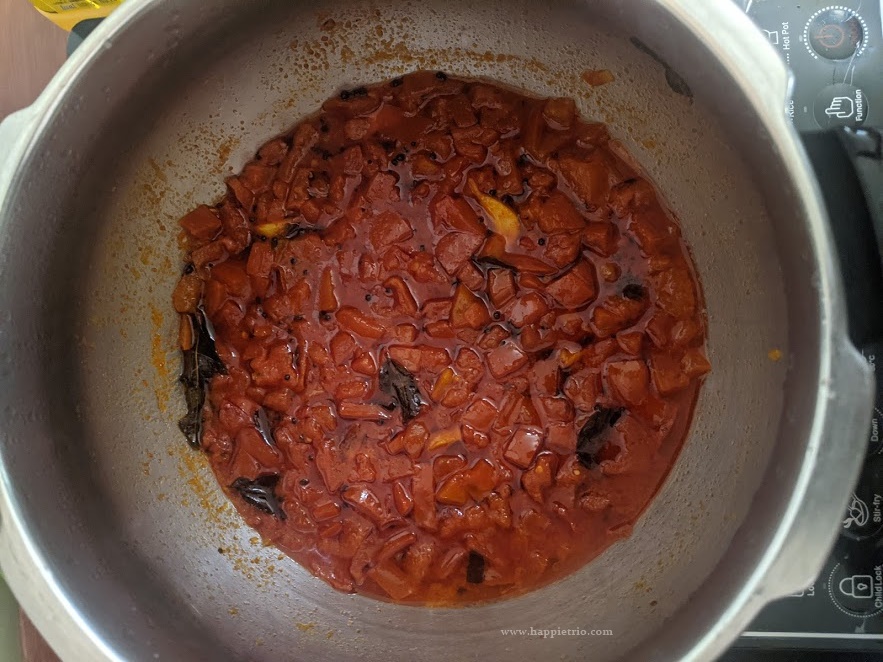
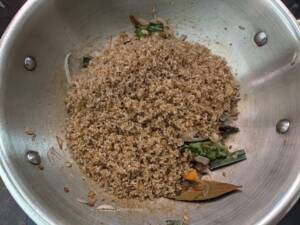
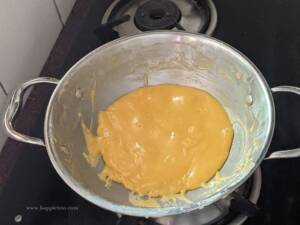
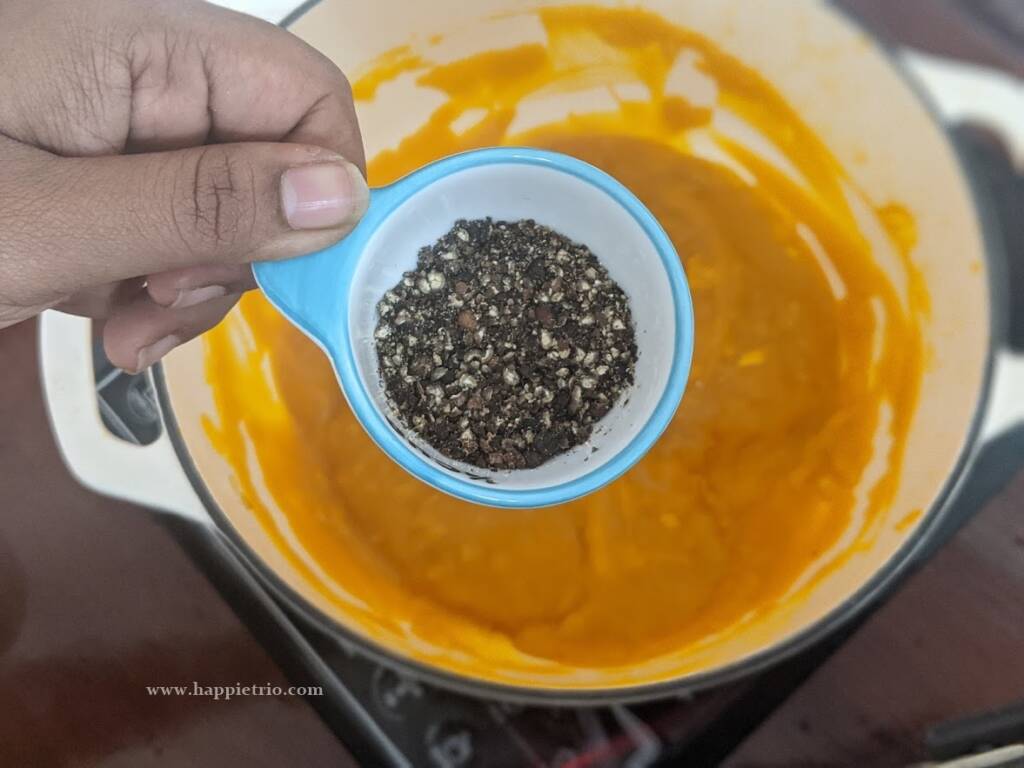
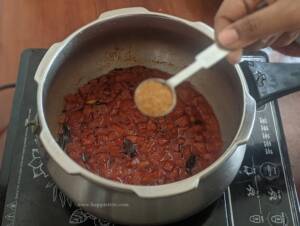
7) Add in ¼ teaspoon of fenugreek powder.
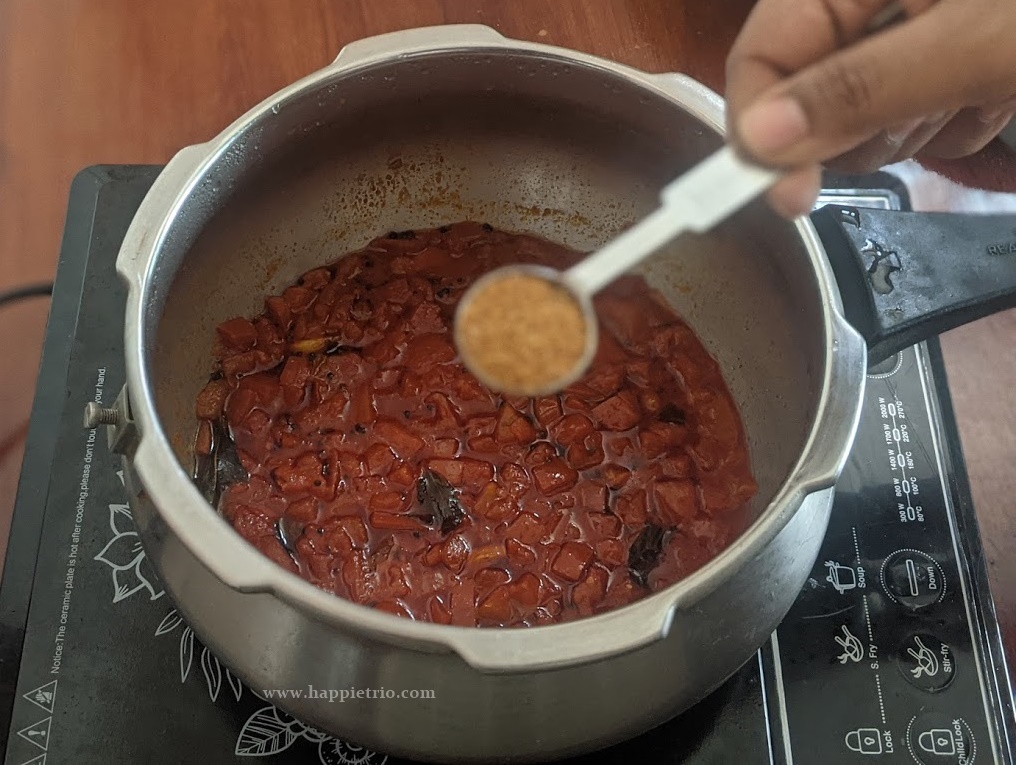
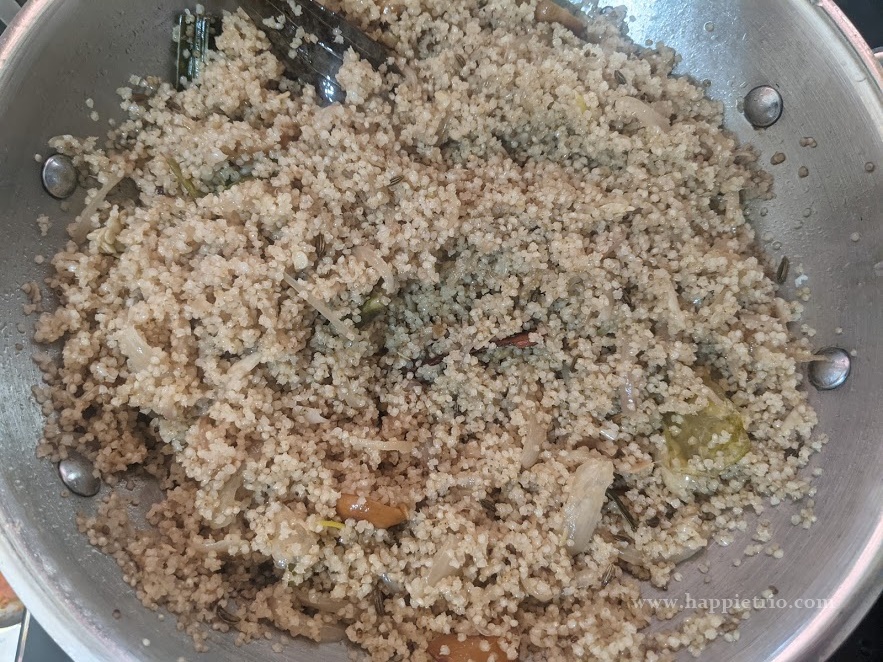
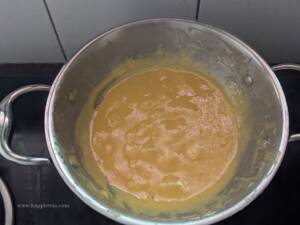
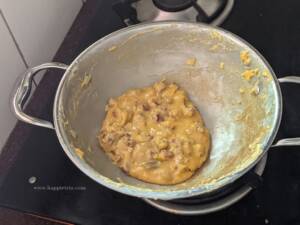
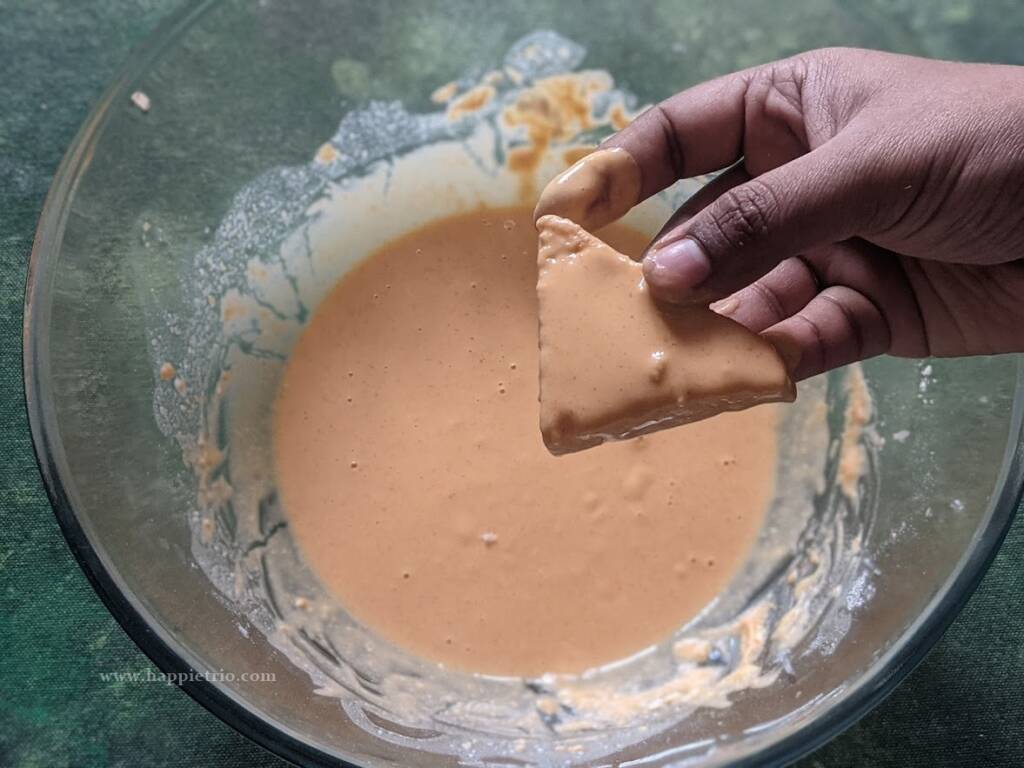
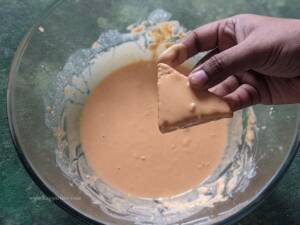
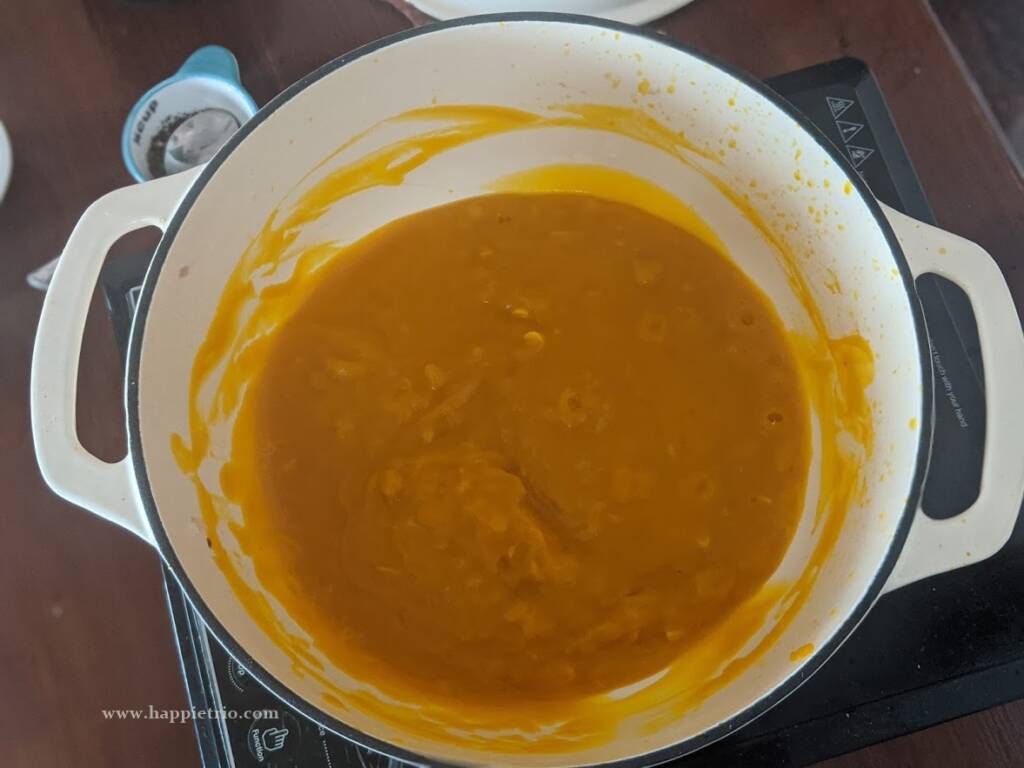
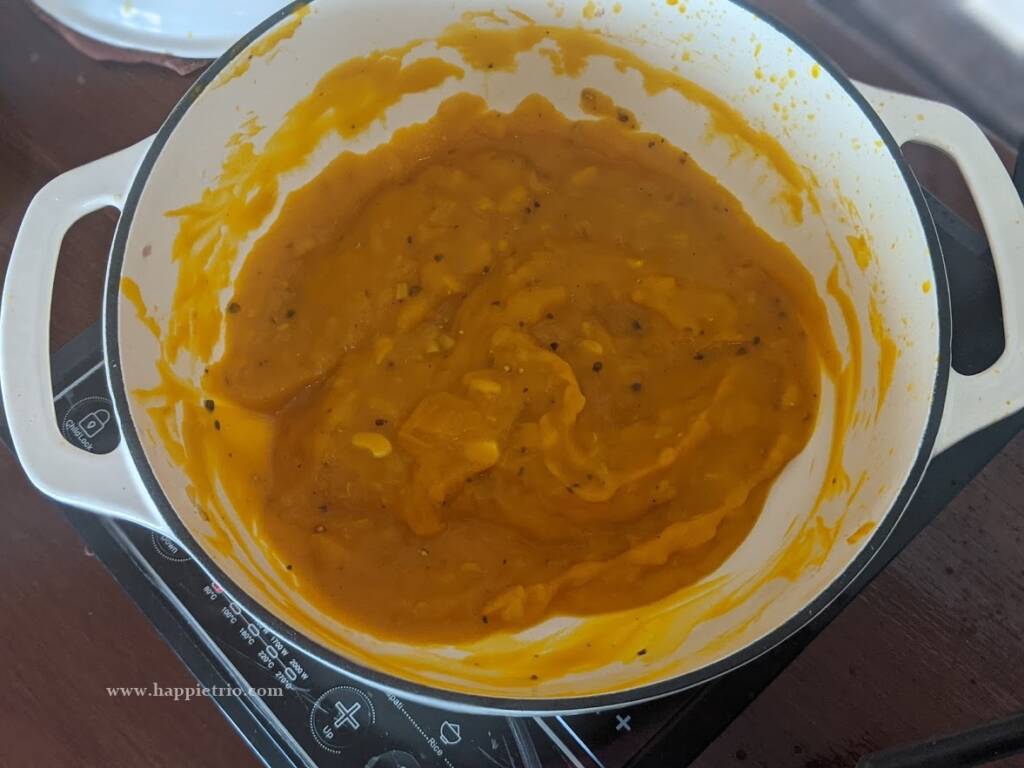
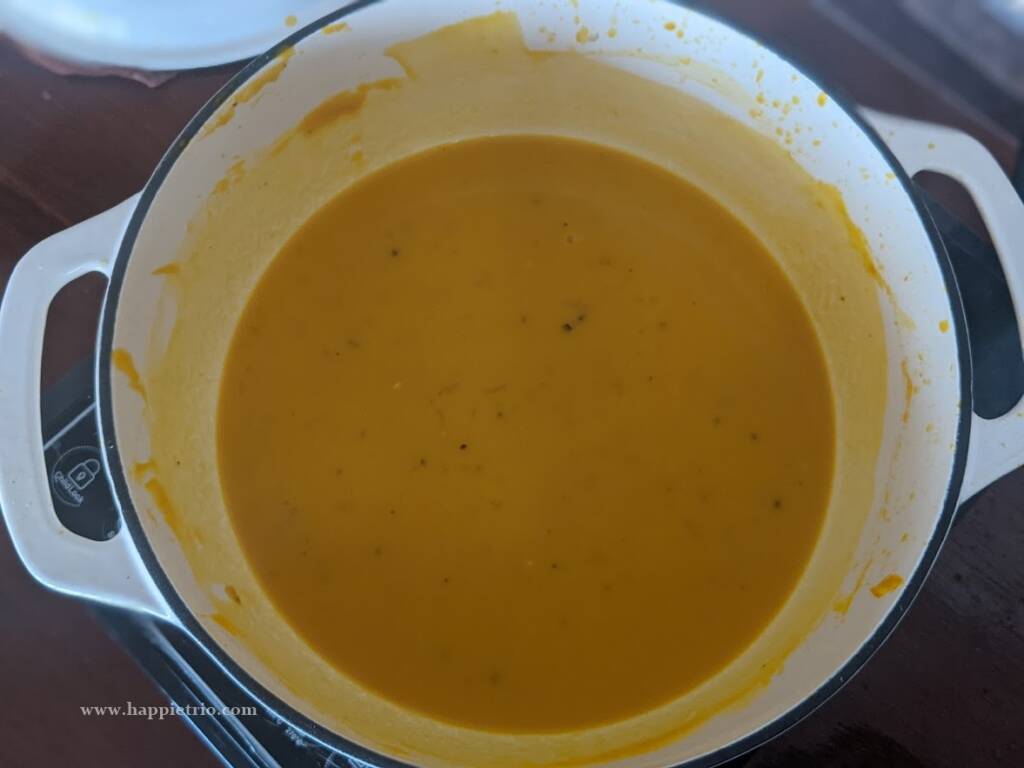
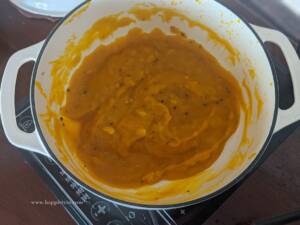
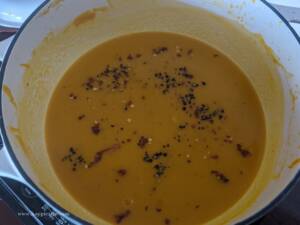
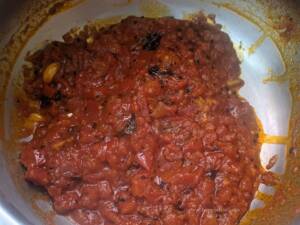
8) Mix well and cook till the thokku thickens and leaves oil on the sides.

Tips to prepare Tomato Relish:
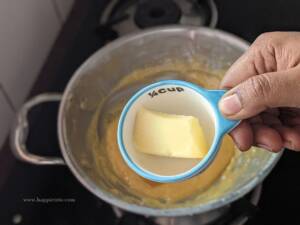
- You can add in a teaspoon of jaggery before switching off the flame. I am using sugar in the recipe. But you may also use jaggery
- Carry out the entire process in a low to medium flame.
- Use only gingelly oil for this recipe as it gives the required aroma and taste to the thokku.
- This thokku stays good for about a month if refrigerated. We can also store in a storage container and freezed.
- Use a clean spoon for it to stay good for a longer period.
- You may also use Hing or Asafoetida while doing the tempering. But then it will not be gluten-free I recommend adding it for a nice taste.
- If you are gluten intolerant you can skip Hing.
How to Store Tomato Thokku
- Store in a sterilized clean gloss bottle for longer shelf life.
- You can freeze it for up to a year.
- You can put it in the refrigerator for a month.
- Sesame oil in the thokku increases the shelf life and adds to the taste. So do not reduce it.
Similar Recipes:


Serving Suggestions:
- Goes well with Idli, Dosa, or Roti.
- You may also use it as a spread on bread for sandwiches.
- You can also mix and have it with Rice.
★ Did you enjoy this recipe? If you happen to try it out, I would love to hear from you! I’d appreciate it if you could rate and leave a review below in the comments. Your reviews help others know the recipe better too. Thanks for your time ?
You can also follow me on Facebook, Pinterest, Instagram, Youtube and Twitter for more updates
📖 Recipe
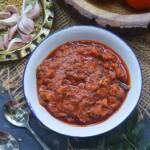
Tomato Thokku | Thakali thoku
Standard 1 cup measures 240 ml
Ingredients
- 6 Tomatoes
- 1.5 tablespoon Red Chilli powder
- ¼ teaspoon Turmeric powder
- ¼ teaspoon Fenugreek powder
- 10 Garlic pods
- Salt as needed
- ¼ cup Gingelly Oil
- 1 teaspoon Mustard seeds
- 1 spring Curry Leaves
Instructions
- Heat ¼ cup of gingelly oil in a pressure cooker.

- Once it's hot add in Mustard seeds let it splutter and then add in garlic pods and curry leaves.
- Next add in the chopped tomatoes. Saute for 2 mins.
- To this add in Red Chilli powder, Turmeric powder, and Salt. Also, add in sugar or Jaggery.
- Now add in ¼ cup of water. Mix well and cook for a min and then close the pressure cooker. Close and cook on a medium flame for 10 mins.

- Wait till the pressure is completely released and then open the cooker.
- Add in ¼ teaspoon of fenugreek powder.

- Mix well and cook till the thokku thickens and leaves oil on the sides.


Video
Notes
- You can add in a teaspoon of jaggery before switching off the flame.
- Carry out the entire process in a low to medium flame.
- Use only gingelly oil for this recipe as it gives the required aroma and taste to the thokku.
- This thokku stays good for about a month if refrigerated if stored in a storage container and freezed.
- Use a clean spoon for it to stay good for a longer period .
Nutrition
Disclaimer: I am not a nutritionist , the nutrition value provided here is an estimate.It will vary based on the quantity and brands of the products used.
Note: This post is originally from 2016. Its now updated with new Recipe card, Pictures now.