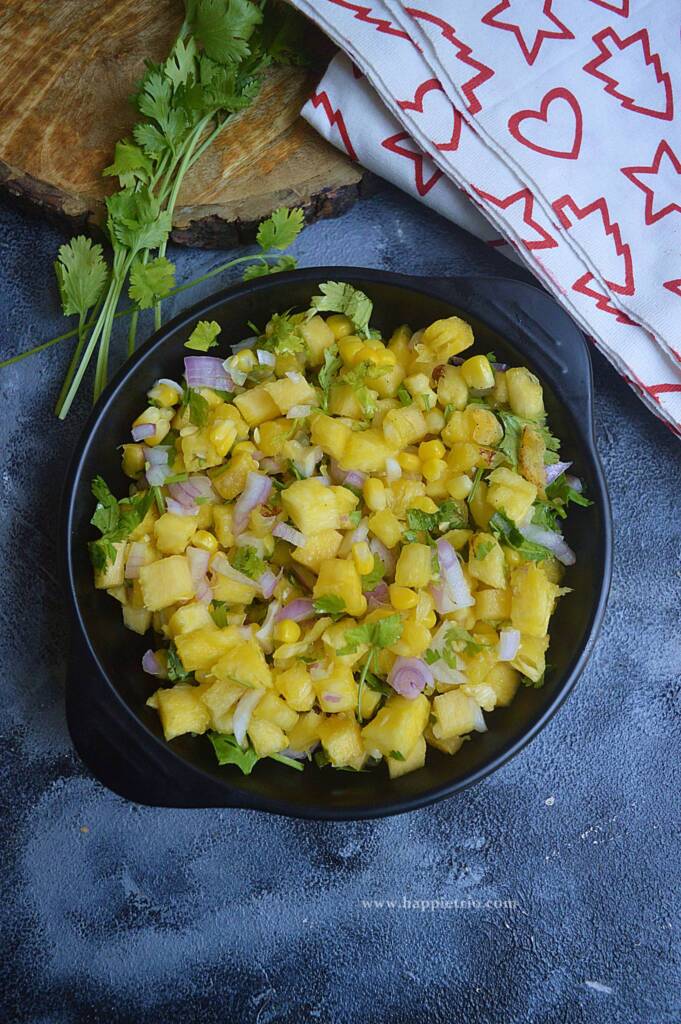
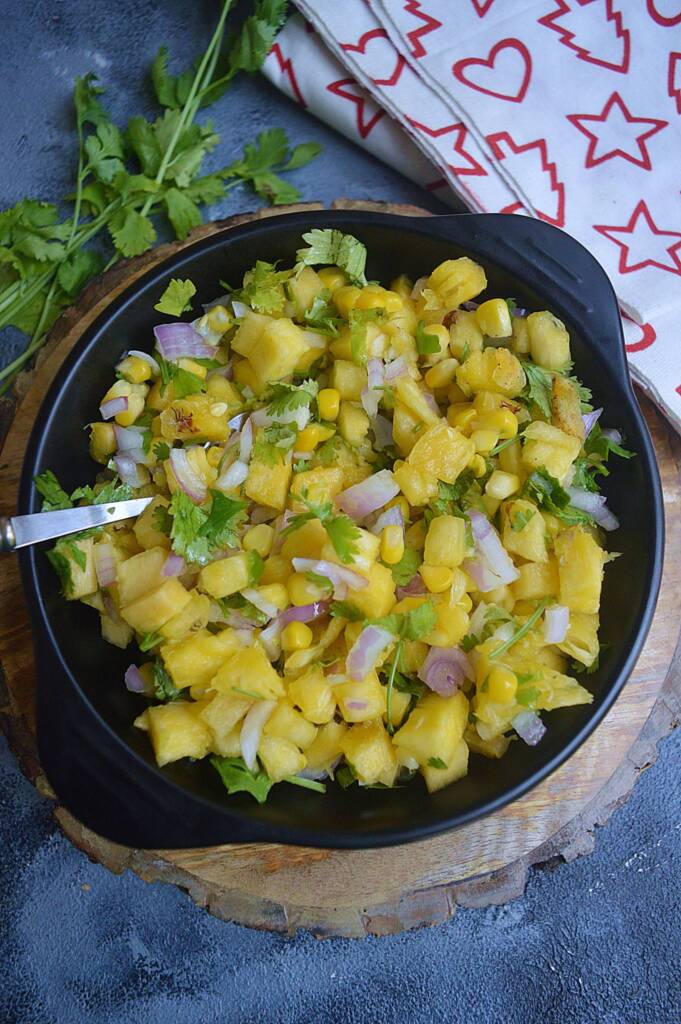
Pineapple Salsa is a colorful summer dish that goes well with tortilla chips. It has a vibrant mix of flavors from various ingredients.
Summer always calls for some bright-colored and easy to put up food. The salsa definitely fits in the curve.
The best thing about salsa is it gets ready in minutes. No cooking, No soaking, and less time in the kitchen.
Techinally you get a tasty meal delivered in less than 10 mins. You can do the prep work ahead to save the 10 mins as well. Chop the fruits and veggies mix well and salsa is good to go.
I have this habit of doing Intermittent Fasting at times and on those days my dinner will be at 5 pm. Many a day's Pineapple Salsa was my meal. I used to look forward to such an easy to dump and go meal. It is more comfortable and convenient indeed.
[feast_advanced_jump_to]What is Pineapple Salsa
Pineapple Salsa or Pineapple Sweet corn Salsa is an easy-to-make dish. All you need is some fruits and veggies and you are on it. The only difficult part I feel is the peeling and chopping of pineapple. It is not as difficult it is. It is just a 10mins job.
Prep and chop the ingredients, you can easily make a restaurant-style Mexican Pineapple Salsa at the home easily.
The best thing about recreating the restaurant-style dish is that you can very well modify it. Increase or decrease the ingredients as per your taste.
Tips to Prepare a Good Salsa
- If you like your salsa ever more spicy increase the Jalapeno
- Always add the lemon juice , just before you serve.
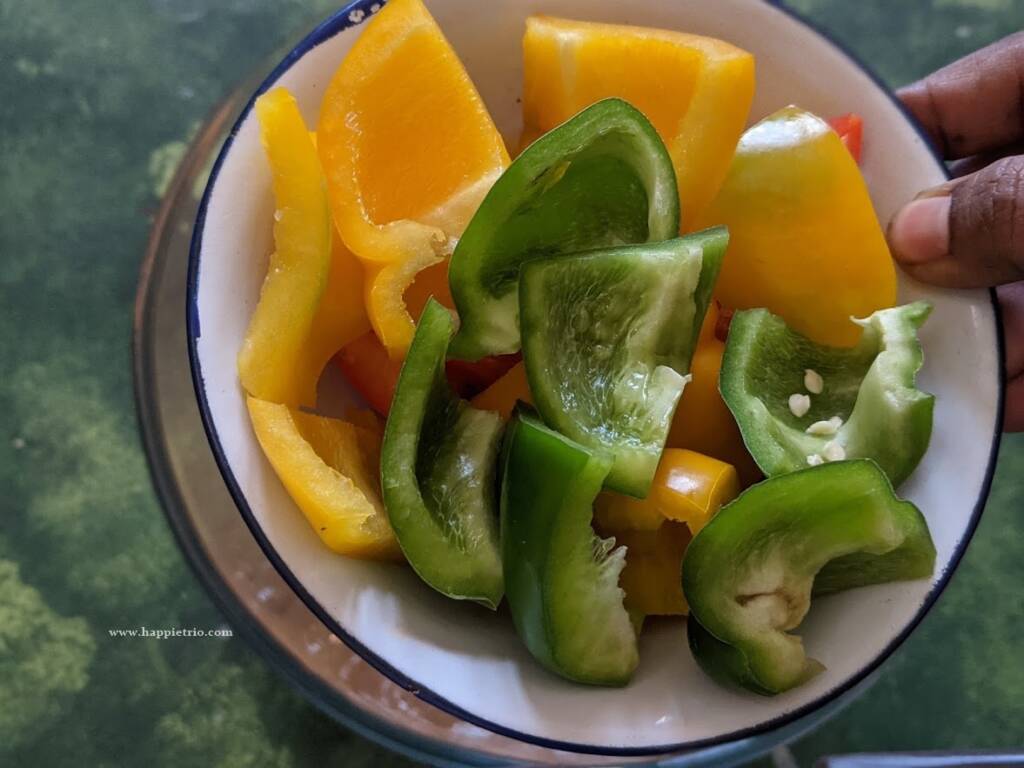
- You may also add Bell pepper or Capsicum for a colorful salsa.
Ingredients for Pineapple Salsa
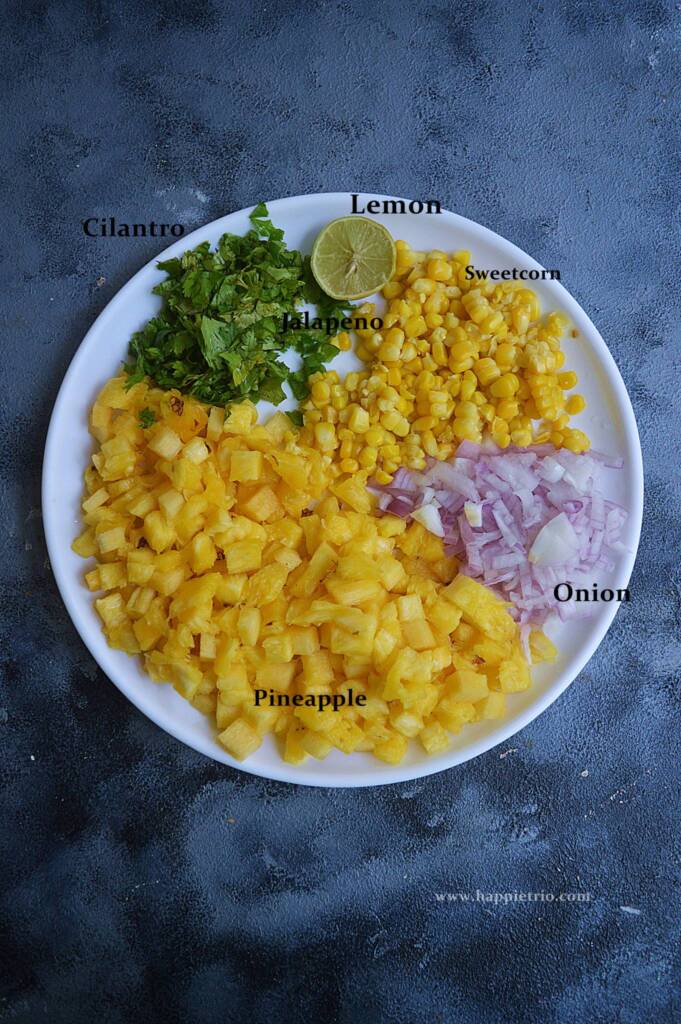
Pineapple - Use good quality sweet pineapples. Sweet pineapple and a spicy jalapeno balance the taste always.
Sweetcorn - Adding sweetcorn is optional though. You may also skip it. I like the taste together as a whole with sweetcorn. If you prefer a more colorful sala. Add some colored bell pepper.
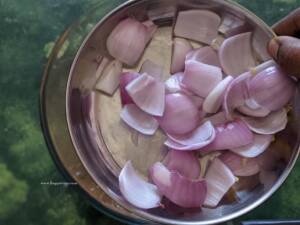
Onion - Use Red onion or White onion as you prefer. Red onions are slightly strong but when mixed with everything the taste balances.
Cilantro - Add finely chopped Cilantro or parsley.
Jalapeno - Use deseeded Jalapeno. Adjust as per your spice levels.
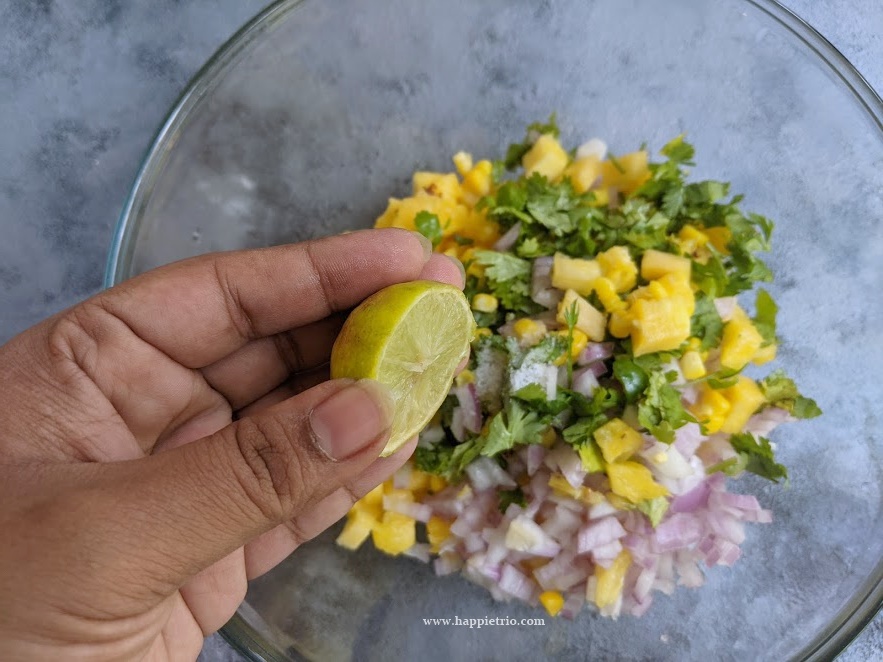
Salt & Lemon Juice - Always use Salt and lemon juice just before serving. Else it may leave the water and spoil the taste.
How to Prepare Pineapple Salsa
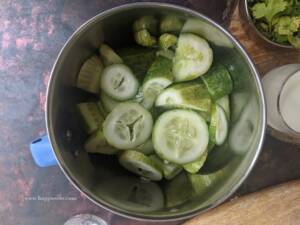
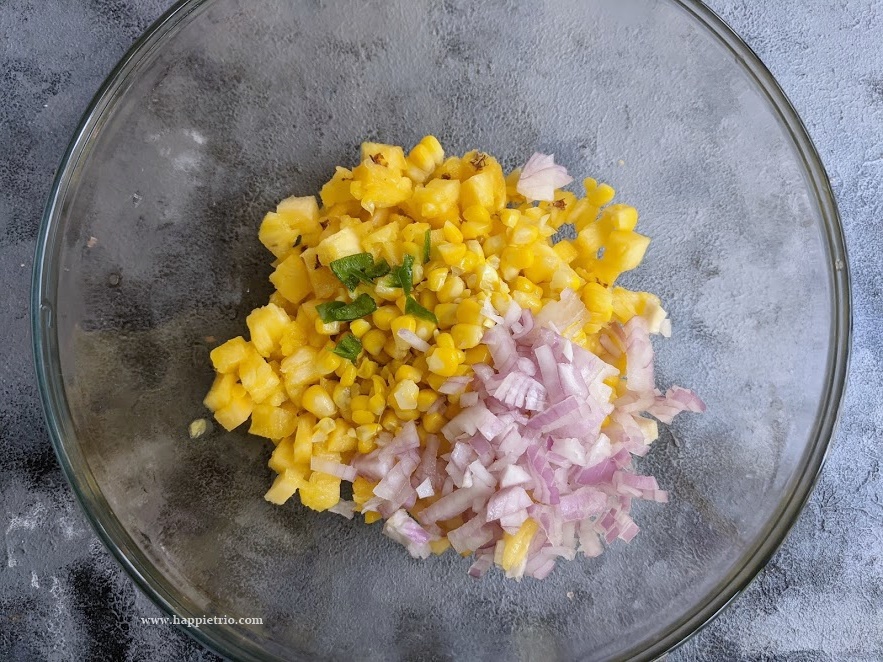
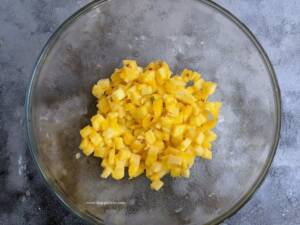
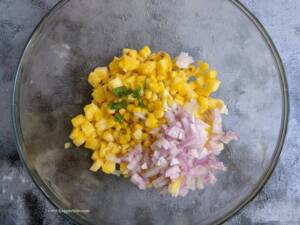
1. In a mixing bowl add in the chopped Pineapple. Use a medium sized pineapple. I am using around 3 cups of Chopped Pineapple.

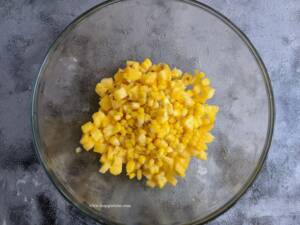
2. Next add in ½ cup of sweet corn kernels. Adding sweet corn to pineapple salsa is optional but it adds to the taste.

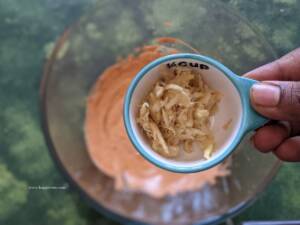
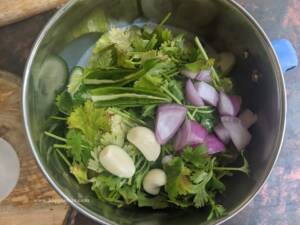
3. Next add in ⅓ cup of finely chopped onions and 1 teaspoon of deseeded and chopped Jalapeno.
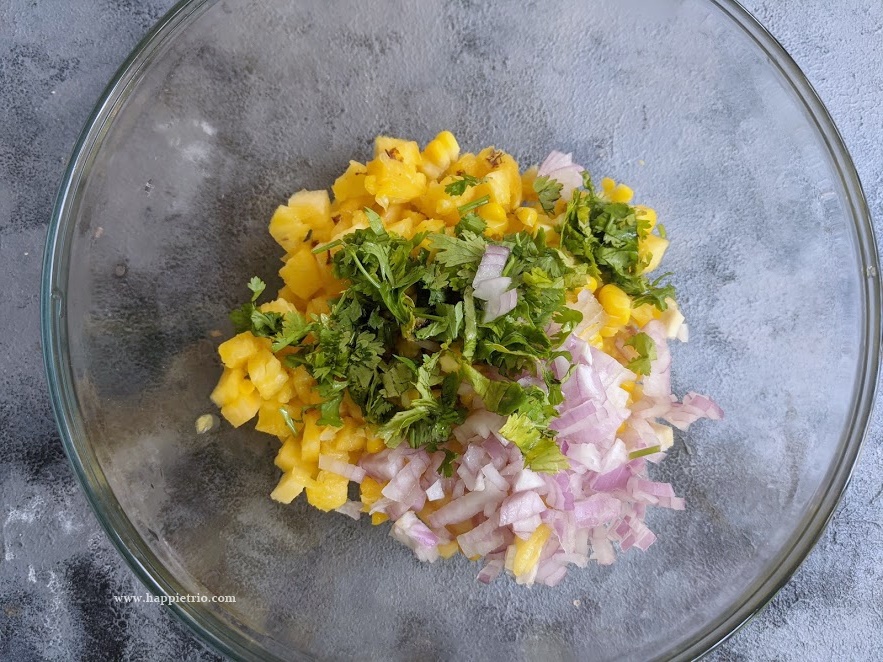
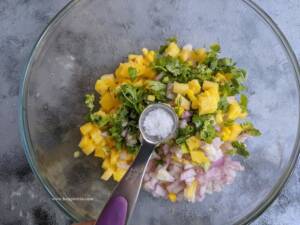
4. Now add in the ½ cup of finely chopped Cilantro or Coriander leaves. You may replace Cilantro with finely chopped parsley too.
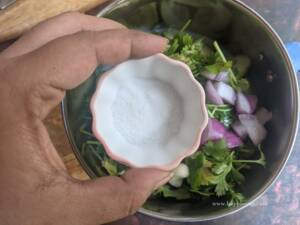
6. Finally add in the Salt to taste.

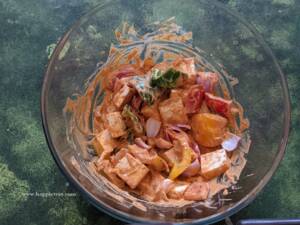
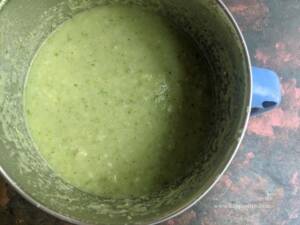
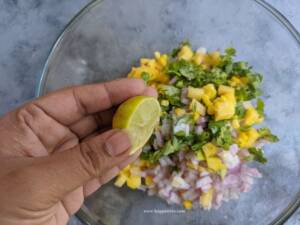
7. Drizzle in the lemon juice and toss everything for even mixing. Pineapple salsa is now ready to serve.
Serving Suggestion
Tastes best with Tortilla Chips. Usually, the salsa is topped on the chips and then enjoyed for best taste.
How to Store a Pineapple Salsa
Instead of storing the salsa together. I suggest chopping the fruits and vegetables separately and store in freezer containers. Just before serving mix everything add in the required salt and drizzle in lemon juice and serve.
Adding salt ahead might leave the water. So always add Salt and lemon juice just before you serve.
Similar Summer Recipes:


★ Did you enjoy this recipe? If you happen to try it out, I would love to hear from you! I’d appreciate it if you could rate and leave a review below in the comments. Your reviews help others know the recipe better too. Thanks for your time ?
You can also follow me on Facebook, Pinterest, Instagram, Youtube and Twitter for more updates
📖 Recipe

Pineapple Sala
Standard 1 cup measures 240 ml
Ingredients
- 3 cups Pineapple Chopped into cubes
- ½ cup Sweet Corn
- ⅓ cup Onion
- ½ cup Cilantro Loosely packed and Finely chopped
- 1 teaspoon Jalapeno chopped & de seeded
- 1 tablespoon Lemon Juice
- Salt to taste
Instructions
- In a mixing bowl add in the chopped Pineapple.

- Next add in sweet corn kernels. Adding sweet corn to pineapple salsa is optional but it adds to the taste.
- Next add in ⅓ cup of finely chopped onions and 1 teaspoon of deseeded and chopped Jalapeno.
- Now add in the finely chopped Cilantro or Coriander leaves. You may replace Cilantro with finely chopped parsley too.
- Finally add in the Salt.
- Drizzle in the lemon juice and toss everything for evenmixing. Pineapple salsa is now ready to serve.

Nutrition
Disclaimer: I am not a nutritionist , the nutrition value provided here is an estimate.It will vary based on the quantity and brands of the products used.