Chocolate Covered Dates with Almonds is a perfect vegan and gluten-free edible candy. It is a very popular Middle East candy, especially during Eid.
Homemade Candies are always fun. That too recreating a delicious and popular candy is something which I love. Last time I made my own Honey Roasted Almonds and this time, my take is one of the popular Chocolate covered dates stuffed with Almonds.
[feast_advanced_jump_to]Chocolate Covered Dates
Chocolate-covered gifts a perfect gifting option during festivals. They are so easy and quick to prepare but look elegant. Store-bought ones might be expensive but they are so easy to prepare than it looks and sounds. Whenever you have some sweet cravings this might be a perfect option.
What are Medjool Dates
Medjool dates are a type of dates that are very common. They are rich and have a caramel-like taste. These Dates are sweeter and stickier taste and texture compared to others. They are also high in calories and rich in nutrients and have many health benefits.
How to Melt Chocolate
We can melt chocolate in various ways. You can use the popular double boiler method , you can melt in microwave and, infact you can use your Instant Pot.
Double Boiler Method
For melting chocolate in a double boiler method. Heat a sauce pan with water bring the water to a boil and then simmer. Now place a heat safe bowl on top and add in the chocolate.
Stir gently as the chocolate starts melting. Make sure your bowl on top do not touch the water. The steam from the water helps in melting the chocolate.
This is one of the safest method and this prevents your chocolate from burning too. If you do not have an Instant Pot you can definitely try this version for melting chocolate.
MICROWAVE METHOD.
Add the chocolate to a microwave safe bowl and heat for 1 min. After 1 min stir and put the chocolate back to the microwave for 30 secs. Continue this until the chocolate melts completely. Make sure yow microwave is in a low power to prevent burning.
Instant Pot Method
Turn on the Instant Pot in saute mode and add 1 cup of water to the inner steel pot. Bring the water to boil. Once the water starts boiling , Press cancel button and then press the keep warm button.
Now place a heat safe bowl on top of the Instant Pot and add in the chocolate. Stir gently as the chocolate starts to melt. Make sure your Instant pot is in keep warm mode till you finish dipping the Almonds in the chocolate
I personally feel this is the safest method to melt chocolate as we work on the keep warm mode and its easy to handle. There is no fear of the chocolate getting burnt.
TIPS FOR MELTING CHOCOLATE
- Never ever add water as you melt the chocolate. Chocolate will not coat the objects and it behaves differently if you add water. (I have personally experienced this and laughed at me for spoiling the chocolate)
- Always use equal sized chocolate pieces as you melt. This helps the chocolate melt evenly.
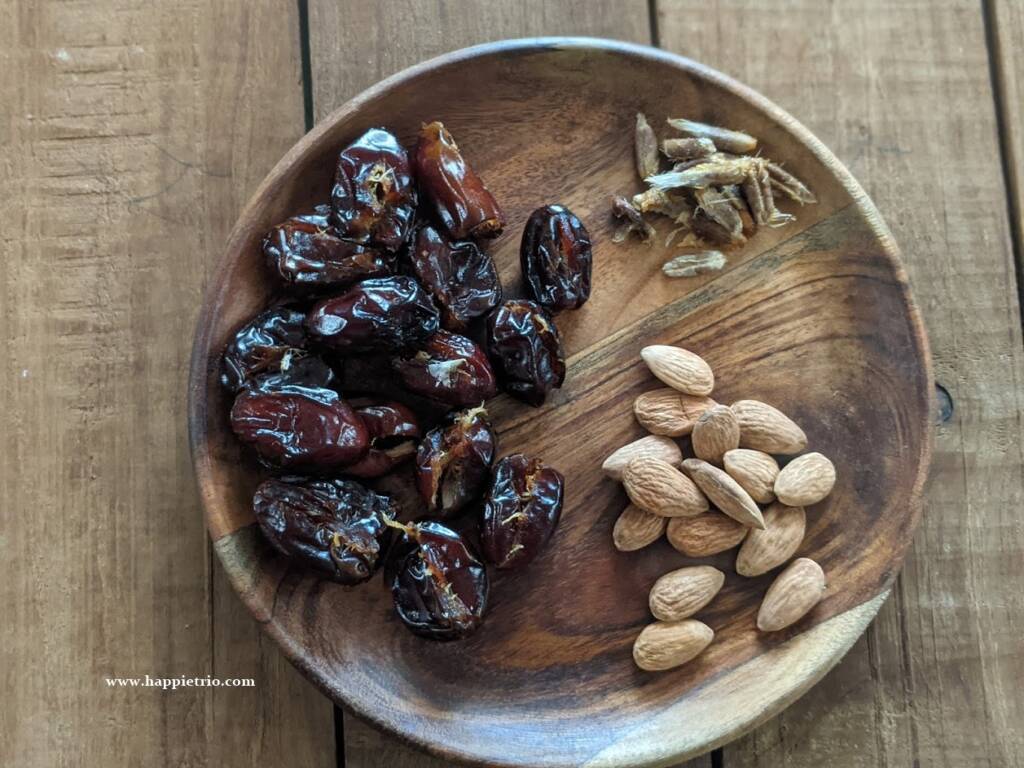
Ingredients

Dates -You may use any good quality dates. But I prefer Medjool dates for their tastes and texture.
Almonds - Use good quality fresh Almonds. If you have roasted Almonds you can add them directly in melted chocolate. If not toast and then add. You may toast either in oven or in stove top. Make sure you use unsalted Almonds.
Chocolate - Use any cooking chocolate it can be semi sweet , bitter or milk chocolate. My personal favorite is dark chocolate. You may also try chocolate chips or Melting wafers.
Toppings - I am using Sugar balls and sprinkles for garnish. However it's optional you may use any as per your preference and availability. You may use Rose petals, Crushed Almonds or Crushed pistachios, or even any toasted nuts.
How to Prepare Chocolate Covered Dates, Pictorial
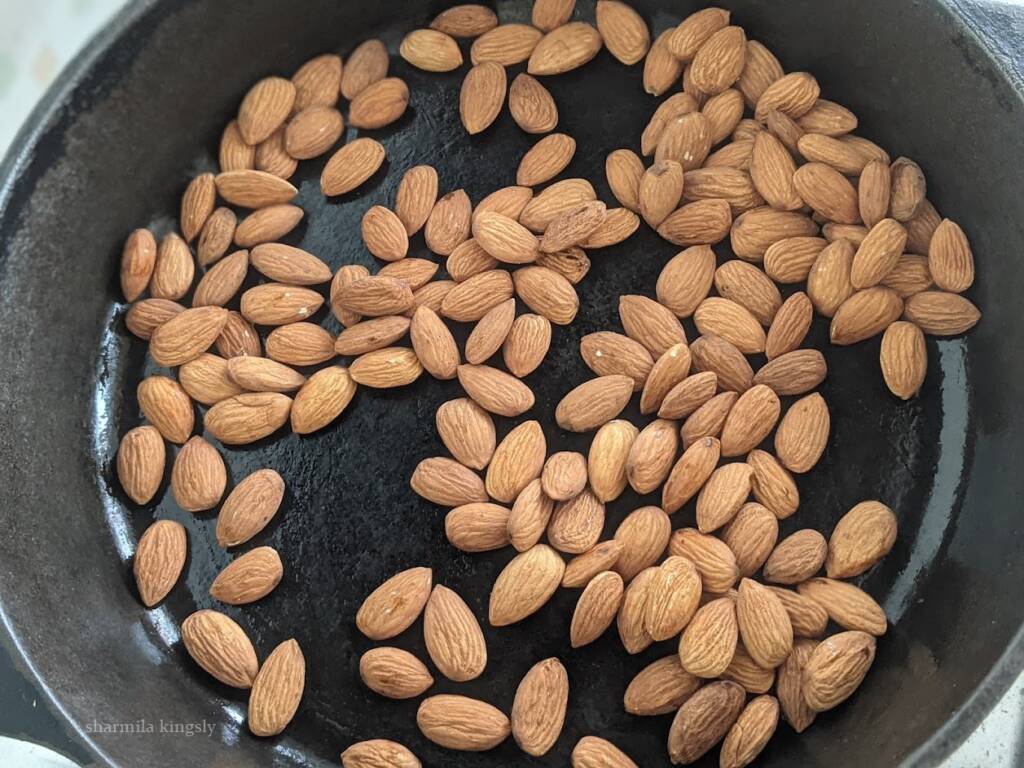
1. In a cast iron pan dry roast the almonds in a low flame for 5 - 8 mins. Alternatively you can roast in oven. If you are using roasted Almonds you may skip this step.
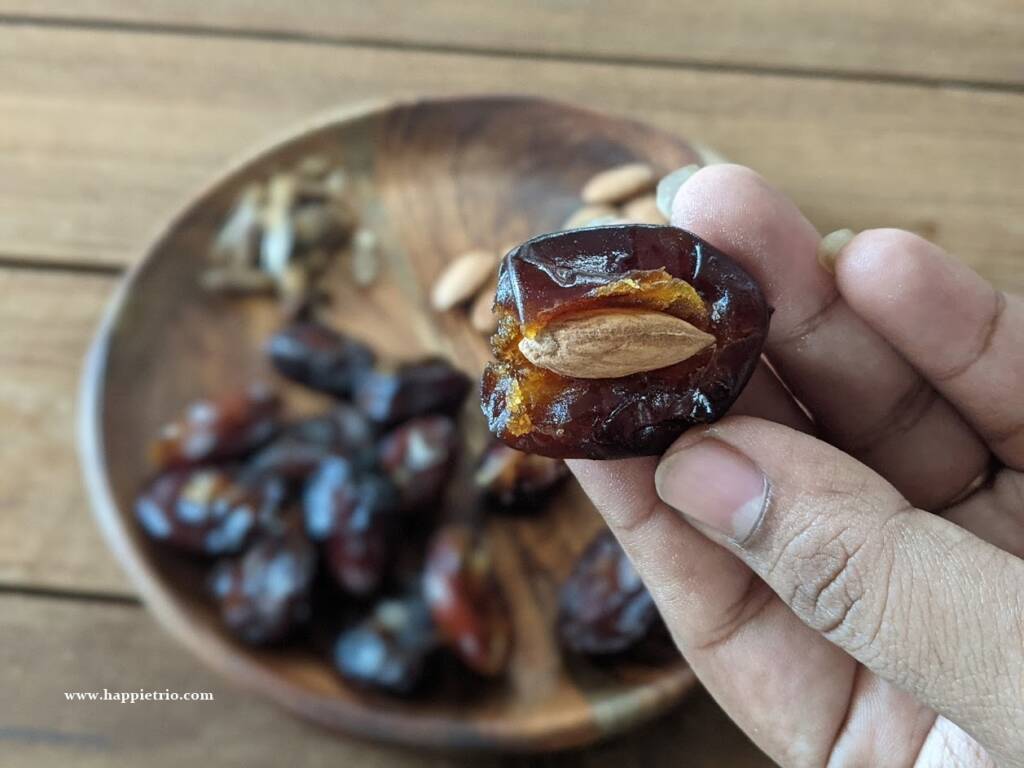
2) Pit and remove the seeds from the dates.
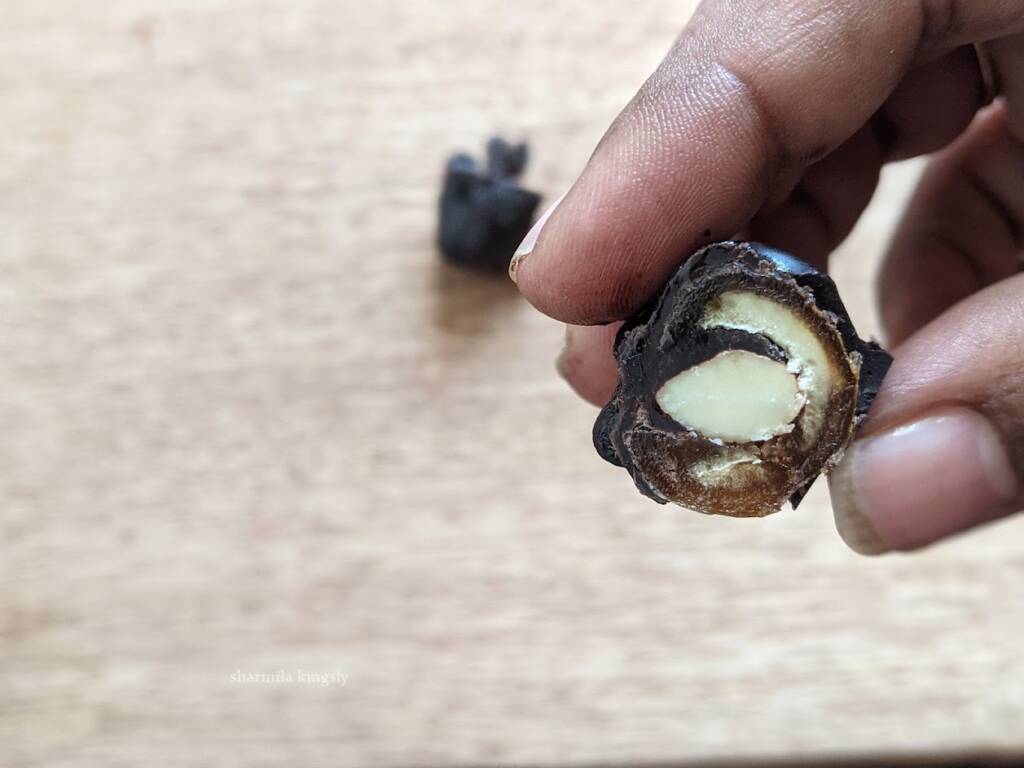
3) In Place of the seeds stuff the Roasted Almonds
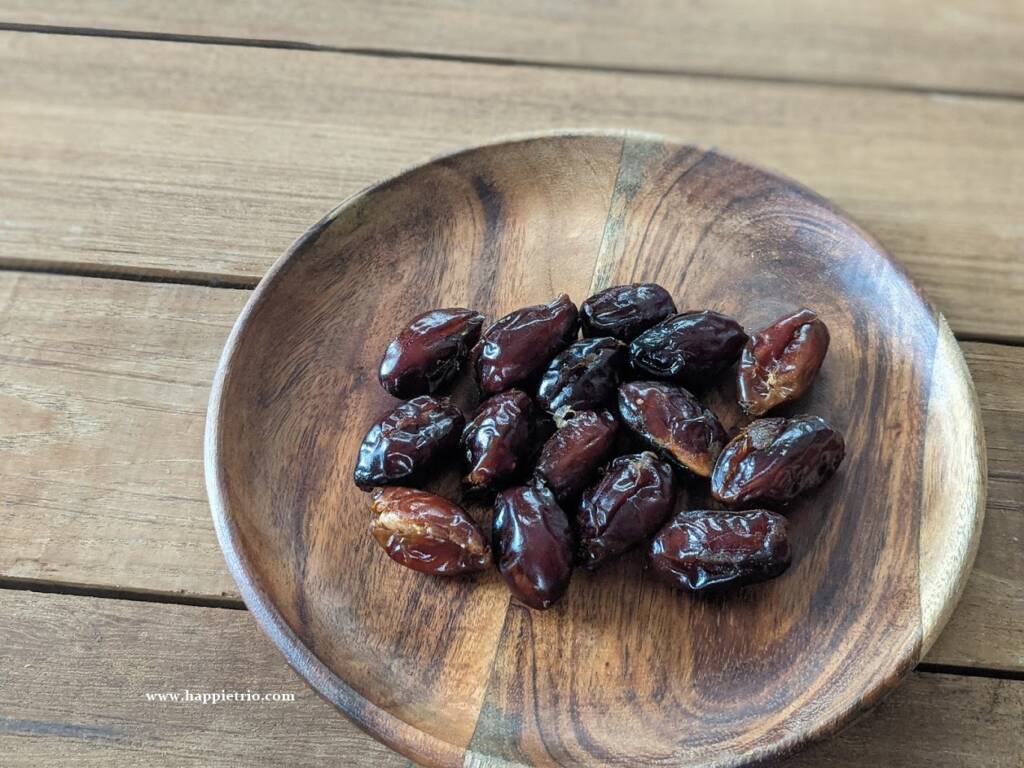
3) Cover and seal all the dates after stuffing the Almonds
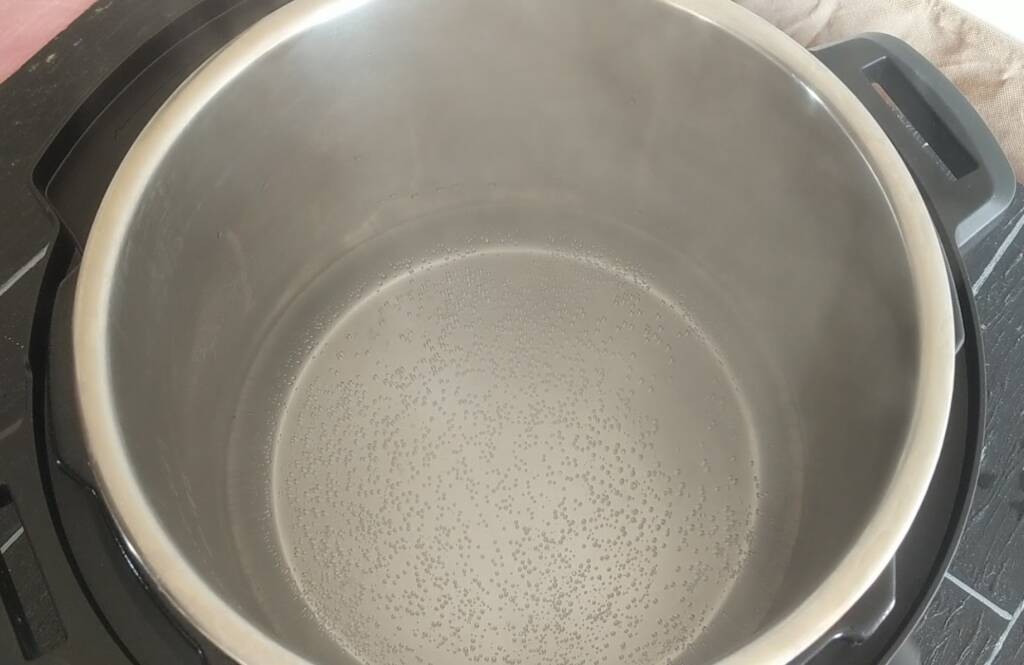
4. Switch on the Instant Pot in saute mode. Add in 1 cup water to the inner steel pot. Wait till the water comes to a boil.
5. Now press the cancel button and then press the keep warm button.
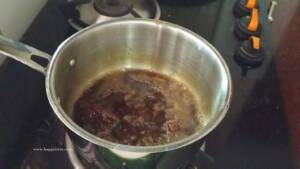
6. Place a heat proof bowl that fits on top of the Instant pot. (I dint have a big bowl so placed a steel wire mesh and then my bowl on top of that). Add in 200gm of dark chocolate.
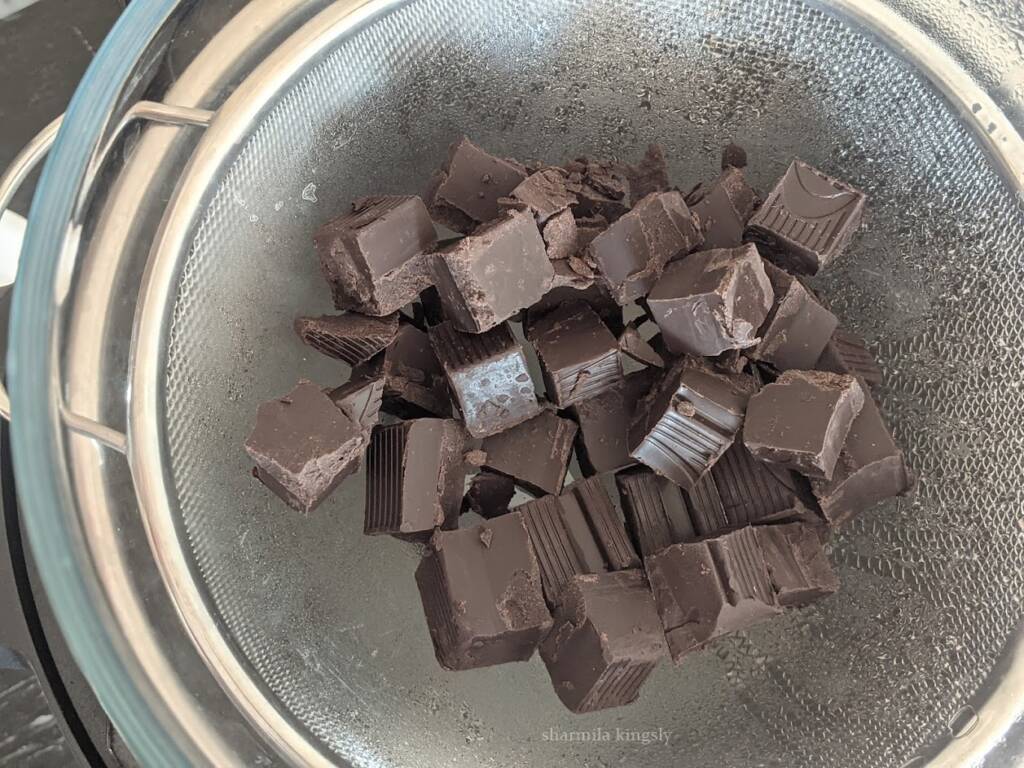
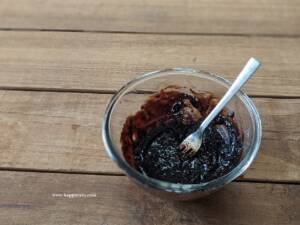
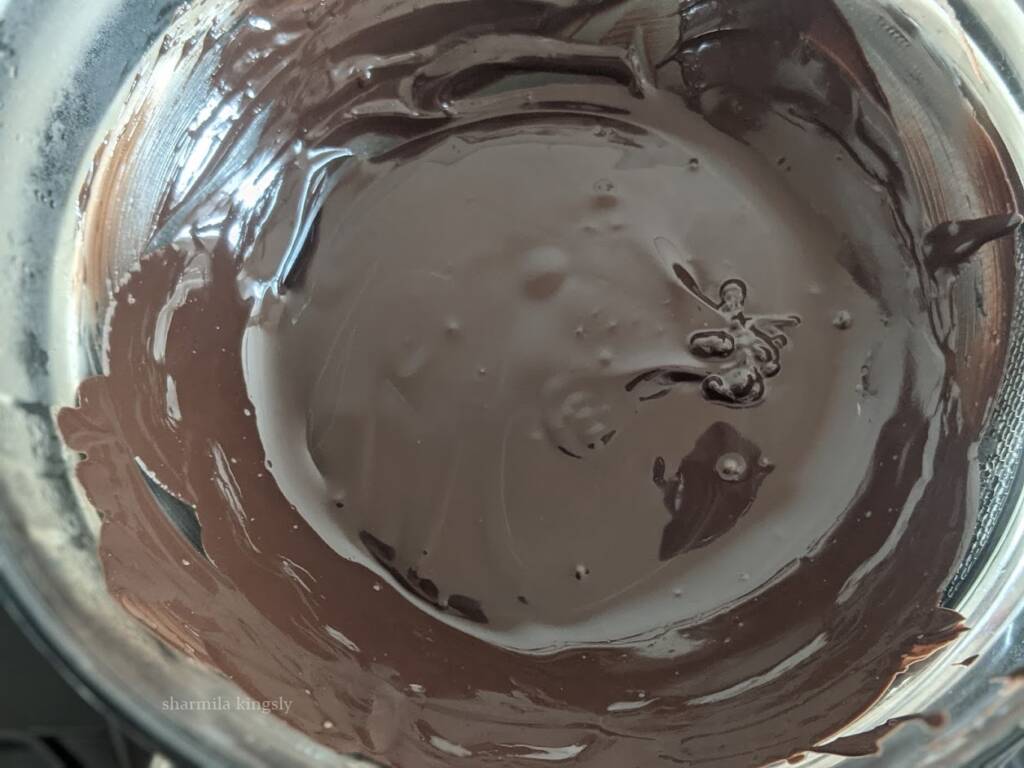
7. Slowly the chocolate starts melting. stir gently until the chocolate is completely melted.
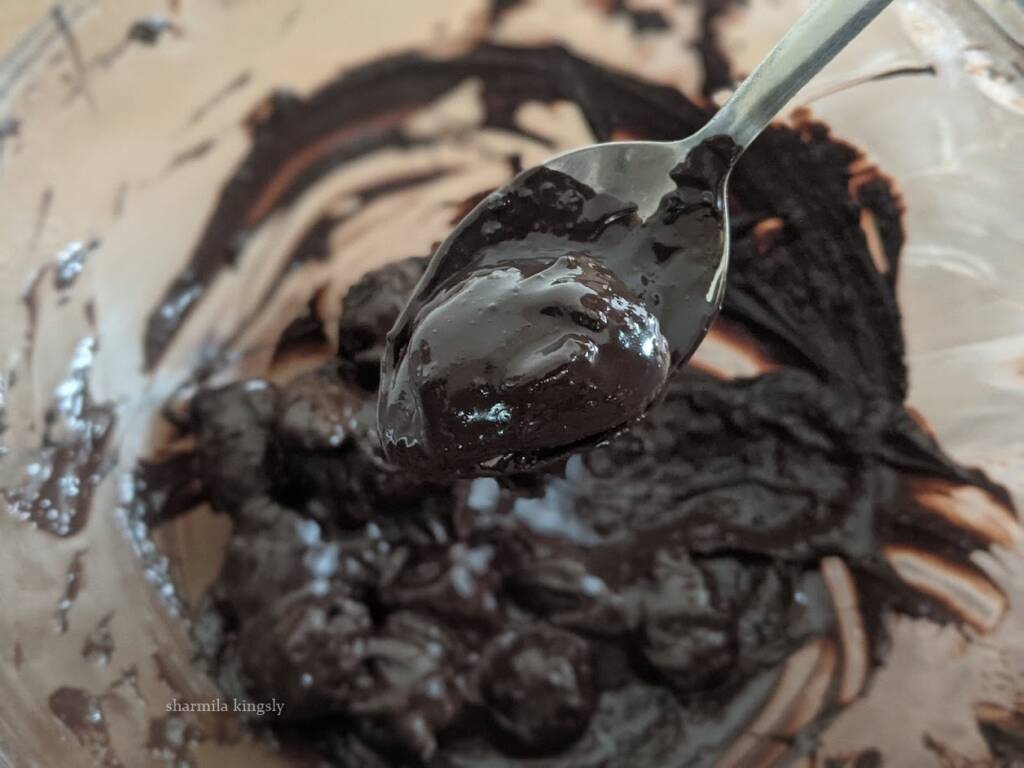
8. Now add the stuffed dates in the chocolate and let it coat fully with chocolate.
9. Place them in parchment paper and rest for 1 hour in room temperature or in the fridge. Let them dry completely.
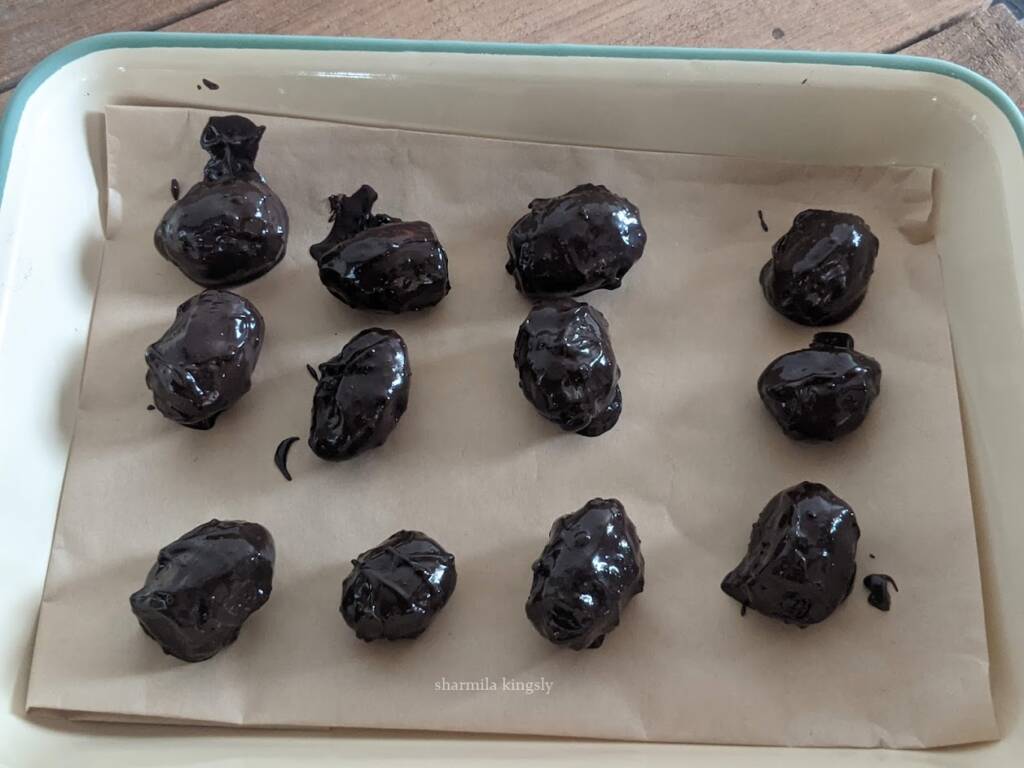
10. Now its completely dry remove from the parchment paper and store in air tight containers.
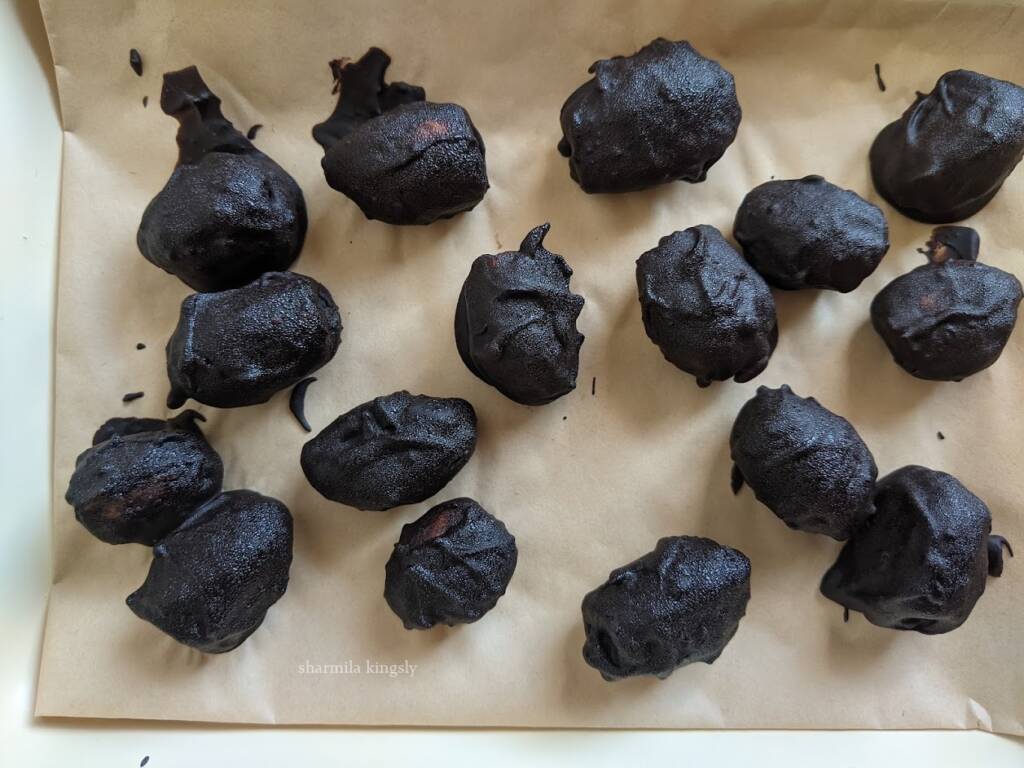
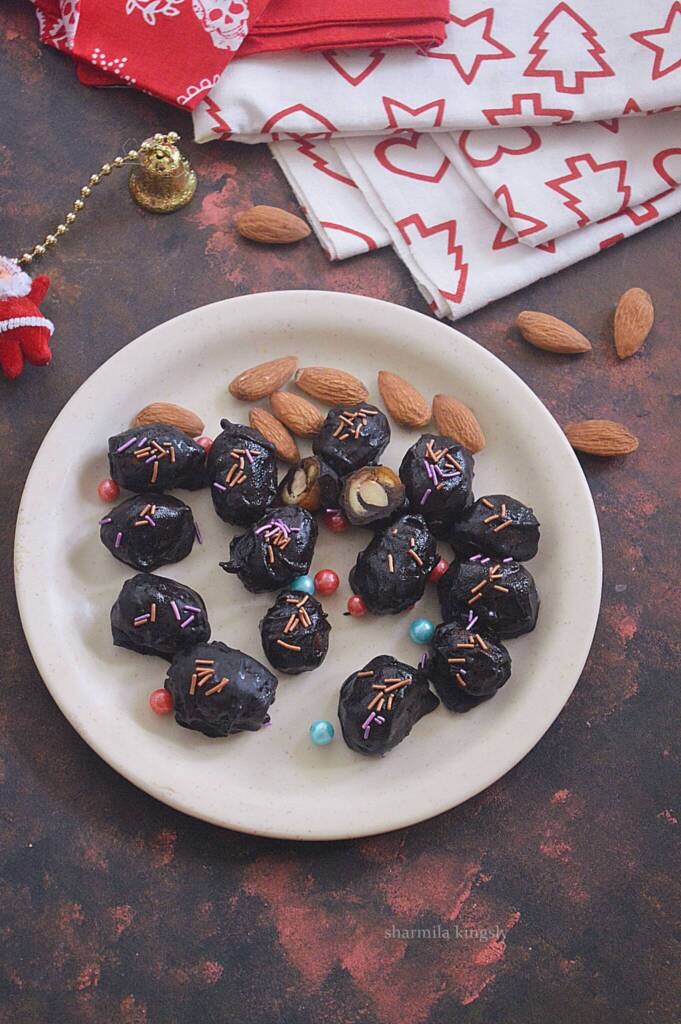
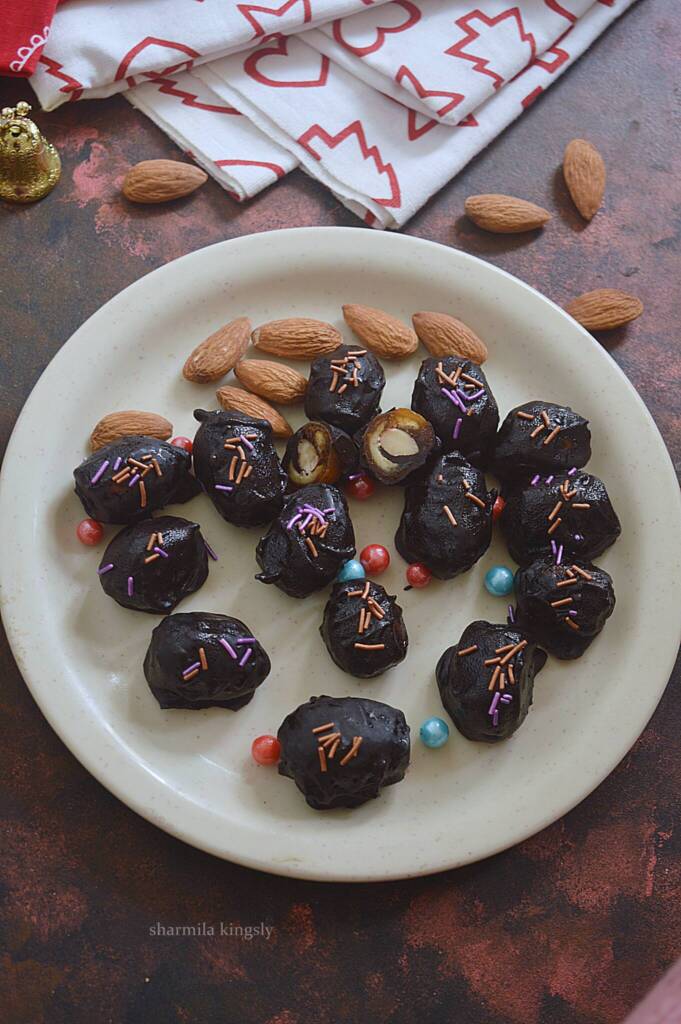
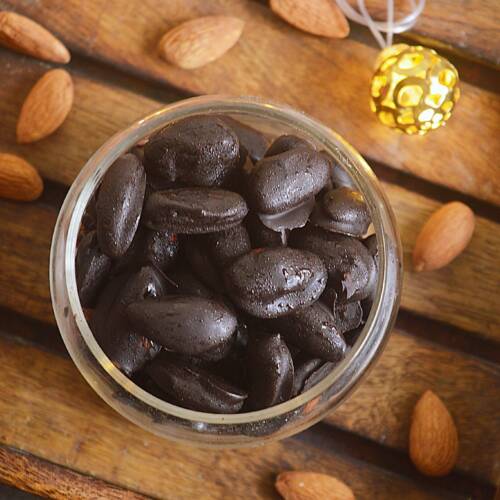
11. Enjoy these delicious Chocolate coated Dates Stuffed with Almonds
Super delicious Chocolate cover Almonds stuffed with Almonds are now ready.
Tips & Variations :
- Incase if you do not have an Instant pot you may melt the chocolate using double boiler method.
- Instead of Almonds you may also use Pecans or pistachios for stuffing.
- You can also use white chocolate.
- Pack them in nice gift boxes and gift for Christmas.
Storage Suggestions:
Chocolate Dates stays good at room temperature for 3 dates. You may refrigerate and use them for 2 weeks.
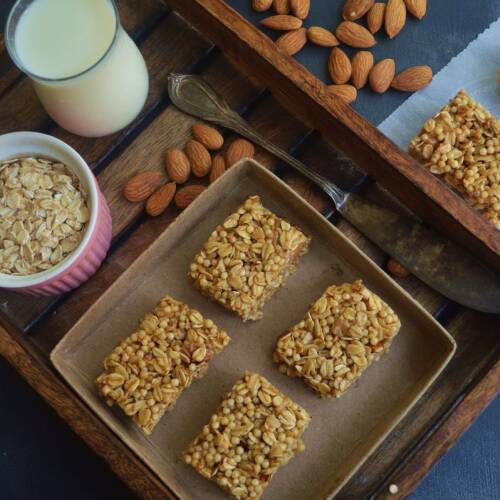
Similar Candy or Chocolate Recipes


★ Did you enjoy this recipe? If you happen to try it out, I would love to hear from you! I’d appreciate it if you could rate and leave a review below in the comments. Your reviews help others know the recipe better too. Thanks for your time ? You can also follow me on Facebook, Pinterest, Instagram, Youtube and Twitter for more updates
📖 Recipe

Chocolate Coated Dates with Almonds
Standard 1 cup measures 240 ml
Ingredients
- 15 Dates preferably Medjool dates
- 15 Almonds
- 7 oz Dark Chocolate or 200 gms approximately
- 2 tablespoon Sprinkles or Nuts to garnish
Instructions
- In a cast iron pan dry roast the almonds in a low flame for 5 - 8 mins. Alternatively you can roast in oven. If you are using roasted Almonds you may skip this step.
- Pit and remove the seeds from the dates.
- In Place of the seeds stuff the Roasted Almonds
- Cover and seal all the dates after stuffing the Almonds
- Switch on the Instant Pot in saute mode. Add in 1 cup water to the inner steel pot. Wait till the water comes to a boil
- Now press the cancel button and then press the keep warm button.
- Place a heat proof bowl that fits on top of the Instant pot. (I dint have a big bowl so placed a steel wire mesh and then my bowl on top of that). Add in 200gm of dark chocolate.
- Slowly the chocolate starts melting. stir gently until the chocolate is completely melted.
- Now add the stuffed dates in the chocolate and let it coat fully with chocolate.
- Place them in parchment paper and rest for 1 hour in room temperature or in the fridge. Let them dry completely.
- Now its completely dry remove from the parchment paper and store in air tight containers.
Video
Notes
- Incase if you do not have an Instant pot you may melt the chocolate using double boiler method.
- Instead of Almonds you may also use Pecans or pistachios for stuffing.
- You can also use white chocolate.
- Pack them in nice gift boxes and gift for Christmas.
Nutrition
Disclaimer: I am not a nutritionist, the nutrition value provided here is an estimate. It will vary based on the quantity and brands of the products used.