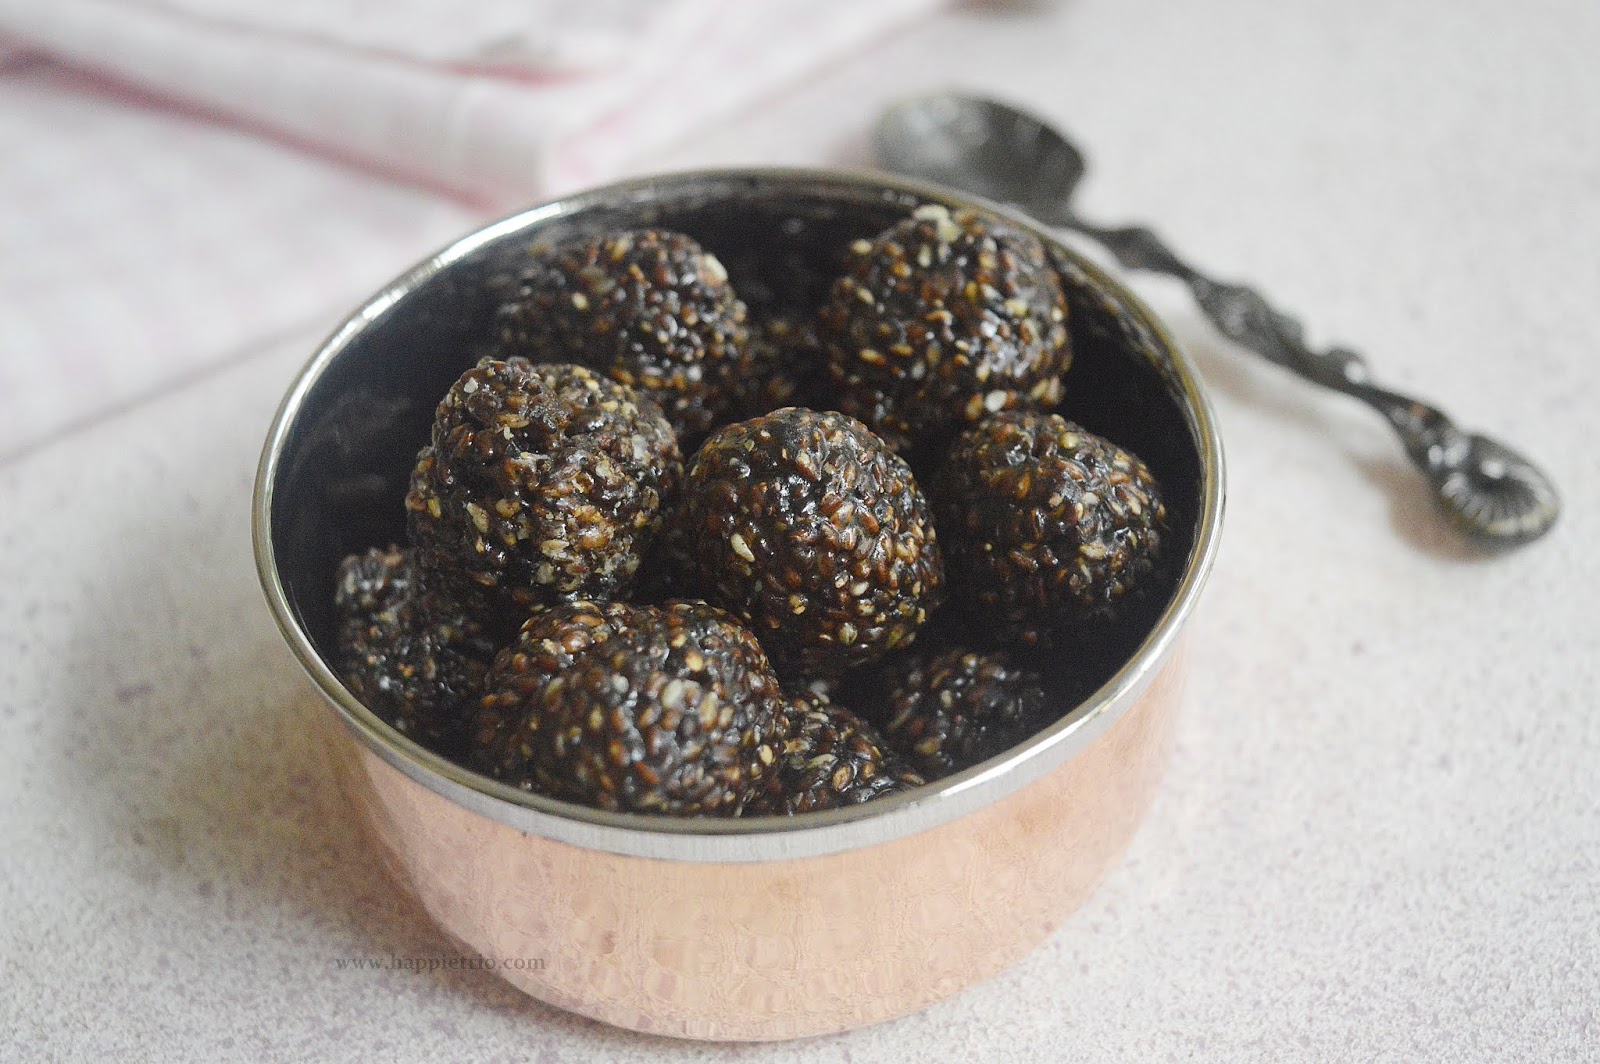

Channa Sundal | Kondakadalai Sundal with step by step photos. Among all the sundal made during Navratri, sundal with channa is our family favourite, I make this once in a while for our evening snack along with chai. And even I believe that our of the 9 days Channa Sundal will definitely be in the menu at least one or two days. It is totally delicious and packed with protein. I have made a simple version today with just coconut but it can also be made spicy using Sundal Podi. Now let’s see how to prepare Channa Sundal.

Channa Sundal Recipe
Step by step Method with pictures:
1. Soak the Channa in water overnight .Next day in a pressure cooker add in the soaked Channa and along with immersing level water and salt and cook for 4 whistles one the pressure is released.

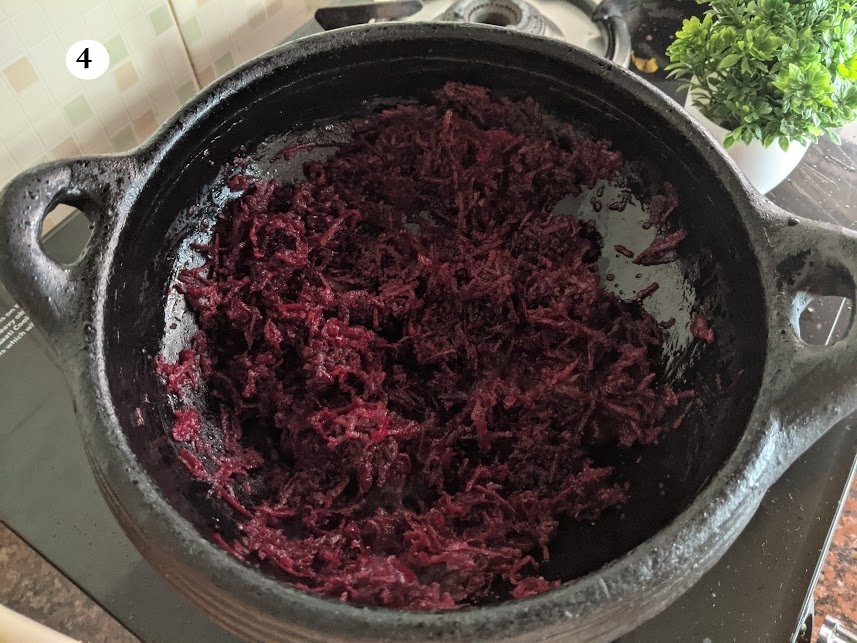
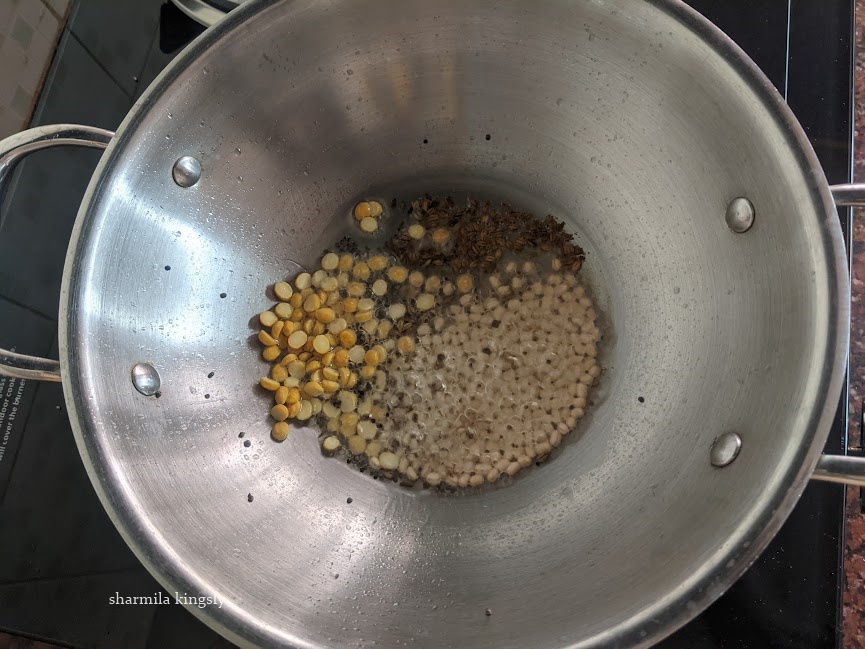
2. Open the cooker and drain the excess water and set the cooked channa aside. Now heat a pan add in oil once it becomes hot add in Mustard seeds and Urad Dal, let them splutter

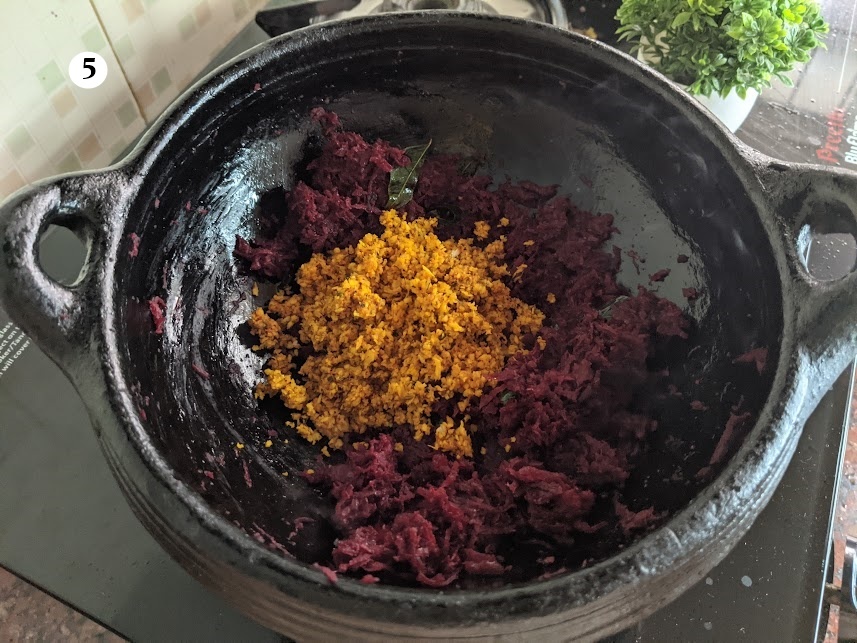
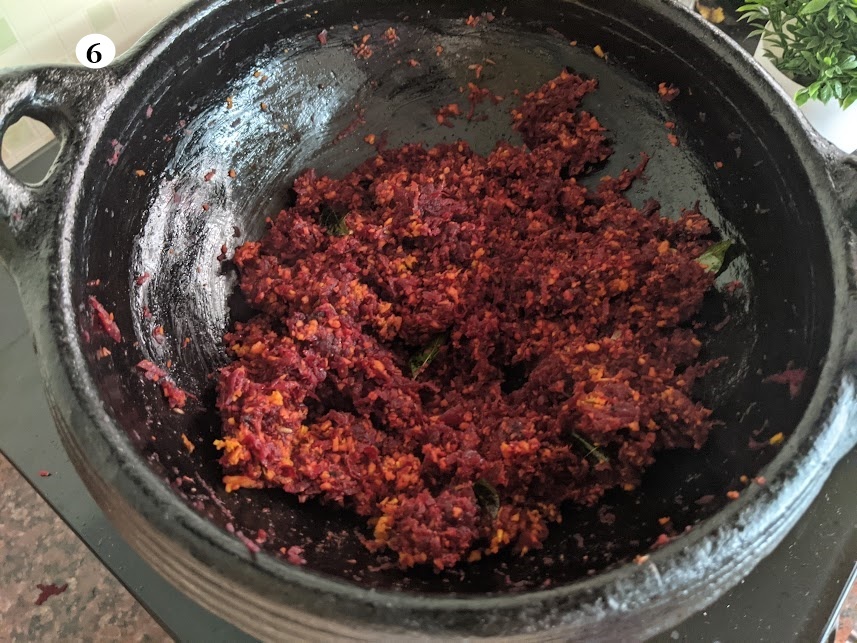
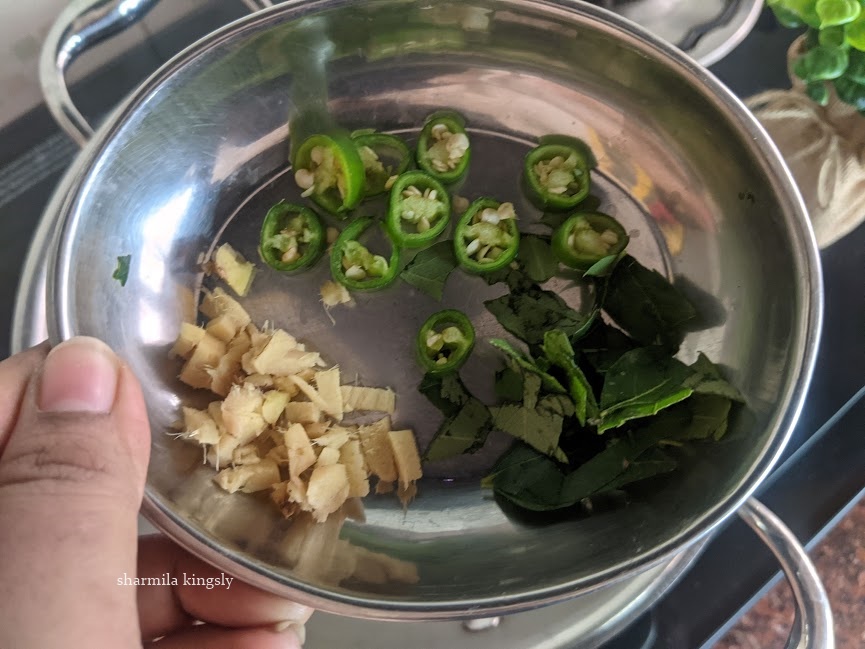
3. Next add in the Hing, Dry Red Chilli and Curry Leaves. Next add the cooked Channa .Check and add salt if necessary (as we have already added salt while cooking the channa) and then add in freshly grated coconut sauté for 2 mins and switch off the flame.

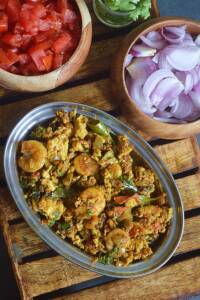
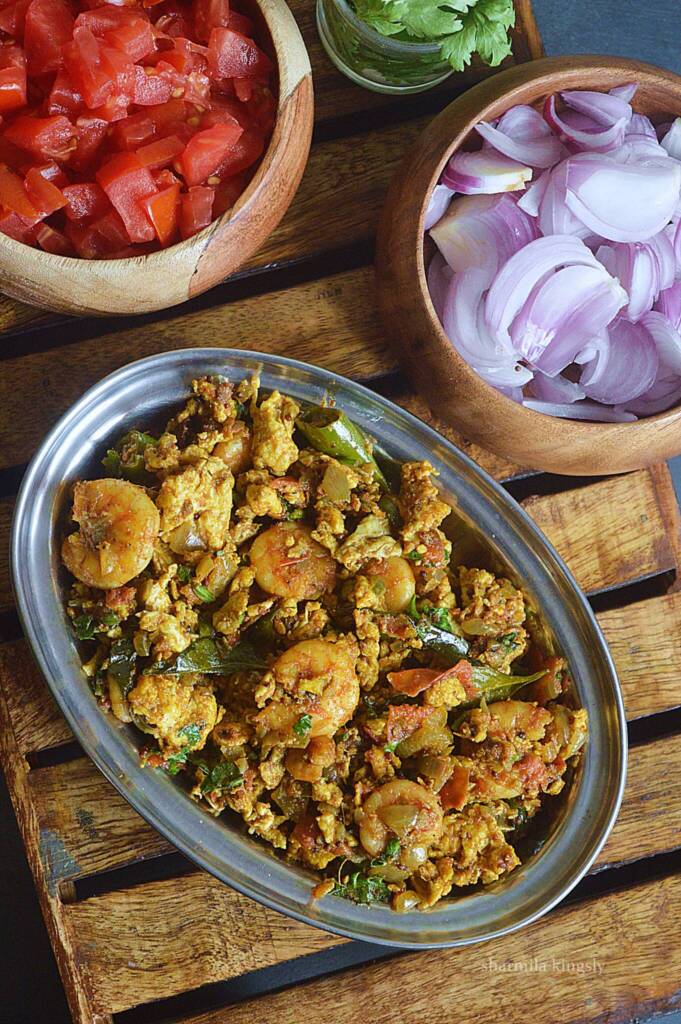
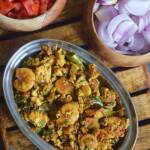
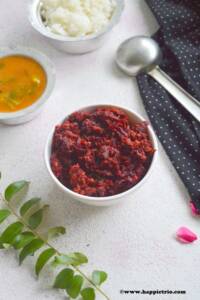
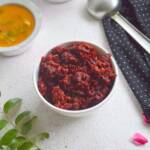
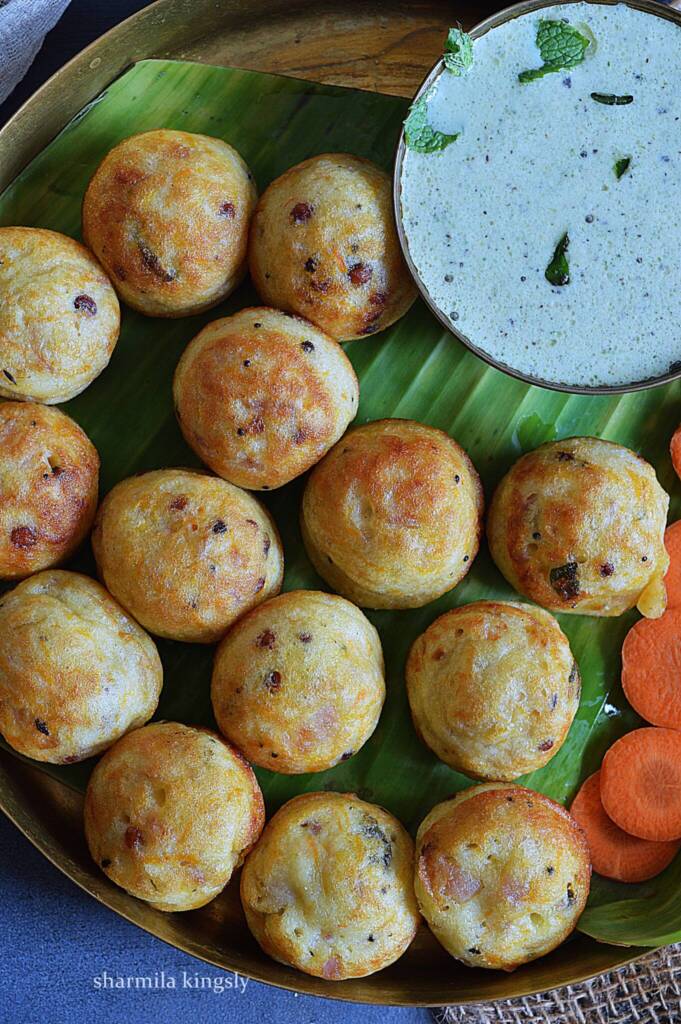
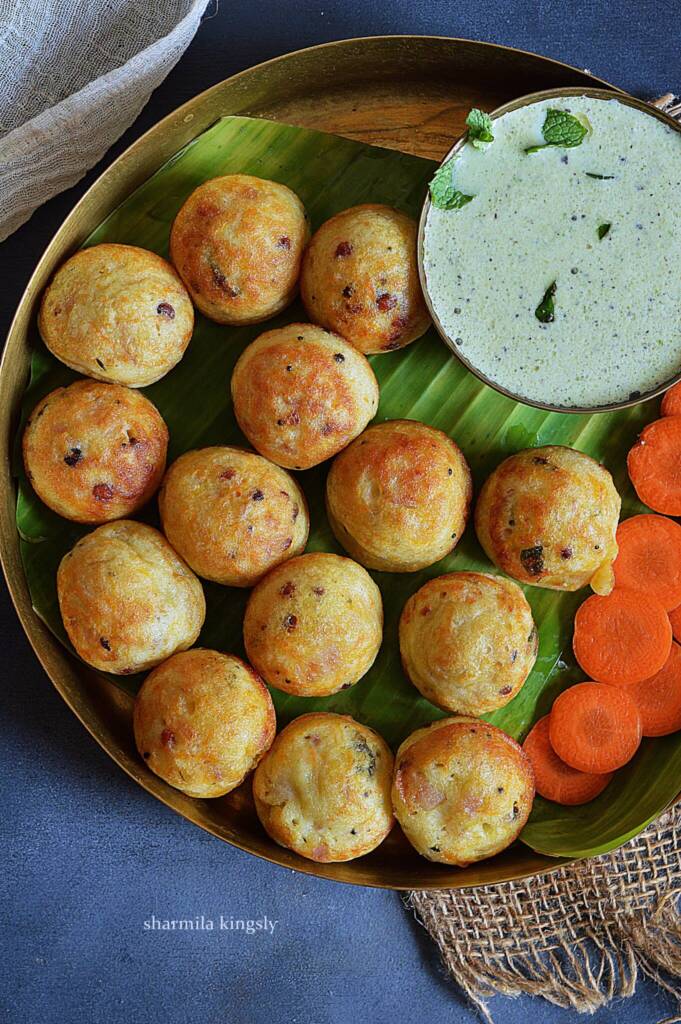
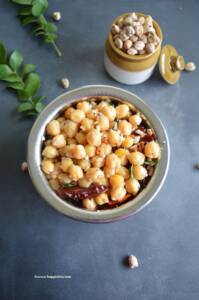
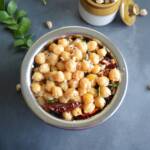
4. Tasty and Healthy Channa Sundal is now ready to be served.

Perfect pick for navratri neivedhiyam !

📖 Recipe
Channa sundal | Chick peas Sundal
Channa sundal or Chick peas Sundal is one healthy protein rich evening snack . It is so easy to prepare . Only soaking has to be done and the rest is easy.
Servings: 4
Calories: 141kcal
Standard 1 cup measures 240 ml
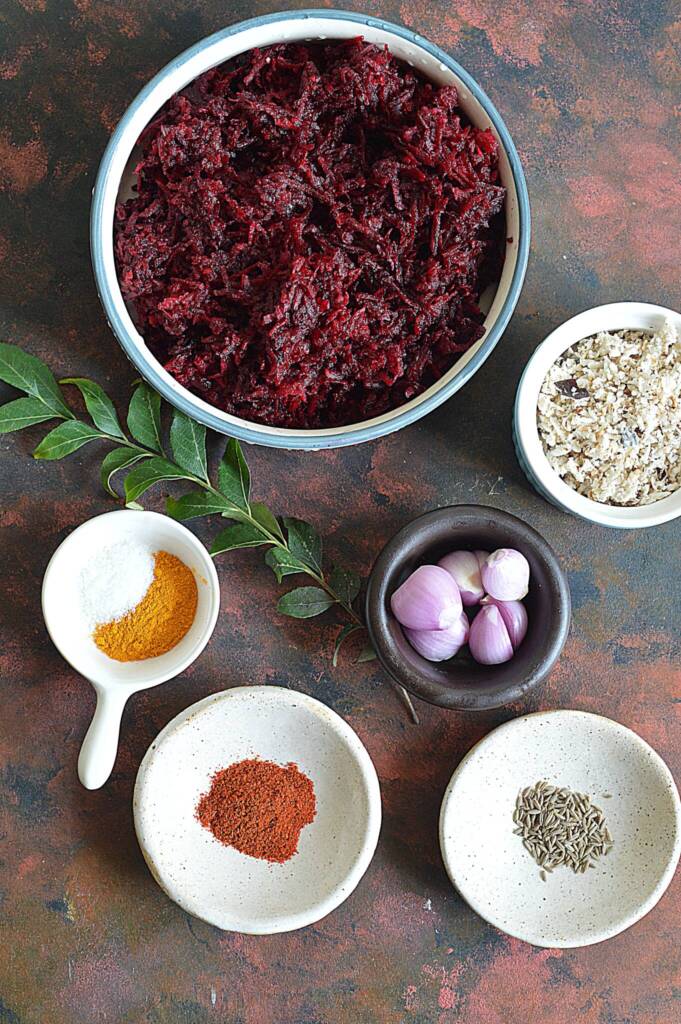
Ingredients
- 1 cup White Chickpeas
- Water as needed
- Salt as needed
- ¼ cup Freshly grated coconut
- 2 teaspoon Oil
- Hing a pinch
- ½ teaspoon Mustard Seeds
- ½ teaspoon Urad Dal
- 3 Dry Red Chilli
- 1 sprig Curry Leaves
Instructions
- 1.Soak the Channa in water overnight .Next day in a pressure cooker add in the soaked Channa and along with immersing level water and salt and cook for 4 whistles one the pressure is released.
- 2.Open the cooker and drain the excess water and set the cooked channa aside. Now heat a pan add in oil once it becomes hot add in Mustard seeds and Urad Dal, let them splutter
- 3.Next add in the Hing, Dry Red Chilli and Curry Leaves. Next add the cooked Channa .Check and add salt if necessary (as we have already added salt while cooking the channa) and then add in freshly grated coconut sauté for 2 mins and switch off the flame.
- 4.Tasty and Healthy Channa Sundal is now ready to be served.
Notes
- This is a no onion no garlic recipe.
- Perfect for the Navratri fasting and evening snacks.
- You can add 2 teaspoon of sundal podi also if you prefer a spicy sundal
Nutrition
Calories: 141kcal | Carbohydrates: 17.9g | Protein: 3.9g | Fat: 6.4g | Saturated Fat: 3.3g | Sodium: 82mg | Potassium: 160mg | Fiber: 3.2g | Sugar: 0.1g | Calcium: 24mg | Iron: 1mg
Tried this recipe?Mention @happietrio or tag #happietrio
Subscribe to my Channelclick for more videos