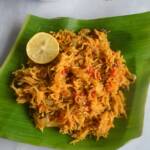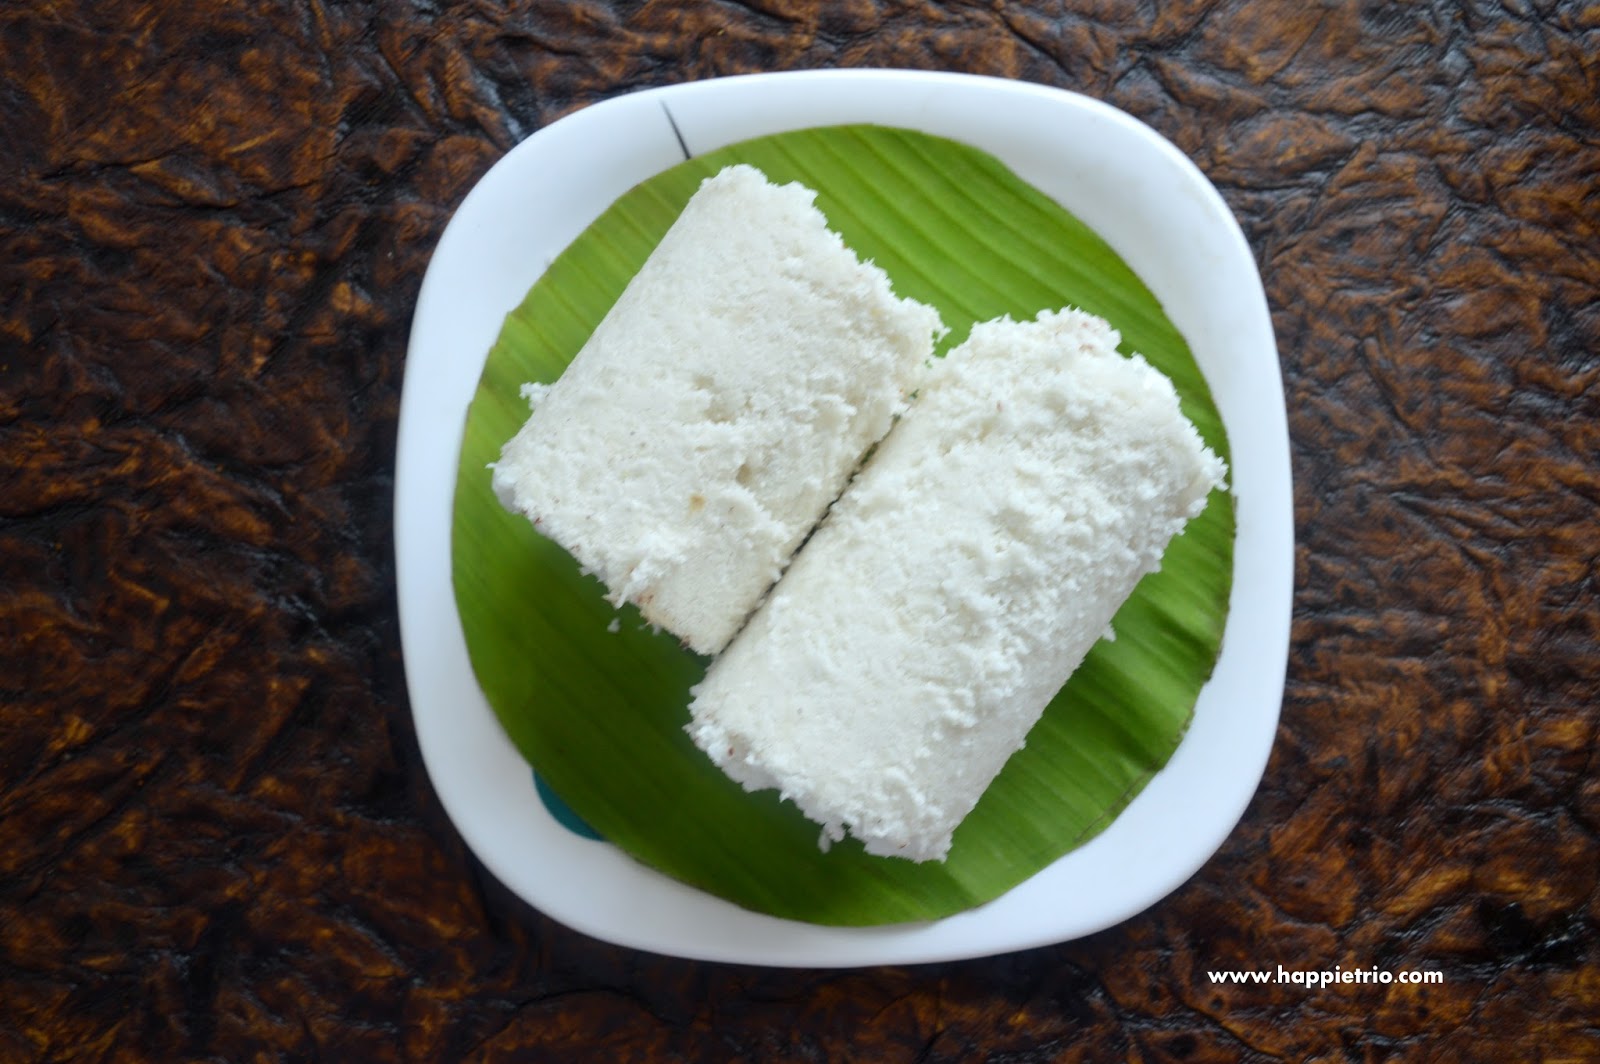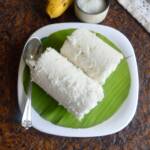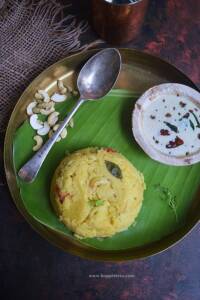
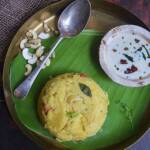
Rava Kichadi is a soft melt in mouth breakfast made of sooji or Semolina. It is cooked with ghee and sheer goodness with some coffee.

Rava Kichadi is a common breakfast in South India. It is prepared by cooking Rava/Sooji with Vegetables and flavoured with few spices .It has a great melt in mouth texture. Kichadi tastes great when served with Coconut chutney and Sambar. It is one of the popular breakfast in south India.
[feast_advanced_jump_to]About Rava Khichdi
Rava Kichdi, also known as Sooji Kichdi or Upma, is a popular South Indian dish made primarily from semolina (rava) and a variety of vegetables. This dish is cherished for its simplicity, quick preparation time, and wholesome taste, making it an ideal choice for both breakfast and dinner.
Rava Kichdi is deeply rooted in South Indian cuisine, where it is known for its versatility and ability to incorporate various regional spices and ingredients. It is a staple in many households and is often prepared during festive occasions, fasting days, or as a comfort food.
FAQ
How is Rava Kichdi different from Rava Upma?
While both dishes are made using semolina and key ingredients like vegetables and spices, Rava Upma is typically lighter and fluffier, whereas Rava Kichdi has a slightly softer and sometimes saucier texture due to the additional water or broth used.
What vegetables can I use in Rava Kichdi?
You can use a variety of vegetables like Carrots ,Green peas ,Beans ,Potatoes ,Tomatoes ,Bell peppers.
Feel free to use any veggies you have on hand to customize the dish.
How do I prevent lumps while cooking Rava Kichdi?
Gradually add the roasted rava to boiling water while continuously stirring. Also ensure the water is boiling before adding the rava to help it disperse evenly.
How to Prepare Rava Khichdi
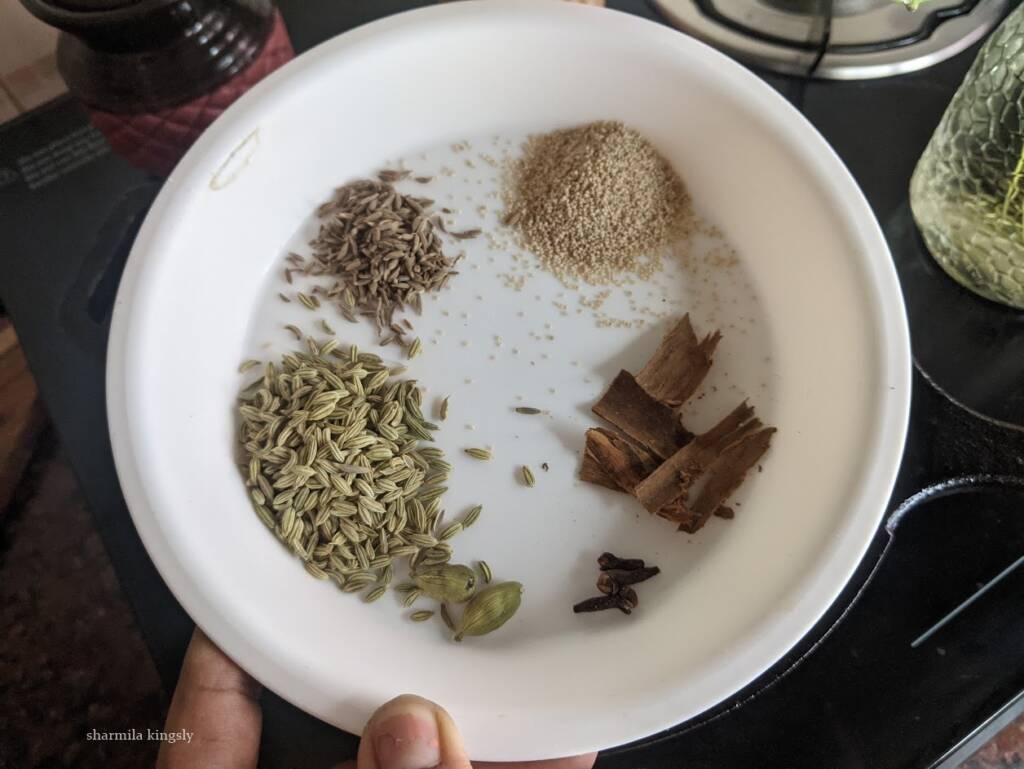
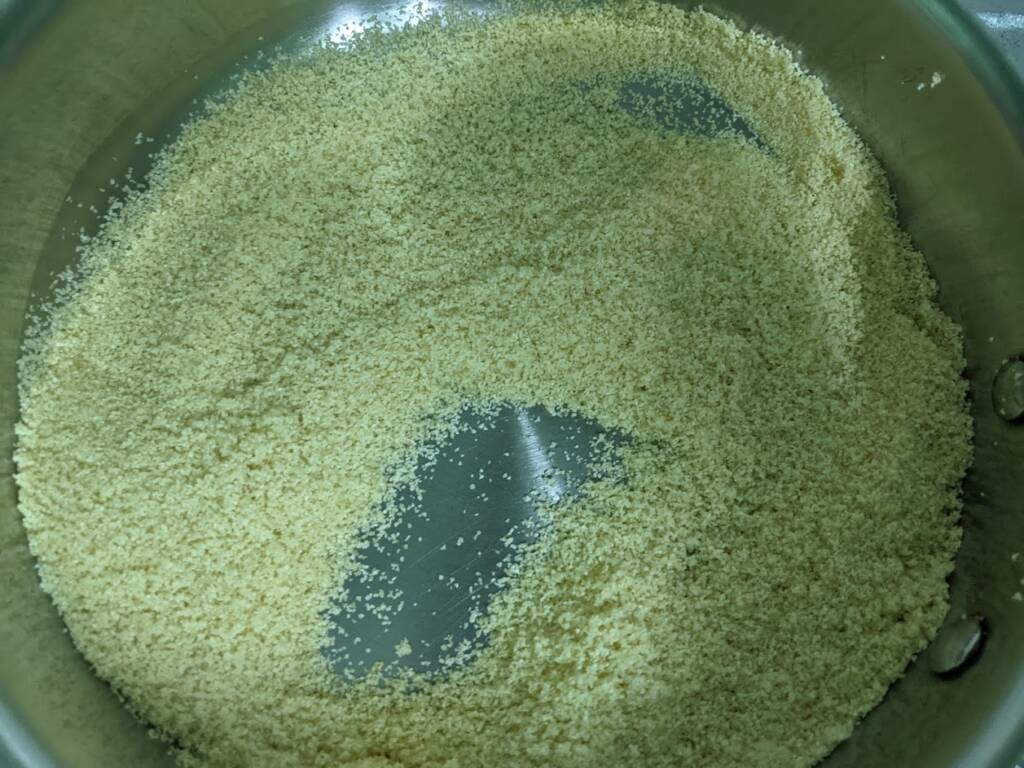
Roast the Rava/ Semolina till they give a nice aroma and set aside. Chop all the vegetables and set them aside.
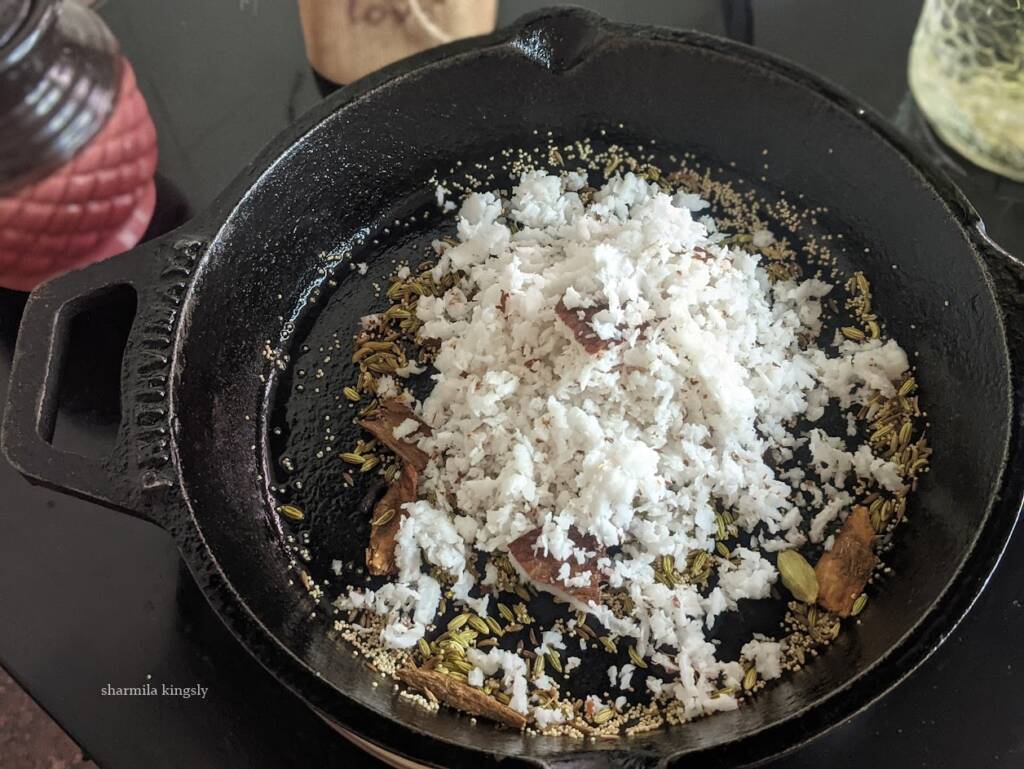
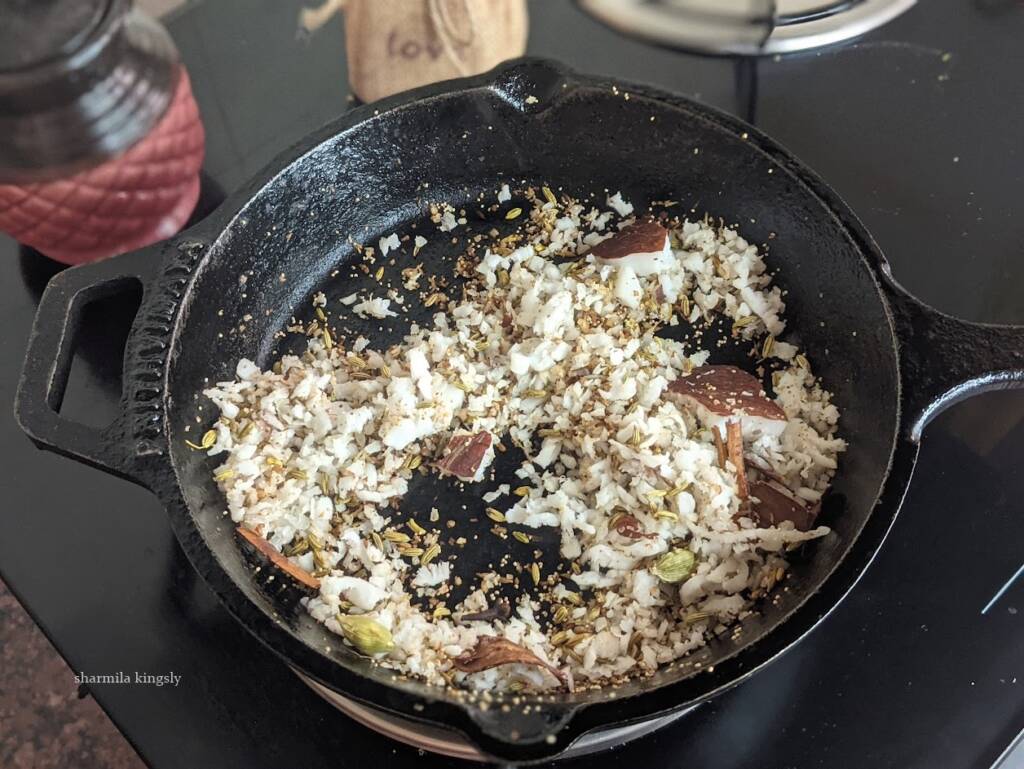
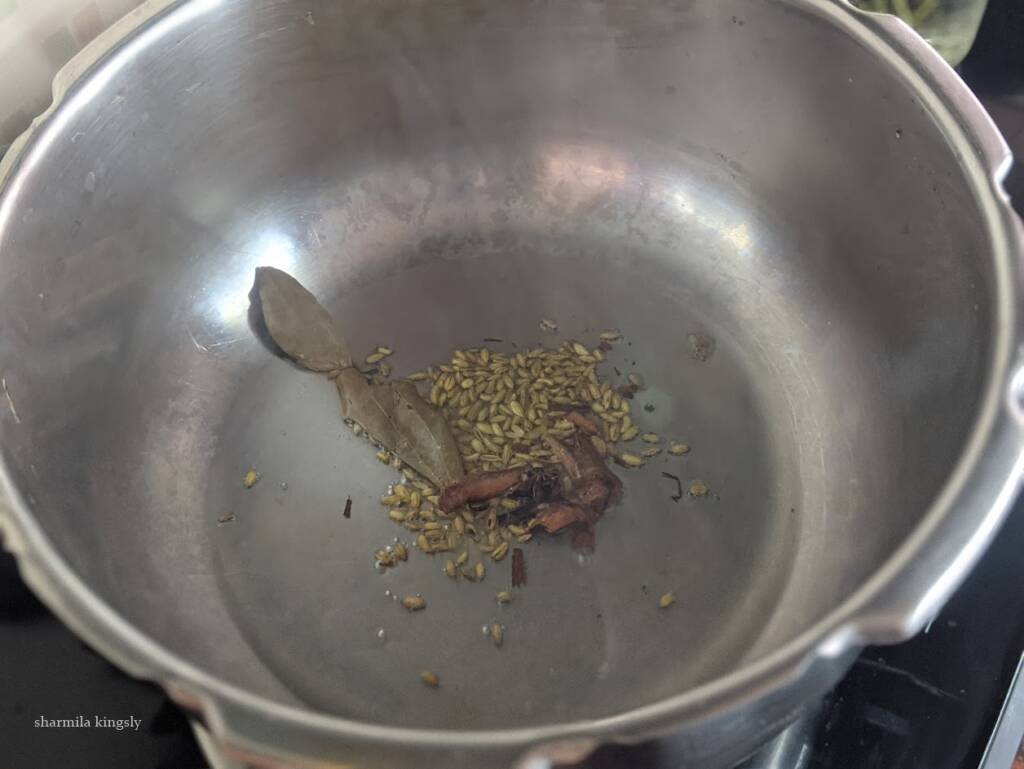
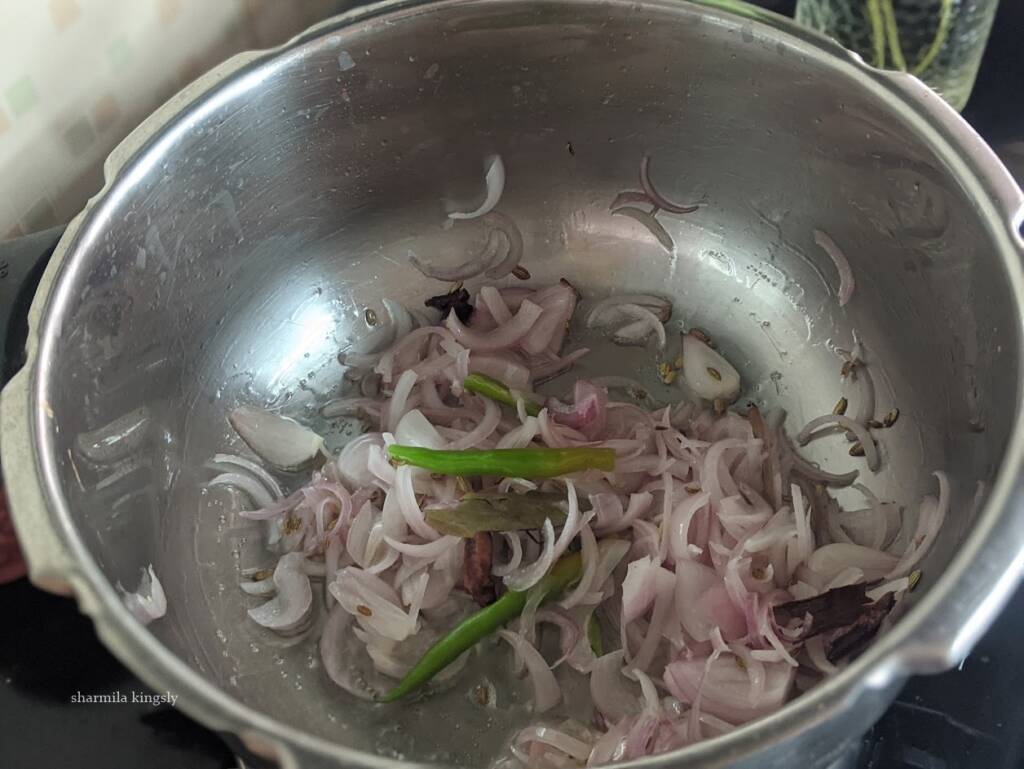
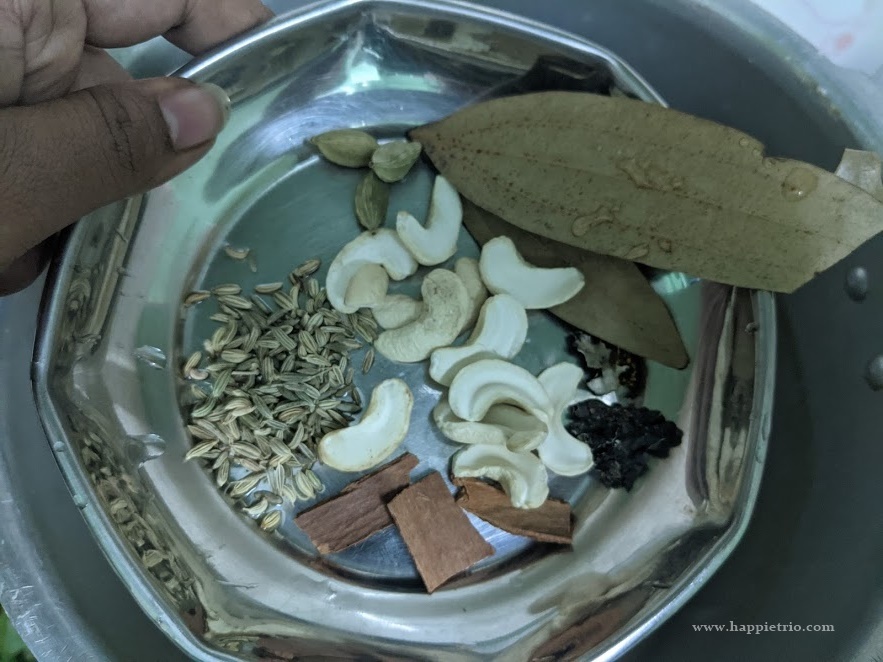
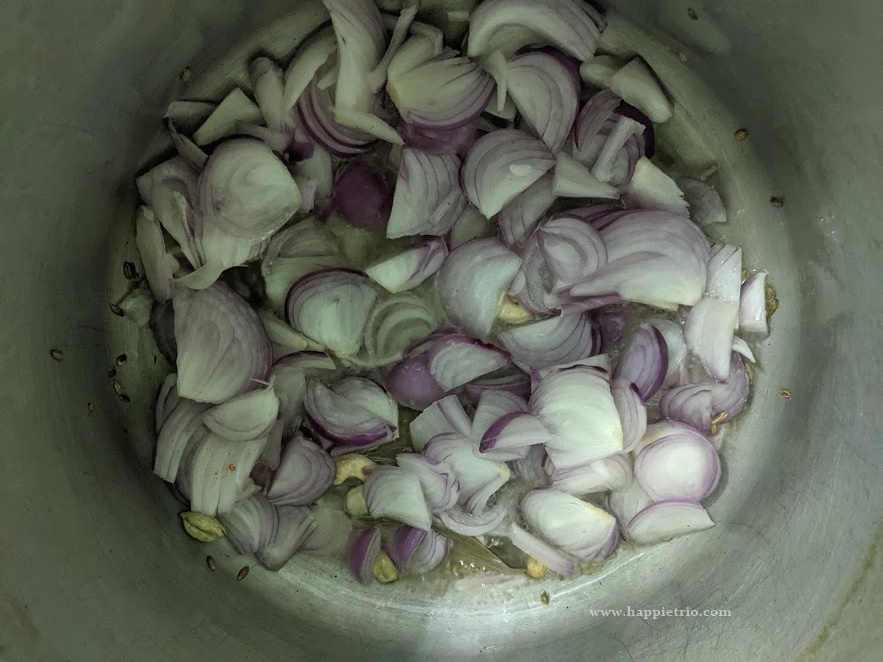
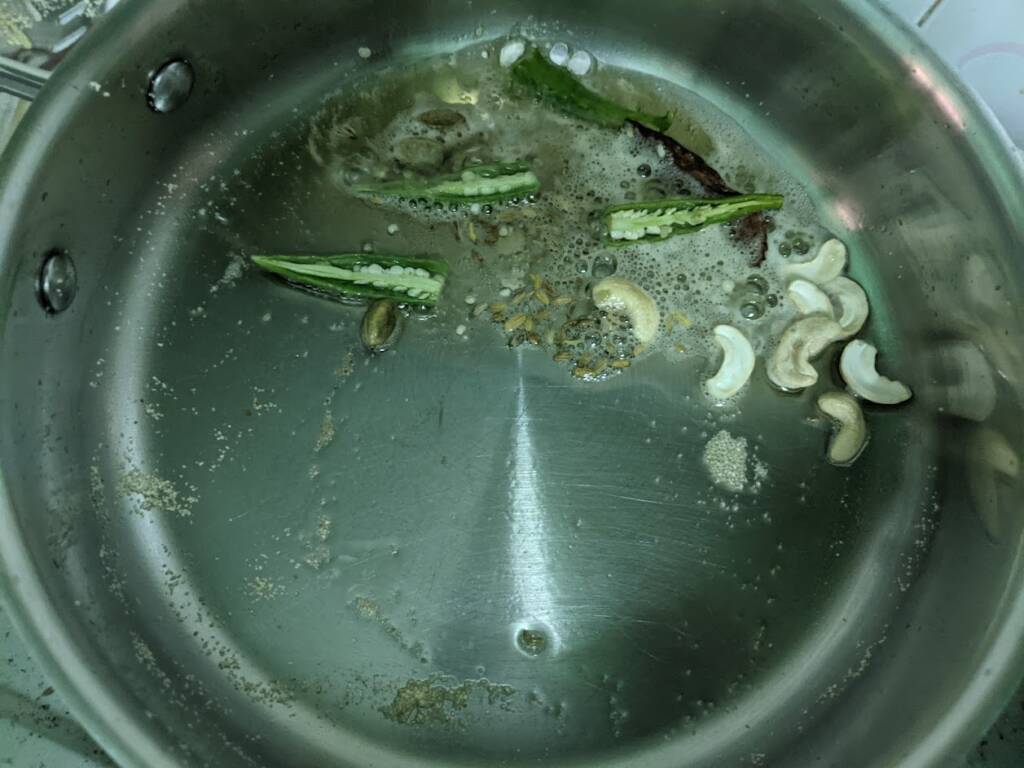
In a pan add in ghee once it heats up add the Cinnamon stick, Cardamom, Green chili, Cashewnuts curry leaves, and Cloves.
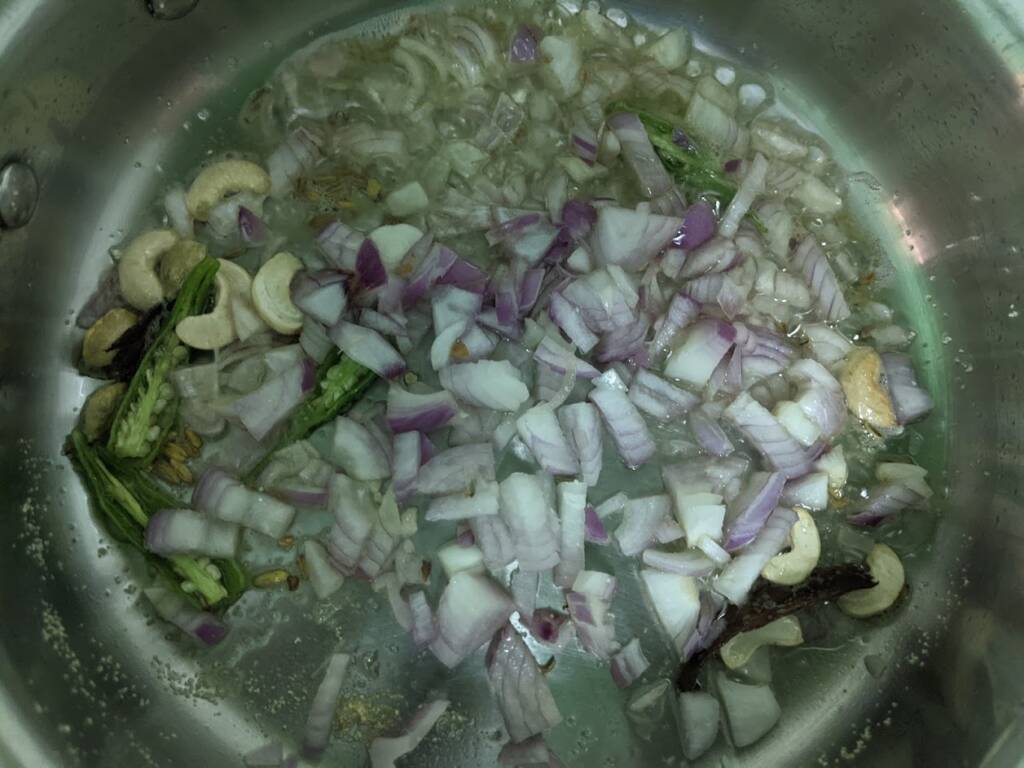
Next add in the onions, fry till they become glossy.
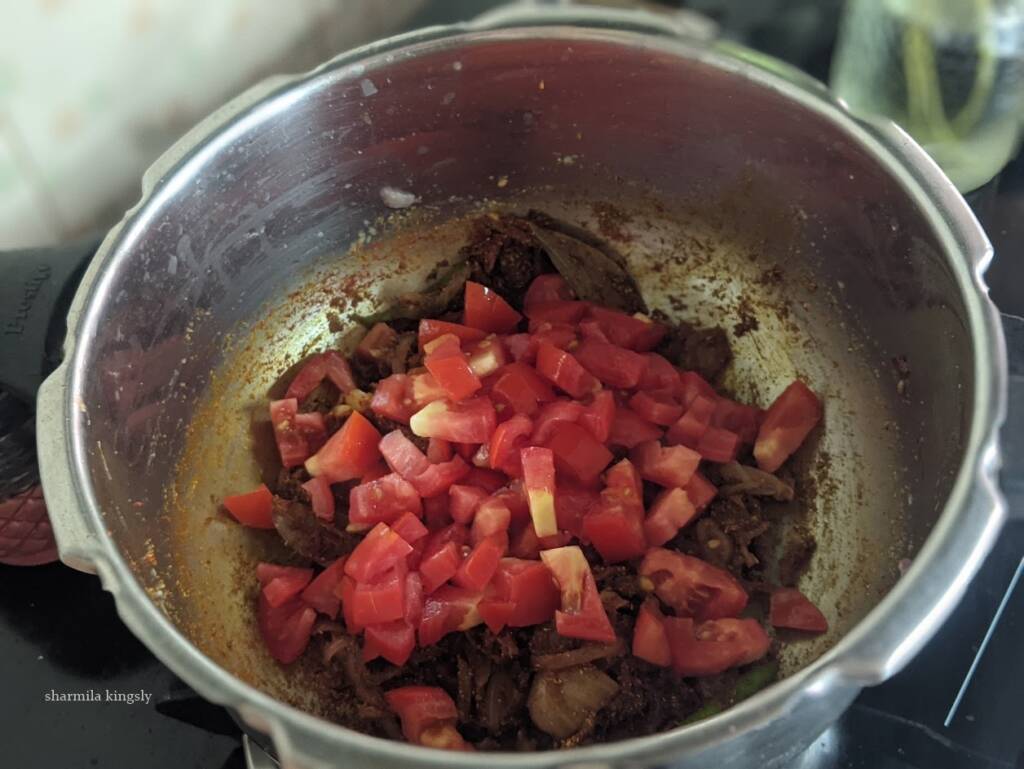
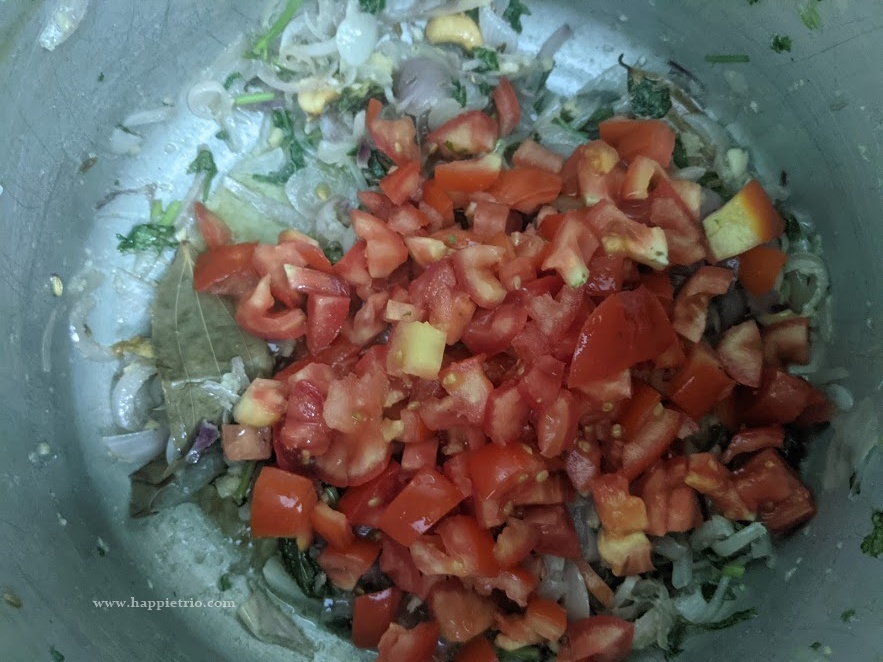
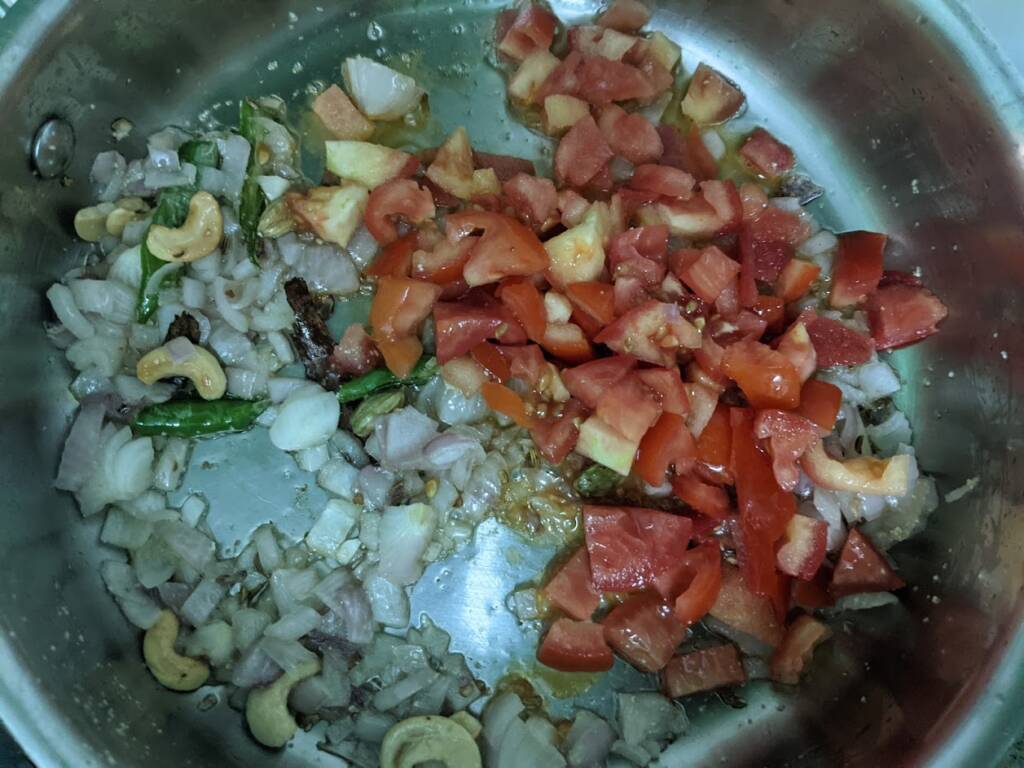
And then add in the tomato. cook till it is soft.
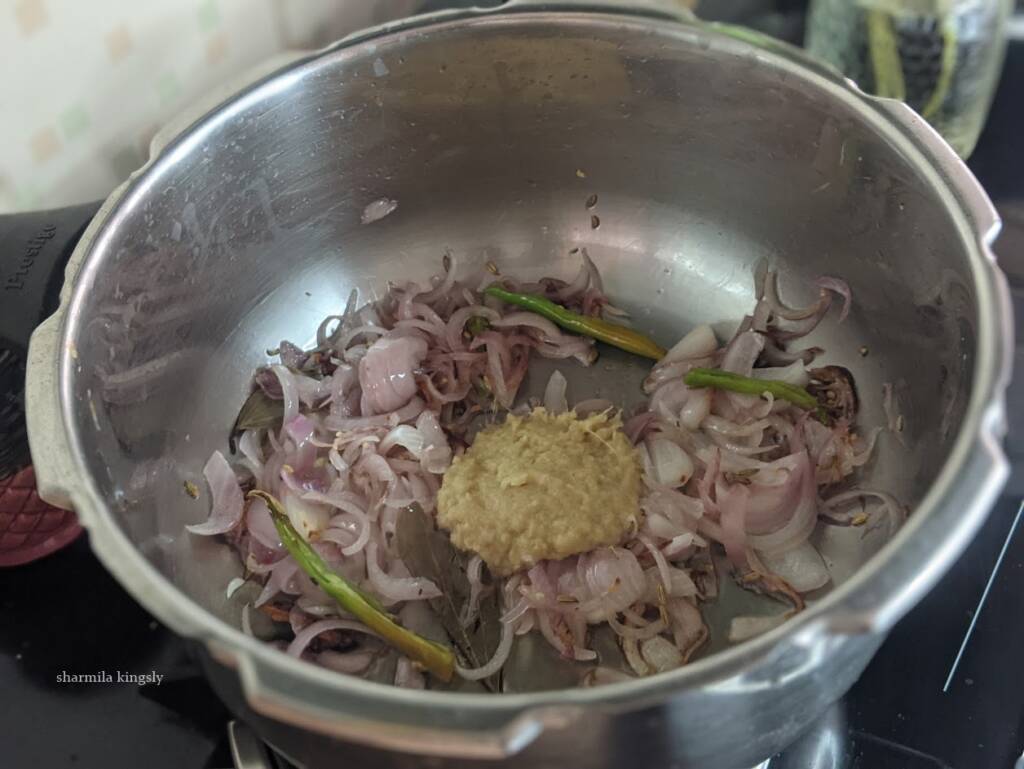
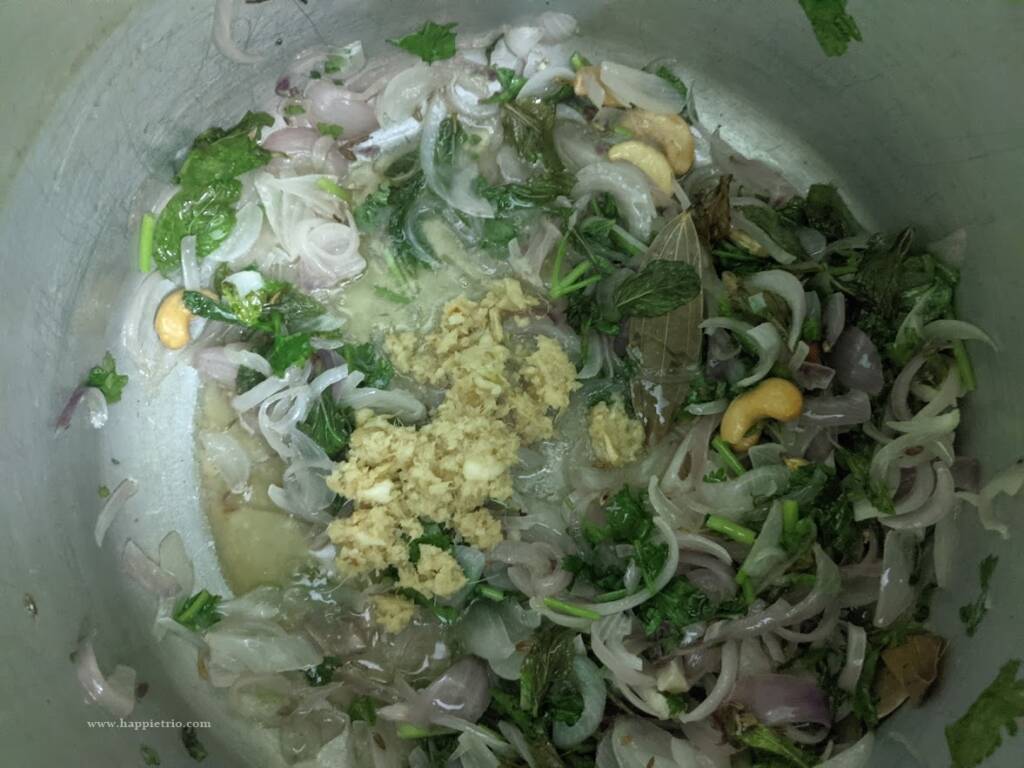
Next, add in ginger garlic paste, fry till the raw smell leaves.
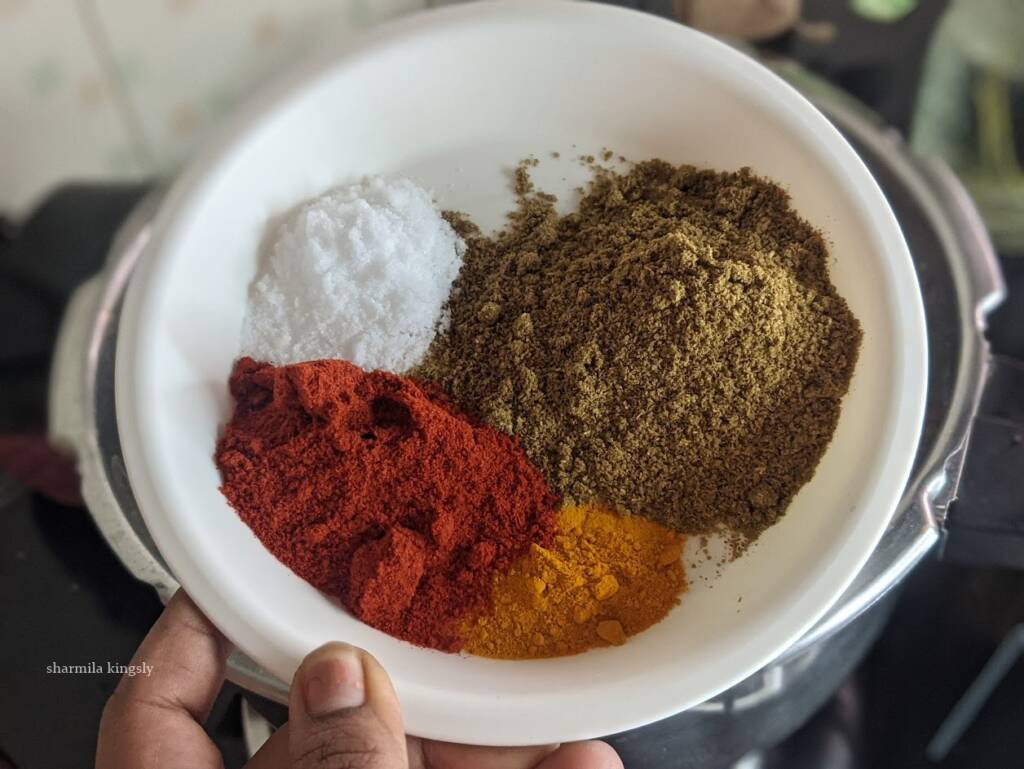
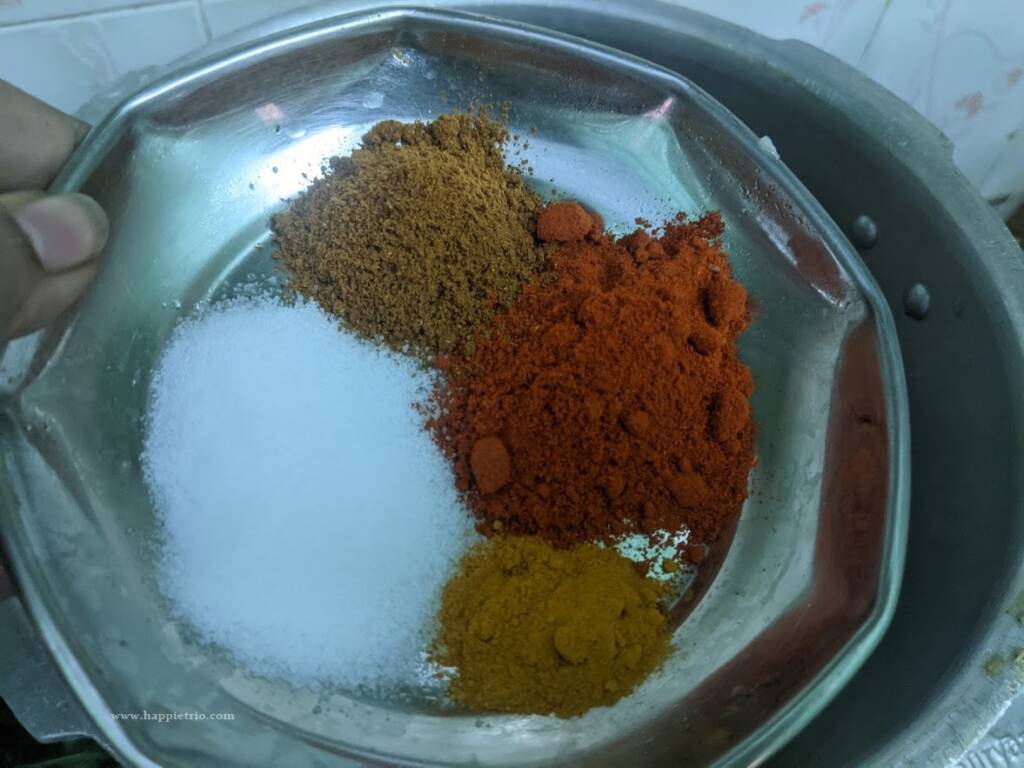
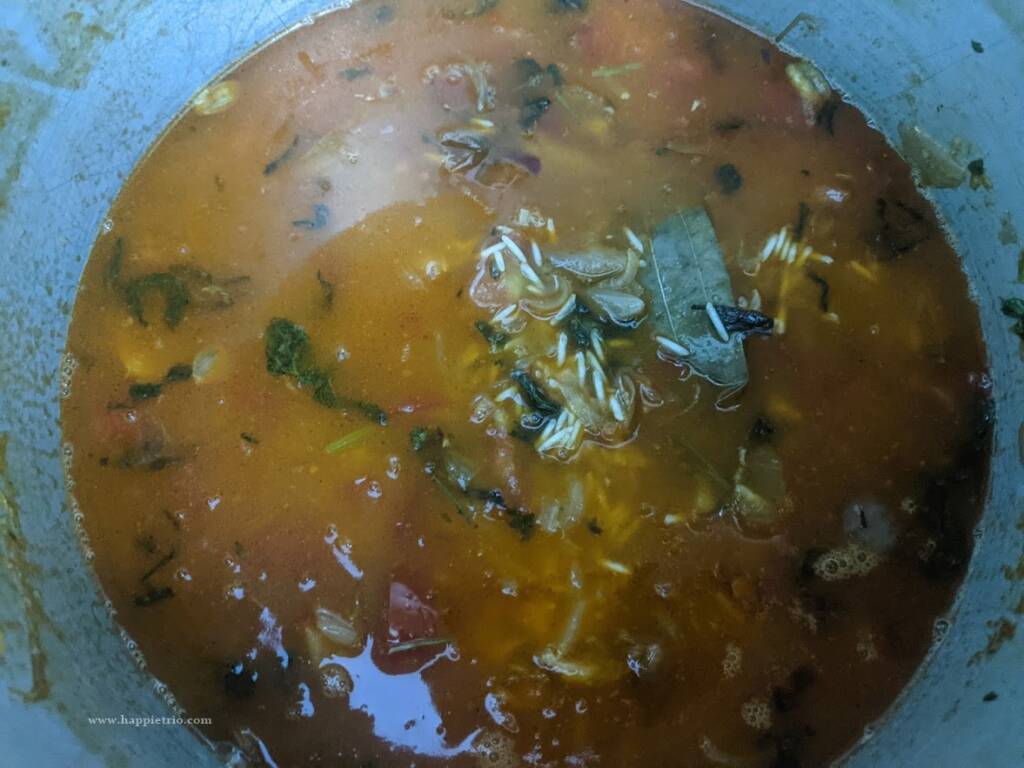
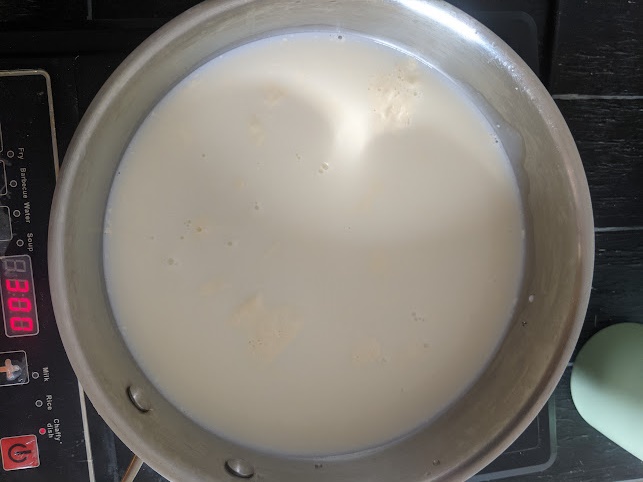
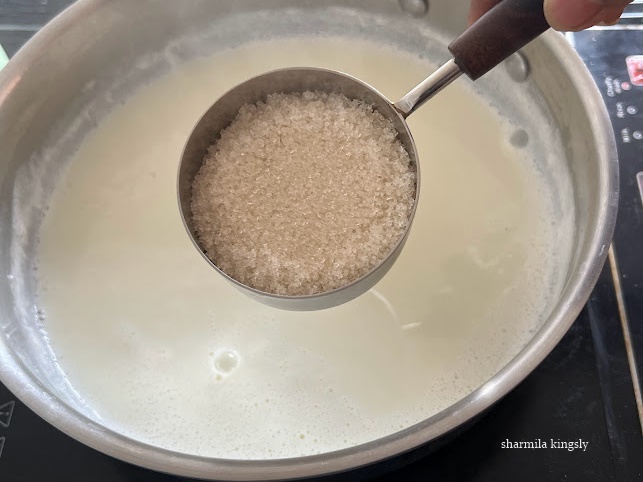
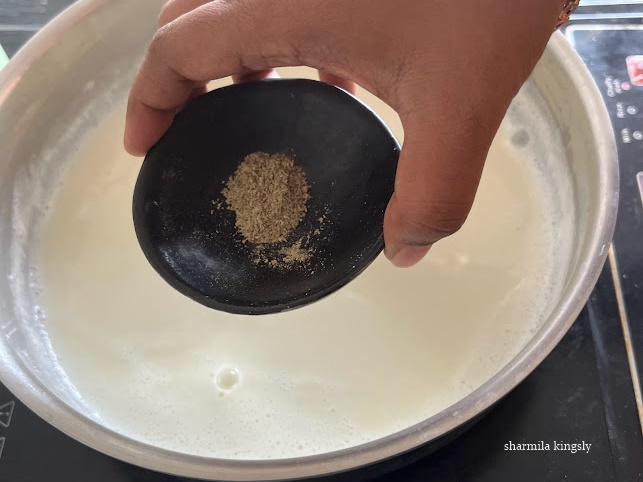
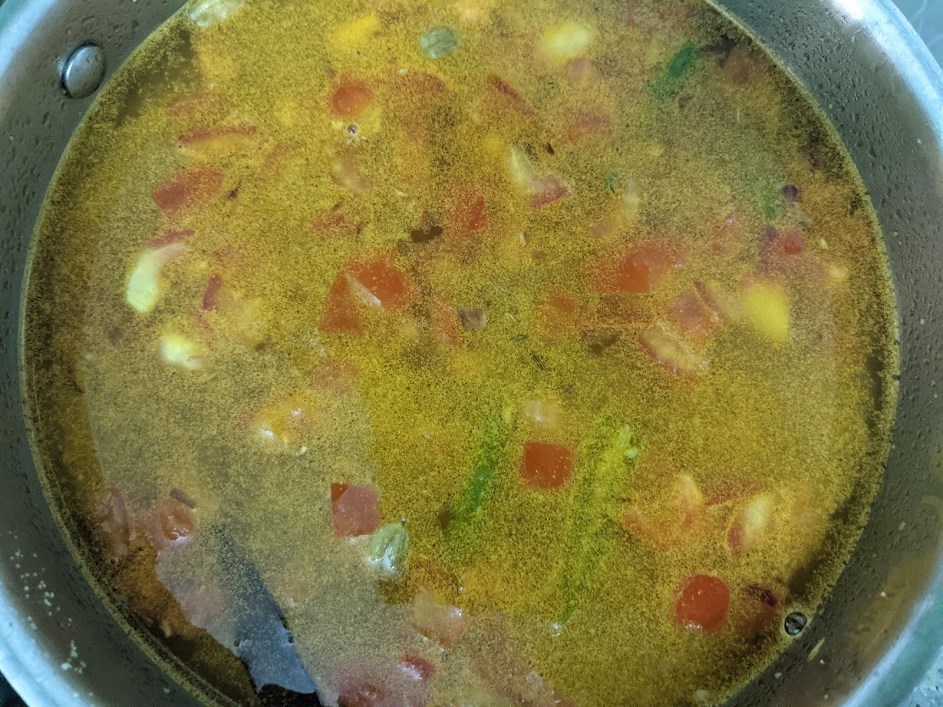
Next add in the water, Salt, Lemon Juice, and Turmeric powder.
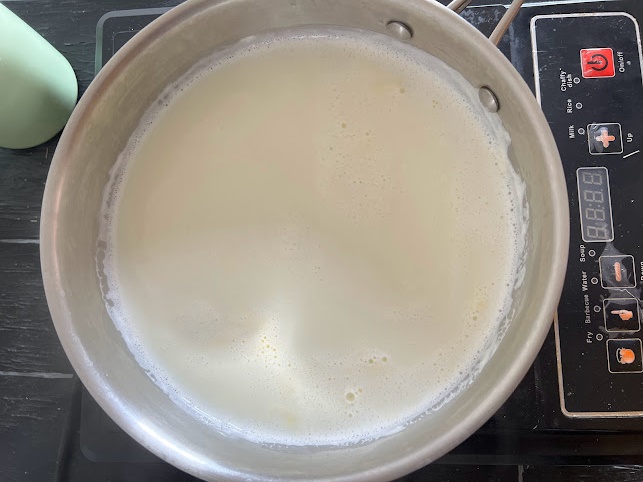
Close the lid and wait till the water comes to a boil.
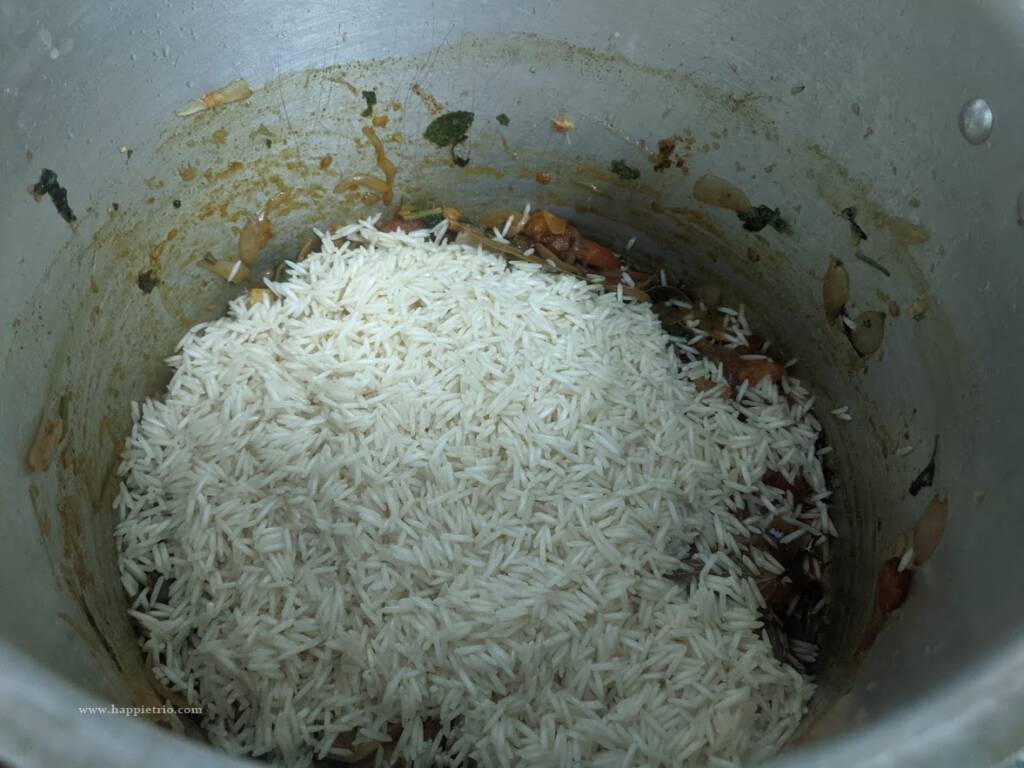
Now add in the roasted rava. Add Slowly without any lumps. Use a whisk and keep whisking as you add the Rava into the pan. This helps to avoid lumps.
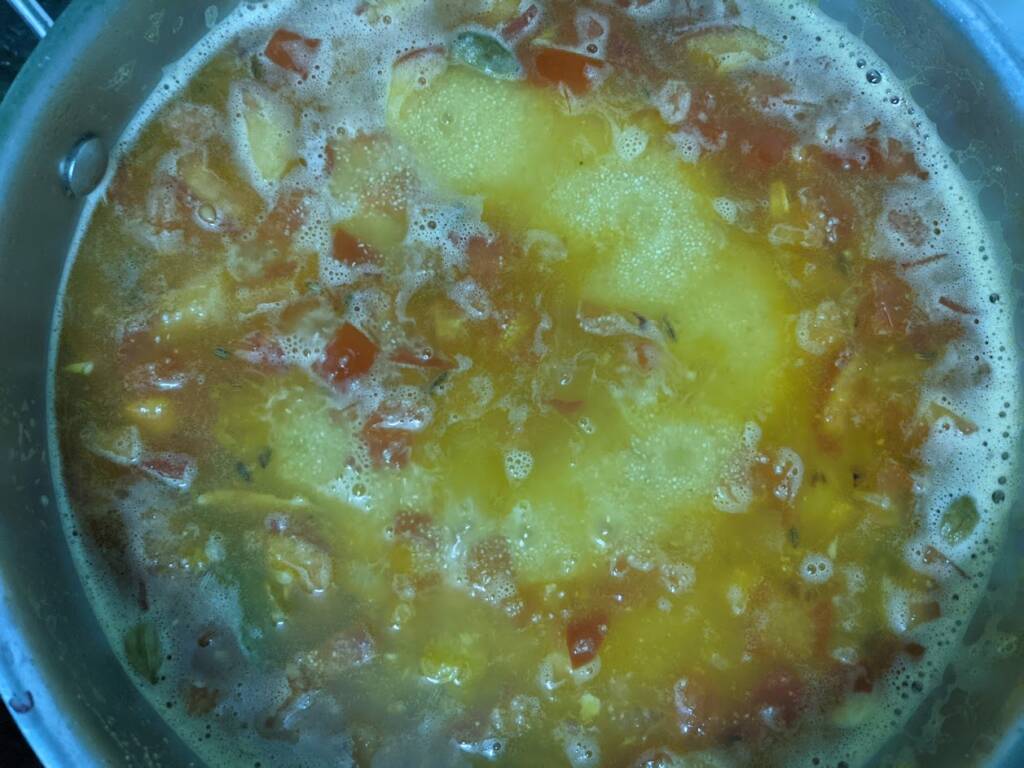
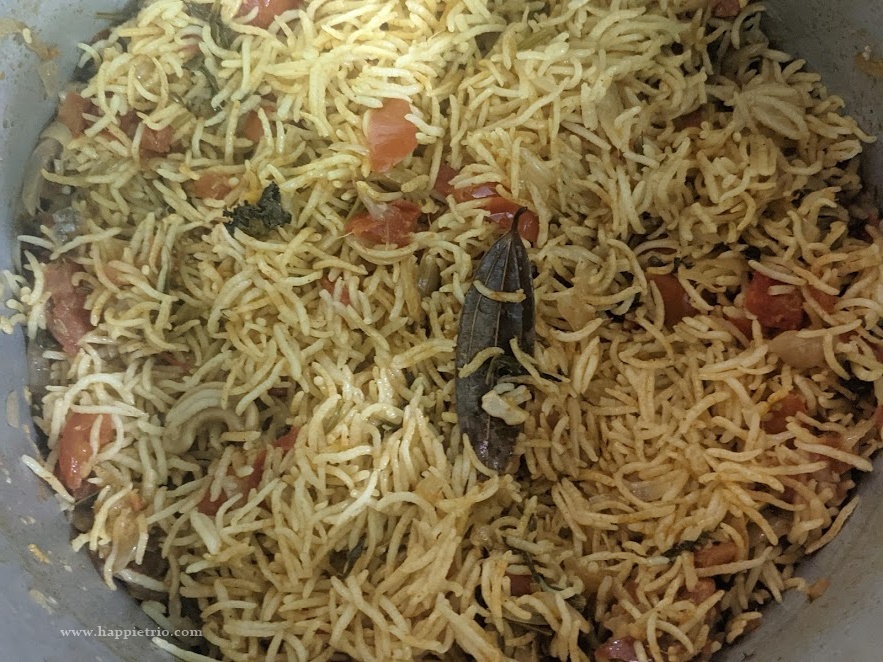
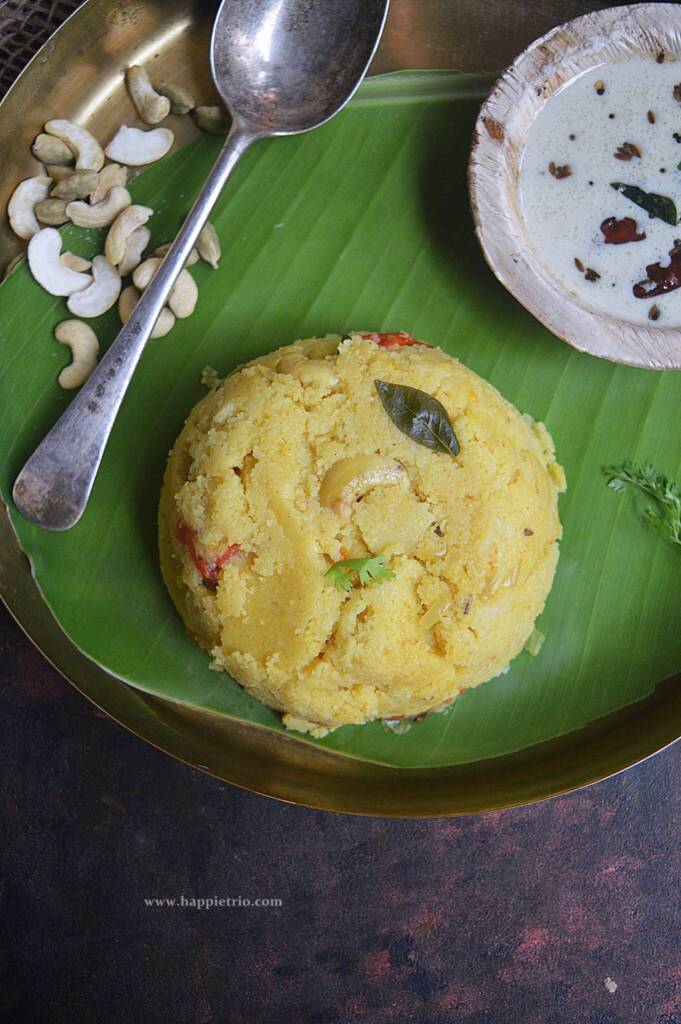
Mix well and continue cooking till the water is fully absorbed by the rava and the kichadi consistency is reached. It gets done in 2 mins. Keep a safe distance as the khichdi might splutter. Add in another tablespoon of Ghee and mix well. Switch off the flame and garnish with coriander leaves.

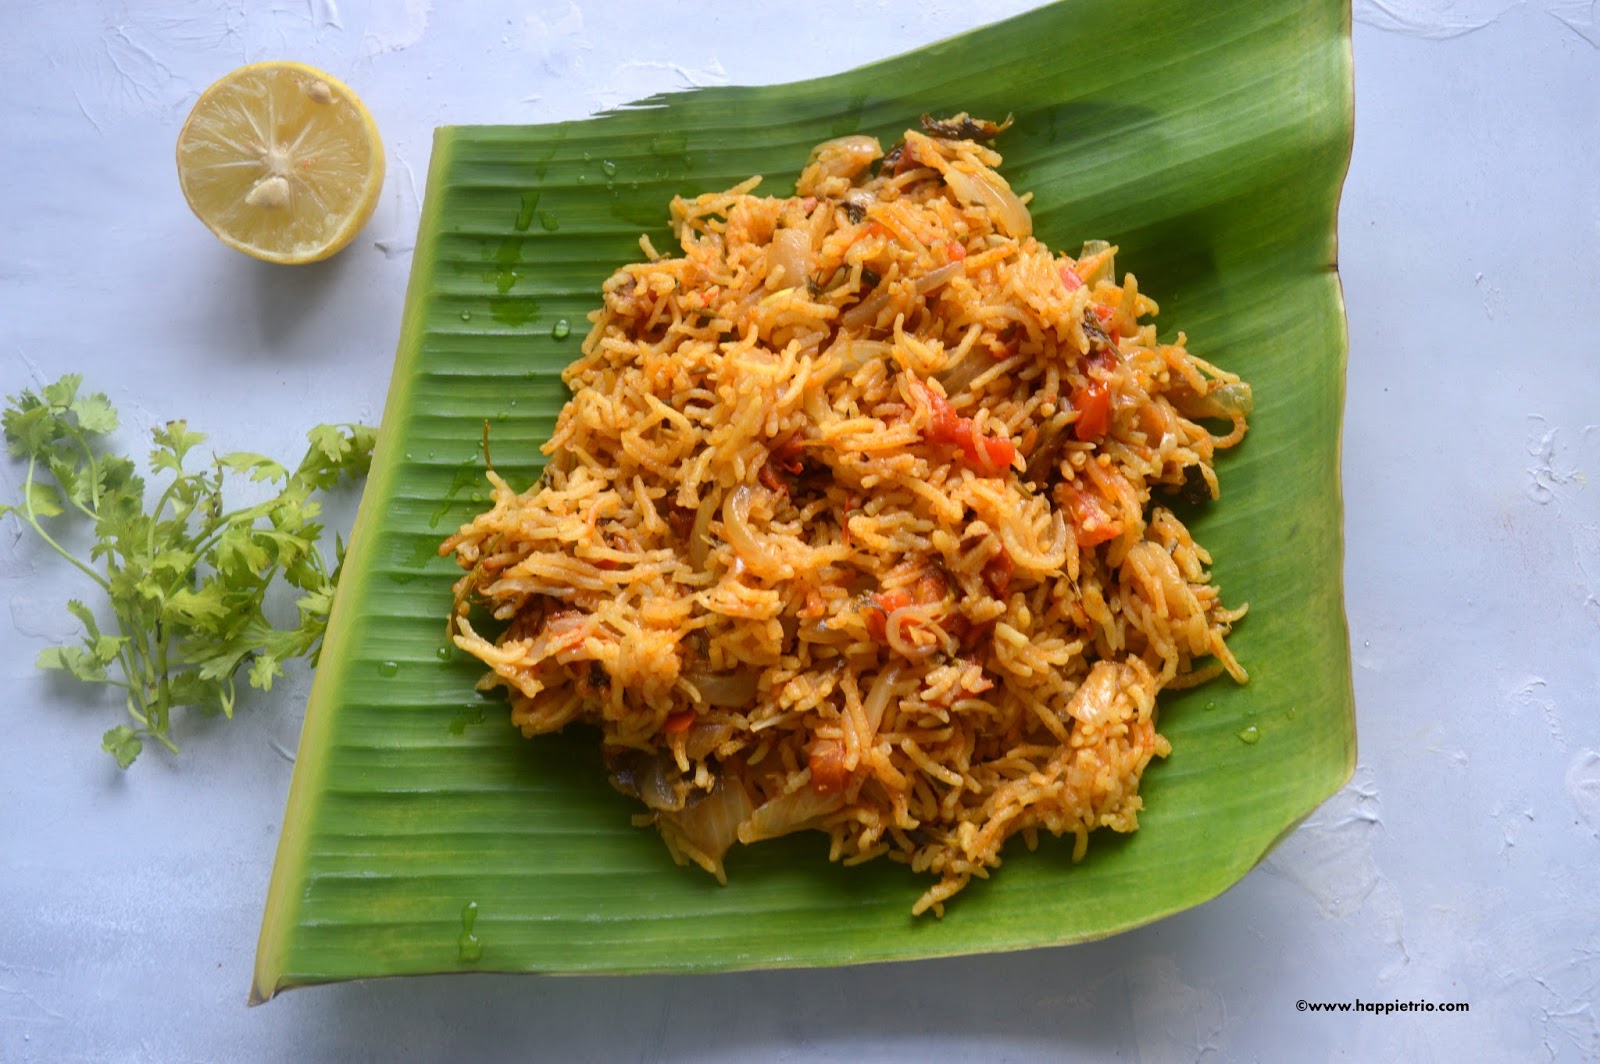
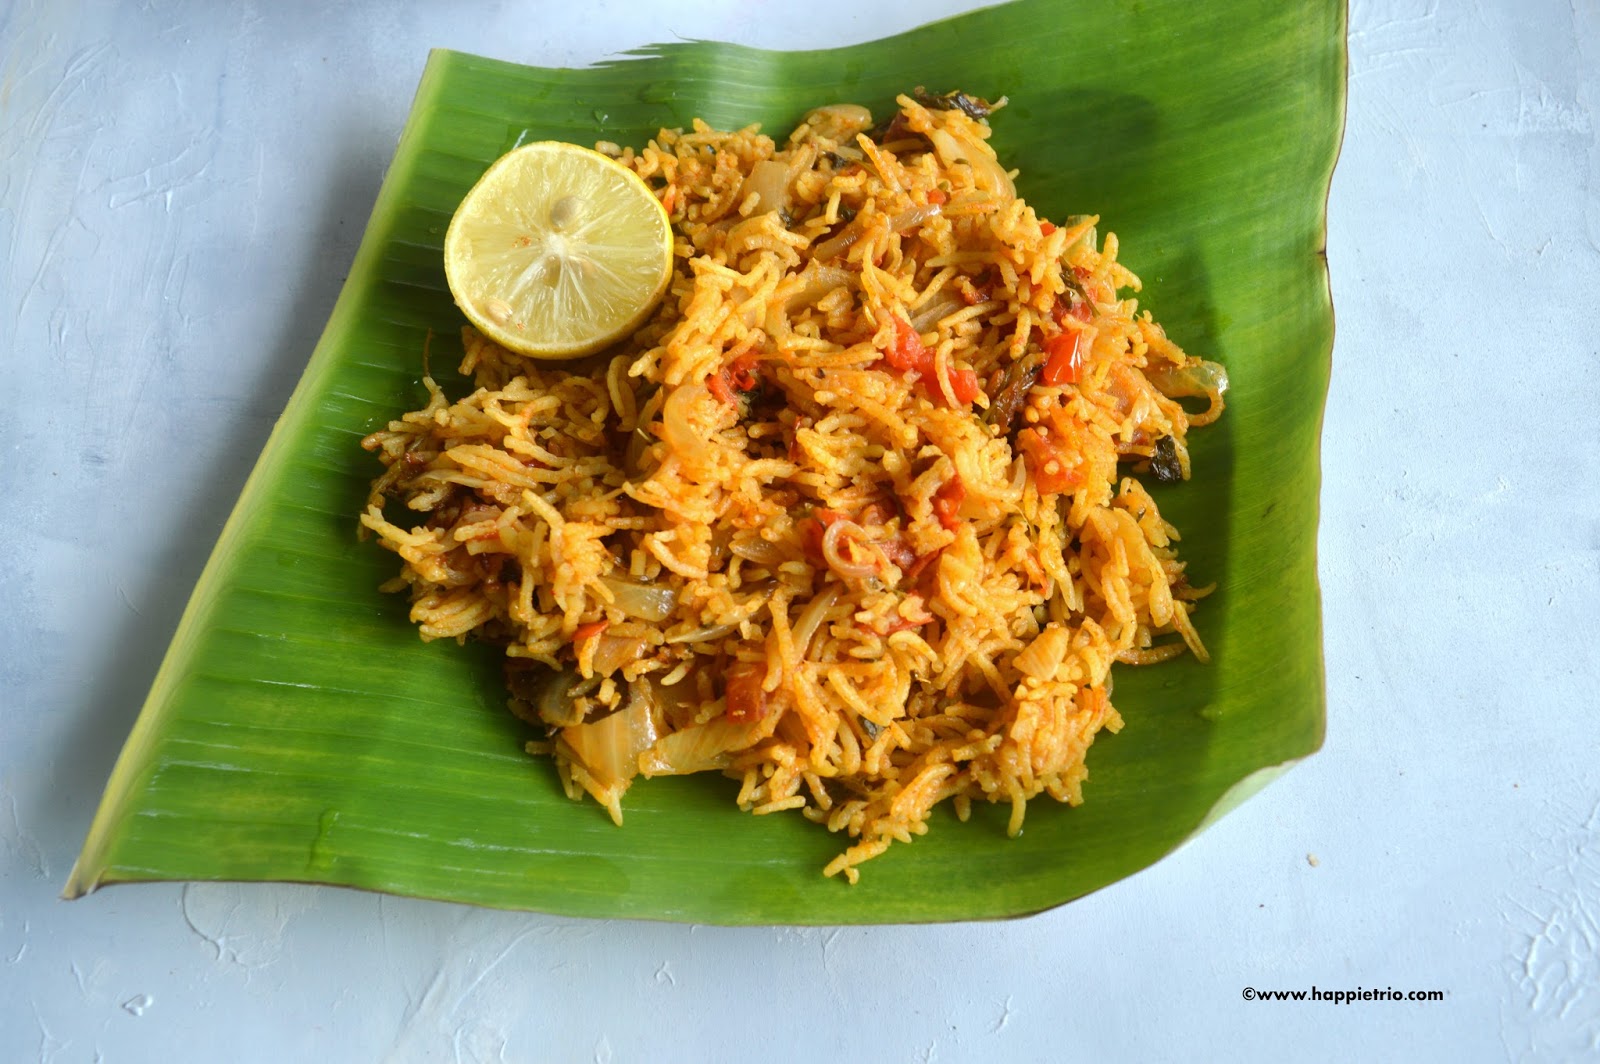
Enjoy your homemade Rava Kichdi hot with coconut chutney
Tips to make the perfect Khichdi
Preparing Rava Kichdi can be straightforward, but following a few tips can help ensure your dish turns out perfect every time. Here are some useful tips to keep in mind:
- Dry Roast Evenly: Always dry roast the rava on medium heat until it turns golden brown. This step is crucial to prevent stickiness and ensure that the rava cooks evenly.
- Continuous Stirring: Keep stirring the rava while roasting to avoid burning and to ensure it roasts evenly.
- Proper Tempering: Make sure the mustard seeds splutter and the dals turn golden brown. This process enhances the overall flavor of the dish.
- Sauté Aromatics Well: Sauté onions until they are translucent, and cook the ginger and green chilies until fragrant. This brings out the best flavors.
- Correct Water Ratio: Generally, use 3 cups of water for 1 cup of rava. Adjust the amount based on the texture you prefer—slightly less water for a firmer consistency and more water for a softer one.
- Hot Water Addition: Using hot water instead of cold water speeds up the cooking process and helps achieve a smoother texture.
- Gradual Addition of Rava: Add the roasted rava gradually while stirring continuously to prevent lumps from forming.
- Cook on Low Heat: After adding the rava, cook on low heat to allow it to absorb water slowly and cook evenly.
- Resting Time: After cooking, allow the Kichdi to rest for a few minutes covered. This helps the flavors meld together and improves the texture.
- Garnish Smartly: Garnish with fresh coriander leaves and a squeeze of lemon juice to add a burst of freshness and enhance the flavor.
Serving Suggestions
Serve hot with coconut chutney, sambar, or yogurt for a complete meal.
Feel free to customize by adding more vegetable for a crunch or adjusting the spice level according to your preference.
Similar Breakfast Recipes


★ Did you enjoy this recipe? If you happen to try it out, I would love to hear from you! I’d appreciate it if you could rate and leave a review below in the comments. Your reviews help others know the recipe better too. Thanks for your time ? You can also follow me on Facebook, Pinterest, Instagram, Youtube and Twitter for more updates from me.
📖 Recipe
Rava Kichdi | Sooji Khichdi
Standard 1 cup measures 240 ml
Ingredients
- 1 cup Rava/Semolina/Sooji
- 3 cups Water
- 1 Onions
- 1 Tomato
- 2 Green Chilli
- 1 tablespoon Ginger garlic paste
- ¼ teaspoon Turmeric Powder
- 1 teaspoon Lemon Juice
- Salt to taste
- 1 spring Curry Leaves
- 1 tablespoon Ghee
- 1 inch Cinnamon stick
- 2 Cardamom
- 2 Cloves
Instructions
- Dry roast the rava : Roast the Rava/ Semolina till they give a nice aroma and set aside. Chop all the vegetables and set them aside.
- Prepare tempering: Heat a pan with ghee. Once its hot add Cinnamon stick, Cardamom, Green chili, Cashew nuts curry leaves, and Cloves.
- Add Aromatics: Next add onions, fry till they become glossy.
- And then add tomato. Cook till it is soft.
- Next, add ginger garlic paste, fry till the raw smell leaves.
- Next add water, Salt, Lemon Juice, and Turmeric powder.
- Close the lid and wait till the water comes to a boil.
- Mix in the rava : Now add roasted rava. Add Slowly without any lumps. Use a whisk and keep whisking as you add the Rava into the pan. This helps to avoid lumps.
- Simmer and cook : Mix well and continue cooking till the water is fully absorbed by the rava and the kichadi consistency is reached. It gets done in 2 mins. Keep a safe distance as the khichdi might splutter as it cooks.
- Finish and serve: Add in another tablespoon of Ghee and mix well. Switch off the flame and garnish with coriander leaves.
Notes
Tips to make the perfect Khichdi
Preparing Rava Kichdi can be straightforward, but following a few tips can help ensure your dish turns out perfect every time. Here are some useful tips to keep in mind:- Dry Roast Evenly: Always dry roast the rava on medium heat until it turns golden brown. This step is crucial to prevent stickiness and ensure that the rava cooks evenly.
- Continuous Stirring: Keep stirring the rava while roasting to avoid burning and to ensure it roasts evenly.
- Proper Tempering: Make sure the mustard seeds splutter and the dals turn golden brown. This process enhances the overall flavor of the dish.
- Sauté Aromatics Well: Sauté onions until they are translucent, and cook the ginger and green chilies until fragrant. This brings out the best flavors.
- Correct Water Ratio: Generally, use 3 cups of water for 1 cup of rava. Adjust the amount based on the texture you prefer—slightly less water for a firmer consistency and more water for a softer one.
- Hot Water Addition: Using hot water instead of cold water speeds up the cooking process and helps achieve a smoother texture.
- Gradual Addition of Rava: Add the roasted rava gradually while stirring continuously to prevent lumps from forming.
- Cook on Low Heat: After adding the rava, cook on low heat to allow it to absorb water slowly and cook evenly.
- Resting Time: After cooking, allow the Kichdi to rest for a few minutes covered. This helps the flavors meld together and improves the texture.
- Garnish Smartly: Garnish with fresh coriander leaves and a squeeze of lemon juice to add a burst of freshness and enhance the flavor.