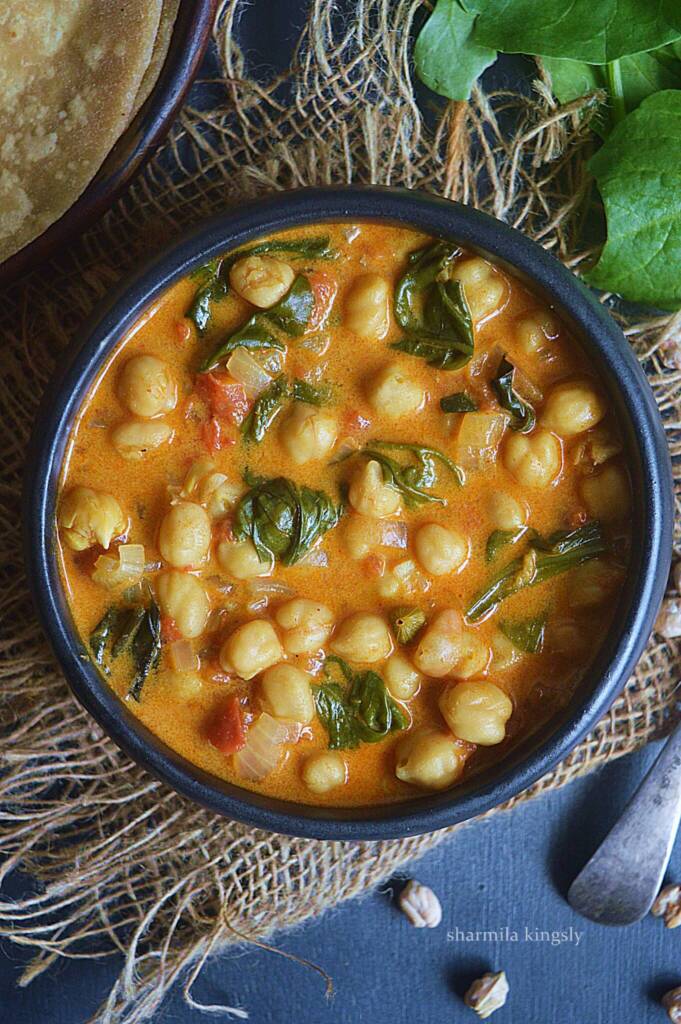
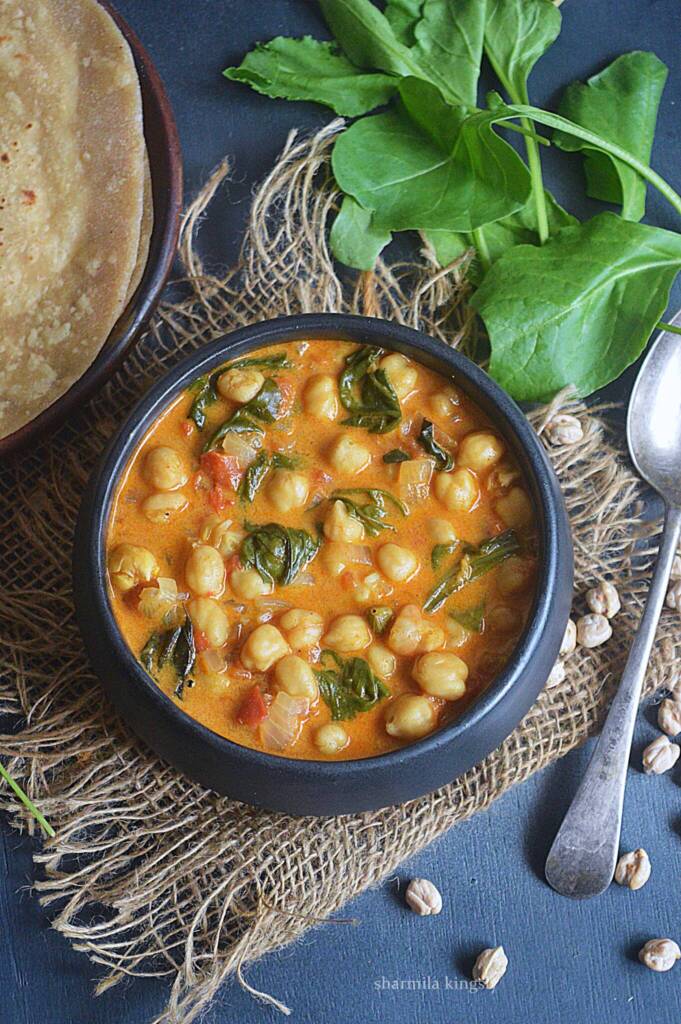
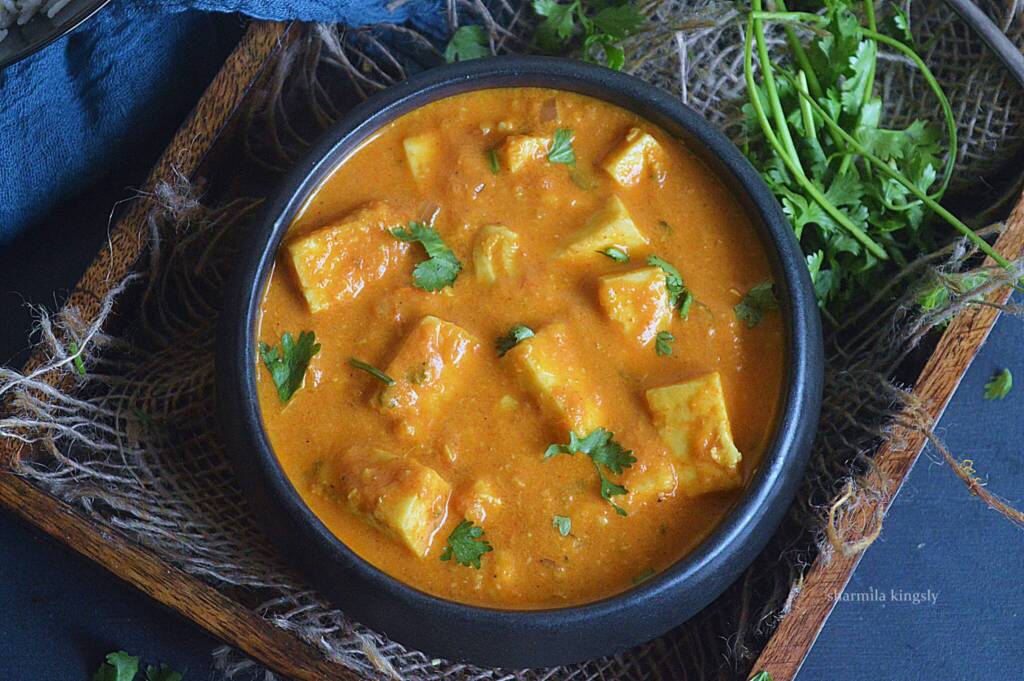
Paneer butter masala - Instant Pot is a luscious and silky paneer curry with onion, tomato, and cashew base. It is an easy one-pot dish made real quick in under 30 mins.
Follow us on Pinterest for delicious pins. Join our Facebook group for more Instant Pot and Air Fryer recipes.
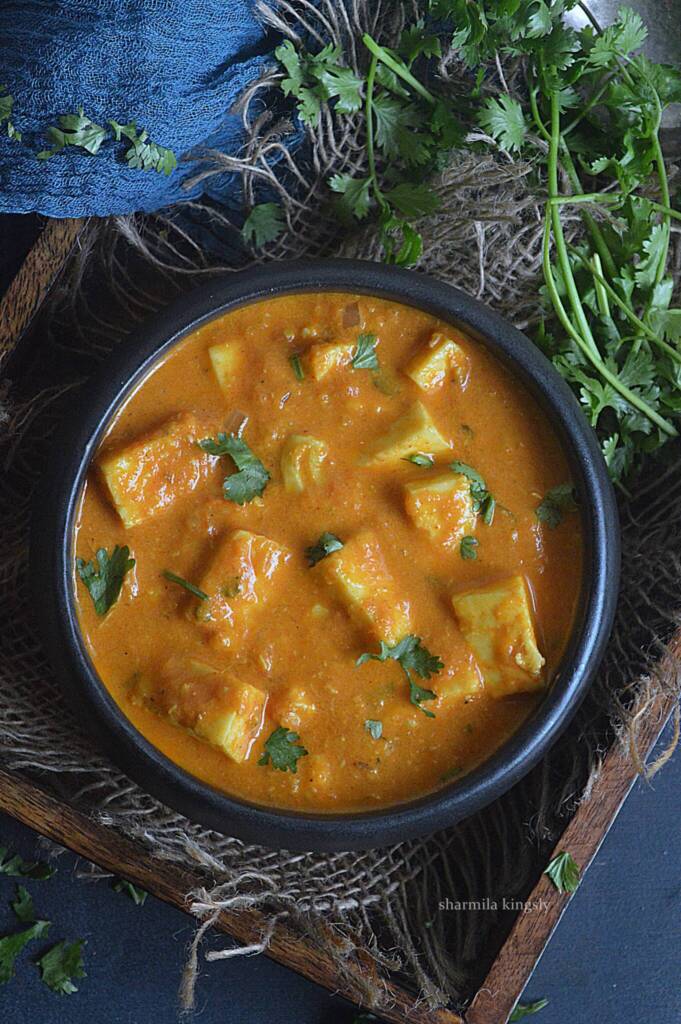
If you are a paneer lover, you can never say no to a bowl of paneer butter masala along with some buttery naan. A perfect match. It is so rich and creamy with a delight in every bite.
[feast_advanced_jump_to]Paneer Butter Masala
Butter Paneer or Paneer Makhani also known as Paneer Butter Masala, is a rich and creamy curry made of Paneer. Paneer cubes are cooked in an onion tomato and cashew paste along with spices. The curry is finally topped with fresh cream and garnished with dried fenugreek leaves and Cilantro.
Why you will Love this Recipe
For cooking Paneer butter masala the traditional way, We saute the onions, tomato, and cashew first. We have to let them cool down and blend until creamy. Once again we cook the whole spices in butter and add the creamy paste followed by spice powders and simmer.
In the Instant Pot version no need to transfer and let it cool down. We cook all the onion, tomato, and cashew in one shot and blend using an immersion blender. It makes the gravy real quick with the same authentic taste and flavor.
The entire curry gets done in under 30 mins and its a mess-free version.
Ingredients
Paneer - Use homemade Paneer or Store bought ones whichever is available. If using store-bought ones, cube the paneer and soak them in warm water for 15 mins and then use. Homemade paneer is naturally soft and hence no need to soak it in water.
Butter - We cook the entire curry in butter. It gives a rich taste and flavor.
Onion - Use red onions for the curry.Tomato - Use juicy ripe tomatoes. The taste of the curry comes only from the onion and tomato base.
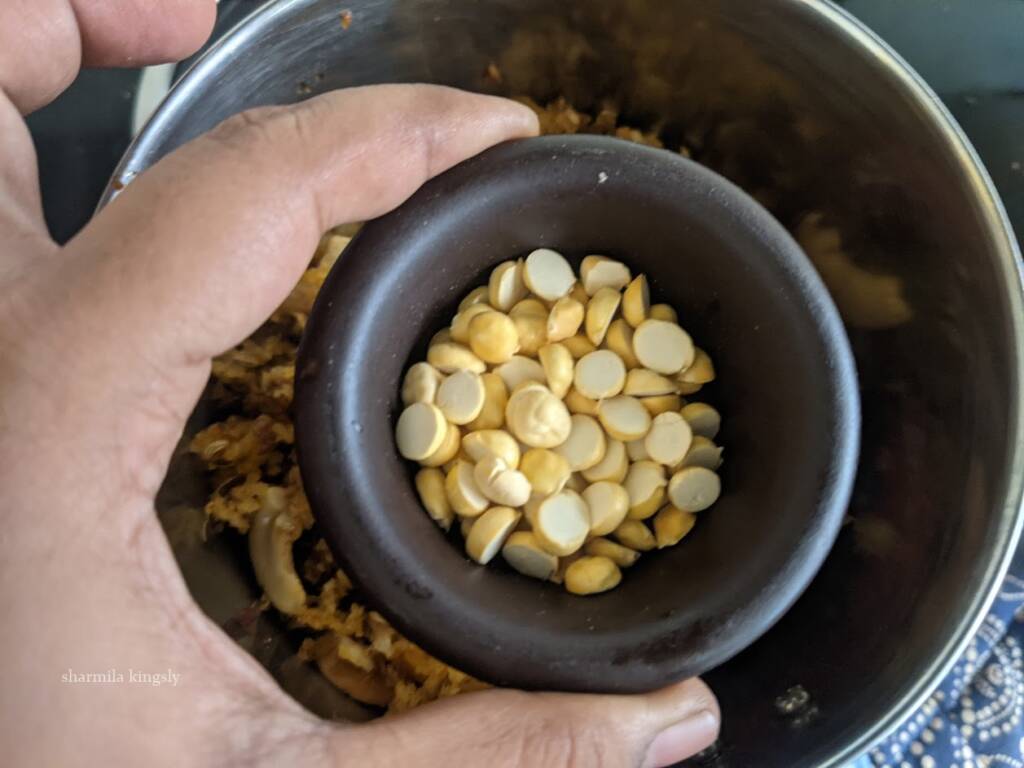
Cashew nuts - An important ingredient for the creamy curry. It improves the richness and gives a natural sweetness.
Whole spices - Use saute the whole spices and cook in butter.Spice Powders - We are using a combination of Indian spice powders for flavor and taste.
Fresh Cream - It balances the curry and adds more richness.
Sugar - Paneer butter masala has a hint of sweetness, so a little bit of sugar goes into the curry. You can also use tomato ketchup if you do not want to add sugar.
Dried Fenugreek leaves - also known as kasoori methi is a traditional Indian garnish for the makhani curry.
Cilantro - As always finish the curry with a generous sprinkle of cilantro.

How to Make Paneer Butter Masala in Instant Pot
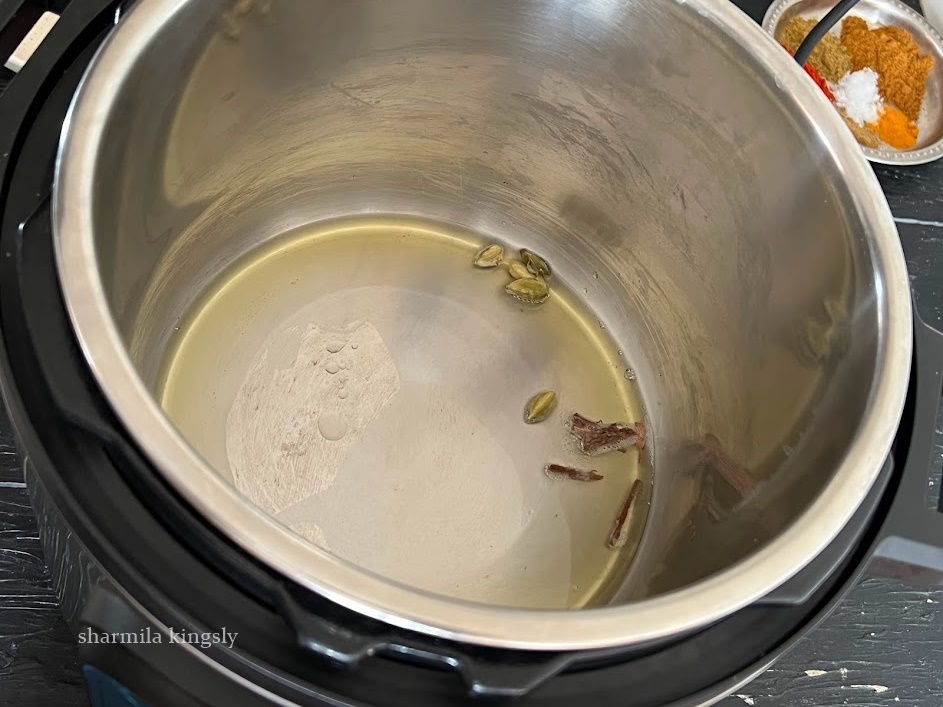
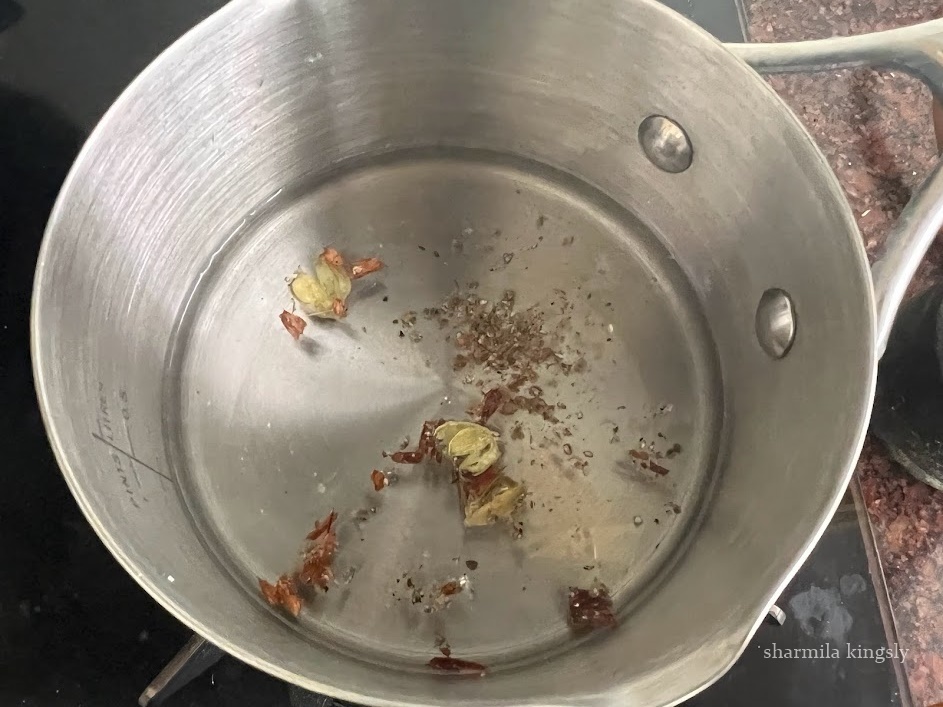
1.Switch on the Instant Pot in saute mode. Once it's hot add the unsalted butter. Let it melt.
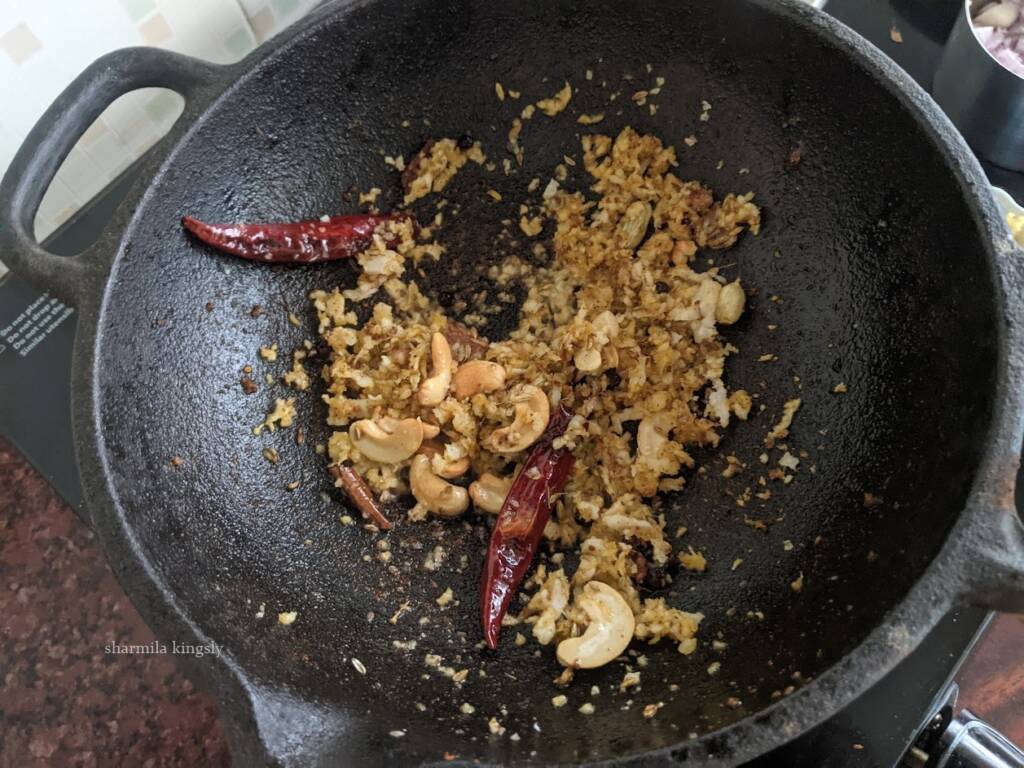
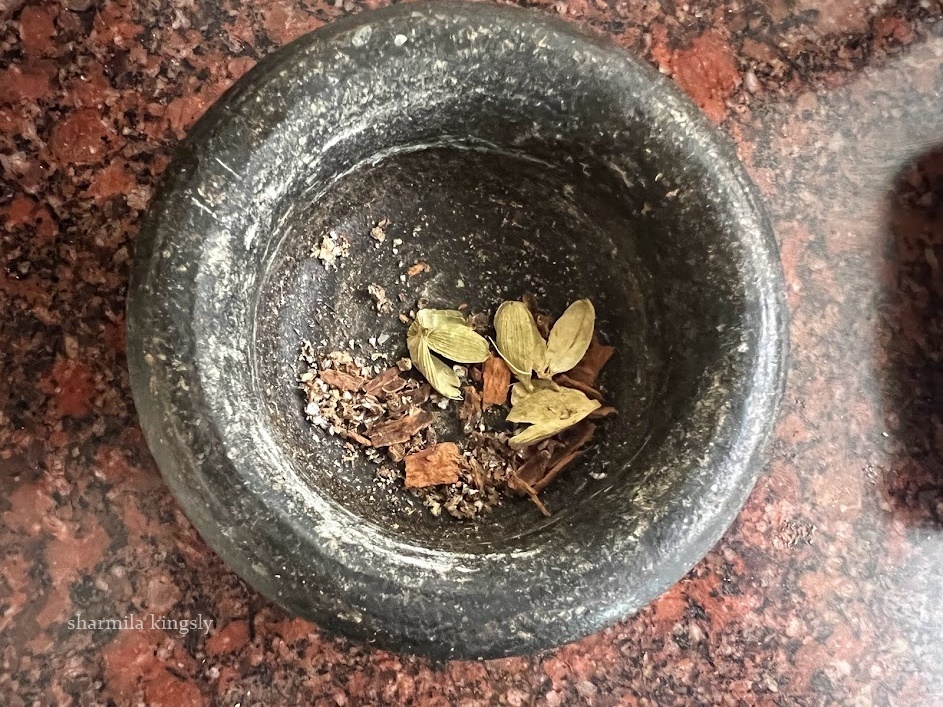
2. Now add the whole spices. I am adding Cumin seeds, cinnamon, clove, and Cardamom. Let them splutter.
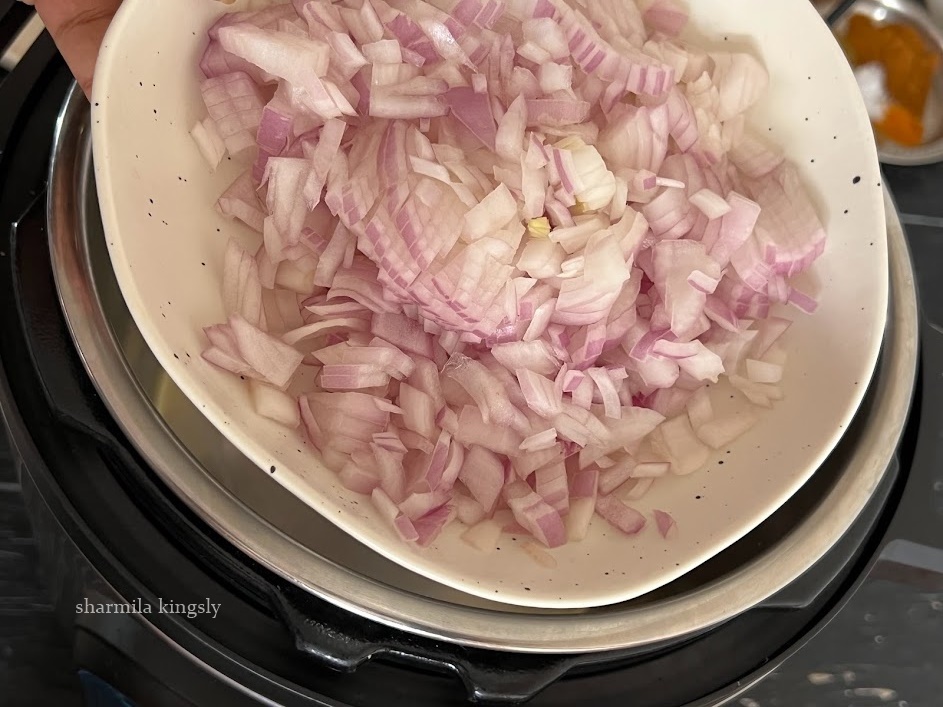
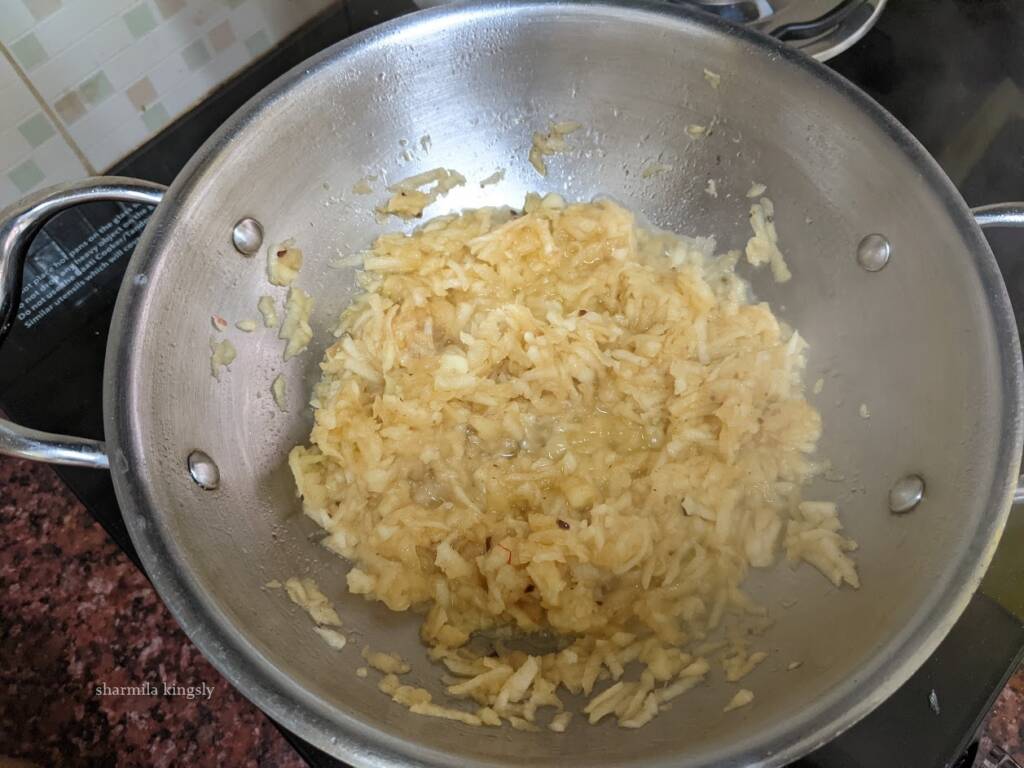
3. Next, add the chopped onion and saute it until they are soft.
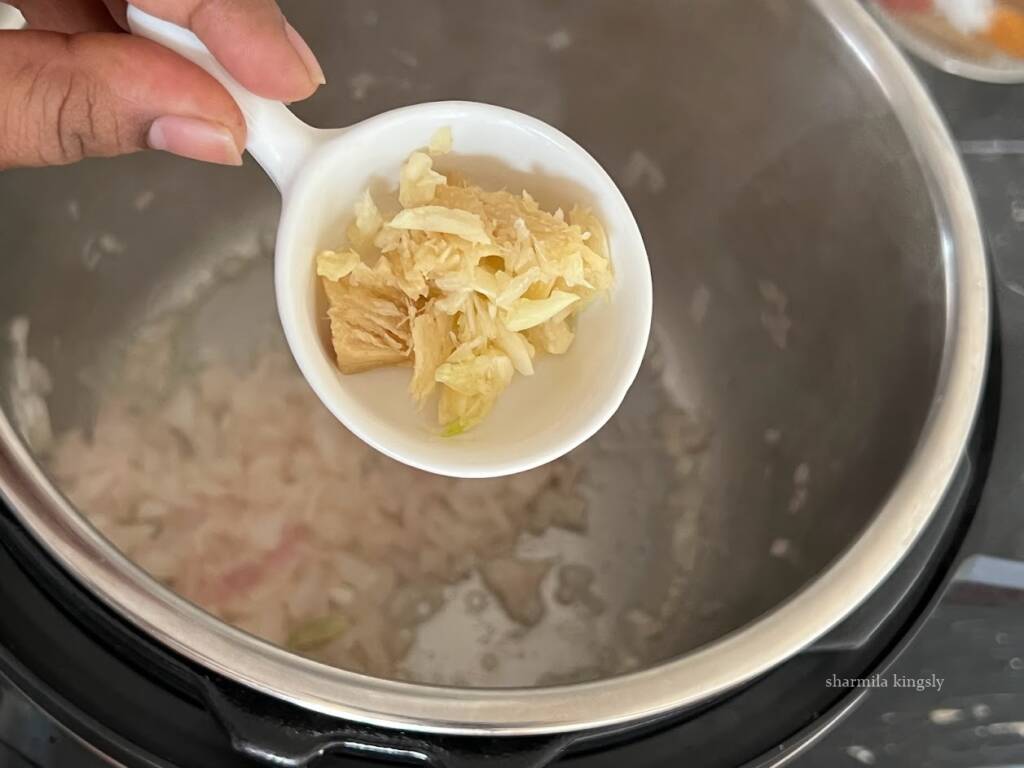
4. And then add the minced ginger garlic or ginger garlic paste and saute for a min so that the raw smell leaves.

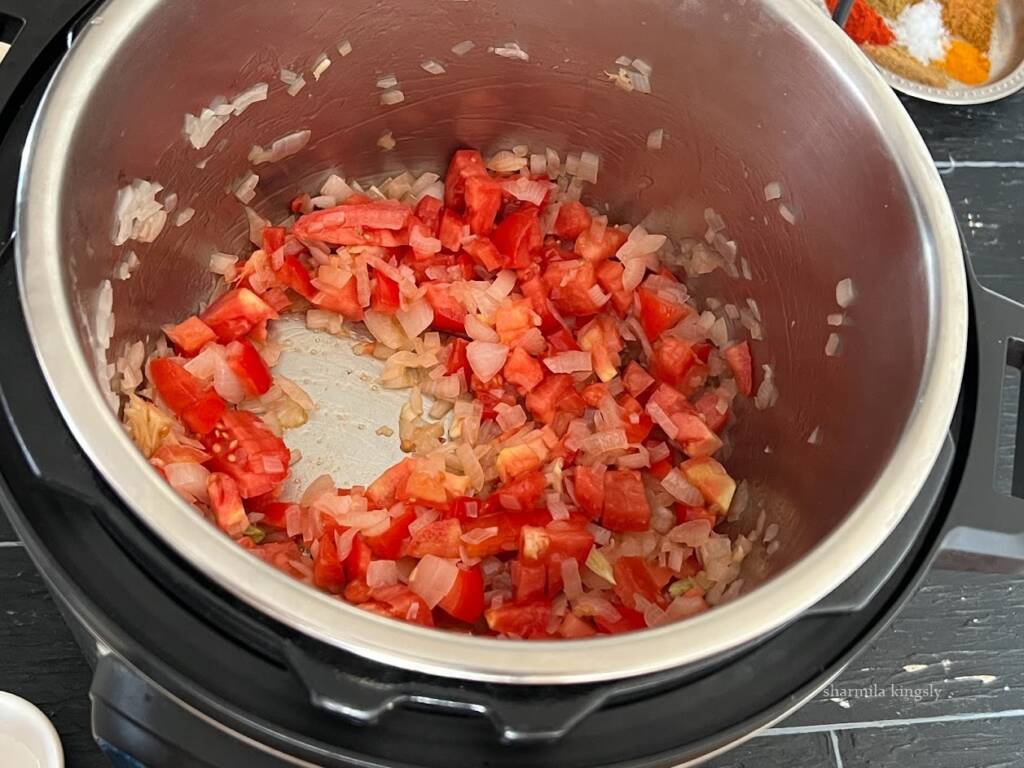
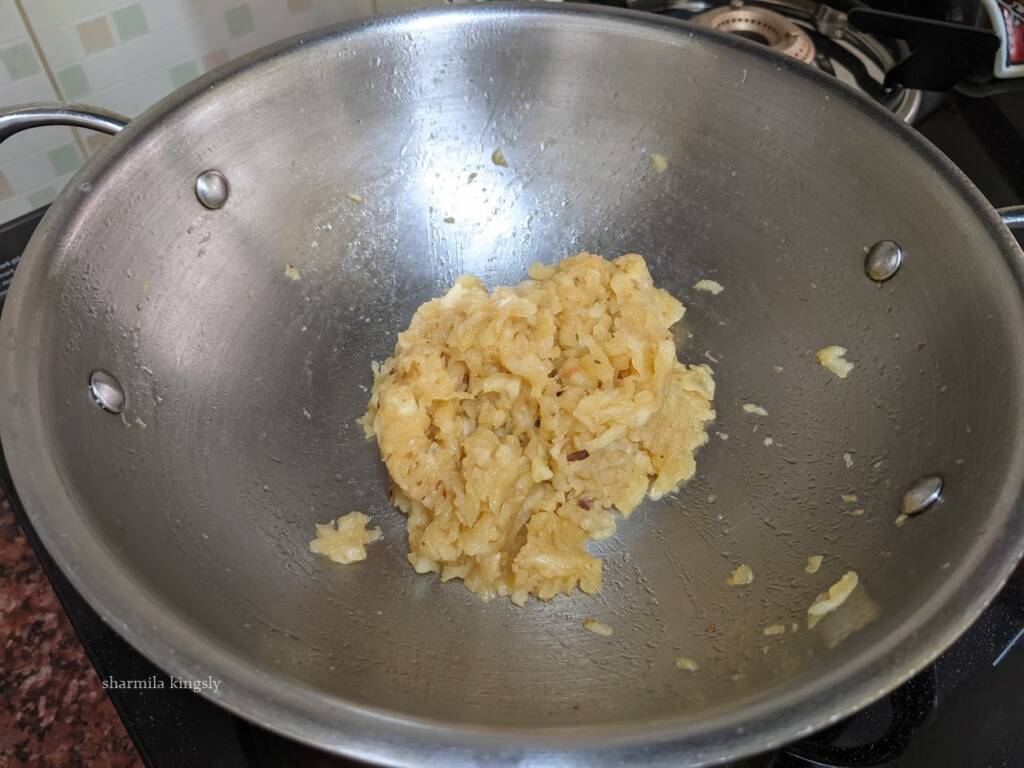
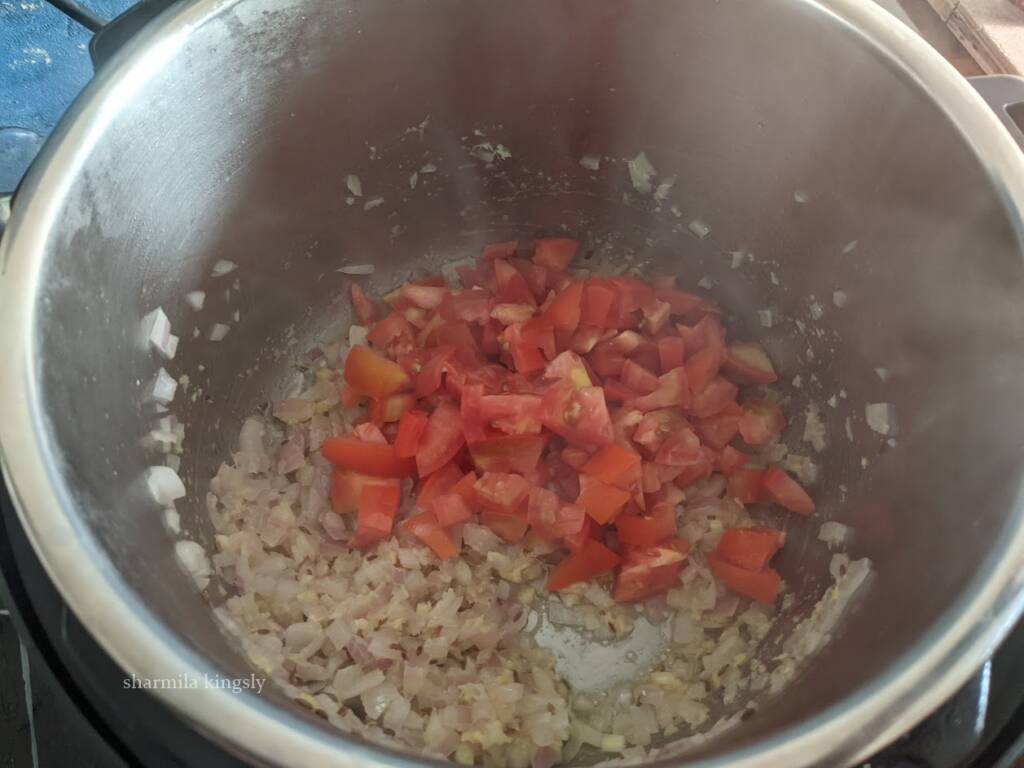
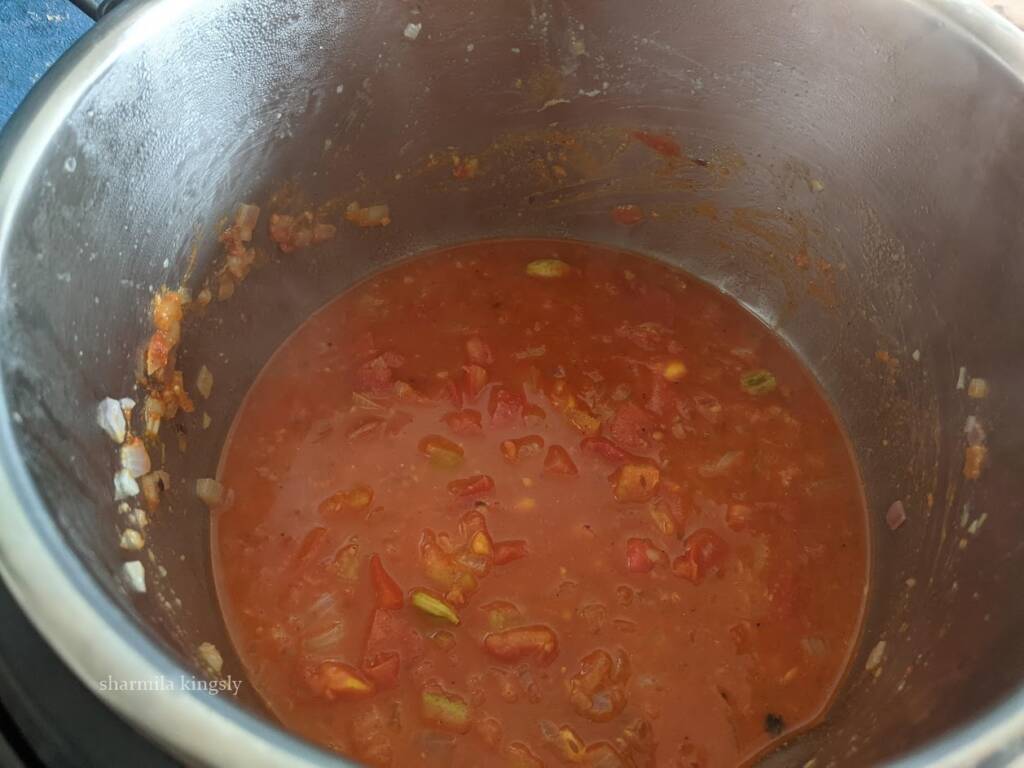
5. Add the chopped tomato and saute it till they are soft.
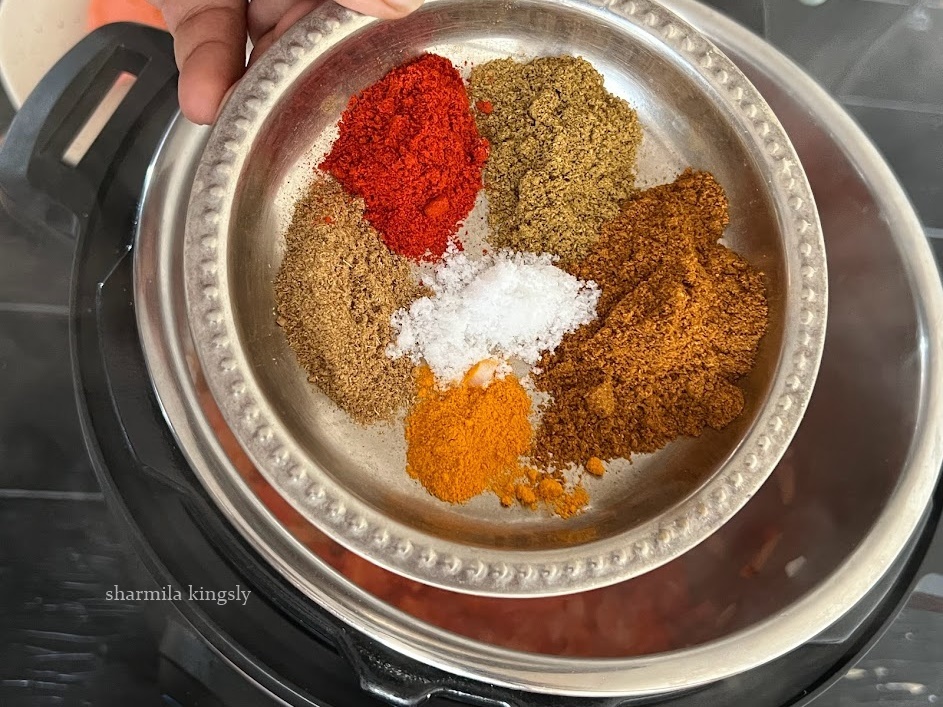
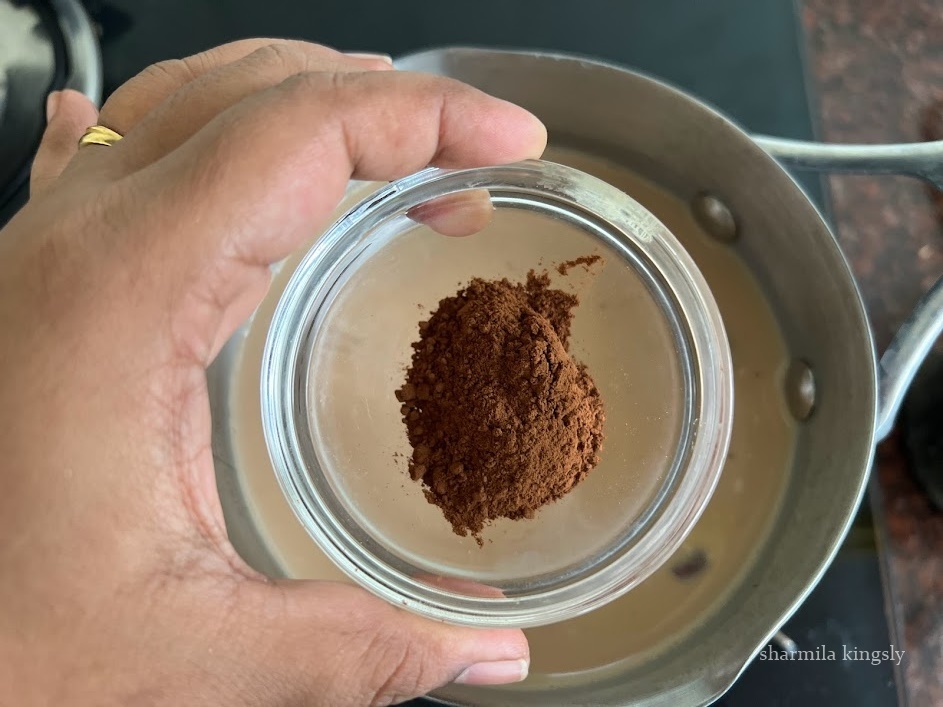
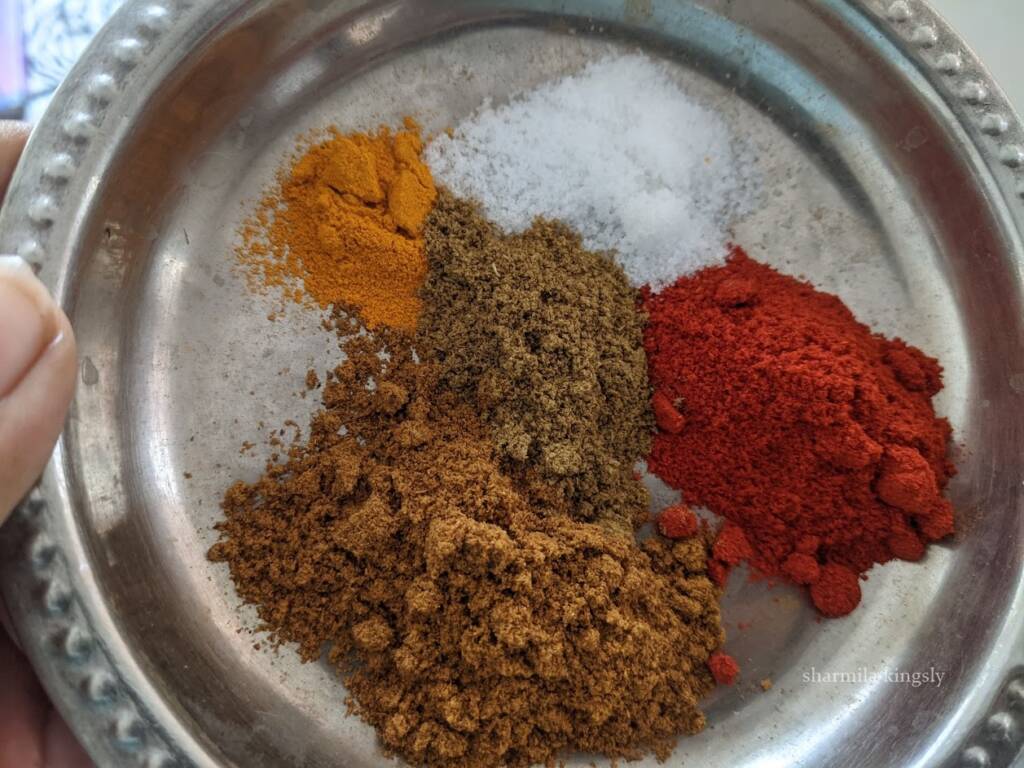
6. Now add the spice powders. We are adding Kashmiri red chili powder for the lovely bright color. Along with that garam masala, Coriander powder, turmeric powder, and the required salt. Combine and cook for a few secs.
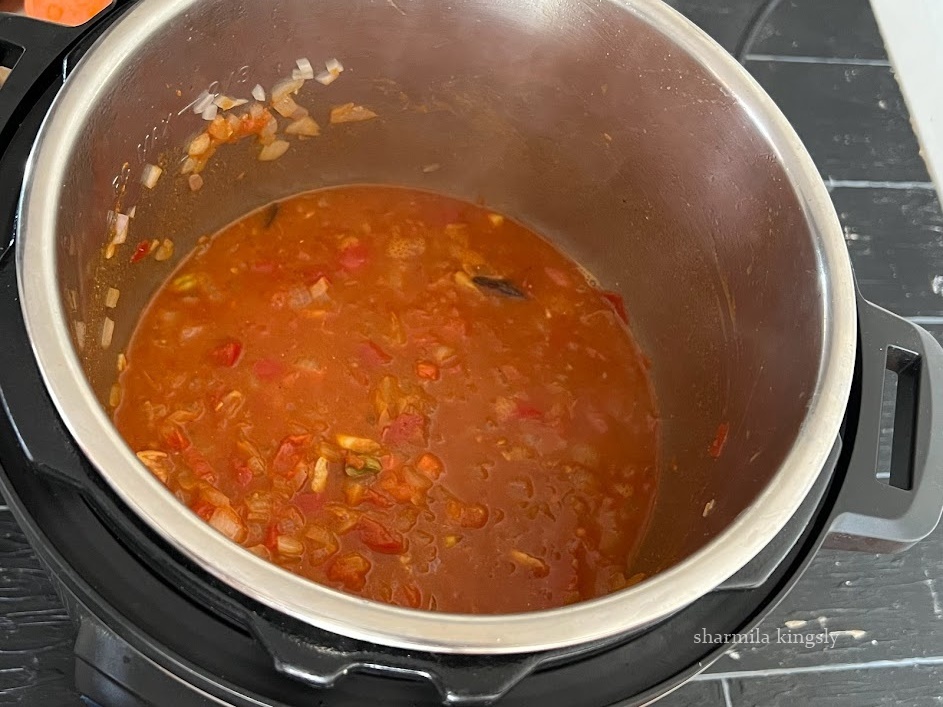
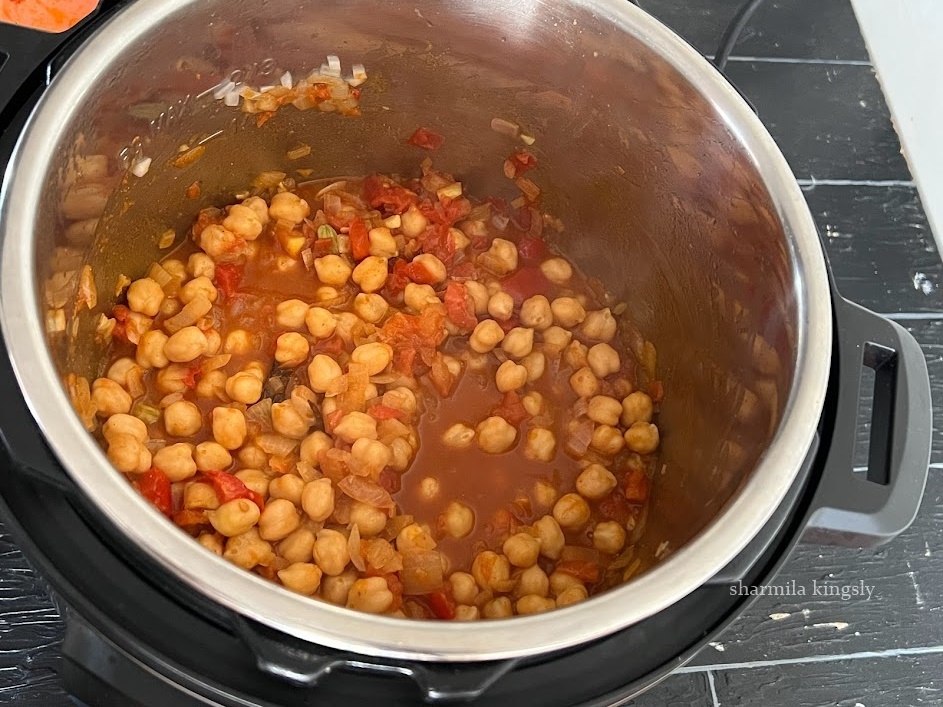
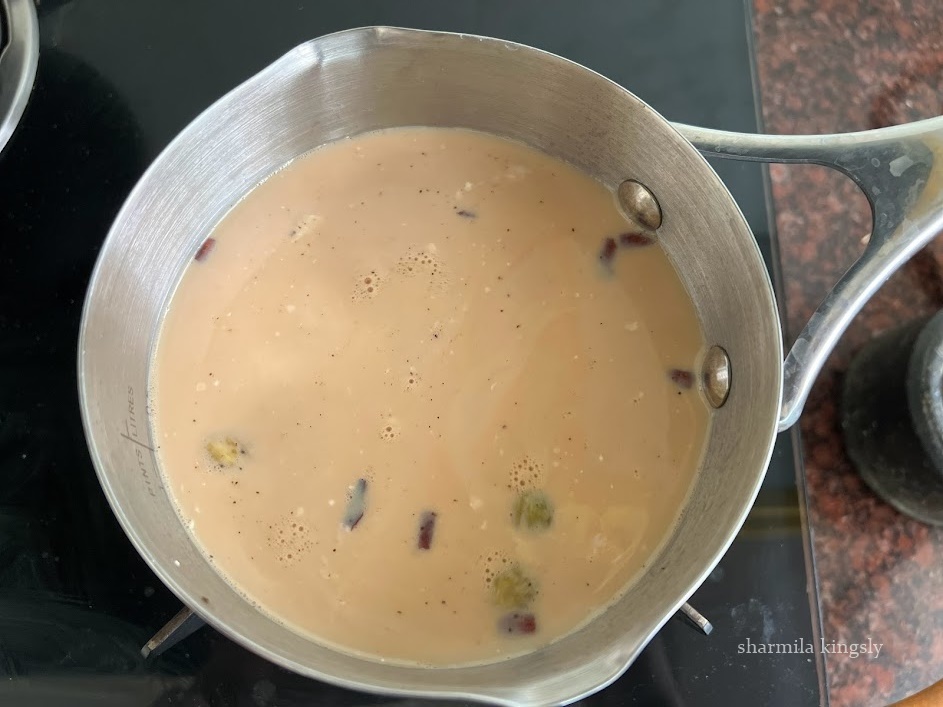
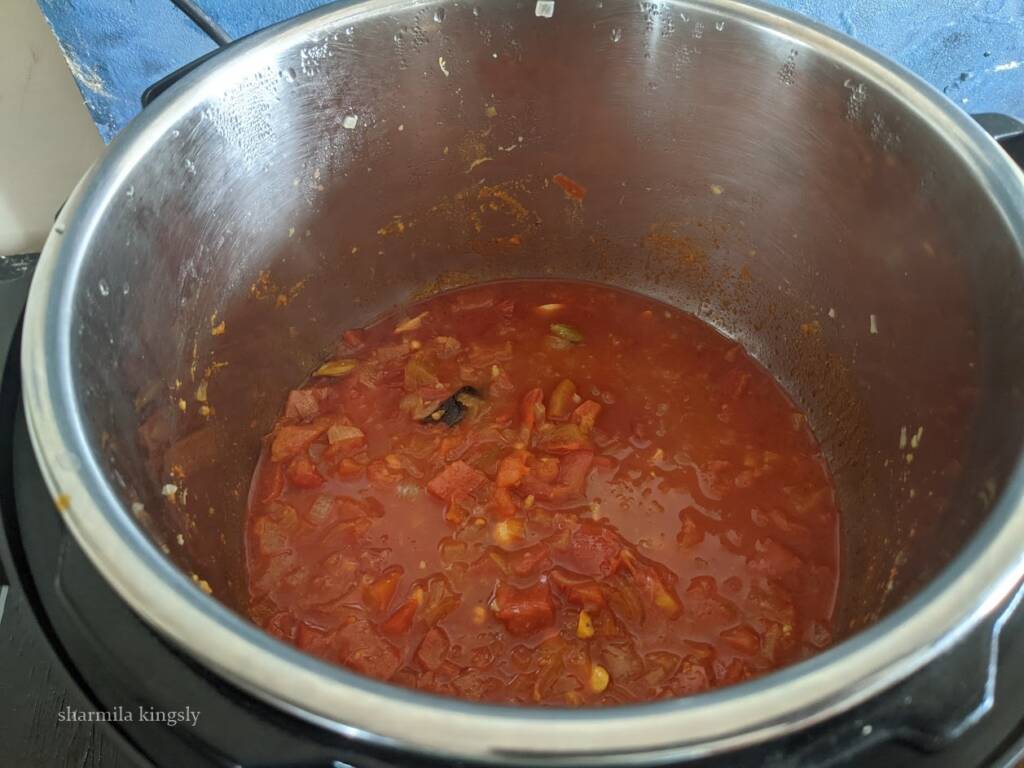
7. Next, add 1 cup of Water. Mix everything and deglaze the pot.
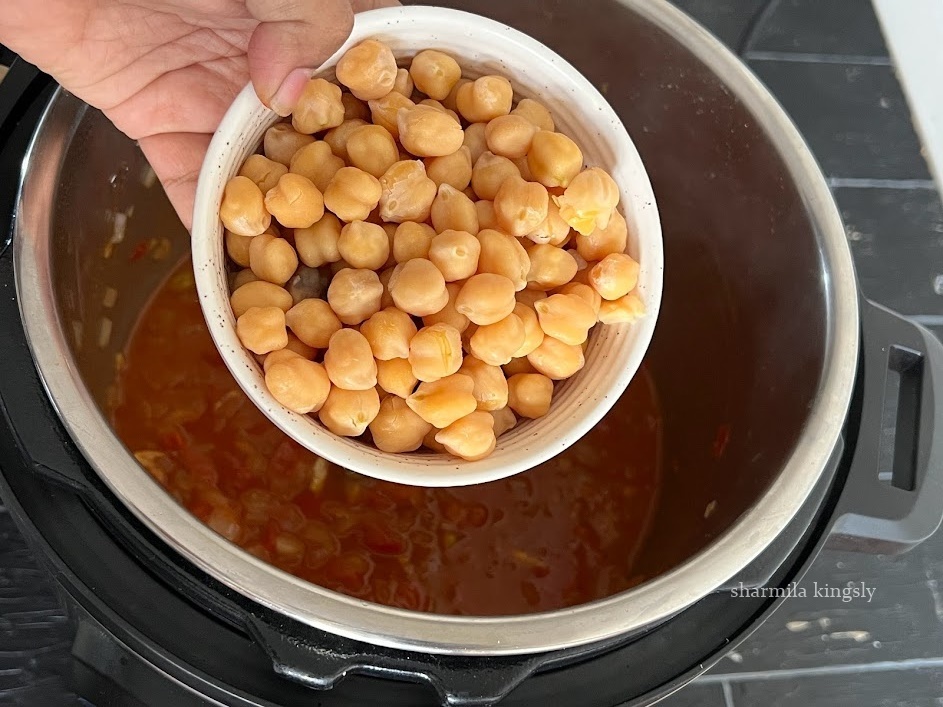
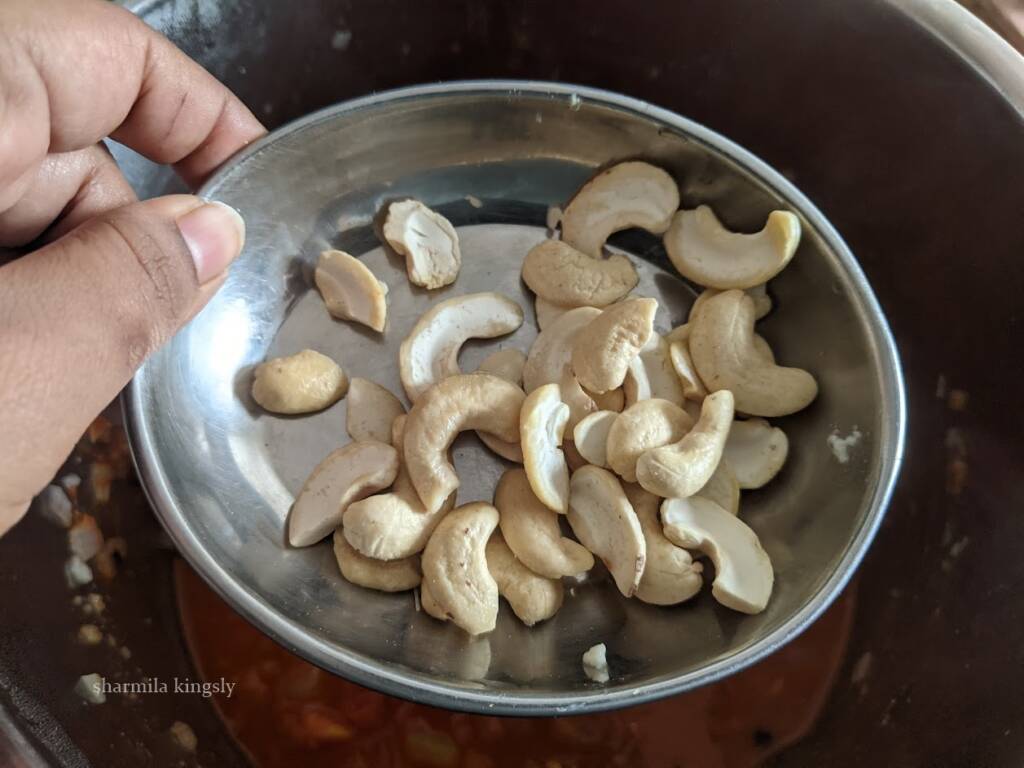
8. Add the cashew nuts and combine once and close the Instant Pot. Press the cancel button and then select the pressure cook mode. Set 8 mins in high pressure.
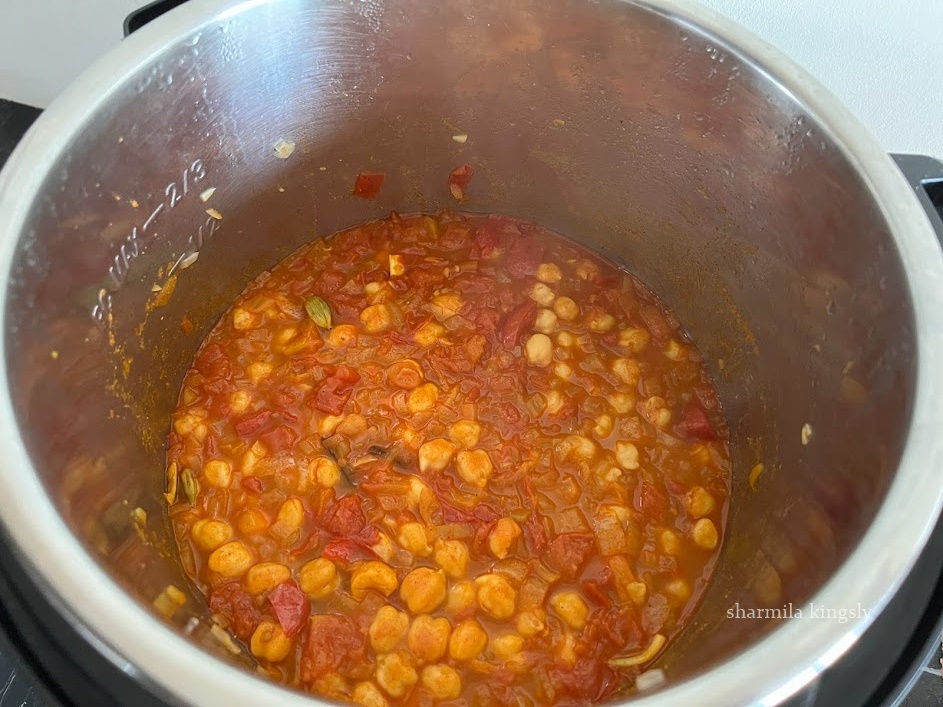
9. Once the cooking time is over do a quick release and open the Instant Pot.
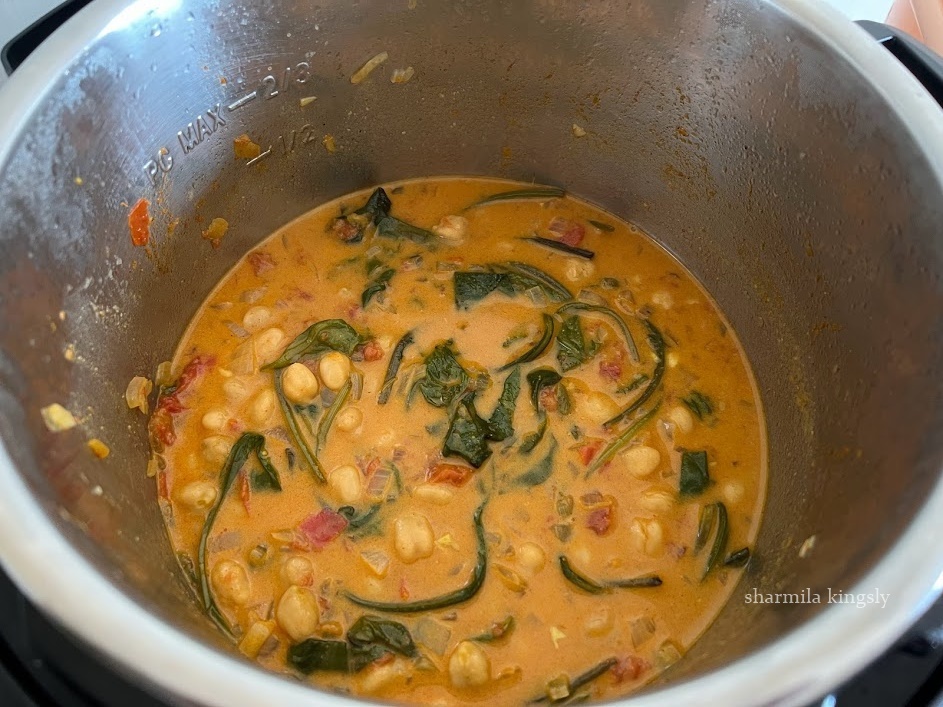
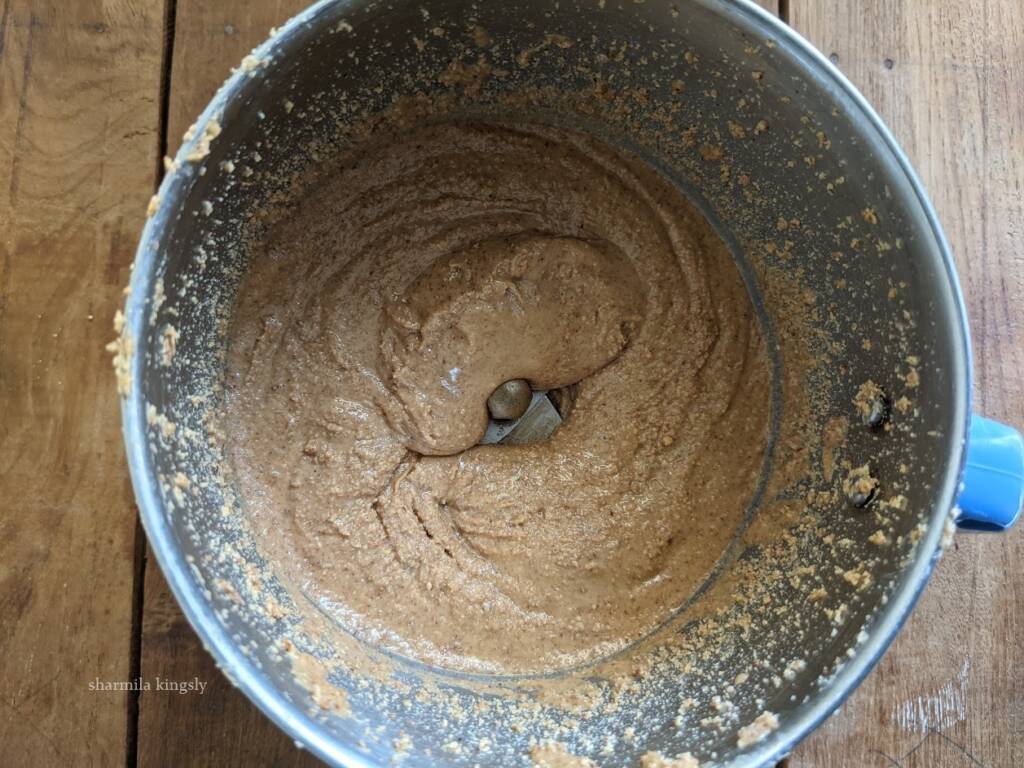
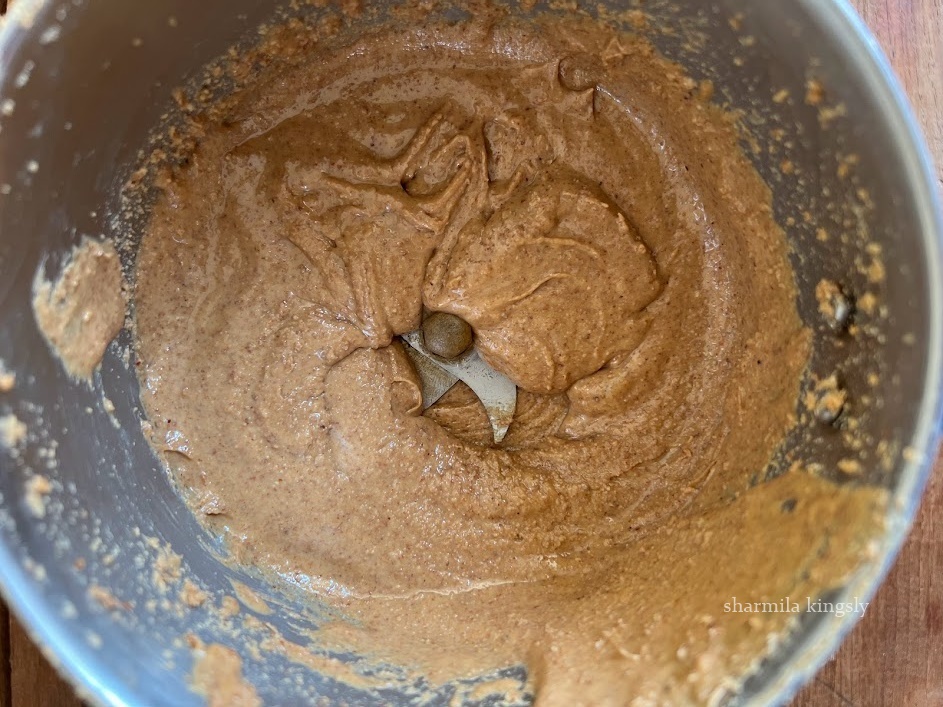
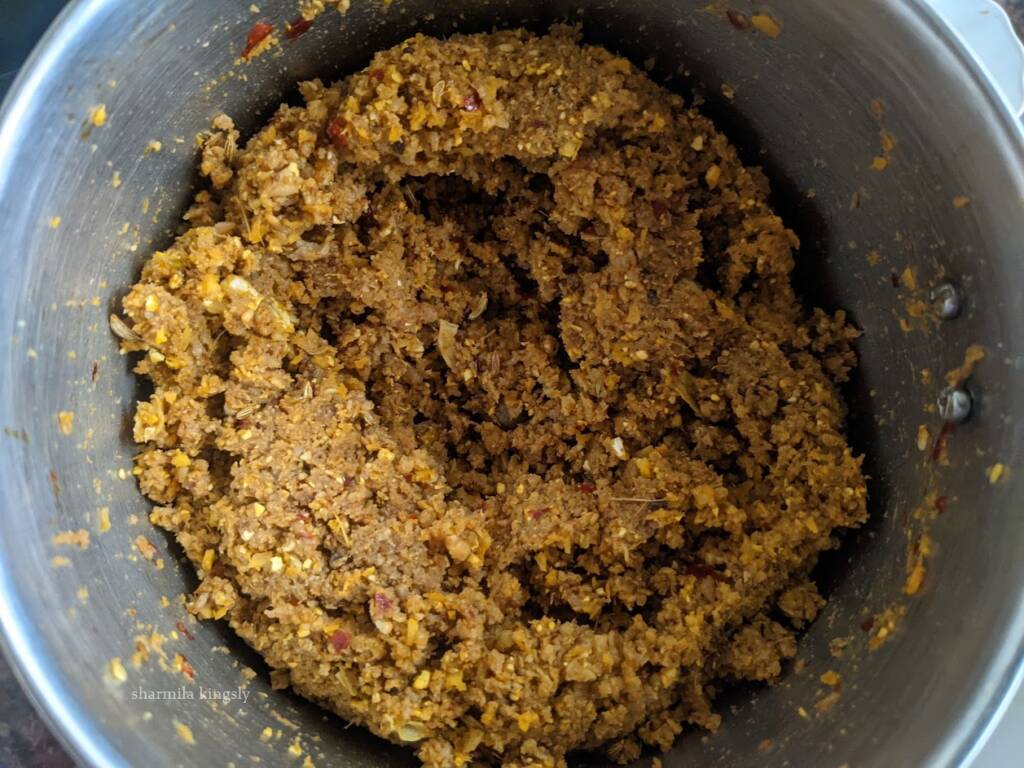
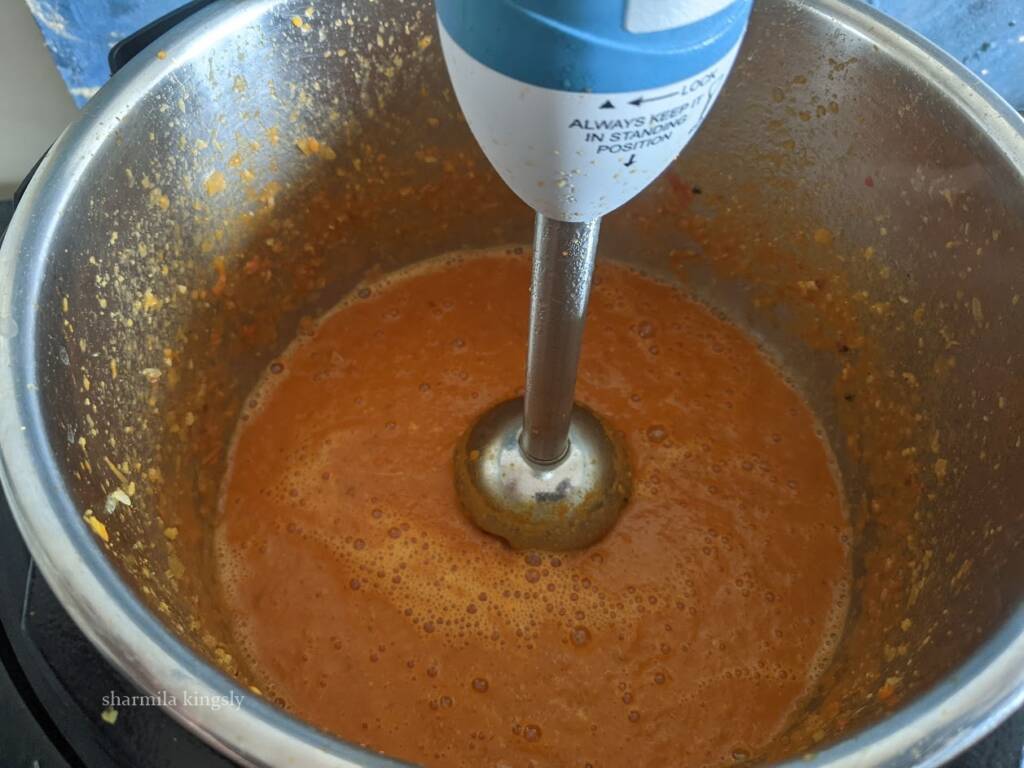
10. Using an immersion blender blend everything into a creamy curry. If you do not have one, let the curry cool a bit you may transfer it to a blender and then blend it to a fine paste.
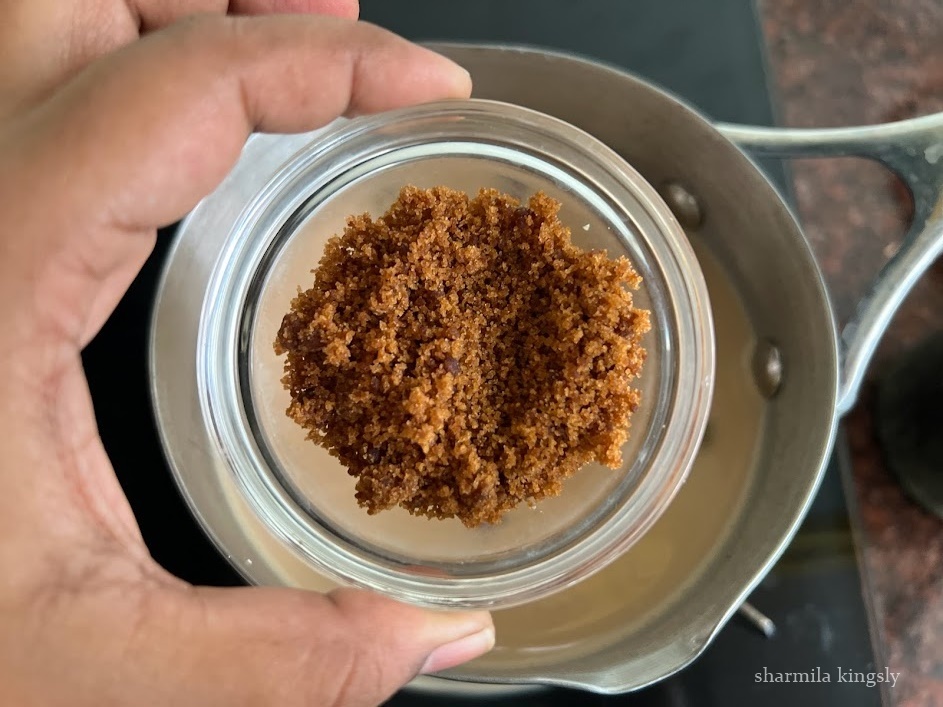
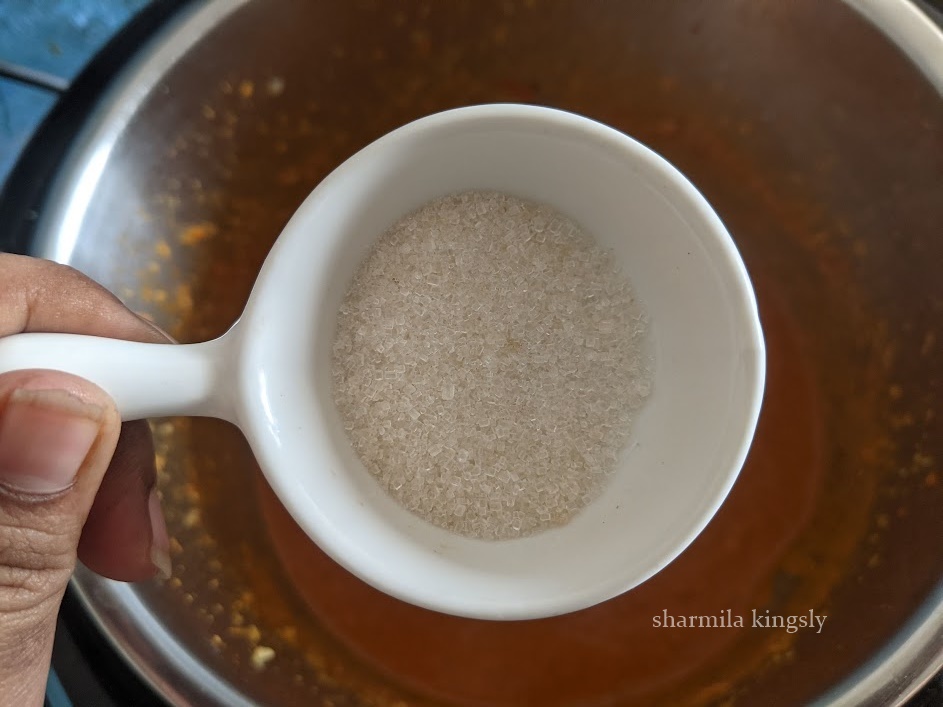
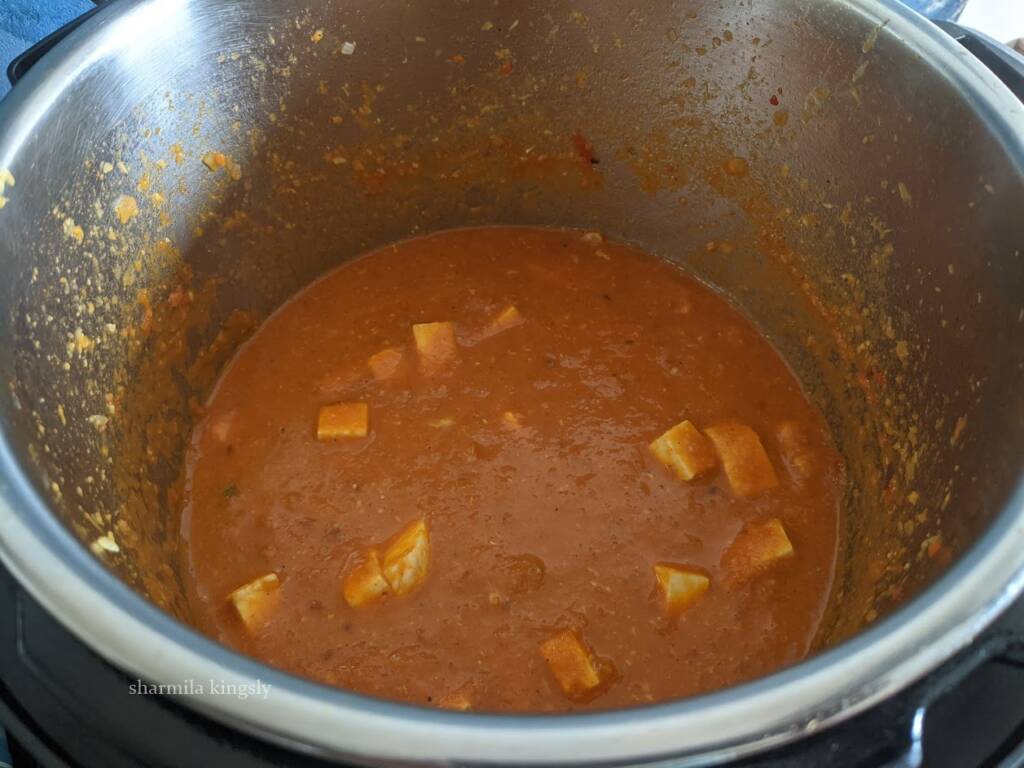
11. Now the Paneer Butter Masala base is ready. Switch on the Instant Pot back in saute mode. Add the sugar and combine well.
12. Cube the paneer and keep them soaked in warm water for 15 mins and now add the paneer into the Instant Pot. Cook for 1 min.
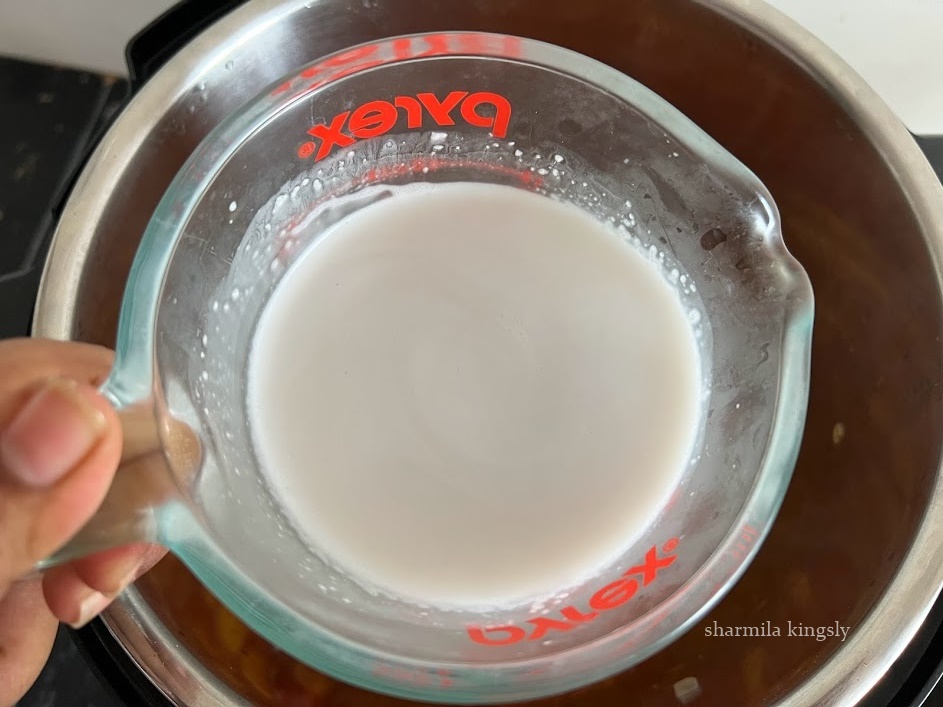
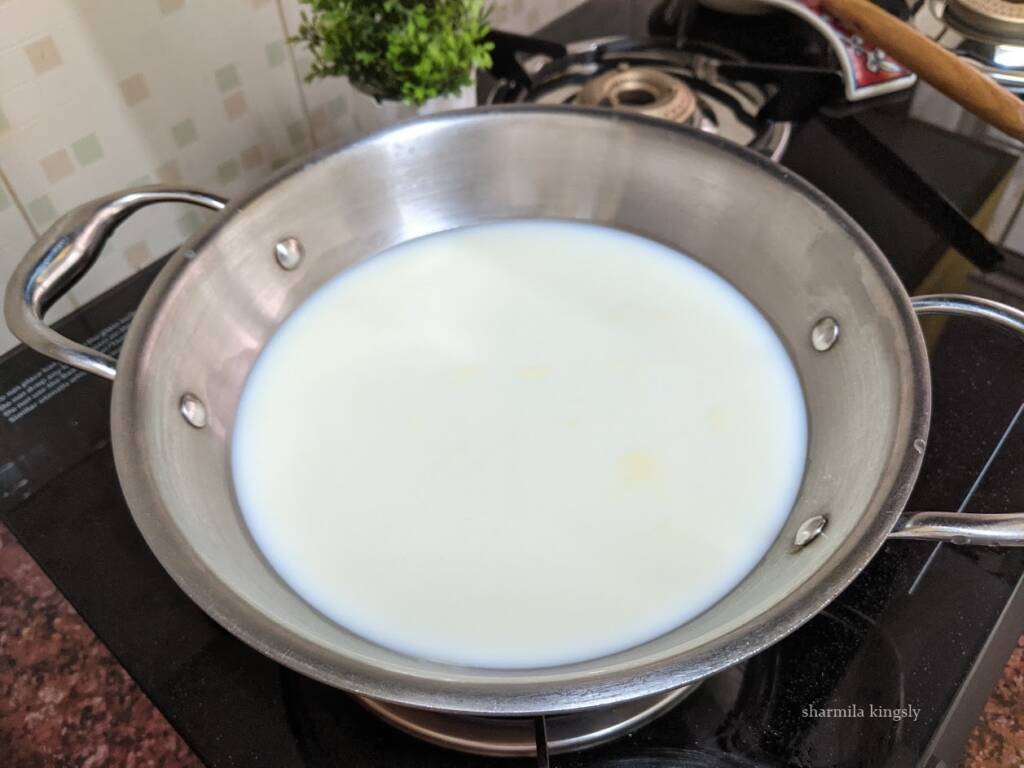
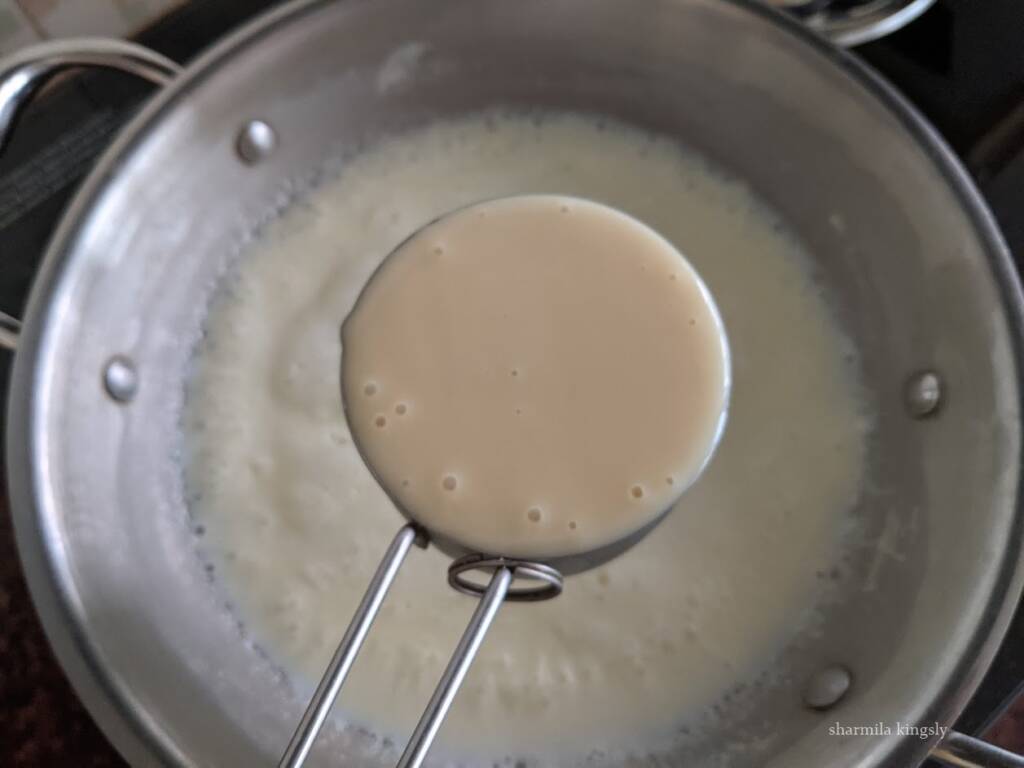
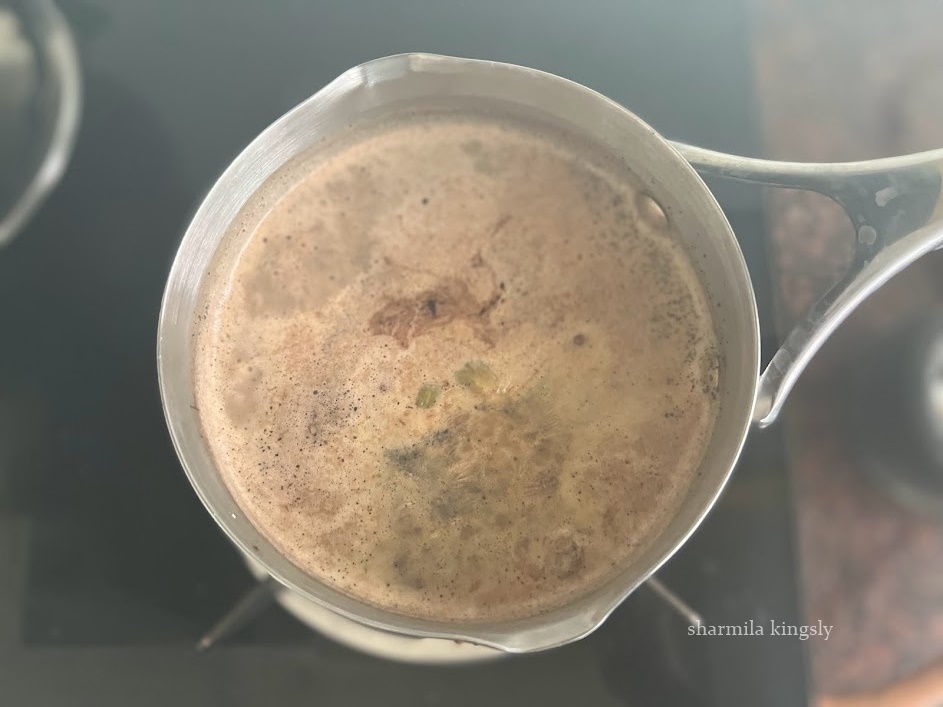
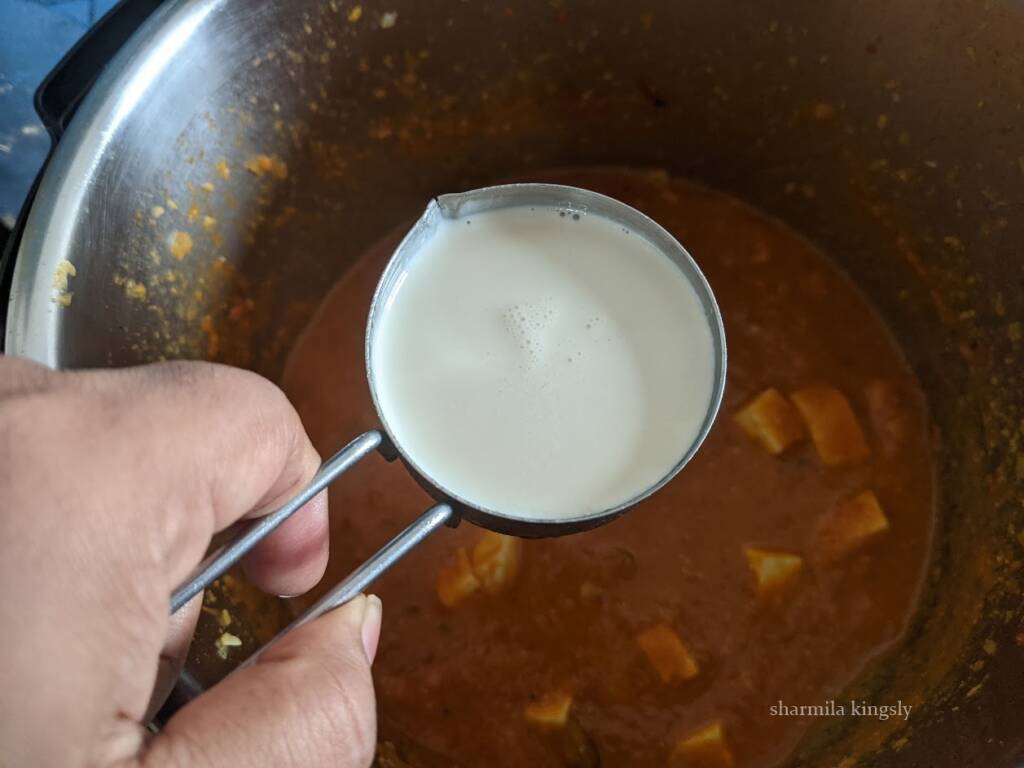
13. Now add the Fresh cream combine well and cook for a min and then switch off the Instant Pot.
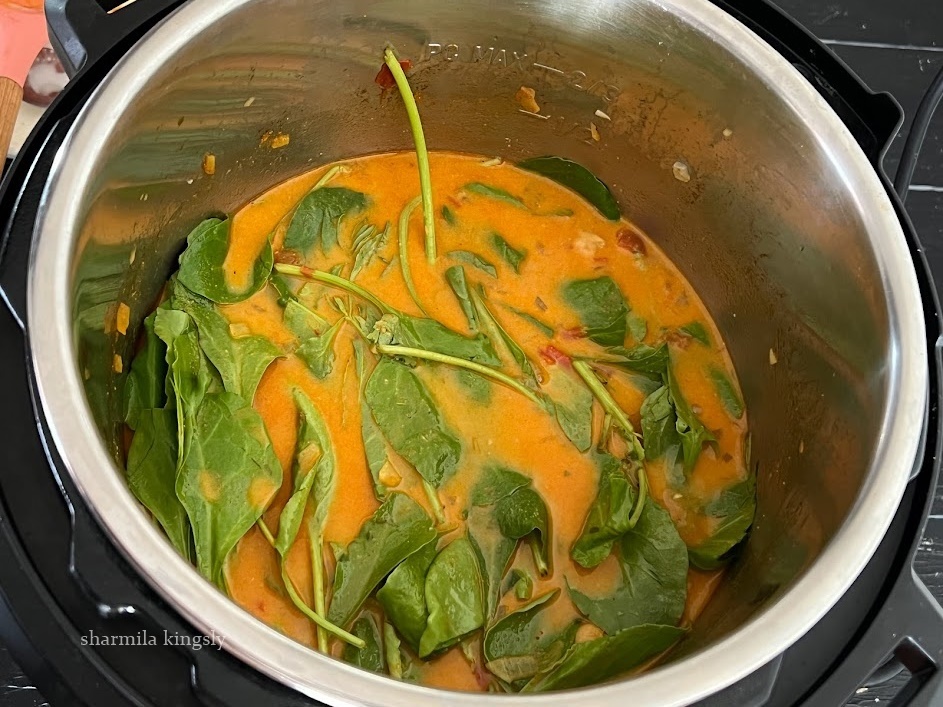
14. Garnish with crushed dried Kasoori Methi ( Fenugreek Leaves )
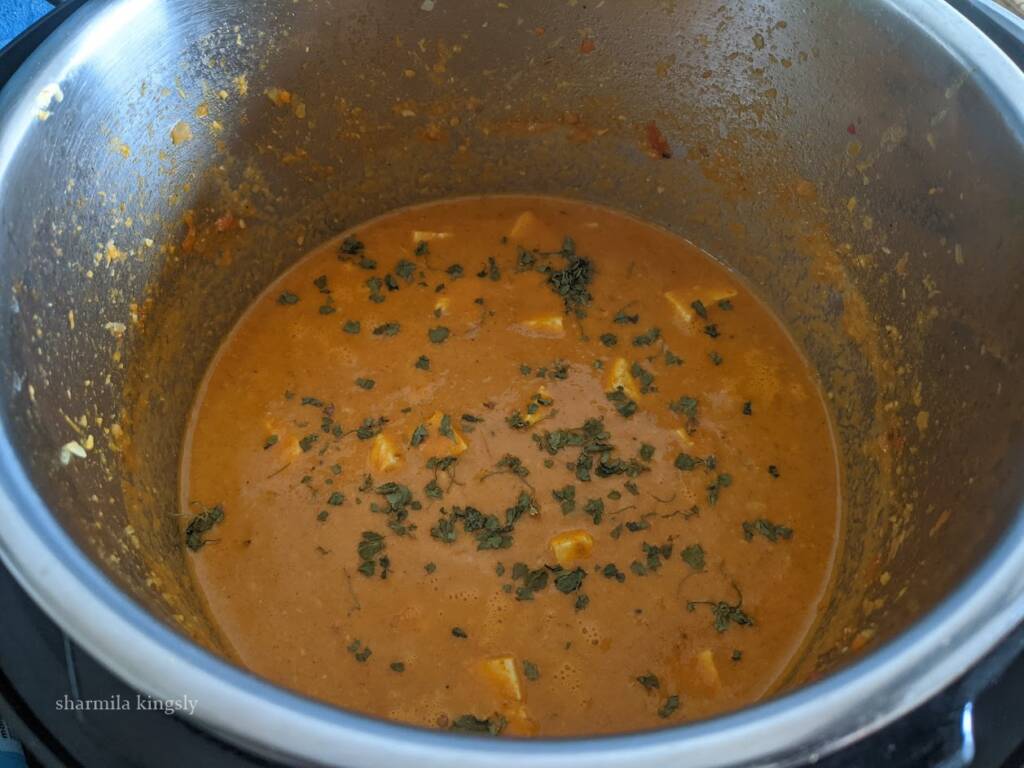
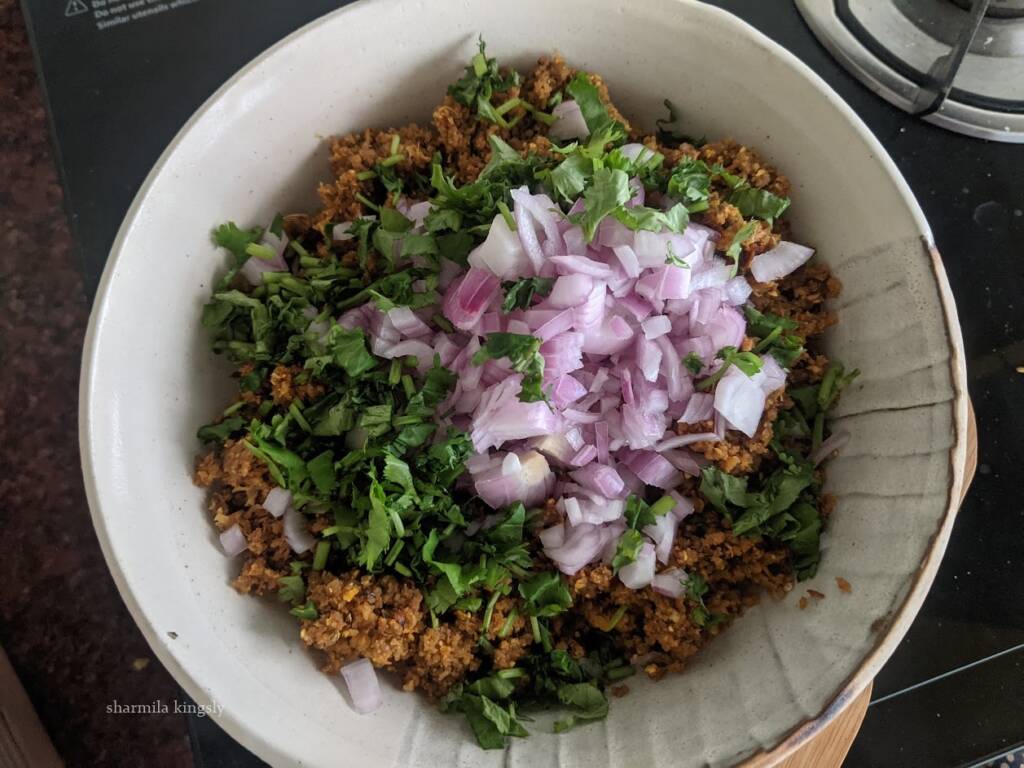
Also, garnish with fresh Cilantro. Creamy Paneer Butter Masala is now ready in the Instant Pot.
Tips & Variations
- If you don't have an Instant Pot you can cook the same in a Pressure cooker as well. Cook for 3 whistles and once the pressure is released. Blend using an immersion blender and follow the recipe.
- Don't skip kasoori methi (dried fenugreek leaves)and garam masala. They add a unique flavor and taste to the curry. Both are available in almost all Indian stores.
- If you don't have access to garam masala you can also use curry powder instead.
- You can cook the same curry on the stovetop as well. Click for Recipe.
Serving Suggestions
The best ever dish to serve the curry is with Naan, Roti, or Phulka. You may also serve them with some Cumin rice or Pulao. You may even serve them with fresh or frozen parathas.
Storage Options
You can store the curry in the fridge for 3 days or freeze them for longer shelf life. Freezes well for 2 months together.
You may make the curry with onion, tomato, and cashew nuts. Blend well and cool them You can freeze them into portions and then collects and store them in zip locks. Use an and when needed.
While cooking uses the frozen portions and cook with little water. Once they are at room temperature adjust the spices and salt if needed and then add the paneer and cream and cook. The curry base freezes well for 4 months.
Similar Recipes


★ Did you enjoy this recipe? If you happen to try it out, I would love to hear from you! I’d appreciate it if you could rate and leave a review below in the comments. Your reviews help others know the recipe better too. Thanks for your time. You can also follow me on Facebook, Pinterest, Instagram,Youtube and Twitter for more updates
📖 Recipe

Paneer Butter Masala Instant Pot
Standard 1 cup measures 240 ml
Equipment
- Instant Pot 6 Oz
- Immersion Blender or any Blender
- Instant Pot 6 Oz
- Immersion Blender or any Blender
Ingredients
- 2 tablespoon Butter unsalted
- ½ teaspoon Cumin Seeds
- 1 inch Cinnamon Stick
- 3 Cardamom
- 2 Cloves
- 1 Onion large
- 1 tablespoon Ginger garlic paste or minced ginger and garlic
- 3 Tomato large
- 1 teaspoon Kashmiri Red Chilli Powder
- ¼ teaspoon Turmeric Powder
- 1 teaspoon Garam Masala
- ½ teaspoon Coriander Powder
- Salt to taste
- 1 cup Water
- 12-15 Cashewnuts
- 1 teaspoon Sugar
- 200 gms Paneer
- ¼ cup Fresh Cream
- 1 tablespoon Dried Kasoori Methi
- Cilantro to garnish
Instructions
- Switch on the Instant Pot in saute mode. Once it's hot add the unsalted butter. Let it melt.
- Now add the whole spices. I am adding Cumin seeds, cinnamon, clove, and Cardamom. Let them splutter.
- Next, add the chopped onion and saute it until they are soft.
- And then add the minced ginger garlic or ginger garlic paste and saute for a min so that the raw smell leaves.
- Add the chopped tomato and saute it till they are soft.
- Now add the spice powders. We are adding Kashmiri red chili powder for the lovely bright color. Along with that garam masala, Coriander powder, turmeric powder, and the required salt. Combine and cook for a few secs.
- Next, add 1 cup of Water. Mix everything and deglaze the pot.
- Add the cashew nuts and combine once and close the Instant Pot. Press the cancel button and then select the pressure cook mode. Set 8 mins in high pressure.
- Once the cooking time is over do a quick release and open the Instant Pot.
- Using an immersion blender blend everything into a creamy curry. If you do not have one, let the curry cool a bit you may transfer it to a blender and then blend it to a fine paste.
- Now the Paneer Butter Masala base is ready. Switch on the Instant Pot back in saute mode. Add the sugar and combine well.
- Cube the paneer and keep them soaked in warm water for 15 mins and now add the paneer into the Instant Pot. Cook for 1 min.
- Now add the Fresh cream combine well and cook for a min and then switch off the Instant Pot.
- Garnish with crushed dried Kasoori Methi ( Fenugreek Leaves )
- Also, garnish with fresh Cilantro. Creamy Paneer Butter Masala is now ready in the Instant Pot.
Video
Nutrition
Disclaimer: I am not a nutritionist, the nutrition value provided here is an estimate. It will vary based on the quantity and brands of the products used.