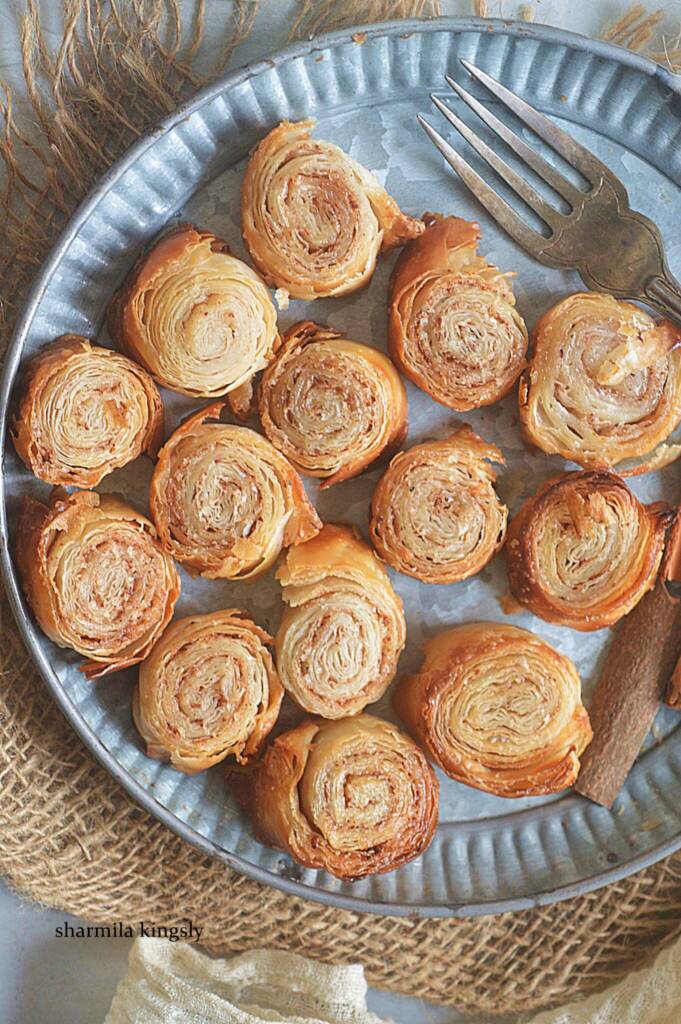
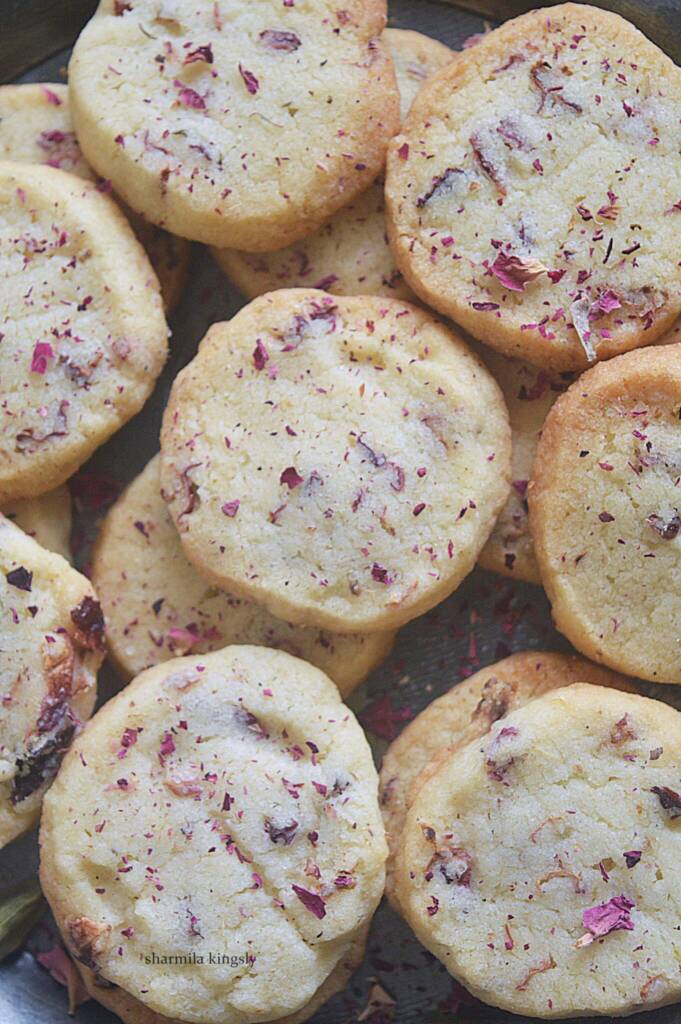
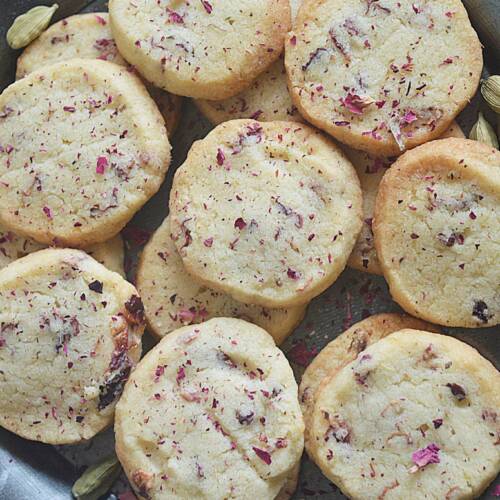
Delight your taste buds with our irresistible Rose Cardamom Cookies. Infused with the exotic flavors of rose and cardamom, these buttery treats will transport you to a fragrant oasis. Bake up a batch today and savor the perfect balance of floral and spice.
Follow us on Pinterest for delicious pins. Join our Facebook group for more Instant Pot and Air Fryer recipes.

Cardamom and rose flavors are simply awesome. They go very well together. It is December and that time of the year when we do lots of baking. So let's see how to make this flavorful cookie.
[feast_advanced_jump_to]Ingredients
All-Purpose Flour - We use the normal all-purpose flour but whole what flour also works well. Just these will be a slight compromise in the color of using whole wheat flour.
Dried Rose petals - Gives a lovely texture and a beautiful flavor to the cookies.
Rose Water - This is the main flavoring ingredient. So do not skip. It is available in most Indian stores.
Cardamom Powder - You may use either store-bought or homemade cardamom powder.
Salt - Enhances and balances the taste.
Butter - Use soft unsalted room-temperature butter. If using salted butter, you can skip adding salt.
Sugar - Use powdered sugar for smooth finish cookies.,
How to make Rose Cardamom Cookies
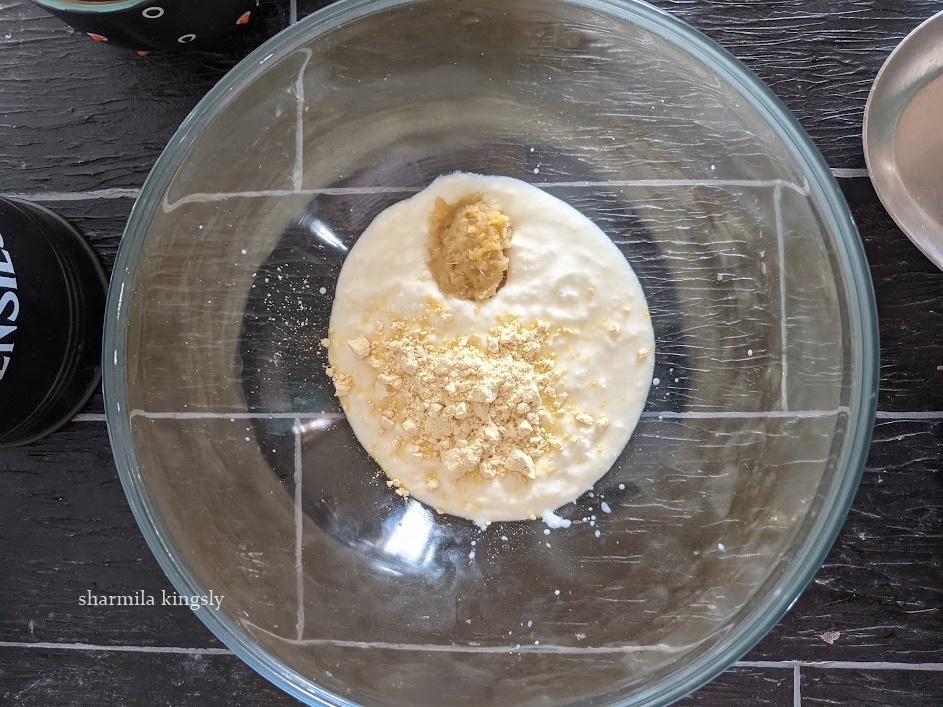
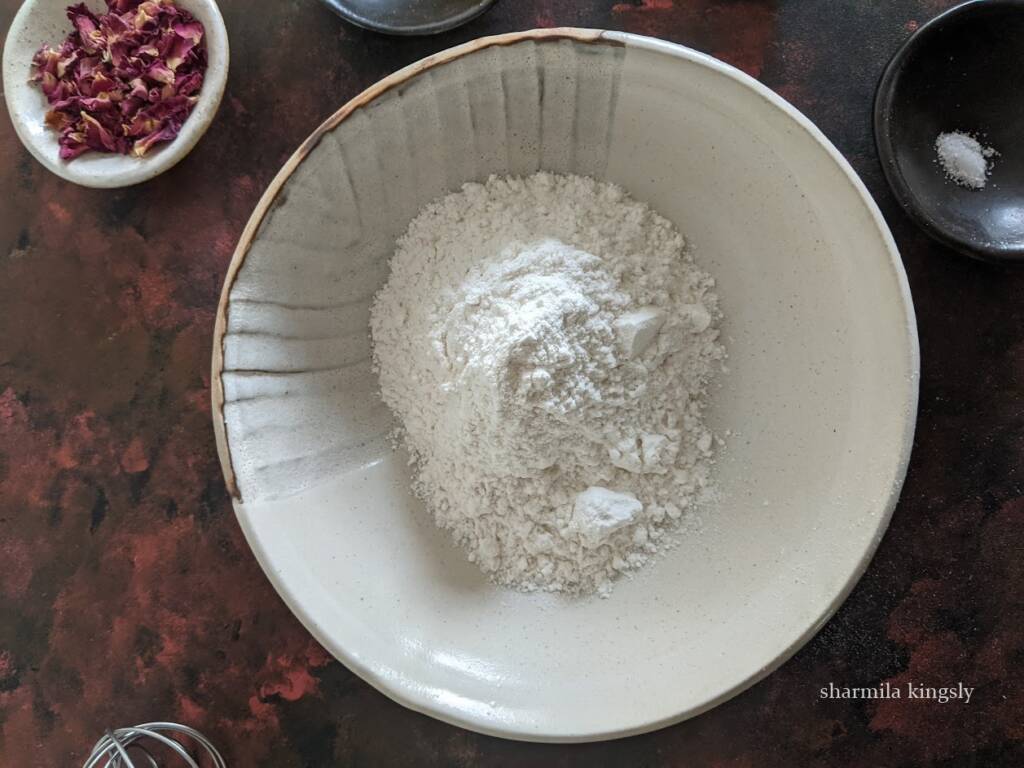
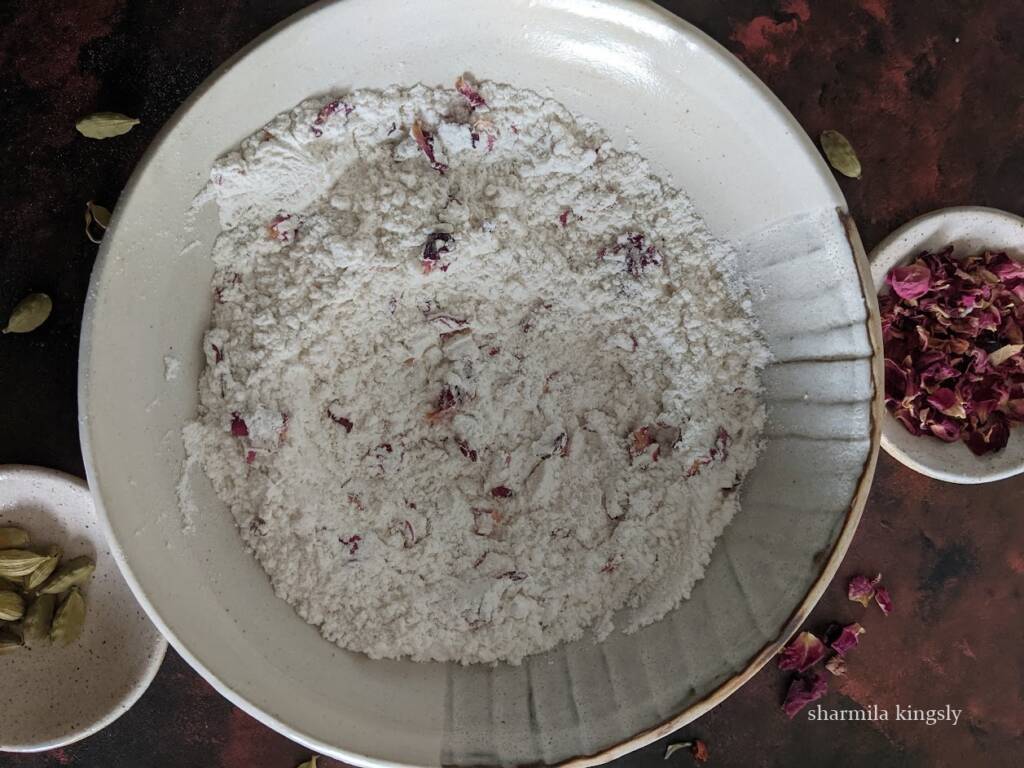
In a mixing bowl add all-purpose flour.
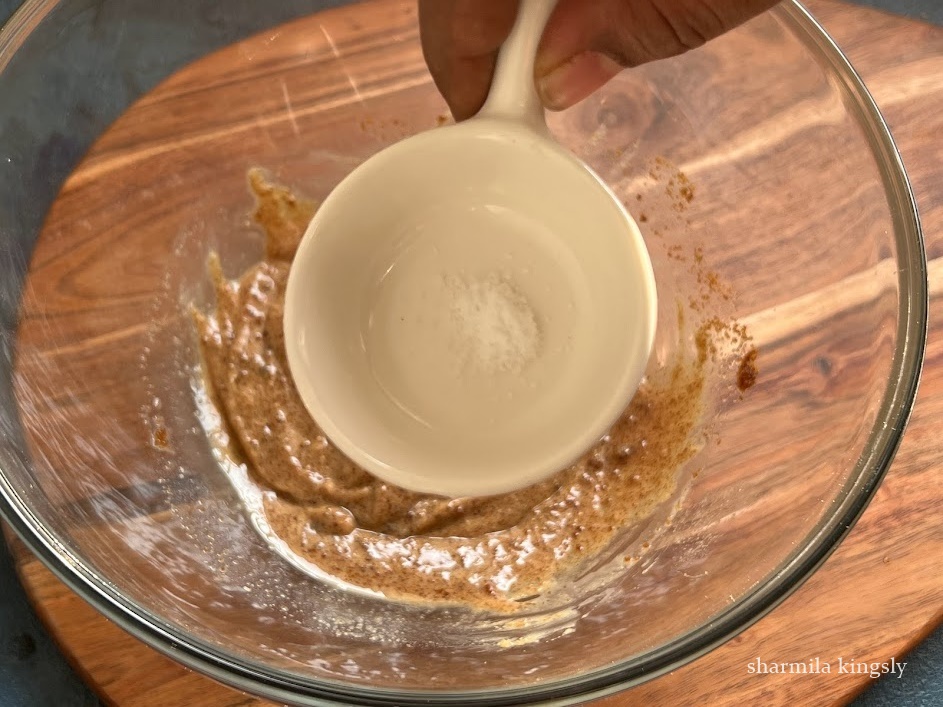
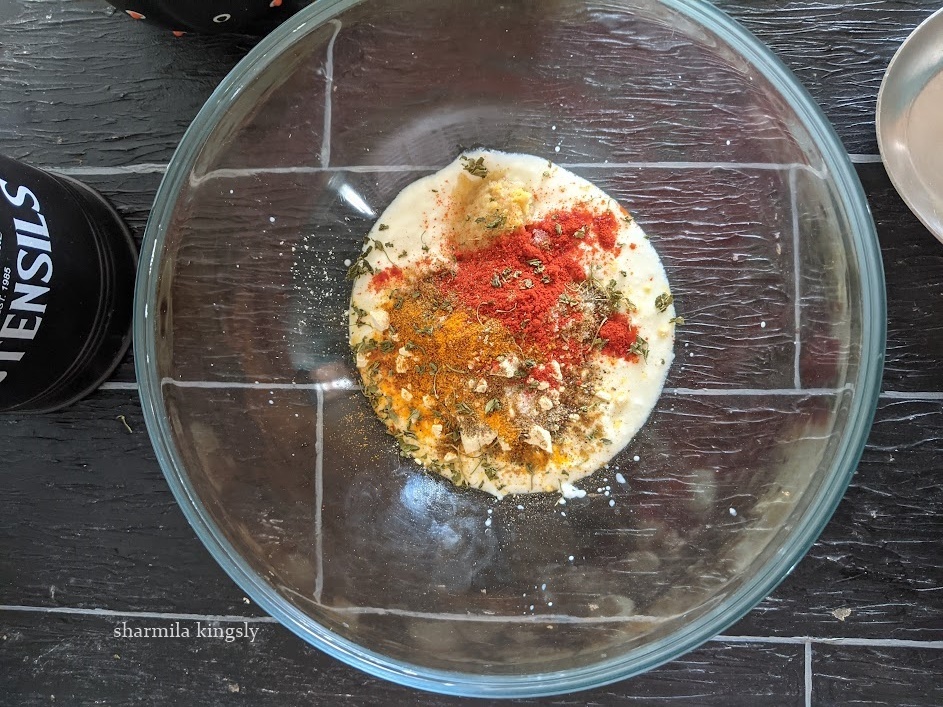
To this add Cardamom powder, Salt, Dried Rose petals, and rose water.
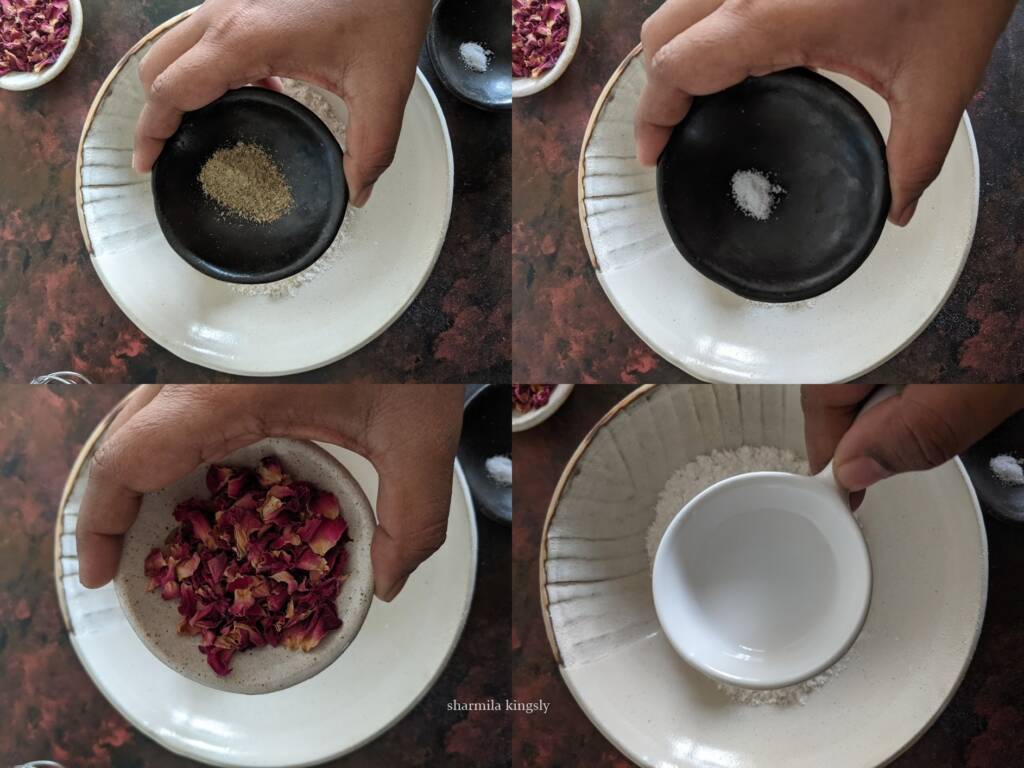
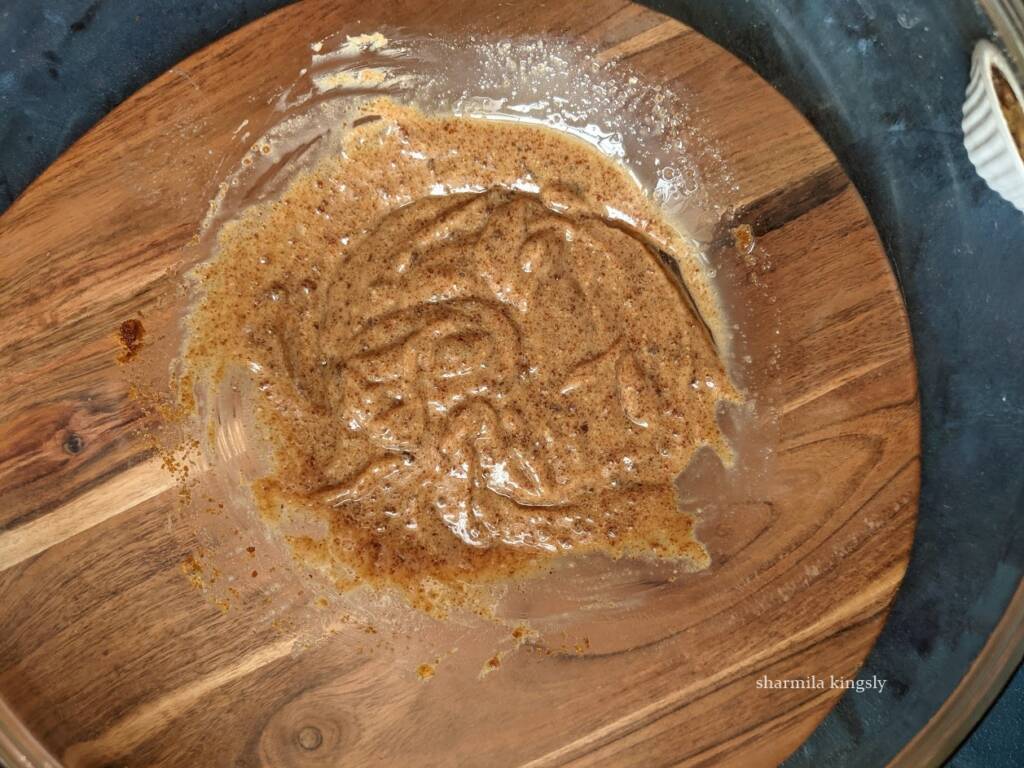
Whisk everything together and set it aside.
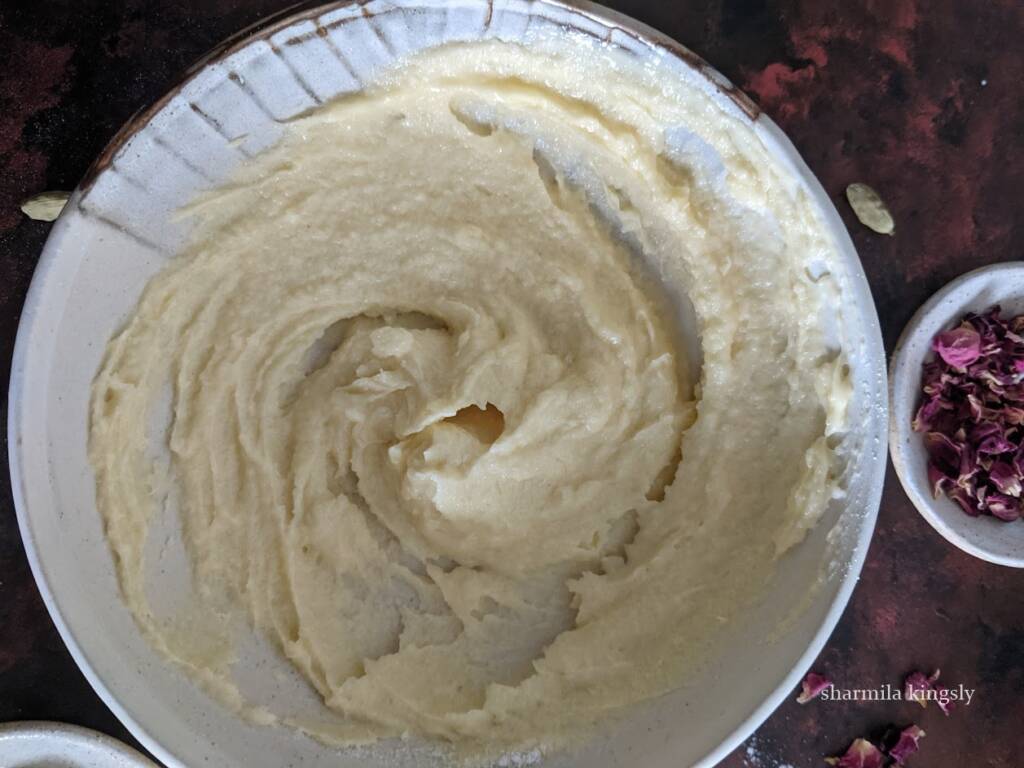
In another bowl add powdered sugar and soft unsalted butter.

Whisk and cream the butter and salt togther.
Now add the creamed butter and sugar to the dry ingredients.
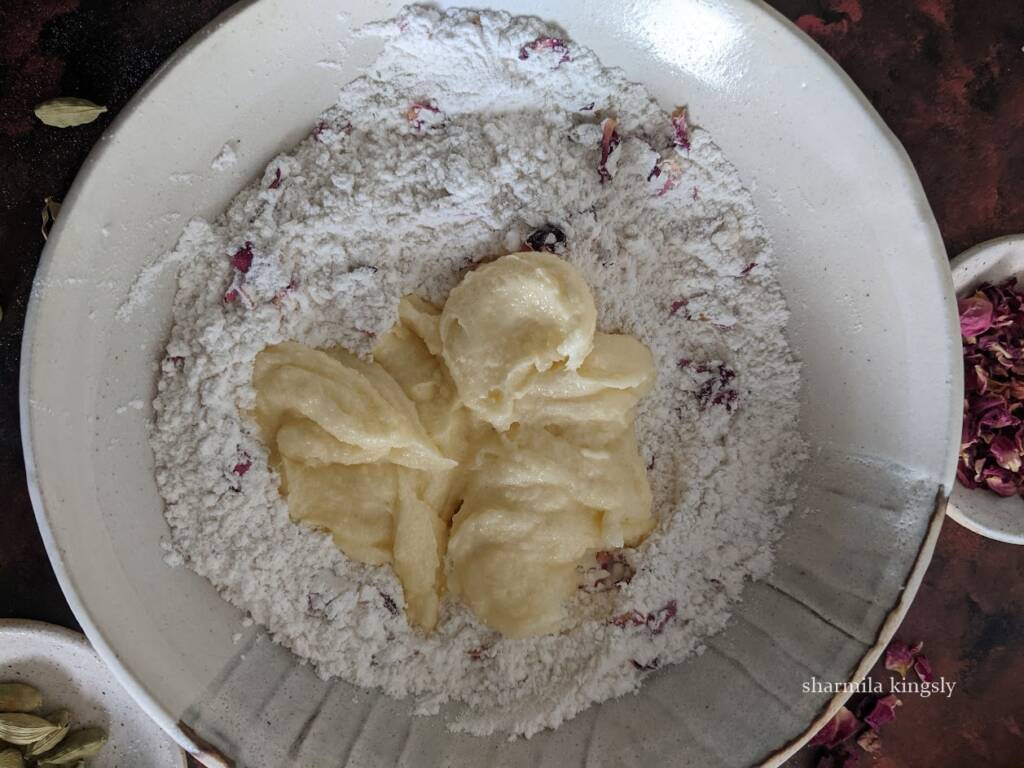
Combine and bring everything to a soft dough.
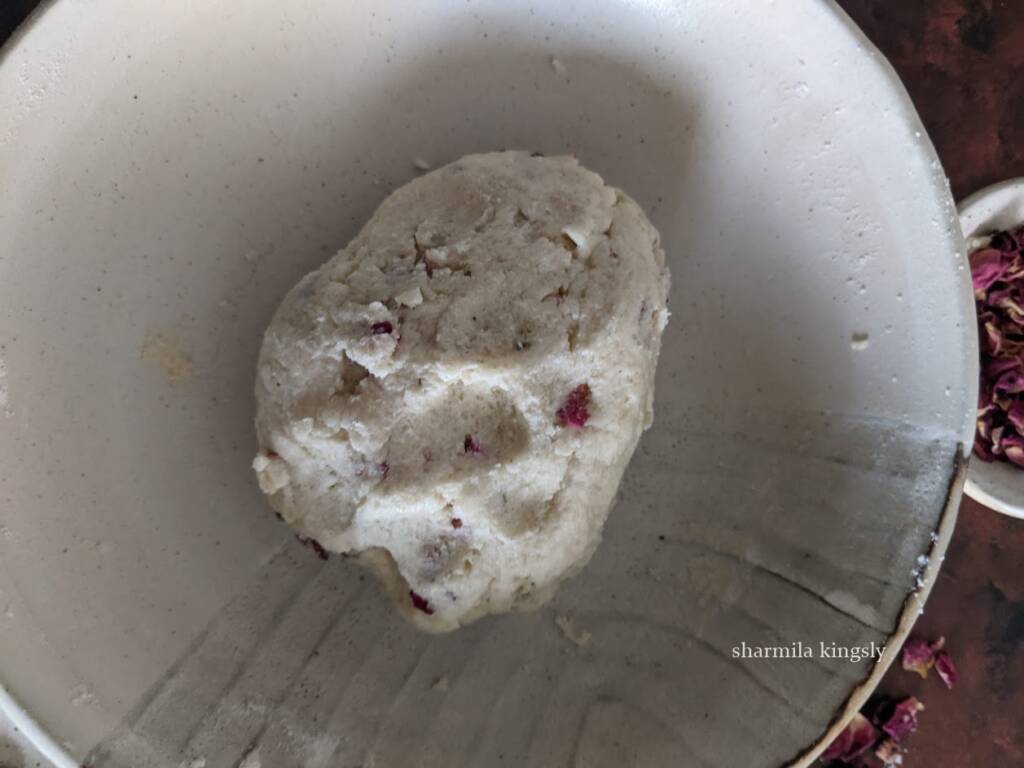
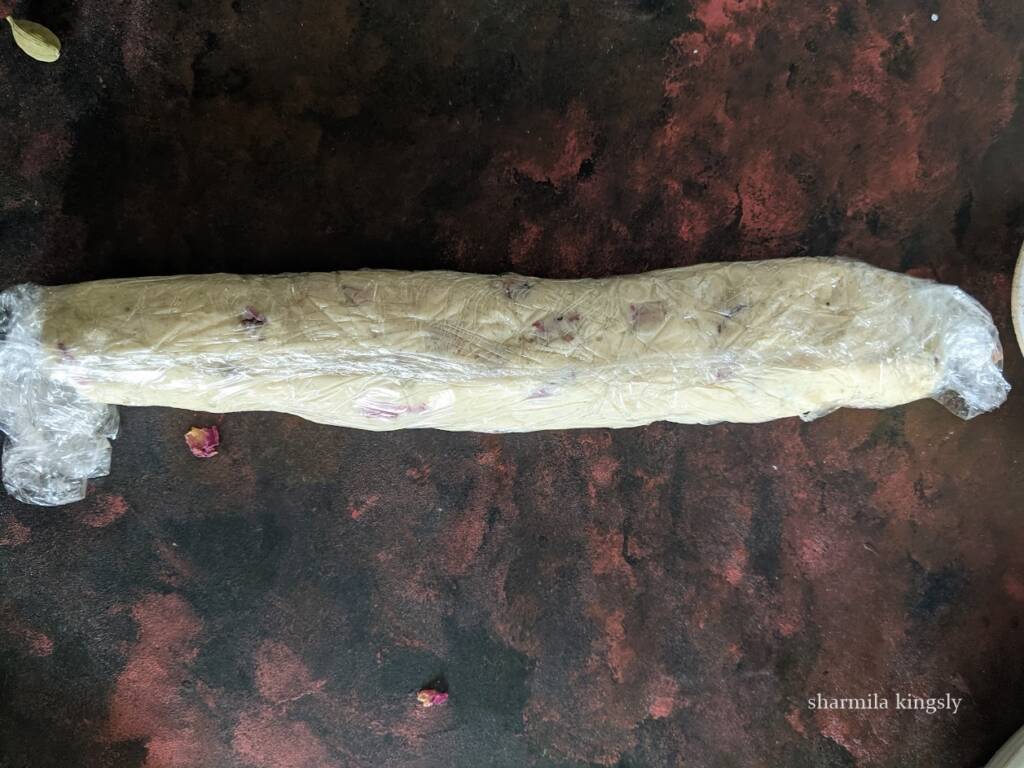
Shape the dough as you prefer and cling wrap. I shaped like a log. Freeze it for 1 hour.
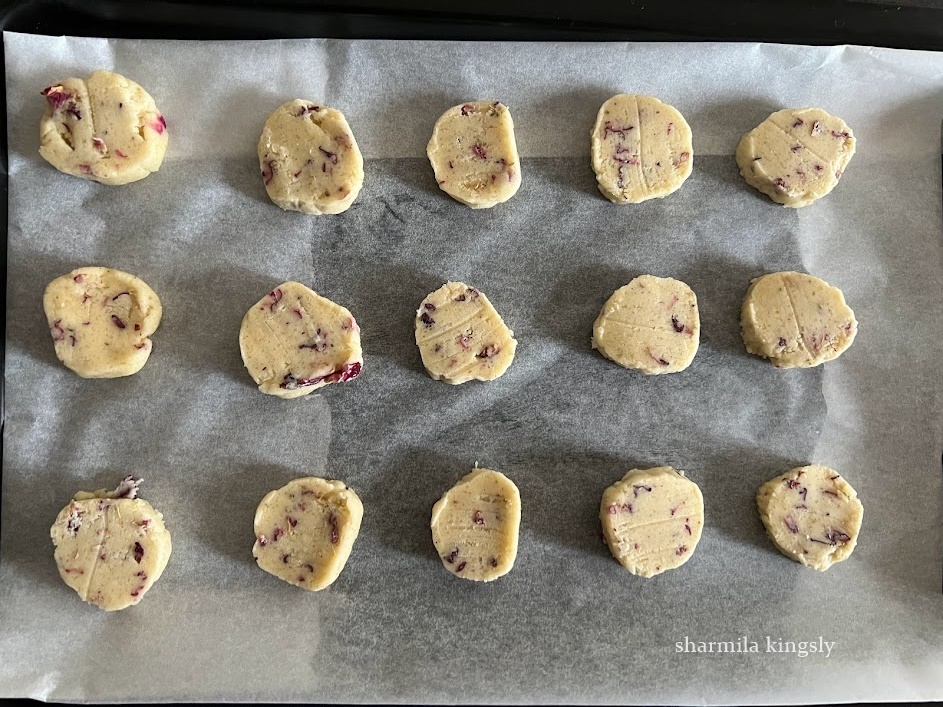
Once they are out of the freezer slice them into uniform 1-inch cookies. Arrange the cookies in a baking tray lined with parchment paper.
Preheat the oven to 356F / 180 C for 10 mins. Bake at 356F / 180 C for 12-13 mins or till the base of the cookies turns golden.
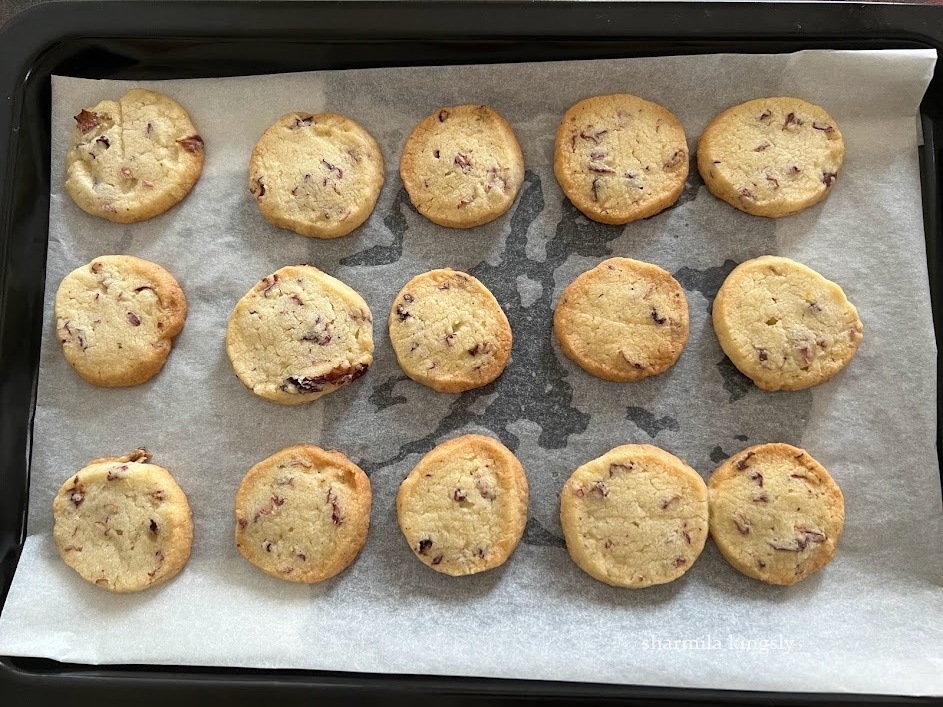
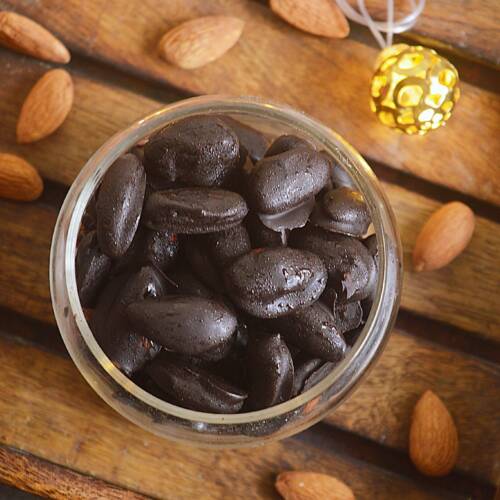
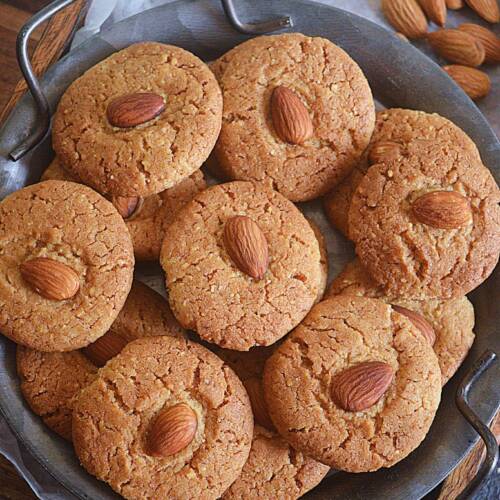
Delicious Rose Cardamom Cookies are now ready.
Tips & Variations
- Cookies expand during baking and hence leave space in the baking tray while placing the cookies.
- Always chill the cookie dough and then bake.
- If you do not have access to rose petals you may skip them . The rose flavor comes from the rose water so it is ok.
- Rose water is easily available in all Indian stores.
- The cookies are soft when they come out of the oven. They crisp as it cools down.
- The cookies get baked in 12- 13 mins and the time varies depending on the oven. So check after 12 mins
Storing Suggestions
Store the cookies in an air-tight container. The cookies stay good at room temperature for up to 2 weeks. You can also freeze the cookie dough for up to 1 month.
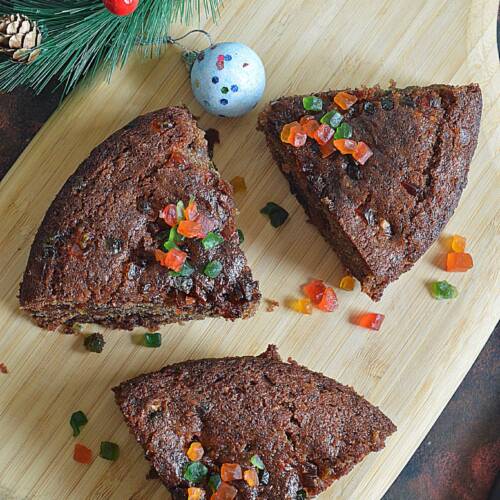
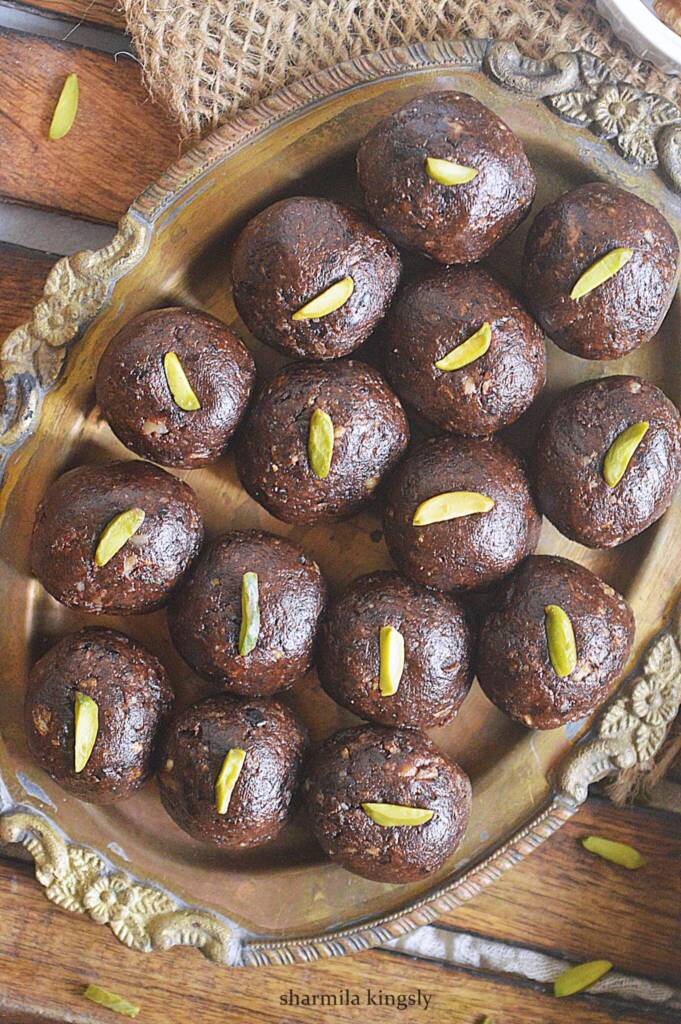
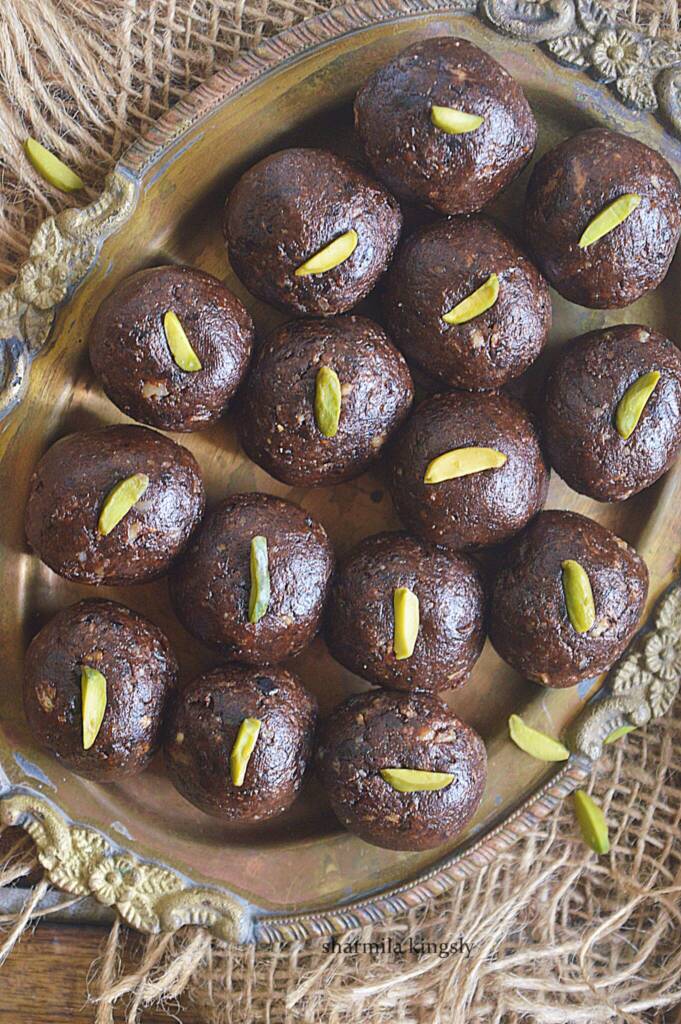
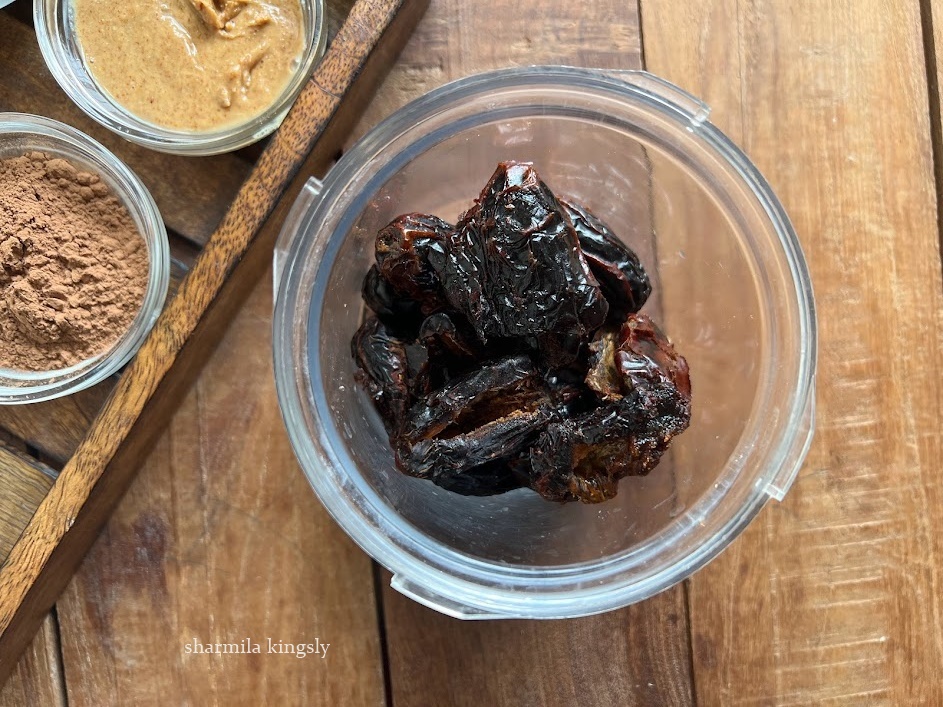
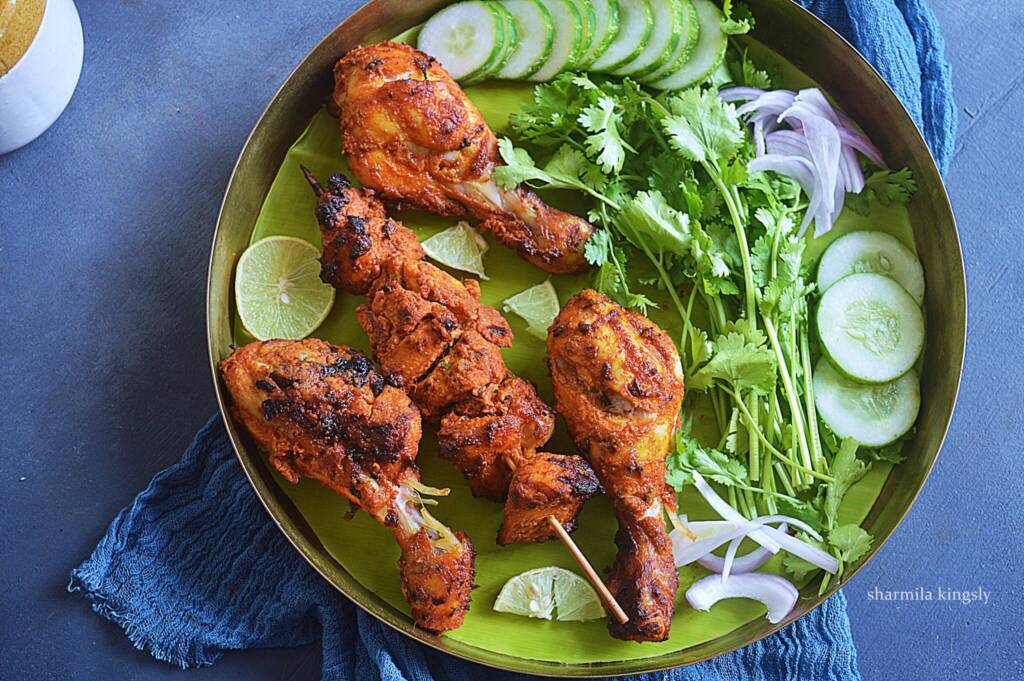
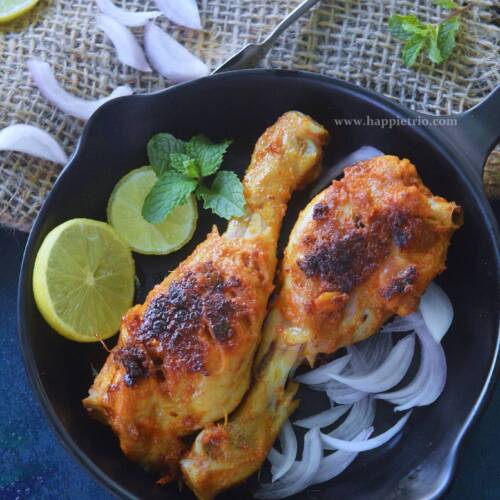
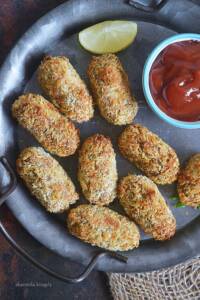
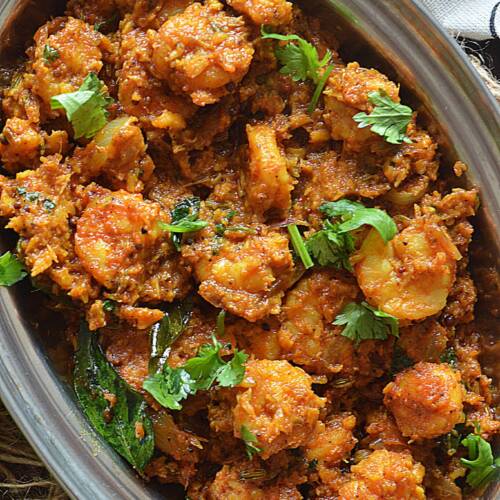
Similar Recipes


★ Did you enjoy this recipe? If you happen to try it out, I would love to hear from you! I’d appreciate it if you could rate and leave a review below in the comments. Your reviews help others know the recipe better too. Thanks for your time. You can also follow me on Facebook, Pinterest, Instagram, Youtube and Twitter for more updates from me.
📖 Recipe

Rose Cardamom Cookies
Standard 1 cup measures 240 ml
Equipment
- OTG
- OTG
Ingredients
- ¾ cup All Purpouse Flour
- 1 tablespoon Cardamom Powder
- ¼ teaspoon Salt
- 2 tablespoon Dried Rose Petals
- 1 tablespoon rose Water
- ⅓ cup Powdered Sugar
- ½ cup Soft unsalted butter
Instructions
- In a mixing bowl add all-purpose flour.
- to this add Cardamom powder, Salt, Dried Rose petals, and rose water.
- Whisk everything together and set it aside.
- In another bowl add powdered sugar and soft unsalted butter.
- Whisk and cream the butter and salt togther.
- Now add the creamed butter and sugar to the dry ingredients.
- Combine and bring everything to a soft dough.
- Shape the dough as you prefer and cling wrap. I shaped like a log. Freeze it for 1 hour.
- Once they are out of the freezer slice them into uniform 1-inch cookies. Arrange the cookies in a baking tray lined with parchment paper.
- Preheat the oven to 356F / 180 C for 10 mins. Bake at 356F / 180 C for 12-13 mins or till the base of the cookies turns golden.
- Delicious Rose Cardamom Cookies are now ready.
Notes
Tips & Variations
- Cookies expand during baking and hence leave space in the baking tray while placing the cookies.
- Always chill the cookie dough and then bake.
- If you do not have access to rose petals you may skip them . The rose flavor comes from the rose water so it is ok.
- Rose water is easily available in all Indian stores.
- The cookies are soft when they come out of the oven. They crisp as it cools down.
- The cookies get baked in 12- 13 mins and the time varies depending on the oven. So check after 12 mins
Storing Suggestions
Store the cookies in an air-tight container. The cookies stay good at room temperature for up to 2 weeks. You can also freeze the cookie dough for up to 1 month.Nutrition
Disclaimer: I am not a nutritionist, the nutrition value provided here is an estimate. It will vary based on the quantity and brands of the products used