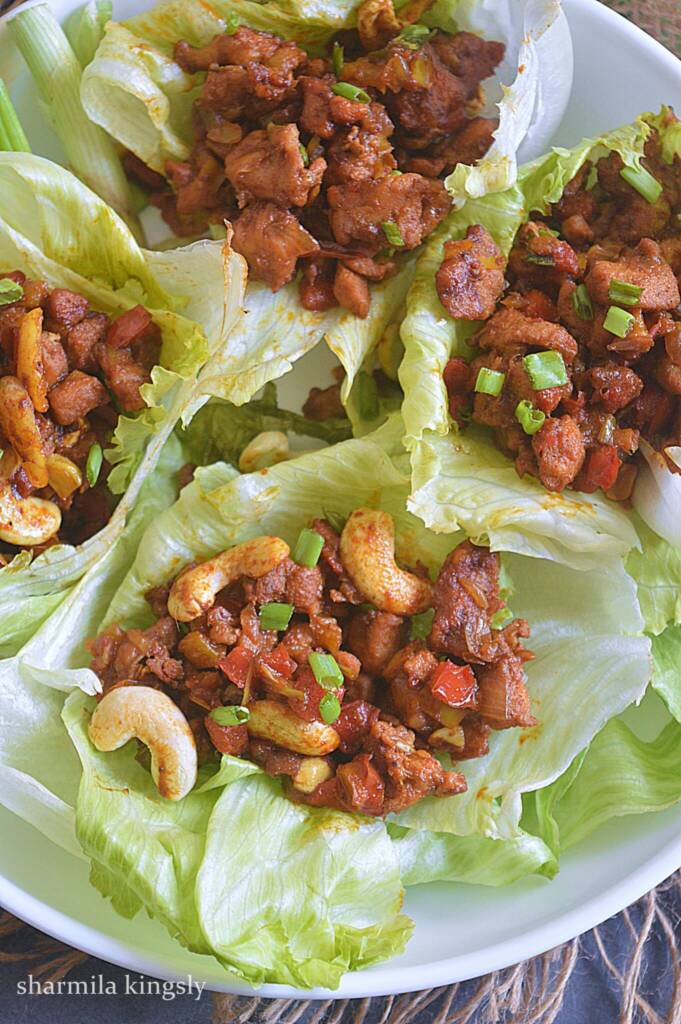
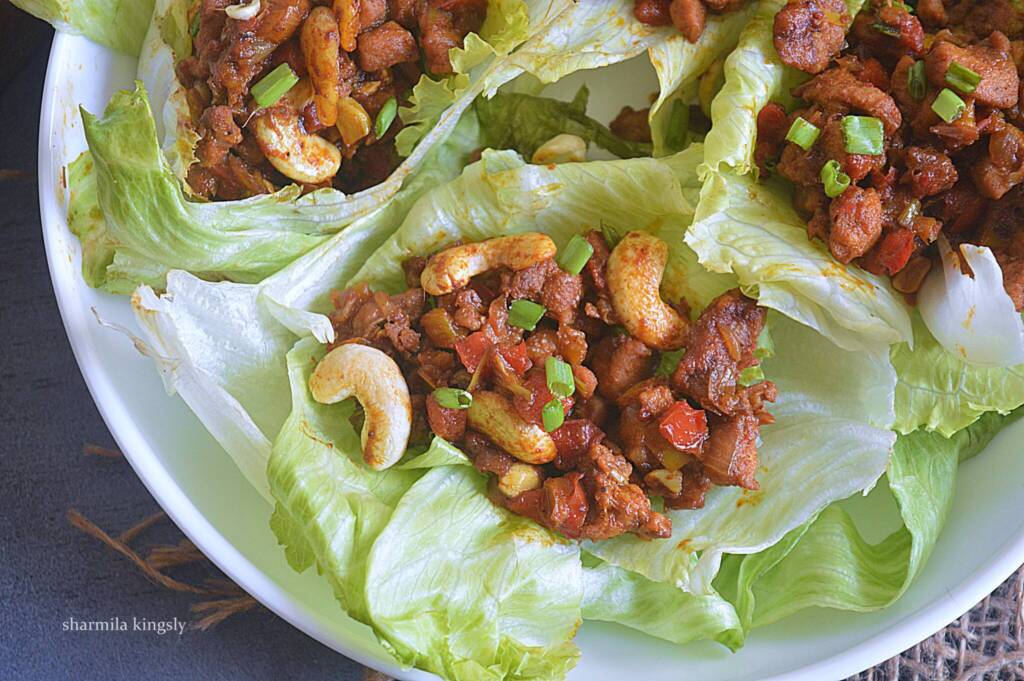
Chicken Lettuce wraps is prepared by cooking chicken along with Asian sauces. This dish is not only delicious but also low in carbs, making it a favorite among health-conscious food lovers. Served in crisp lettuce leaves, often iceberg or butter lettuce, these wraps are garnished with ingredients like green onions and crunchy peanuts or cashew nuts
Follow us on Pinterest for delicious pins. Join our Facebook group for more Instant Pot and Air Fryer recipes.
What is a Lettuce Wrap
Lettuce wrap is more or less like a sandwich or stuffed wrap. Any vegetables or even meat filling is wrapped in lettuce and served. Instead of flatbread or bread, we use lettuce as an outer layer. It is a healthy alternative to burgers
Best lettuce for wraps
The best lettuce to use for the wraps is iceberg and Romaine lettuce. You can also use butter lettuce. It has a mild sweet taste and holds the shape of the cup. Any edible and sturdy lettuce works well for the wraps. Alternatively, you may also use cabbage leaves.
Ingredients
Lettuce - Use any fresh lettuce. Iceberg or romaine lettuce suits perfectly.
Scallions - We use both the white and green parts.
Ginger and garlic - Adding ginger and garlic adds lots of flavors, especially when cooking with chicken.
Cashewnuts - Add a lovely crunch and hence I highly recommend adding them.
Spice powders - Using the basic spice powders for taste. Feel free to alter as you prefer.
Sauces - Use a combination of Soy sauce, Rice Vinegar, and Sriracha sauce along with some brown sugar. Gives a perfect hot and sour taste.
Vegetables - We can use Pepper and onion. Use different colored peppers for a colorful lettuce wrap.
Chicken- for some extra protein and perfect blends. You can use tofu or chickpeas for a vegetarian version.
FAQ
The lettuce wraps get soggy if you keep the chicken filling in the lettuce longer. So always fill the lettuce cups with the stuffing only before you eat. Also, make sure your lettuce is dry and moisture free.
How to make Chicken Lettuce wrap in Instant Pot
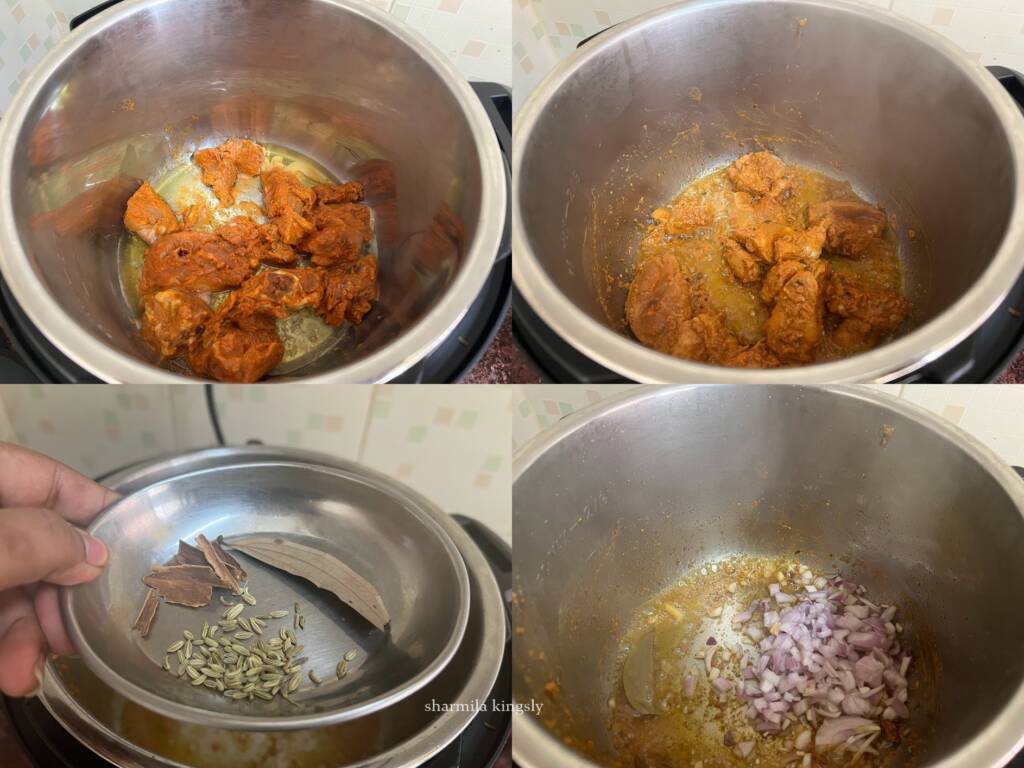
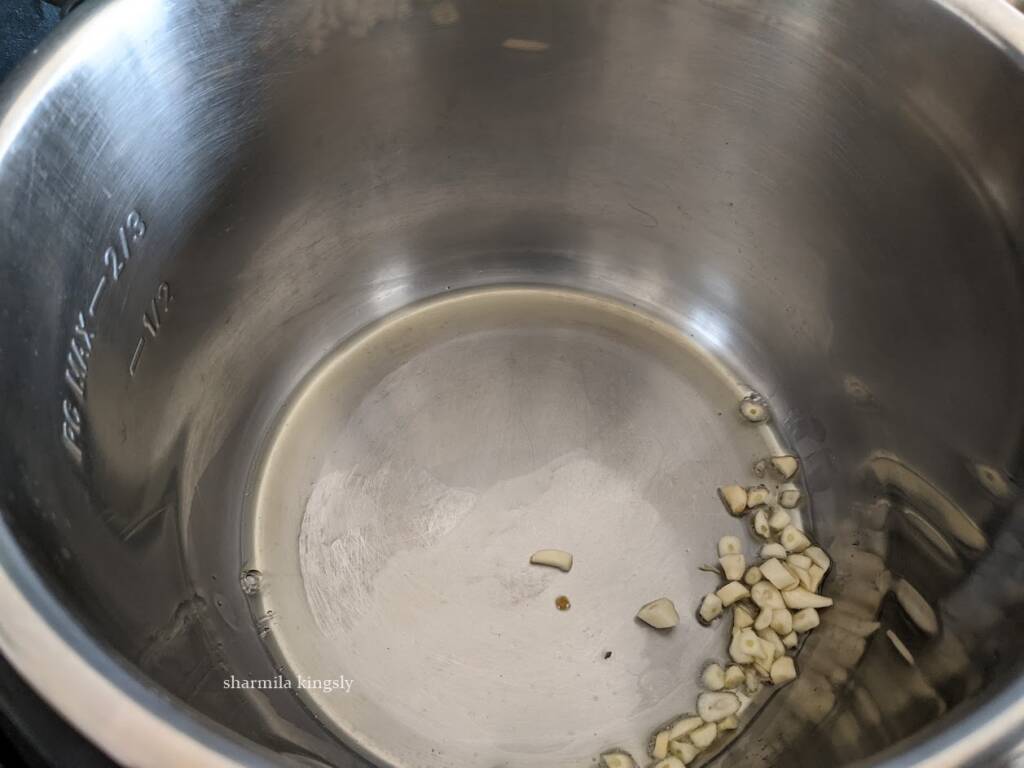
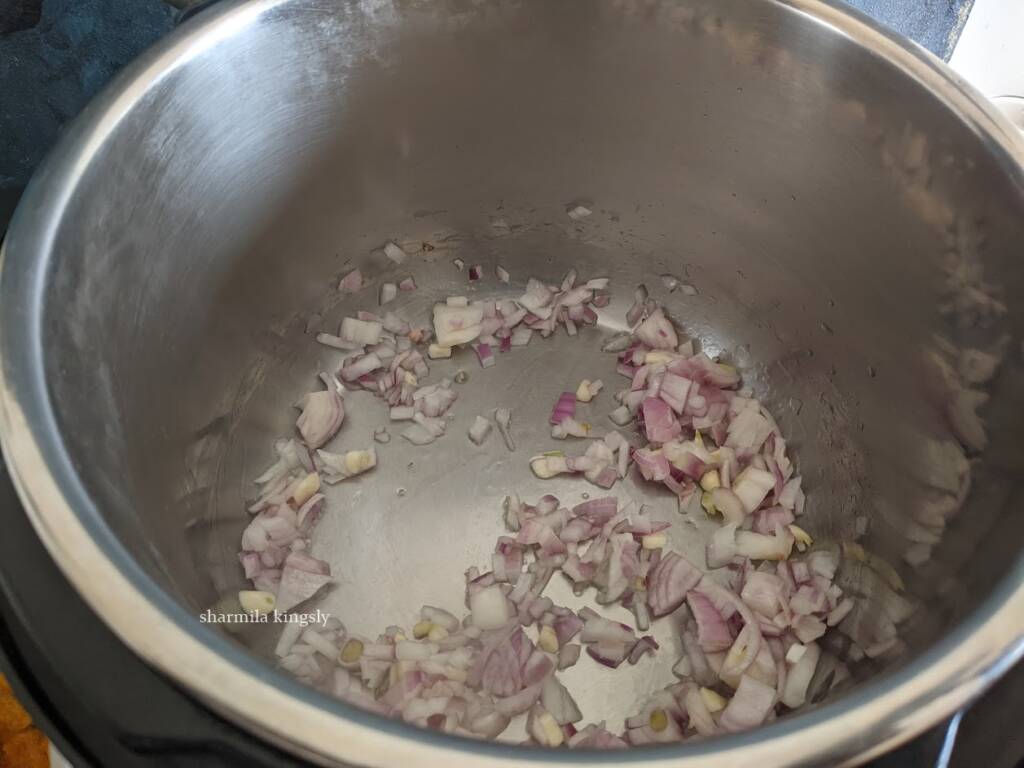
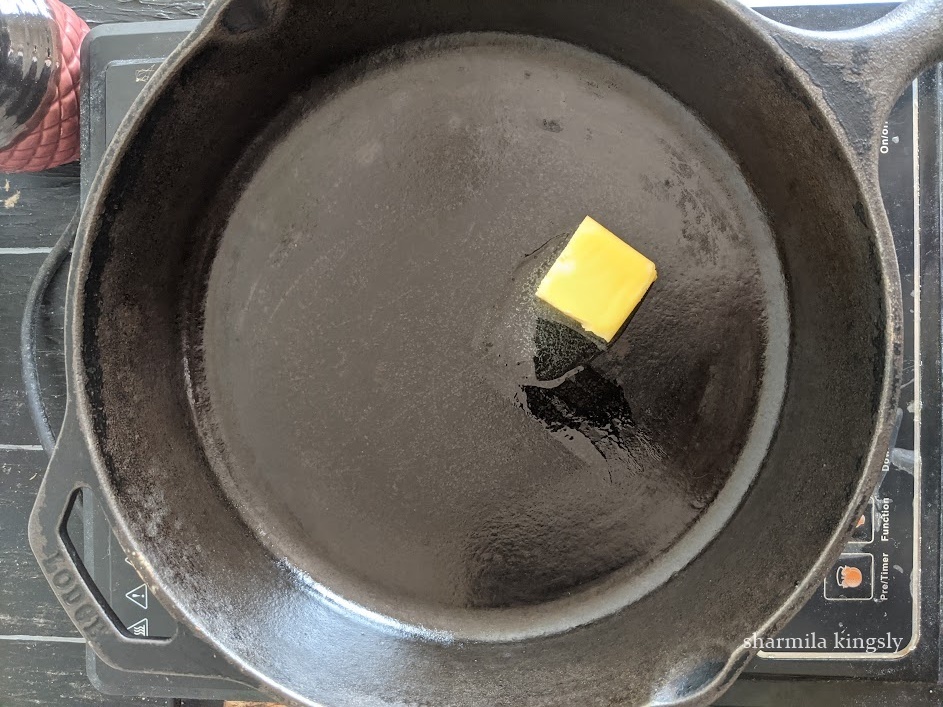
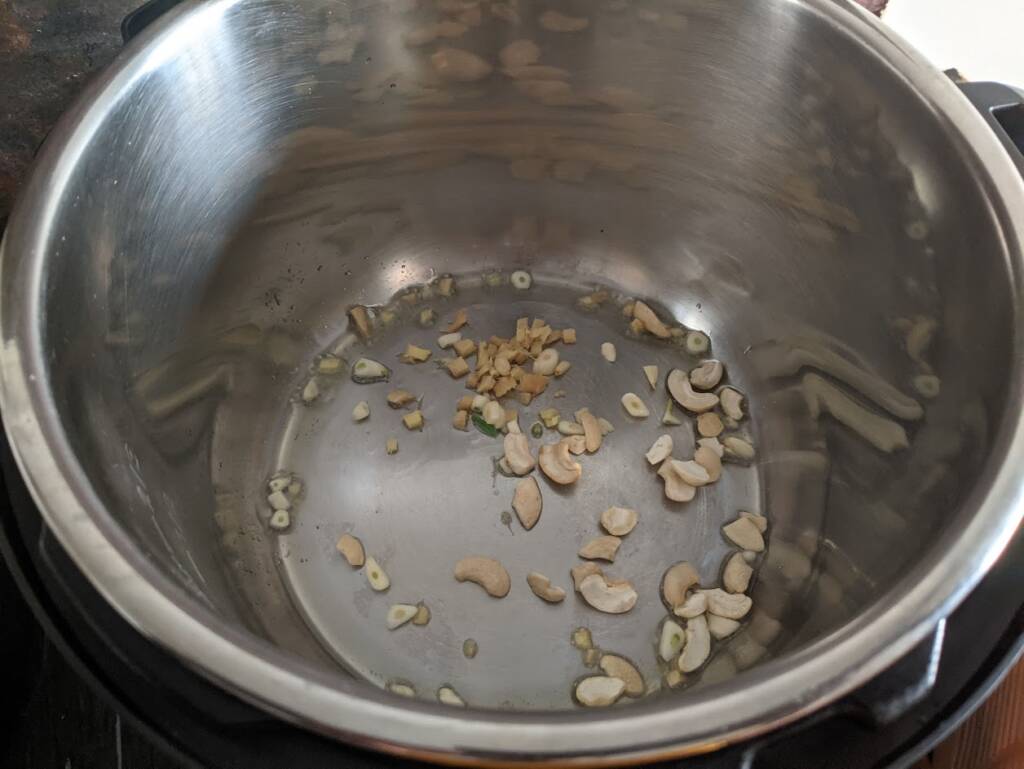
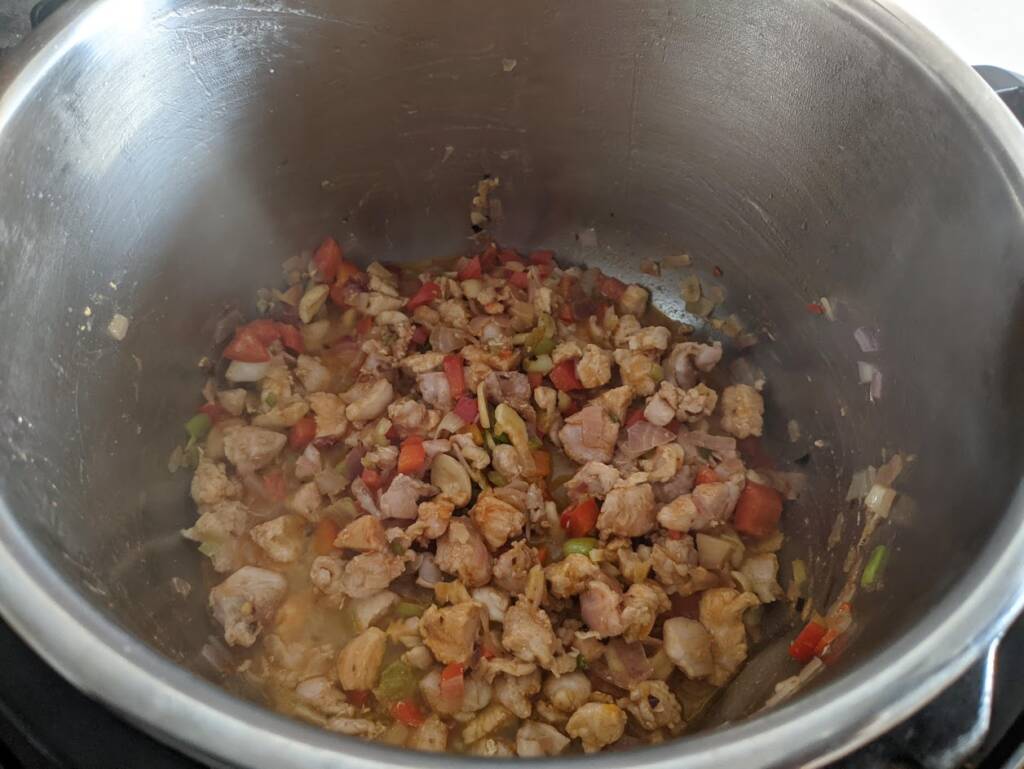
Switch on the Instant Pot in saute mode. Once it's hot add oil. Wait for a min. Next, add finely chopped ginger and garlic. Also, add a few cashew nuts. Saute everything together until they are golden.
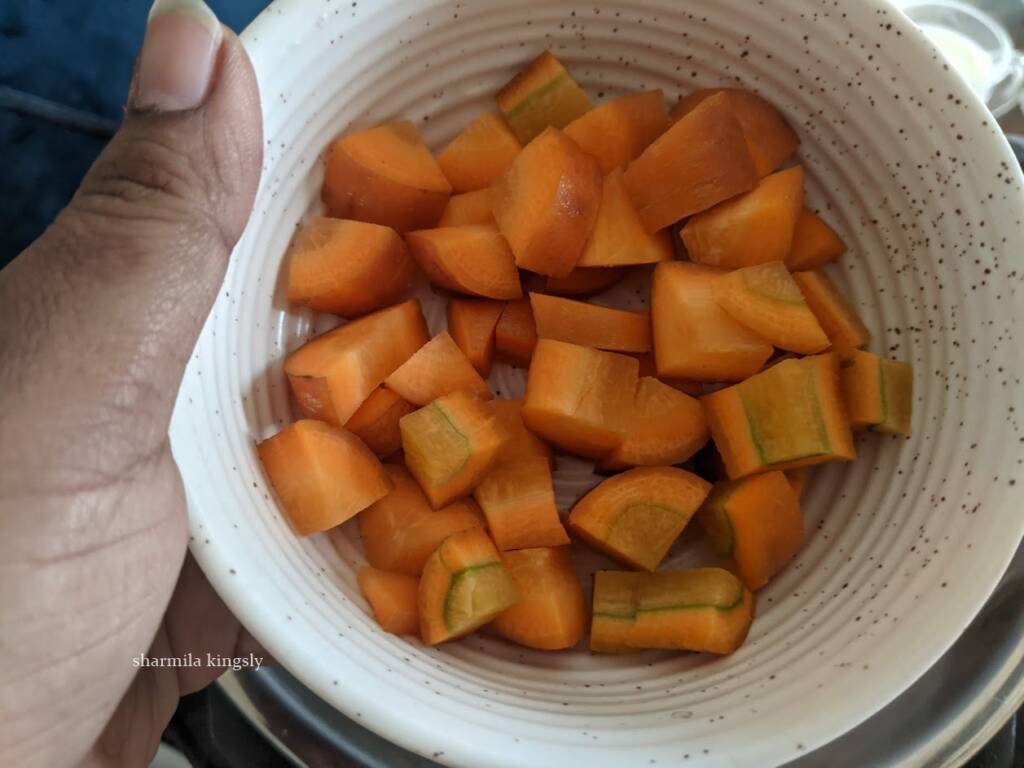
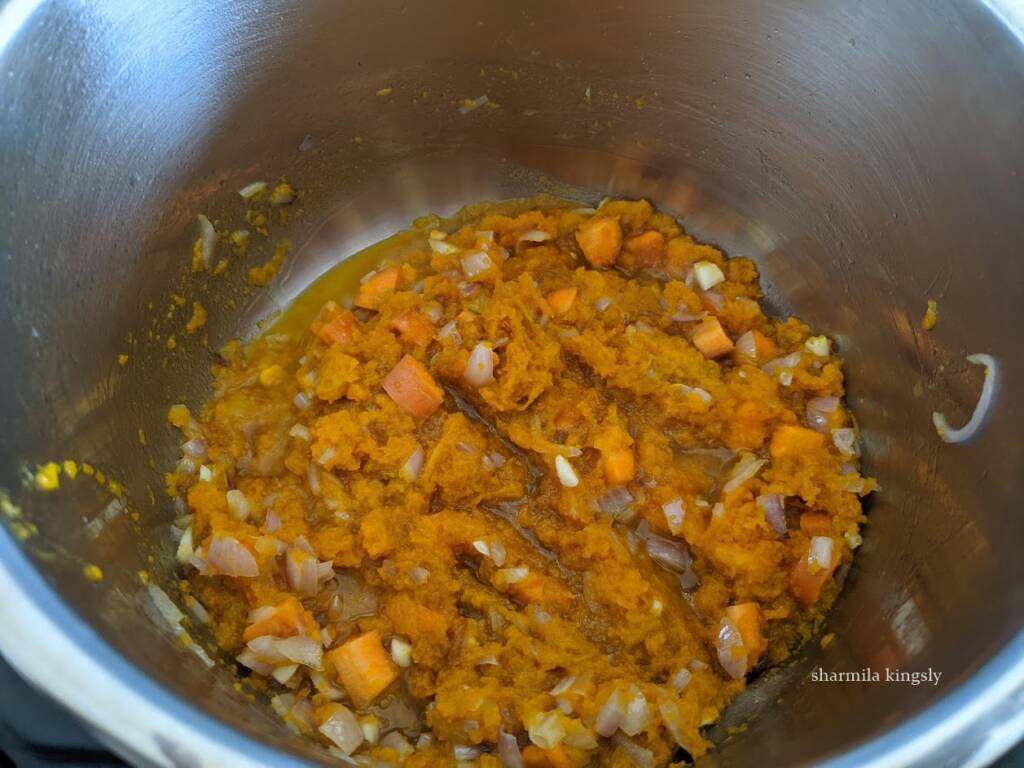
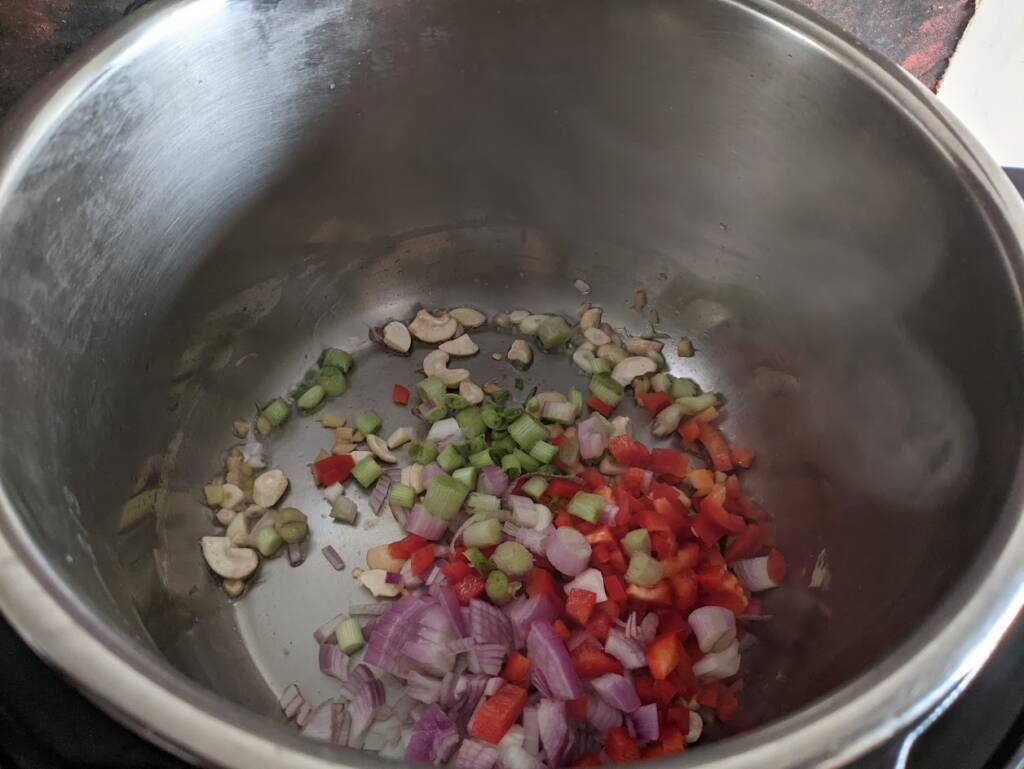
Next, add Scallions ( white part ), Onions, and Bell Peppers. Saute for a min.
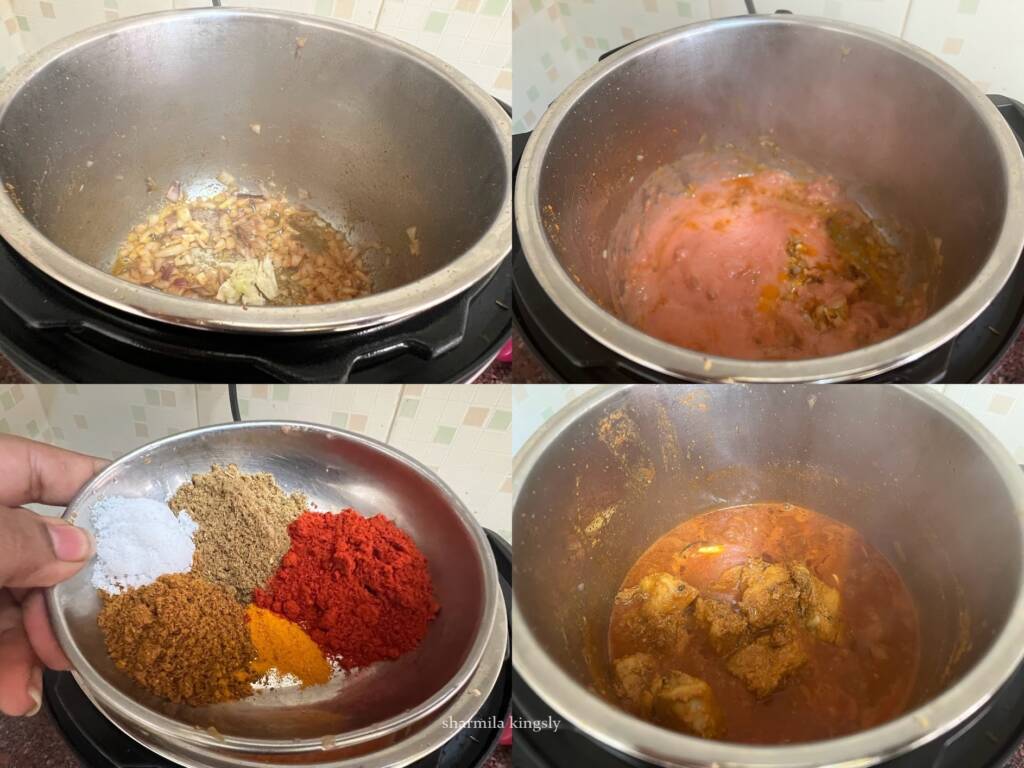
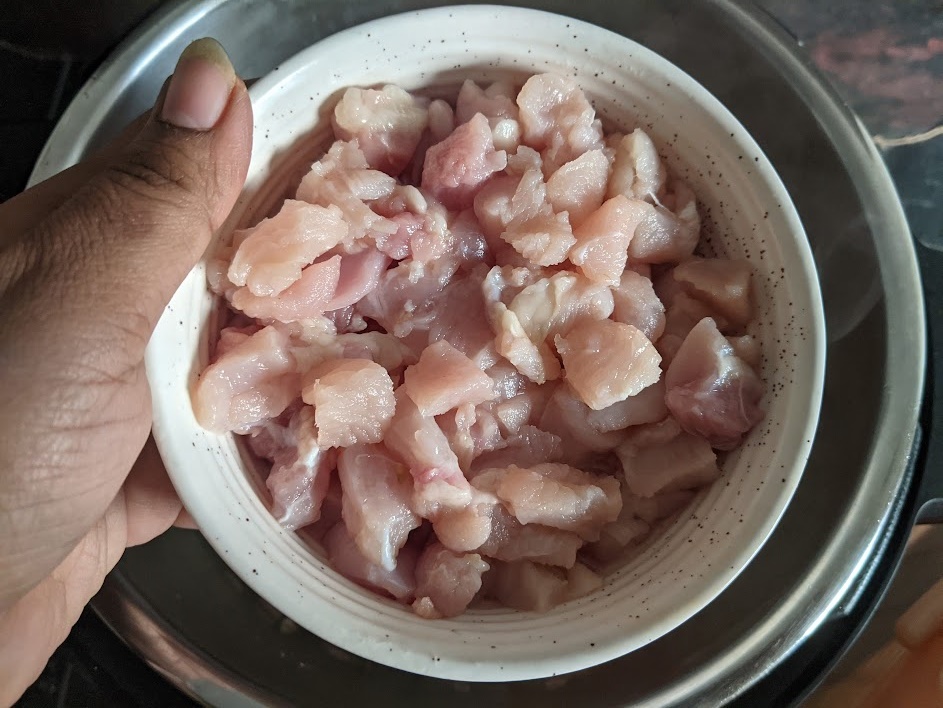
Use boneless chicken breast pieces. Chop them into small pieces and add them to the Instant Pot. Or you can also you ground or minced chicken.
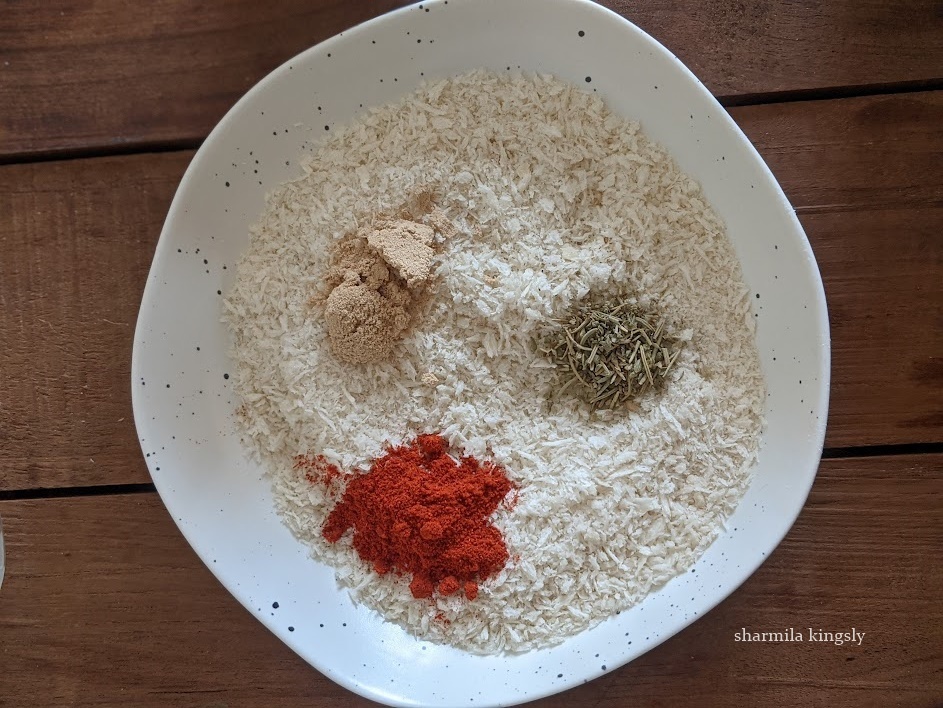
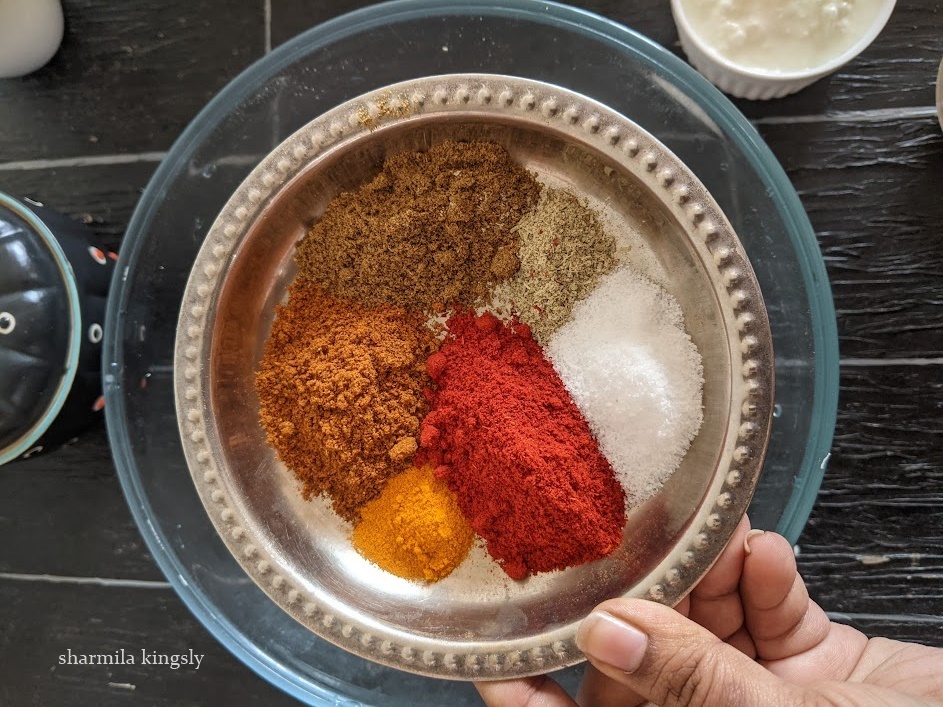
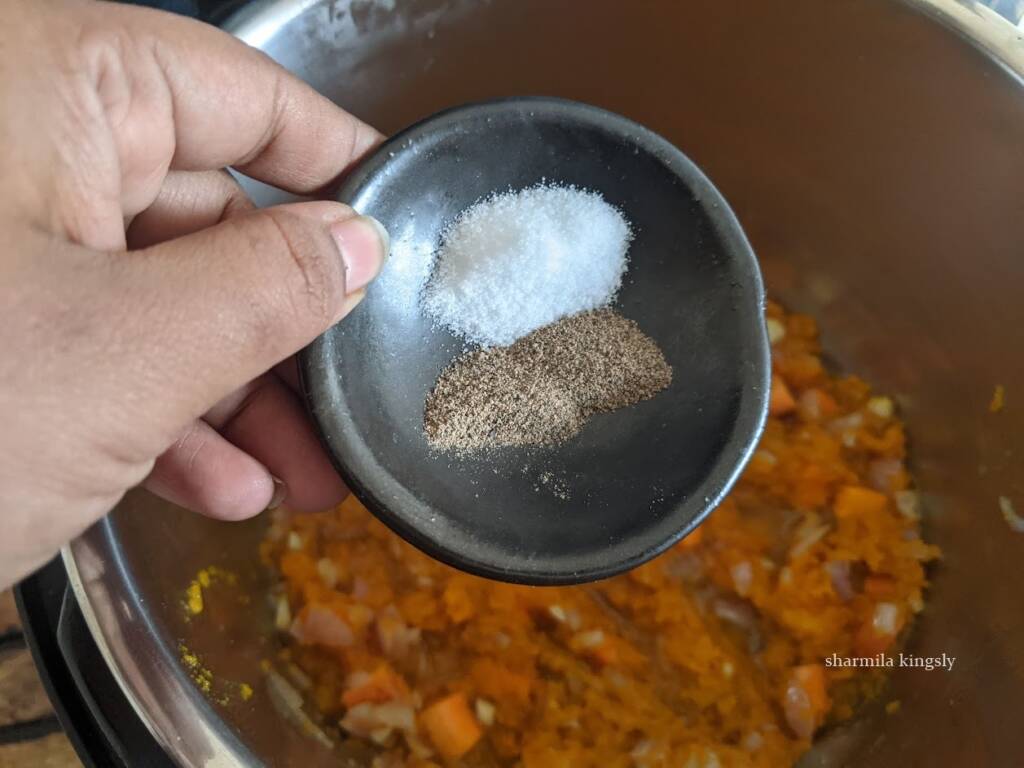
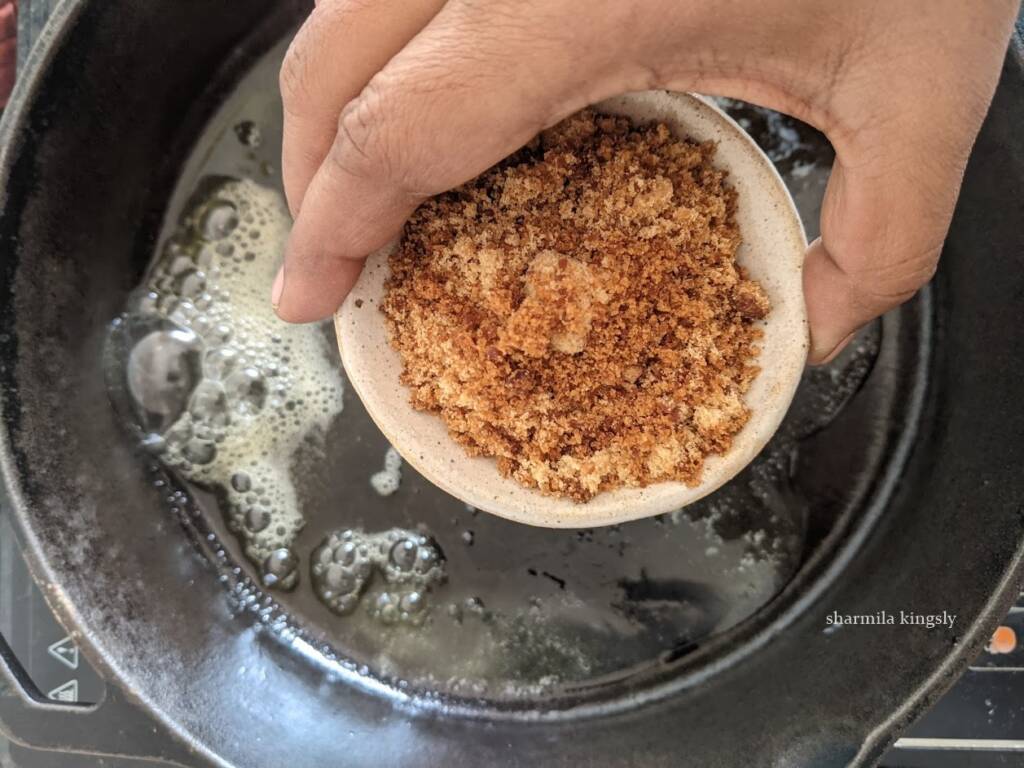
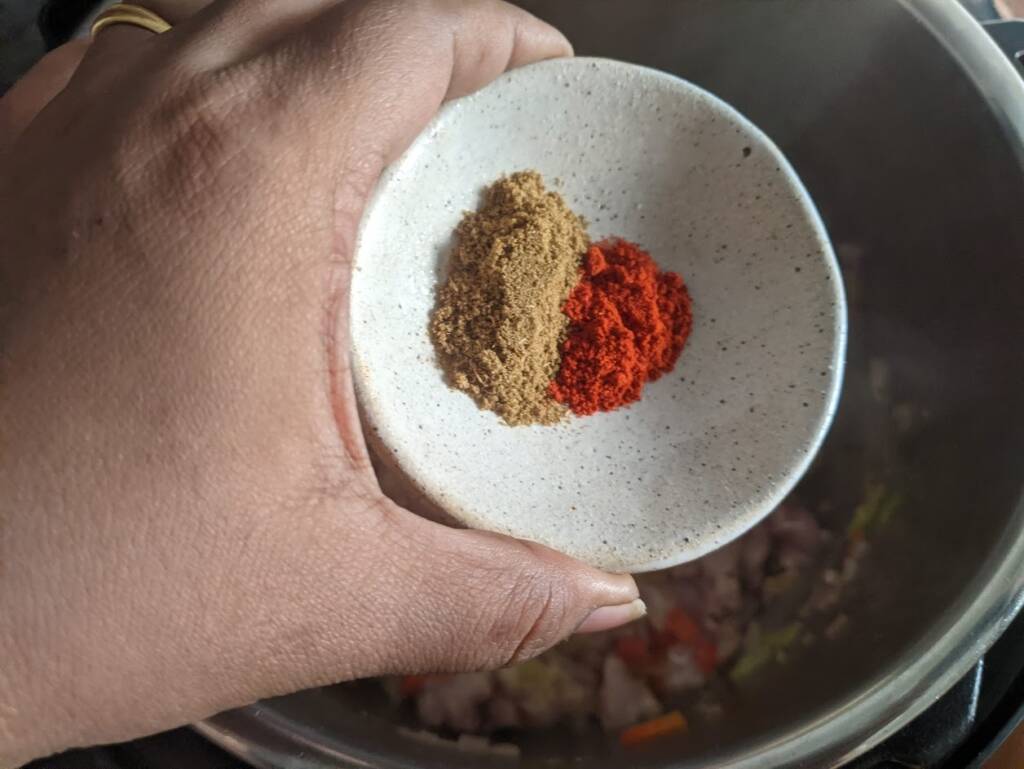
Next add Red Chilli powder, Roasted Cumin powder,
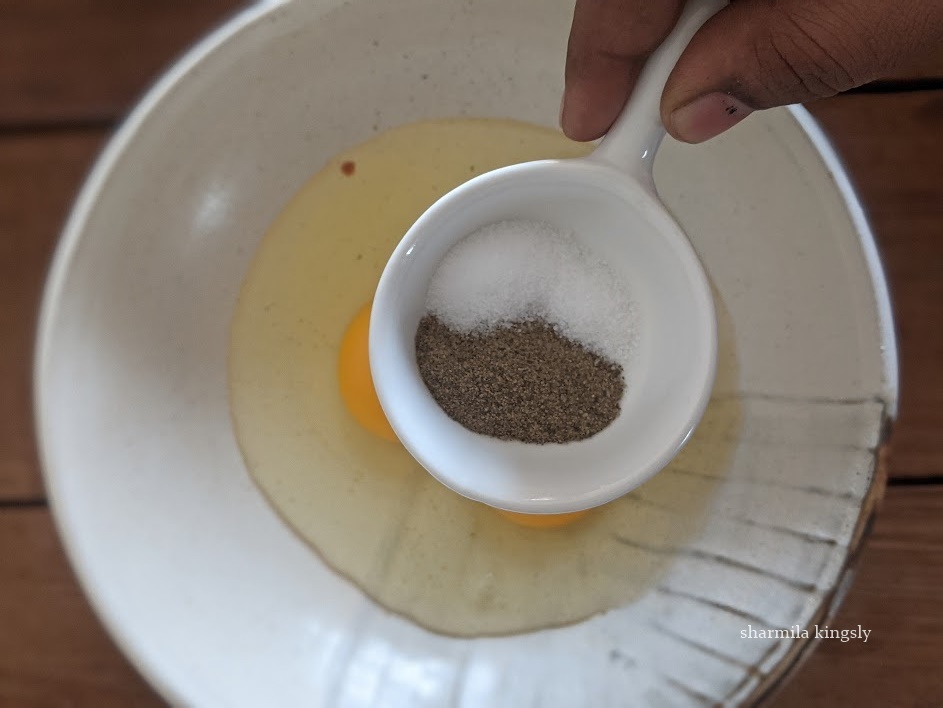
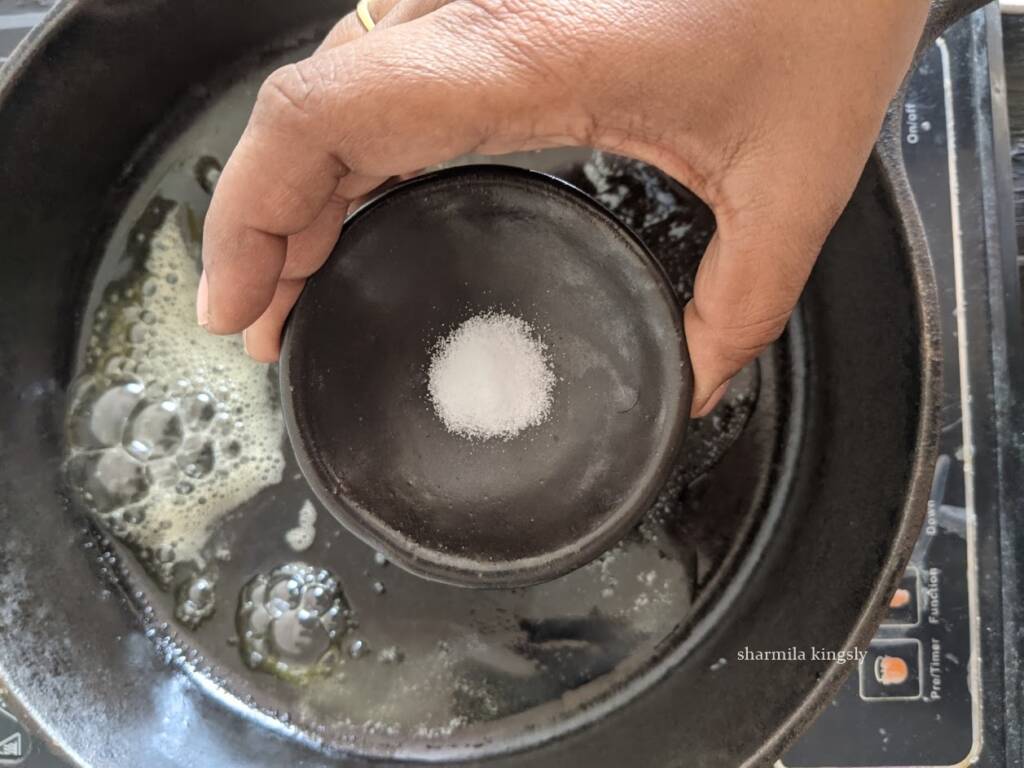
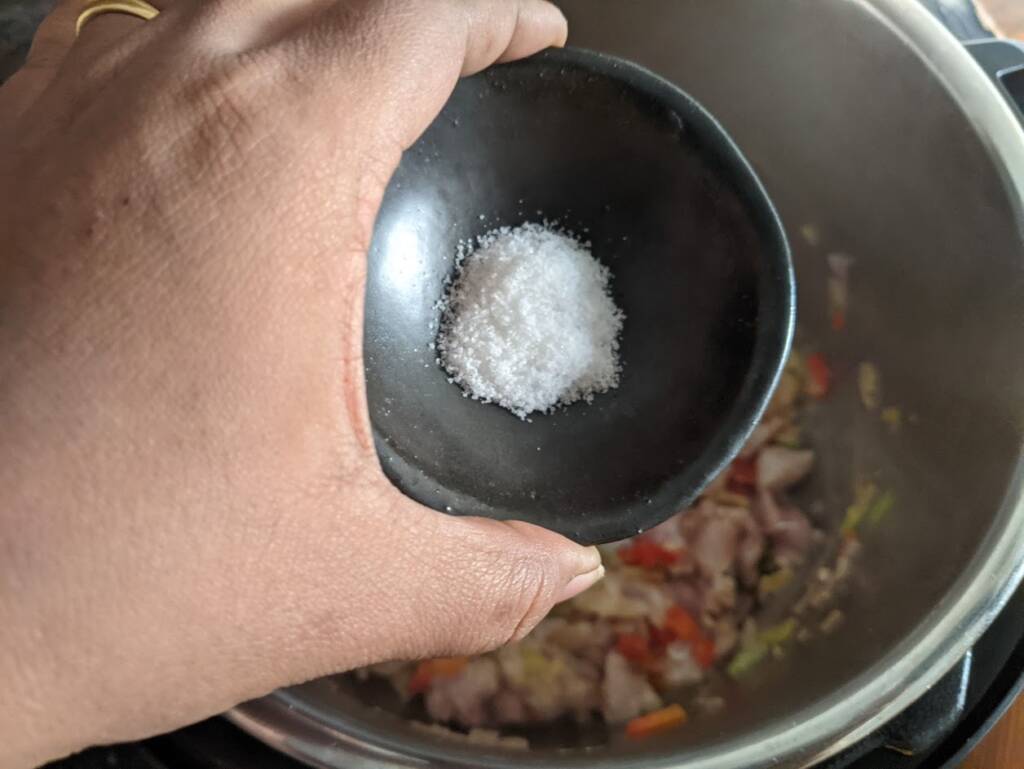
Add required Salt
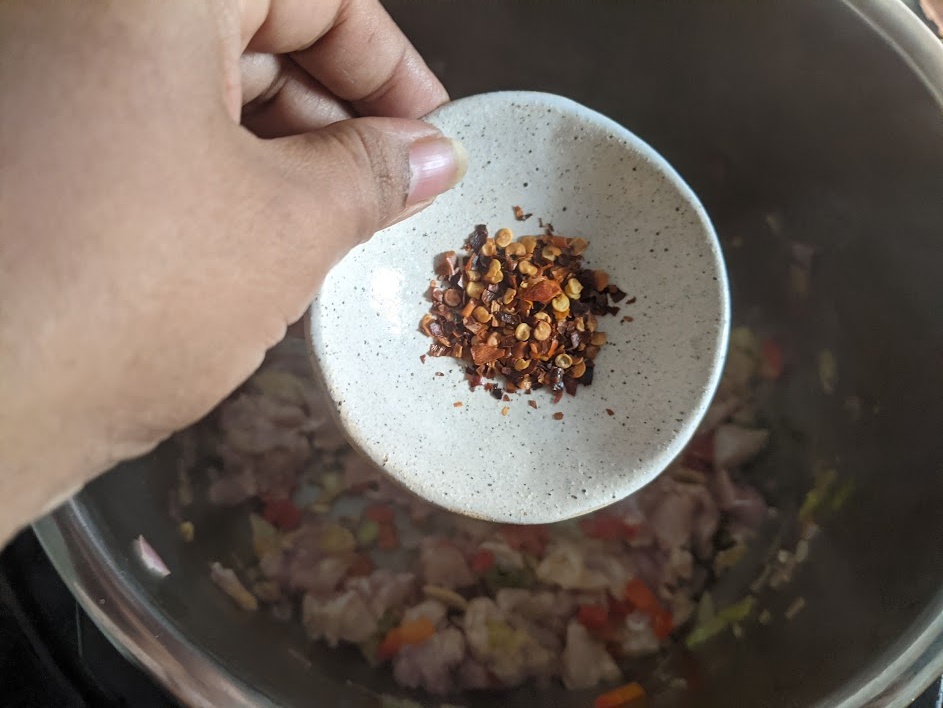
Also, add chili flakes if you prefer.
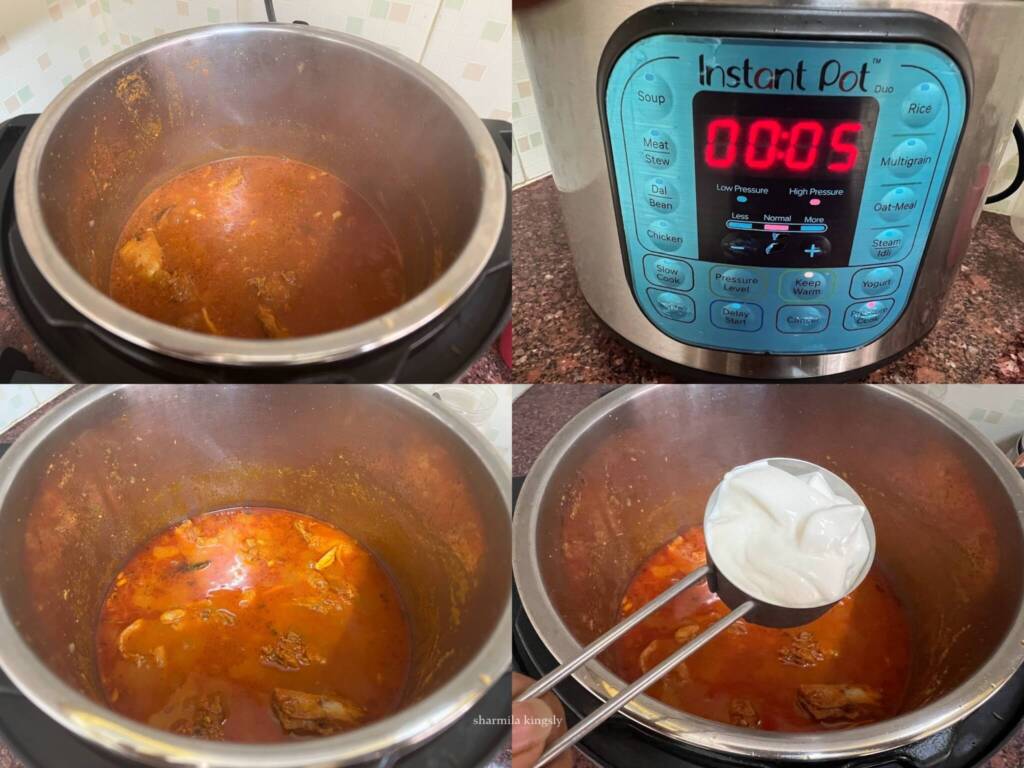
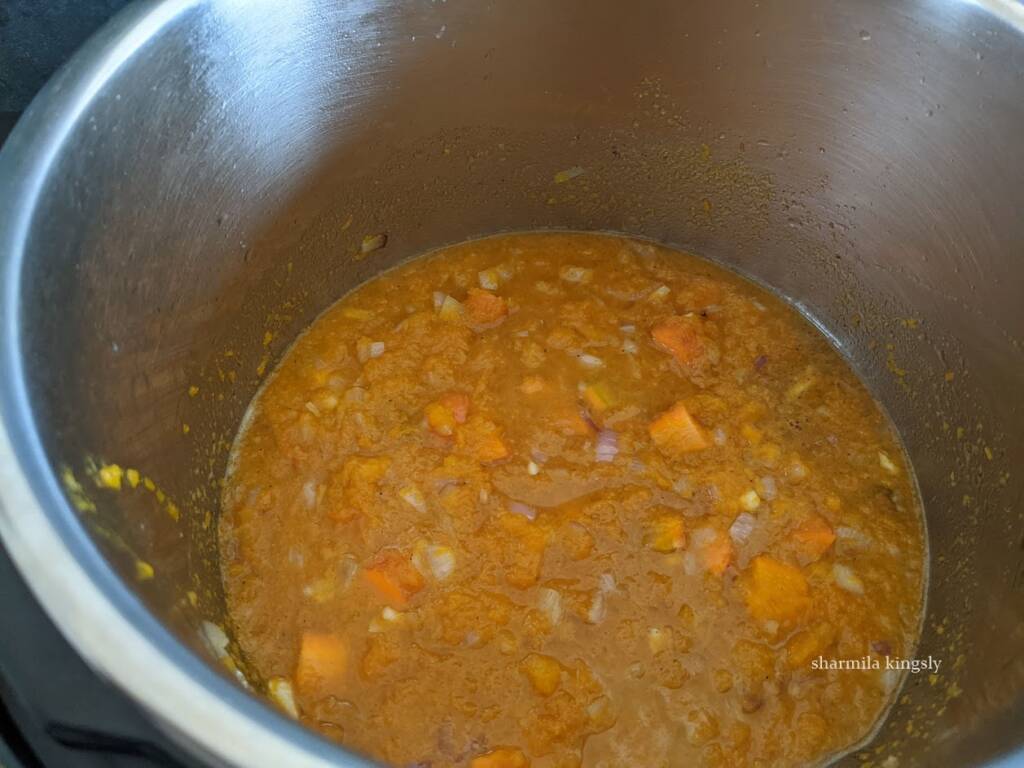
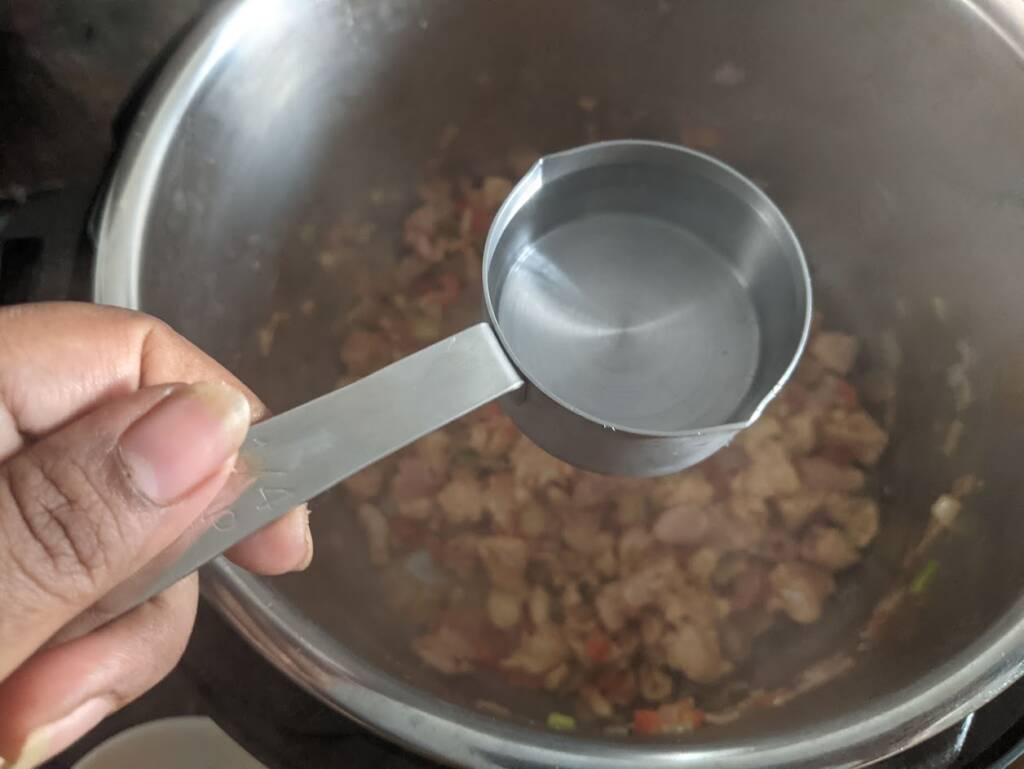
Combine everything and add ¼ cup of water. Mix well and deglaze the Instant Pot.
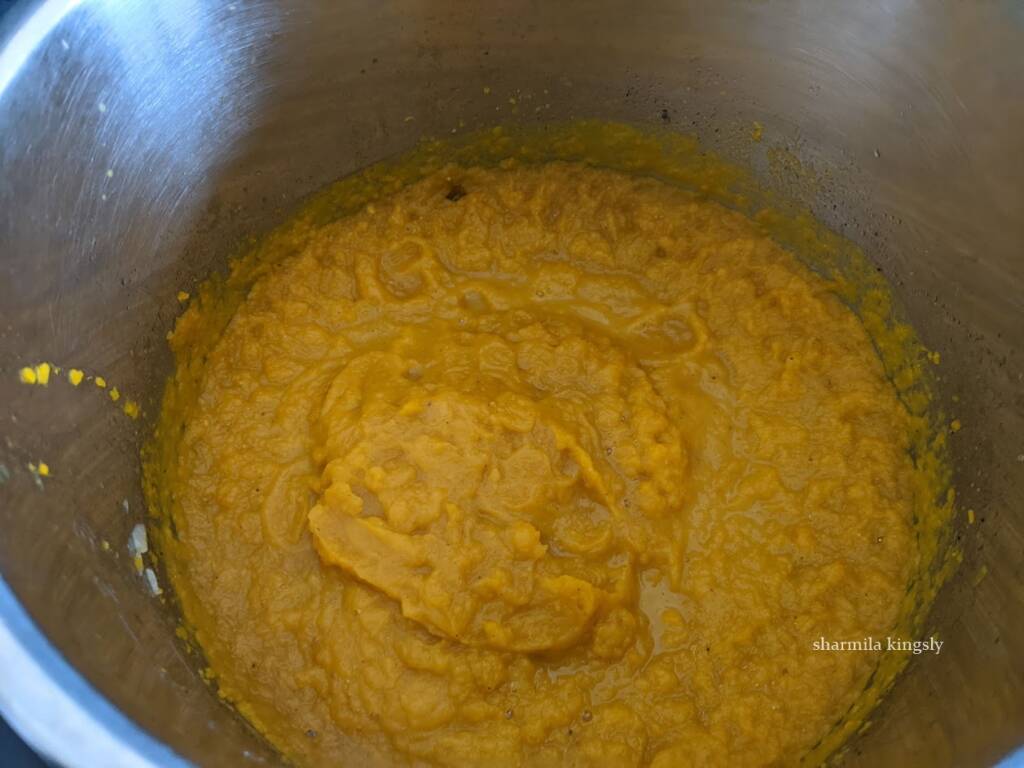
Close the Instant Pot and turn the pressure knob to the sealing position. Set 5 mins in high pressure. after 5 mins do a quick release and open the Instant Pot.
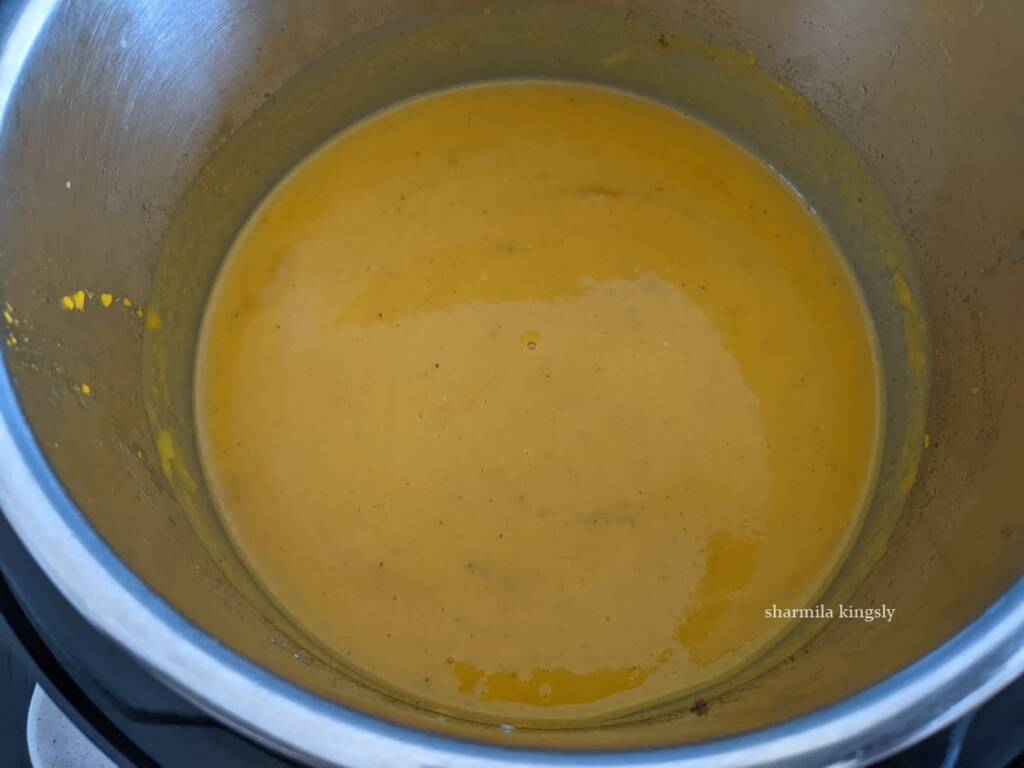
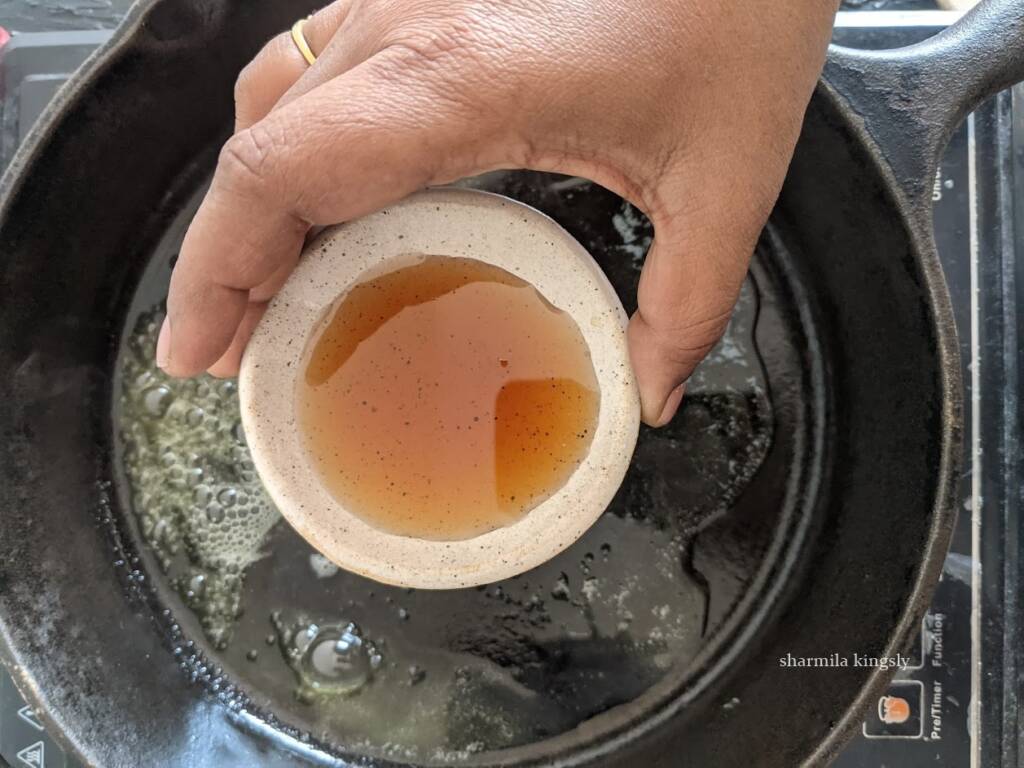
Add Soy Sauce, Sriracha Sauce, Rice vinegar, Sesame Oil, and Brown sugar in a mixing bowl. Combine everything and whisk until the sugar dissolves. Add the sauces together in Instant Pot.
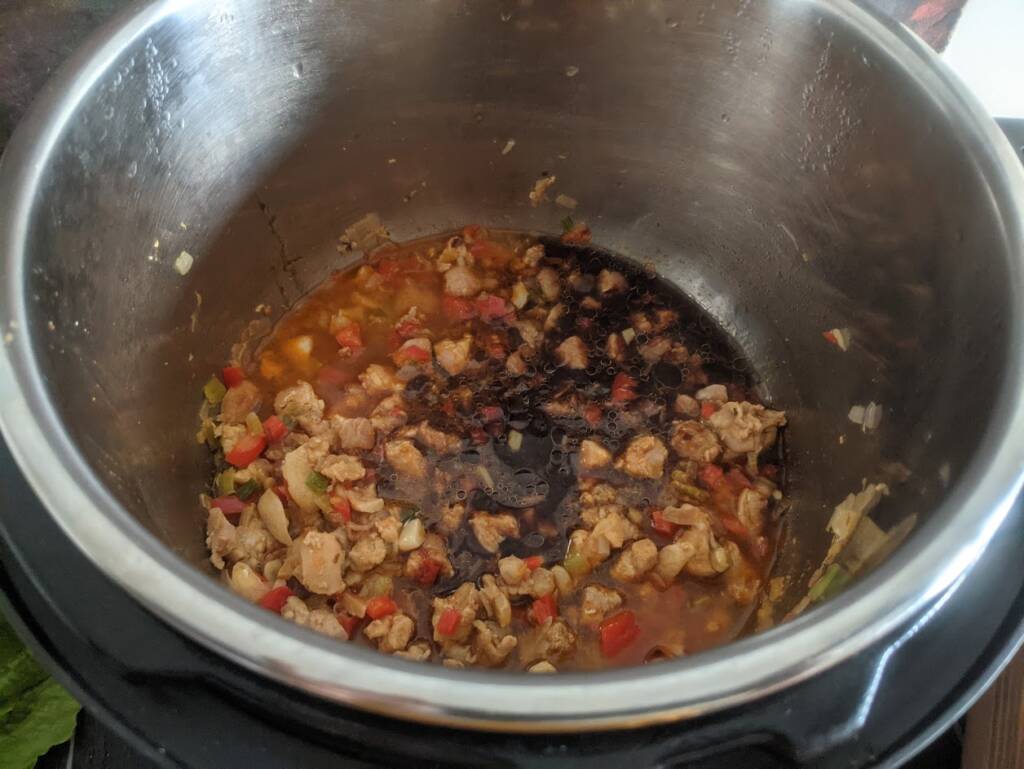
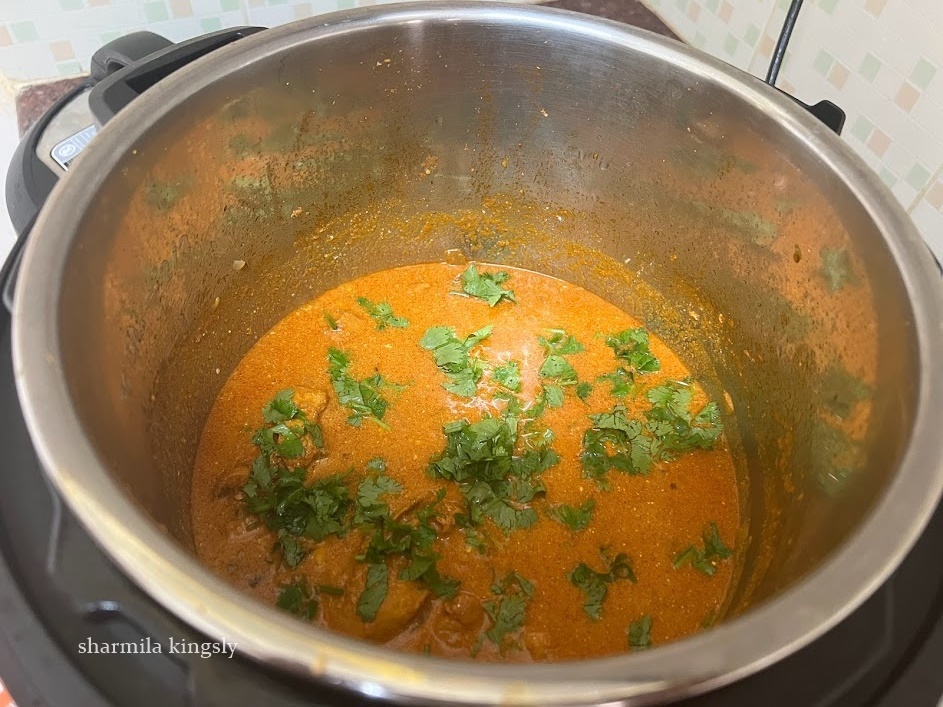
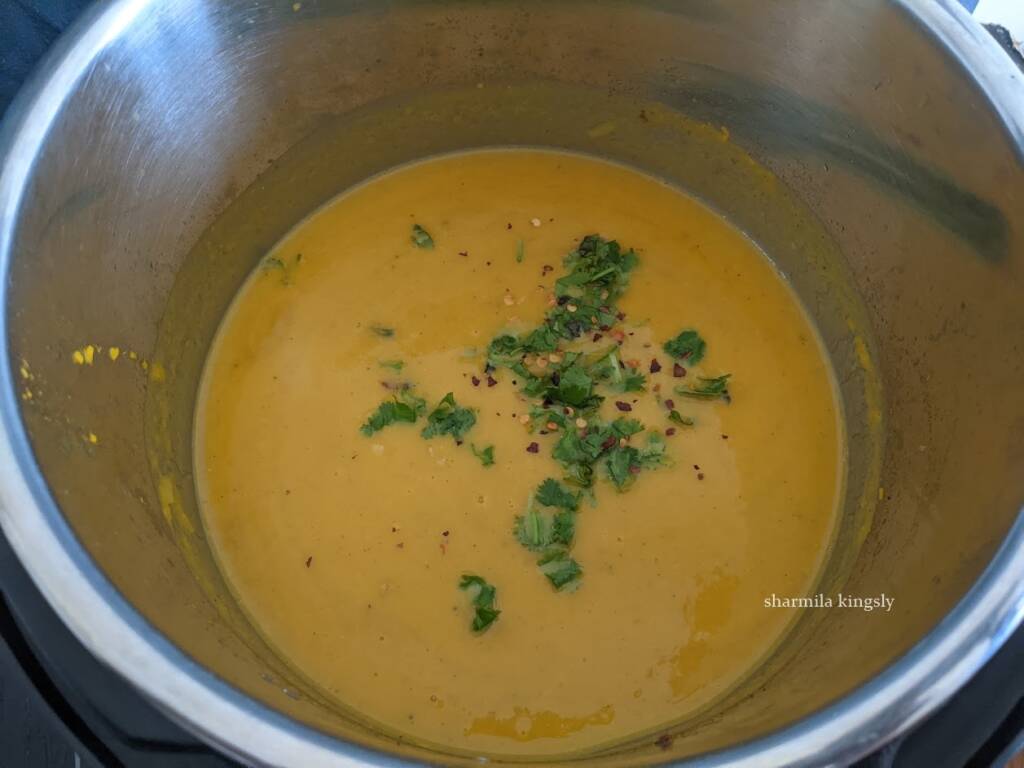
Select the saute mode and let it cook for another 2 mins. The sauce thickens. Garnish with Scallions(spring onion ) greens and switch off.

Serve the filling wrapped in lettuce. Use any lettuce you prefer. Iceberg or Romaine lettuce is my preference. Butter Lettuce also works well. You can use any lettuce that is sturdy and holds its shape. Dissect the individual leaves and spoon in the prepared filling. Chicken Lettuce wraps are now ready.
Stove Top Chicken Wraps
If you do not have an Instant Pot, you can very well make the chicken wrap on the stovetop. Follow the exact instructions in a pan and after adding the chicken, cover, and cook till the chicken is done. Follow the rest of the recipe in the same method.
Tips & Variations
- Instead of chicken, you can also use other protein options.
- Chicken, Lamb, and beef go well too. Mushroom also works well.
- You can also use vegetables for a veg wrap.
- Traditionally ground chicken is used for chicken wraps.
- Check out our Kung Pao Chicken and Sesame chicken recipes too. They go well with lettuce wraps.
Serving Suggestions
You can serve the lettuce wraps and some jasmine rice and make them a complete meal. Or you can also serve them with some fried rice or noodles.
Similar Recipes


★ Did you enjoy this recipe? If you happen to try it out, I would love to hear from you! I’d appreciate it if you could rate and leave a review below in the comments. Your reviews help others know the recipe better too. Thanks for your time. You can also follow me on Facebook, Pinterest, Instagram, Youtube and Twitter for more updates from me.
📖 Recipe

Chicken Lettuce Wraps
Standard 1 cup measures 240 ml
Equipment
- Instant Pot 6 Qz
- Instant Pot 6 Qz
Ingredients
- 1 teaspoon Sesame Oil
- 1 teaspoon Garlic sliced
- 1 teaspoon Ginger sliced
- 10 Cashewnuts
- 2 tablespoon Scallions (white part)
- 1 Onion medium sized
- ¼ cup Bell Pepper chopped ( use any color)
- 250 grams Chicken boneless cut into small pieces or ground chicken
- ½ teaspoon Red Chilli powder
- ½ teaspoon Cumin Powder
- Salt to taste
- ½ teaspoon Red Pepper Flakes
- ¼ cup Water
- 2 tablespoon Light Soy Sauce
- 1 tablespoon Rice Vinegar
- 1 tablespoon Sriracha Sauce
- 1 tablespoon Sesame Oil
- 1 tablespoon Brown Sugar
- 2 tablespoon Scallions ( Green ) for garnish
- Iceberg or Romaine or Butter Lettuce as needed
Instructions
Prepare the Filing
- Switch on the Instant Pot in saute mode. Once it's hot add oil. Wait for a min. Next, add finely chopped ginger and garlic. Also, add a few cashew nuts. Saute everything together until they are golden.
- Next, add Scallions ( white part ), Onions, and Bell Peppers. Saute for a min.
- Use boneless chicken breast pieces. Chop them into small pieces and add them to the Instant Pot.
- Next add Red Chilli powder, Roasted Cumin powder,
- Add required Salt
- Also, add chili flakes if you prefer.
- Combine everything and add ¼ cup of water. Mix well and deglaze the Instant Pot.
- Close the Instant Pot and turn the pressure knob to the sealing position. Set 5 mins in high pressure. after 5 mins do a quick release and open the Instant Pot.
- Add Soy Sauce, Sriracha Sauce, Rice vinegar, Sesame Oil, and Brown sugar in a mixing bowl. Combine everything and whisk once. Add the sauces together in Instant Pot.
- Select the saute mode and let it cook for another 2 mins.
- The sauce thickens. Garnish with spring onion greens and switch off.
Serve the Lettuce Wraps
- Serve the filling wrapped in lettuce. Use any lettuce you prefer. Iceberg or Romaine lettuce is my preference. Dissect the individual leaves and spoon in the prepared filling. Chicken Lettuce wraps are now ready.
Video
Nutrition
Disclaimer: I am not a nutritionist, the nutrition value provided here is an estimate. It will vary based on the quantity and brands of the products used.