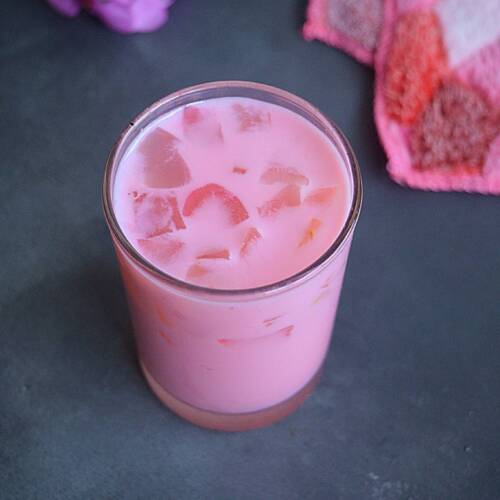
Lychee Iced Tea, a perfect refreshing Tea with the flavors of Lychee. A Cool and perfect drink for Summer days
Follow us on Pinterest for delicious pins. Join our Facebook group for more Instant Pot and Air Fryer recipes.

Lychee is a typical tropical fruit. It has a perfectly sweet taste that goes well in iced Tea. Homemade made iced tea is indeed a cool idea for a hot sunny day.
The best thing about this homemade tea is it's economical, Plus we can customize them to our heart's content.
I am using fresh lychee for this recipe however canned lychee also works well. I am giving the instructions for using both fresh and canned lychee in this recipe. Now let's see how to make lychee tea.
[feast_advanced_jump_to]Ingredients
Lychee - Fresh or Canned lychee works well for making iced tea. Lychee is a seasonal fruit and hence when they are not in season we can definitely make use of canned fruits.
Black Tea - I am using tea leaves. You can also use tea bags.
Lemon & Mint - Gives a fantastic fresh and refreshing flavor to the tea.
Sugar syrup - adding syrup for the sweetness. Using whole sugar might not get dissolved and will not go well along. hence prefer using sugar syrup for the sweetness.
Icecubes - Indeed a mandatory ingredient. Use whole or crushed ice cubes as you prefer.

How to make Lychee Iced Tea
Heat a saucepan with water once it's hot add the tea leaves.

Cook till they start boiling and simmer for 2 mins and switch off. Filter to remove the tea dust and let it cool down completely. If using tea bags you can bring the water to a boil and steep the tea bags to the boiling water for 10 mins.

Put the brewed tea in the fridge till use.
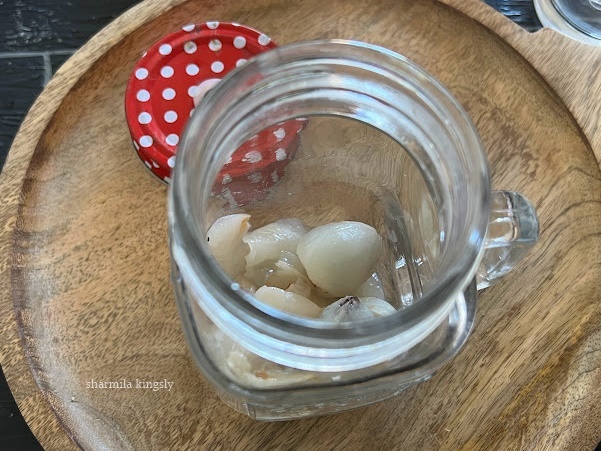
In a tall serving glass or Jar add deseeded lychee. Muddle or Crush the fruit to release the juice.
Top it with ice cubes

Add a few mint leaves and lemon wedges.

Now add the brewed cold tea,Water and sugar syrup.

Combine everything and let it chill for 3-4 hours and then serve.
Cold and fresh lychee iced tea is now ready. Serve with more chopped lychee and ice cubes on top.

Tips & Variations
- Instead of using tea leaves, you can use tea bags. It is easier to handle and mess-free.
- If using tea leaves you have to strain and remove the tea dust. It's not required if using tea bags.
- If using tea bags, steep the tea bags in hot boiling water for 10 mins. Let it infuse and then remove and let the tea cool down completely.
- Similarly, you can use canned lychee along with the syrup instead of fresh lychee too.
- If using the syrup along with the canned lychee you can skip the other sweeteners we add.
- Adjust the sweetness as per your preference.
- Chop or crush the fruit a bit to release more flavor to the tea.
- You can also brew the tea in advance. It stays good in fridge for 2 days.
Serving Suggestions
Lychee fruit tea is a Perfect drink for a hot summer day. Make them and enjoy before the summer ends.
Storing Options
Don't recommend storing for a longer time. But you can store them for a maximum of 2 days.
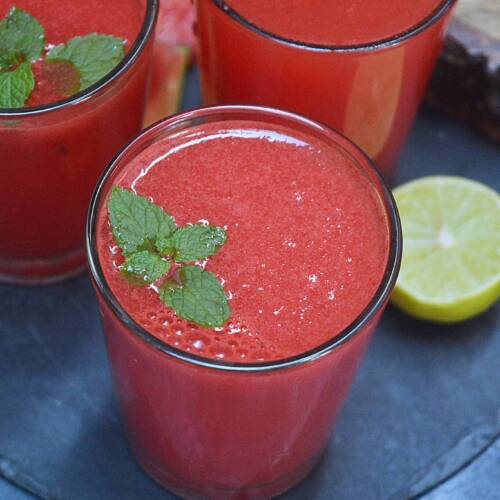
More Summer Drinks


★ Did you enjoy this recipe? If you happen to try it out, I would love to hear from you! I’d appreciate it if you could rate and leave a review below in the comments. Your reviews help others know the recipe better too. Thanks for your time. You can also follow me on Facebook, Pinterest, Instagram, Youtube and Twitter for more updates from me.
📖 Recipe

Lychee Iced Tea
Standard 1 cup measures 240 ml
Ingredients
- 4 cups Water divided
- 3 Tea Bags or 2 teaspoon Black Tea
- 4 tablespoon Sugar Syyrup
- 10 Lychee
- 7-8 Mint Leaves
- Lemon Wedges as needed
- Ice Cubes as needed
Instructions
- Heat a saucepan with water once it's hot add the tea leaves.
- Cook till they start boiling and simmer for 2 mins and switch off. Filter to remove the tea dust and let it cool down completely. If using tea bags you can bring the water to a boil and steep the tea bags to the boiling water for 10 mins.
- Put the brewed tea in the fridge till use.
- In a tall serving glass or Jar add deseeded lychee. Muddle or Crush the fruit to release the juice.
- Top it with ice cubes
- Add a few mint leaves and lemon wedges.
- Now add the brewed cold tea,water and sugar syrup.
- Combine everything and let it chill for 3-4 hours and then serve.
- Cold and fresh Lychee Iced Tea is now ready. Serve with more chopped lychee and ice cubes on top.
Video
Notes
- Instead of using tea leaves, you can use tea bags. It is easier to handle and mess-free.
- If using tea leaves you have to strain and remove the tea dust. It's not required if using tea bags.
- If using tea bags, steep the tea bags in hot boiling water for 10 mins. Let it infuse and then remove and let the tea cool down completely.
- Similarly, you can use canned lychee along with the syrup instead of fresh lychee too.
- If using the syrup along with the canned lychee you can skip the other sweeteners we add.
- Adjust the sweetness as per your preference.
- Chop or crush the fruit a bit to release more flavor to the tea.
Nutrition
Disclaimer: I am not a nutritionist, the nutrition value provided here is an estimate. It will vary based on the quantity and brands of the products used.