Paneer bhurji is an delicious Indian style dry side dish made with crumbled milk solids ( Paneer) . It is an easy to make dish to go along with any flatbreads or Phulka
Follow us on Pinterest for delicious pins. Join our Facebook group for more Instant Pot and Air Fryer recipes.

Paneer bhurji is an easy dry side for roti and paratha. It can be made with just the basic ingredients and panner makes it protein rich.
Use homemade paneer for best taste. You can crumble the paneer with hands or even in a blender. Now lets see how to prepare Paneer bhurji.
Checkout our Paneer Kathi Roll and Paneer Tikki recipes too.
[feast_advanced_jump_to]About the Recipes
Makes a protein rich and filling side dish for roti or phulka
Gets ready in less than 30 mins.
Uses the basic and minimal ingredients.
Goes well as a sandwich filling too.
You can also roll them as a filling for wraps.
Ingredients
Paneer - Use homemade or store bought paneer as you prefer. Soak the paneer in warm water for 10-15 mins and then crumbles. It gets crumbled easily.
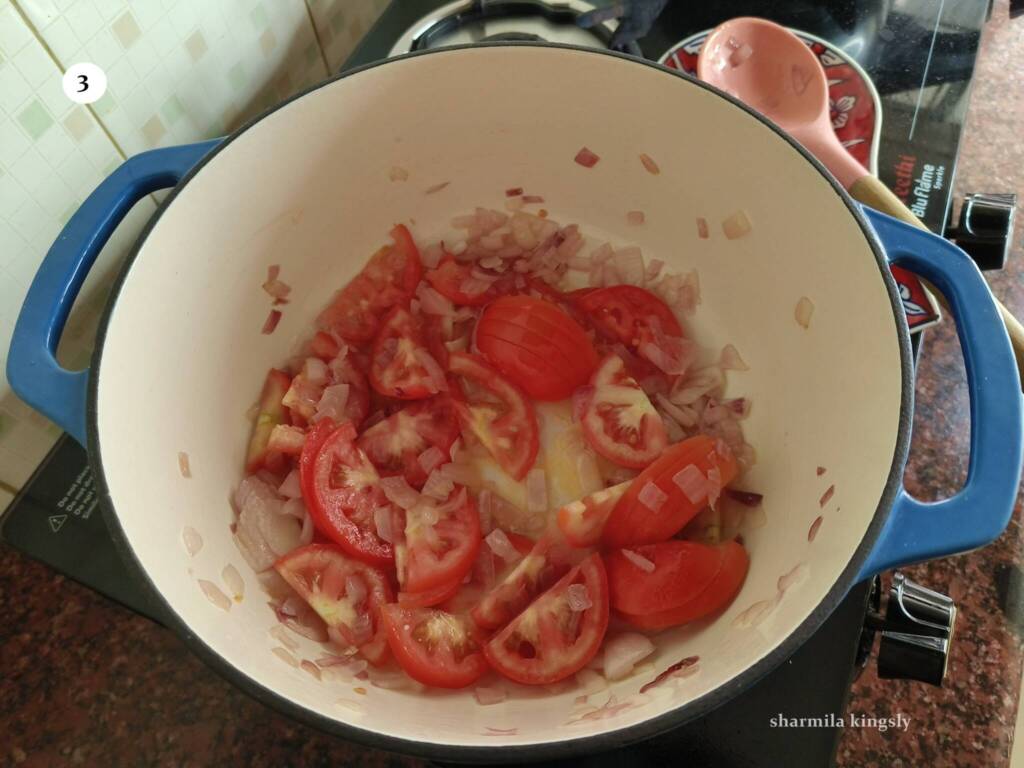
Onion & Tomato - Forms the base of the recipe. We saute the onion and tomato and cook paneer bhurji
Spice Powders - Using the minimal spice powders. Chilli, Turmeric, Cumin and Coriander powder.
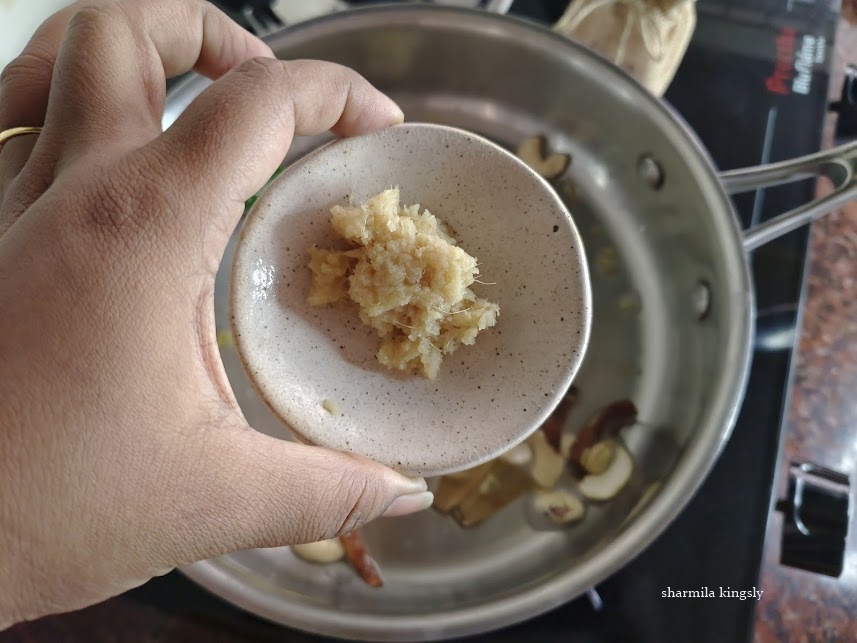
Ginger garlic - Crushed ginger and garlic elevates the flavor. Never miss adding them.
Coriander leaves - Garish with finely chopped coriander leaves for flavor
Lemon Juice - Adds a extra flavor so this is a do not miss.
How to make Paneer Bhurji
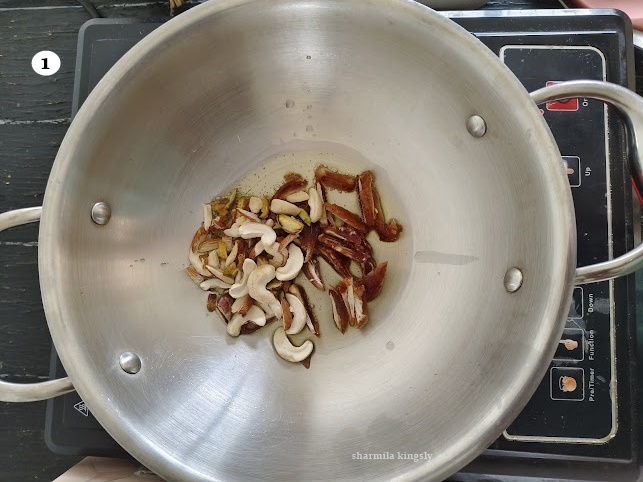
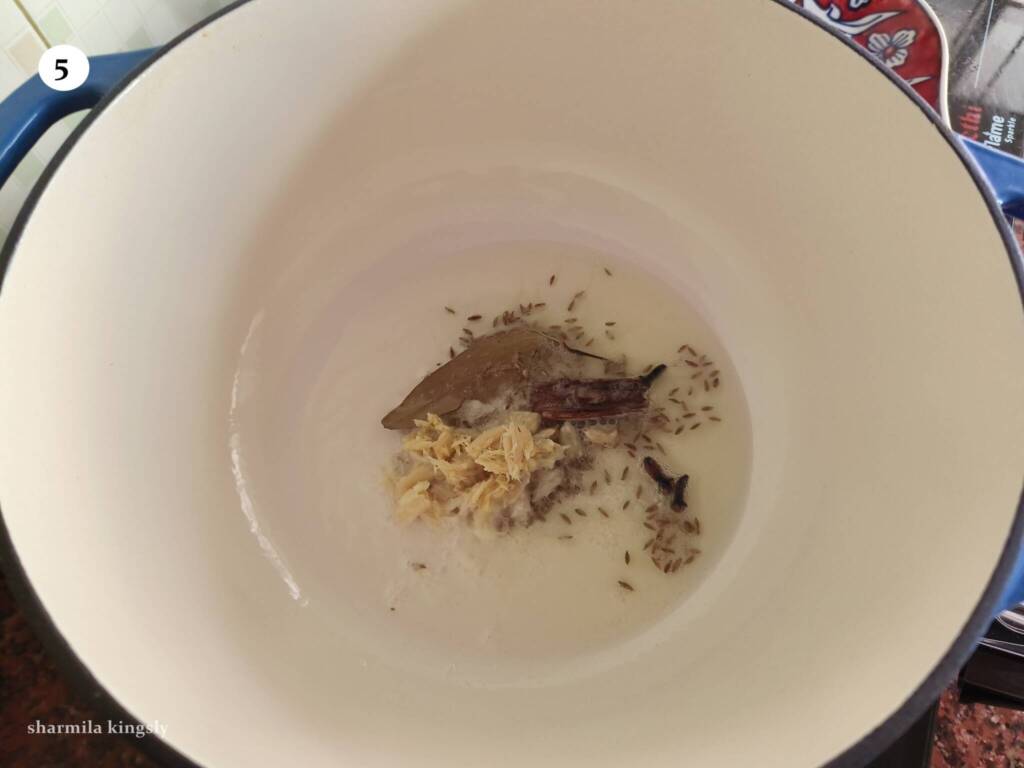
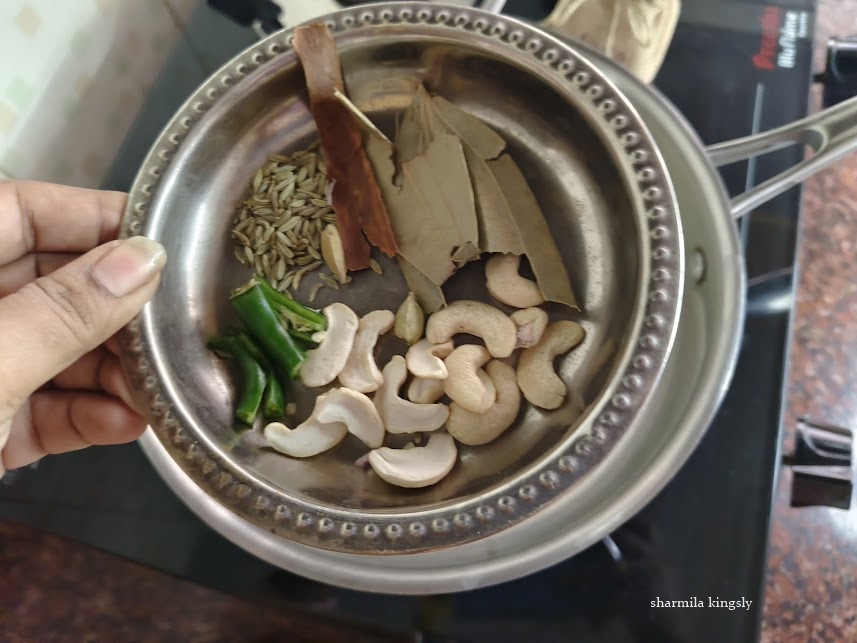
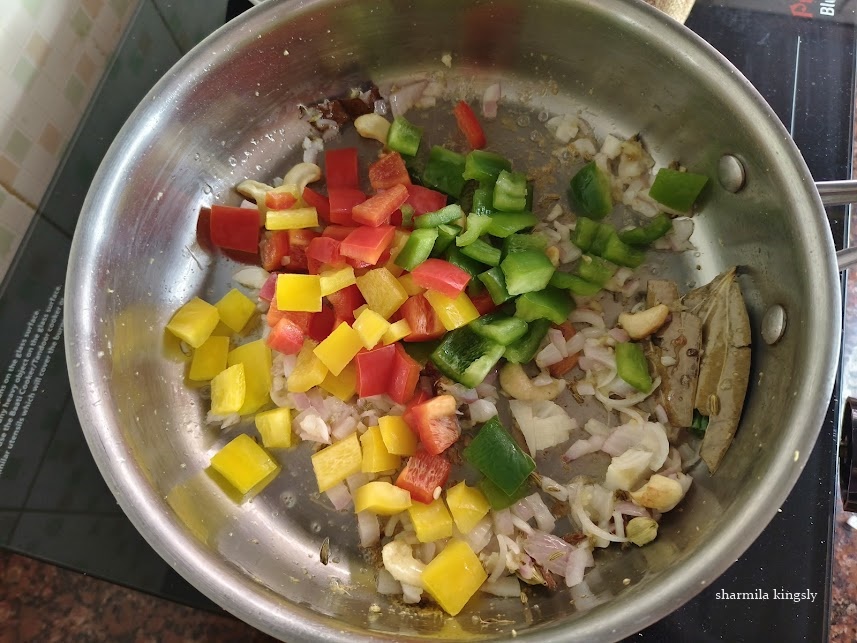
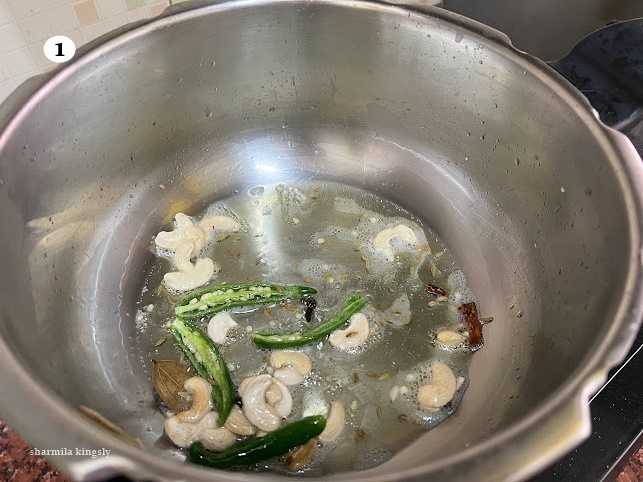
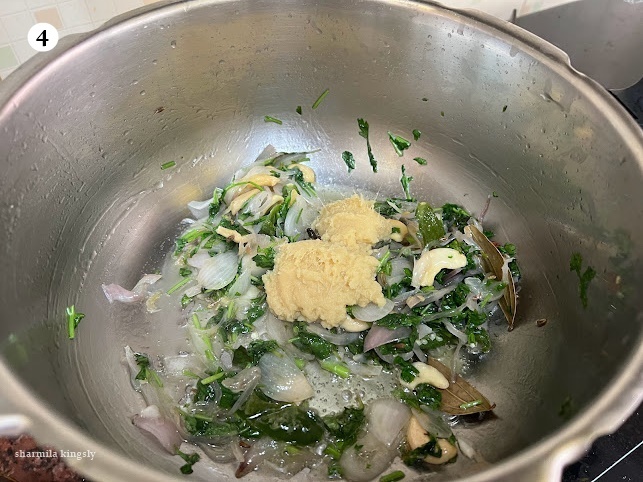
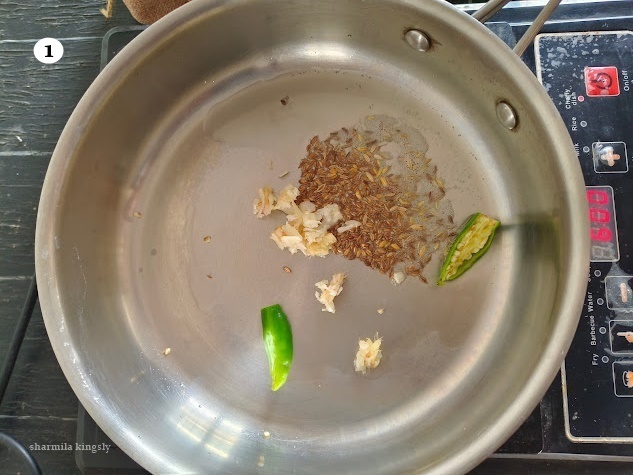
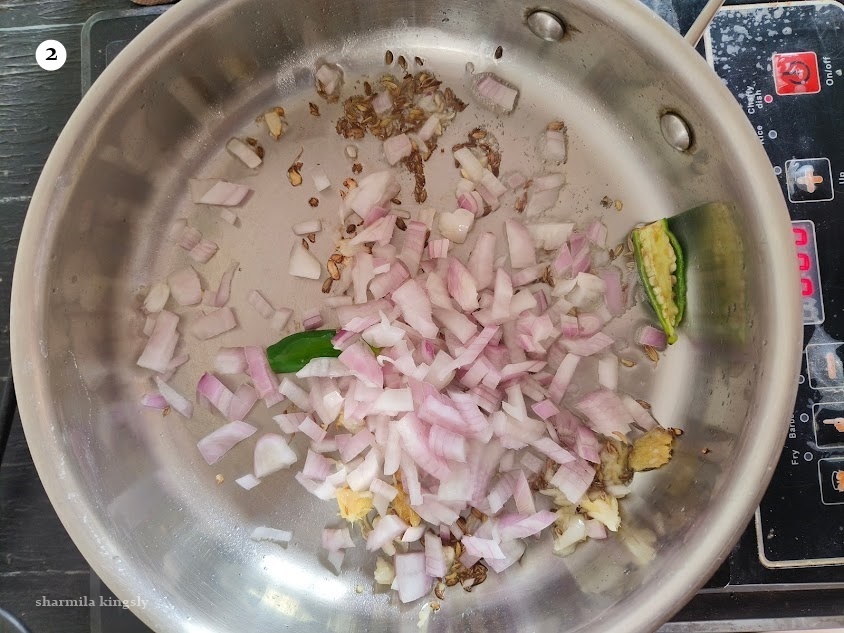
1.In a pan heat in oil, once its hot add the fennel seeds and cumin seeds. Let it splutter. Next add green chilli and crushed ginger garlic saute till the raw smell leaves.
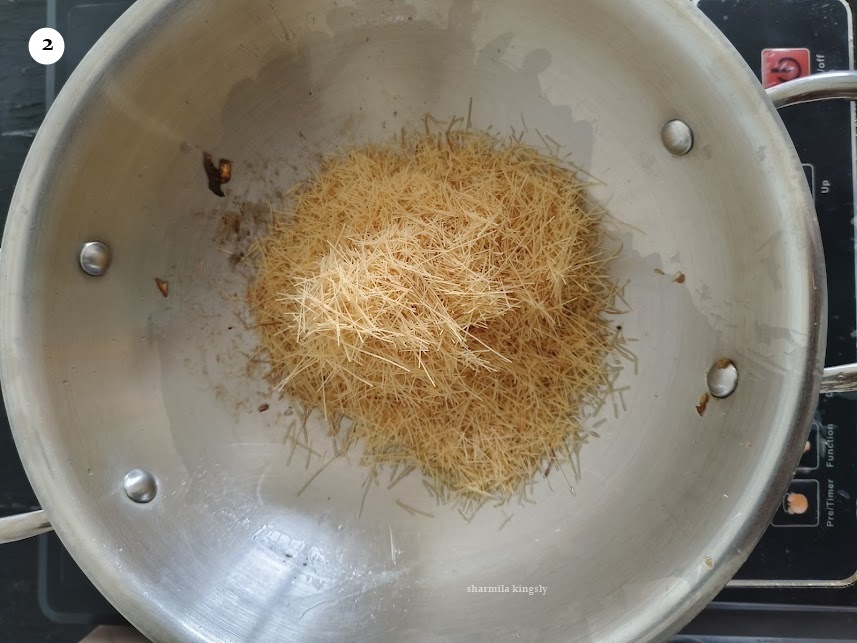
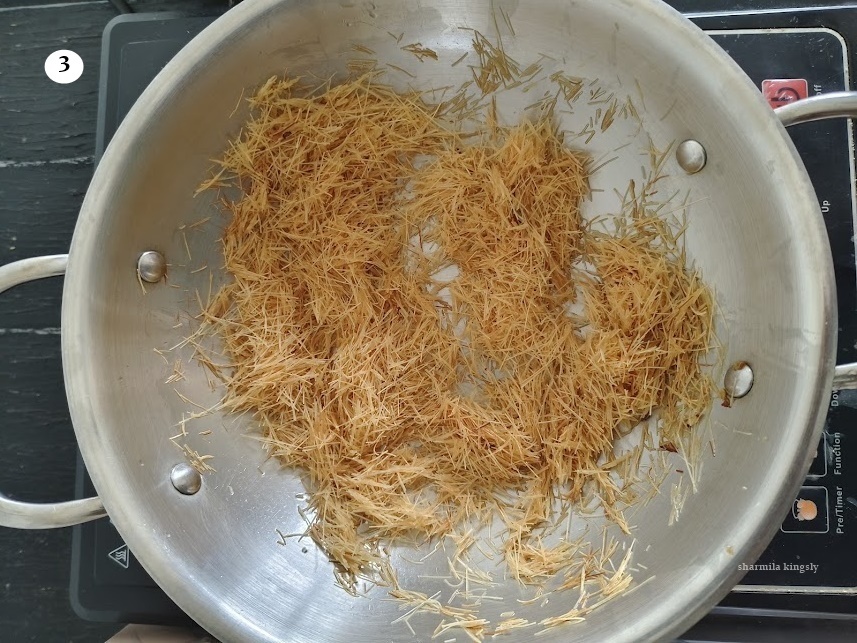
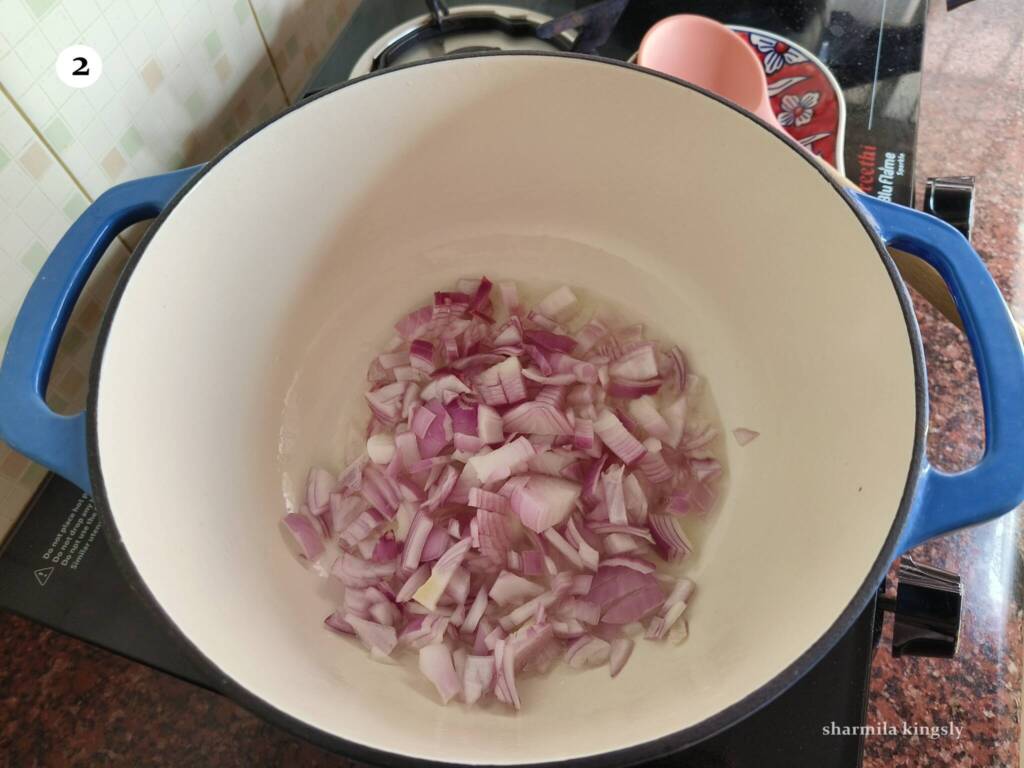
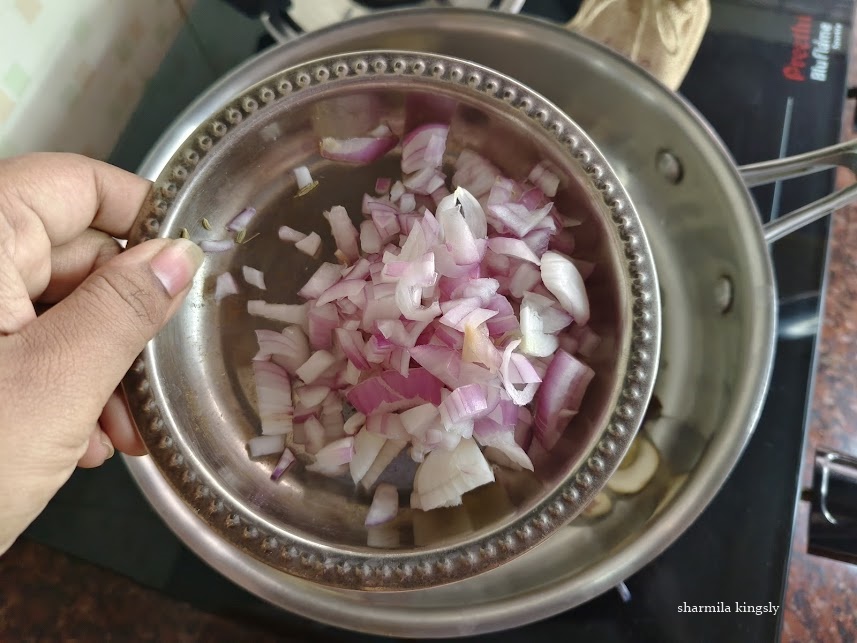
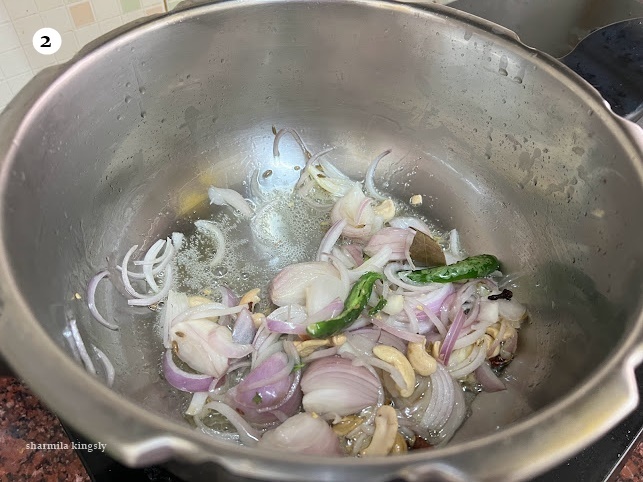
2. Add onions and saute till glossy.
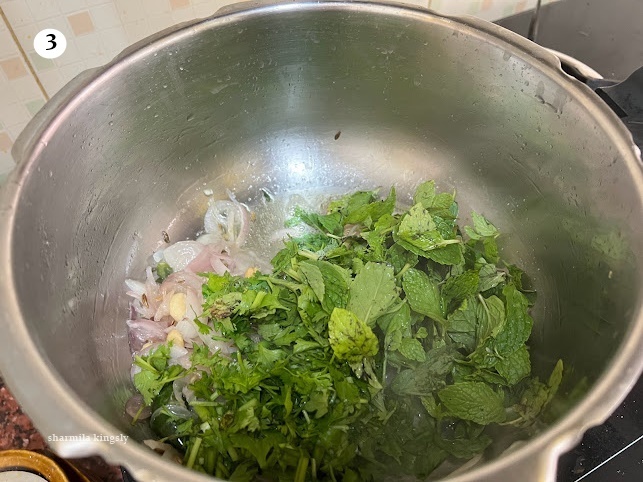
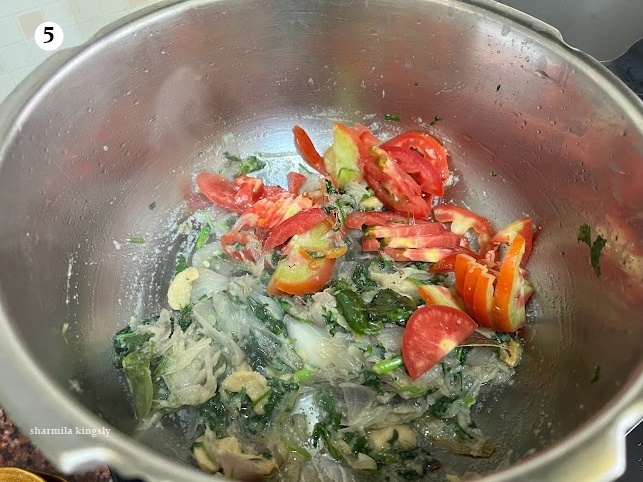
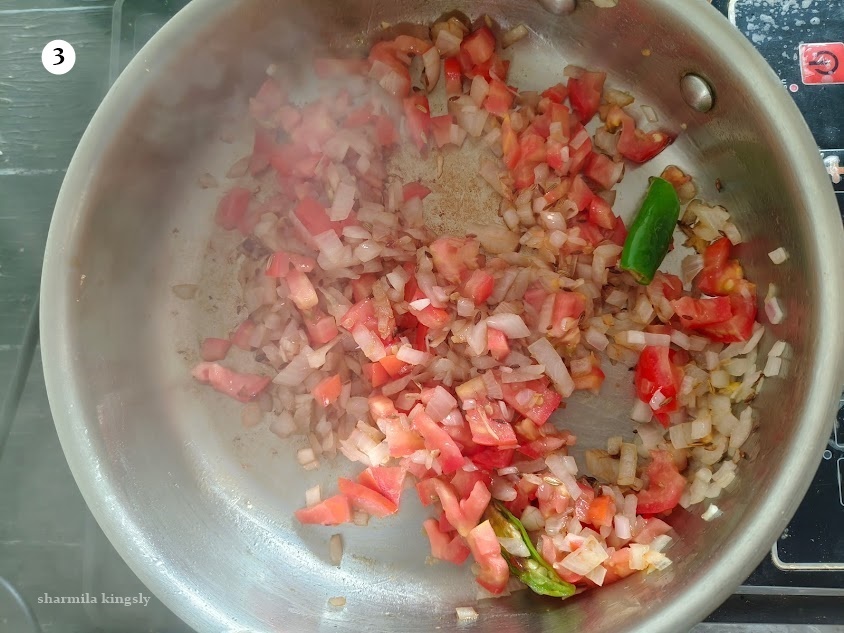
3. Next add the chopped onions and cook till they are soft.
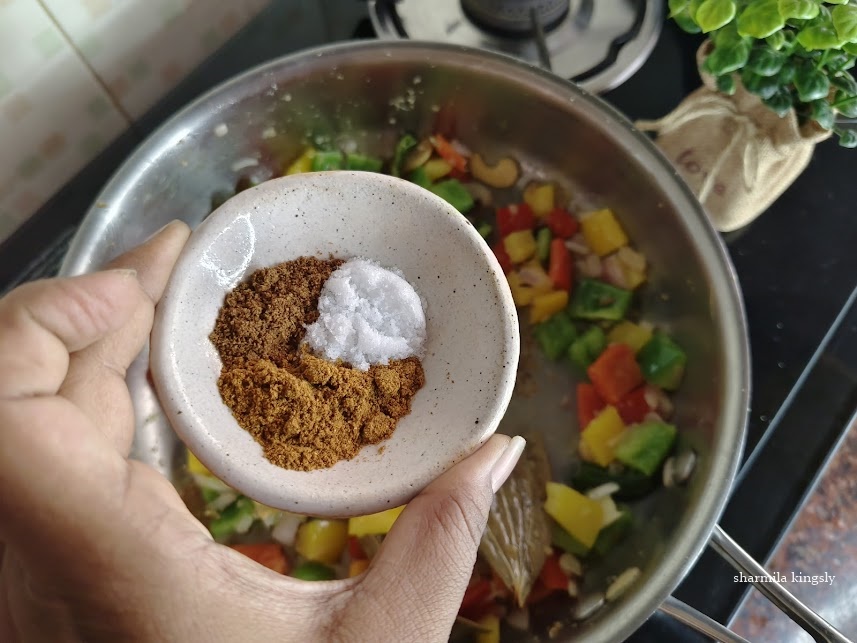
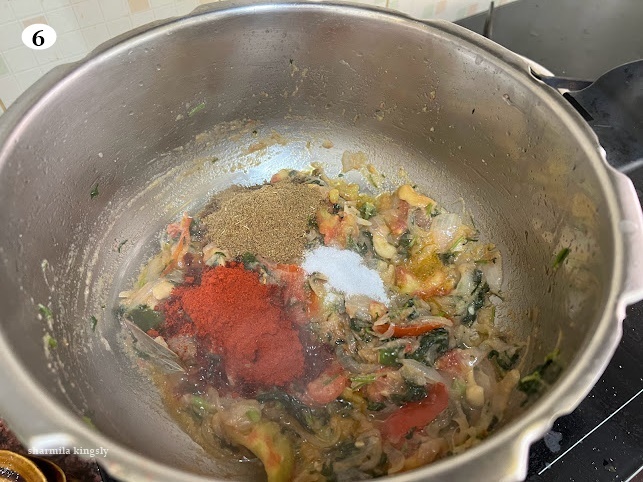
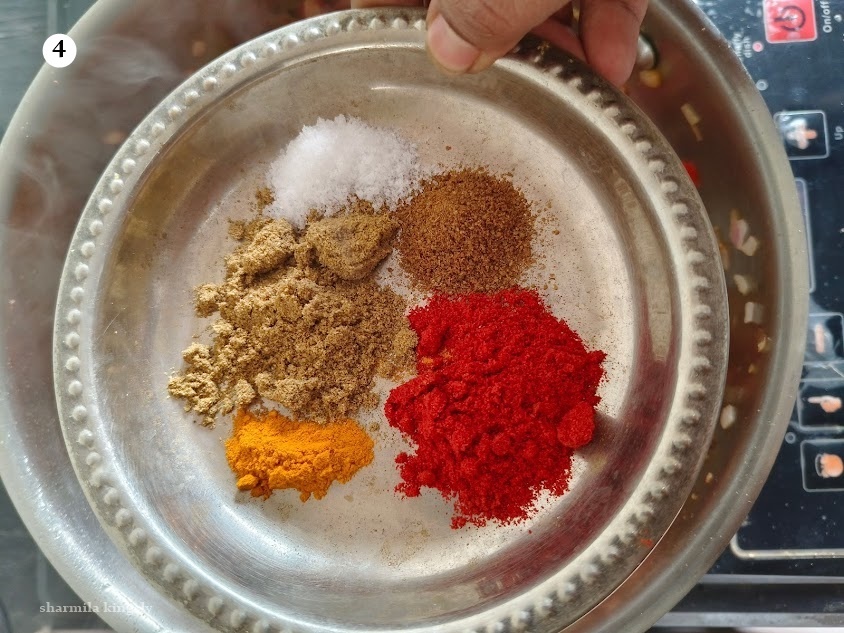
4. Now we will add the spice powders. I am using chili powder, coriander powder, turmeric powder, cumin powder and salt to taste. Combine everything and cook for 2 mins.
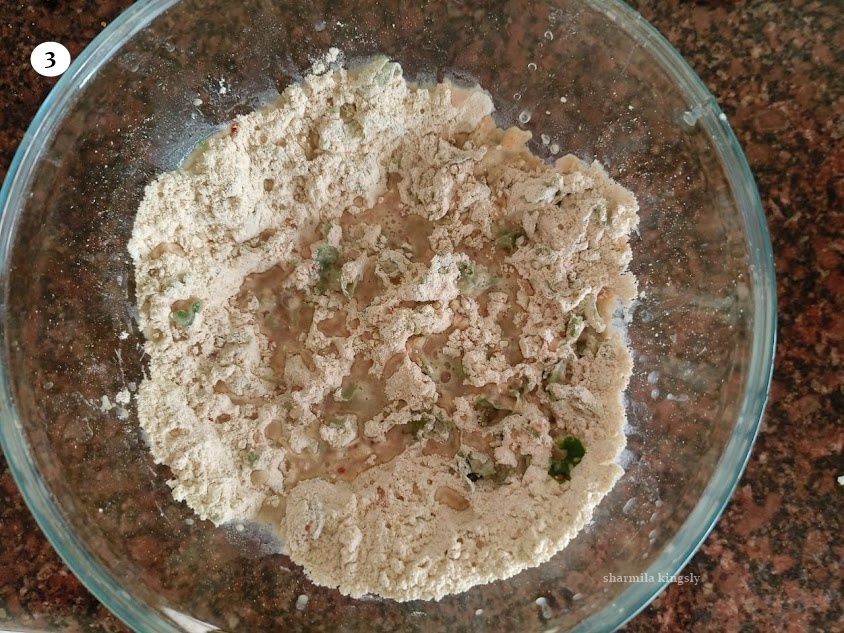
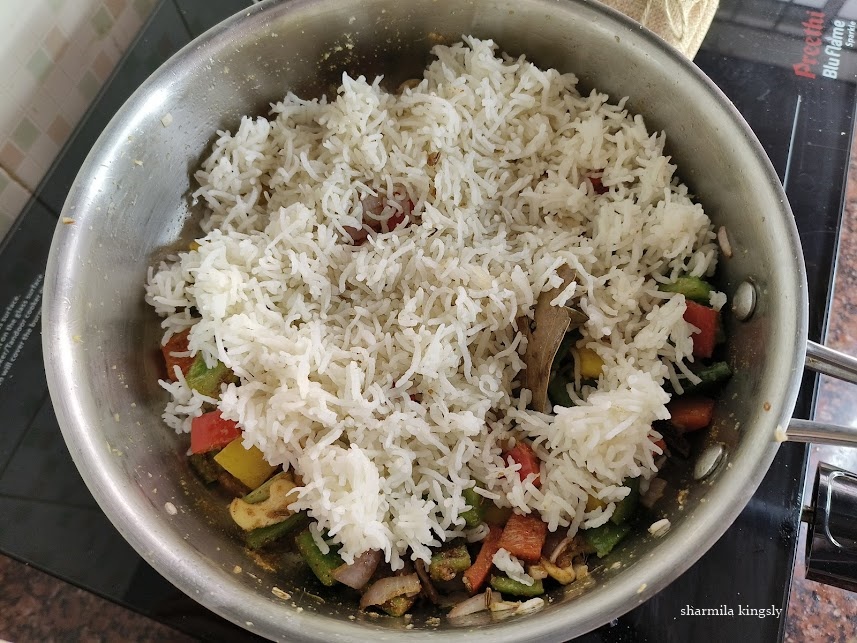
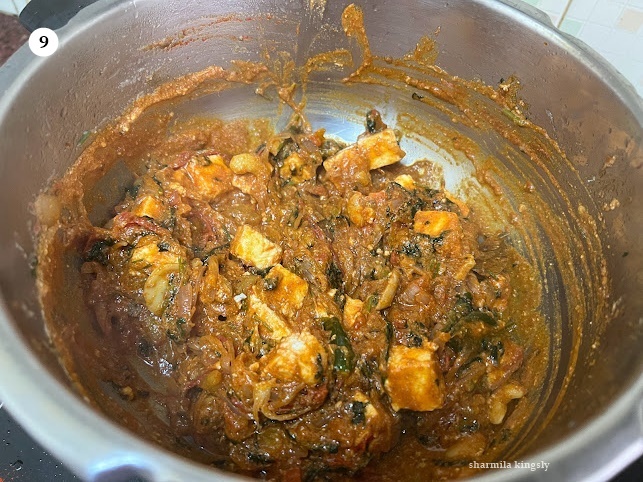
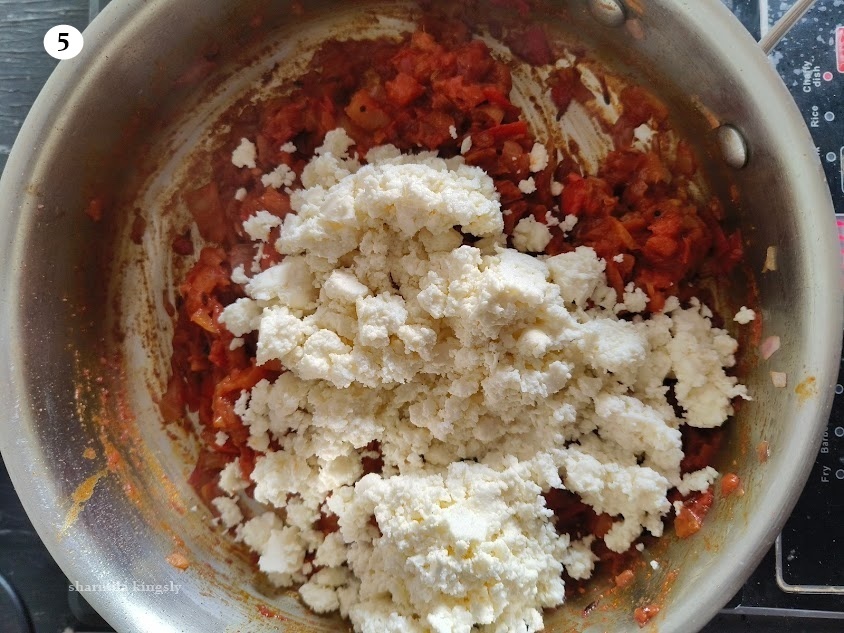
5. If using store bough panner keep them soaked in warm water for 10 mins. If using homemade paneer we can skip this. Crumble paneer and keep it ready. Now add the crumbled paneer to the cooked onion tomato masala. Combine everything and let it cook for another 2 mins.
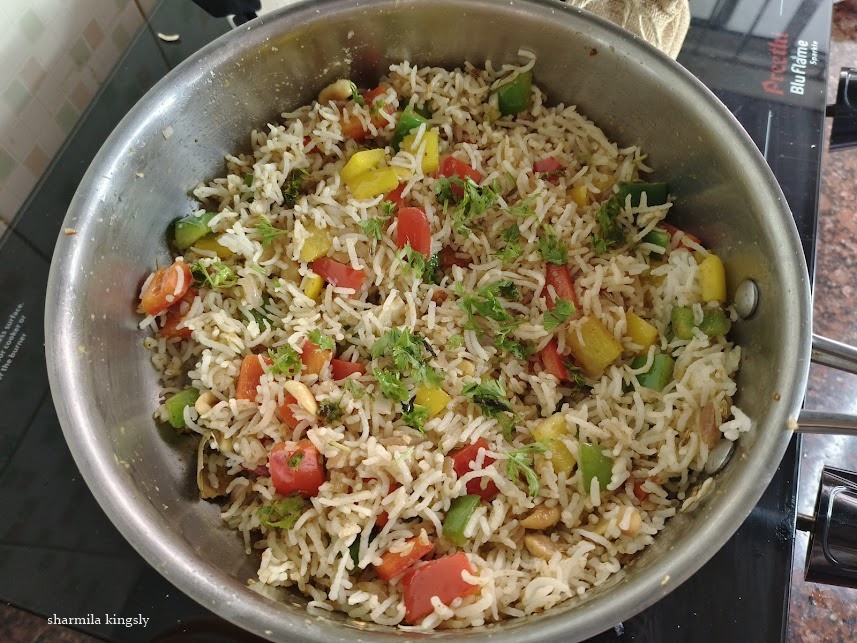
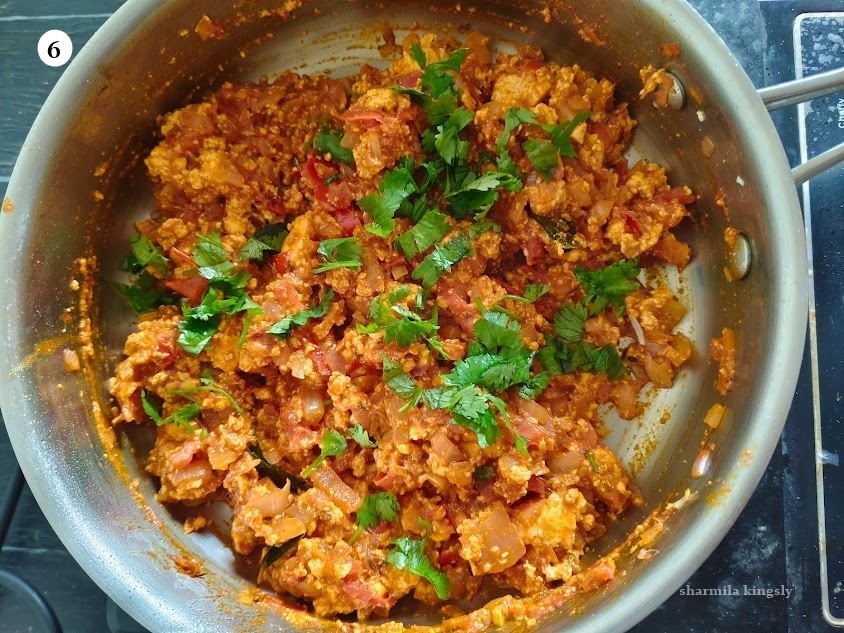
6. Finally garnish with chopped coriander leaves and switch off. Also sprinkle lemon juice.
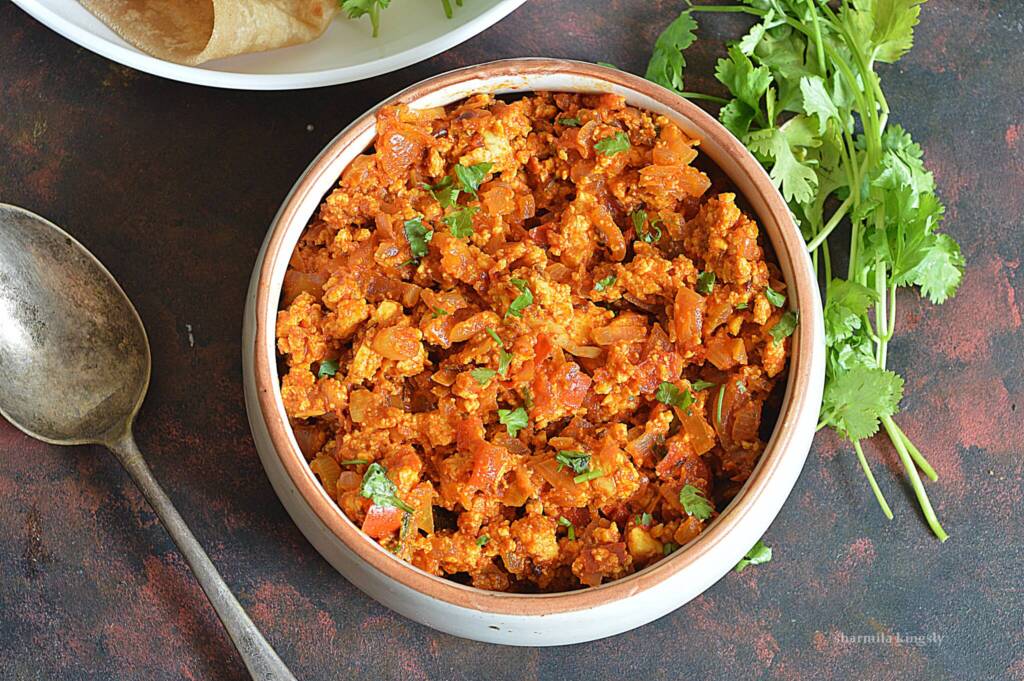
Panner bhurji is now ready to serve. Serve hot with roti.
Top Tips
You can use ghee instead of oil. It gives a lovely flavor.
Don’t cook for more time after adding the paneer. It might turn the paneer rubbery.
Goes well with roti or paratha.
Adding lemon juice elevates the taste so never skip that step.
Serving Suggestions
Makes a easy side dish to go along with roti or any other flat breads. We can serve them with poori too.
Paneer bhurji also makes a delicious sandwich filling too.
Similar Recipes


★ Did you enjoy this recipe? If you happen to try it out, I would love to hear from you! I’d appreciate it if you could rate and leave a review below in the comments. Your reviews help others know the recipe better too. Thanks for your time. You can also follow me on Facebook, Pinterest, Instagram, Youtube and Twitter for more updates
📖 Recipe

Paneer Bhurji
Standard 1 cup measures 240 ml
Ingredients
- 200 gms Panner crumbled
- 1 tablespoon Oil
- ½ teaspoon Fennel seeds
- ½ teaspoon Cumin seeds
- 1 Green chilli
- 2 teaspoon Crushed ginger garlic
- 1 Onion
- 1 Tomato
- 1 teaspoon Chilli powder
- ¼ teaspoon Turmeric powder
- 1 teaspoon Coriander Powder
- ½ teaspoon Cumin Powder
- Salt as needed
- Coriander leaves to garnish
- 1 teaspoon Lemon juice
Instructions
- In a pan heat in oil, once its hot add the fennel seeds and cumin seeds. Let it splutter. Next add green chilli and crushed ginger garlic saute till the raw smell leaves.
- Add onions and saute till glossy.
- Next add the chopped onions and cook till they are soft.
- Now we will add the spice powders. I am using chili powder, coriander powder, turmeric powder, cumin powder and salt to taste. Combine everything and cook for 2 mins.
- If using store bough panner keep them soaked in warm water for 10 mins. If using homemade paneer we can skip this. Crumble paneer and keep it ready. Now add the crumbled paneer to the cooked onion tomato masala. Combine everything and let it cook for another 2 mins.
- Finally garnish with chopped coriander leaves and switch off. Also sprinkle lemon juice. Panner bhurji is now ready to serve. Serve hot with roti.
Video
Notes
Top Tips
You can use ghee instead of oil. It gives a lovely flavor. Don’t cook for more time after adding the paneer. It might turn the paneer rubbery. Goes well with roti or paratha. Adding lemon juice elevates the taste so never skip that step.Serving Suggestions
Makes a easy side dish to go along with roti or any other flat breads. We can serve them with poori too. Paneer bhurji also makes a delicious sandwich filling too.Nutrition
Disclaimer: I am not a nutritionist , the nutrition value provided here is an estimate.It will vary based on the quantity and brands of the products used.
This post is originally from 2017 . It is now updated with new Pictures, details and recipe card.