Banana Chocolate Chunk Muffins are an easy one bowl snack. It is eggless and has the goodness of chocolate and bananas. They go well as a breakfast or as a snack.
Follow us on Pinterest for delicious pins. Join our Facebook group for more Instant Pot and Air Fryer recipes.

Chocolate and Banana makes and extra ordinary combination. They pair really well together . These easy chocolate banana muffins are made with just one bowl of ingredients. They make an amazing bake for the weekend. If yo have some over ripe banana , I bet you can put them into good use.
Check out my Vegan Banana Muffins and Walnut Banana Muffin recipes too.
[feast_advanced_jump_to]Moist Banana Chocolate Chunk Muffins
If you love bananas in bakes then these yummy chocolatey muffins are definite in your pick. They are soft , moist and a one bowl muffin. They are perfect go pack for snack box and an easy grab and go breakfast too.
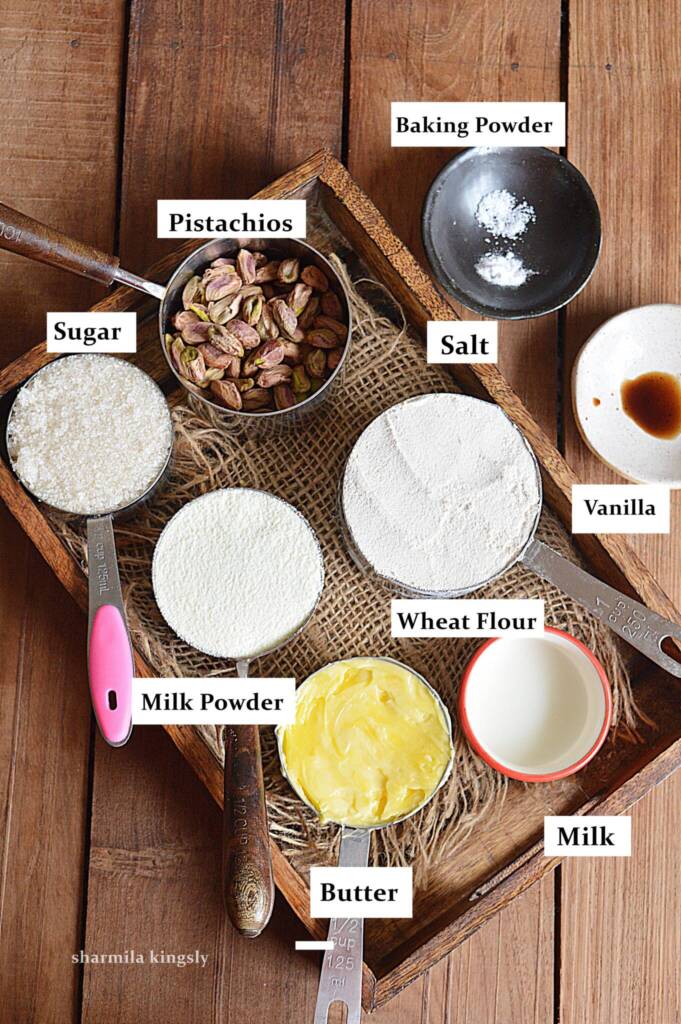
Ingredients
Flour - As always use white flour or you can also try half and half wheat and white flour.
Banana - Always use overripe banana. They yield soft moist muffins.
Sugar - You can use white or brown sugar. If using brown sugar it might slightly change the colour.
Baking Powder - It gives the airy texture to the muffins.
Oil - Use any flavorless cooking oil.
Vanilla - Use good quality pure vanilla extract.
Salt - A pinch of salt always elevates the taste in any dessert.
Chocolate - For the extra add on goodness . I prefer dark chocolate. They go really well with banana. You may use any of your favorite chocolate or even chocolate chips.
FAQ's
Always pick an overly ripe banana for muffins. They are soft and the texture is apt for muffins.
We can definitely substitute the ingredients to make it vegan Chocolate chunk muffins. Almost all ingredients here are plant based , make sure you choose dairy free chocolate too.
How to make Banana Chocolate Chunk Muffins
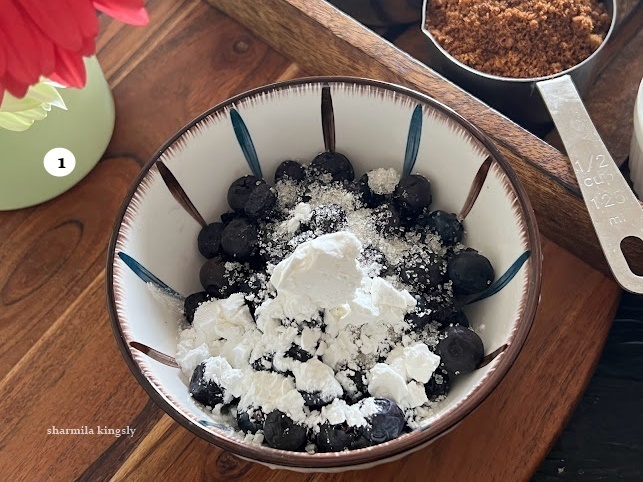
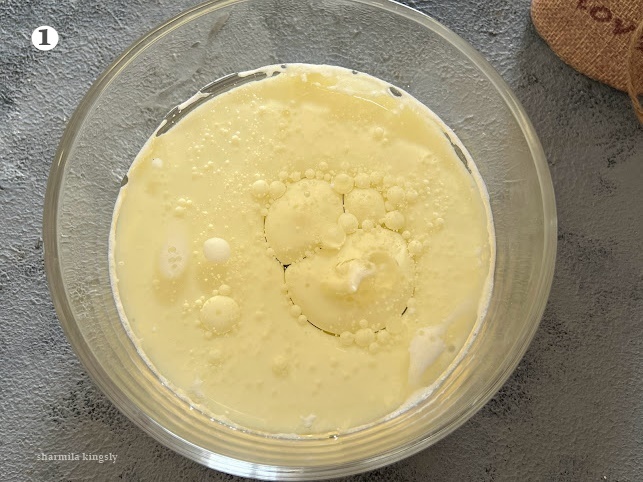
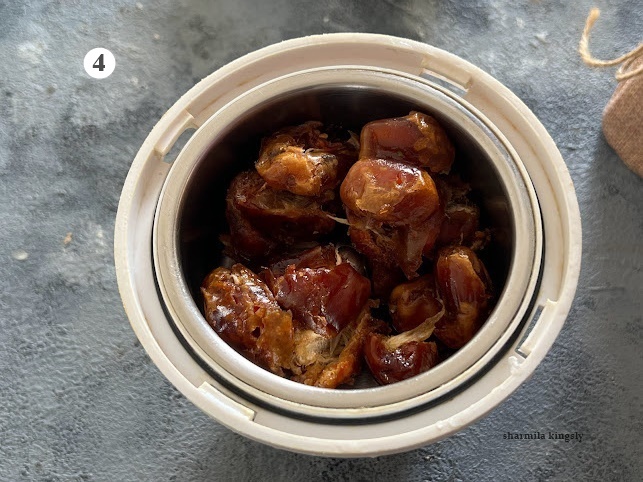
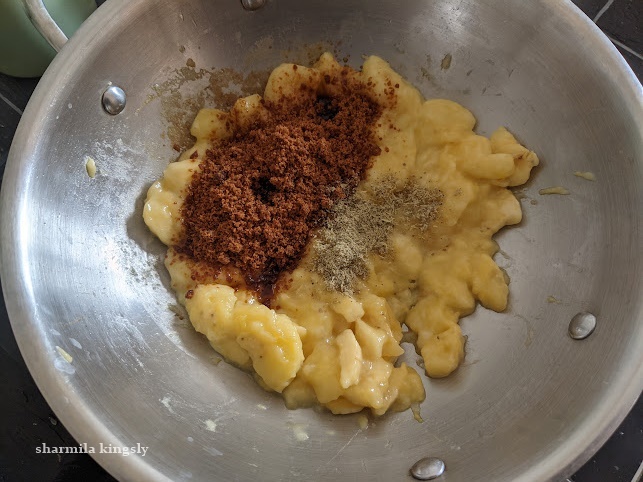
1.In a mixing bowl add 2 large bananas ( approximately ¾ cup after mashing ). Over ripe banana works best for this recipe .

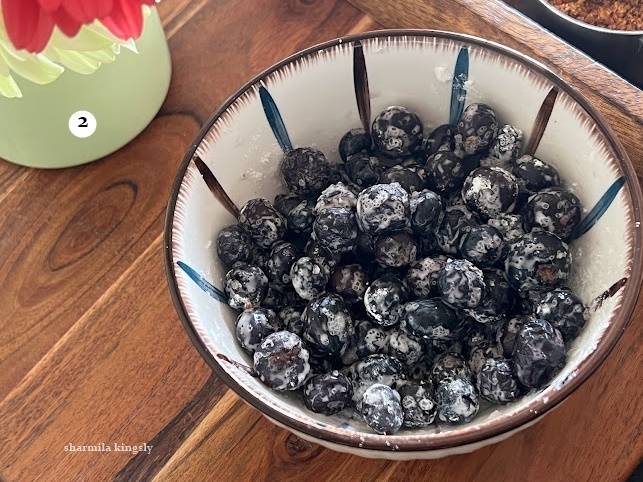
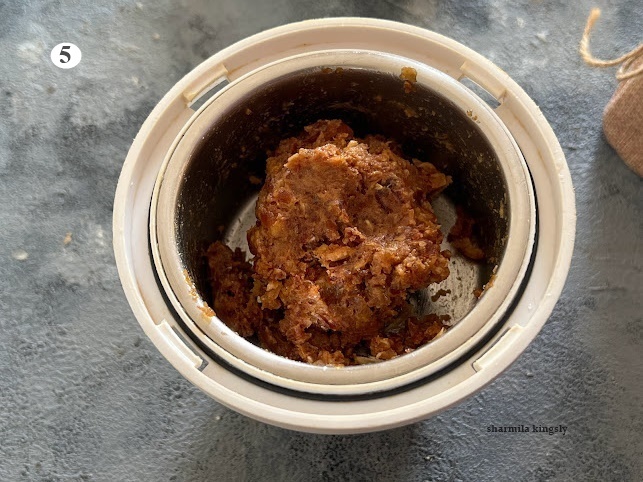
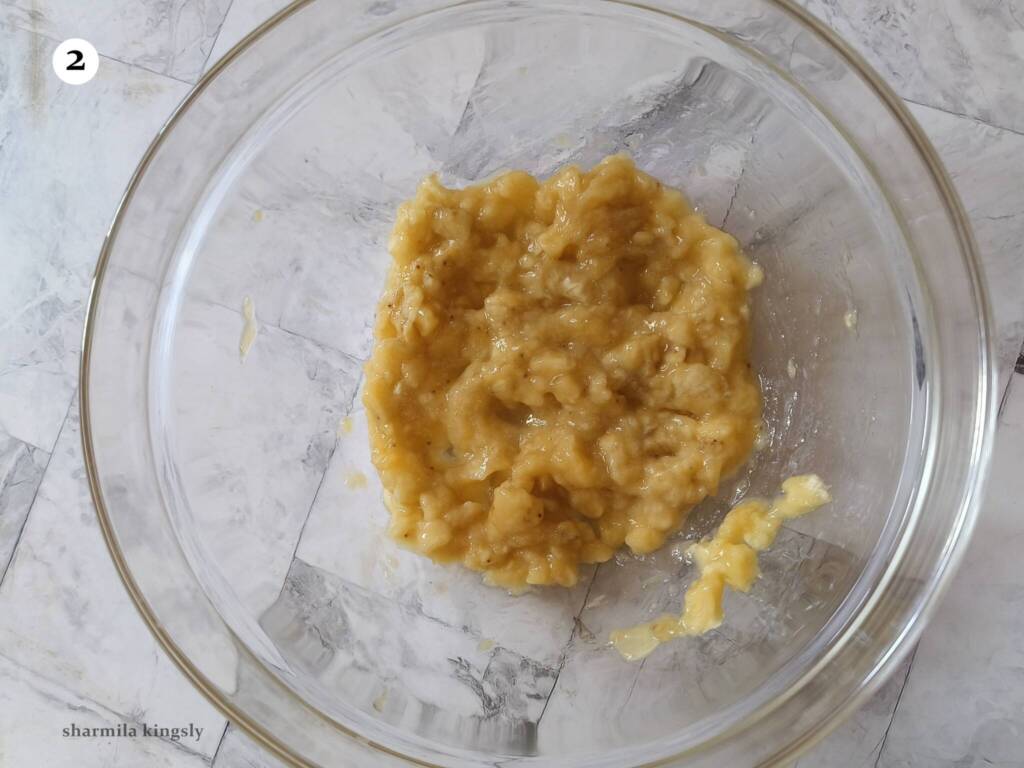
2. Mash the bananas using a fork until its mashed well.
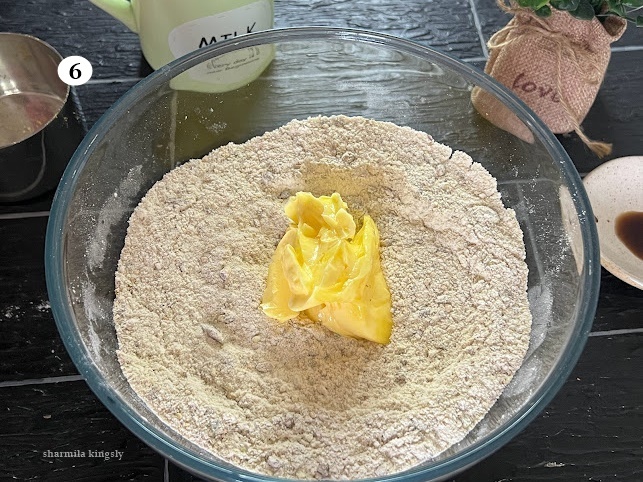
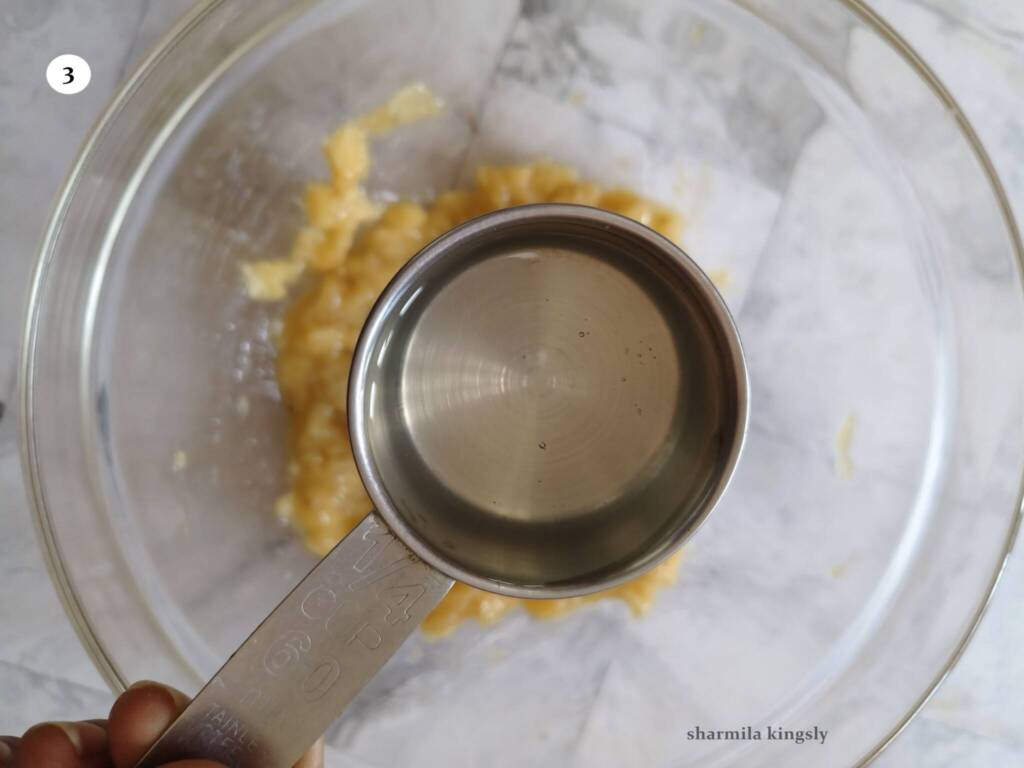
3. Now add ¼ cup cooking oil. Use any flavorless oil
4. Also add 1 teaspoon Vanilla extract. combine everything

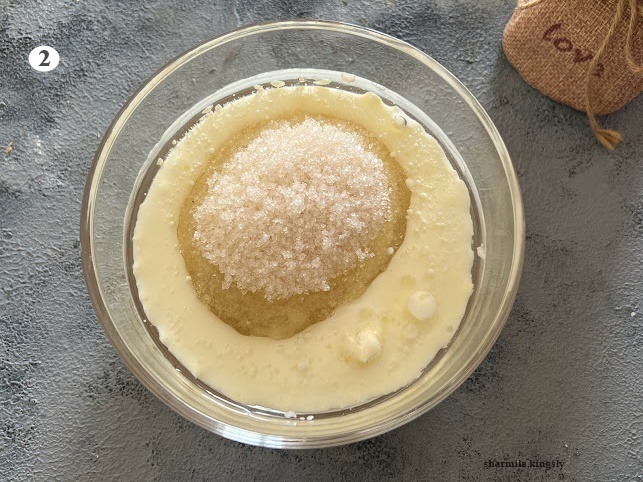
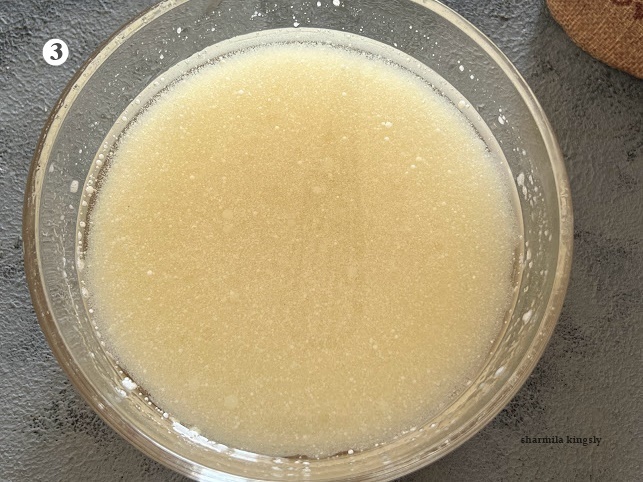
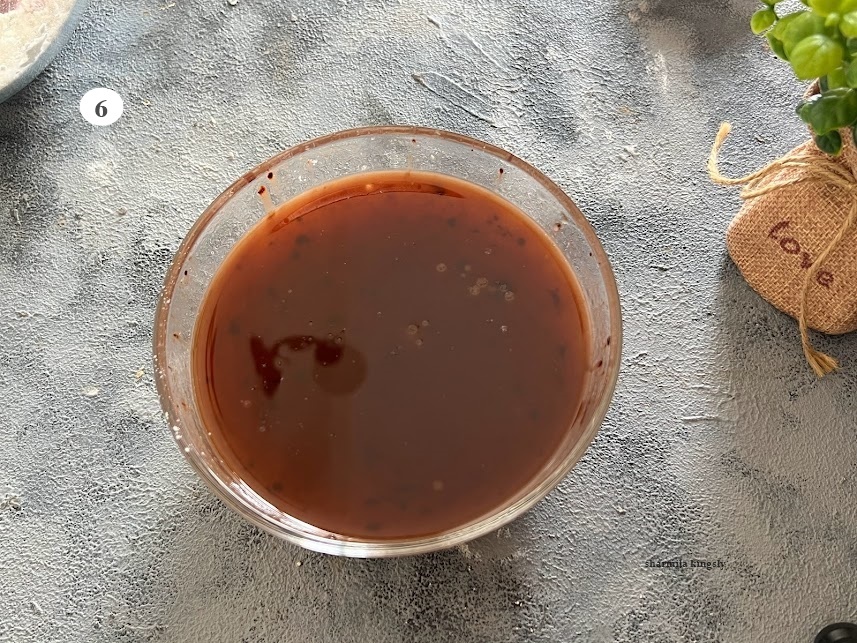
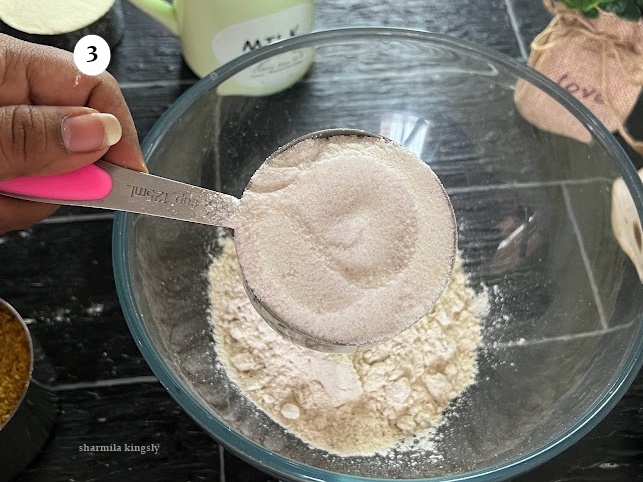
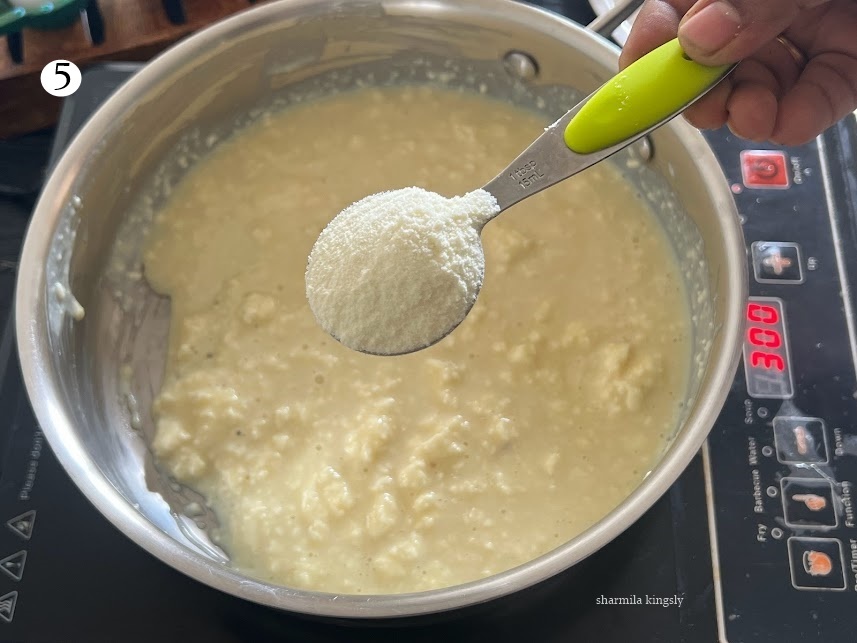
5. Next add in ¼ cup powdered sugar and mix well till it dissolves .

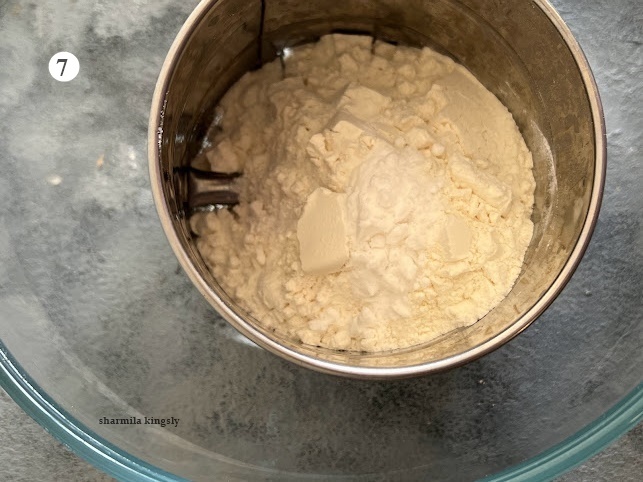
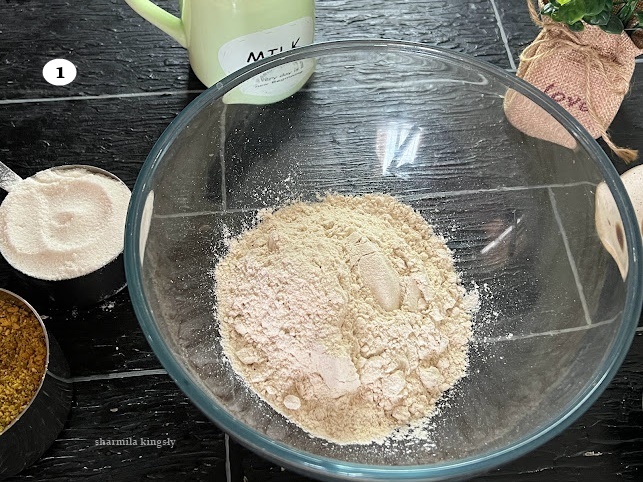
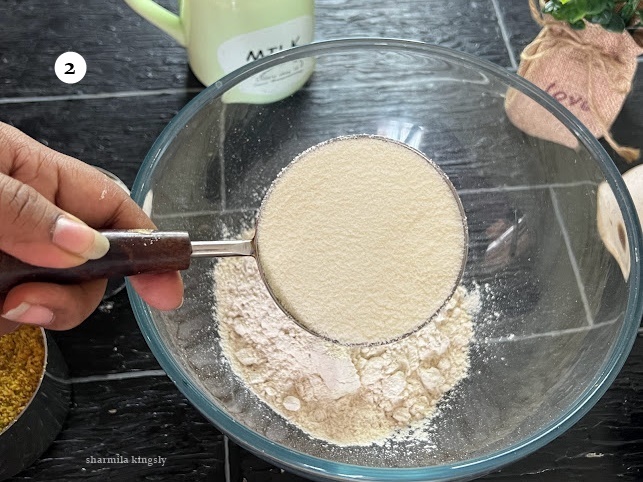
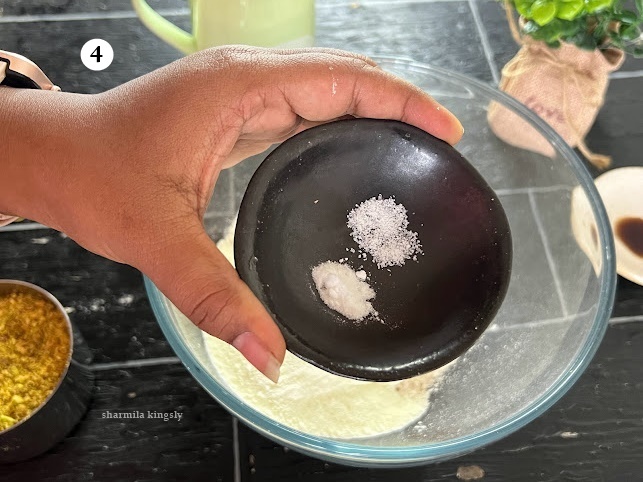
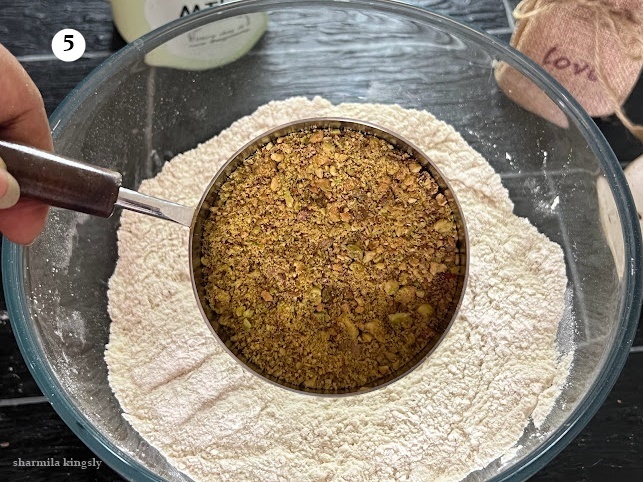
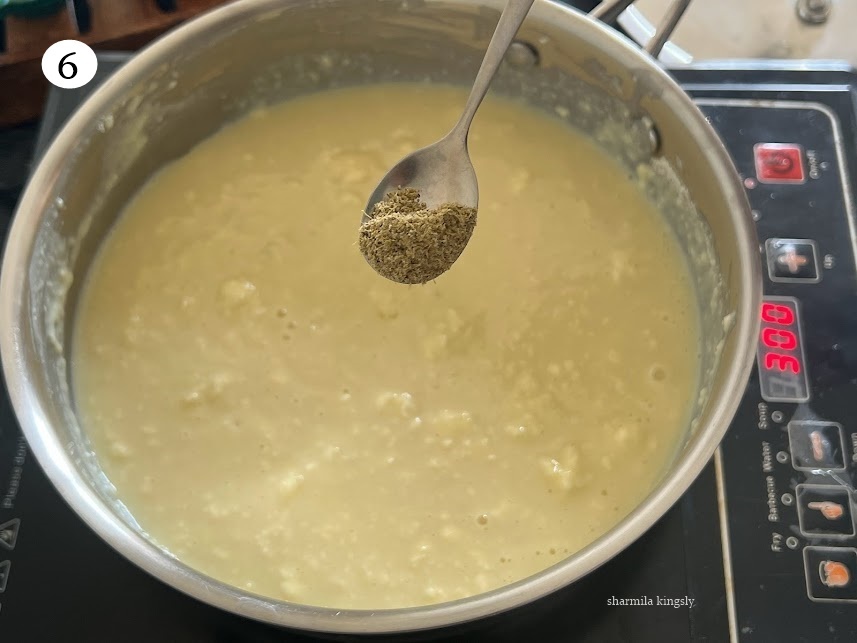
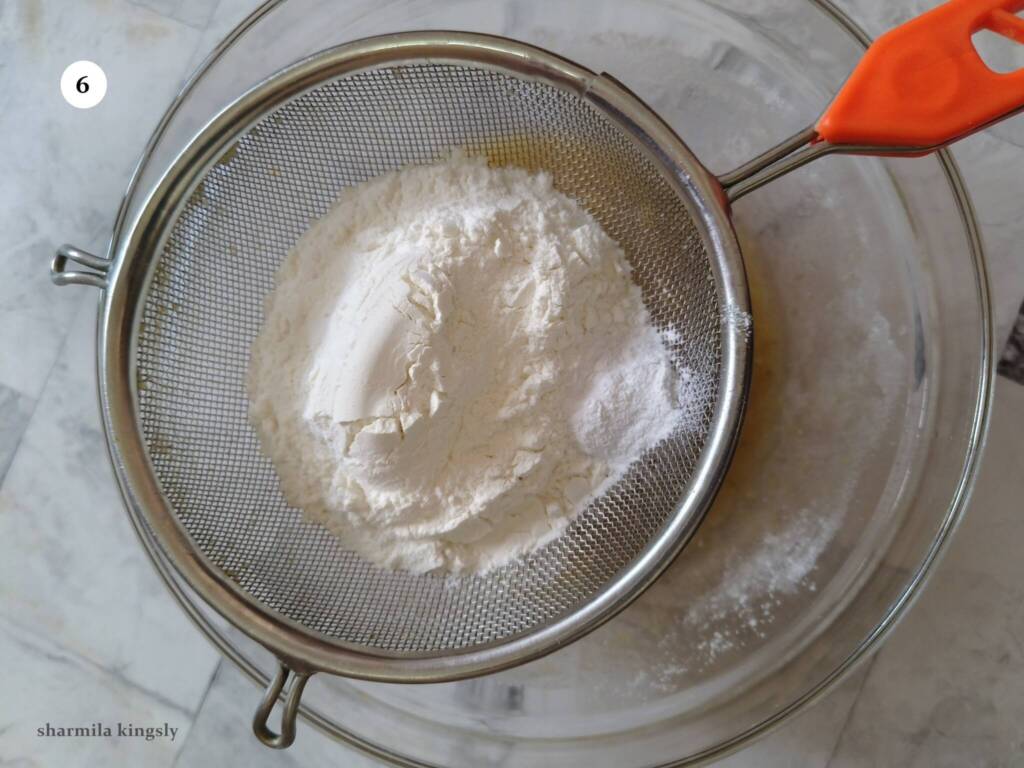
6. Sift together ¾ cup All Purpose Flour , 1 teaspoon of Baking powder and a pinch of Salt well.
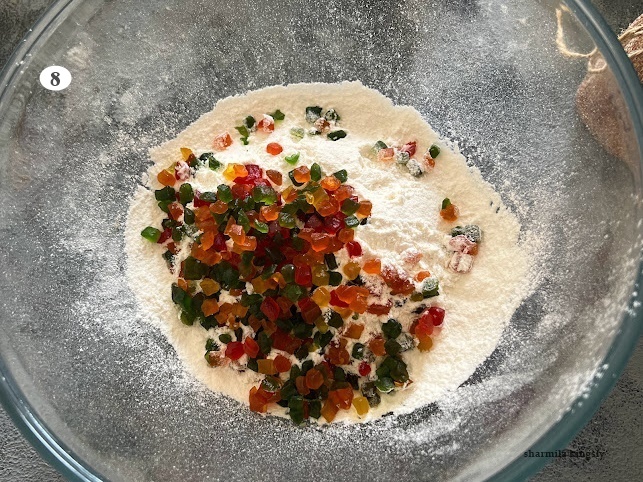
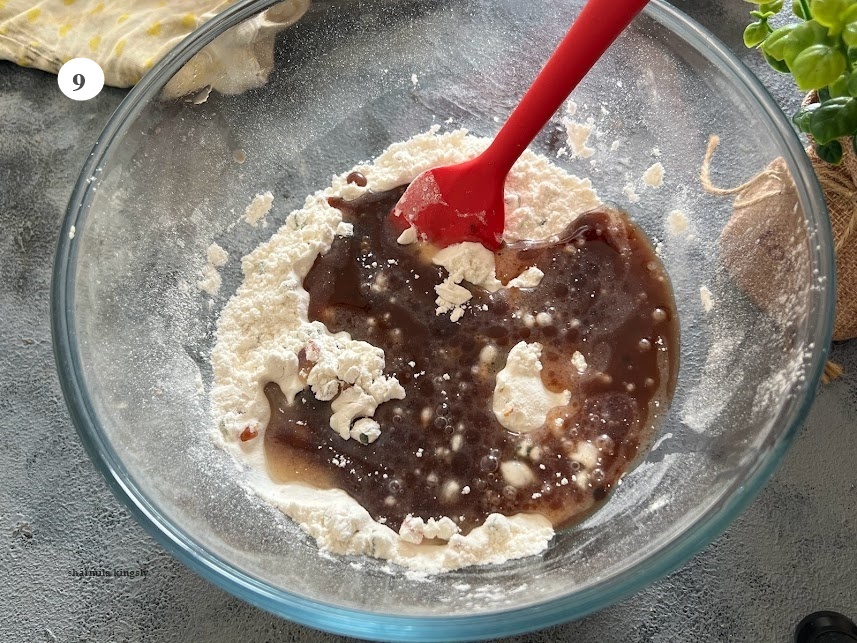
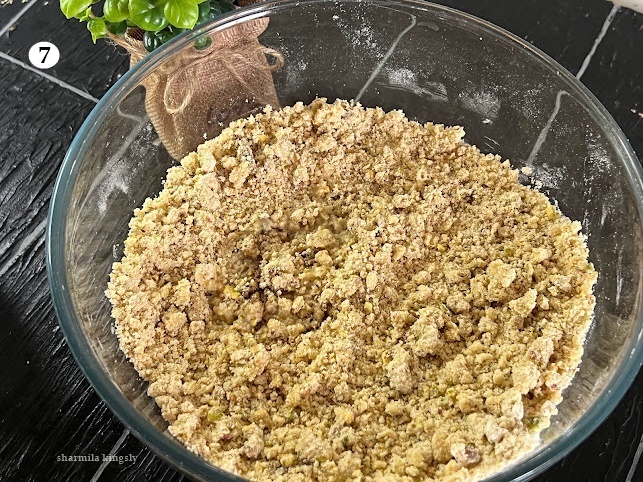
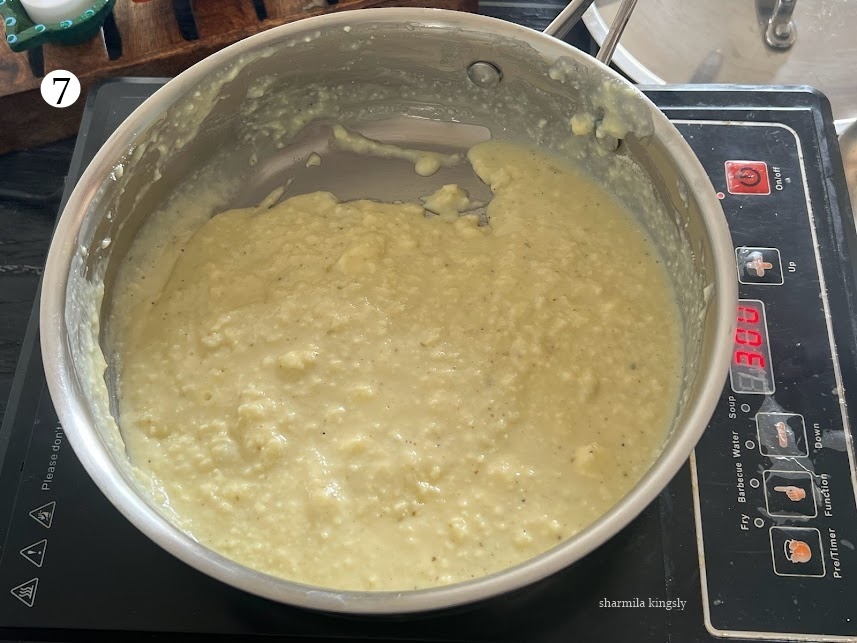
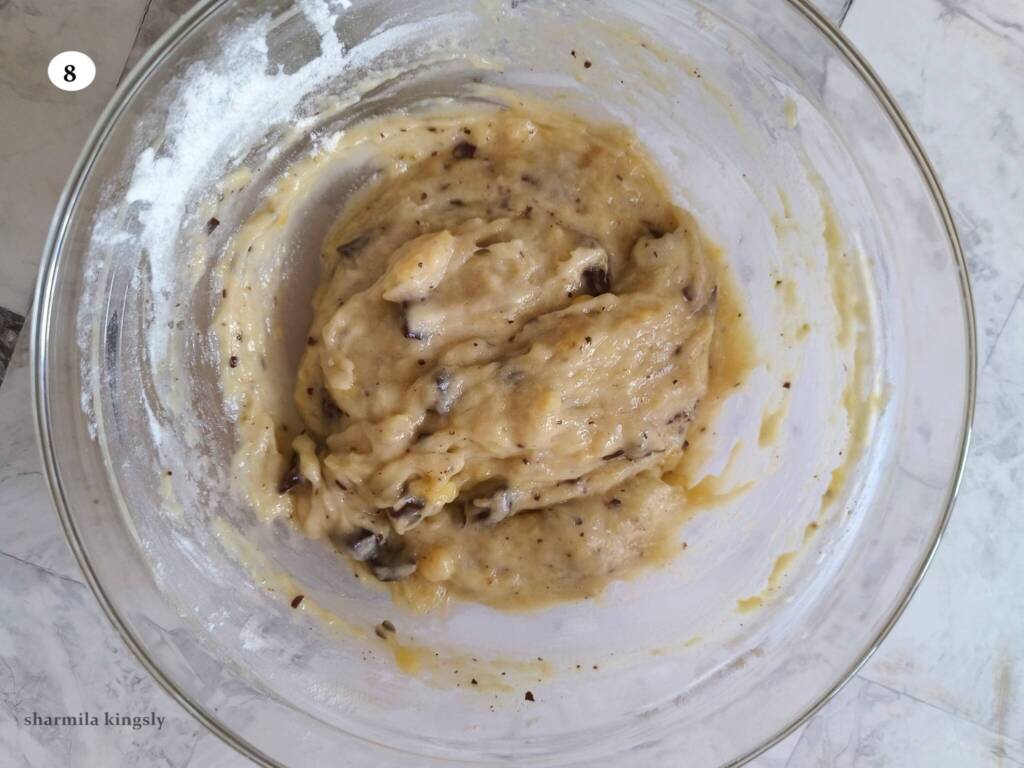
7. Combine everything together gently with a spatula or a whisk without any lumps. And then add ¾ cups of dark chocolate chunks. I roughly chopped dark chocolate and added. You may add any chocolate as you prefer.

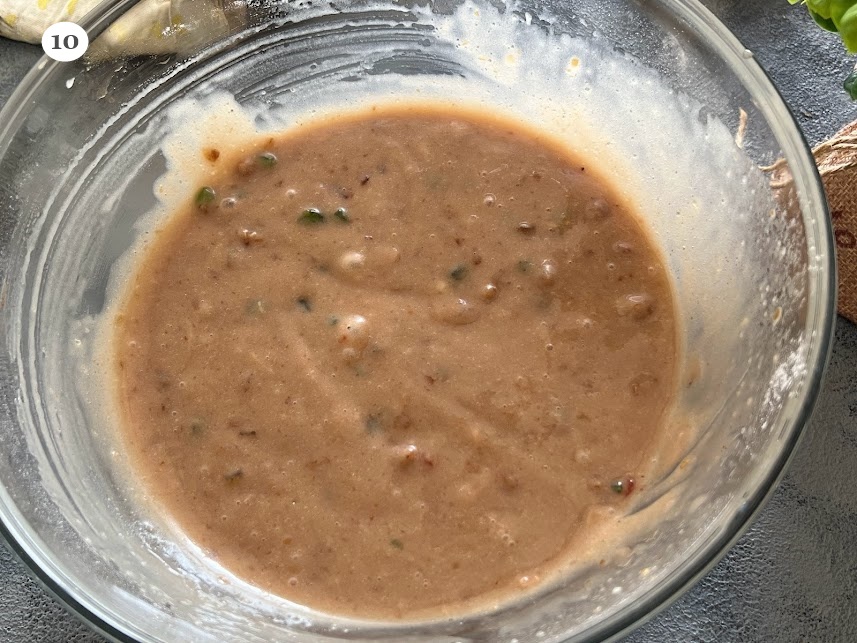
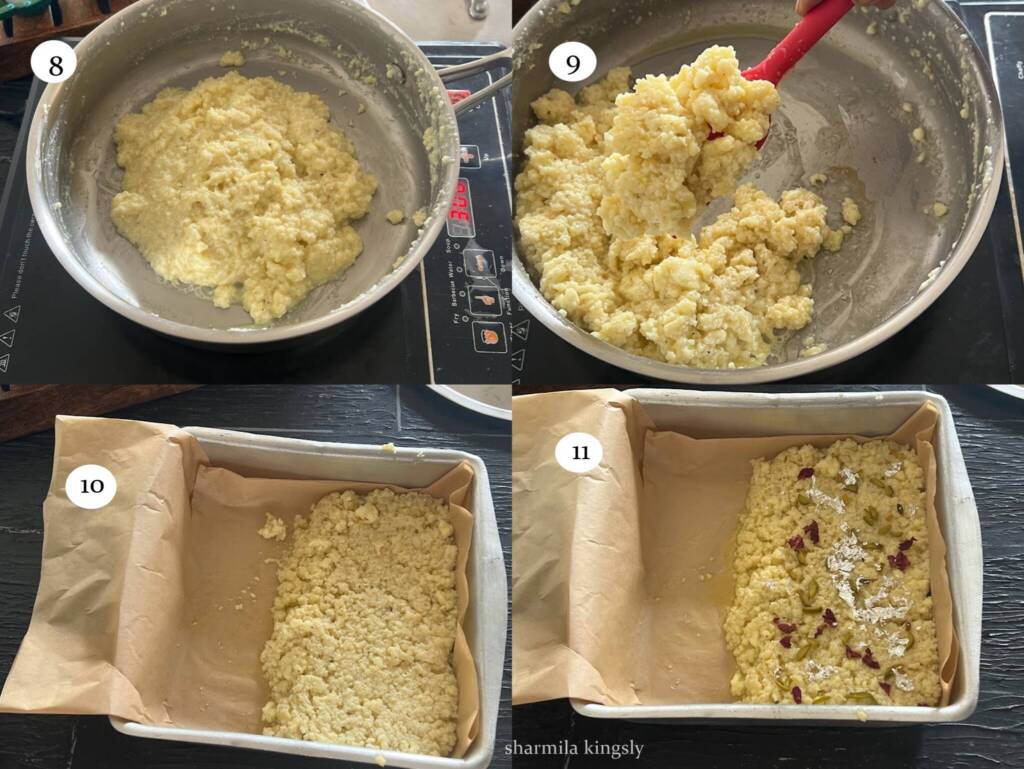
8. Whisk everything together and the muffin batter is ready.
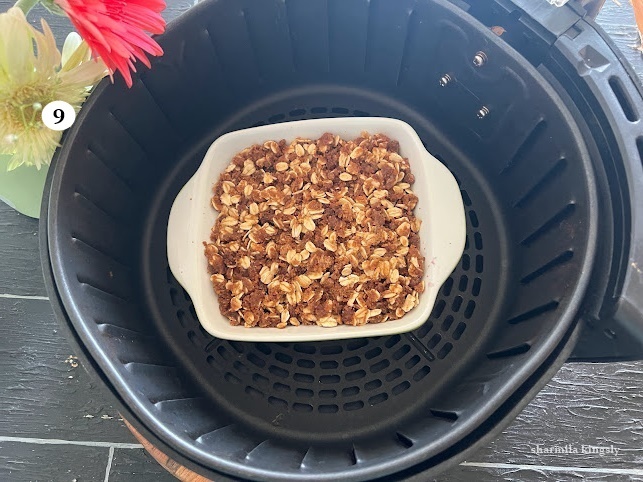
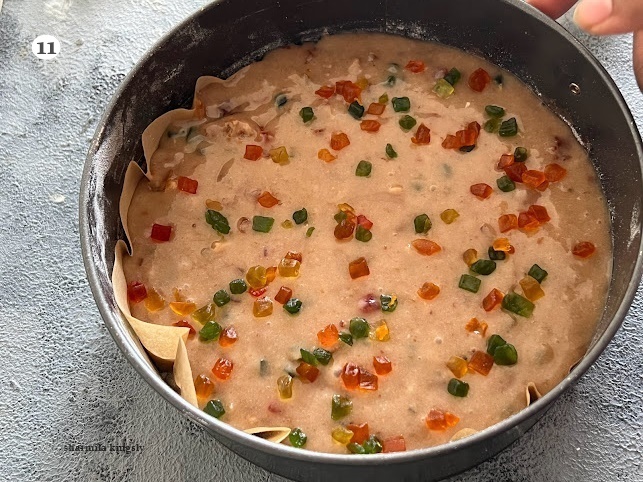
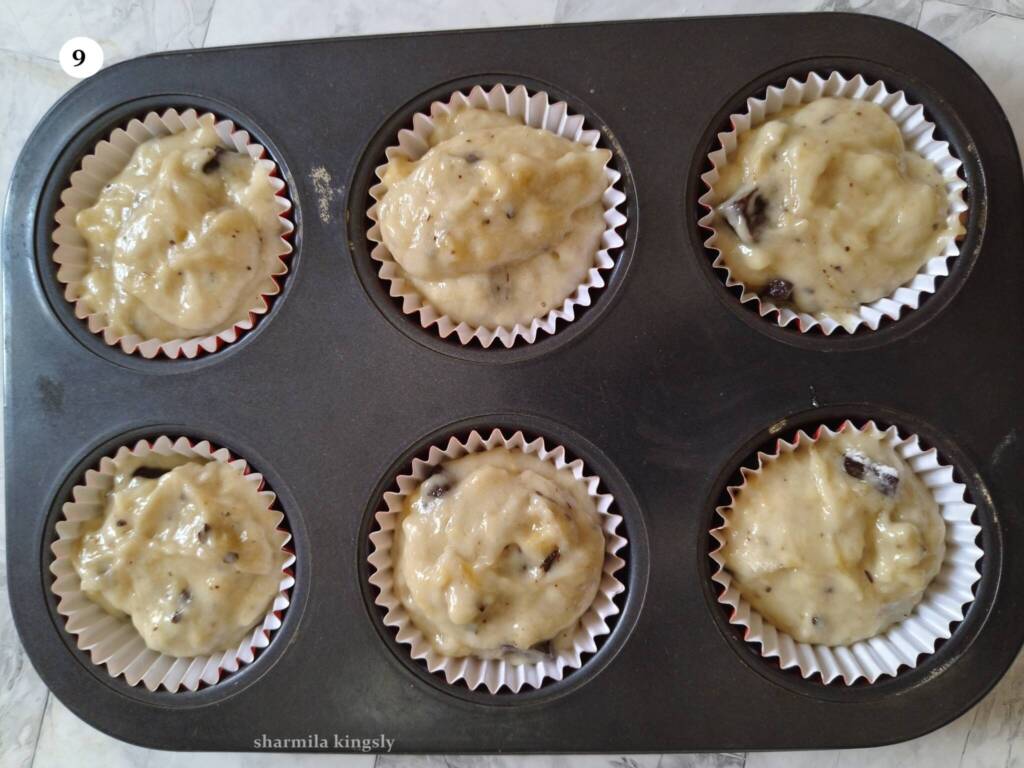
9. Prepare a muffin tray with muffin liners. Scoop out equal portion of batter in all muffin liners. Fill ¾ th of the muffin liners. Top it with more chocolate chunks.
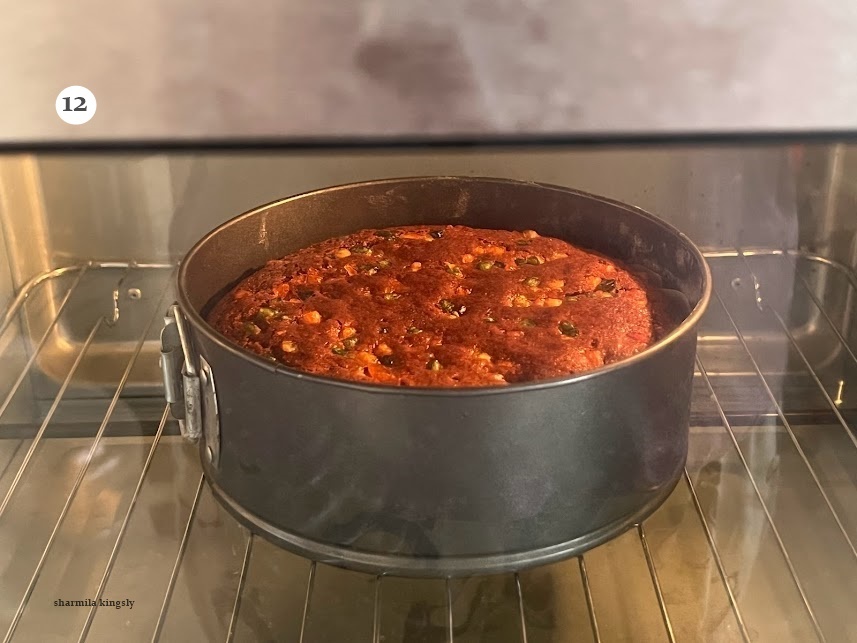
10. Preheat the oven at 374 F (190 deg C) for 10 min and the bake the muffin in 374 F (190 deg C) for about 30 mins or till done.
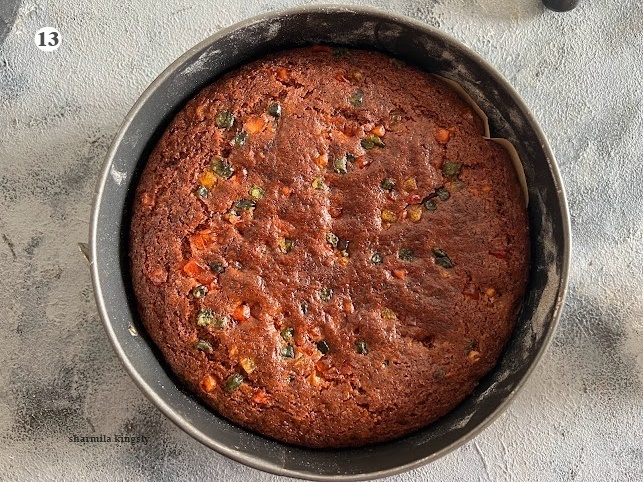
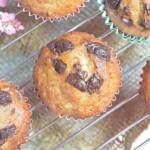
Easy Banana Chocolate chunk muffins are now ready.

Tips & Variations
- chocolate chunk banana muffins are soft and moist as its a no butter cake.
- Banana muffins taste best the next day.
- I prefer adding dark chocolate to the chocolate chunk cupcakes. However feel free to substitute with any of your favorite chocolate or chocolate chips too.
- You may also replace chocolate chunks with equal portions of nuts or dry fruits . In case you want to skip chocolate.
- This recipe yields 7 muffins approximately. You can also double or tripe the recipe if you prefer.
- I am adding ⅓ cup of chocolate chunks. You may also add more if you prefer.
Serving Options
They make an amazing breakfast or snack. Serve them with milk and fruits or cereal for a wholesome breakfast.
Storage Suggestions
Store well in room temperature for 2 days and we can refrigerate for up to 4 days. Banana Muffins freeze well too. You can store in zip lock bags and freeze. Just before serving you can microwave them for 30 - 40 secs and serve. Or simply thaw them to room temperature and serve.
Similar Recipes


★ Did you enjoy this recipe? If you happen to try it out, I would love to hear from you! I’d appreciate it if you could rate and leave a review below in the comments. Your reviews help others know the recipe better too. Thanks for your time. You can also follow me on Facebook, Pinterest, Instagram, Youtube and Twitter for more updates
📖 Recipe
Banana Chocolate Chunk Muffins
Standard 1 cup measures 240 ml
Equipment
- OTG
- OTG
Ingredients
- 2 Banana approximately ¾ cup after mashing
- ¾ cup All purpose flour
- ¼ cup Cooking Oil
- ⅓ cup Powdered Sugar
- 1 teaspoon Vanilla extract
- 1 teaspoon Baking powder
- Salt a pinch
- ¾ cup Chocolate chunks
Instructions
- In a mixing bowl add 2 large bananas ( approximately ¾ cup after mashing ). Over ripe banana works best for this recipe .
- Mash the bananas using a fork until its mashed well.
- Now add ¼ cup cooking oil. Use any flavorless oil
- Also add 1 teaspoon Vanilla extract. combine everything
- Next add in ¼ cup powdered sugar and mix well till it dissolves .
- Sift together ¾ cup All Purpose Flour , 1 teaspoon of Baking powder and a pinch of Salt well.
- combine everything together gently with a spatula or a whisk without any lumps. And then add ¾ cups of dark chocolate chunks. I roughly chopped dark chocolate and added. You may add any chocolate as you prefer.
- Whisk everything together and the muffin batter is ready.
- Prepare a muffin tray with muffin liners. Scoop out equal portion of batter in all muffin liners. Fill ¾ th of the muffin liners. Top it with more chocolate chunks.
- Preheat the oven at 374 F (190 deg C) for 10 min and the bake the muffin in 374 F (190 deg C) for about 30 mins or till done.
- Banana Chocolate chunk muffin is now ready.
Video
Nutrition
Disclaimer: I am not a nutritionist , the nutrition value provided here is an estimate. It will vary based on the quantity and brands of the products used.